
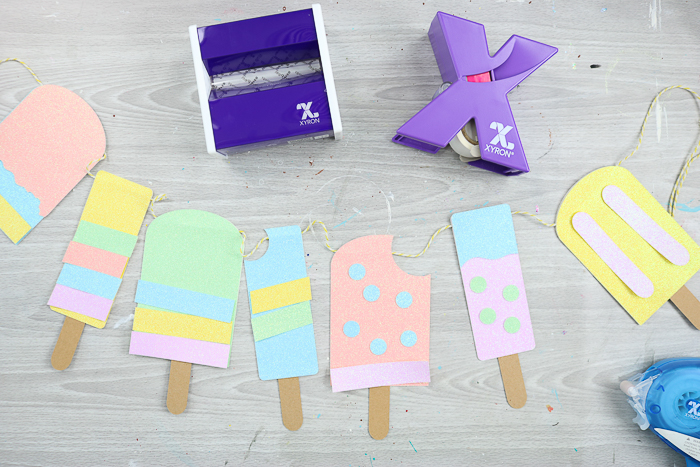
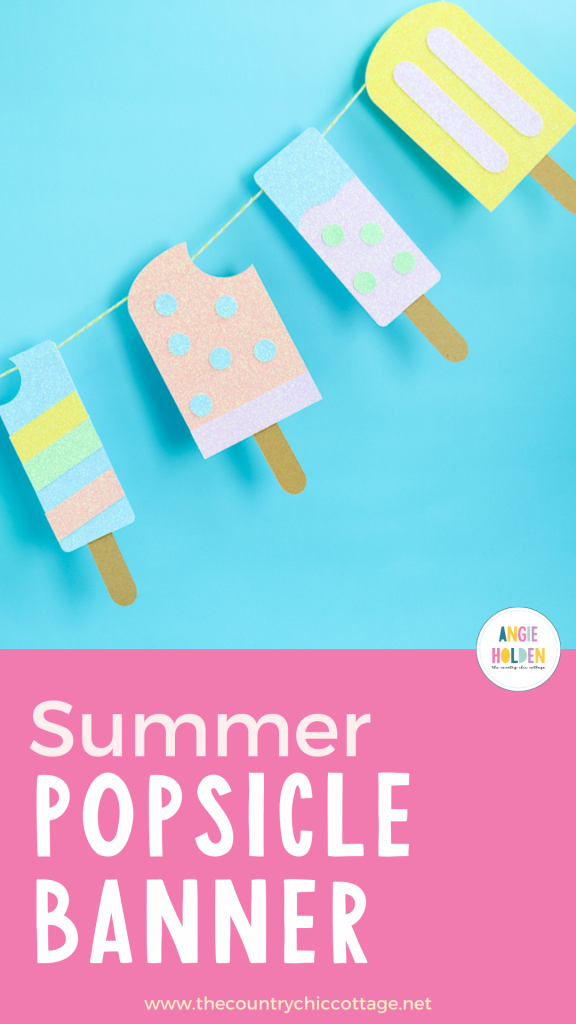
Looking for another free Summer SVG? We have one for you! Today, I'm creating a popsicle banner and have designed an SVG file to cut the pieces using my Cricut. You can also use this popsicle SVG for other projects; it's perfect for bringing the summertime fun! We are partnering with Xyron for this post, and if you haven't heard of their sticker makers, you're in for a treat! As always, all projects and opinions are my own.
Popsicle Banner With Summer SVG Video
Want to watch how to turn this Summer SVG into a fun banner? Just play the video below!
Can't watch the video or missed some of the steps? I've got ya, keep reading!
Download Free Summer SVG File
To get your free SVG file for cutting popsicle pieces, please enter your name and email address in the form below. Once you submit the form, the file will be sent to your inbox. Please note that our SVG files are intended for personal use only. If you encounter any issues using the file, feel free to email me at angie@thecountrychiccottage.net.
How To Make Popsicle Banner With Summer SVG
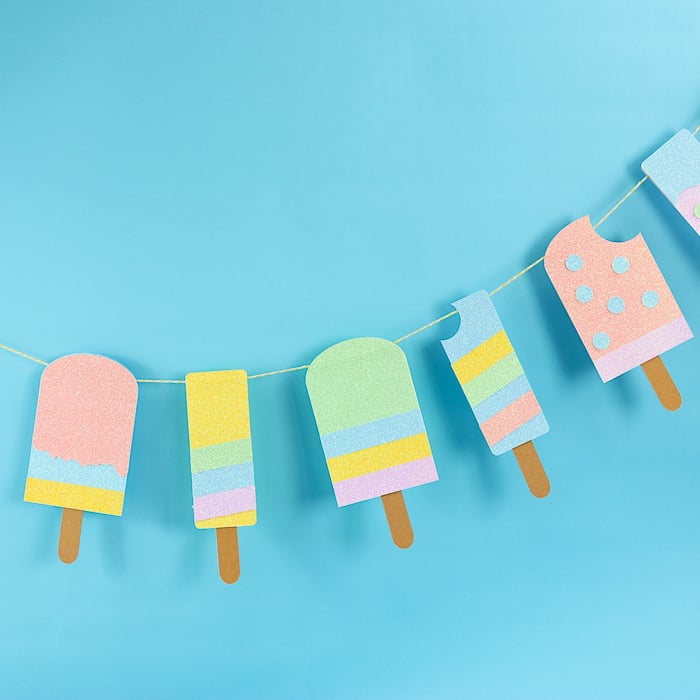
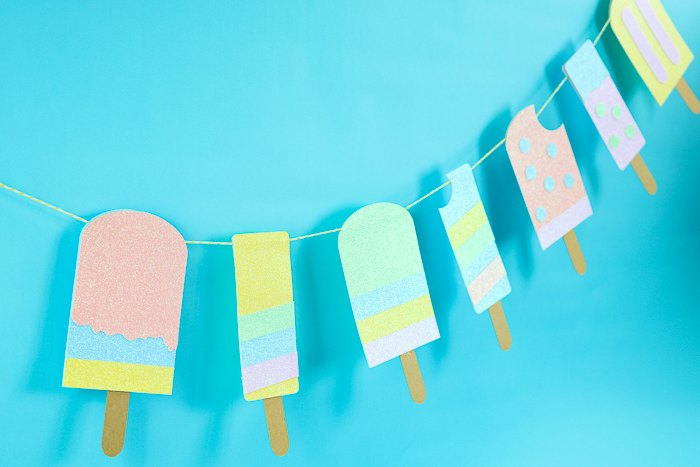
As I mentioned earlier, you can use this Summer SVG for a variety of fun projects! My favorite way to utilize this SVG is by creating a popsicle banner, but it can also be used for all kinds of crafts and decorations for your Summer parties.
Below are the instructions for creating the popsicle banner. Be sure to scroll down to our Tips and Tricks section for additional ideas on how to customize this banner!
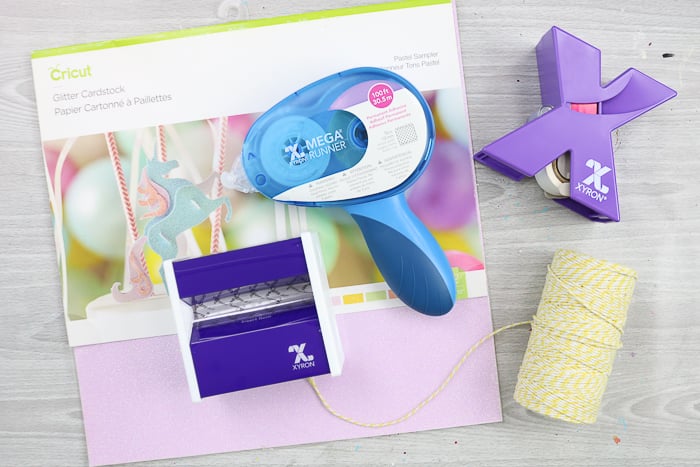
Supplies Needed To Make A Popsicle Banner With Summer SVG
- Summer SVG File (you can download that above)
- Xyron® Mega Runner
- Cricut Glitter Cardstock (pastel sampler)
- Xyron® 3″ Disposable Sticker Maker or Xyron® 1.5″ Sticker Maker (you can use either one pictured, but the 3-inch or larger will be needed for some pieces)
- Twine
- Cricut machine
- Brown craft paper or brown cardstock
- Scissors
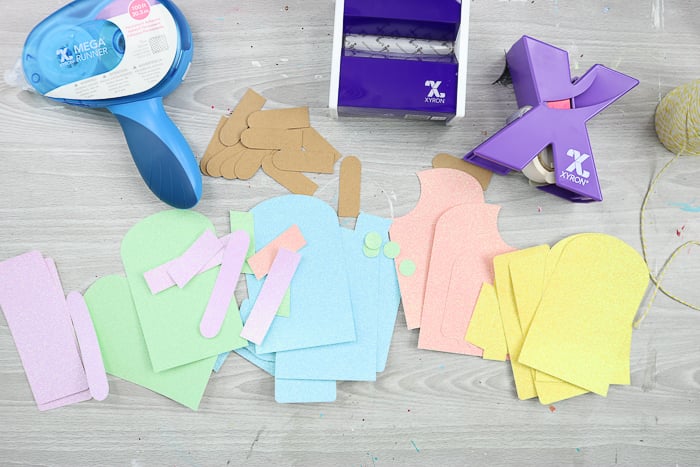
Step 1: Cut Pieces From Summer SVG
To create your summer banner, you'll need to cut the popsicle pieces using your Cricut machine. You can find instructions for uploading an SVG file to Cricut Design Space by clicking here. Once uploaded, resize the pieces as needed and choose your preferred colors. This file is designed for mix and match, so feel free to select any pieces you like for your banner. Just make sure to include one popsicle stick and two large popsicle pieces for each popsicle. The embellishments are entirely up to your creativity! The embellishments are entirely up to you.
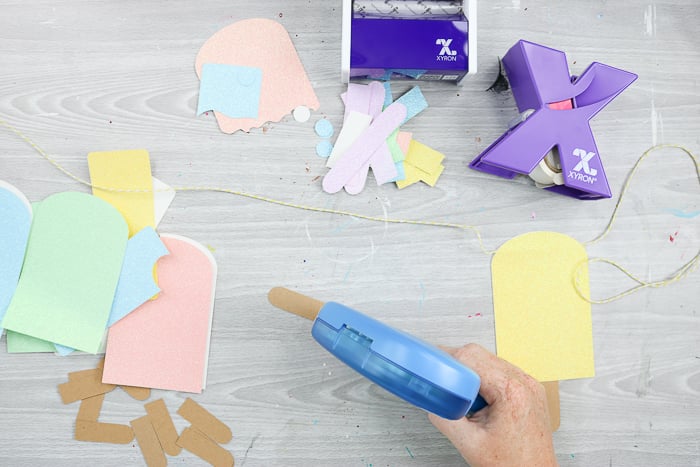
Step 2: Add Adhesive To Popsicle Stick
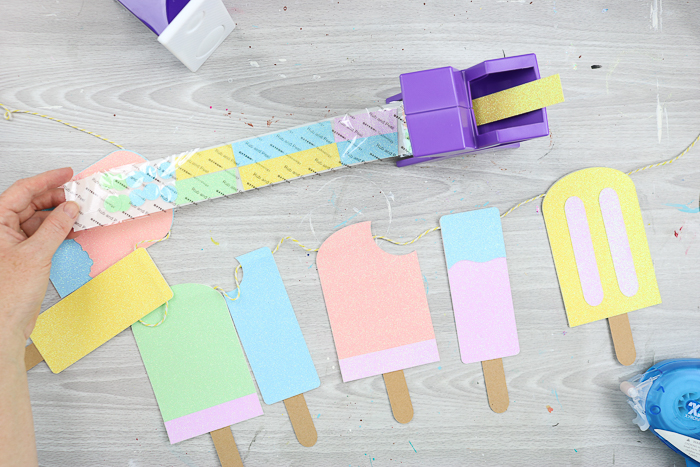
Now that you have your pieces cut, you can begin assembling your Summer SVG. Use the Xyron Mega Runner to assemble the popsicles and add them to your twine. First, apply adhesive to the top of the popsicle stick on both sides.
Step 3: Add Popsicle Stick To Paper Popsicle
Then add the popsicle stick to the back of one of the popsicle pieces.
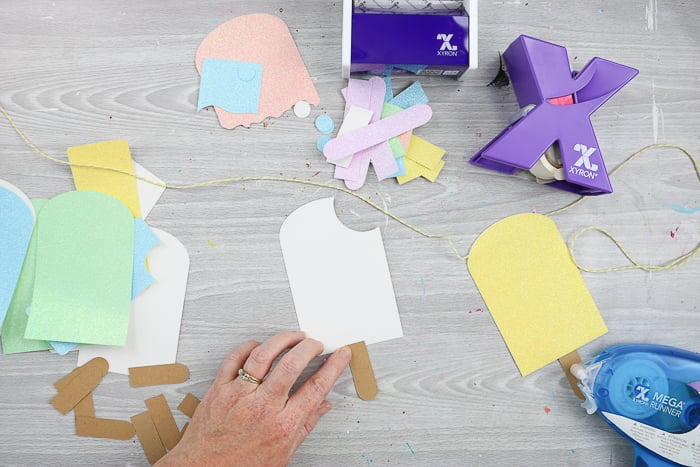
Step 4: Add Adhesive Around The Popsicle
Add adhesive all the way around the popsicle piece with the Xyron Mega Runner.

Step 5: Lay Twine Across The Popsicle
Lay the twine across the top of the piece, ensuring it rests in the adhesive.

Step 6: Lay Another Popsicle On Top
Layer on another popsicle piece. I like to add some adhesive to the top of this one as well, so it will catch the twine. Press down well to secure.
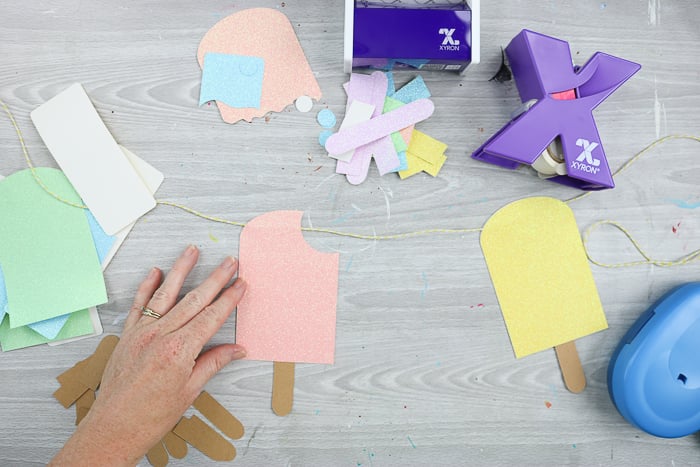
Continue adding as many popsicles as you would like.
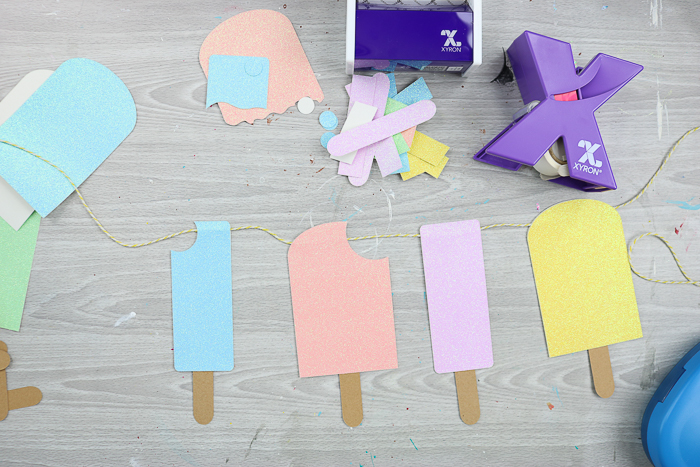
Step 7: Determine How You Want Your Popsicles To Look
Now it is time to spruce up this fun Summer banner! Start by laying out all the embellishments you've cut to determine where you'll add them. Again, this Summer SVG is meant to be mixed and matched, so there is no right or wrong.
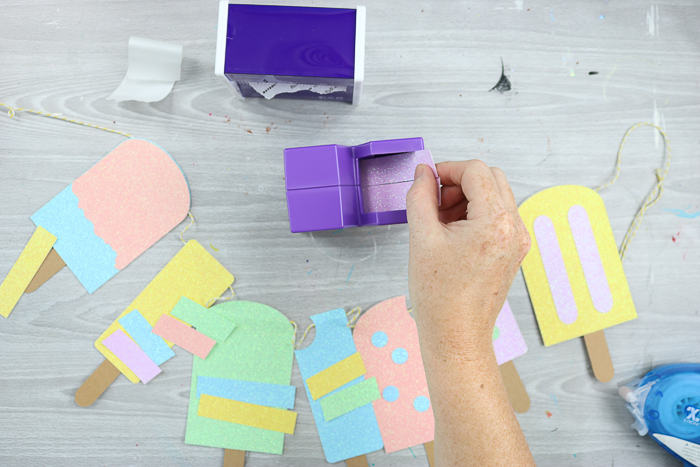
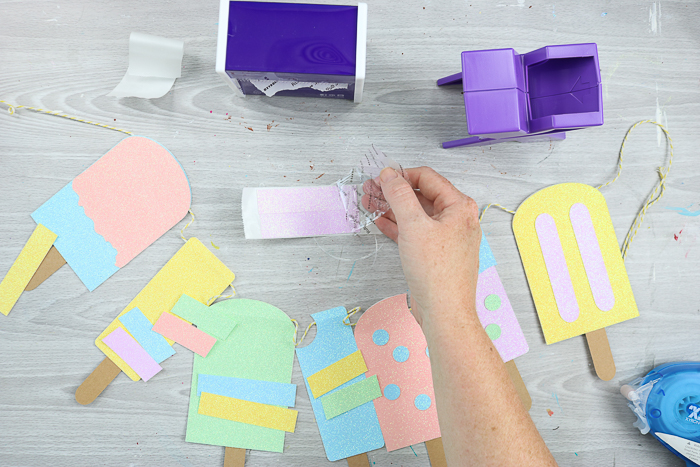
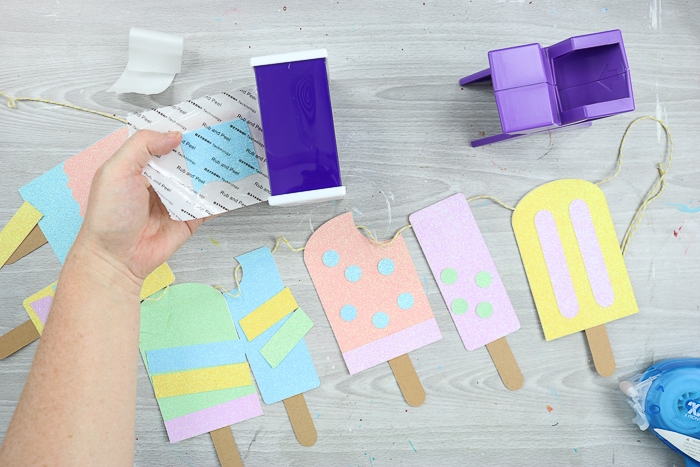
Step 8: Run Embellishments Pieces Through Xyron 1.5” Sticker Maker
Then run the pieces through your Xyron 1.5″ Sticker Maker to add adhesive. If you've never used one of these, they're incredibly simple. Just push your pieces through the top.
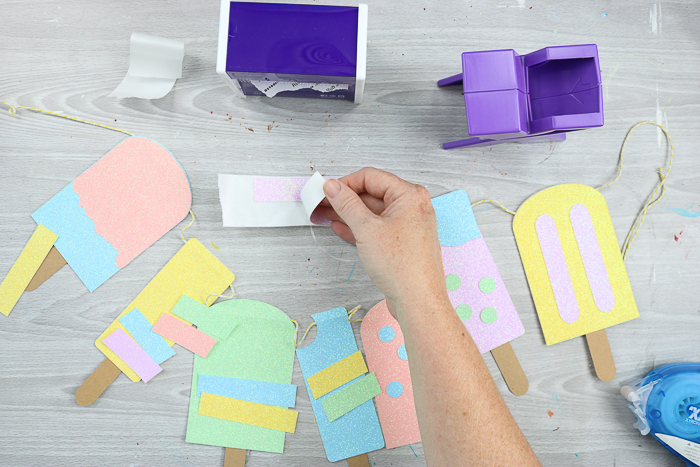
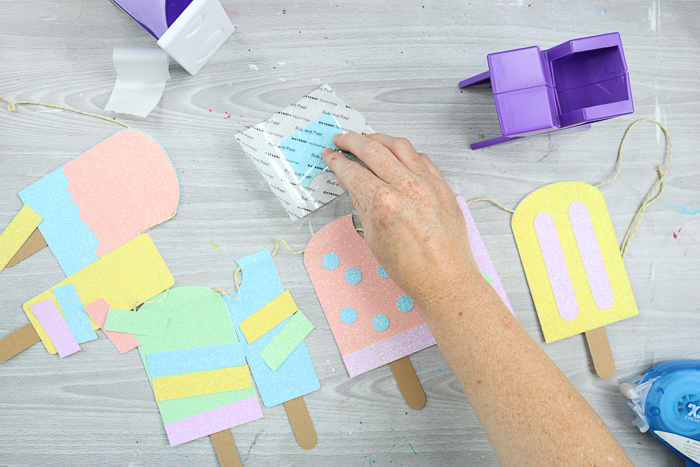
And pull the paper coming out of the bottom.
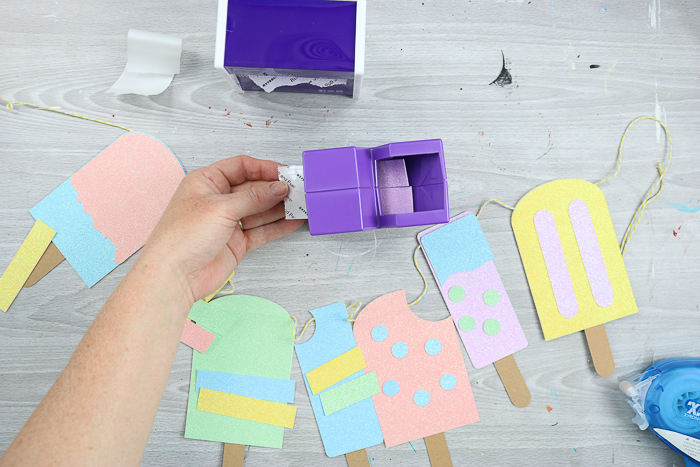
Your pieces will feed through. You can use the serrated piece on the sticker maker to cut once they are completely through.
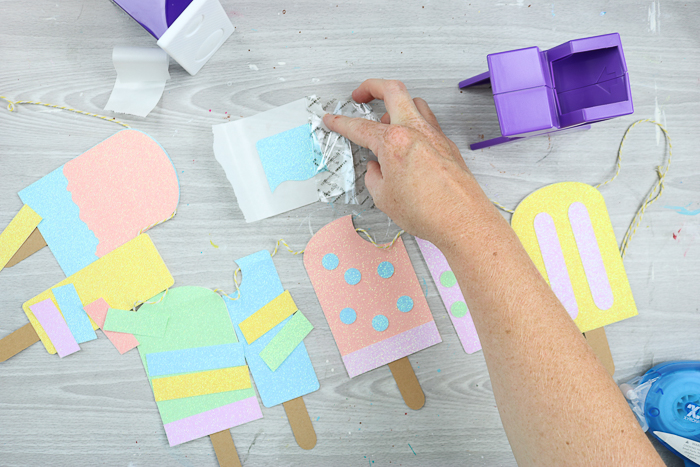
Then just rub the pieces down really well.

Remove that top protective sheet and discard.
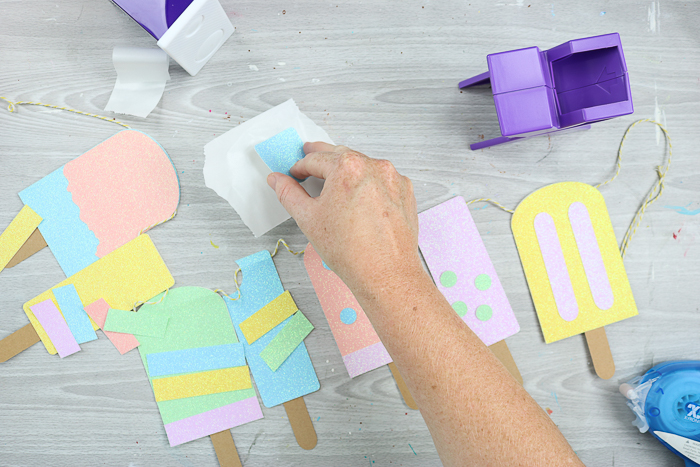
Now your pieces are like stickers, and they are covered in adhesive.
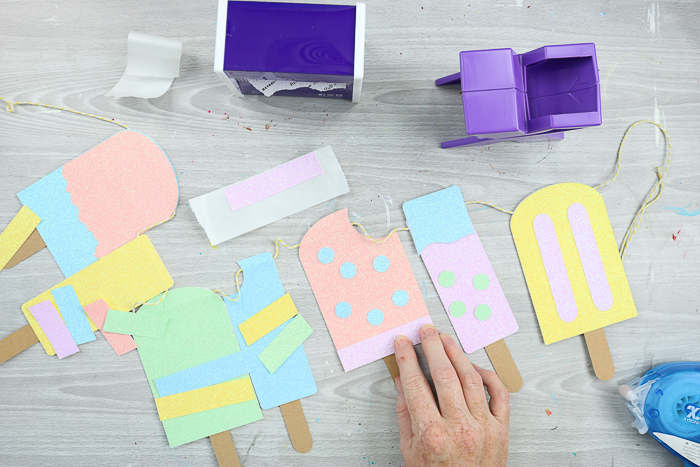
Step 9: Add Embellishments To Popsicles
Just peel and then stick them to add them to your popsicle banner.
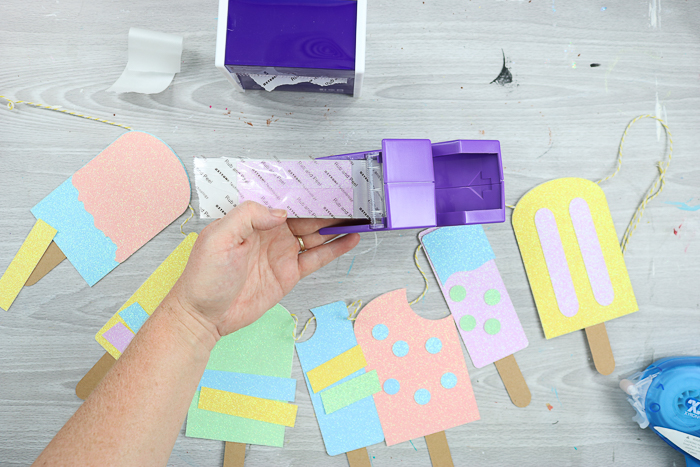
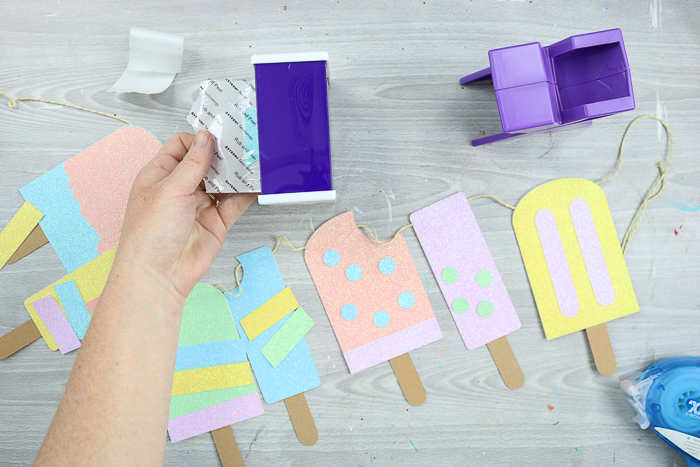
Step 10: Run Embellishments Pieces Through Xyron 3” Disposable Sticker Maker
The same instructions go for the larger Xyron 3″ Disposable Sticker Maker as well. Some of my larger pieces needed the larger size.

With this one, you push into the back and pull out of the front.
Again, it has a serrated edge for cutting.
Rub to ensure your adhesive is stuck well.
Peel back the liner, and then your pieces are ready! These are truly great little machines for creating paper crafts like this one.
Being able to peel and stick your embellishments like stickers is priceless.
You never have to worry about these pieces falling off!

You can even stack the pieces when running them through to minimize waste.
Step 11: Repeat Steps 8-10 Until Your Banner Is Complete
Continue running pieces through your Xyron Sticker Maker and adding them to your popsicles until you're satisfied with the results.

Then just hang your banner anywhere in your home to celebrate Summer.
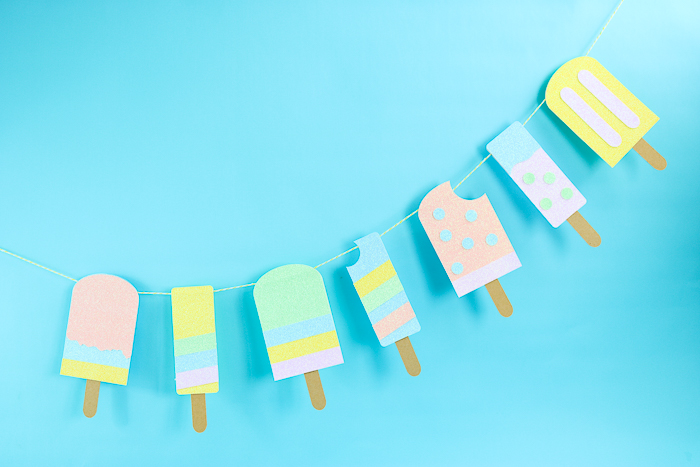
This is also a fun one for a Summer ice cream party!
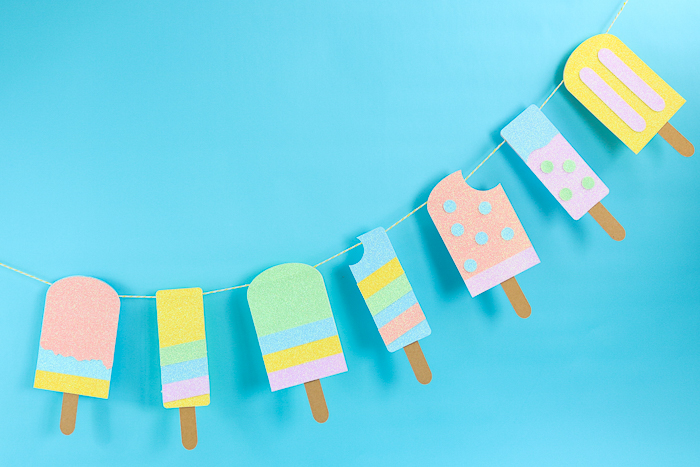
So, grab your paper and your Xyron to turn this Summer SVG into something extra special.

After all, everyone loves popsicles!
You will also find tons of uses for both the Xyron Sticker Maker and Mega Runner, so be sure to keep them on hand at all times.
I hope y'all enjoy this Summer SVG file and will create your own Summer banner to celebrate the season!
Tips and Tricks for Popsicle Banner with Summer SVG
Now that you’ve seen how to make a popsicle banner, are you ready to make your own? Here are a few tips and tricks to ensure your project goes smoothly!
- Don't Get Confused By SVGs – If you are brand new to the world of SVG files and want to learn about them and how to use them in your projects, check out my SVG resources below!
- Use All Your Xyron Products – If you don't have the Xyron 1.5”, 3” Sticker Maker, or Tape Runner, that is ok! You can still make this project with Xyron's Creative Station series of machines.
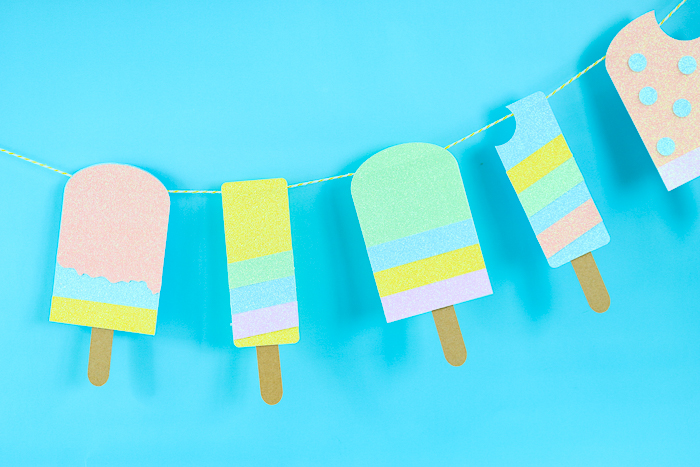
- Get Creative With Themes – For my popsicle banner, I went with a pastel theme. However, you could make a popsicle banner that represents different holidays or your favorite flavor of popsicle! Below are a few of my favorite ideas!
- Red, white, and blue paper can be used to make a Fourth of July popsicle banner.
- Red, orange, and purple paper can be used to represent cherry, orange, and grape popsicles.
- Use every paper color to make a rainbow popsicle banner.
- Skip The Paper Popsicle Stick – If you'd rather save your paper and skip the paper popsicle stick, you can use real popsicle sticks instead. The only thing to keep in mind, if you go this route, is that it will add some weight to your banner.
5 More Summer Crafts & Projects
If you loved learning how to make this popsicle banner with our Summer SVG and want more Summer crafts and projects, check out the projects below!
- Summer Stickers and More Free Printable Summer Fun
- Free Beach SVG For Summer Crafts (+13 More Free Files)
- 20 Fun Printable Summer Games for Boredom Busting!
- Summer Bucket List Free Printable
- Pool Noodle Games: Summer Fun for Kids!
Need Help Organizing Your SVG Files?
Are you overwhelmed with the number of files on your computer? SVG (or digital cut) files can take up a ton of space, and it can be so hard to find exactly what you are looking for. That is where Cut File Clean Up comes in! The Cut File Clean-Up system ends the frustration of organizing your cut files so that you can find what you need and get to the best part of crafting—actually making your project.
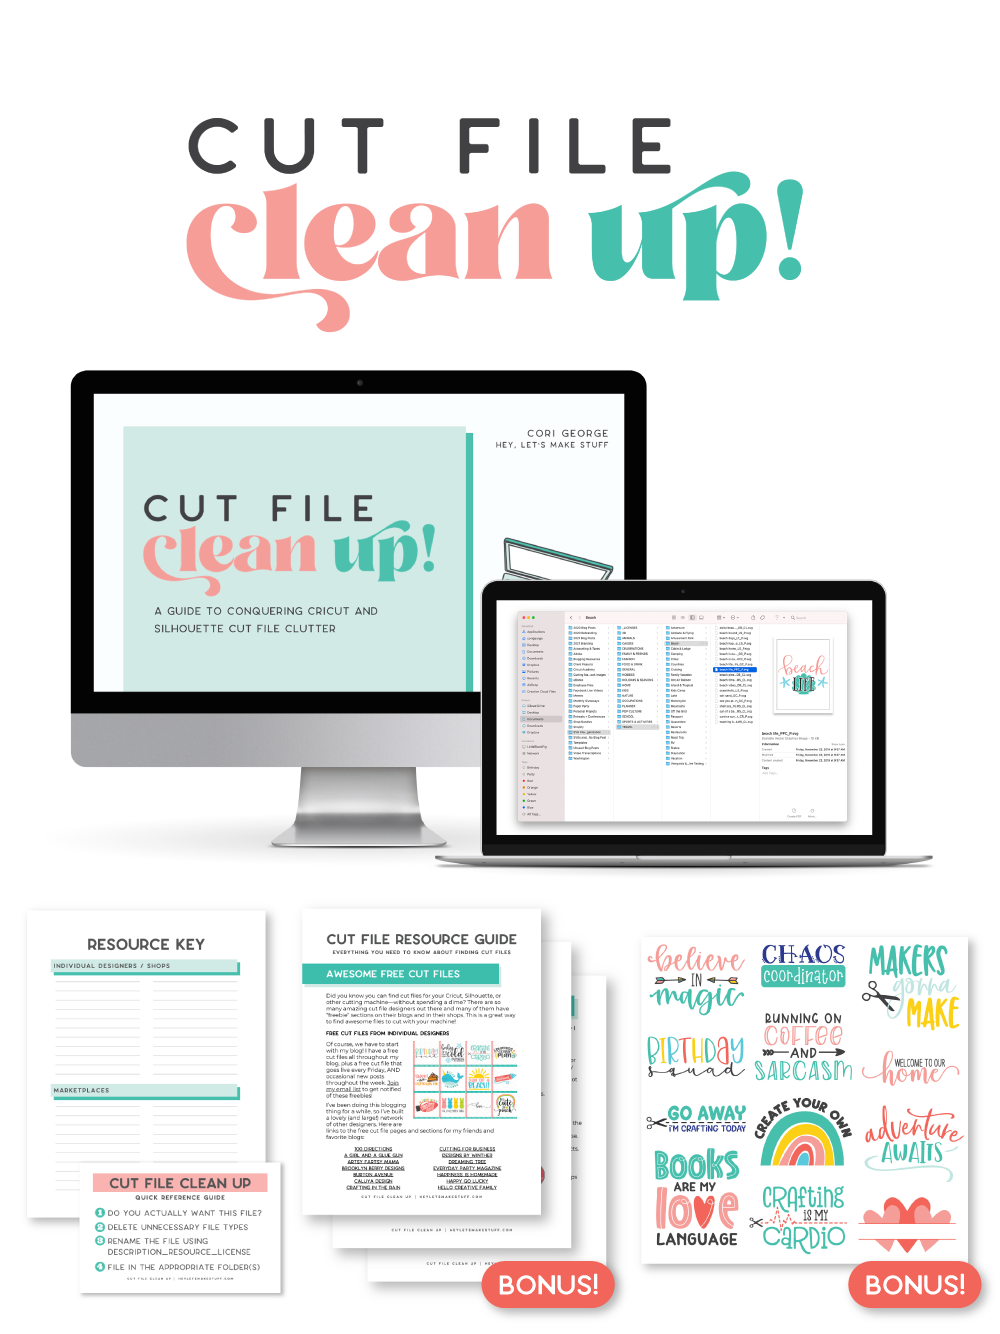
The best part is that you can get it for a deal right now with great bonuses. And yes, those bonuses include even more digital cut files for your crafting. You can't get enough of those, right? Grab it now.


Thank you!