
Are you looking for a convenient and stylish way to store your Cricut tools? Fabric organization bins are the perfect solution! Not only do they look great, but fabric bins come in a variety of sizes, colors, and patterns, which makes them ideal for organizing any space. They also offer plenty of storage capacity to keep all your crafting supplies neat and organized. With the right fabric organization bins, you can easily keep track of all your Cricut tools while ensuring everything looks attractive!
Video Tutorial For Fabric Organization Bins
I thought a video would be a good way to show all of the steps to making these fabric organization bins. You can watch the entire process from start to finish below.
Can't watch the video or missed some of the steps? Just follow along below!
Fabric Organization Bins
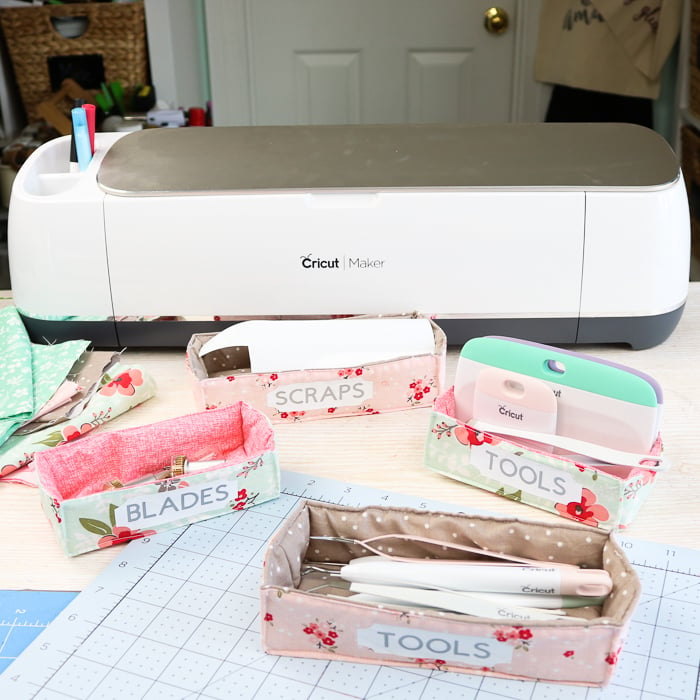
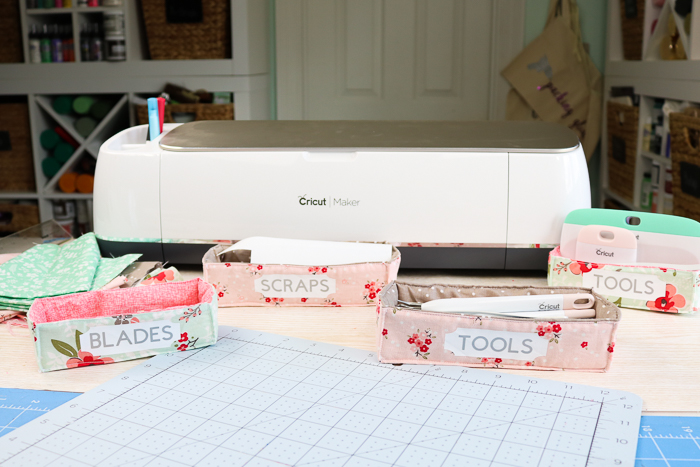
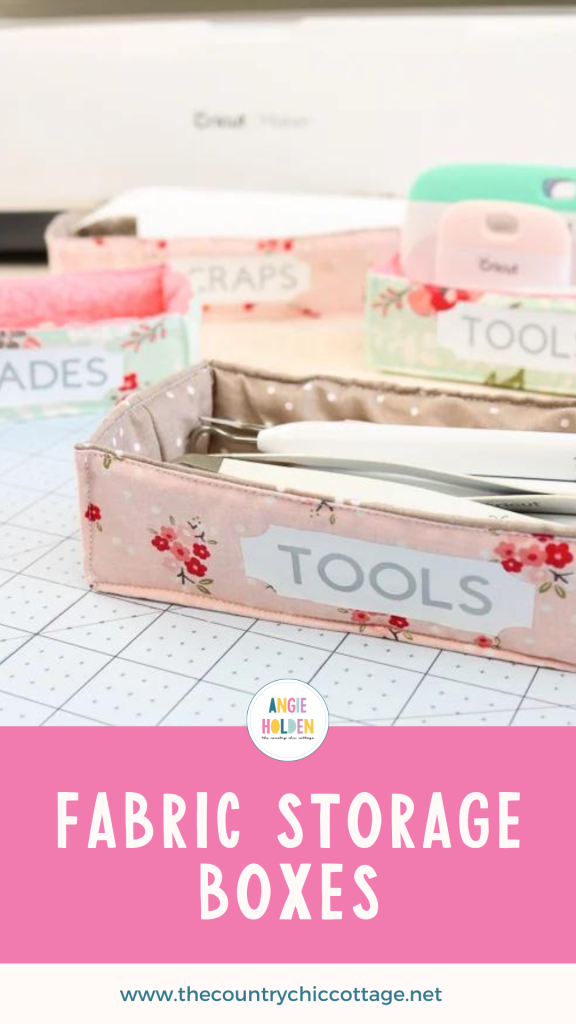
If you have a Cricut, you will love these fabric organization bins for all of those Cricut tools! They are easy to make with your Cricut and the rotary blade.
I am showing you how to make your own fabric organization bins using your Cricut Maker and some basic sewing techniques. You can change up the labels on these and use them to organize other areas of your home as well.
I could see these fabric baskets in every room, storing a variety of household supplies.
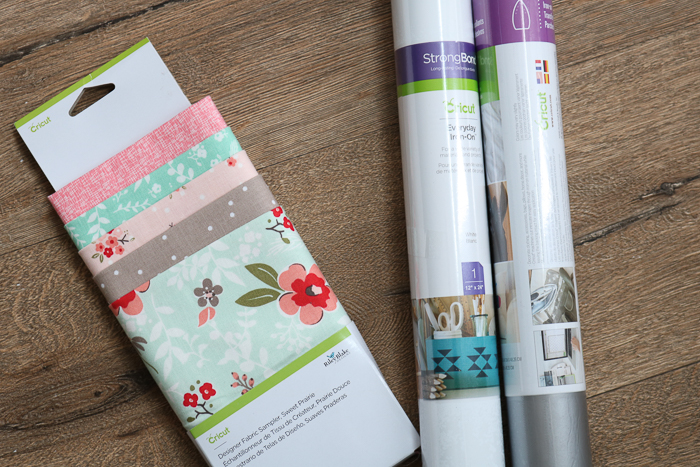
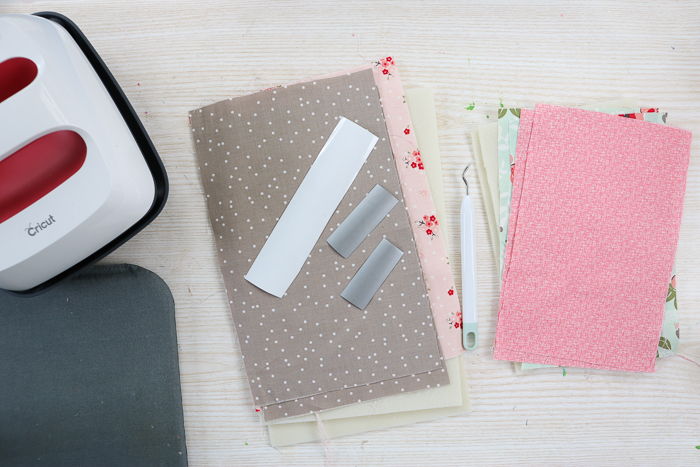
Supplies Needed To Make Fabric Organization Bins
- Fabric
- Batting or stiffener
- Cricut Maker (click here to see why I love the Maker)
- Everyday Iron-on (you will need two different colors)
- Cricut EasyPress (click here to see why I love the EasyPress)
- EasyPress mat (optional)
- Cut file (click here to access)
- Brayer (optional)
- Tweezers (optional)
- Weeding tools (optional)
- Sewing machine
- Thread
- Scissors
How To Make Fabric Organization Bins
Last week, we talked about the rotary blade and how great it is at cutting fabric. You can see 10 different fabrics I cut with it by checking out my ”Cricut Maker Rotary Blade: What Materials Can It Cut?” blog post.
Today, I am using it to cut fabric and make a fun organizing project! Want to see even more fabrics it can cut? Check out my ”Cricut Maker: What Materials Does it Cut?” video!
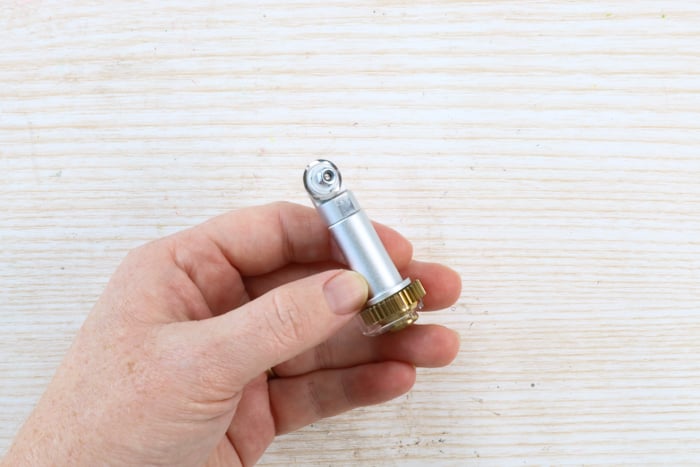
Step 1: Add Fabric To Cricut Mat
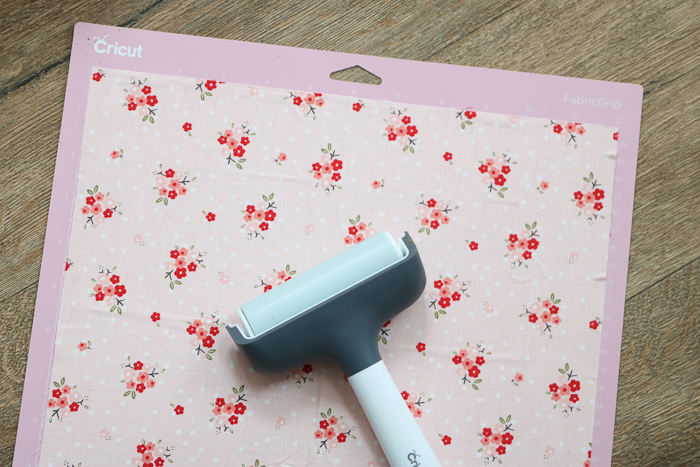
First, you will need to add your fabric right to the pink fabric mat. It doesn't need a backer or anything.
Note: The 12×24 mat works best with this project, but you can use a 12×12. You will just have more scrap with the smaller mat. You can also use a brayer on your fabric after attaching it to the fabric mat to make sure it adheres well and to remove any bubbles.
Step 2: Cut Your Fabric Using Your Cricut Machine
Cut your pieces from the fabric. The cut file for this project can be found by clicking here.
You will also use this same method to cut the batting or stiffener for the inside of your fabric storage bins. Just be sure to pick the correct fabric type for each mat before you start cutting!

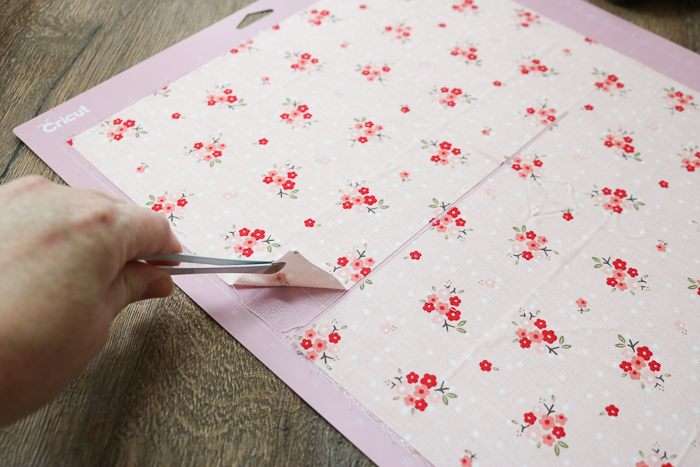
Tip: If you use tweezers to remove the fabric from the fabric mat, you can extend its life. The oils from your fingers can cause the adhesive on this mat to break down.
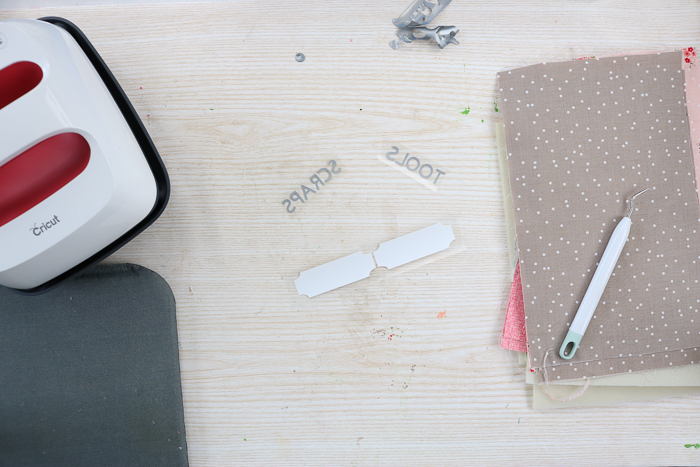
Step 3: Cut Your Iron-On And Weed Label
You will need to cut your iron-on. Before cutting, turn the mirror on and cut with the shiny side down on the mat.
You will also need to weed your iron-on to remove any excess around the outside and center of the letters. Weeding tools make this a bit easier, but they are optional.
Step 4: Sew Short Ends
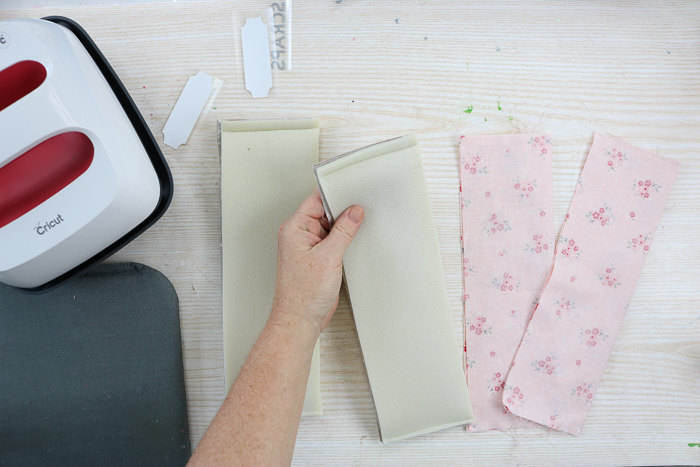
Start by folding the inner liner inside of the batting and sew down both short ends, as shown below. The inner liner should be right side together. Repeat this for the outer pieces as well. The outer pieces will not have any batting.
Step 5: Sew Corners
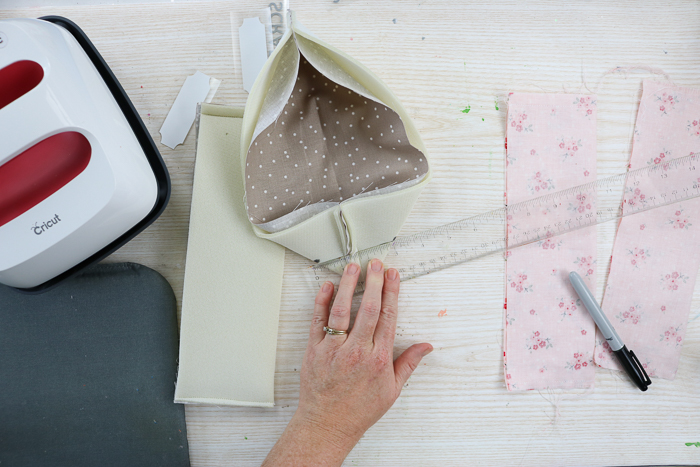
Fold the short ends in as shown below. Then, measure and mark each one to the exact same dimension.
I used 3 inches on the larger basket and 2 1/2 inches on the smaller one. This dimension determines the width of the bottom of your fabric basket and can be customized for your needs.
Sew in between these marks, then snip off the excess with your scissors. Repeat for all of your pieces.
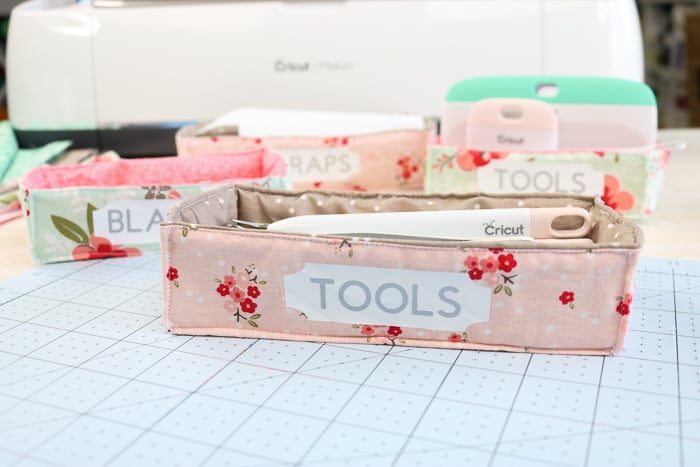
Step 6: Place Iron-On Label On Fabric
You can then use the EasyPress to press the outer pieces to see where the front will be once sewn. Use these pressed markings to locate your organization labels.
Put the first piece of the iron-on in place. Be sure to take into account that you still have to sew across the top of your basket.
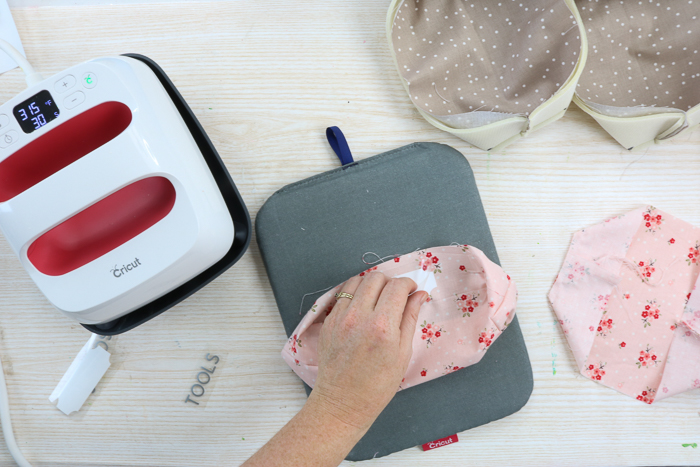
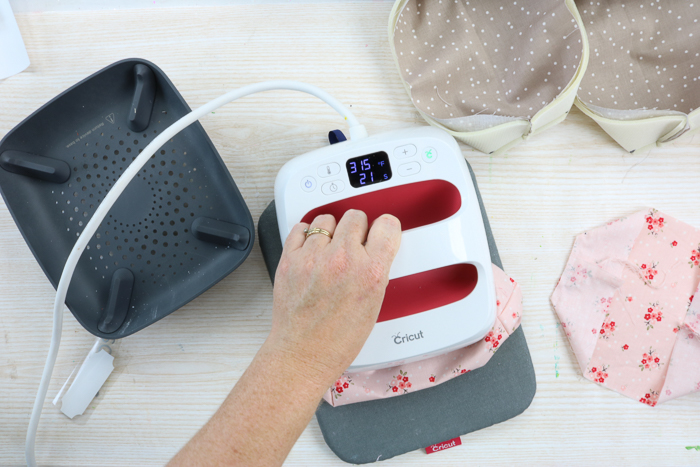
Step 7: Add Label Using EasyPress
Press the first piece by using the settings found in Cricut's Heat Guide for your EasyPress.
Be sure to look up the type of iron-on you are using and your base material. Then, peel off the carrier sheet from the first iron-on and add the second right on top.
Note: Be sure to use the carrier sheet you removed to cover the entire thing before pressing it a second time. You do not want your EasyPress to touch the iron-on without a protector.
Step 8: Remover Carrier Sheet
Once you press a second time on the front and from the back, you can remove the carrier sheets.
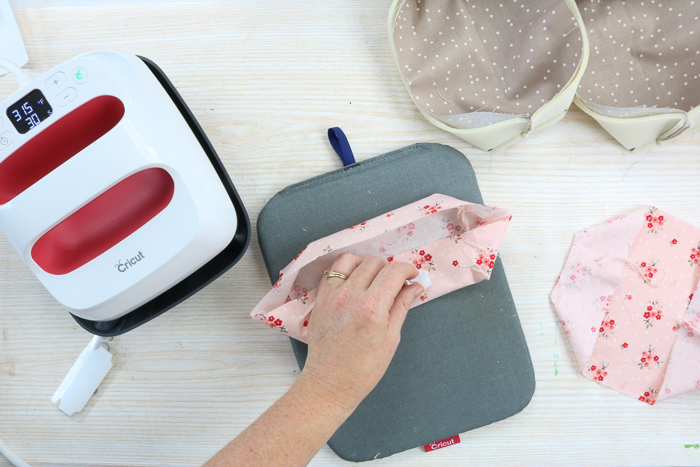
Step 9: Sew The Outer Fabric Piece To The Inner Lining
Then, put the outer piece inside the inner lining. The fabrics should be with the right sides together. Sew around the top, leaving a 3-4 inch opening for turning.
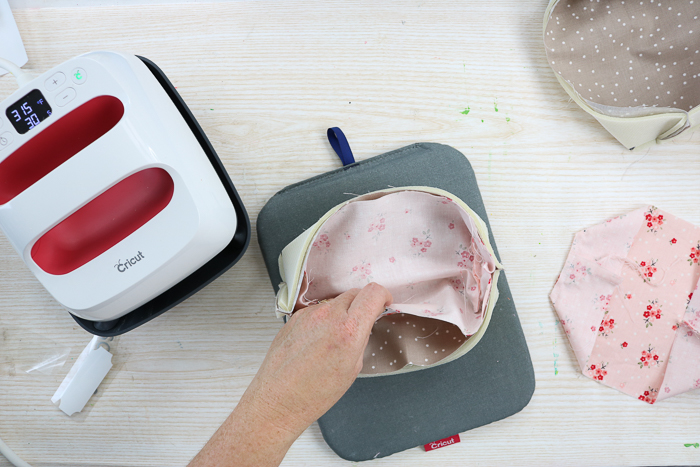
Use the opening to turn the bin right side out.
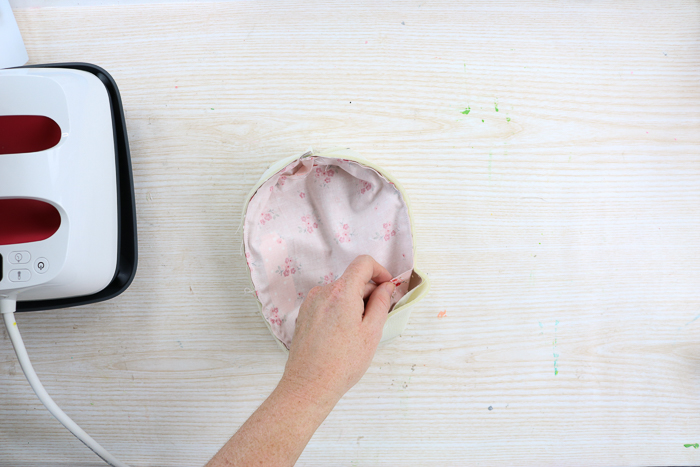
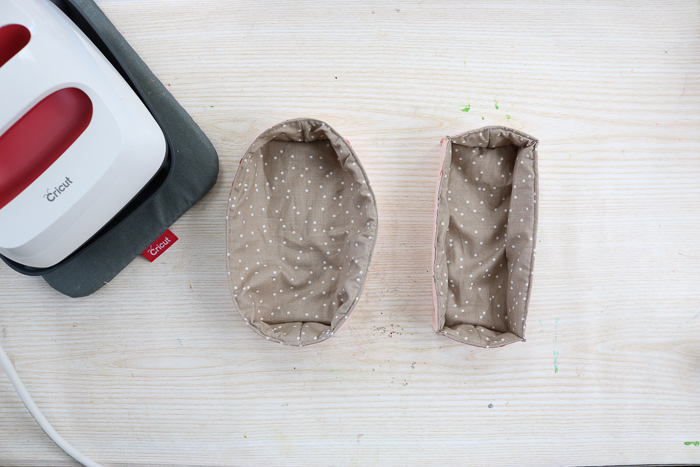
Step 10: Sew Topstitch
Now, you just need to topstitch to finish the project. First, top stitch around the top, making sure to turn your hole in and sew across to close it.
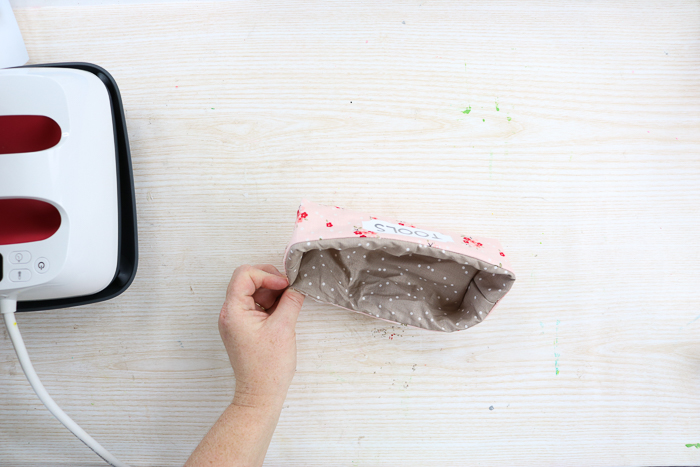
You can also top stitch the corners and the long edges along the bottom. This will give you a more finished basket. You can see this in the image below.
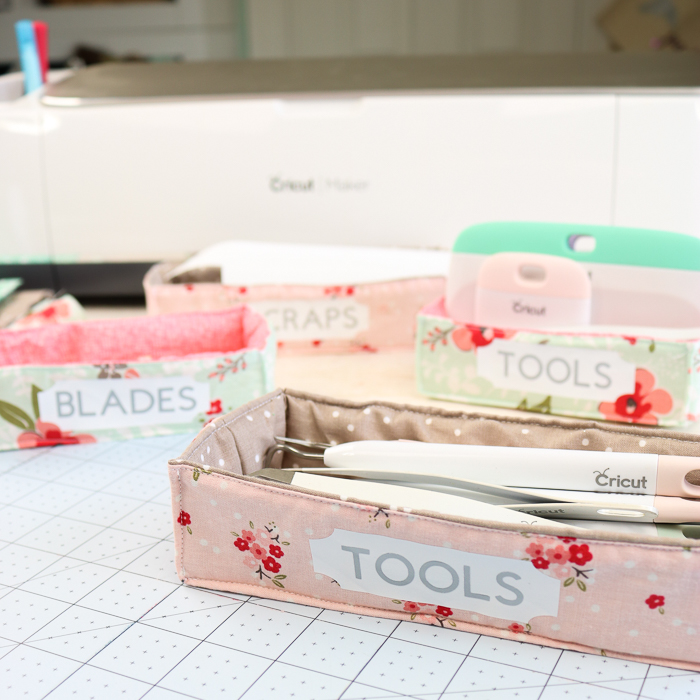
The bin on the left is only topstitched on the top, while the one on the right has been topstitched on all four corners and the long edges along the bottom.
Then, add your Cricut tools or anything else you want to organize in your fabric storage bins.
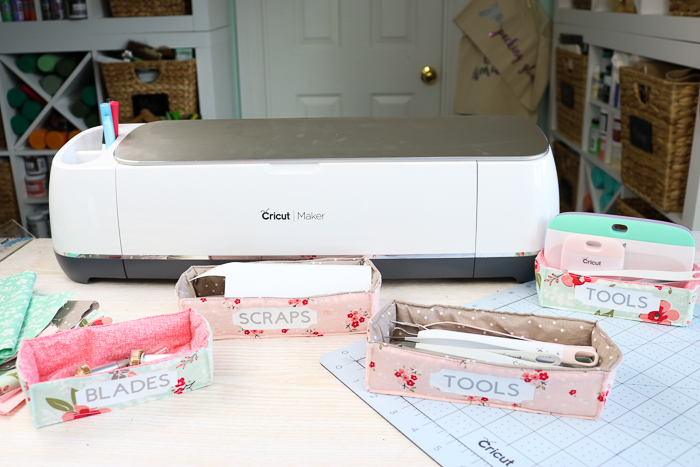
Add these to your craft room to keep all of your Cricut tools and other craft supplies organized.
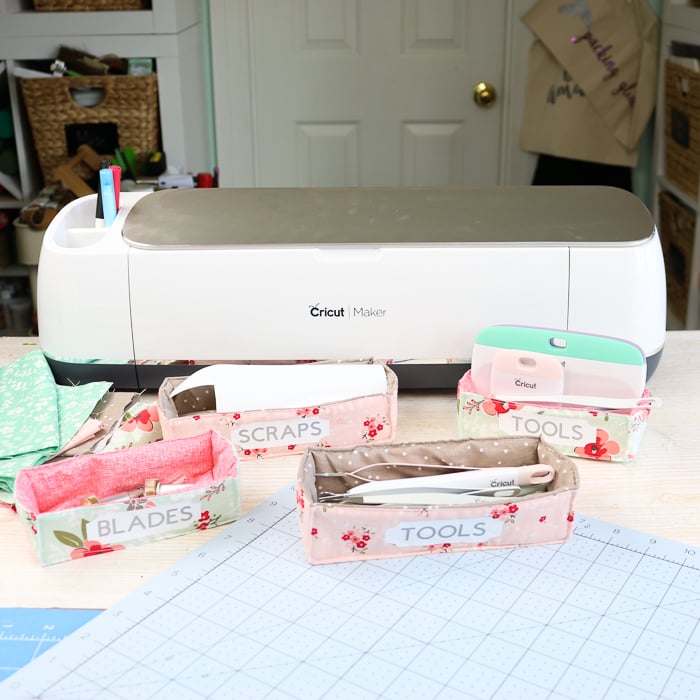
You can change the labels on the front to match whatever you need to store and make these for any room in your home.
The Cricut Maker makes cutting fabric so easy! It is simple to cut all of the pattern pieces you need for projects like this one.
I love the accuracy I always get when using my Cricut Maker. That means I don't have to worry about fabric pieces for projects like these being different. They are all exactly the same when I layer them up for sewing.
The Maker cuts so many fabrics, from super delicate to heavy-weight fabrics like denim and more. You can really make these bins in any fabric you can imagine!
FAQs About Fabric Organization Bins
If you have questions about making these fabric organization bins, I have answers! If you don’t see your question answered below, please leave it in the comments.
What Kind Of Fabric Should I Use?
Any medium—to heavy-weight woven fabric will work. Non-woven fabrics such as felt or canvas can also be used.
How Much Fabric Do I Need?
That depends on the size of your bins and the type of fabric that you are using. A yard of medium-weight fabrics should be enough for one bin, but this will vary with different projects.
Do I Need A Cricut Maker For This Project?
No, you don't! The Cricut Explore series, Cricut Joy, Cricut Joy Xtra, and Cricut Venture can all cut fabric!
The only thing to keep in mind is that each Cricut machine is different regarding project size capabilities and the materials it can cut. So, depending on your project, you might need to resize the file or cut it out in a different material.
If you are brand new to cutting fabric with your Cricut machine, check out my Cutting Fabric with Cricut Machines blog post, where I go over each machine and the fabric it can cut in more detail.
Can I Make These Without A Cricut Machine?
Yes! You can easily follow the instructions in this tutorial to create a basic pattern for your bins, then cut it out by hand with scissors. You can also use a rotary cutter and cutting mat if you have one.
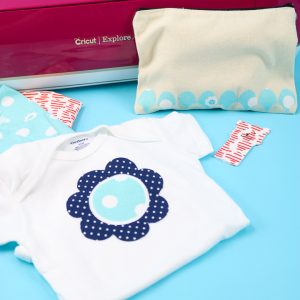
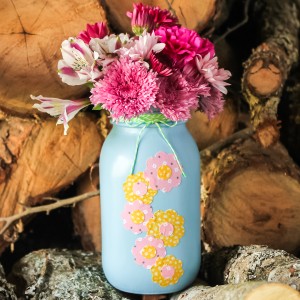
3 More Fabric Crafts
Do you love these fabric organization bins and want more fabric crafts? Then check out the projects below!


I love these so much!! They are so perfect for storing all the little things that never have a proper home!
These are brilliant! My blades are all in a pile—this would help corral them.
how cute are these!! love them!!
Love the video. Can you cut fabric with heat bond ironed on in the cricut. Or do you have to cut them separately then iron the heat n bond
Yes you can! I have a post about how to do that here: https://www.thecountrychiccottage.net/how-to-cut-fabric-with-a-cricut/