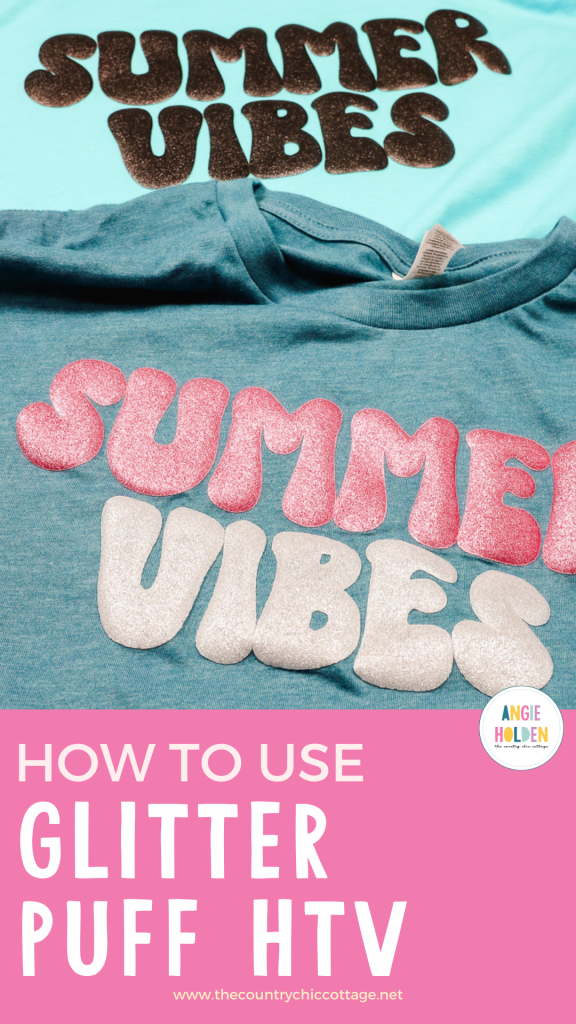
I am so excited to show you how to use Glitter Puff HTV! If you love glitter and you love the puff HTV look, you're going to love how fun this new HTV is.
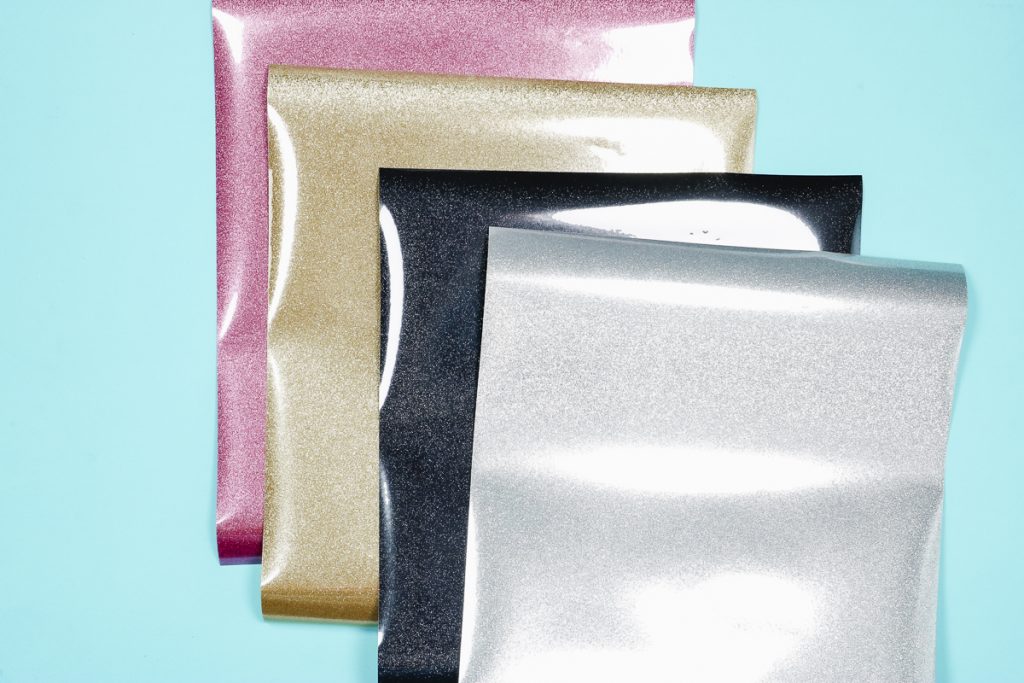
I am trying a few different colors of glitter puff today, but you can find even more colors at the link in the supplies list.
If you're new to HTV, my Beginner's Guide to HTV is a great place to start your learning.
IMPORTANT: I recommend using a traditional heat press when working with puff HTV because it calls for medium to heavy pressure. If you use something like an EasyPress, you will need to test the timing and pressure you need to apply.
You can watch me use glitter puff HTV by pressing play on the video below.
How to Use Glitter Puff HTV
One of the things I love about this glitter puff is that it has a smooth surface. Some glitter HTV materials have a rough surface because you can feel the glitter pieces. The puff has a great glitter look, but it is smooth to the touch.
I am going to make a shirt using one color of glitter puff and another one using two colors to show you how the different colors work.
Supplies Used
- Free Summer Vibes Cut File
- Glitter Puff HTV
- Cricut Machine (I am using my Explore 4 for today's project. You can use any Cricut machine to cut puff glitter HTV, even the Cricut Joy.)
- Weeding Tool
- Teflon Sheet
- Heat Press
Step 1. Upload Design in Design Space
Making a shirt with glitter puff HTV is very similar to making a shirt with any other HTV.
First, open Cricut Design Space and upload your design. If you are creating your own design, remember that this HTV is going to puff up and expand. You don't want to use fonts or design elements that have a lot of fine lines, detail, or small pieces because they may all just end up squished together when the HTV puffs up.
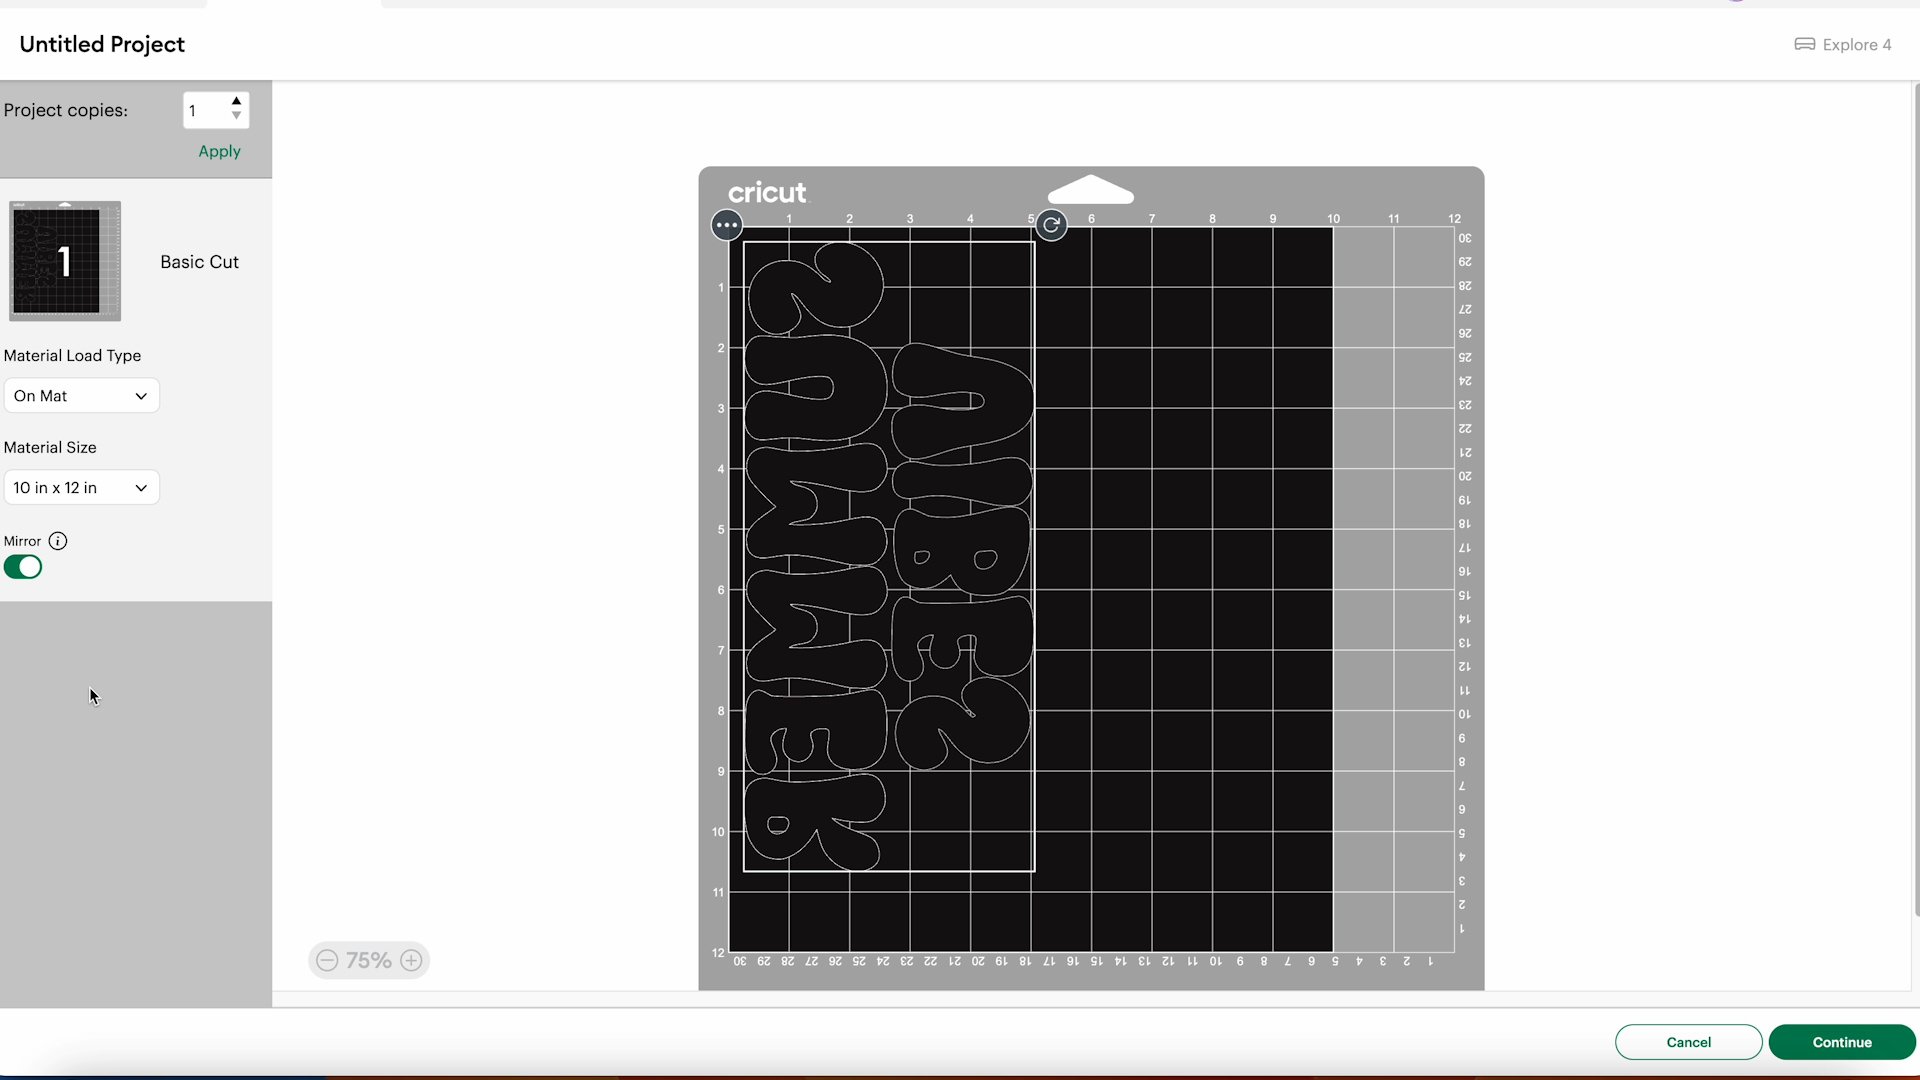
In Design Space, resize the design to the size you want it to be. Note that this HTV is 10 inches by 12 inches, not 12 by 12.
Make sure you mirror the design before sending it to cut.
Step 2. Add Glitter HTV to the Cutting Mat
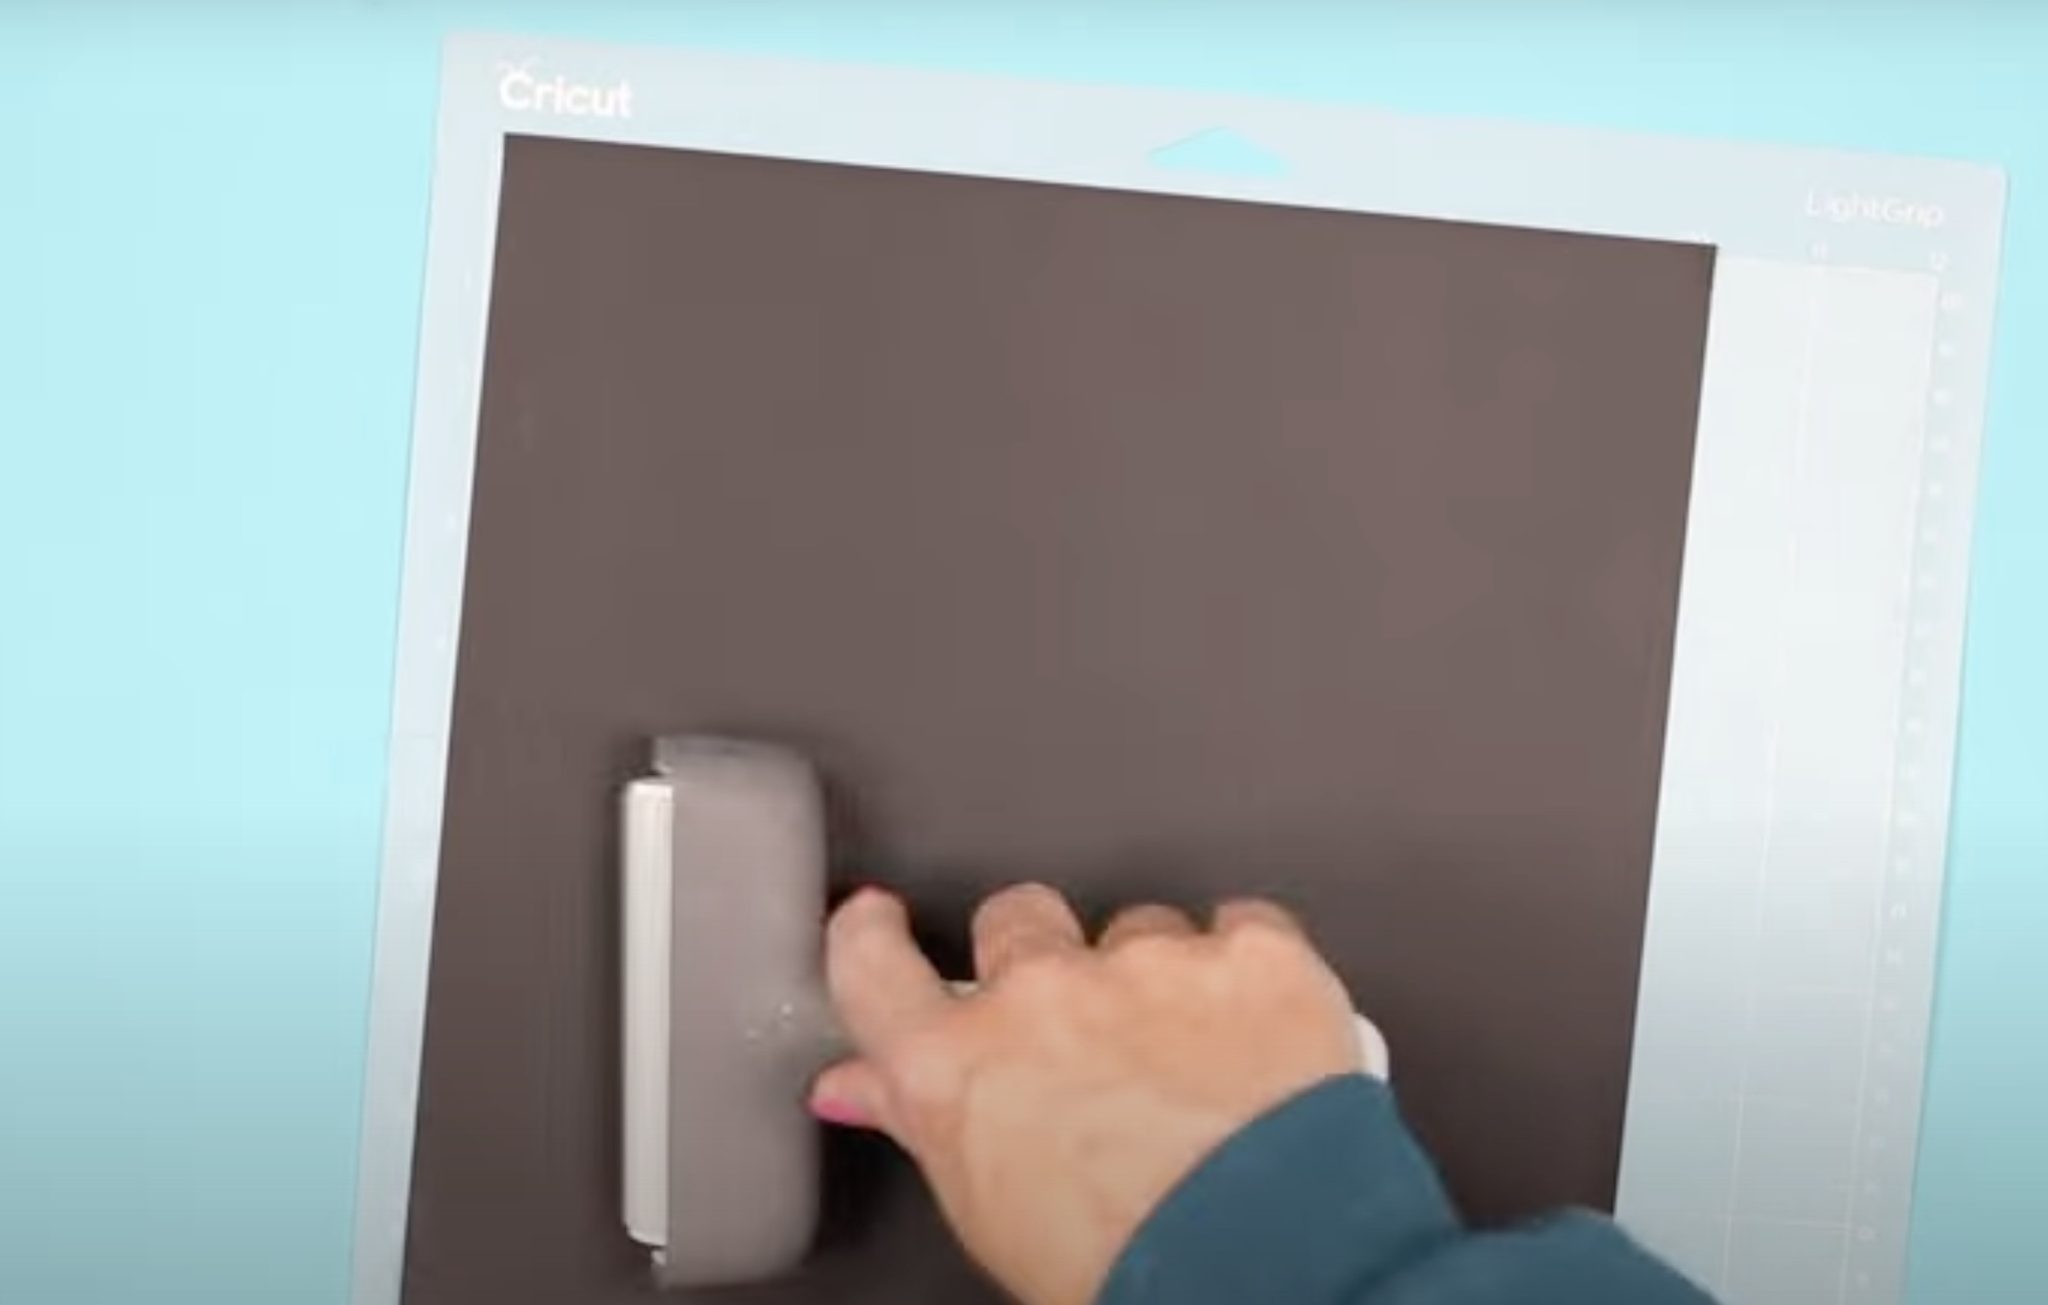
Place the glitter HTV shiny side down on your Cricut mat.
I like to use the blue mat when working with HTV. You can use the green mat as well.
Use a brayer to ensure the HTV is stuck down really well from top to bottom and edge to edge.
Step 3. Cut Out the Design
Load the mat into your Cricut and press Go.
NOTE: I used the Glitter Iron-on cut setting, and it worked well on my machine. If you have never cut this material before, I recommend doing a test cut to ensure it cuts all the way through the HTV.
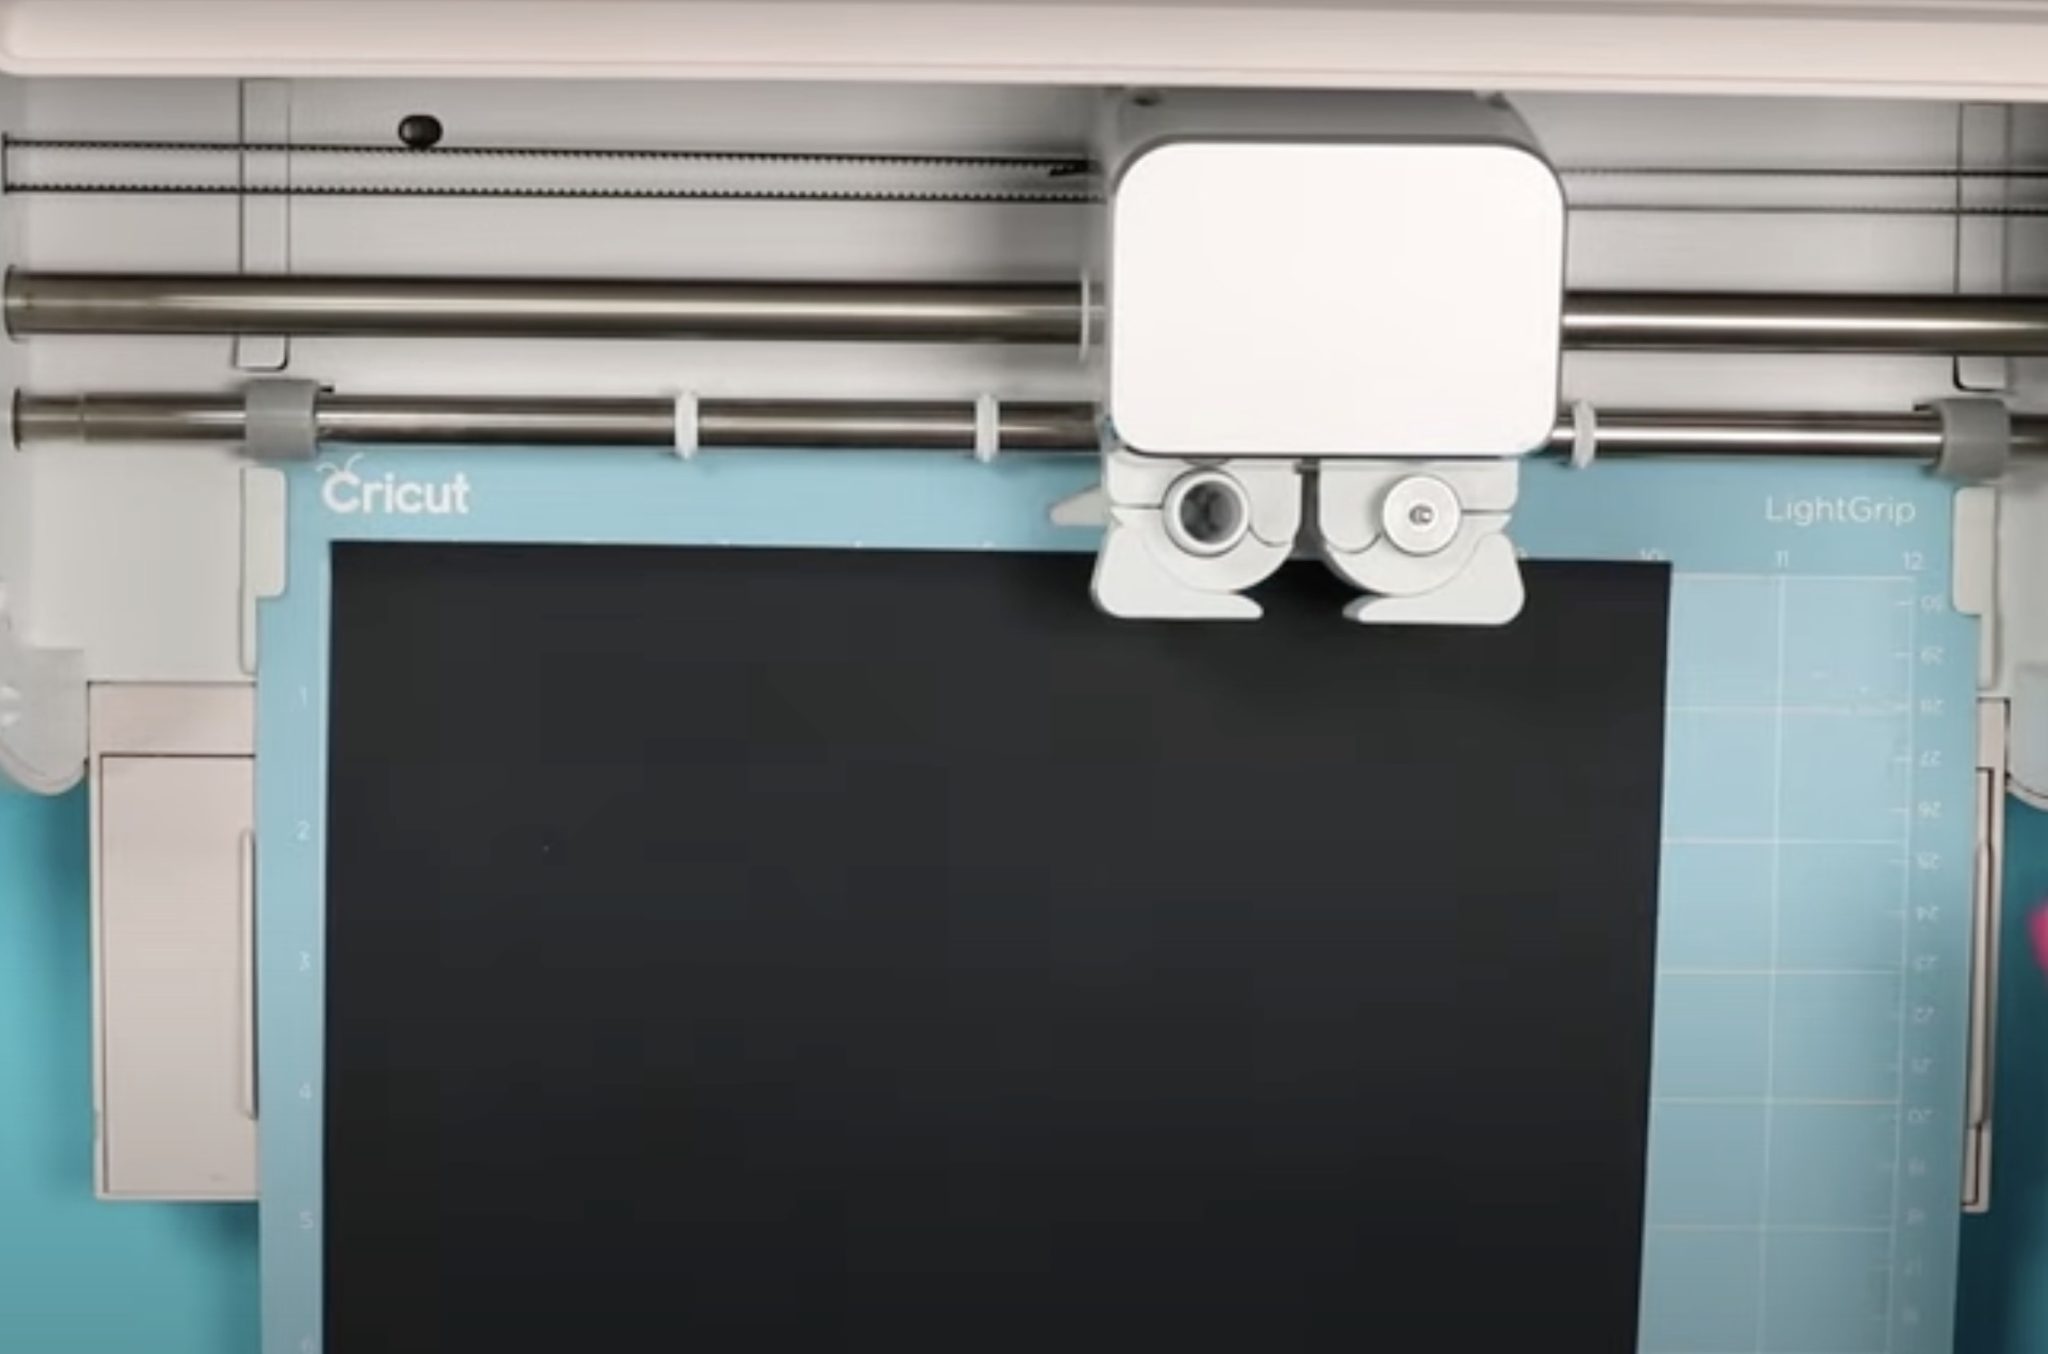
When the machine is done cutting, unload the mat. Remove the material from the cutting mat, and we're ready to weed.
Step 4. Weed Away Excess HTV
Trim the HTV to save the section that wasn't cut with a pair of scissors. Using a weeding tool, weed away all the excess HTV.
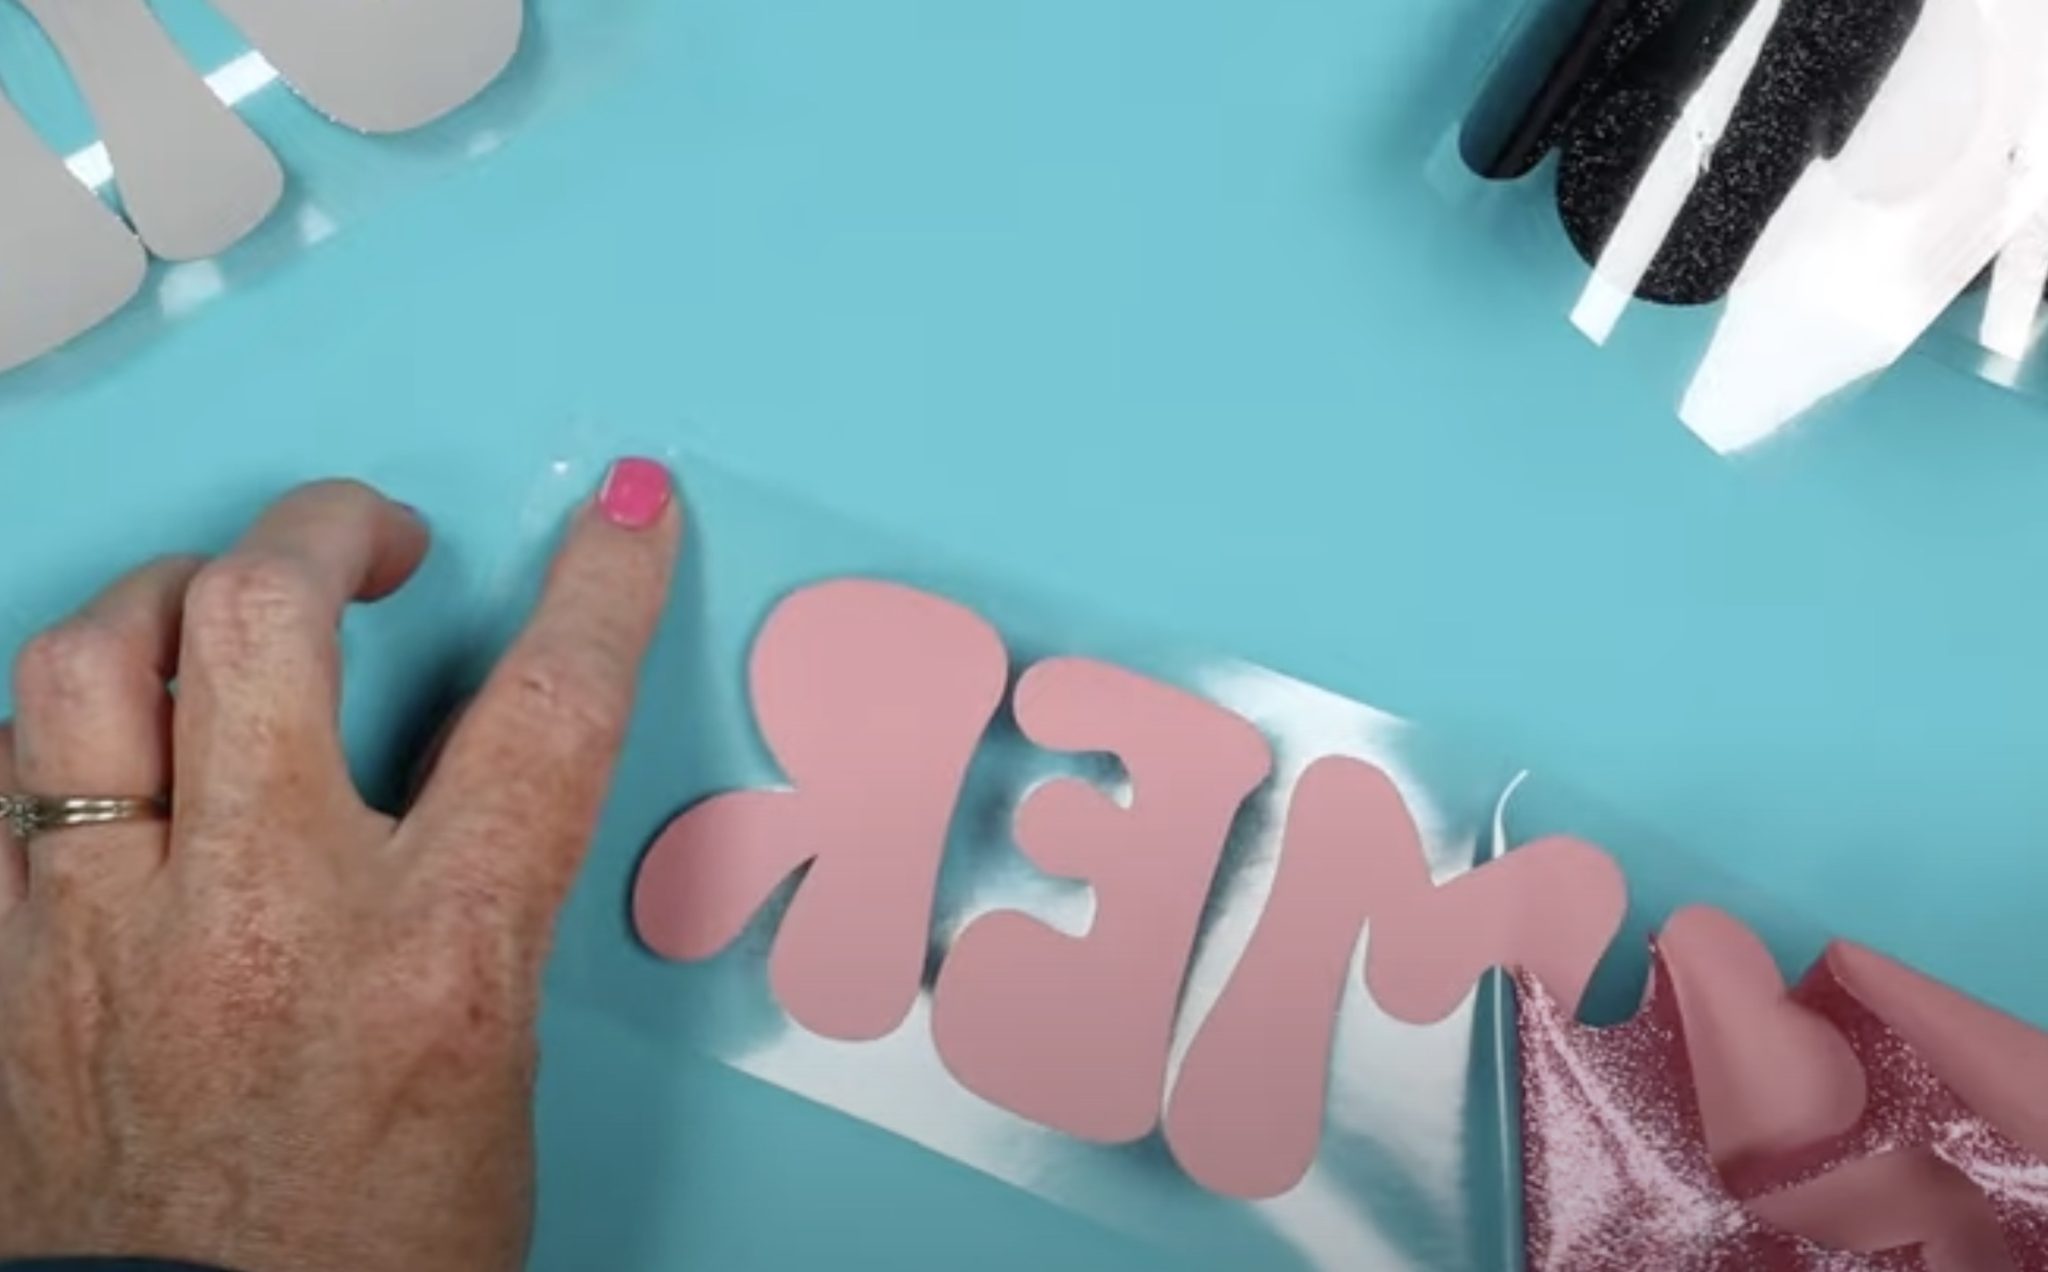
Make sure you get everything between the letters and any inside pieces like the inside of the R and the B.
Because I want to press the pink Summer and silver Vibes at the same time, I am trimming the carrier sheet very close to the HTV so I can place them next to each other without the carrier sheet getting in the way.
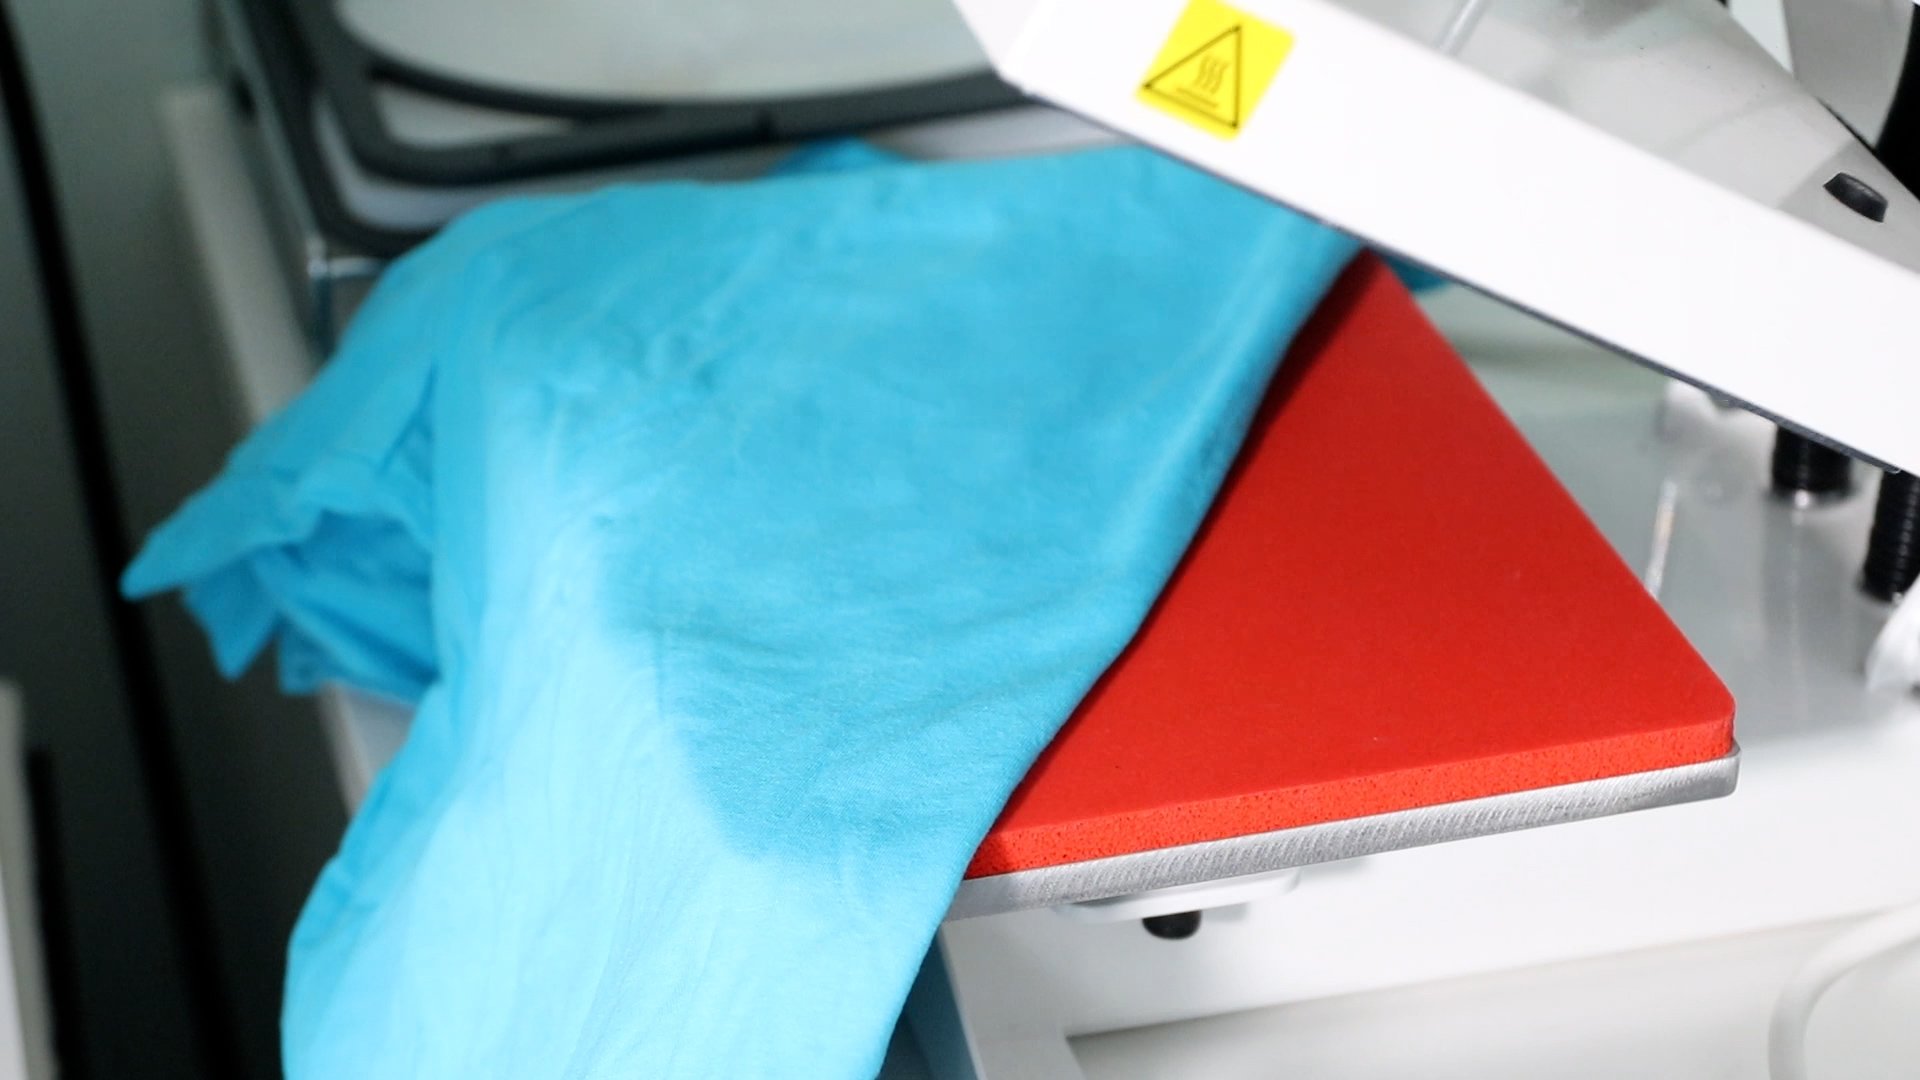
Step 5. Preheat the Shirt
Set your heat press to 280 degrees. Don't worry about setting the timer, the pressing steps are very quick.
Before locating the HTV on the shirt, preheat the shirt to remove any wrinkles and moisture.
Use the pre-press to make adjustments as needed to ensure you press with medium-heavy pressure.
I like to pre-press it once to remove moisture, and then I fold the shirt in half vertically and press it again. This gives me a good line down the center of the shirt, which helps with locating the design.
Step 6. Press Glitter Puff HTV
Locate the glitter puff where you want it on the shirt and make sure you have everything ready for the next steps.
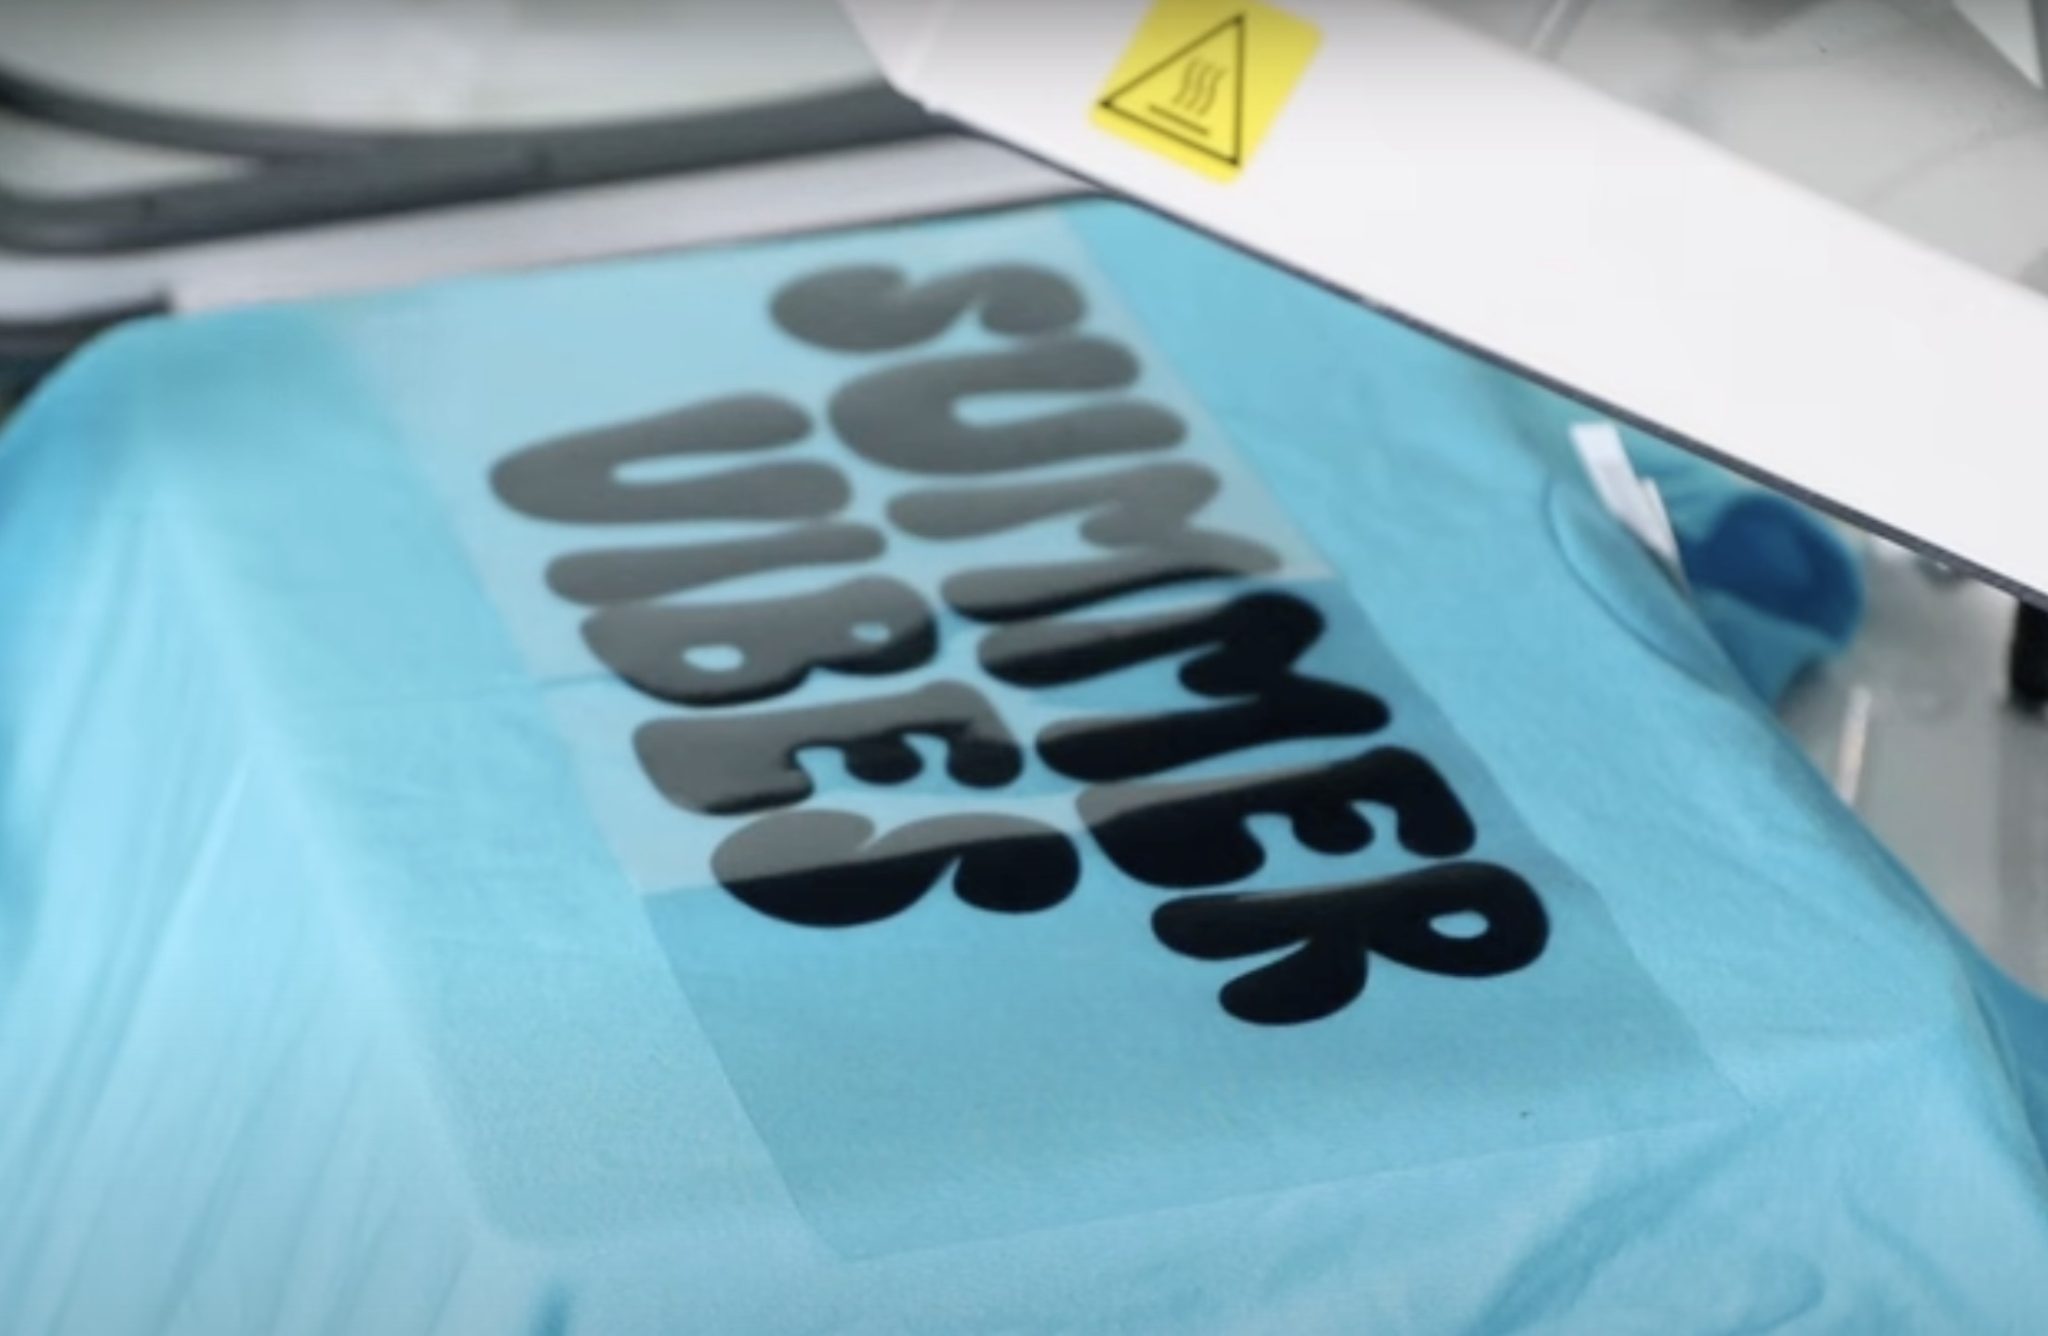
The pressing process is quick, and you want to have everything ready to move through the steps. You need a Teflon sheet for the second press, so have that right by you.
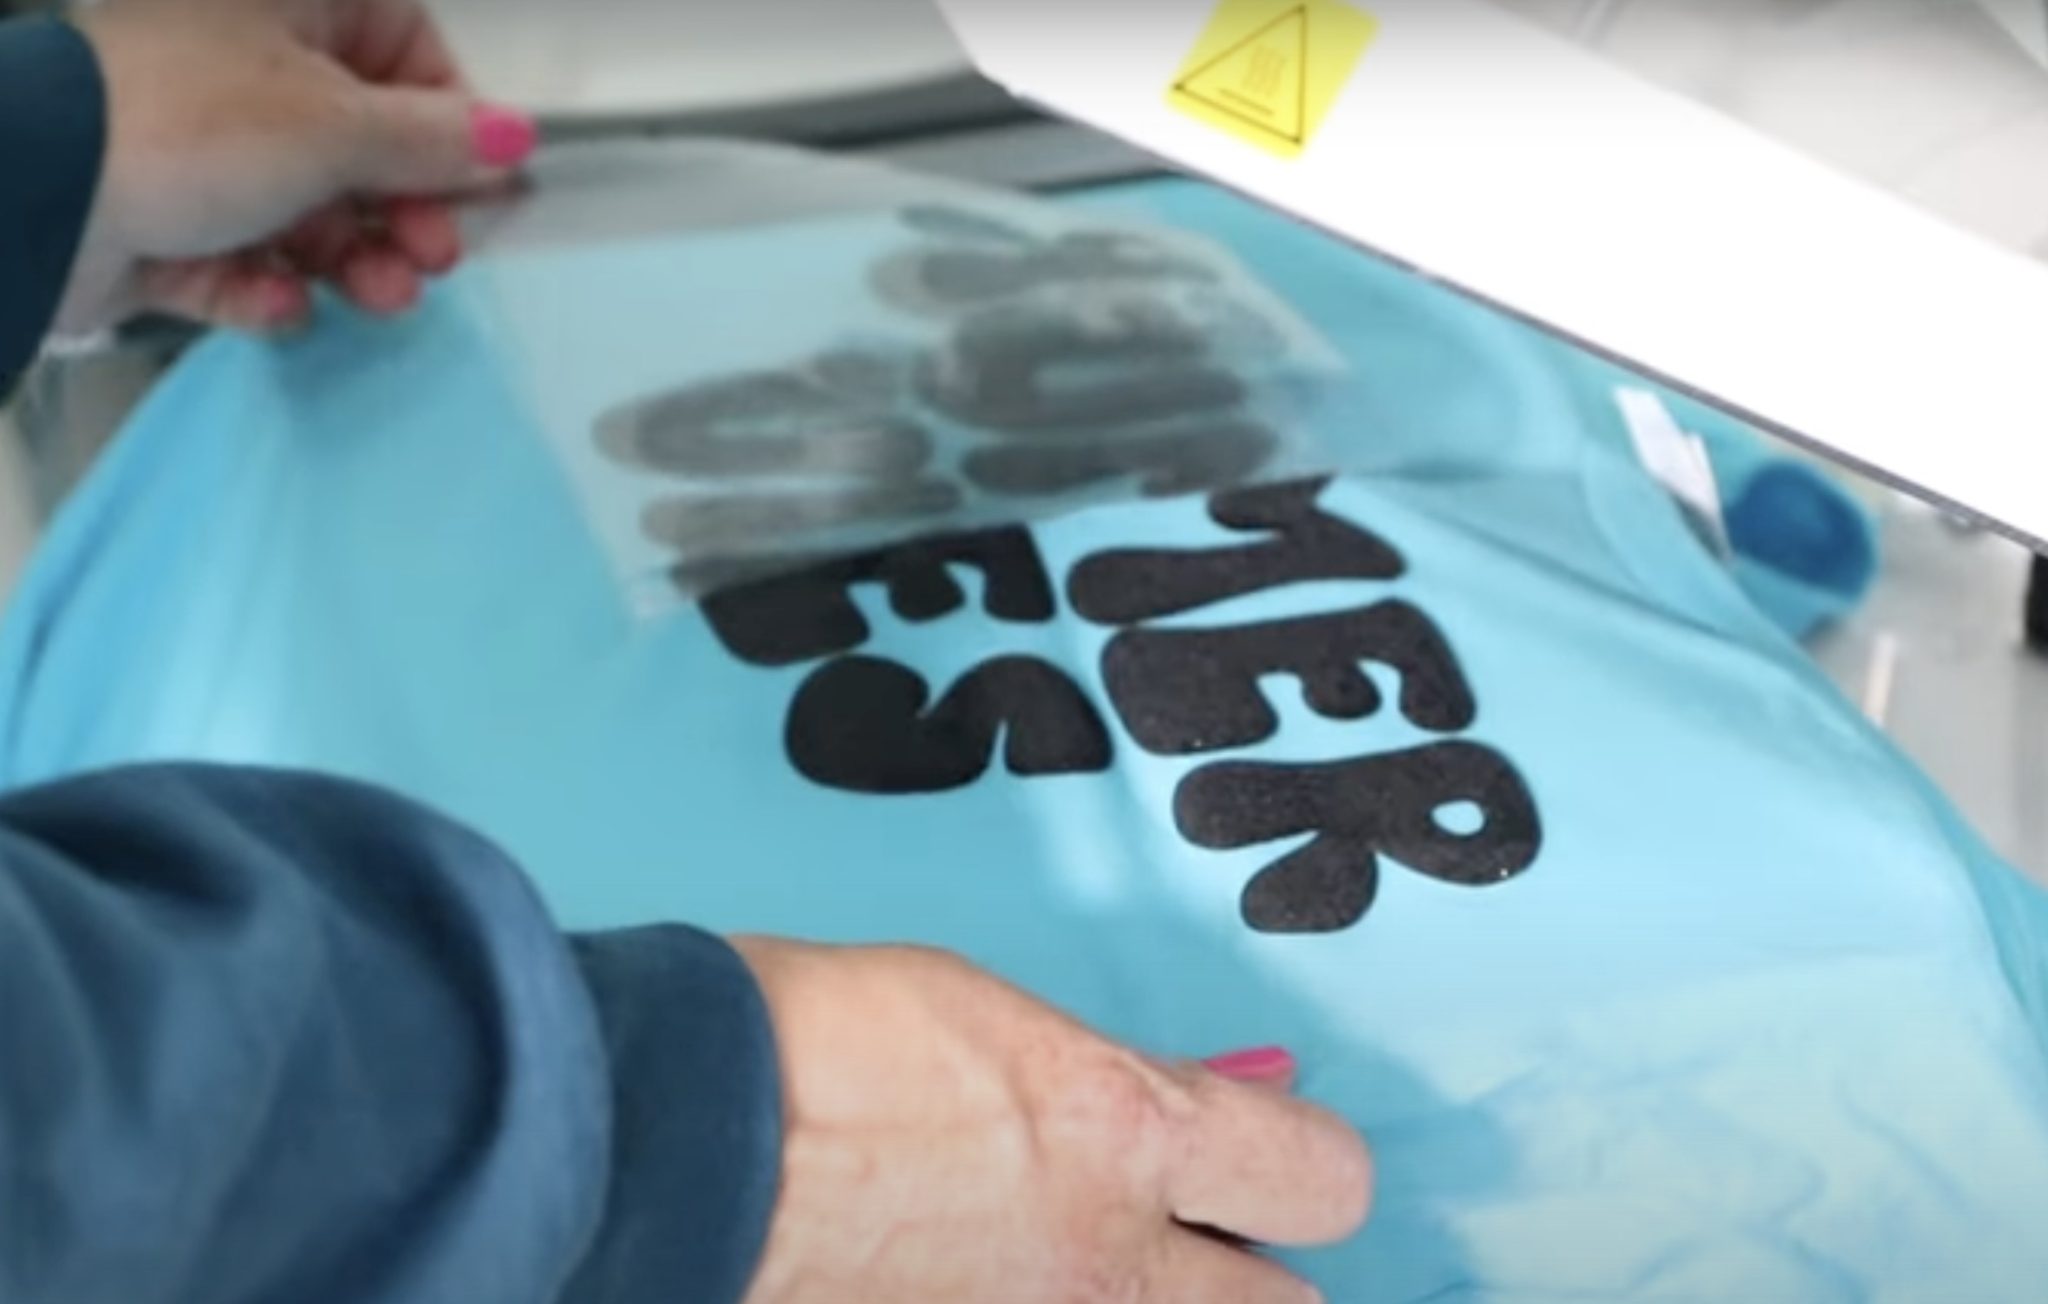
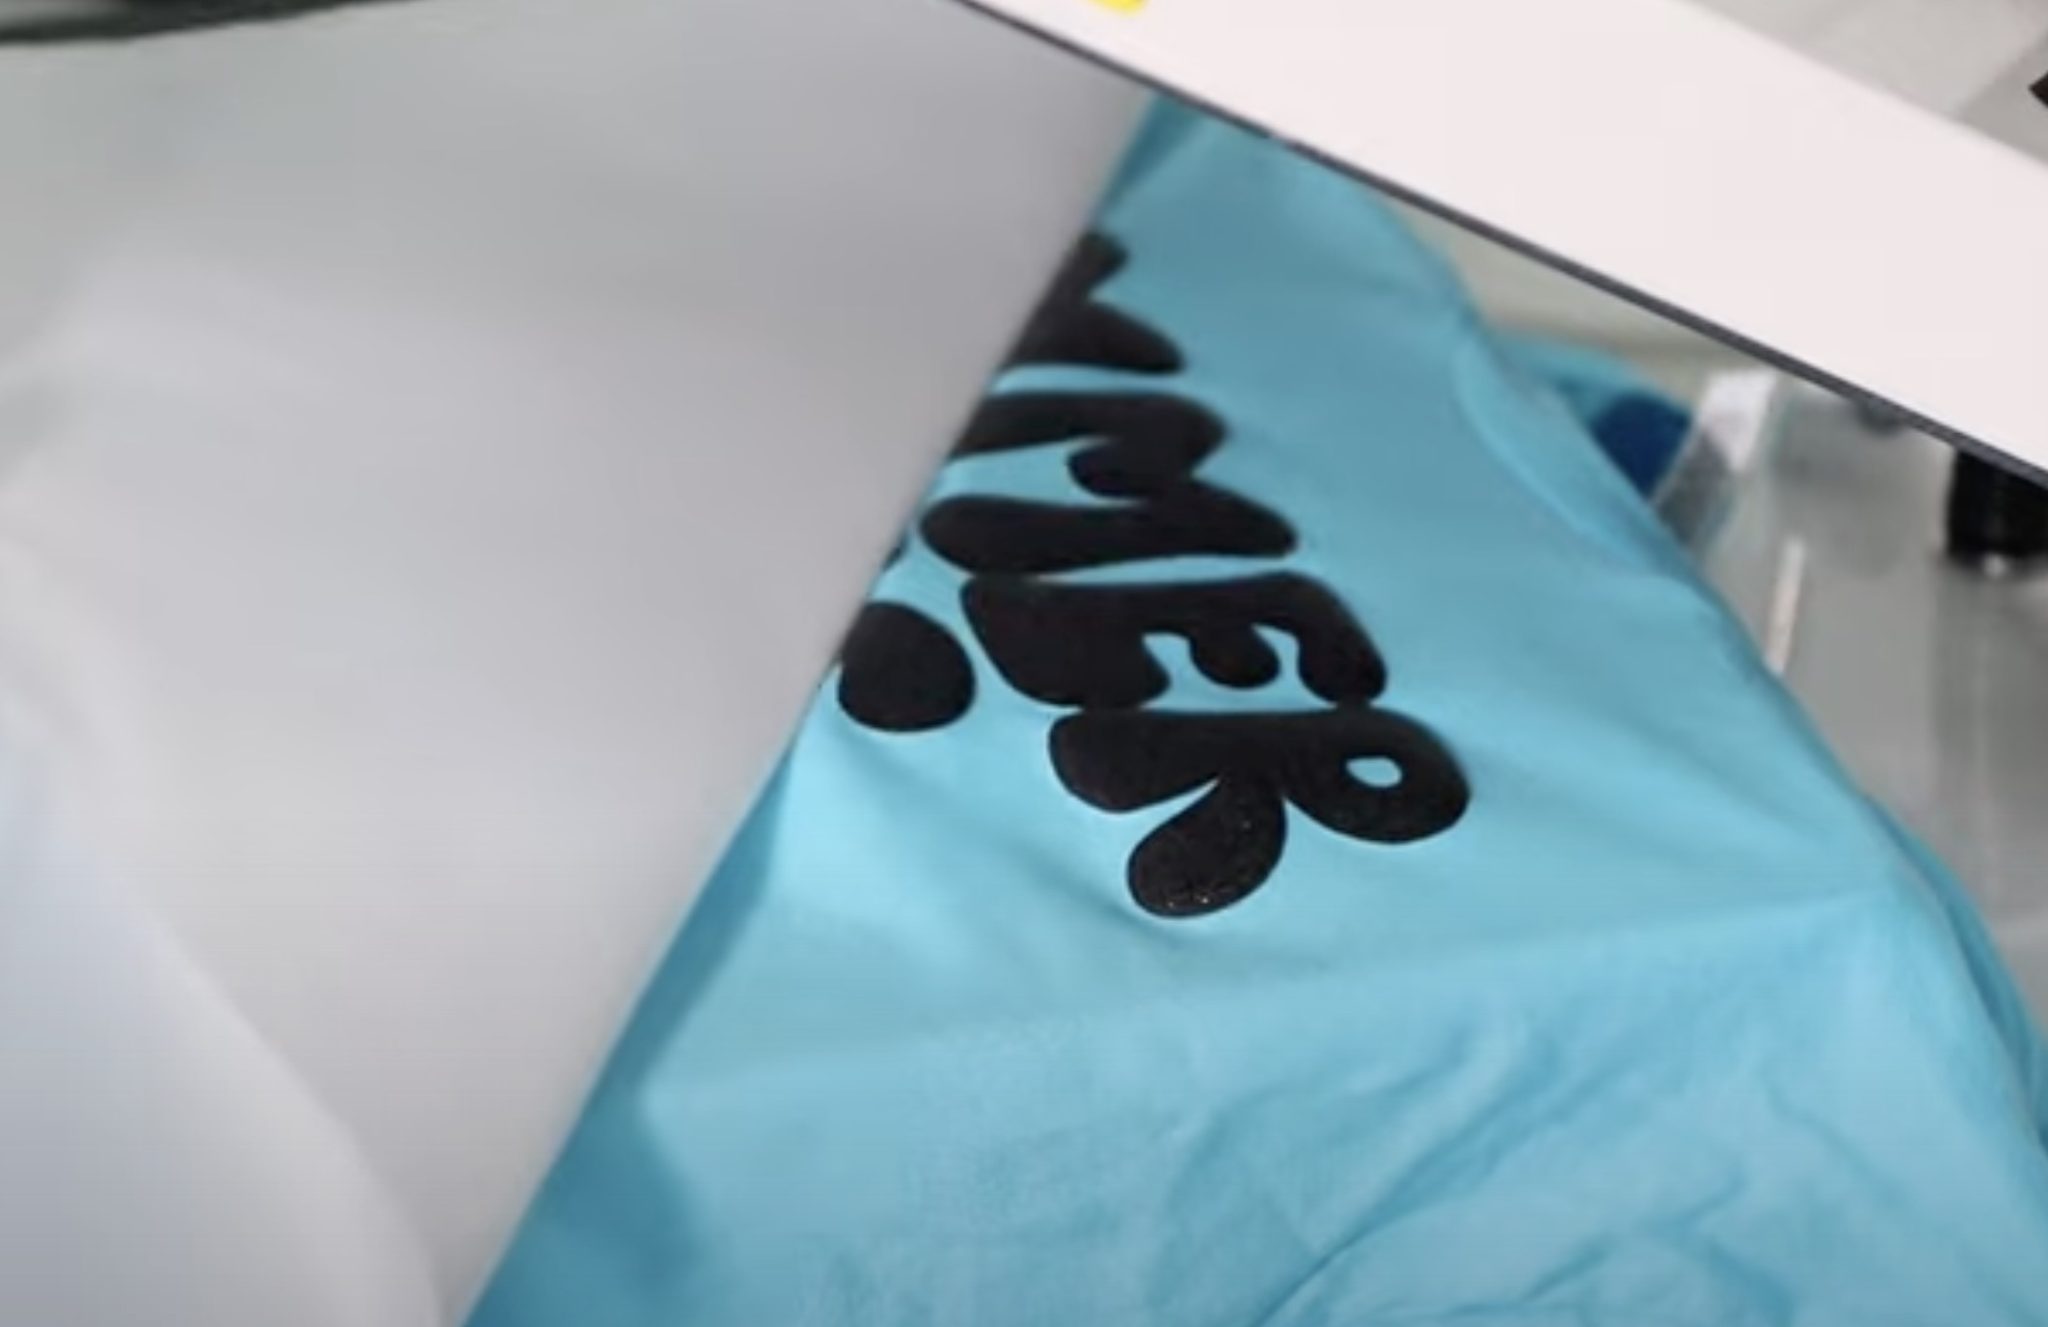
Press the first time for about 4 seconds. When the time is up, open the heat press and remove the carrier sheet while it is still hot.
Don't worry if you don't see a lot of puff at this point.
Place the Teflon sheet on top of the HTV and press again for about 3 seconds.
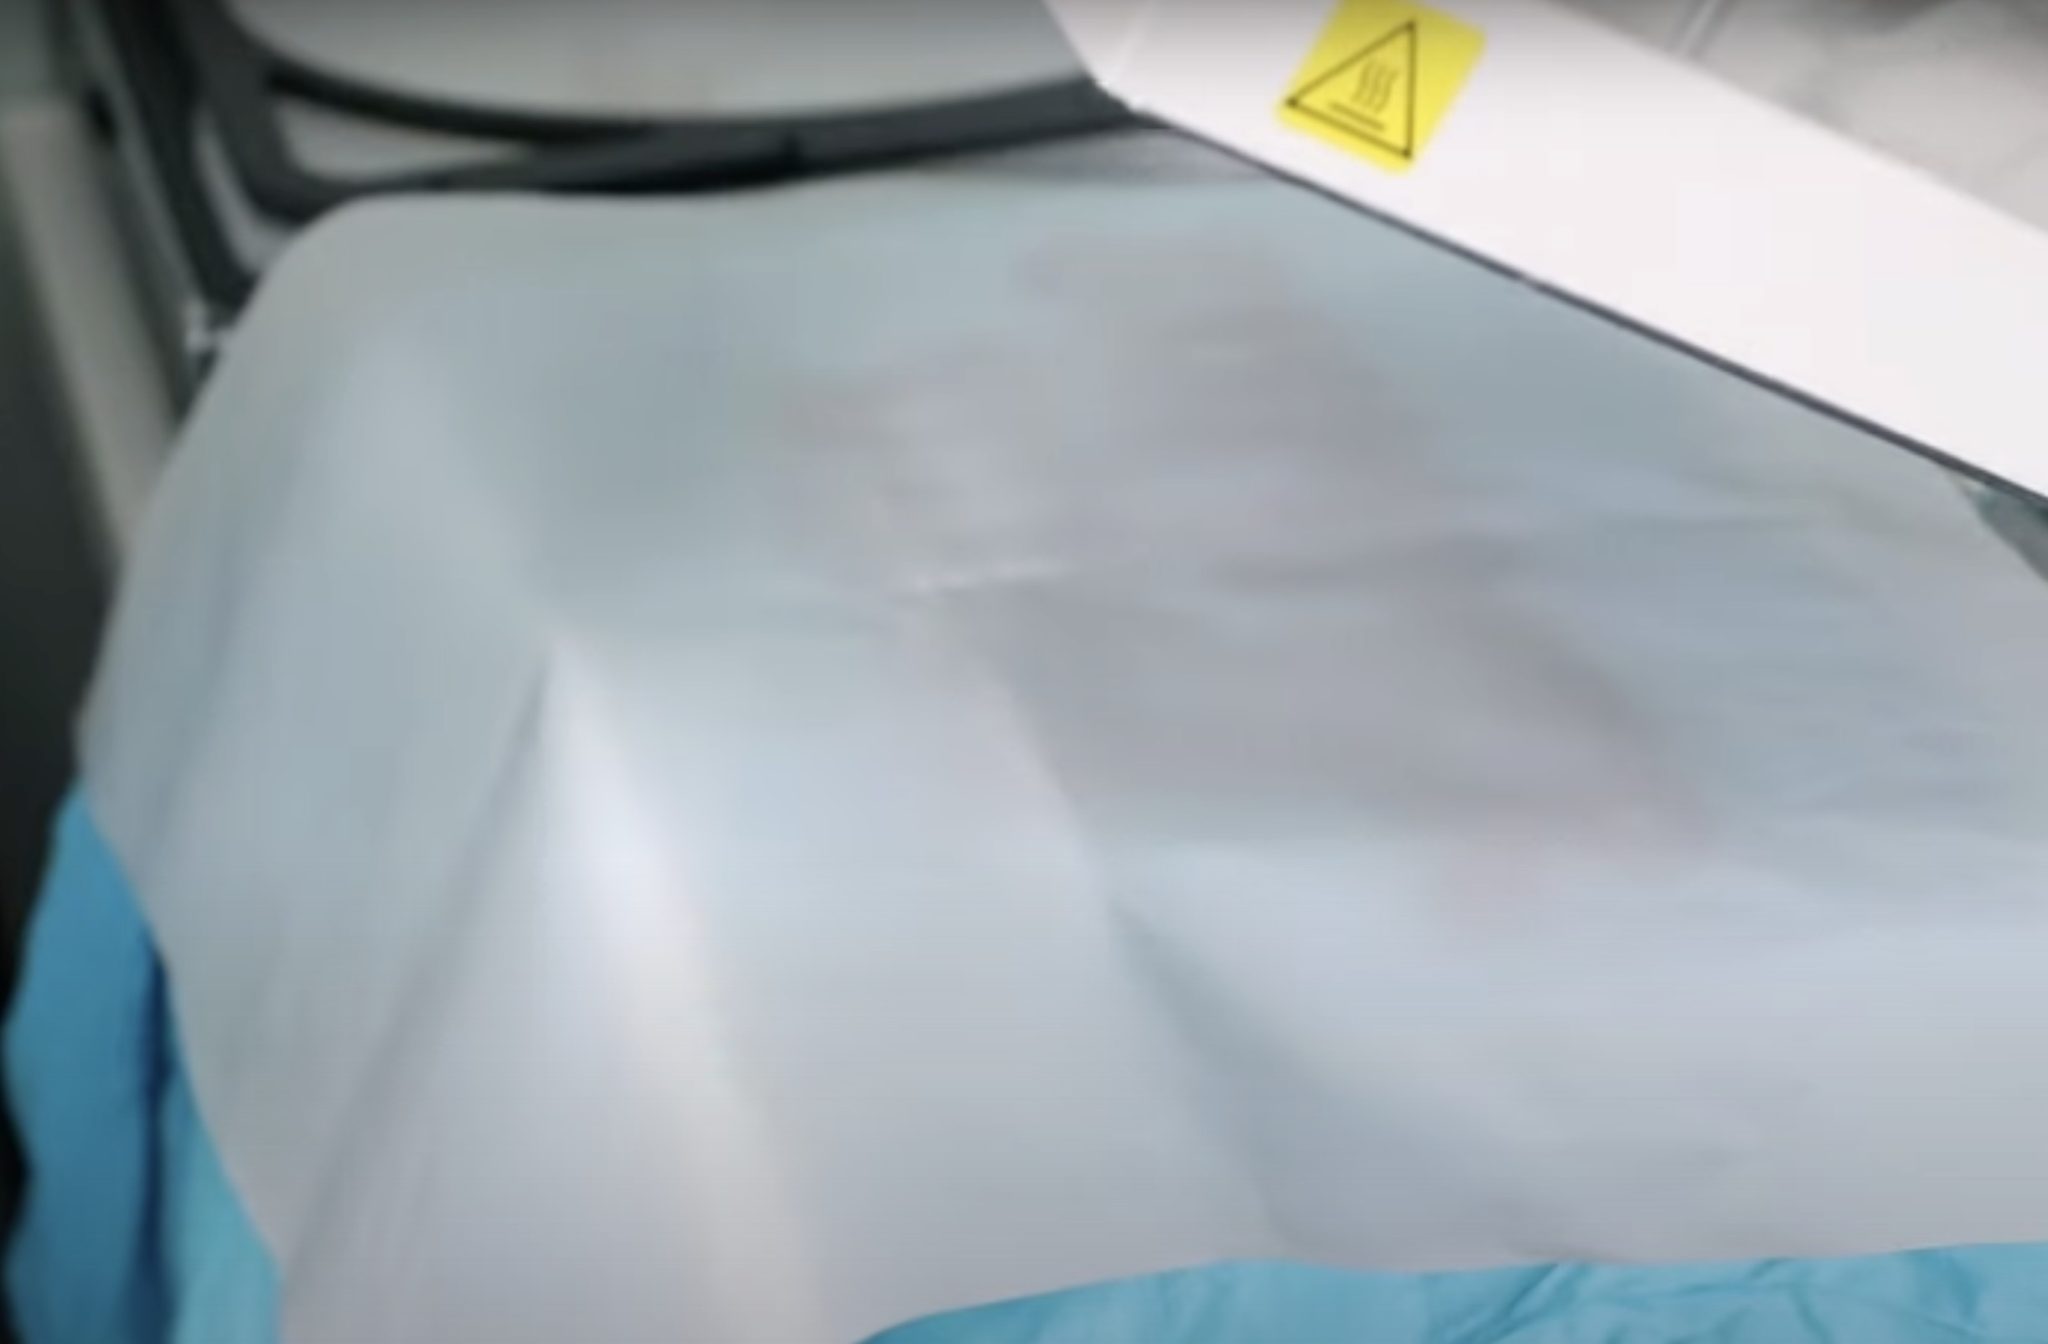
Peel back the Teflon sheet while everything is still warm.
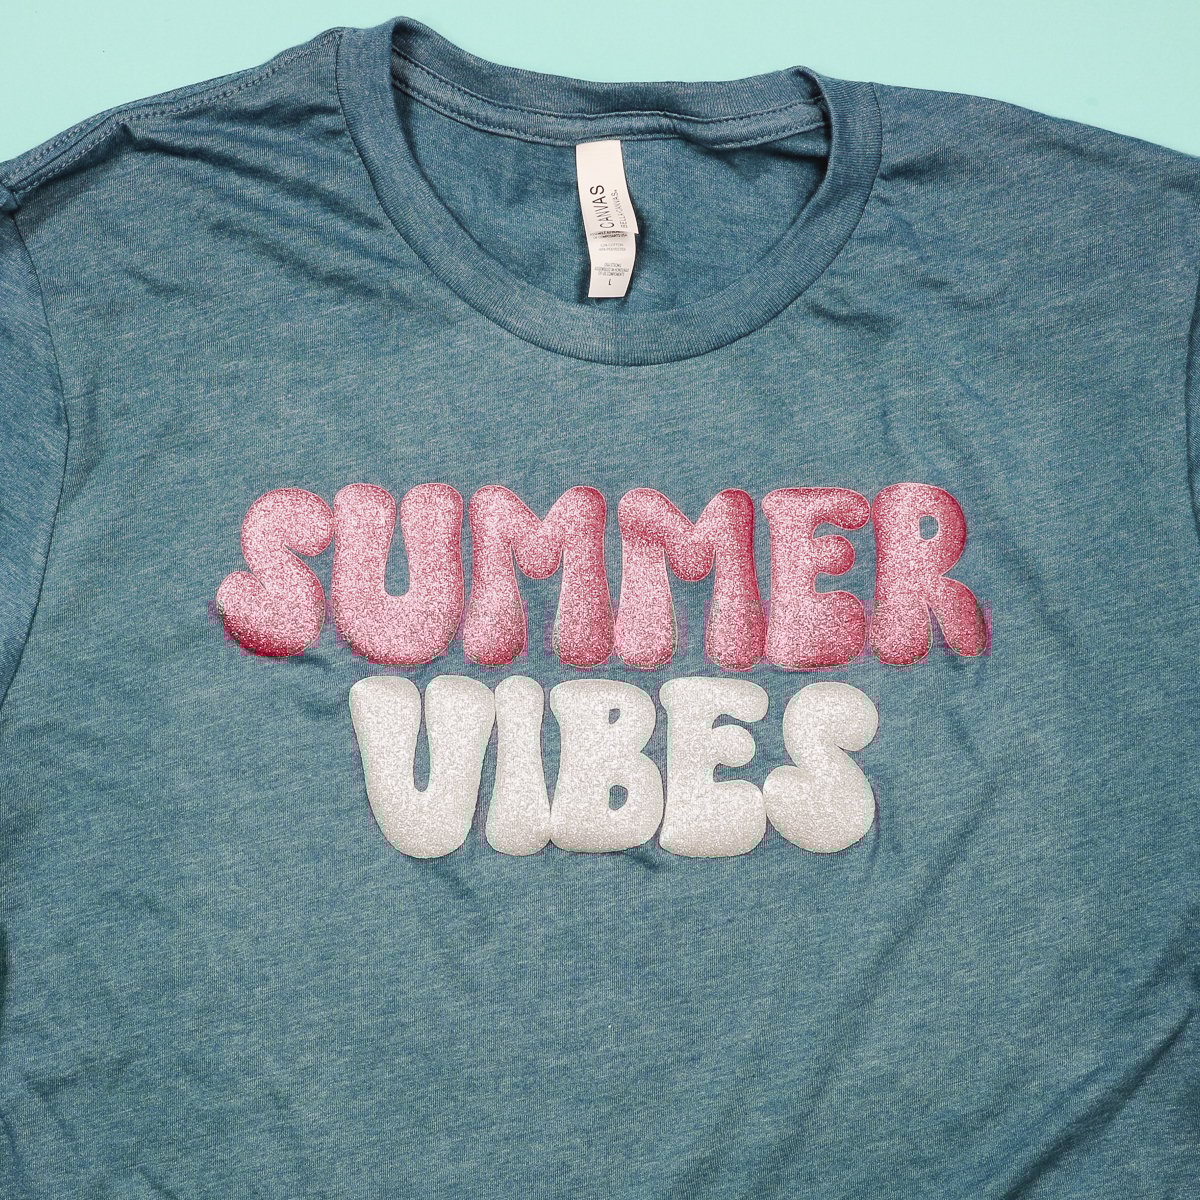
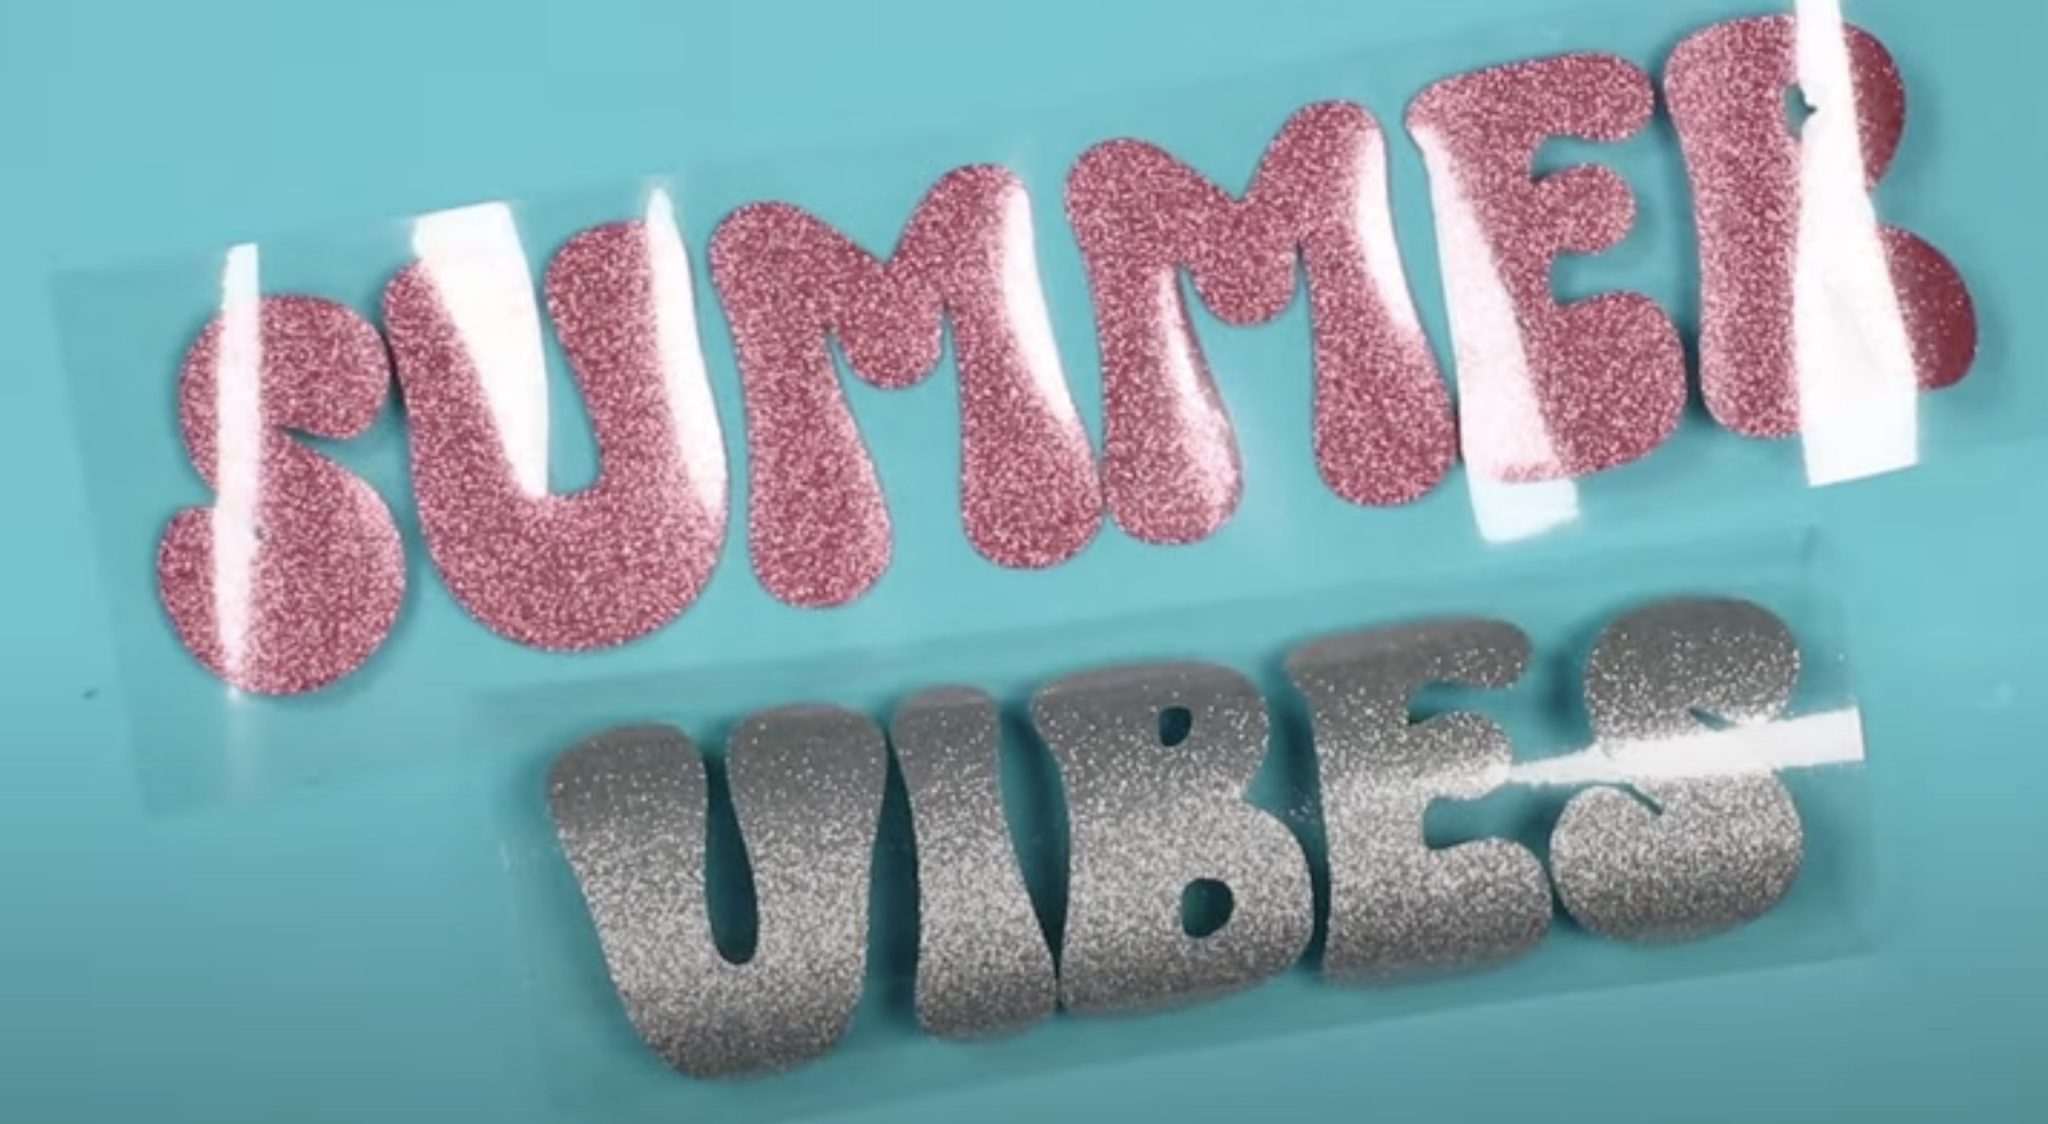
Look at how great the glitter and puff are!

Optional: Press 2 Colors at Once
To press 2 colors at once, make sure you trim the carrier sheet really close on the sides that are next to each other.
Locate the HTV and make sure the carrier sheets are not between the HTV and the shirt anywhere.
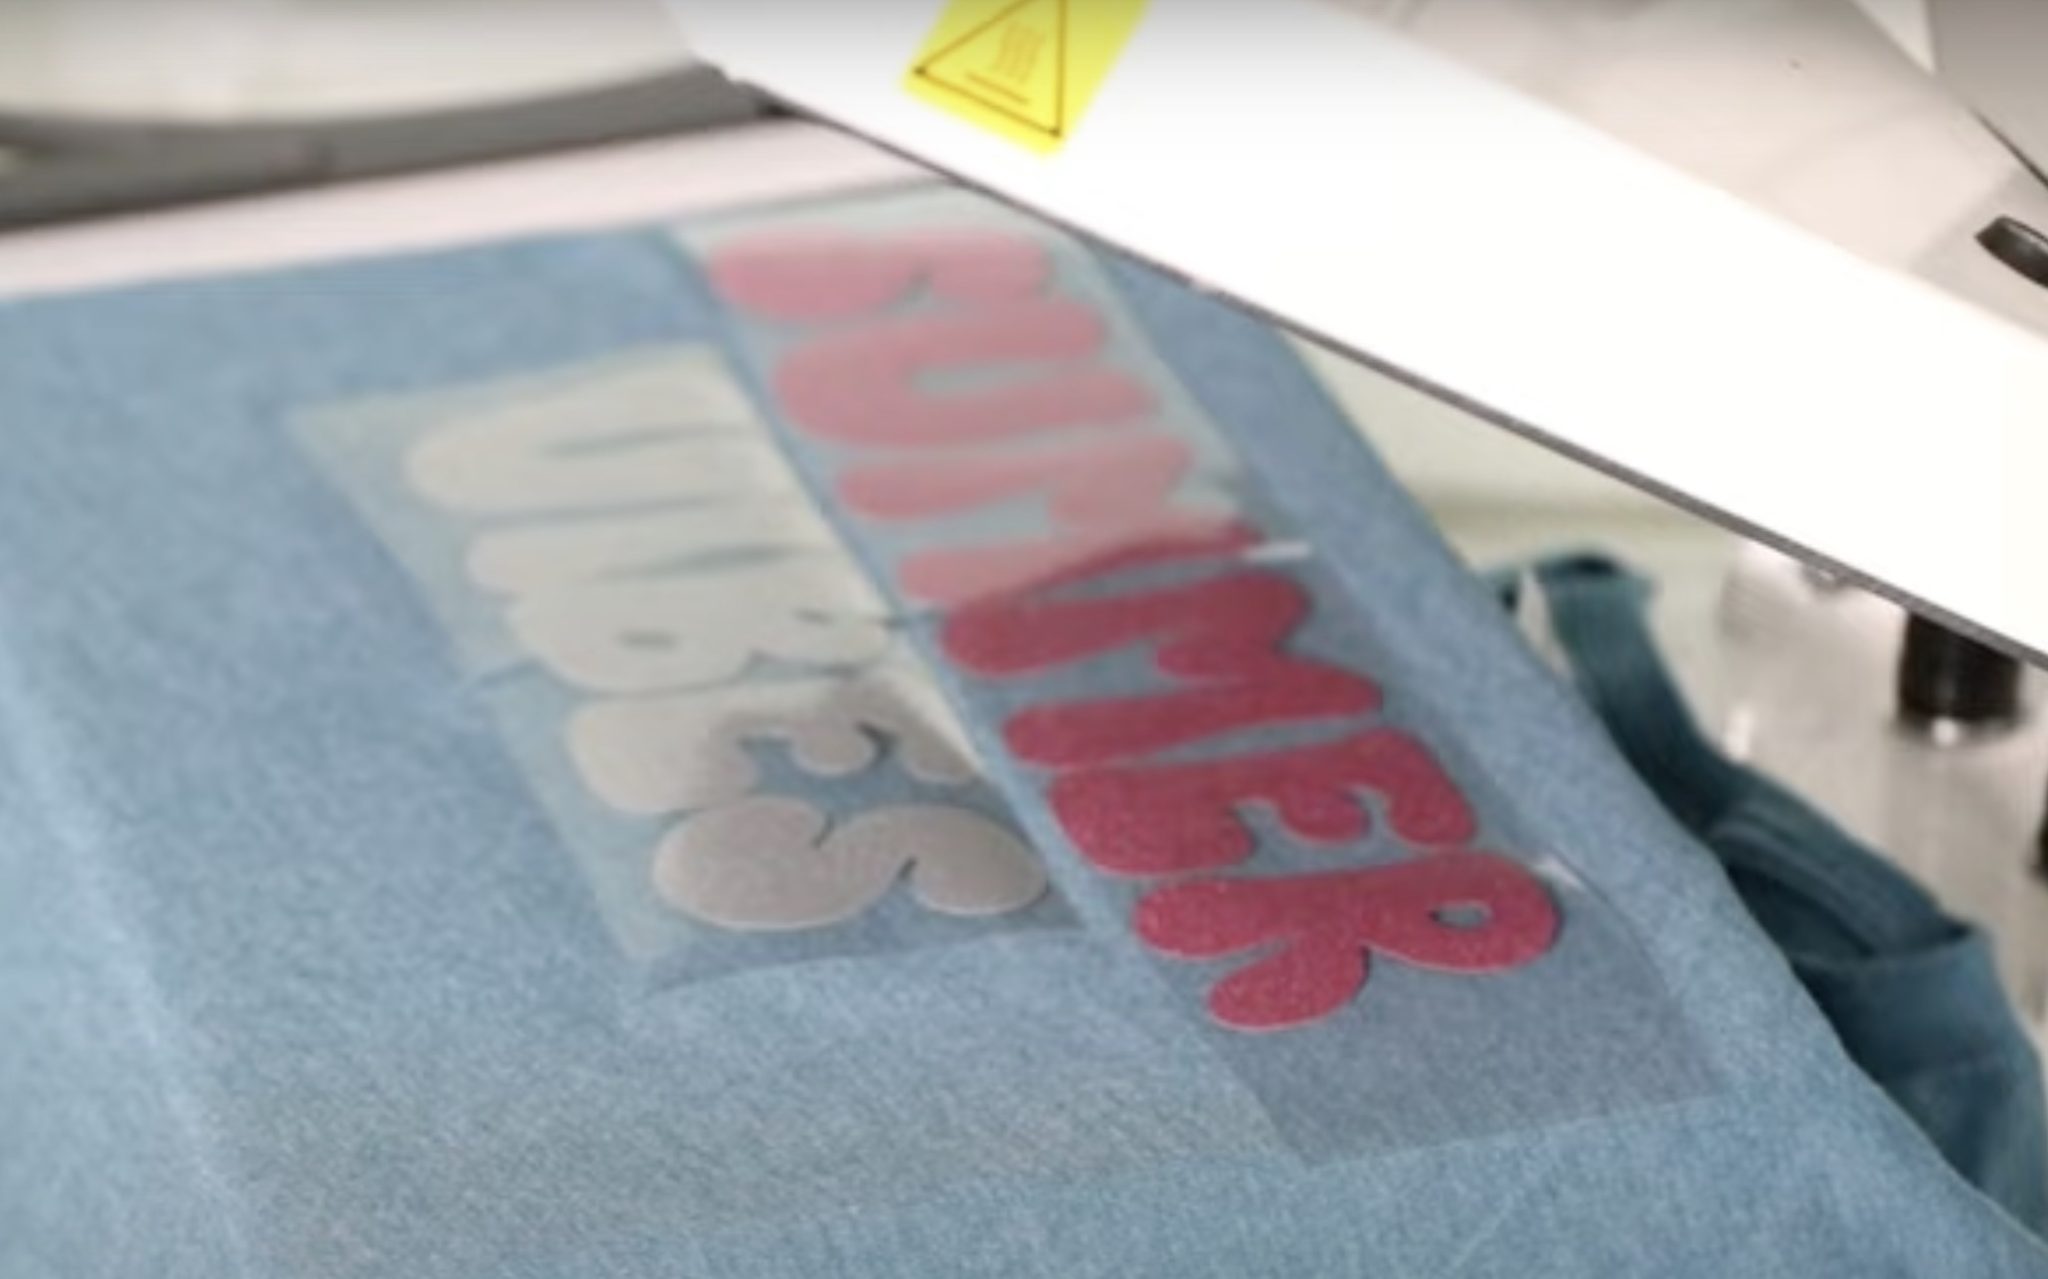
Everything else is the same. Press once for 4 seconds, remove the carrier sheets, add the Teflon sheet, and press again for 3 seconds.
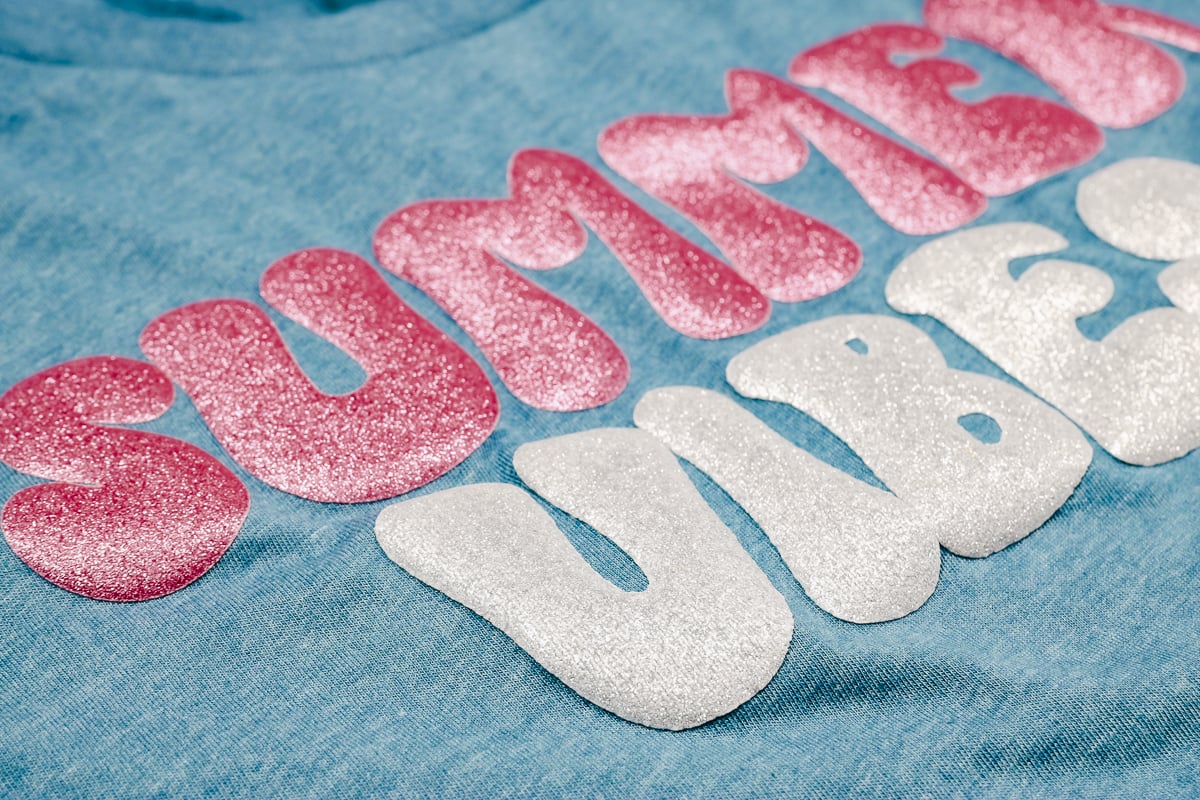
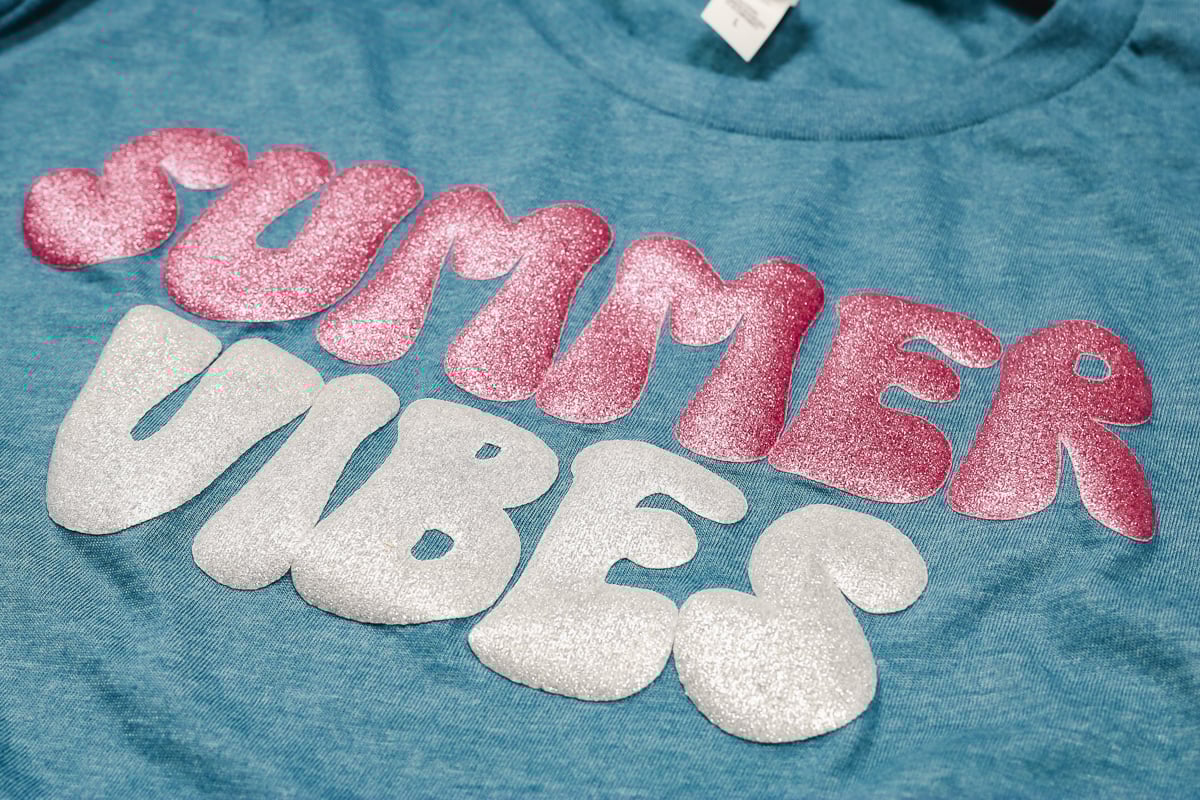
The silver glitter puff and pink glitter puff HTV also look really good.
Should You Try Glitter Puff HTV?
All three colors I used today worked really well. I do think some of the colors puffed up a little more than others. Of these three, the silver puffed up more than the black and pink. I haven't tried other colors, but I wanted you to be aware that you may get some different puff levels.
On each of the colors, the glitter looks fantastic, and I really like that it is smooth to the touch. If you've ever worn regular glitter HTV, you know it can be a little scratchy.
I do recommend you use a traditional heat press with all puff HTV materials. If you only have an EasyPress, definitely do some test cuts and practice pressing so you have a good idea of what it will take, if it's possible.
I would not recommend the Cricut AutoPress or other auto presses. I don't think you'll be able to get the pressure needed with those presses.
I hope you're as excited as I am about this new product. If you have any additional questions about glitter puff HTV, leave them in the comments, and I'll be happy to answer them for you.