
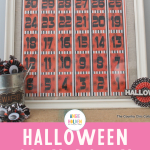
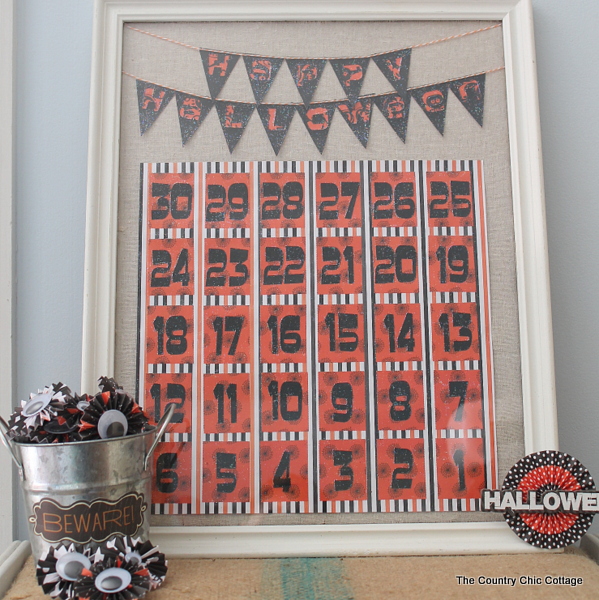
Create a fun piece of decor and a handy way to count down to the big day with this DIY Halloween countdown project. It's a fun resource to help the kids contain their excitement until it's time to dress up for a spooktacular Halloween night!
Do you ever get tired of answering the question, “How many days until Halloween?” I did because my kids asked it A LOT!
We tried lots of different ways to “count down” to Halloween, such as reading a different book each night, saying the date each morning before school, and even using a calendar.
After answering that same question for what felt like the 10,749th time, I decided to come up with a way to help them keep track of the days on their own. While brainstorming how to tackle this problem, I considered Christmas advent calendars and their effectiveness with my kids, inspiration struck!
I decided to make a Halloween Countdown Calendar (it could even be called a Halloween advent calendar) to help my kids keep track of just how many days are left until their favorite holiday (okay, second favorite behind Christmas).
Note: If you want to keep the Halloween fun going, check out our DIY Resin Pendant for Halloween, Halloween Candy Bucket That Glows in the Dark, and DIY Halloween Wood Sign ideas!
How To Make A DIY Halloween Countdown
This project was even more fun than I thought it would be, so I knew I had to share it with you! Grab your supplies, and let's get started.
Supplies Needed
Here’s everything you’ll need to make this fun and festive project. I’ve included some handy links to make finding certain items easier and faster.
- Frame with glass (mine is about 14 x 20)
- Paint for the frame (if desired)
- Fabric (or additional paper) – this is to cover up the backing in the frame
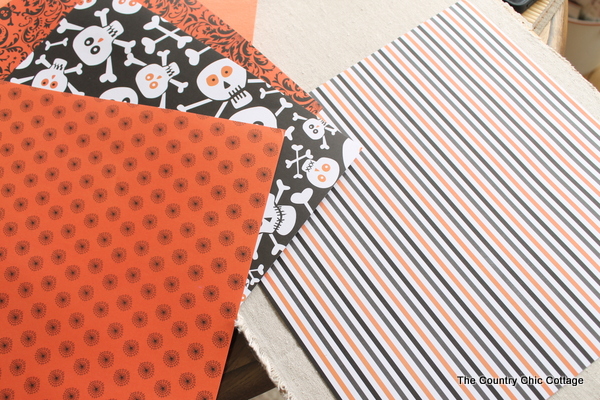
- Scrapbook paper (black and Halloween-themed)
- Mod Podge – you'll need both regular and sparkle versions
- Googly eyes
- Embellishments
- 3M adhesive
- Hot glue
- Paper cutter (if not using a Cricut)
- Cricut
- Scoring stylus or scoring wheel
Halloween Countdown Calendar Instructions
Follow these step-by-step instructions, and your Halloween Countdown Calendar will be ready in (almost) no time.
Step 1 – Remove frame backing
I removed the frame backing from the frame. Many times, the backing is made from compressed cardboard.
Note: I had previously used this frame for a project, so it was already covered in drop cloth.
Step 2 – Cover frame backing
Cover your cardboard with fabric or scrapbook paper. Cut the fabric or paper slightly larger than your frame. Adhere the fabric or paper to the backing with Mod Podge.
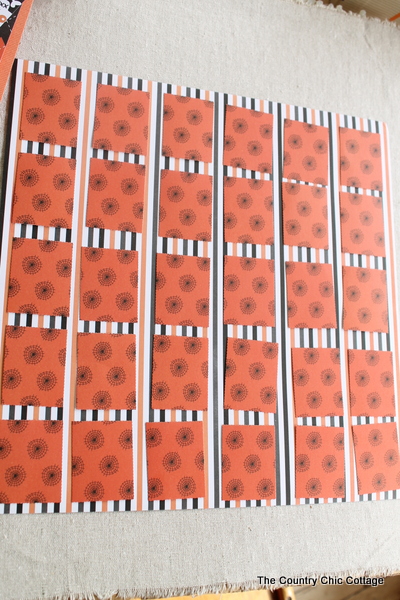
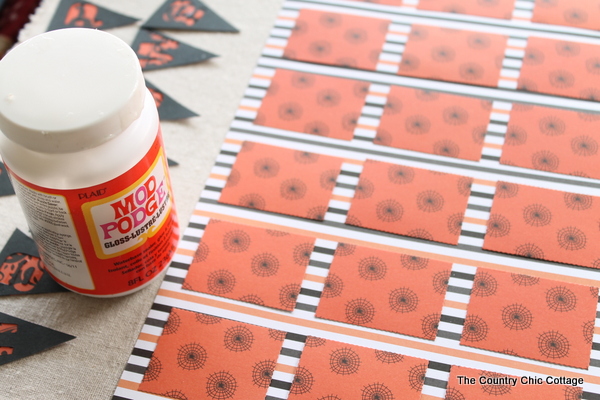
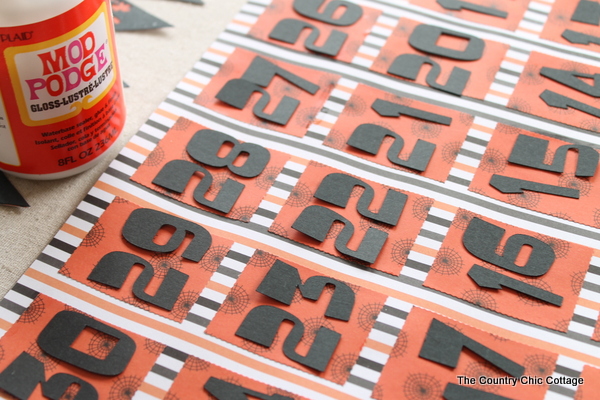
Step 3 – Cut rectangles
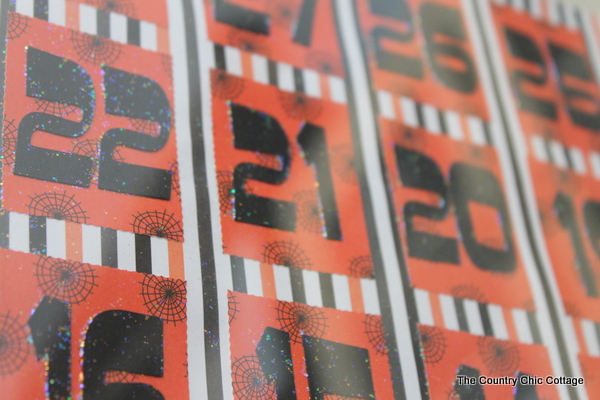
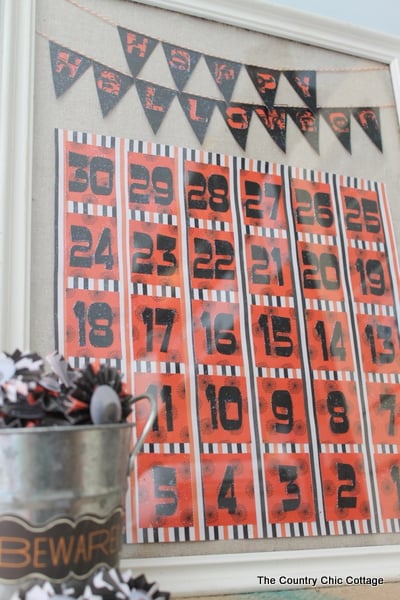
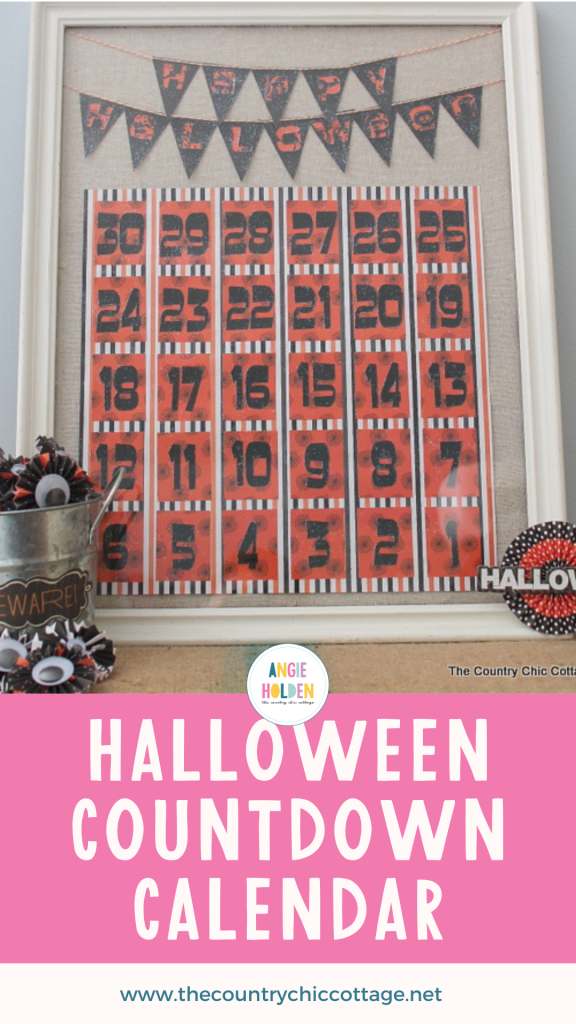
Then, cut out thirty (30) 1.5″ x 2″ rectangles for your calendar. I laid mine out in five rows of six each. You can use a paper cutter to cut these or your Cricut to cut the rectangles.
Note: The size and number of rectangles will depend on the size of your frame. You may have to do some math.
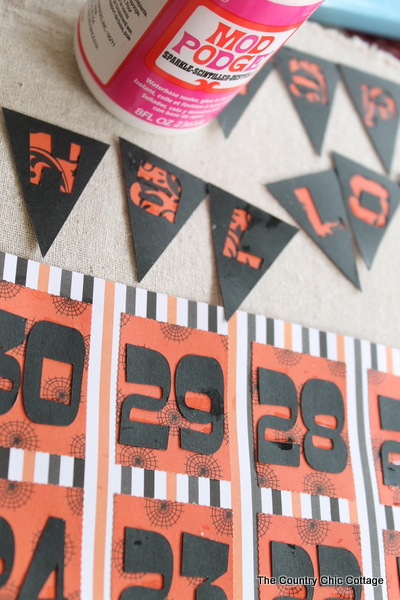
Step 4 – Make the banner
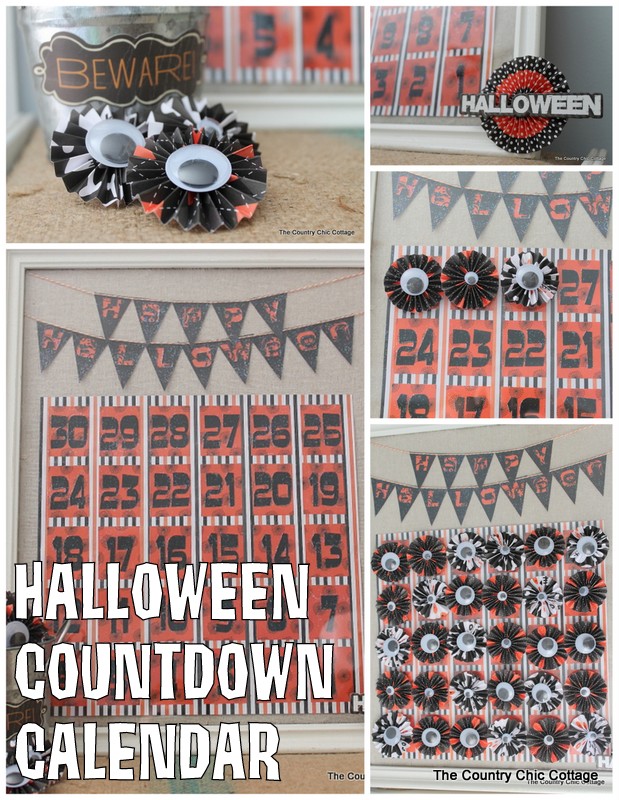
Create a banner to go at the top of the countdown. I used my Cricut to cut out a pennant banner. You can design your own, or I found image M1939FD3 in Cricut Design Space that would work for this project. This can be as spooky or fancy as you would like.
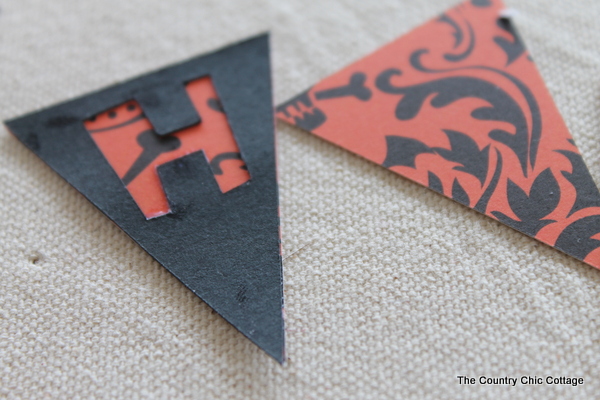
Note: The top triangles have letters cut into them. The bottom triangles are just patterned scrapbook paper.
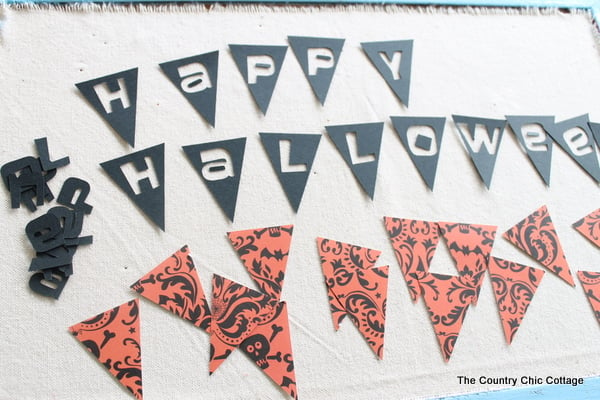
Put Mod Podge on the back of the black triangles.
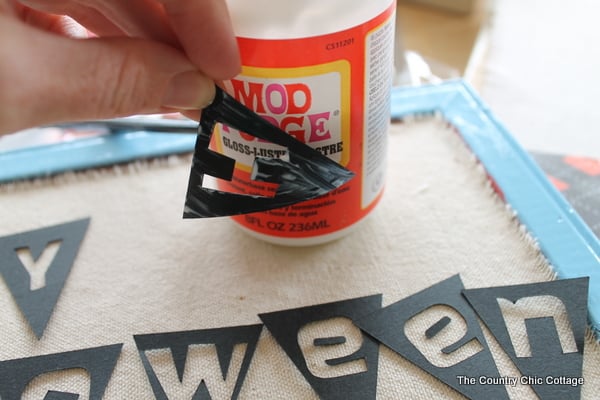
Then, put the black triangles on top of the patterned paper triangles. This makes a great little pennant banner.
Step 7 – Attach blocks
Now that the backing is dry, it is time to Mod Podge all of those little rectangles onto the scrapbook paper.
Note: Keep them straight both horizontally and vertically so that they look uniform.
Step 8 – Make numbers
Next, cut out numbers 1-30 with your Cricut and use Mod Podge to adhere the numbers to the rectangles. Get creative with your font! I think that choosing a font is one of the hardest but most fun parts of designing files.
Step 9 – Add some sparkle
Now, it is time for some sparkle! Apply Sparkle Mod Podge over the pennant banner and the calendar.
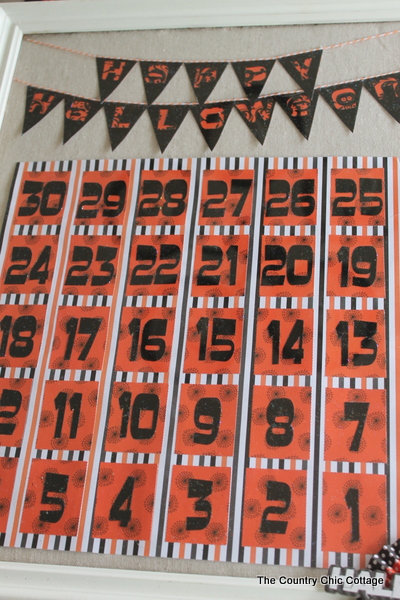
Step 10 – Add the banner
After everything is dry, use hot glue to adhere your pennant banner and calendar to your fabric-covered cardboard.
To finalize the look, I took some baker's twine and hot-glued it to the pennant banner.
Step 11 – Place Halloween countdown in the frame
Then, I put my calendar into the frame. This frame was already white, but you can paint your frame if you prefer a different look.
What do you think?
The Sparkle Mod Podge made a huge difference in this project. It gave everything a sparkle and really brightened the colors on the paper.
Note: As hard as I tried, I couldn't REALLY capture how amazing it looks because it's hard to take pictures of something under glass!
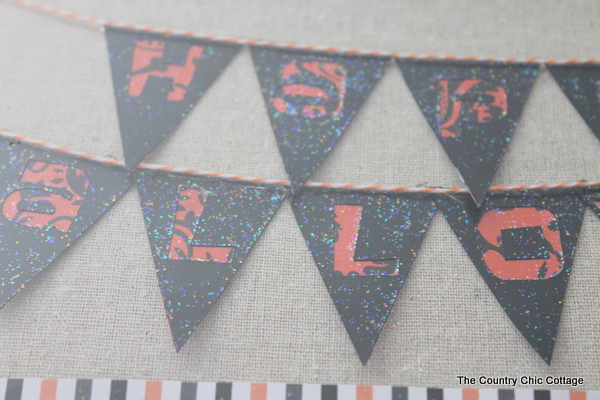
I am usually not a glitter gal, but I love how this turned out. I will be reaching for the bottle of Sparkle Mod Podge more often!
How To Make Eyeball Pinwheels
Now, it is time to make lots of paper pinwheels because you need to use something to count down until the big day!
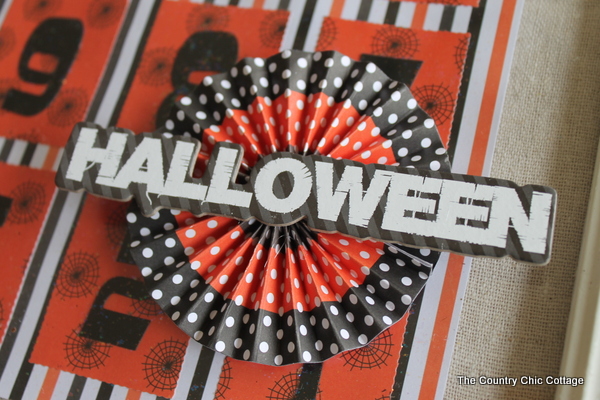
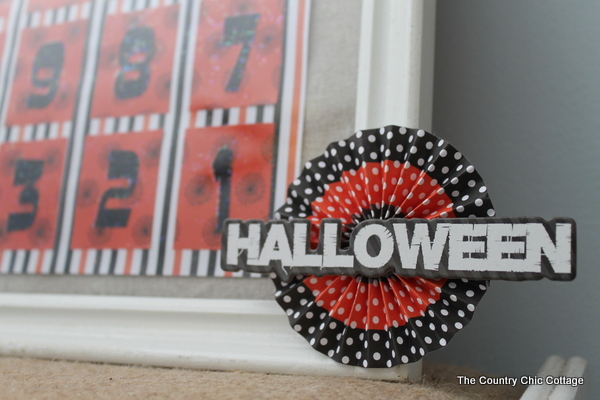
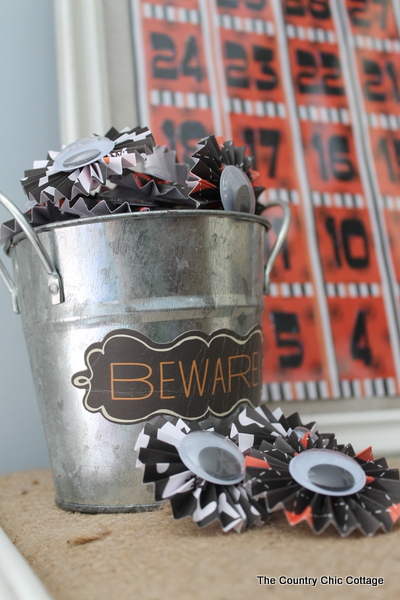
I started by making one larger rosette and added a “Halloween” embellishment. You can also make your own embellishment using your Cricut. I made this pinwheel a little larger than the rest, and I will show you where it goes on the calendar.
Here's the process I used to make these fun pinwheels.
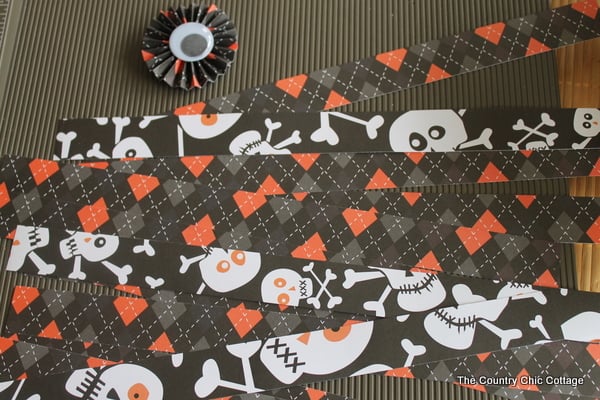
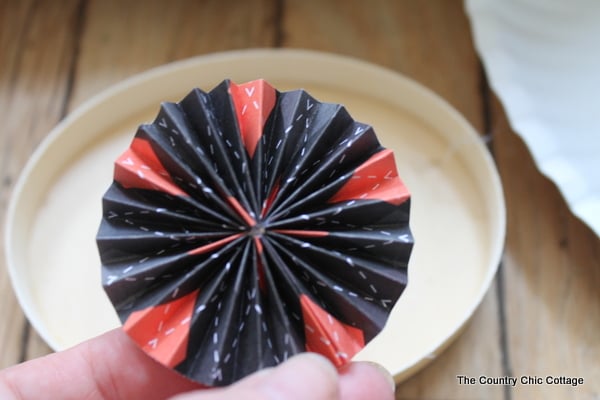
Step 1 – Cut rosettes
First, let's talk about how to make paper pinwheels (or rosettes). You will need 30 to be your markers for the dates on the calendar. There are several rosette designs available in Cricut Design Space. If you have a Cricut Maker, you can use the scoring wheel. For the other Cricut Machines, you can use the scoring stylus.
Step 2 – Fold rosettes
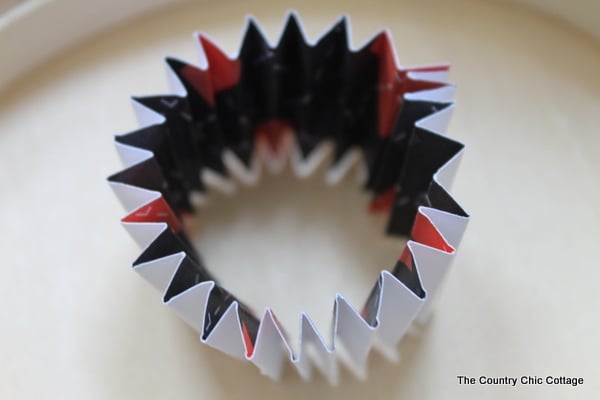
Remove the cut strips and accordion-fold the rosettes on the score lines.
Step 3 – Add hot glue
Then use your hot glue to adhere the ends of your paper together and form a circle.
Step 4 – Flatten and glue
Flatten that circle and add plenty of hot glue on the back.
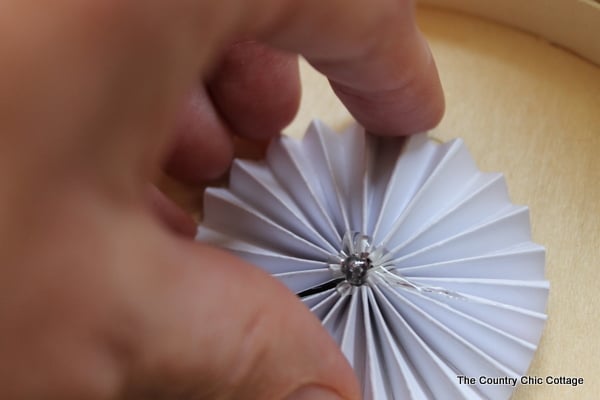
Pro Tip: Get some hot glue right in the center of your pinwheel. To keep its shape, you will have to hold each one until the glue sets.
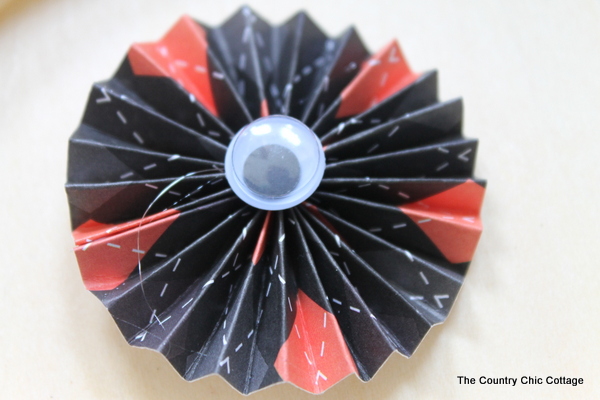
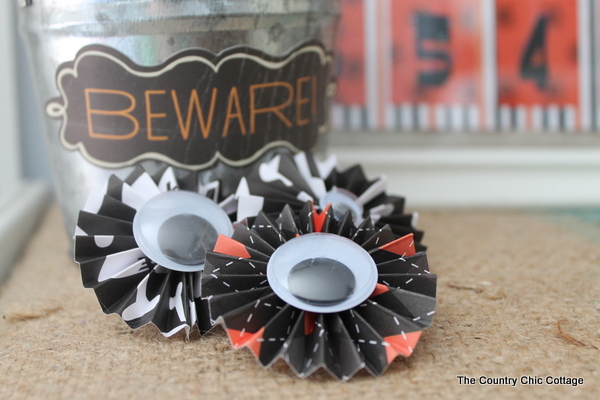
Step 5 – Add googly eyes
Next, use hot glue to put a Googly eye in the center of each pinwheel. Add a small square of 3M adhesive to the back of each pinwheel.
That larger pinwheel with the Halloween embellishment goes in the corner of the calendar. Since you are counting down to that day, you'll want it to be prominent.
FAQs
Here are a couple of questions readers ask about making this Halloween countdown calendar. If you have a question, please check to see if I’ve answered it below. Don’t see your question? Leave it for me in the comments!
Where do I store all the pinwheels until we use them?
I added a chalkboard sticker to a galvanized bucket for our marker storage. I loved how it looked on the mantle by our Halloween countdown calendar!
If you don't have a galvanized bucket, no worries! You can store your eyeball pinwheels until you need them—a basket, plastic container, etc. A trick-or-treat pumpkin would be fun, too!
What is the best type of glue to use on this project?
I prefer using hot glue for a project like this because it has a strong hold and sets quickly. However, you can use craft or super glue if that's what you have.
Just be aware that liquid glue takes more time to set (which means you'll be holding those paper pinwheels longer while they dry).
If you don't have a hot glue gun, I highly recommend investing in one. They are so handy for so many different projects!
How To Use Your DIY Halloween Countdown
So, starting on October 1st every year, my kids get to pick out an eyeball pinwheel each day.
Then, we use a 3M adhesive on the back of each one to stick it right on the frame's glass. After the first three days, our calendar will look a little like the image below.
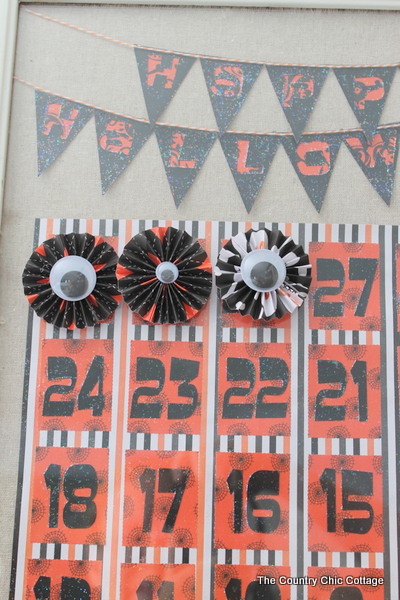
You see where this is going, right? The day before Halloween, our calendar will be full of spooky googly eyes looking at you. Ha!

Now, for the next month, I do not have to answer the question: “How many days until Halloween?” Yippee!
This is my first countdown calendar, and I hope your kids enjoy it as much as mine do.
More Halloween Inspiration
If you love this Halloween countdown and want more ideas, try these popular projects!


Angie!! WHOA!! AWESOME!!!!!
I love this!! I think this would make an awesome count down for Christmas just by changing up a few lil’ things– so CUTE!!! Great job!
Love this… and love the googly eyes for the centers of circles. Cute!
This is such a great project-you really hit it out of the park!!
I love this idea! The kids definitely look forward to Halloween! So clever!
I love this idea! The kids definitely look forward to Halloween! So clever!
I love this idea and it is so cute as well! I am a big fan of sparkly mod podge!
This is amazing! So fun and festive. I hope you will link this up to my Wickedly Creative Halloween Ideas Party if you haven’t already.
http://www.itsybitsypaperblog.com/2012/09/2012-wickedly-creative-halloween-ideas.html
Super cute Angie! LOVE it!
Angie!! Too cute!! I love this idea. 🙂 The eyeballs are so fun. 🙂
This is fabulous. I am totally working on one of these even if the month has already started!