

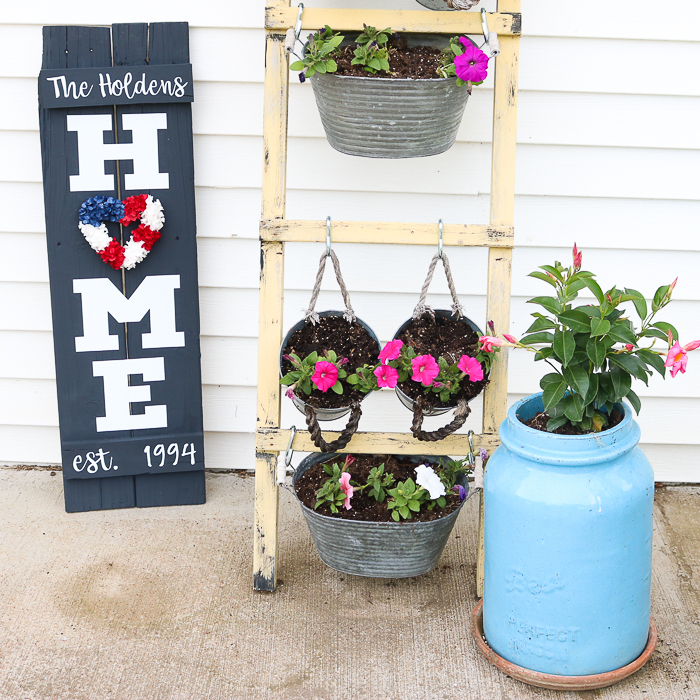
Create a home wreath sign using a Cricut machine and some scrap wood. A wreath sign is an excellent way to enhance your outdoor space throughout the year. You can switch out the wreath for different seasons and even incorporate items other than wreaths. You'll enjoy exploring various options for your interchangeable sign! Are you ready to make your own? Follow the steps below!
This is a part of patriotic Craft Lightning this week. You will want to catch up with all of the crafts here if you have missed any of the fun this week.
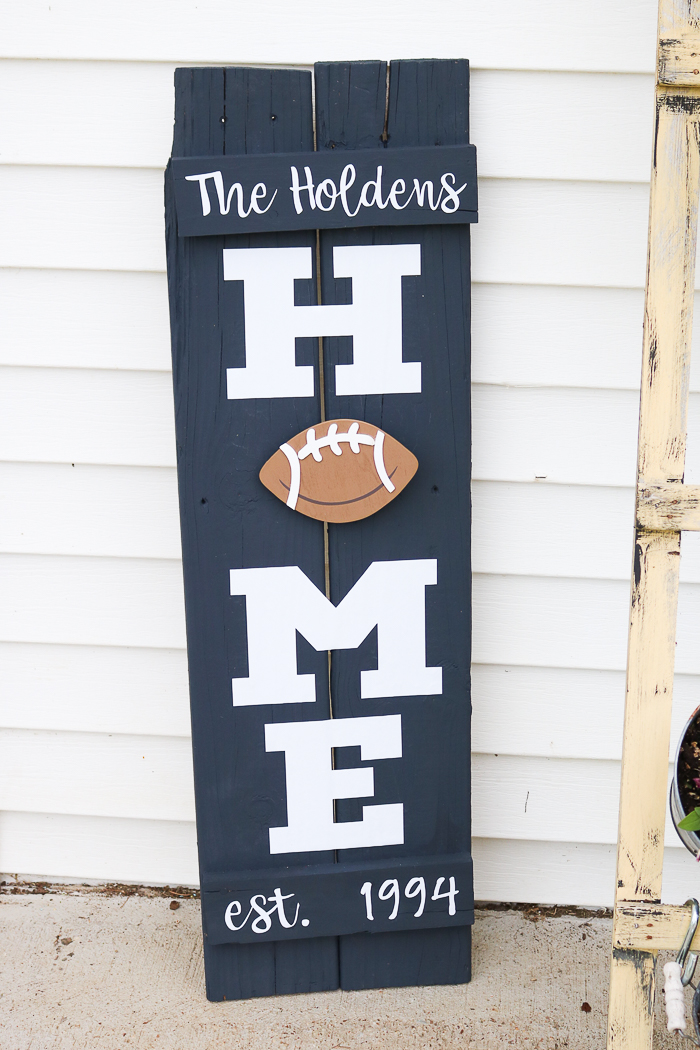
How To Make Your DIY Home Wreath Sign
This home wreath sign is super simple to make and can be easily customized to fit your space. In the tutorial below, I will show you how to make the sign to display a wreath. However, be sure to read the entire post, as I also show you how to change these wreaths for different seasons and share other items you can use besides wreaths!
Supplies Needed To Make DIY Home Wreath Sign
- Scrap wood
- Saw
- Nails
- Outdoor paint
- Permanent Vinyl
- Cricut Machine (see which I use here)
- Cut file (click here for access)
- Transfer tape
- Weeding tools (optional)
- Hook
- Wreaths or other interchangeable seasonal decorations
Step 1: Determine Size For Sign
Start by making the sign itself. I am using scrap wood, so I used two long boards along with two shorter ones for the cross pieces. These can be any size you wish and any type of wood.
Step 2: Build Sign
Nail the boards together to create the sign base.
Step 3: Paint Sign
Then paint the entire thing with a few coats of good-quality outdoor paint. Be sure to allow it to dry in between coats. You will also want everything to be dry before adding the vinyl wording.
Step 4: Size Design In Cricut Design Space
Use this cut file and resize it to fit your sign. You will also want to change the name and year established.
Step 5: Cut Design From Permanent Vinyl
Then use your cutting machine to cut the pieces from permanent vinyl.
Step 6: Weed Design
Weed away all excess.
Step 7: Add Design To Sign
Then, use transfer tape to add the pieces to your sign.
Step 8: Add Hook To Sign
Screw the hook into the place where the “O” would be located.
Step 9: Hang Wreath
Hang the wreath or any other seasonal decor of your choice on the sign, and your home sign with wreath is complete!
Ideas For Updating Your Interchangeable Home Wreath Sign
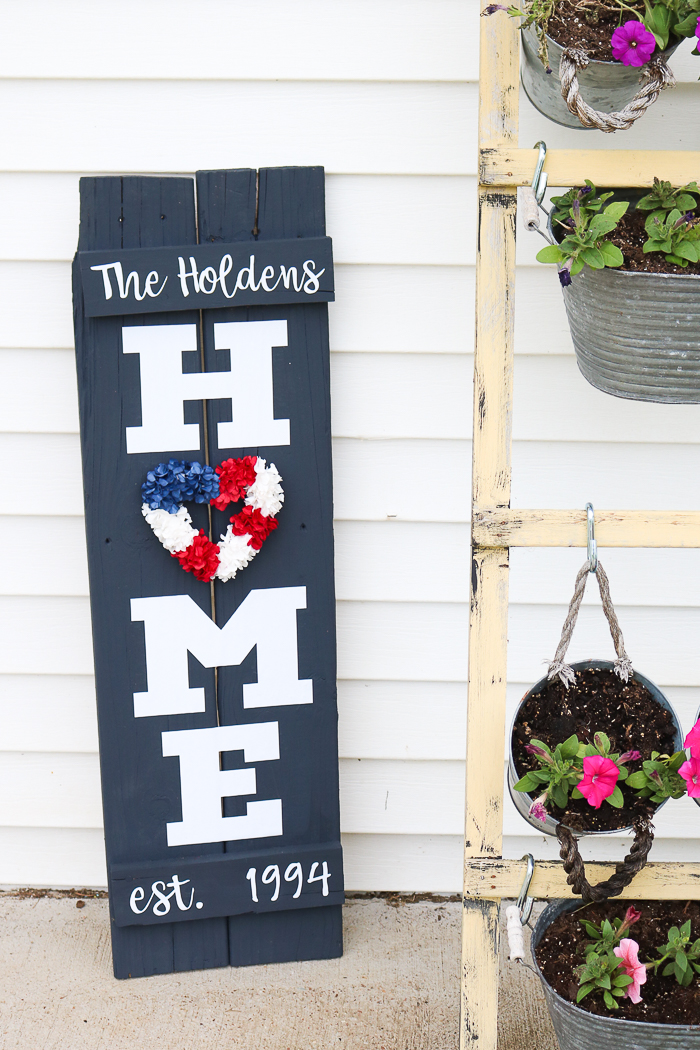
I put a patriotic spin on my home wreath sign for this week, but there are many fun options when it comes to a sign like this! To get your craft juices flowing, I thought I would share just a few of my favorite ideas for this home sign.
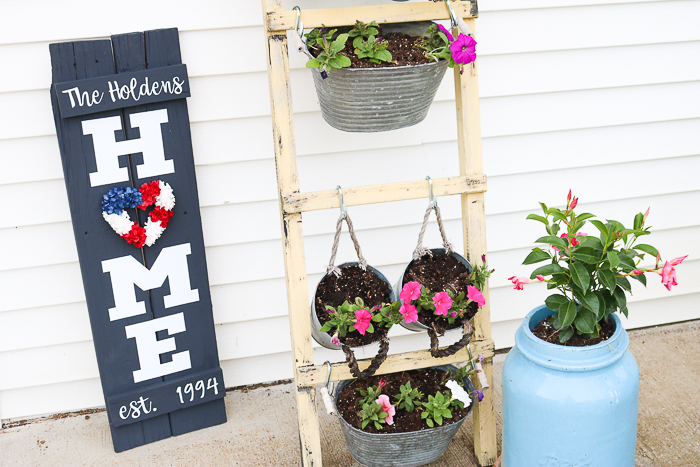
Patriotic Wreath For Summer
I started with a small patriotic wreath as my “O”. All of my seasonal decorations came from Hobby Lobby, in case you'd like to use the same ones.
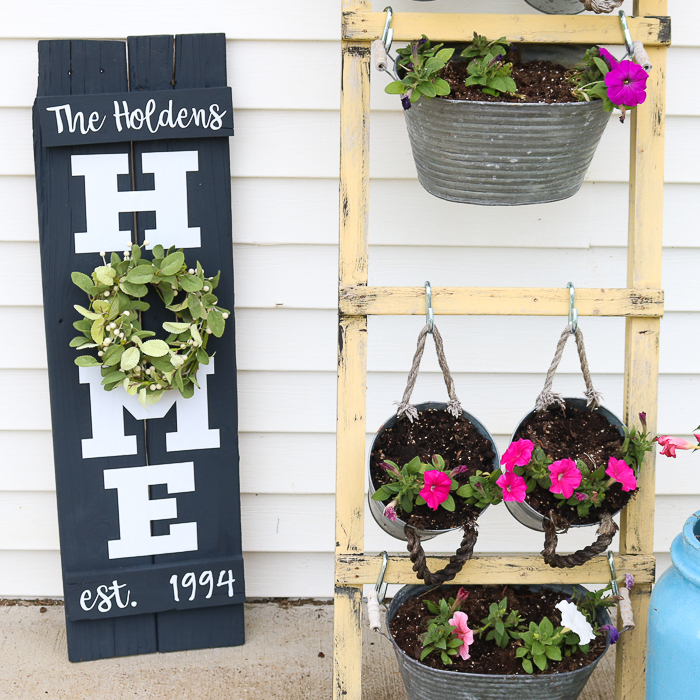
Simple Farmhouse Style Wreath For All Seasons
For a non-seasonal look, you can add a plain wreath, such as the one below, or even a boxwood wreath.
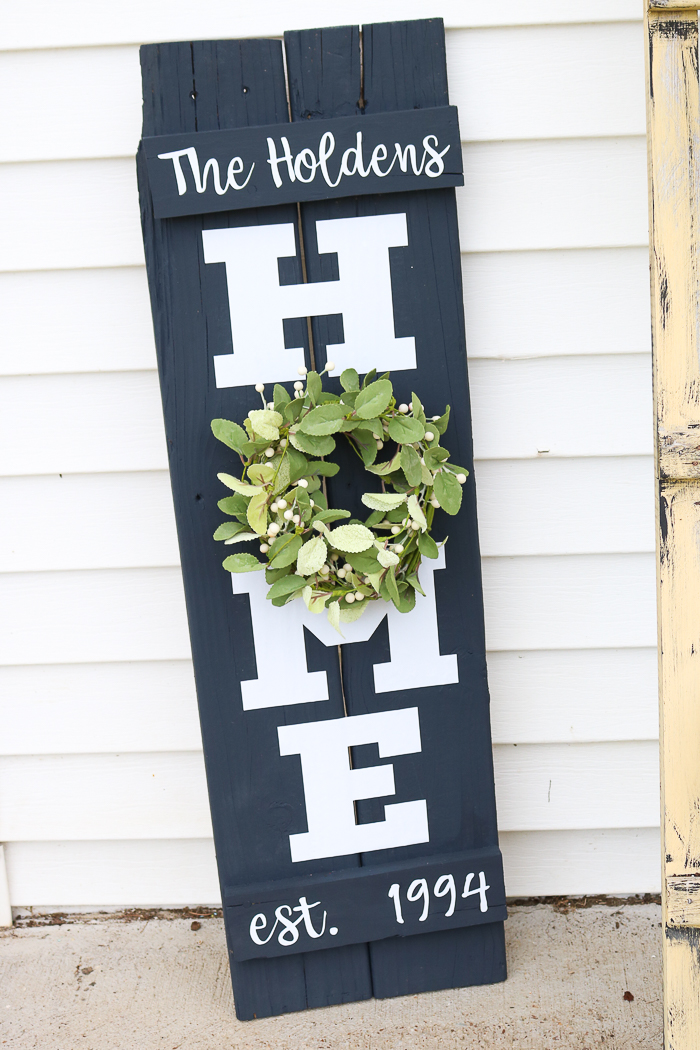
I must say that this is my personal favorite look, but I had even more ideas.
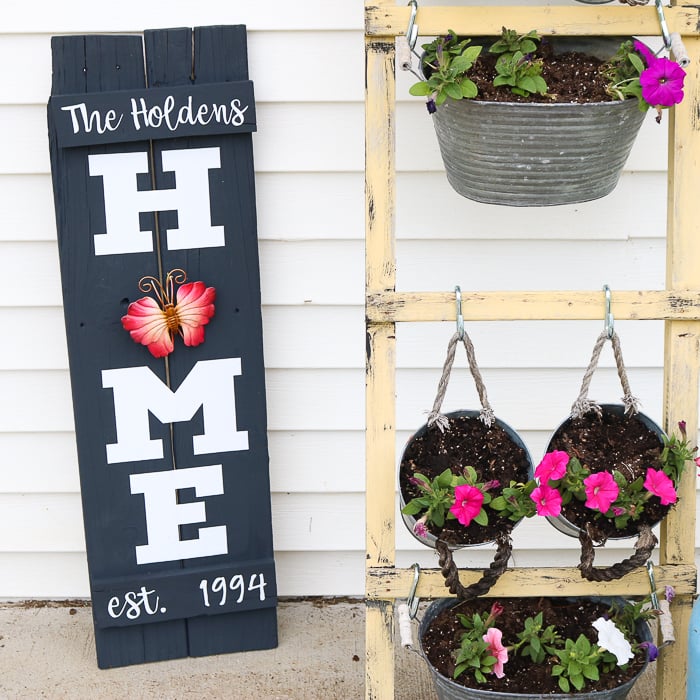
Unique Non-Wreath Decorations For Your Home Sign
Do you know those small metal display pieces that are in the garden section? Use those instead of a wreath, like the example below!
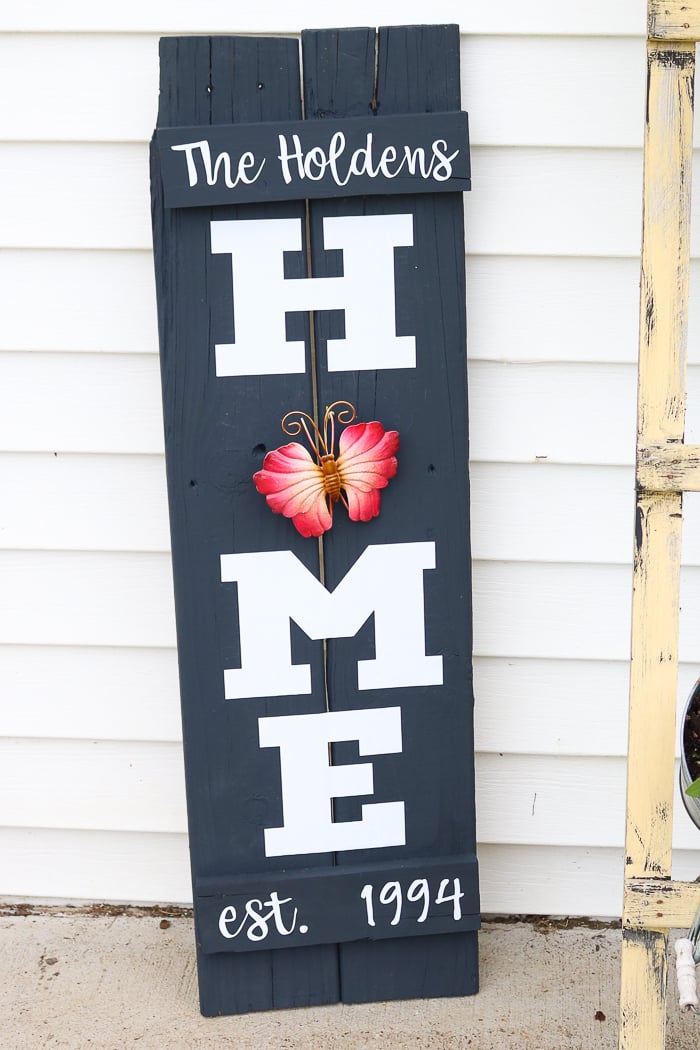
This small butterfly would be great all Spring and Summer. You could even use a flamingo SVG to make a vinyl piece for the ”O” for summer.
You can also look in the wood decor area.
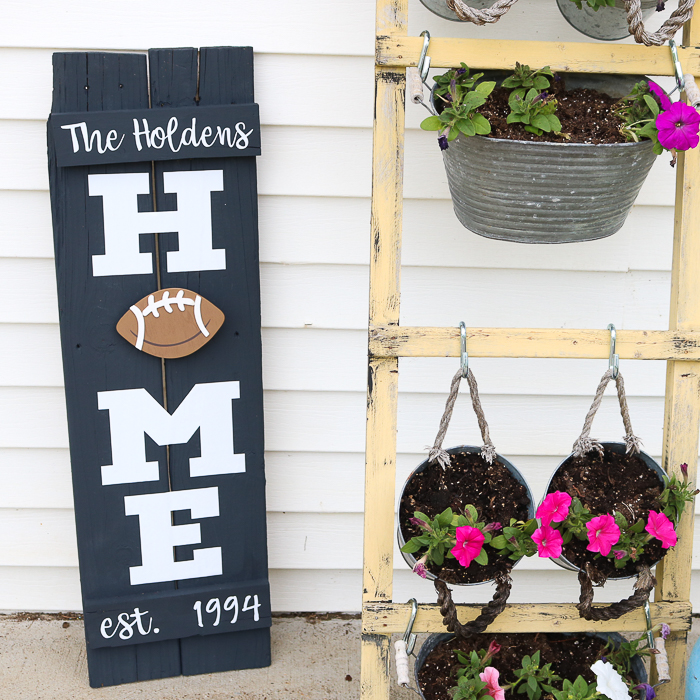
Here I picked up a small football that would be perfect for Fall.
The point is that with this sign, the possibilities are endless! So, be sure to make your own wreath home sign soon and have fun creating and finding wreaths and other decor items to replace the “O”!
FAQs About Wreath Sign
Here are answers to some of the most frequently asked questions I receive about creating this wreath sign. If your question isn’t listed, feel free to drop it in the comments, and I’ll be happy to help!
What Cricut Machine Do You Recommend For This Project?
All of them! The Cricut Maker, Cricut Explore series, Cricut Joy, Cricut Joy Xtra, and Cricut Venture can all be used to create this project.
The only thing to keep in mind is that each Cricut machine differs in terms of project size capabilities and the materials it can cut. So, depending on the size of the sign you are making, you might need to resize the letters or cut them out in a different material.
How Big Do The Letters Need To Be?
The size of the letters you need to make will depend on the size of the sign you are creating. Therefore, my recommendation would be to measure your sign and cut your letters accordingly to that size.
You can also experiment with sizing and conduct some test cuts with regular paper to determine the best size for your sign.
Where Did You Get The Football?
I bought the football at Hobby Lobby in the wooden decor section.
5 More Sign & Wreath Crafts
Did you love this wreath sign and want more sign and wreath crafts? Then check out the projects below!
- DIY Welcome Sign with a Cricut Machine
- Summer Wreath with USA Cutout
- Family SVG Files: 15 Free Cut Files You Need
- How to Make a Silhouette from a Photo with Your Cricut
- Wall Hanging Craft: Felt Leaves Hoop Art


Fantastic site.Thank you
Love the home sign. I am going to make one this week and use my cricut. Love, love, love your tutorials, very easy to understand. Thank you!
When I click on the cut file for the HOME project it loads the file to my Cricut design space. How do I edit the name and date? Thanks!
You should be able to click the name and date and edit from there.
The only thing I can edit is delete it. It won’t allow any text changes. But that’s ok. I can come up with something on my own. I just like the font. Maybe it’s because I don’t have the same font? Thanks!
You are right! Just use Babette font and then move the letters close together and weld them before cutting.
Alice,
Did you find a font closest to Babette font? I love it too
Thanks,
Since I do not own a Cricut but different machine I cannot open the file. Could you tell how big the letters are. Might be able to create something. Thank you
The sizing will depend on how large your sign is?
Great idea but I do not own a Cricut but a different electronic cutting machine. Would like to know how big the letters to create .
I would just size them to your board as each one will be different.
Would this be a project I could use iron-on vinyl to make? And if so, do I need to do a poly-urethane coat over my stain before or after I iron the vinyl on?
Yes you can. I usually do a stain then an HTV that presses at a low temp for a short time.
What font did you use for the name