
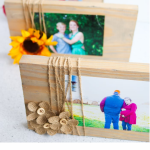
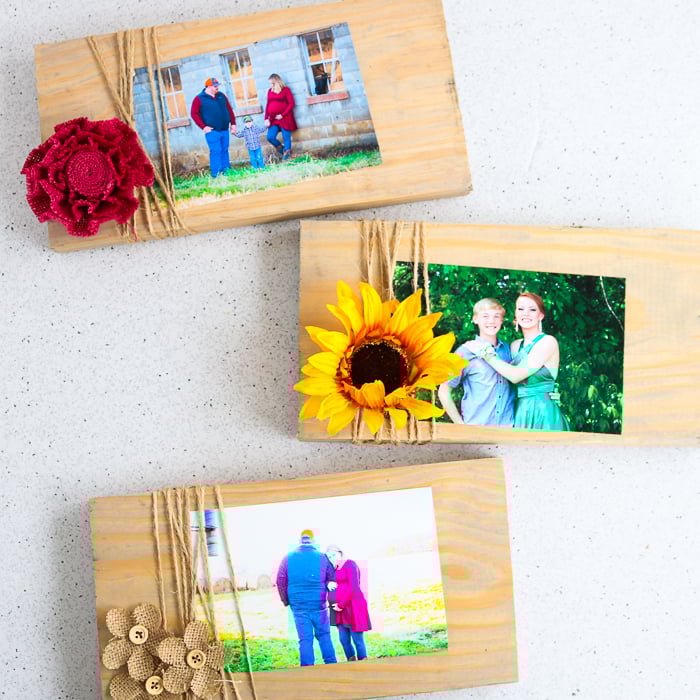
Are you ready to learn how to make a picture frame from scrap wood? Making picture frames has never been easier, and you can add these rustic beauties to just about every room of your home. You can actually make your own picture frame or even make up a big batch of these to give as gifts. Just grab your supplies and start turning that pile of scrap wood into something amazing!
How to Make a Picture Frame – Video Tutorial
Want to see exactly how to make a picture frame in a quick video? I am sharing below just how easy this project can be, and you can watch it in just a few minutes.
.
Can't watch the video or missed some of the steps? Keep reading for details on how to make your own picture frame
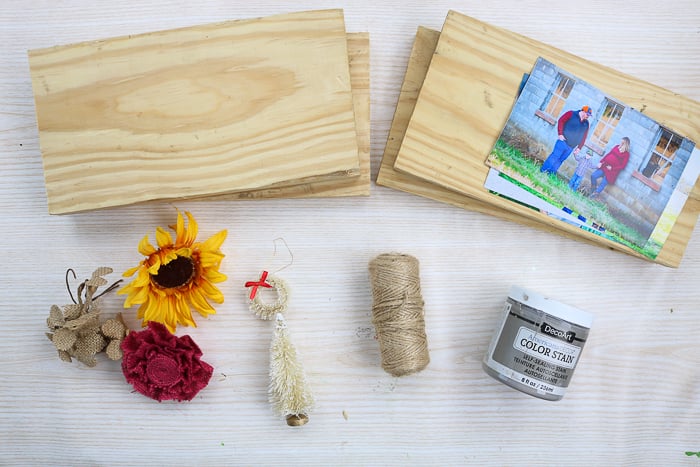
Supplies Needed To Make a Scrap Wood Picture Frame
- Scrap wood pieces
- Wood stain (I used grey)
- Paintbrush
- Rag
- Twine
- Embellishments
- Hot glue and a glue gun
- Pictures
How to Make a Picture Frame Using Scrap Wood
Step 1: Trim Wood Boards
Trim boards to whatever size you like. Mine were actually the ends from a project, and the perfect size for making picture frames. You can also sand your boards if needed.
Step 2: Clean Wood Boards
Clean the boards well before continuing.
Step 3: Stain Wood Boards
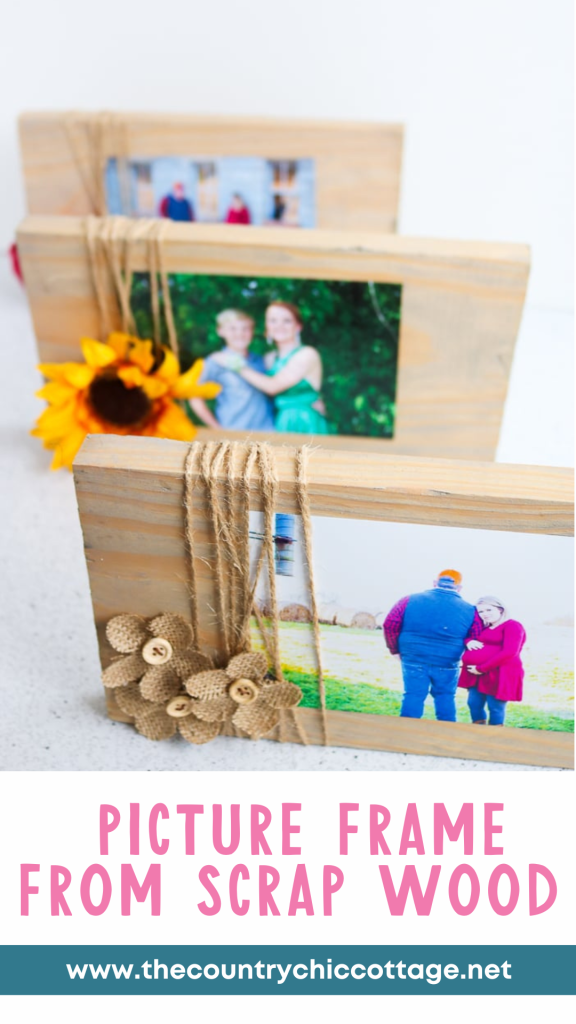
Then stain the boards in the color of your choice. I am using a grey stain for a weathered look, but you can use any stain that matches your home for this project. Just paint on the stain with a paintbrush, allow to sit a few minutes, then wipe away any excess with a rag.
Step 4: Wrap Twine Around Boards
Once completely dry, wrap twine around one end of the board several times. Tie a knot in the back to hold in place.
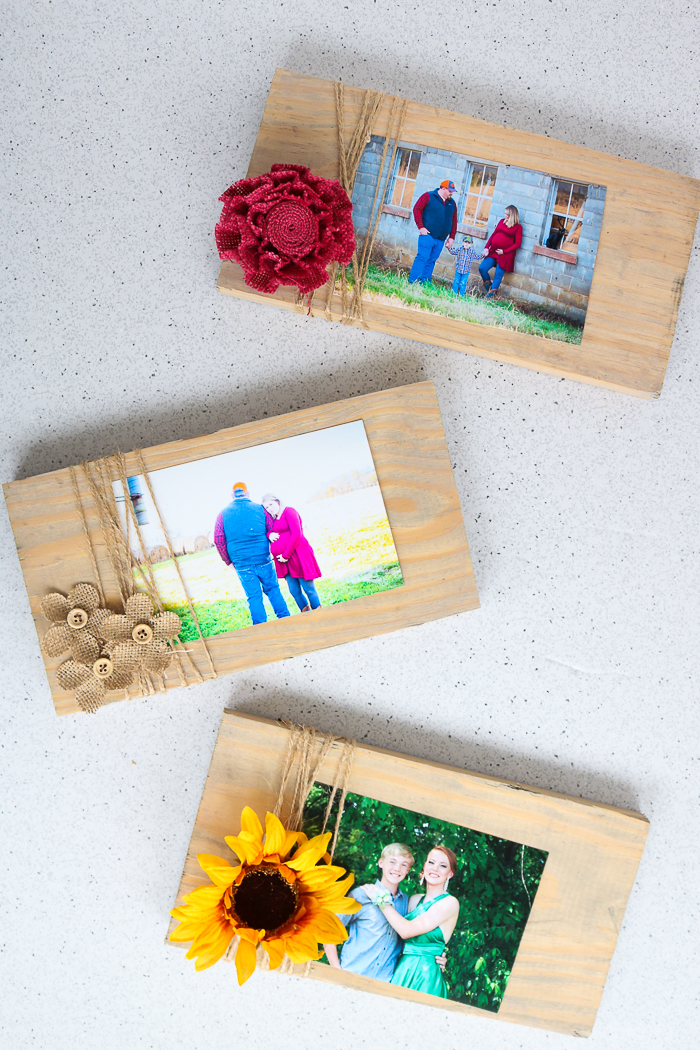
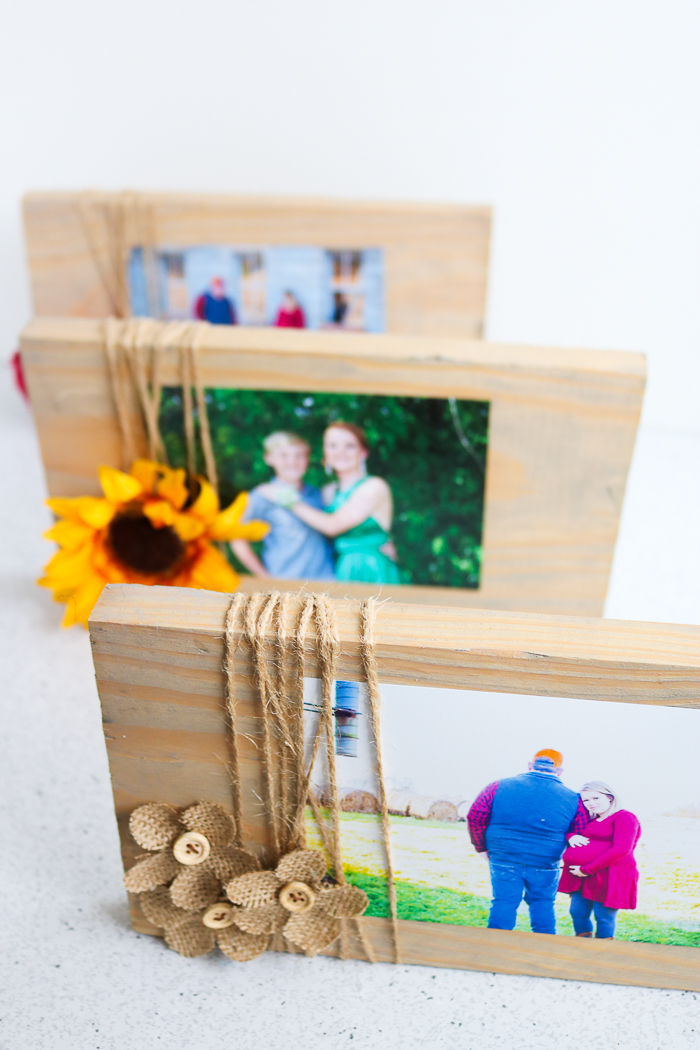
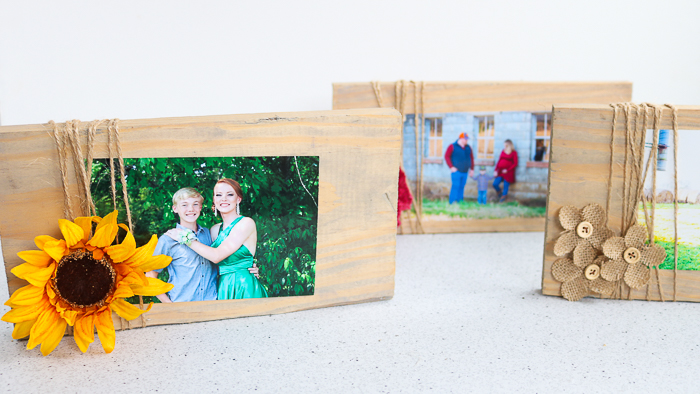
Step 5: Add Embellishments And Photo
Then, complete your project by adding on some embellishments with hot glue. I chose sunflowers, burlap flowers, and even some seasonal decorations for my rustic frames, but you can use anything you like.
Once your embellishments are glued on, slide your photo into place.

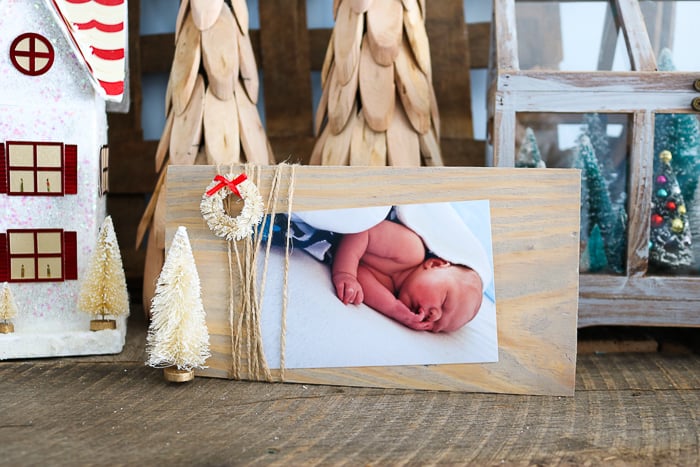
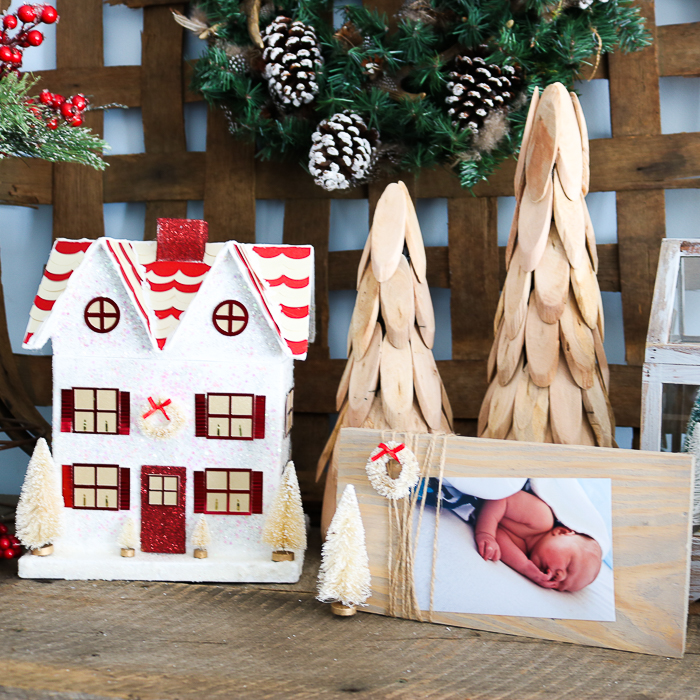
Be sure to grab the supplies to make your own picture frame today. You can make them for everyday use and also a few for your seasonal decor. You can see the one that was on my mantel this holiday season below.
Using this method for making picture frames is inexpensive enough that you can whip up some for every holiday and occasion.
So, what do you think of this method for how to make a picture frame? Super simple, right?
Know someone on your gift list who can use one of these rustic, farmhouse frames? Make them one in just minutes for a little surprise!
Making picture frames has never been easier…or cuter for that matter!
I would love to see your results if you use this tutorial to make your own picture frame! So, be sure to tag us on social media with yours!
Tips and Tricks for Scrap Wood Picture Frame
Now that you’ve seen this scrap wood picture frame, are you ready to make your own? Here are a few tips and tricks to help!
- Get Scrap Wood At The Craft Store – If you don't have any scrap wood lying around your house and you don't want to go to the hardware store, check out your local craft store. In the unfinished wood section, they usually have pieces of wood that you can buy that either resemble scrap wood or are scrap pieces of wood.
- No Stain? No Problem! – If you don't have a stain, that's no problem! To make your own faux stain, grab the paint color of your choice, add a bit of water to the paint, and mix it up. Then take that mixture and paint it on your scrap wood, and wipe off the excess with a paper towel.
- Use All Your Embellishments – When making this project, you can use a variety of embellishments to decorate the frame. Above, you will see that I used fake flowers, burlap flowers, and even a bottle bush tree! However, you can use buttons, wax seals, beads, miniatures, or whatever you have in your stash!
- Make Frames For All The Holidays & Events – These frames can be customized in so many ways and would be perfect for any holiday or event! Below is a short list of some other ways you can use these frames, but the possibilities are endless!
- Weddings
- Pets
- School Events
- Sport Teams
- Holidays
- Seasonal Events (pumpkin patch, strawberry picking, etc.)
8 More Scrap Wood Projects
Do you love this tutorial on how to make a picture frame, and want more scrap wood crafts? Check out the projects below!
- Carpenter Bee Traps
- Rustic Wall Art from a Wood Slice
- Hunger Games Love Quote Sign in Barnwood
- Easter Bunnies from Scrap Wood
- Rustic American Flag From Wood Scraps
- Scrap Wood Projects: Reversible Pumpkins and Snowmen
- 40 DIY Scrap Wood Projects You Can Make
- 71 more ideas for scrap wood!


Do you have a newsletter? If so, do you send out blog posts like these to your list? I would be interested in signing up if you do.
There is a sign up box at the bottom of this page.
Looking for grave decorations for a mans grave
Frames are lovely. For once, I actually have the items needed to make this craft and shall have a go at doing them.
Thank you for the tutorial.
Deirdre