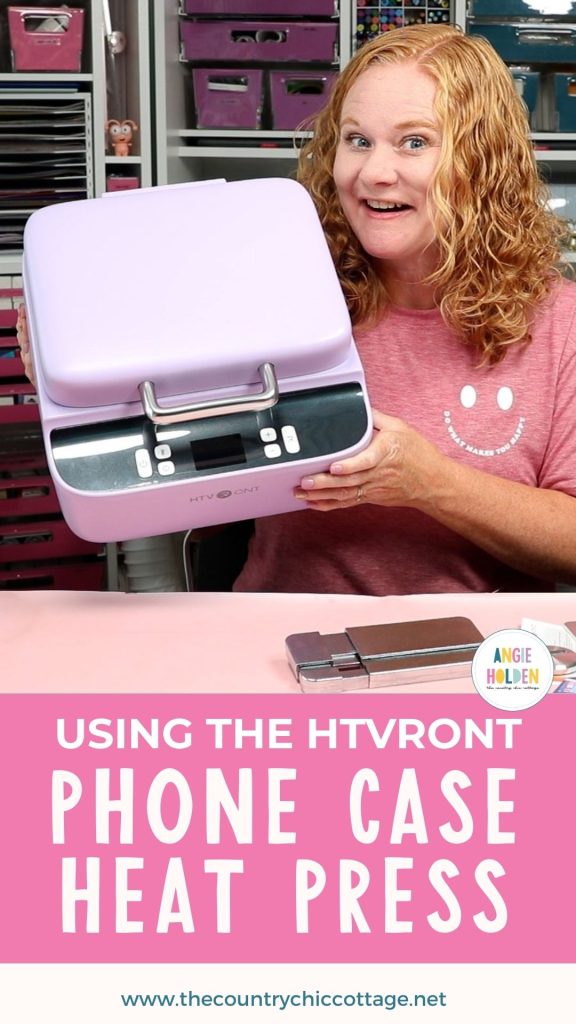
Have you ever wanted to create your own custom phone cases? The HTVRont Phone Case heat press can be used to create the perfect phone case for you.
This phone case heat press works with sublimation prints. If you're new to sublimation, my Sublimation Beginner's Guide is a great starting point.
I am going to set up the heat press and make a custom phone case from start to finish. I really think you're going to like the results you can get with this heat press.
You can watch me set up the press and make this fun book-themed phone case by pressing play on the video below.
HTVRont Phone Case Heat Press
Let's take a closer look at the heat press itself before making a project.
Why a special heat press for phone cases?
Why would you want a heat press specifically to make phone cases? With this heat press, you can wrap the design all the way around the edge of blanks, giving you a very professional-looking finished product.
The HTVRont Phone Case heat press is a vacuum press made specifically for phone cases in different sizes.
What Comes with the HTVRont Phone Case Heat Press?
Most of the supplies you need come with the heat press itself, but you will need a design and a sublimation printer to print the design. You'll also need the phone case blank.
When you open the box, you'll see that the heat press comes fully assembled. All you need to do to use it is plug it in.
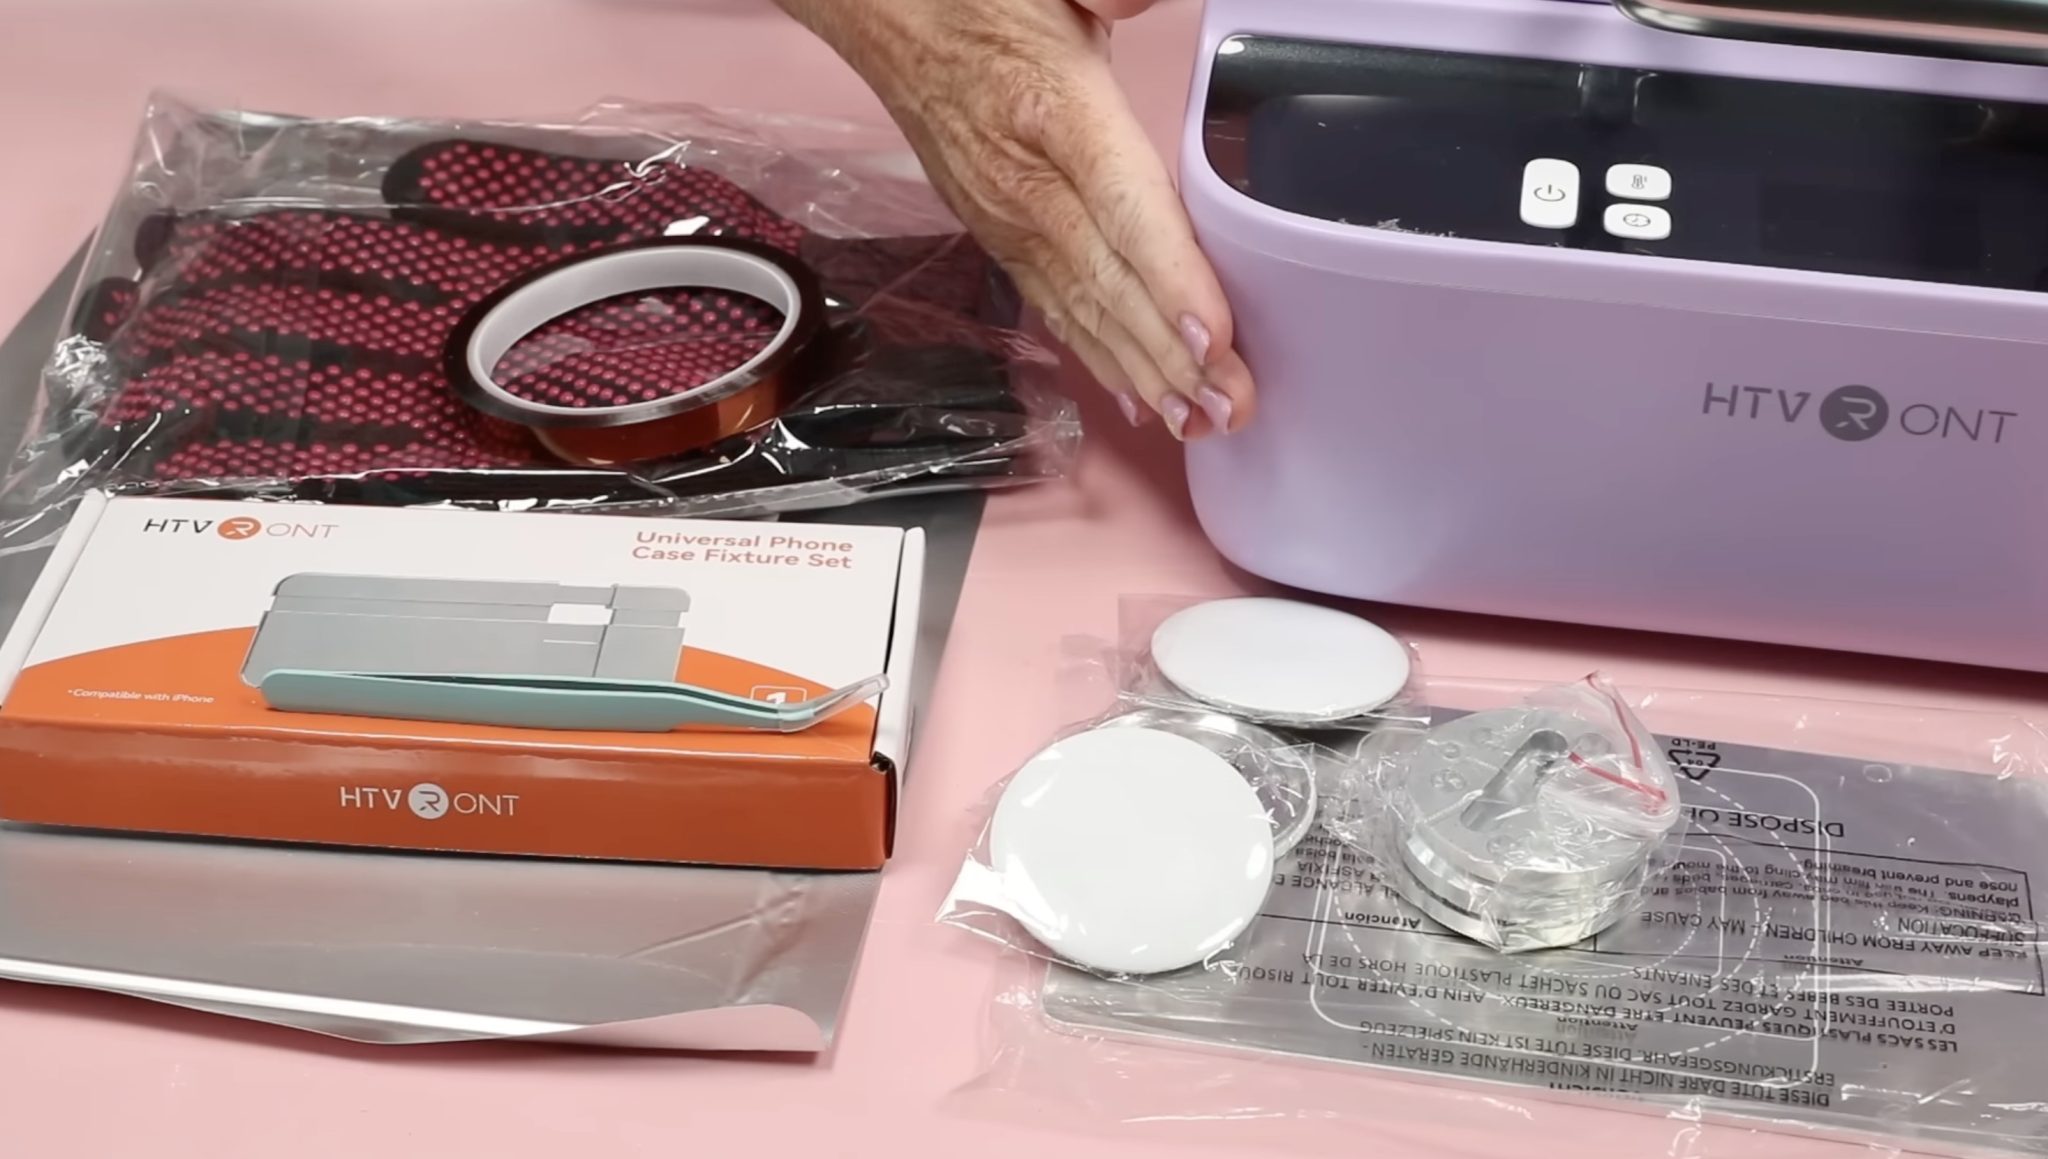
Depending on where you purchase the heat press, it may include items different than what I list here. Mine came with a couple of fixtures, including one for cell phone cases and one for buttons. It also came with three blank buttons so you can test those.
You may need a different fixture for your blanks, so make sure you have the right fixture for the blank you're using.
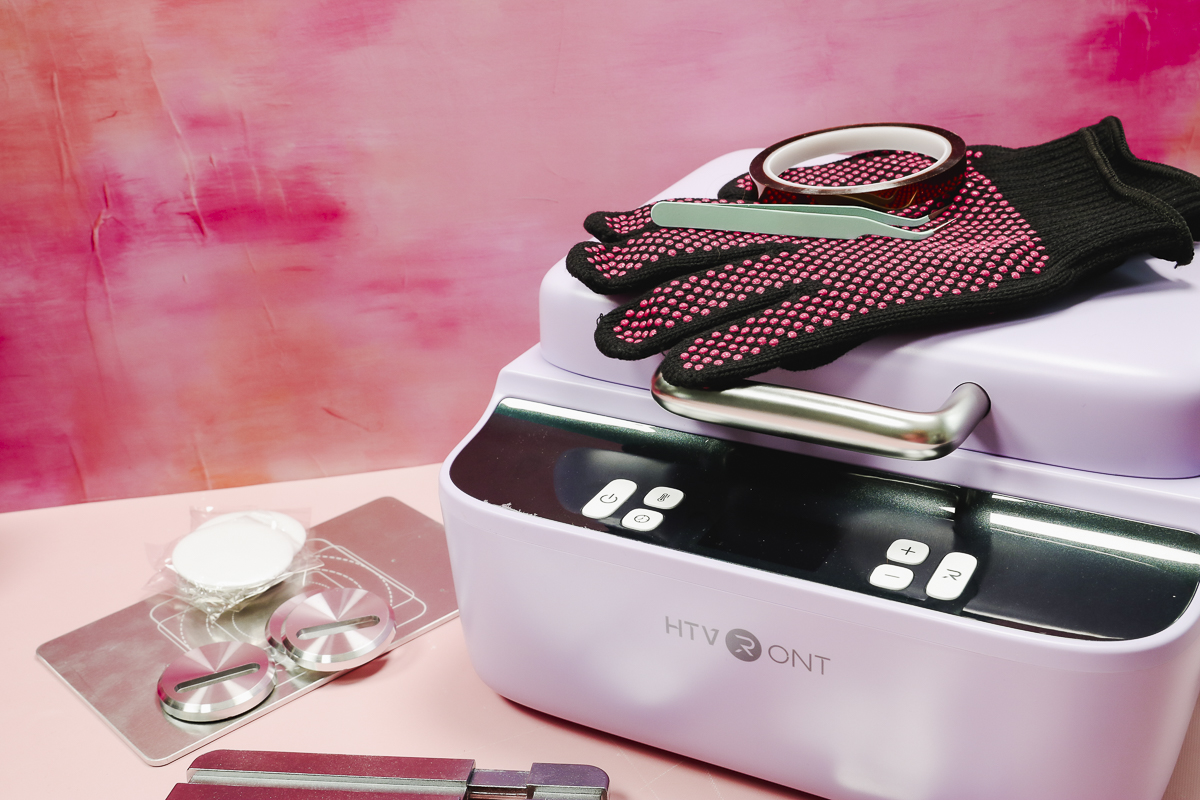
It also came with a pair of tweezers, heat-resistant tape, a pair of heat-resistant gloves, and a package of sublimation film.
How to Use the Heat Press
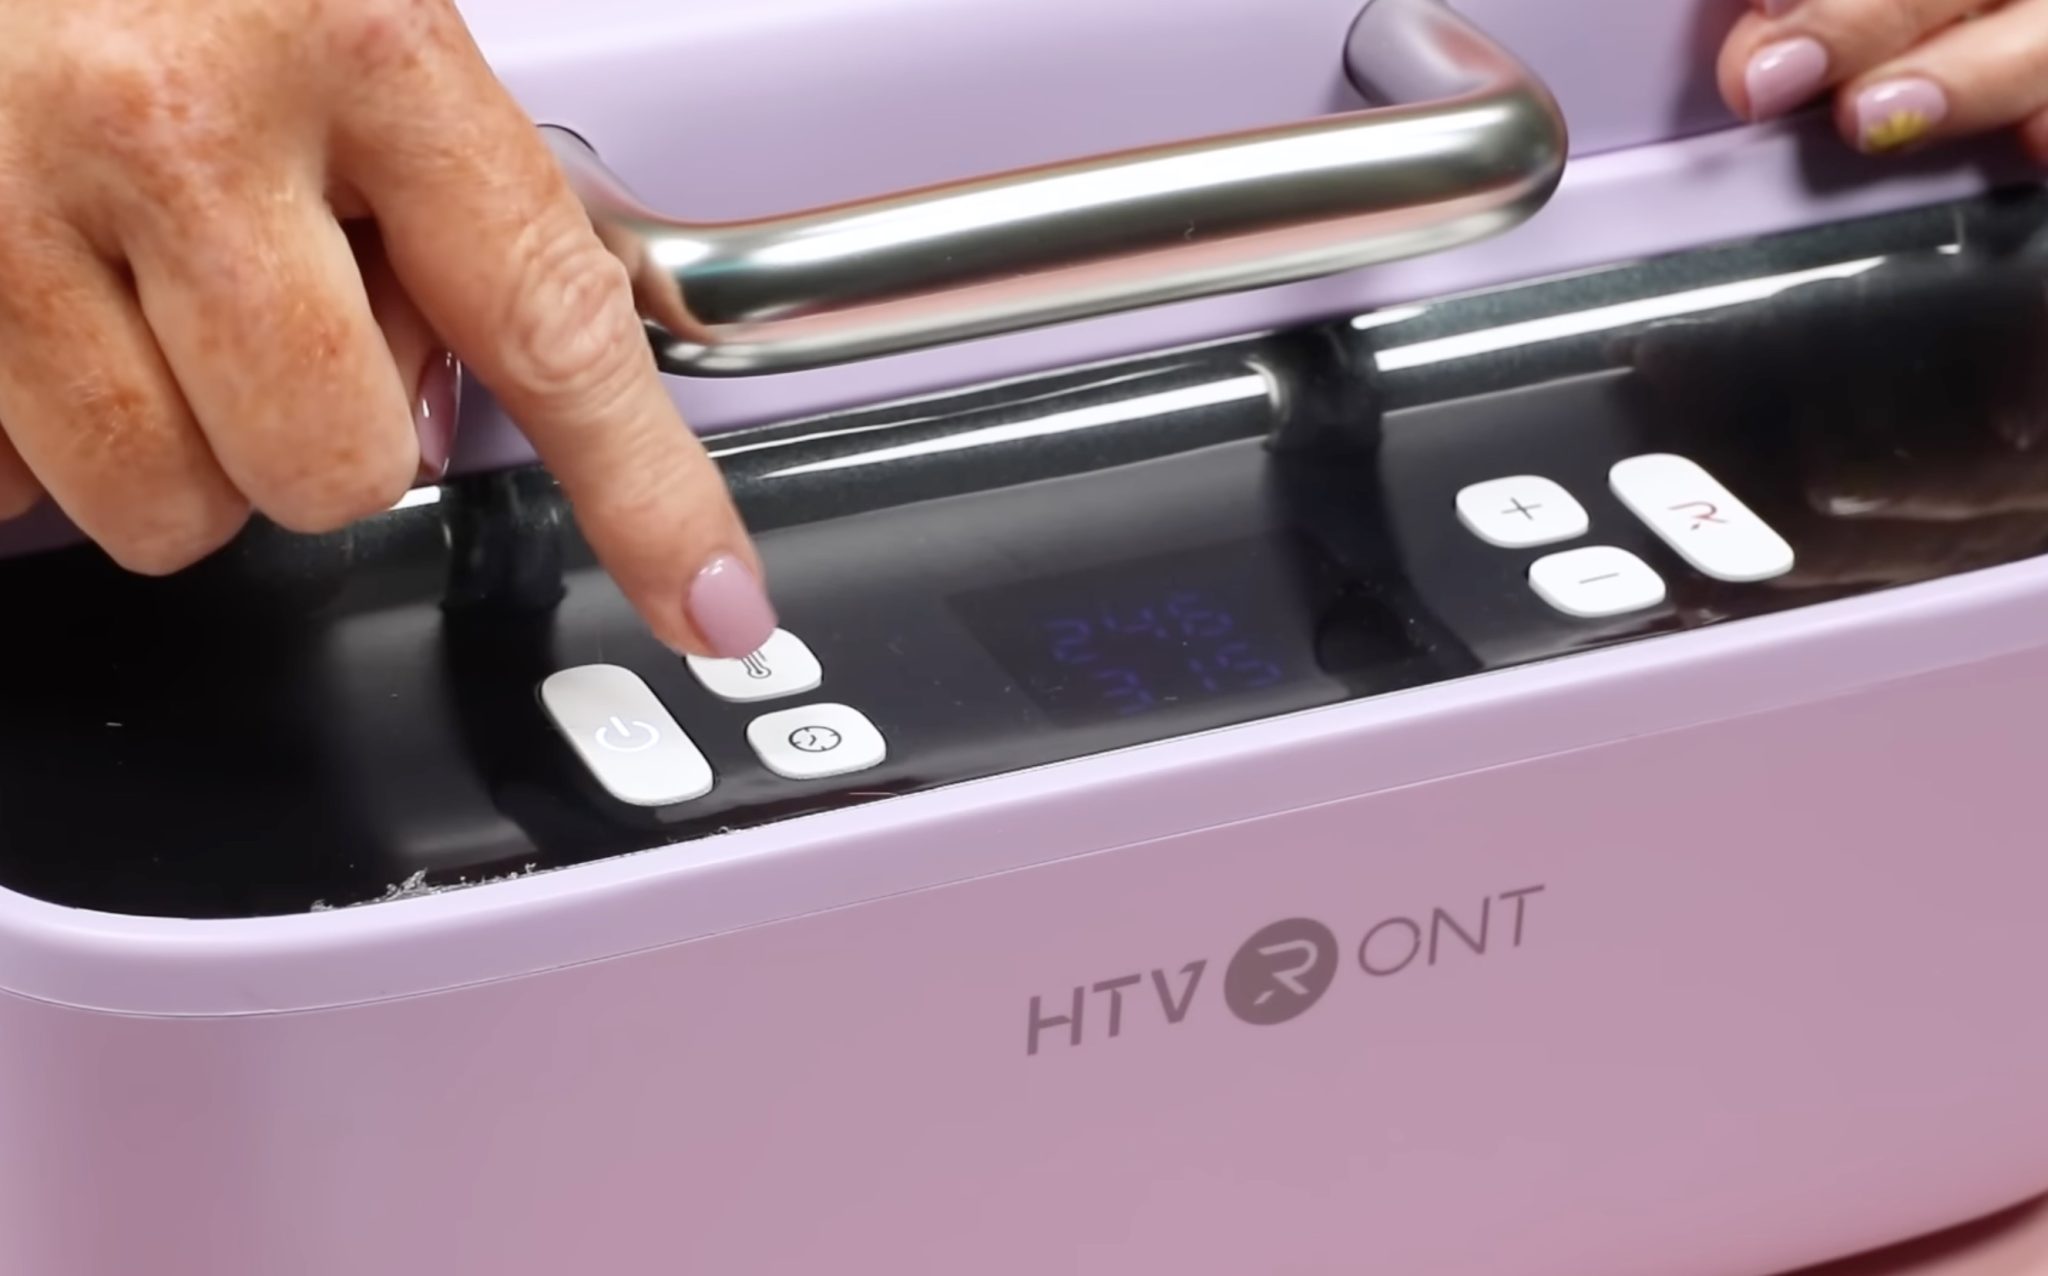
To use the phone case heat press, you simply plug it in and power it on.
There is an upper heat plate and a lower heat plate, and you'll need to set the temperature for both.
Press the temperature button once, and it will turn yellow. That is the temperature for the upper heat plate. Adjust the temperature and then press the button again. When it is red, you're adjusting the temperature for the bottom heat plate.
You may get blanks that have different temperature settings for the top and bottom plates. For this phone case, the temperature is the same for both.
When setting the time, you'll have a similar experience. Press the time button once, and when the light is yellow, you're setting the preheat time. Press the button again, and the light turns red. The red light is the heat transfer time.
Adjust both the time and temperature with the + and – buttons. When you have them set and everything is ready to go, press the R to start the process.
A Look Inside the Phone Case Heat Press
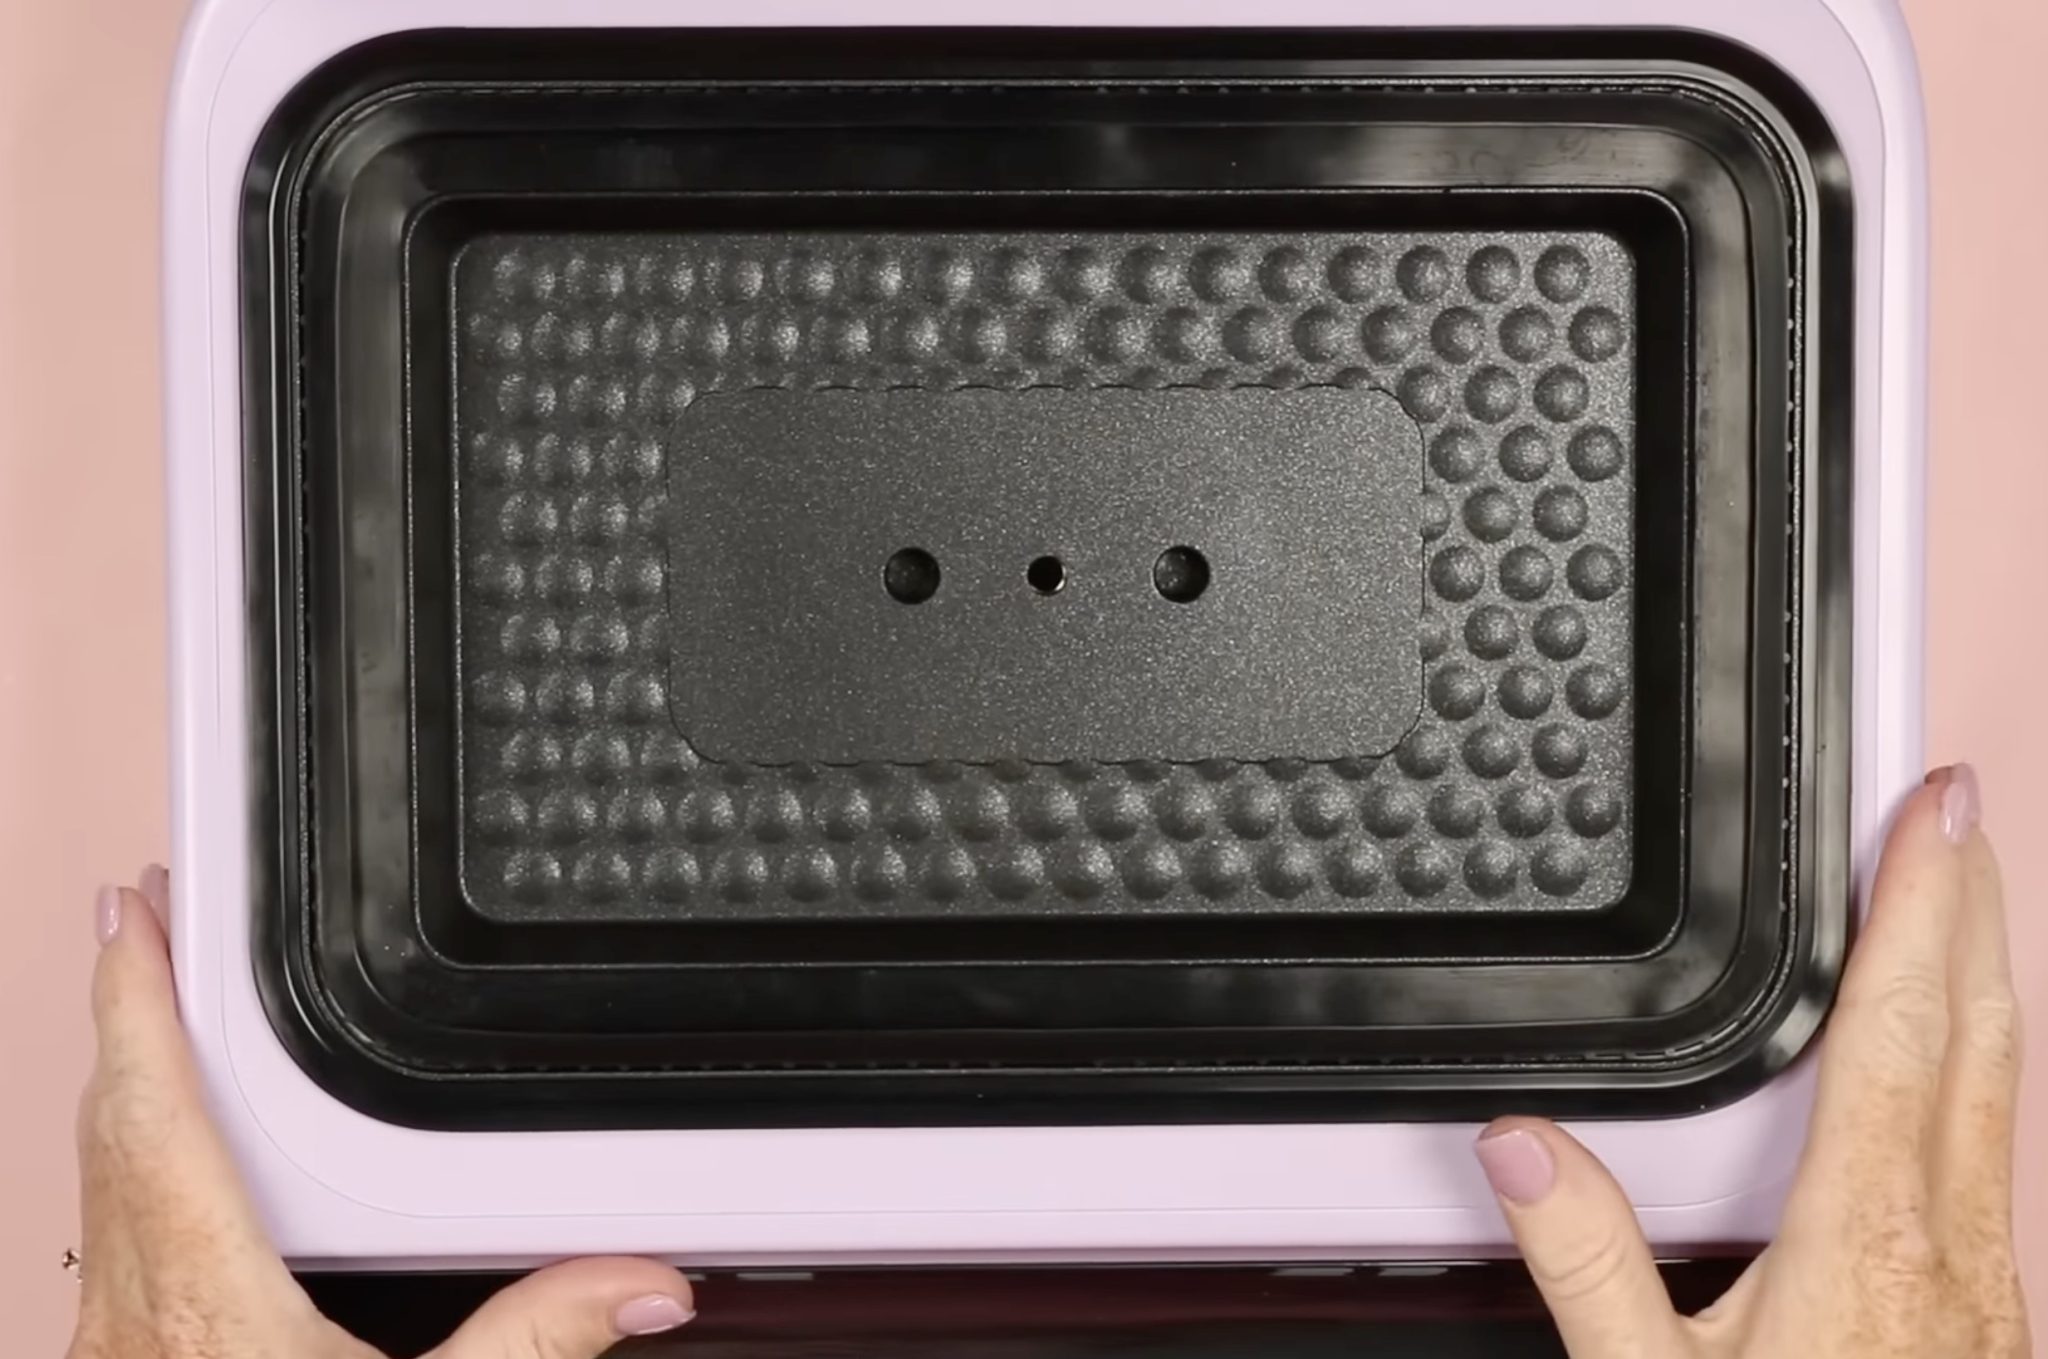
When you open the top of the phone case heat press, you'll see that there is an area on the bottom that you'll place your blank on.
There is a seal around the top and bottom, and your blank needs to fit within that area, and it can't be so thick that it prevents the lid from closing.
The bottom heat plate has a few holes across it, and those holes will help locate the fixtures in the correct place.
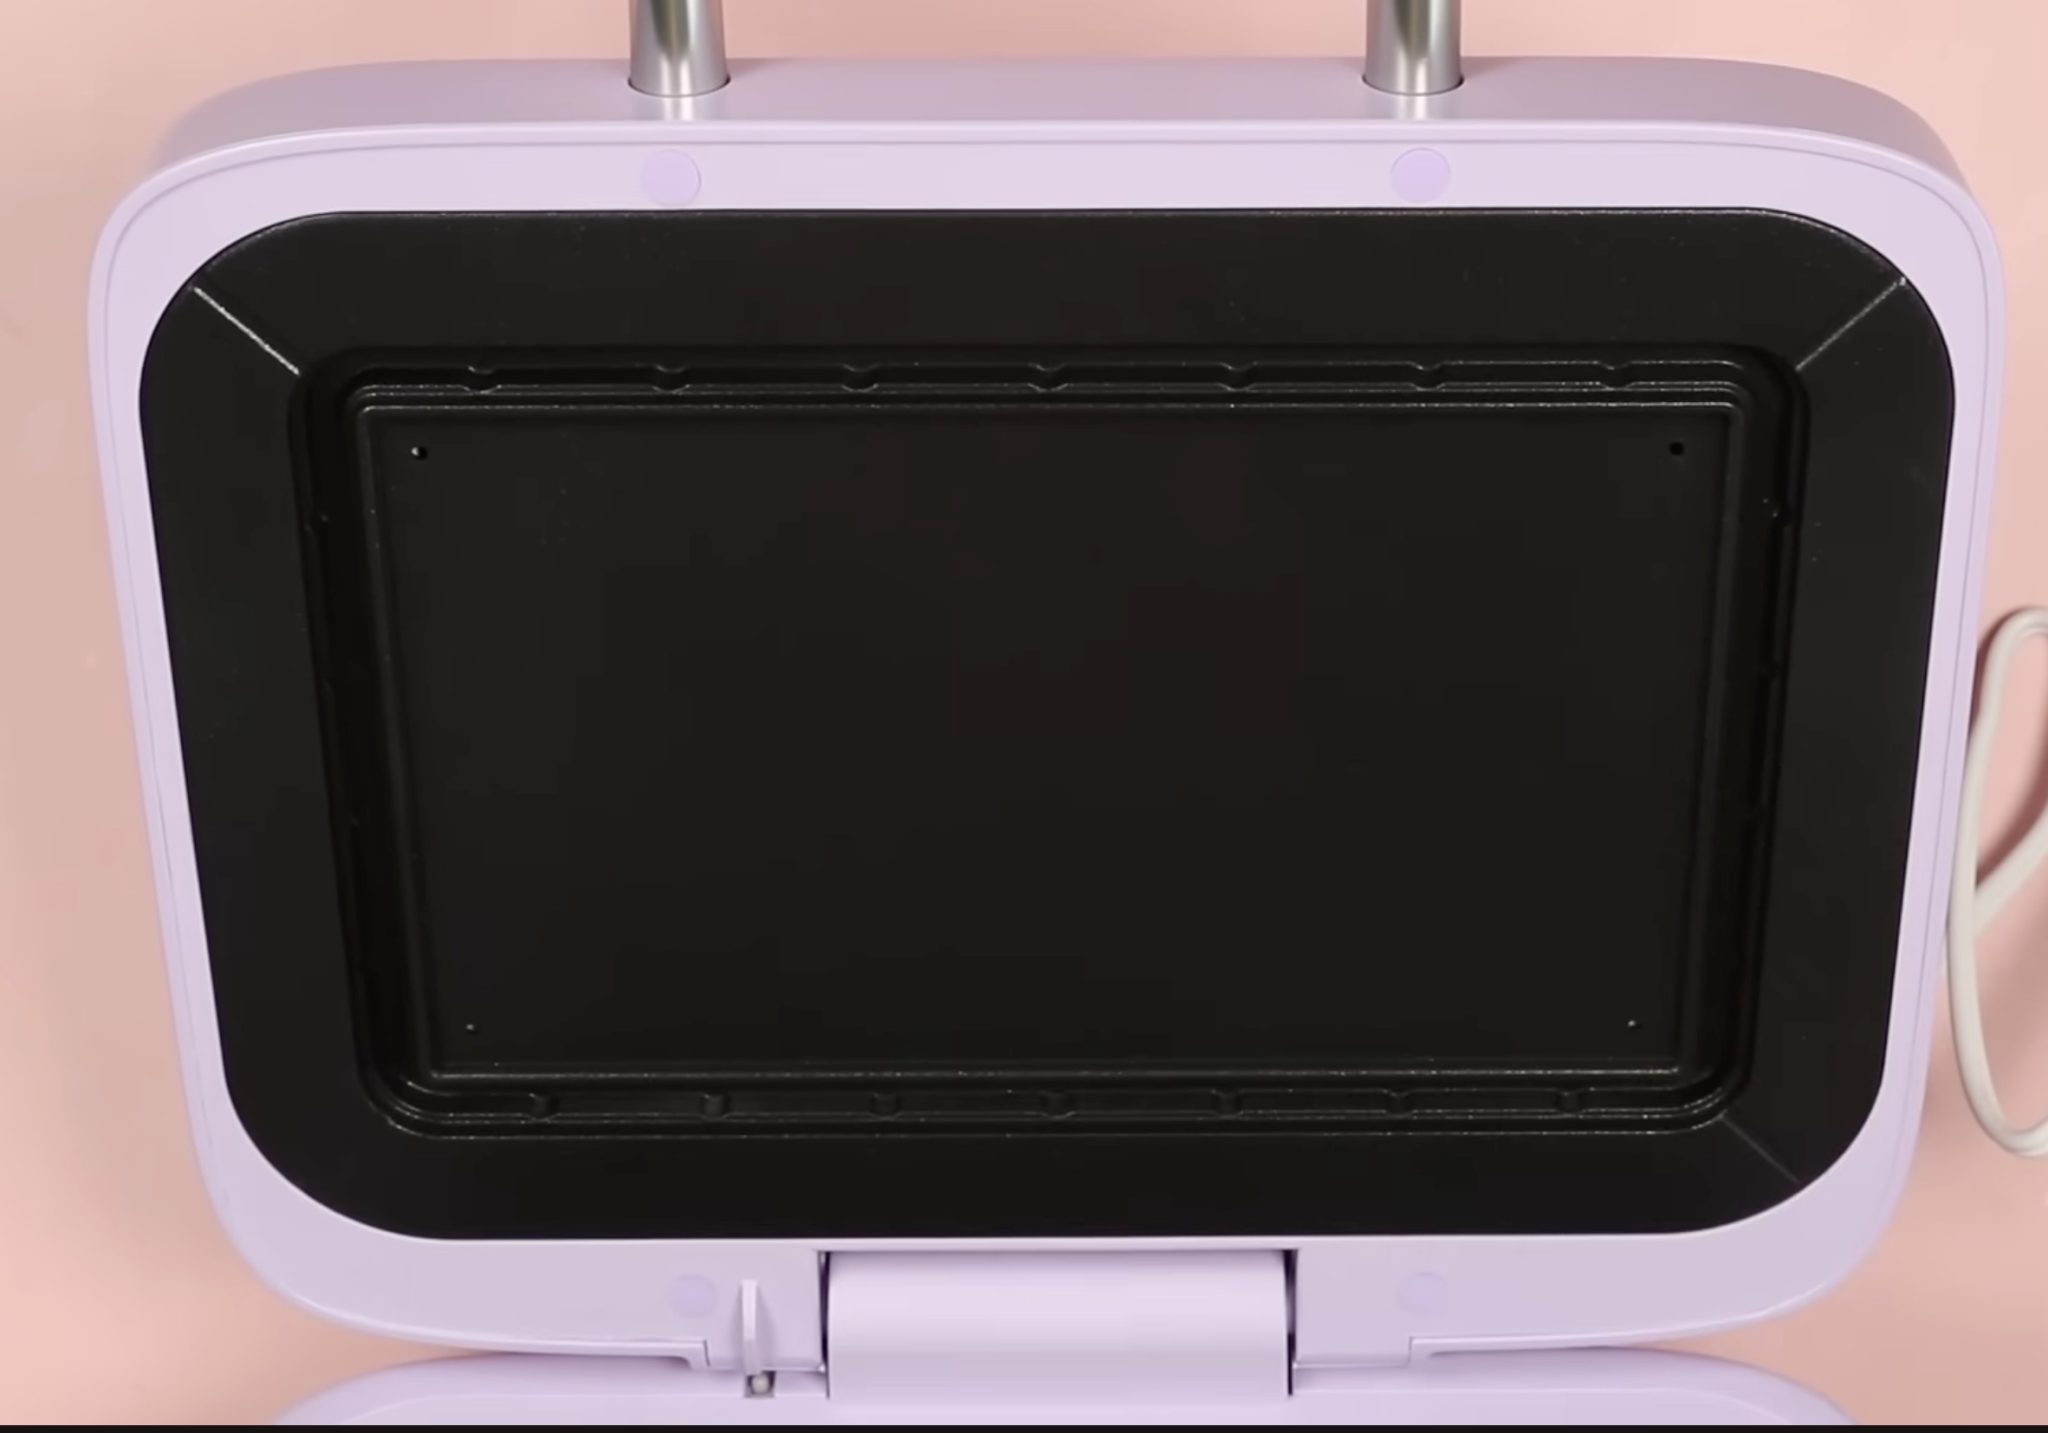
The top heat plate is smooth, but it has a seal area around the heat plate, and your blank has to fit within that area.
Phone Case Heat Press Fixtures
There are a variety of different fixtures you can use in the phone case heat press.
First, let's look at the flat fixture.
This fixture is used with flat surfaces, including coasters, badges, keychains, etc.

When you flip the flat fixture over, you'll see there are a few holes. These holes are for lining up the button fixtures. You can press 3 buttons at a time with the phone case heat press.
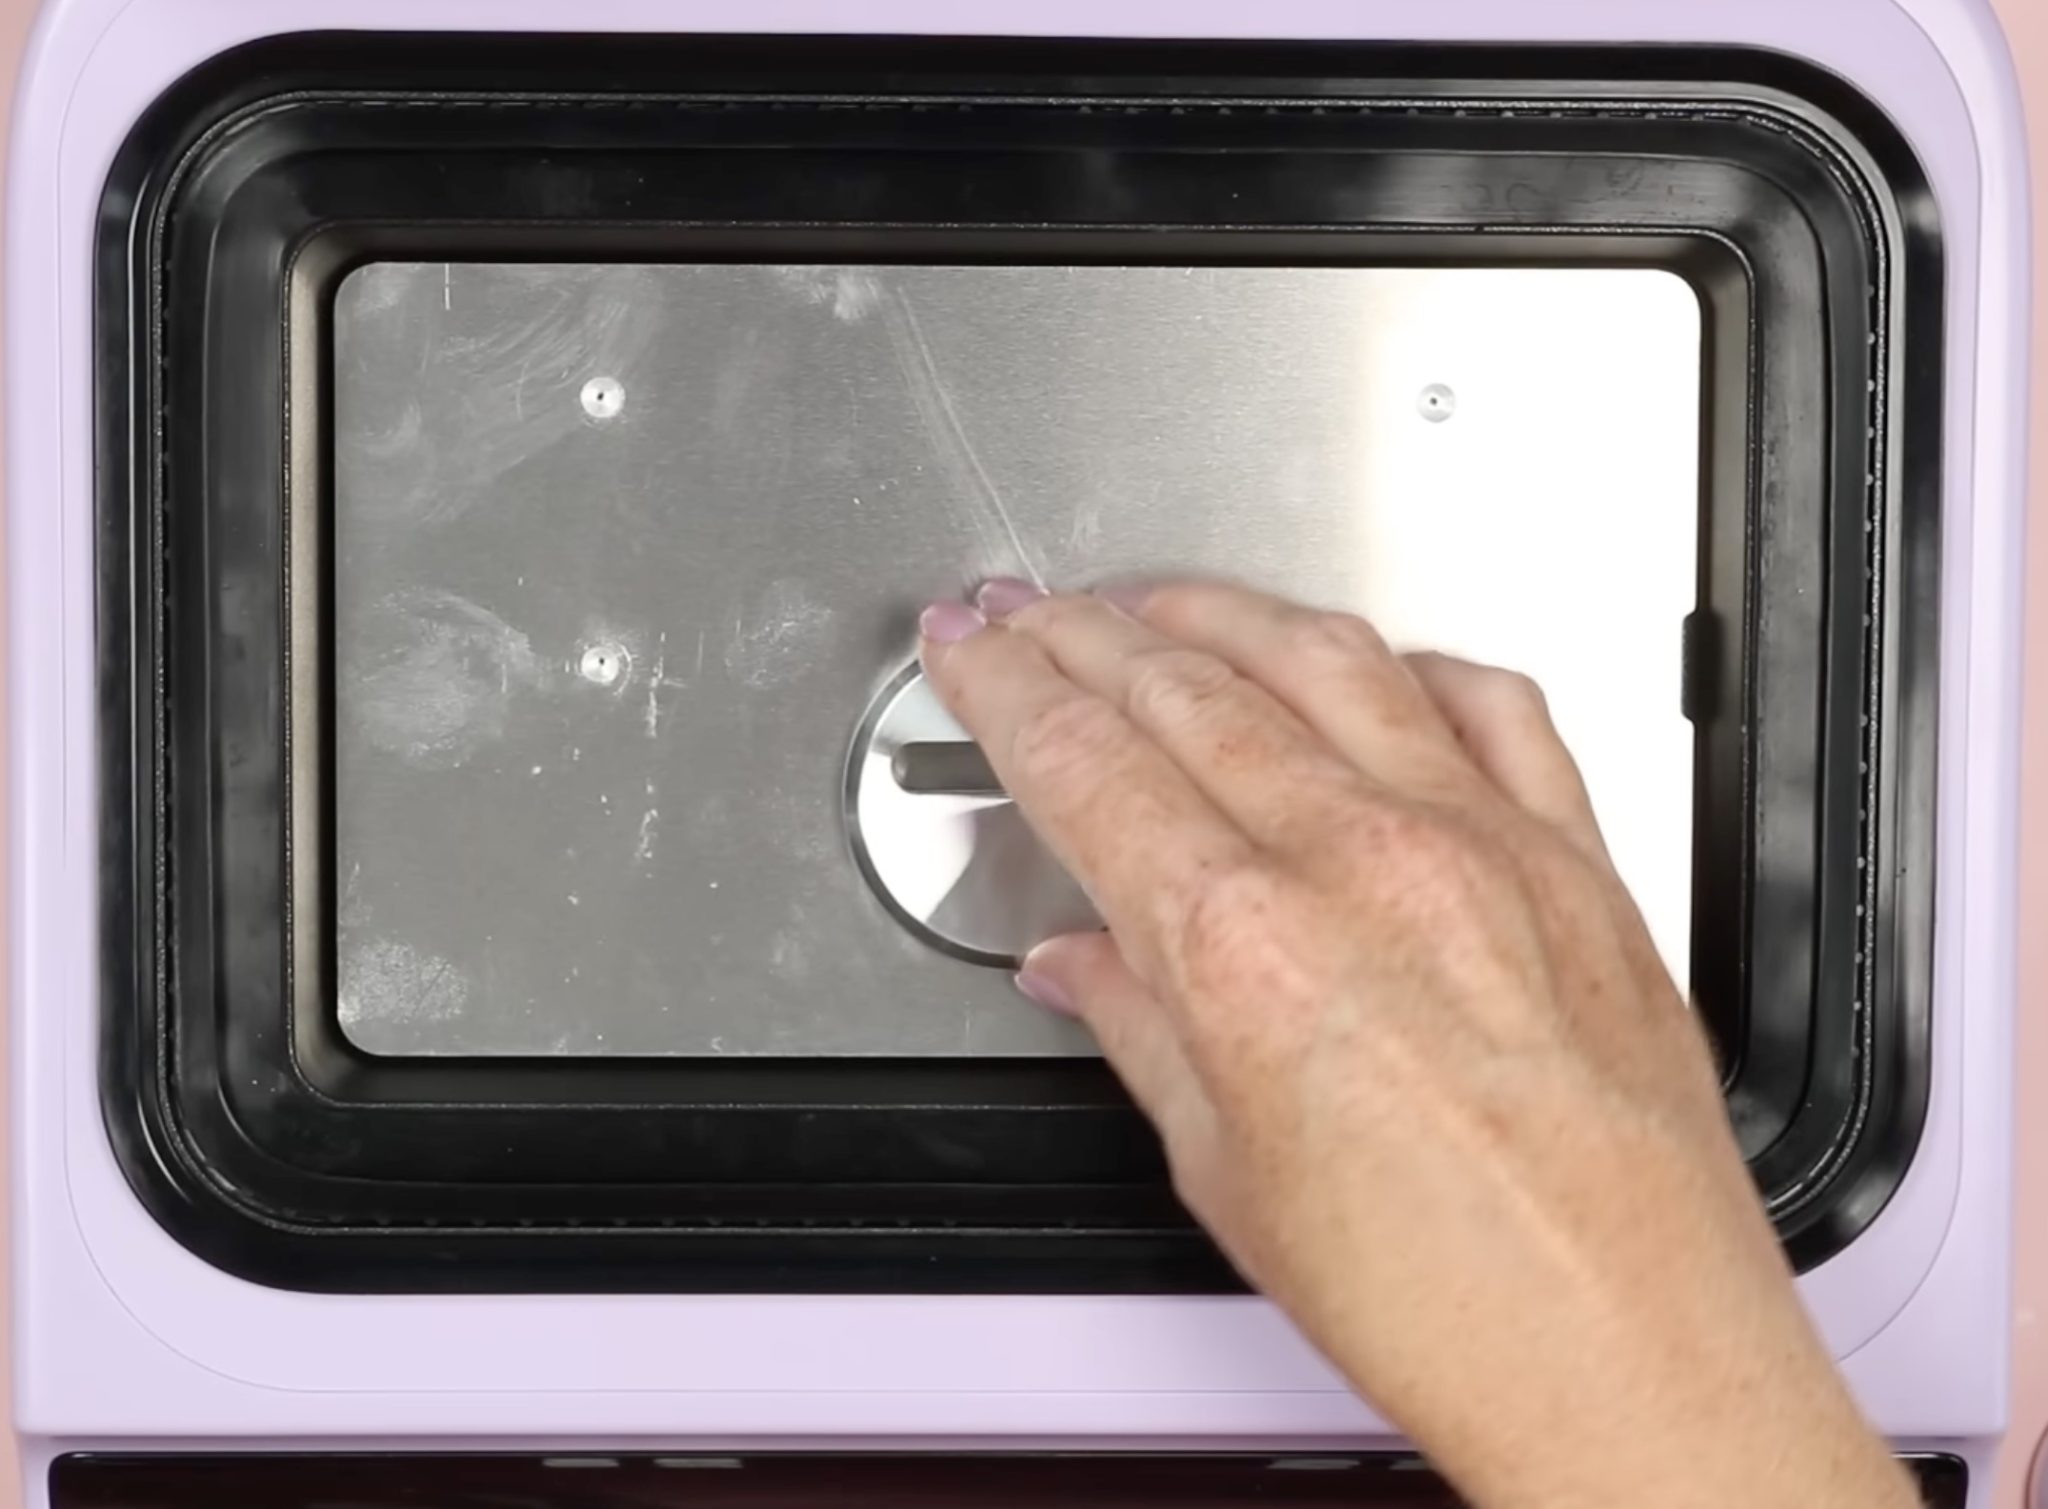
There are a couple of different fixtures for phone cases. I am doing an iPhone case today. This fixture can be used for multiple sizes of iPhone cases.
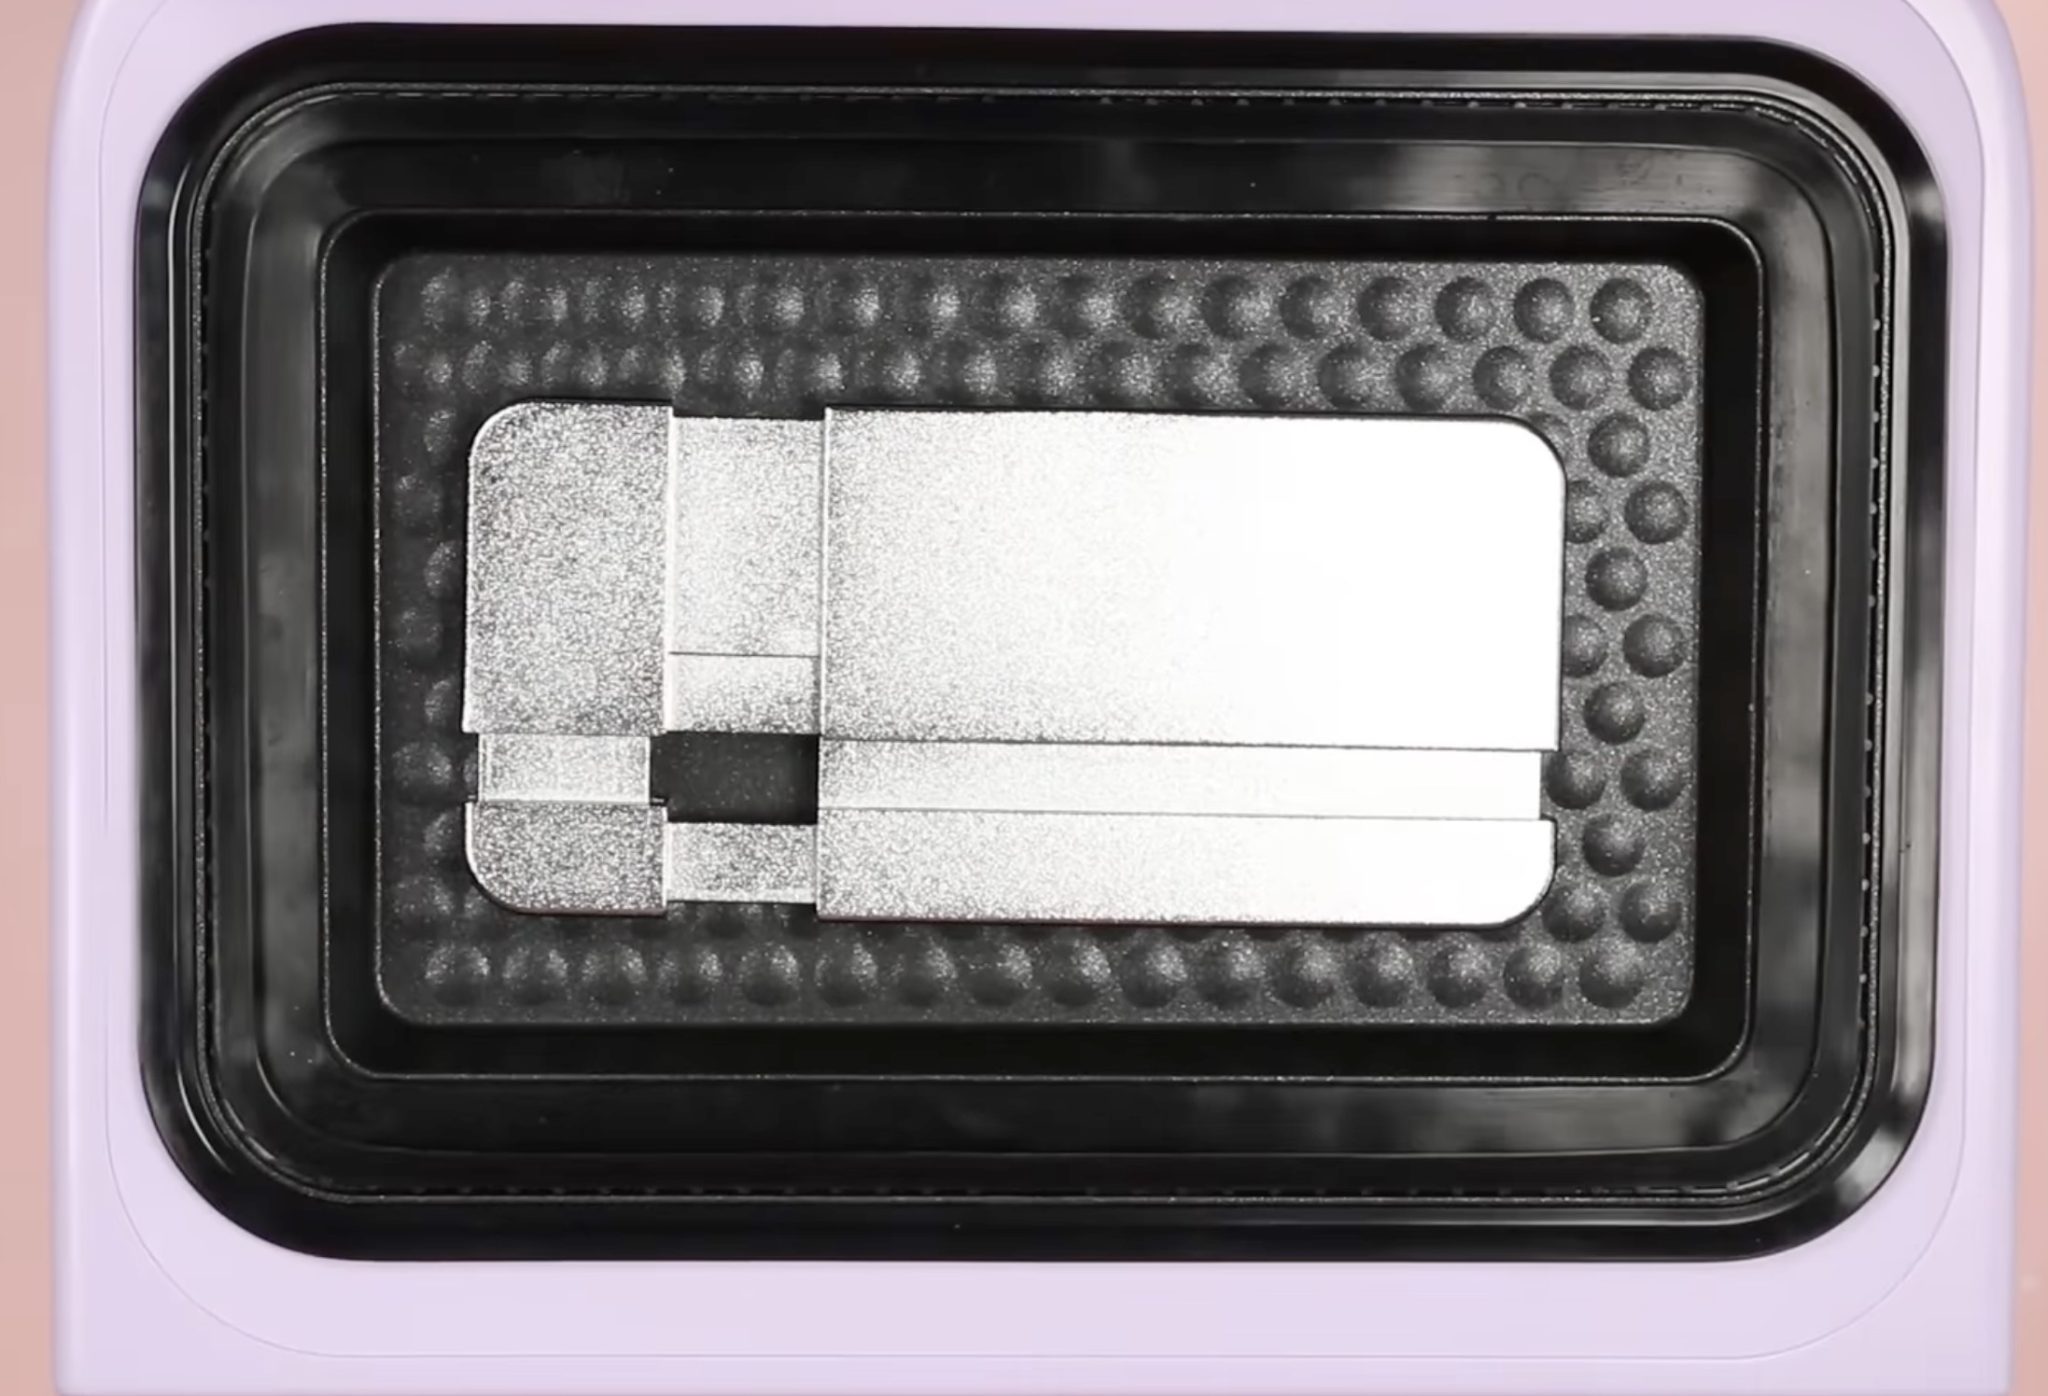
There are holes on the bottom of the heat press, and the phone case fixture slides into those holes to hold it in place.
How to Make Custom Phone Cases with a Phone Case Heat Press
There are several steps to creating a custom sublimation phone case, but it was much simpler than I anticipated, and I know you'll be thrilled with the results you get.
In this tutorial, I'm going to make a sublimation phone case, but keep reading. It's not only phone cases you can make. You can make coasters, pet tags, buttons, and more.
Supplies Used:
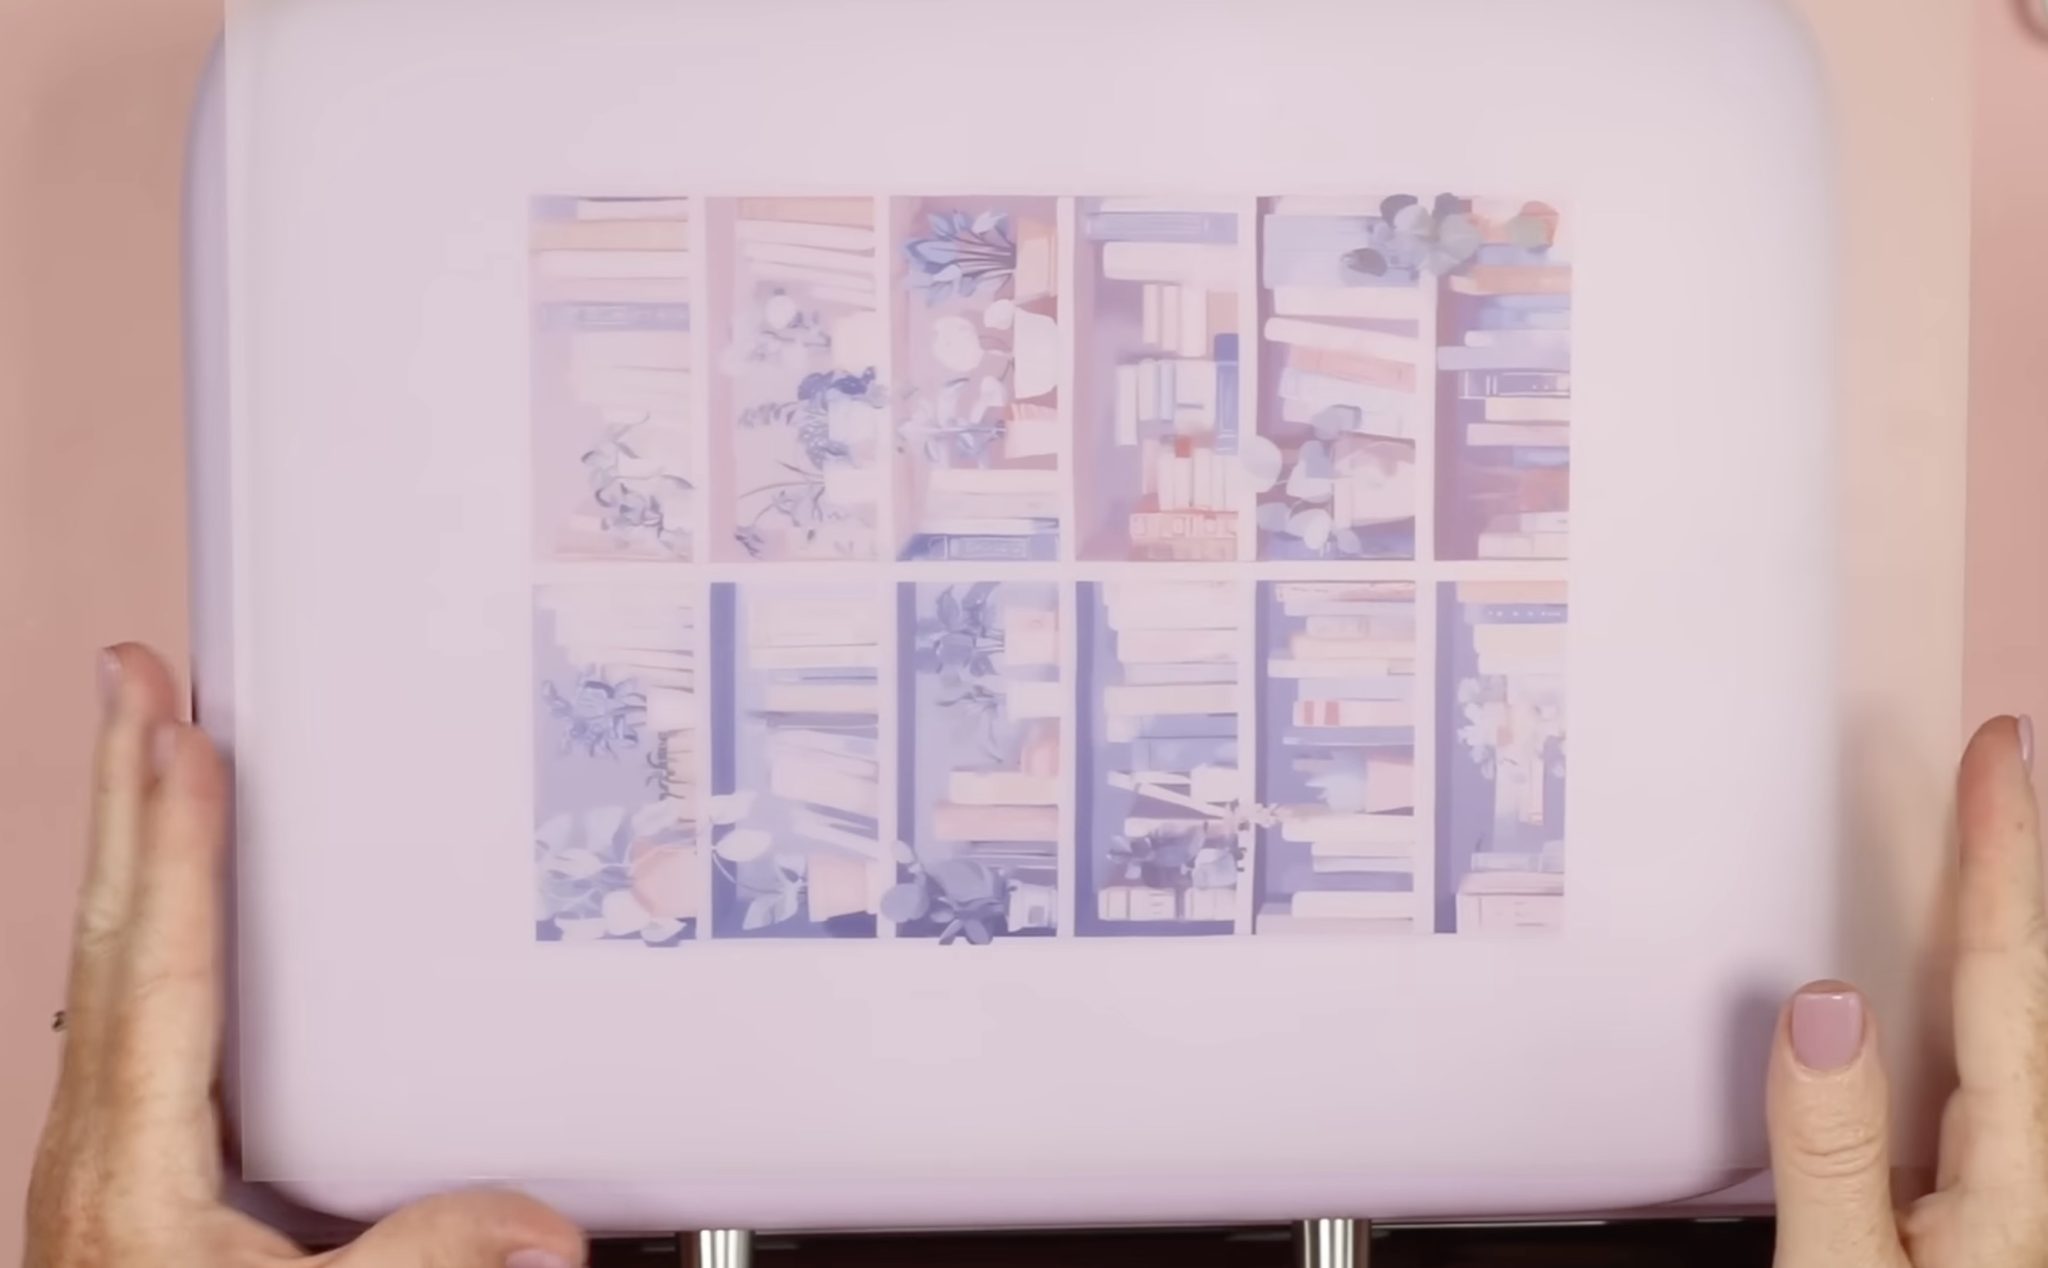
- Free Bookshelf Design
- HTVRont Phone Case Heat Press
- Phone Case Fixture
- Sublimation Film
- Sublimation Phone Case Blank
- Sublimation Printer
- Heat-Resistant Gloves
- Heat-Resistant Tape
Step 1. Add Phone Case to Fixture
This phone case fixture is adjustable for different types of iPhones. I am making a phone case for an iPhone 16 as my example today.
To make the fixture fit the different phone cases, there are metal spacers that you will add to ensure there is a metal surface for the entire case to sit against.
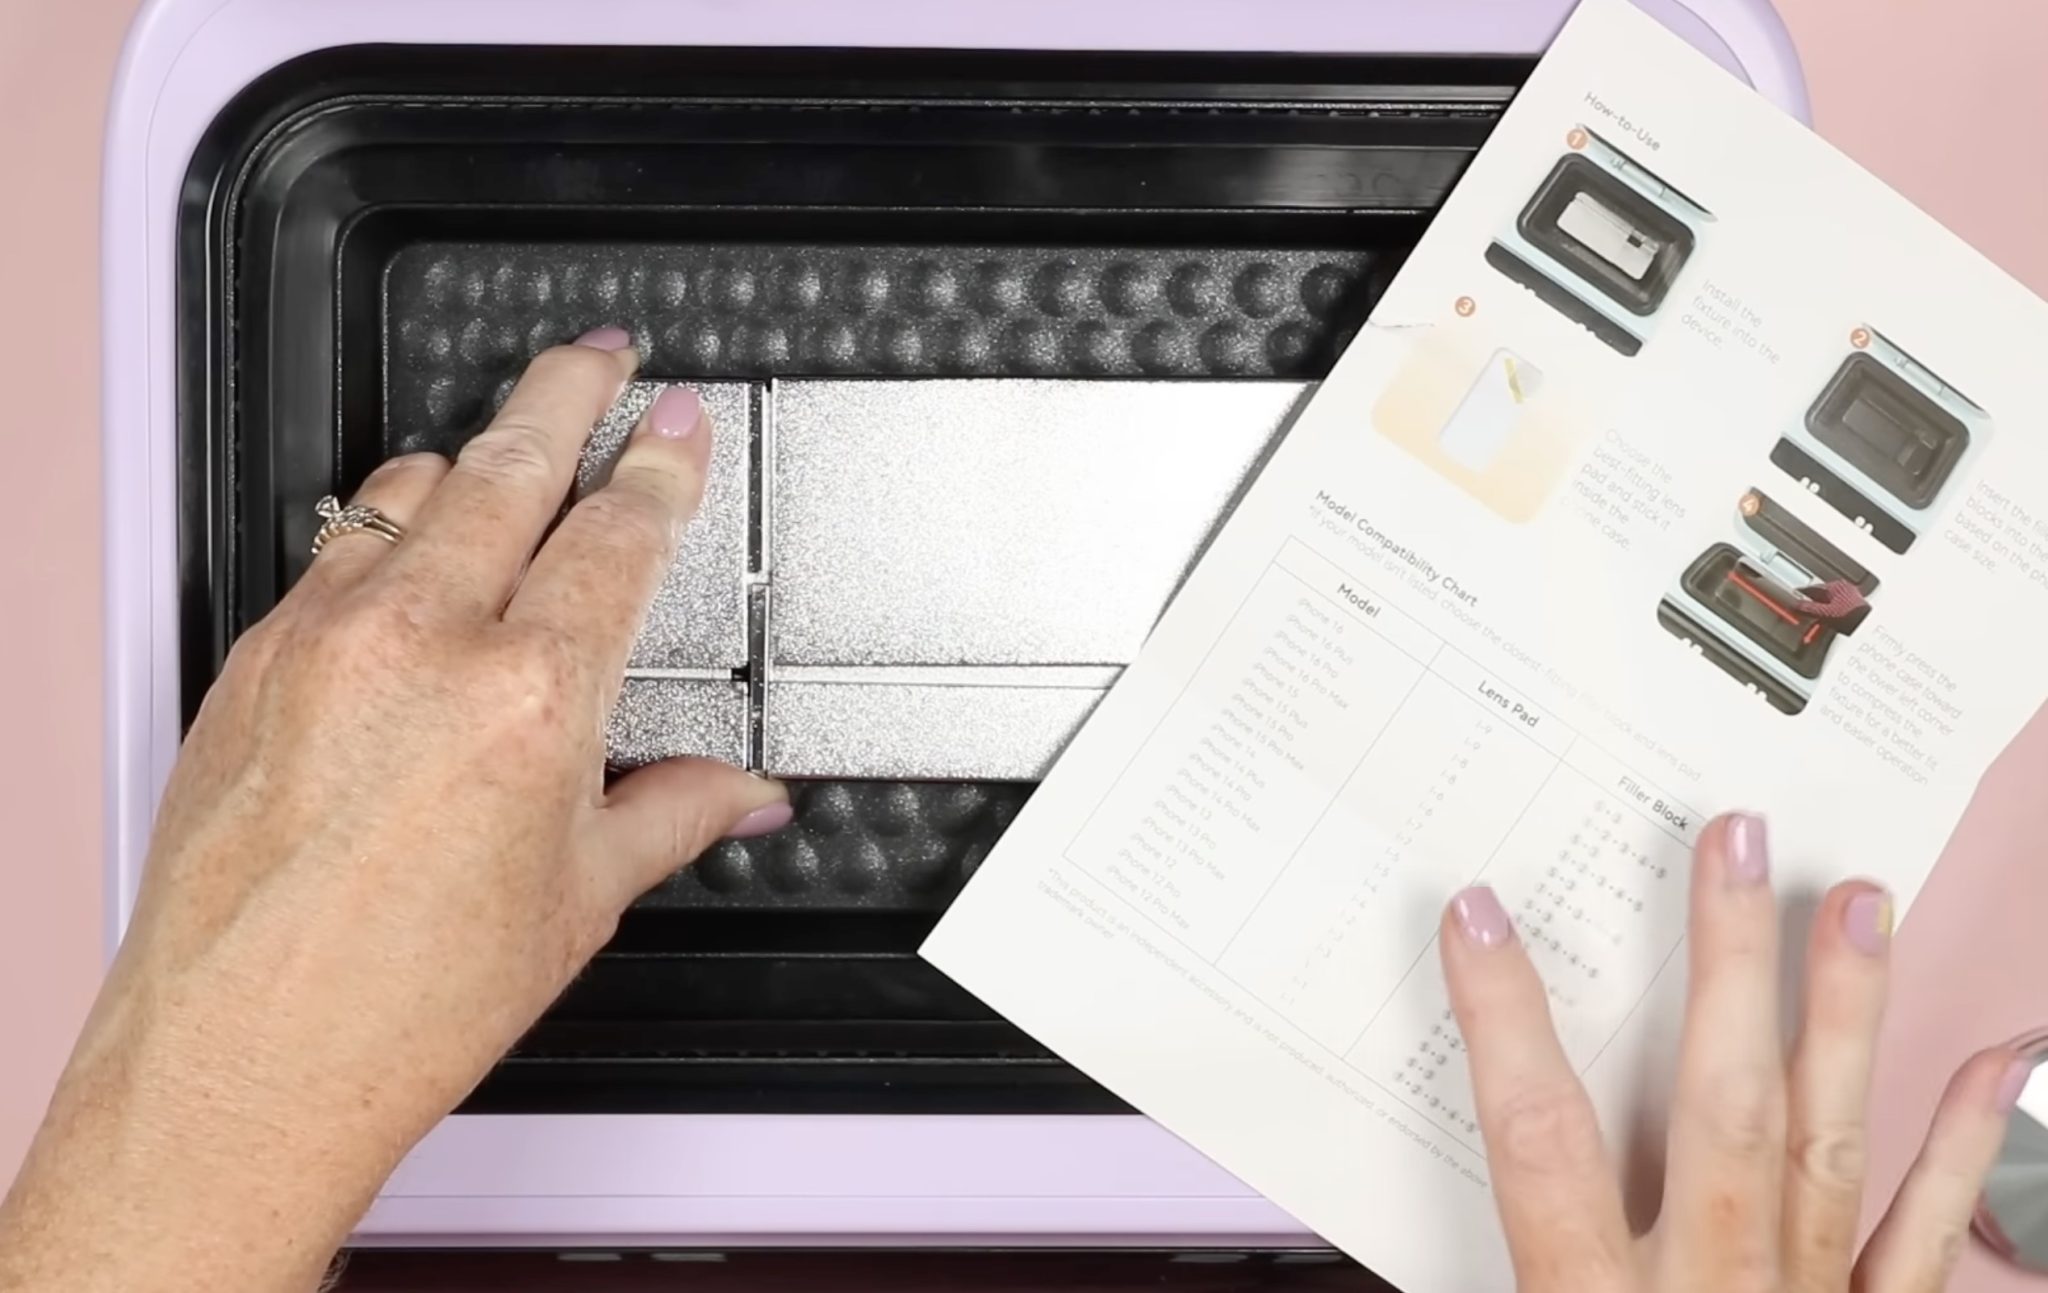
The fixtures come with a cheat sheet that will show you how they're intended to be used in the heat press.
Step 2. Preheat Phone Case Heat Press
When you preheat the heat press, you need to have the fixture you're using inside the heat press.
With the fixture in place, close the lid and set the time and temperature.
I set both the top and bottom plates to 275 degrees. The preheat time is 20 seconds, and the pressing time is set at 350 seconds.
Step 3. Create Sublimation Design
While the heat press is preheating, we can print the design on the sublimation film. You will need to create the sublimation design to print.
NOTE: Depending on the blank, you may want to use the LokLik software. In that software, you'll find templates that are the exact size of the blank.
Today, I am using Canva to create my design.
- Open Canva
- Click Custom Size and create a canvas that is the same size as your sublimation film. Mine is 8.5 by 11 inches.
- Upload the design and add it to the canvas.
- Resize the design so it will cover your blank, including the sides. My phone case is essentially a rectangle, so I resized my design to be approximately 1 inch larger on both height and width. If you need an exact size, use the Lock Click software. You could also print the design to fill the size of your film if you find that easier.
- Click Download and select PDF for Print and choose CMYK.
- Open the file and send it to your sublimation printer. Make sure you print on the sublimation film.

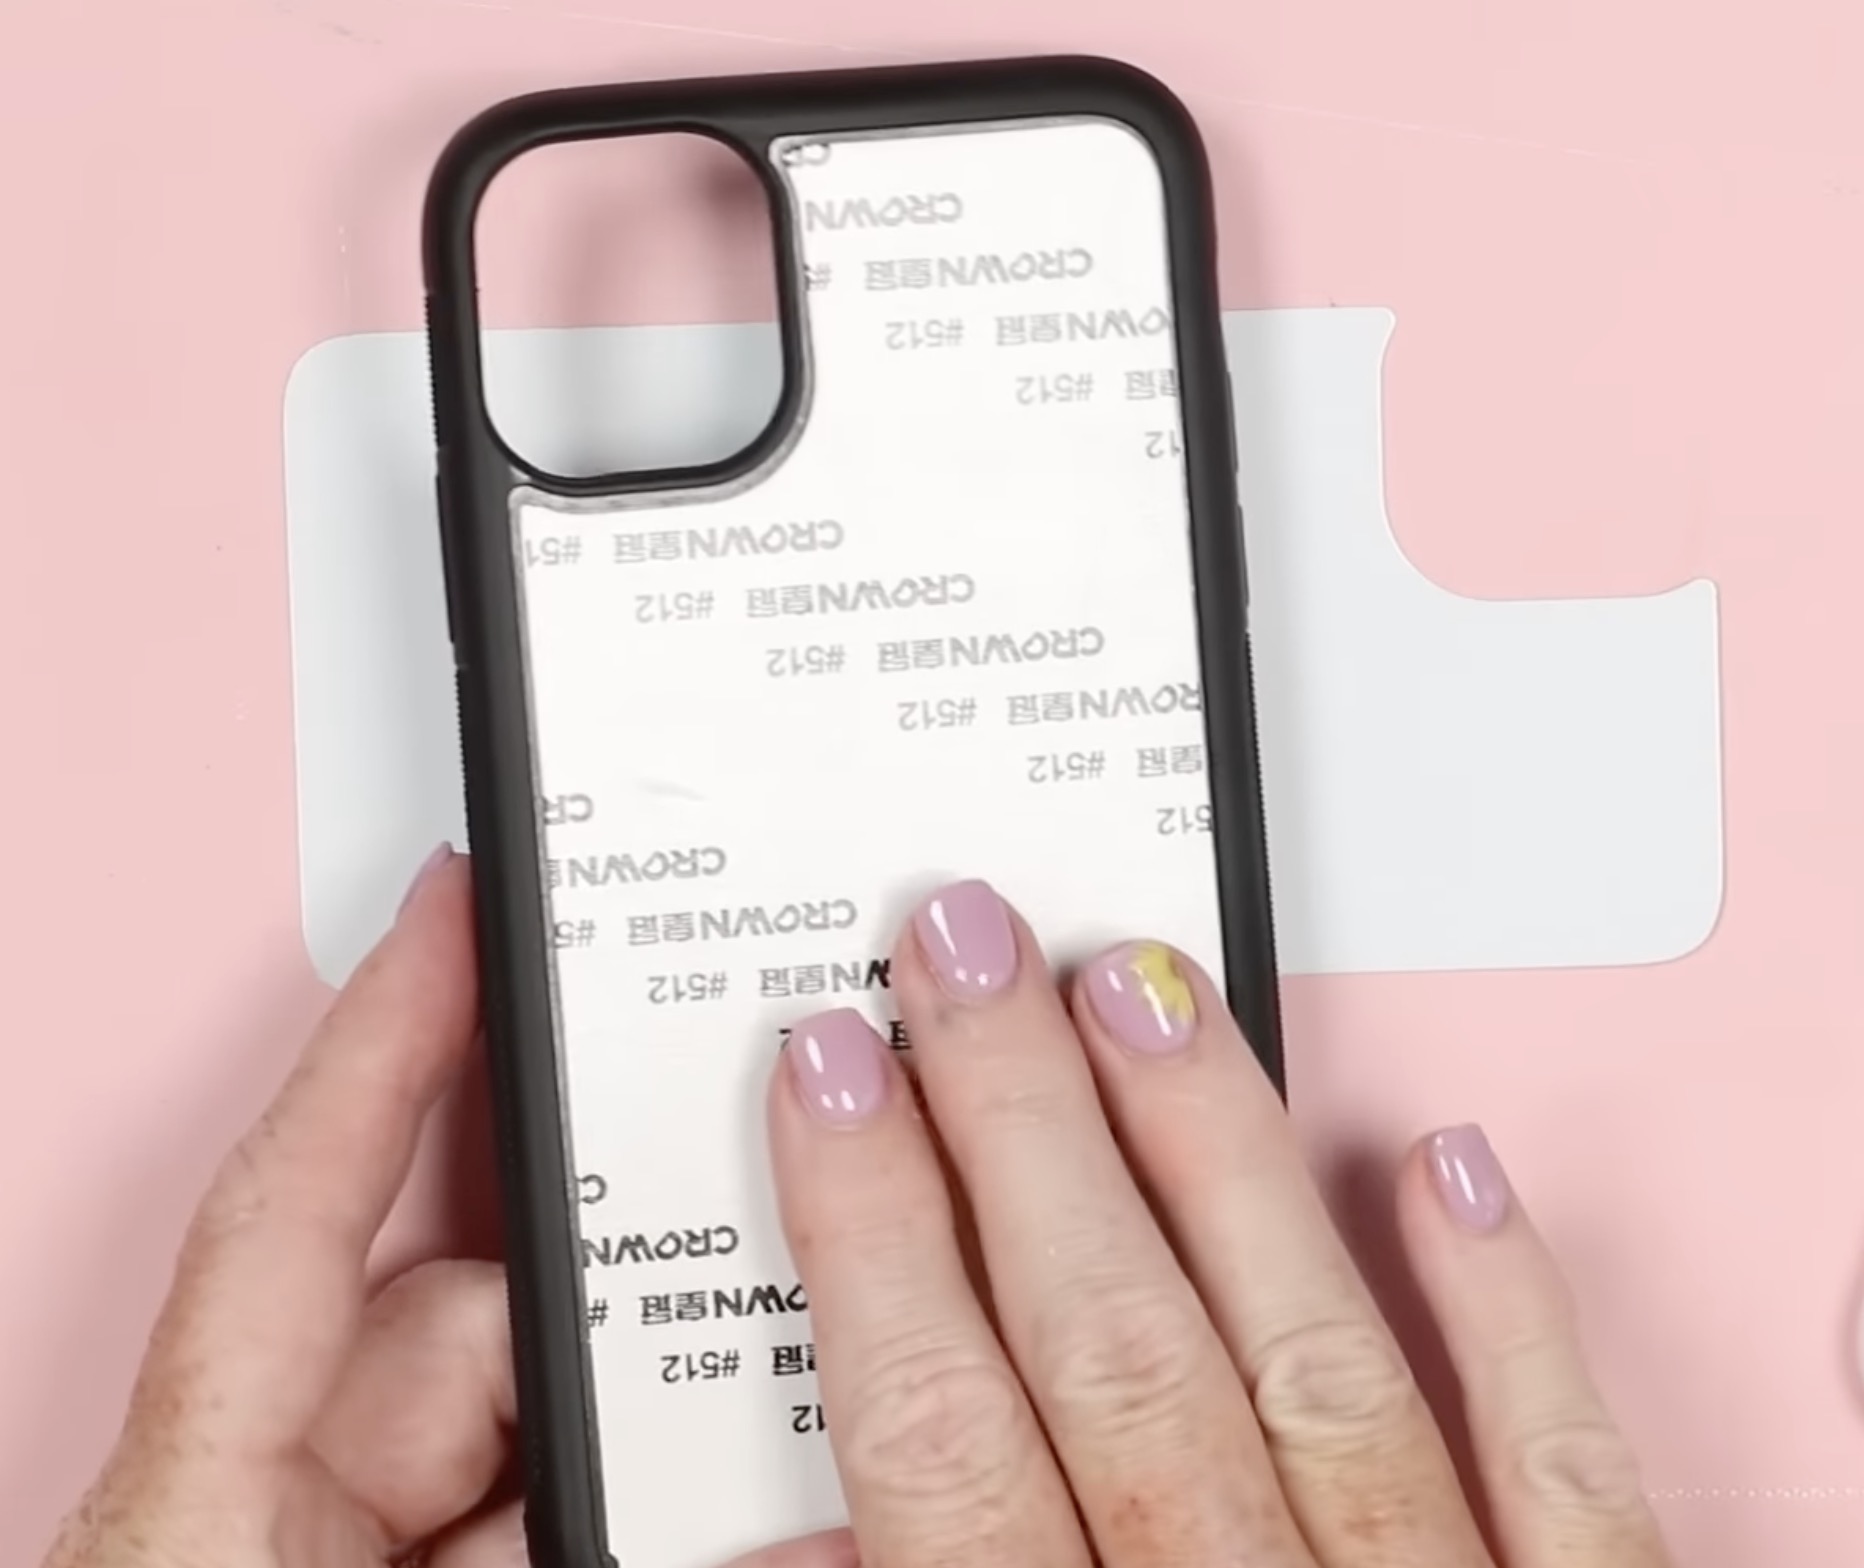
Step 4. Print Design on Sublimation Film
When you open the film, you'll see that one side is clear and the other is matte-milky white. You'll print on the matte side.
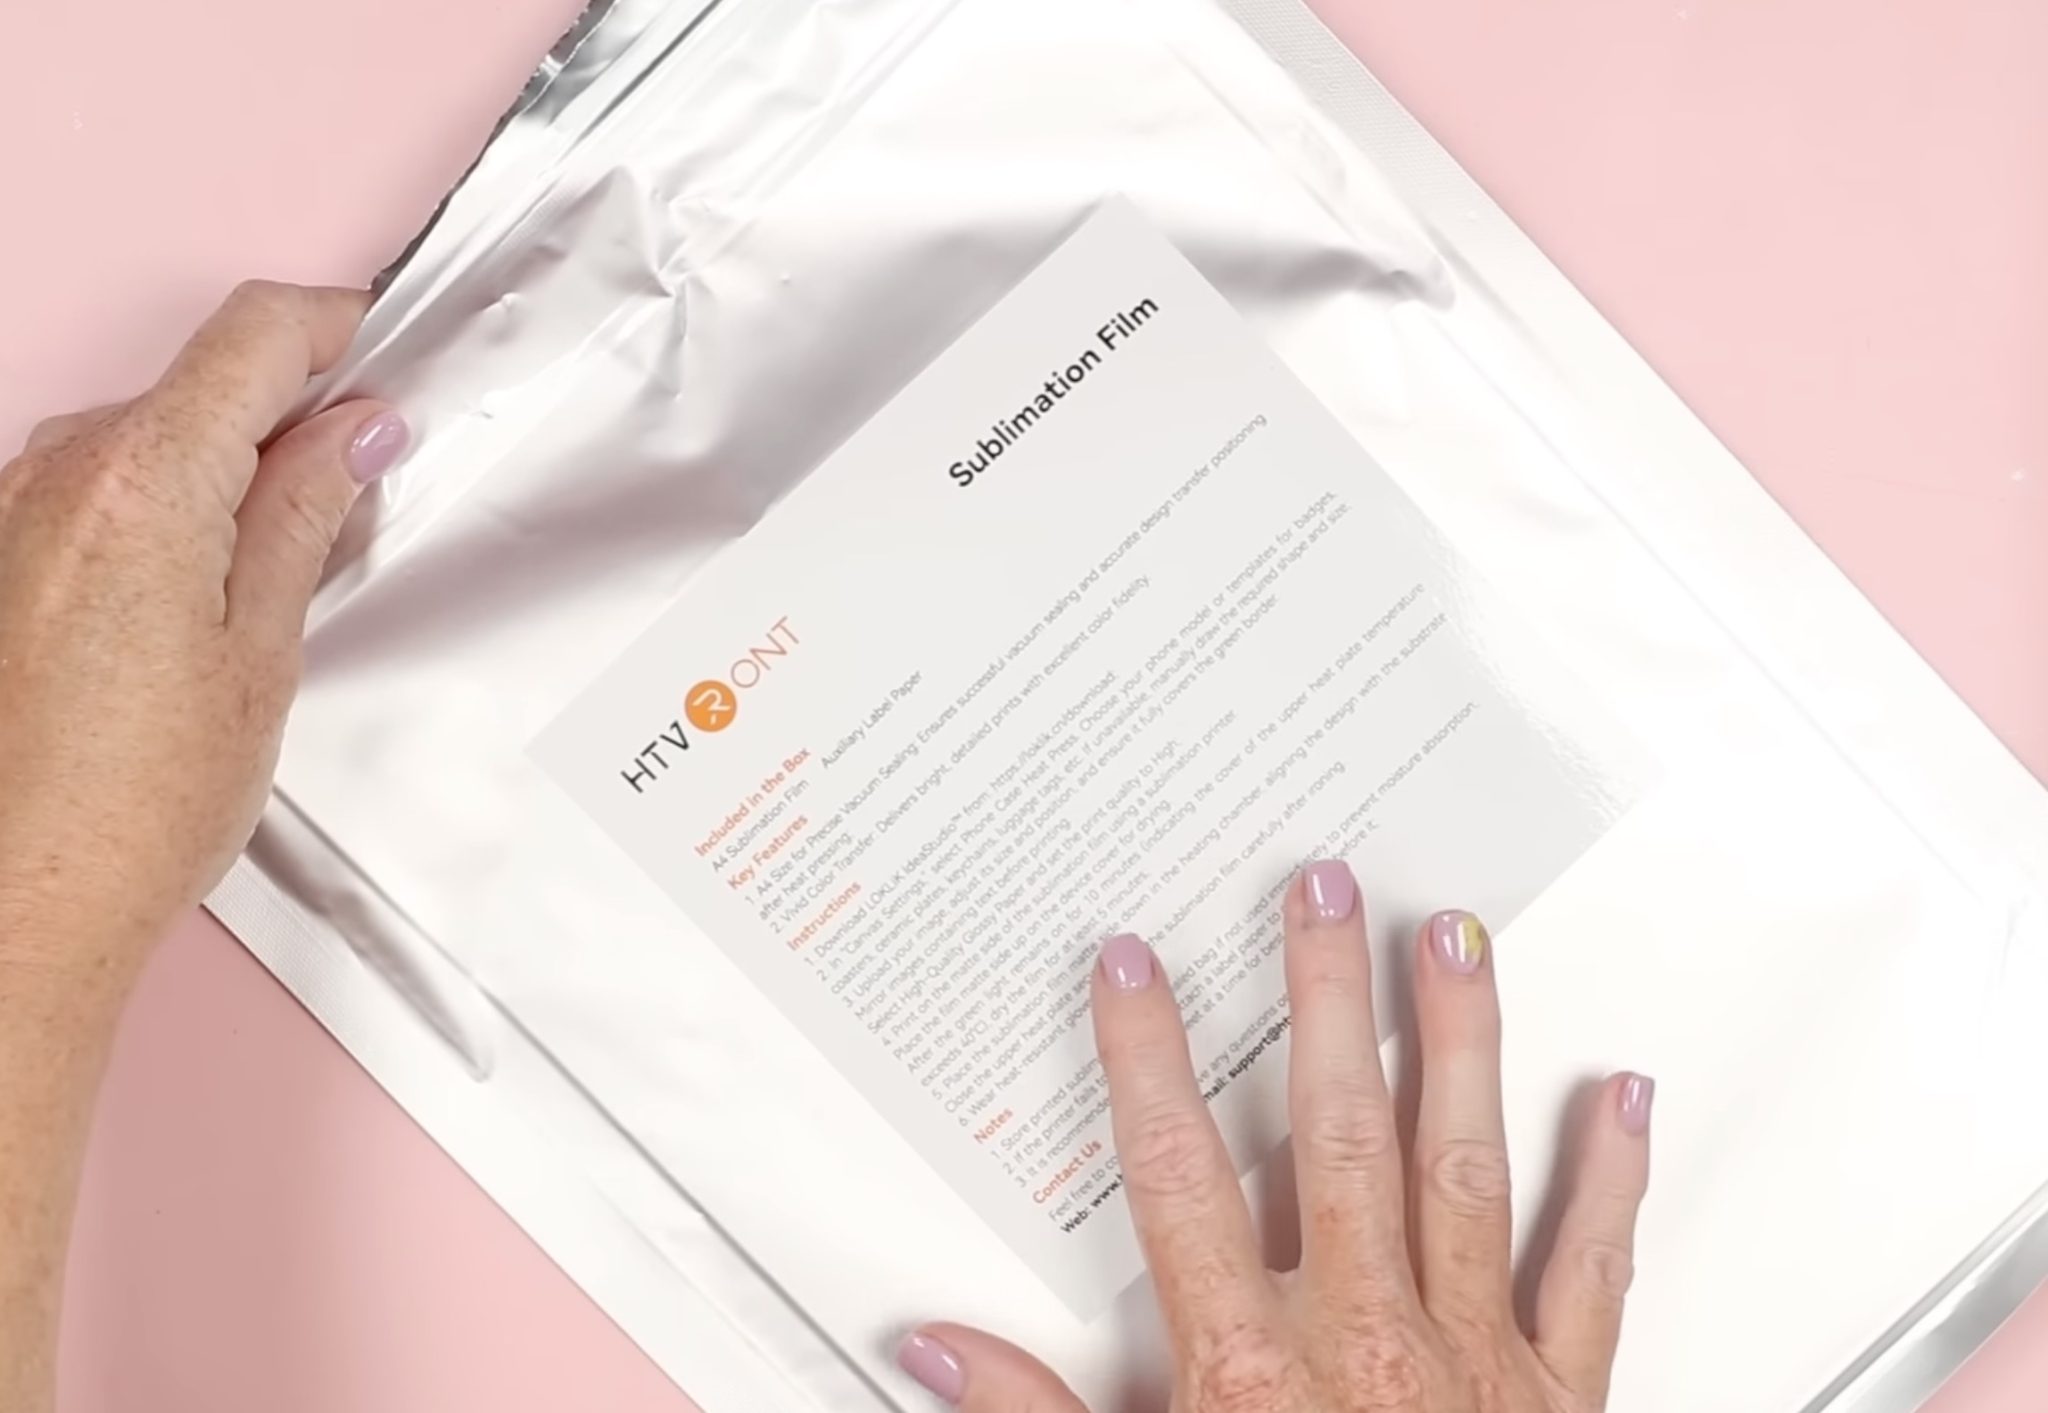
The glossy side is very glossy, and your printer may have a hard time grabbing it to feed it through the printer.

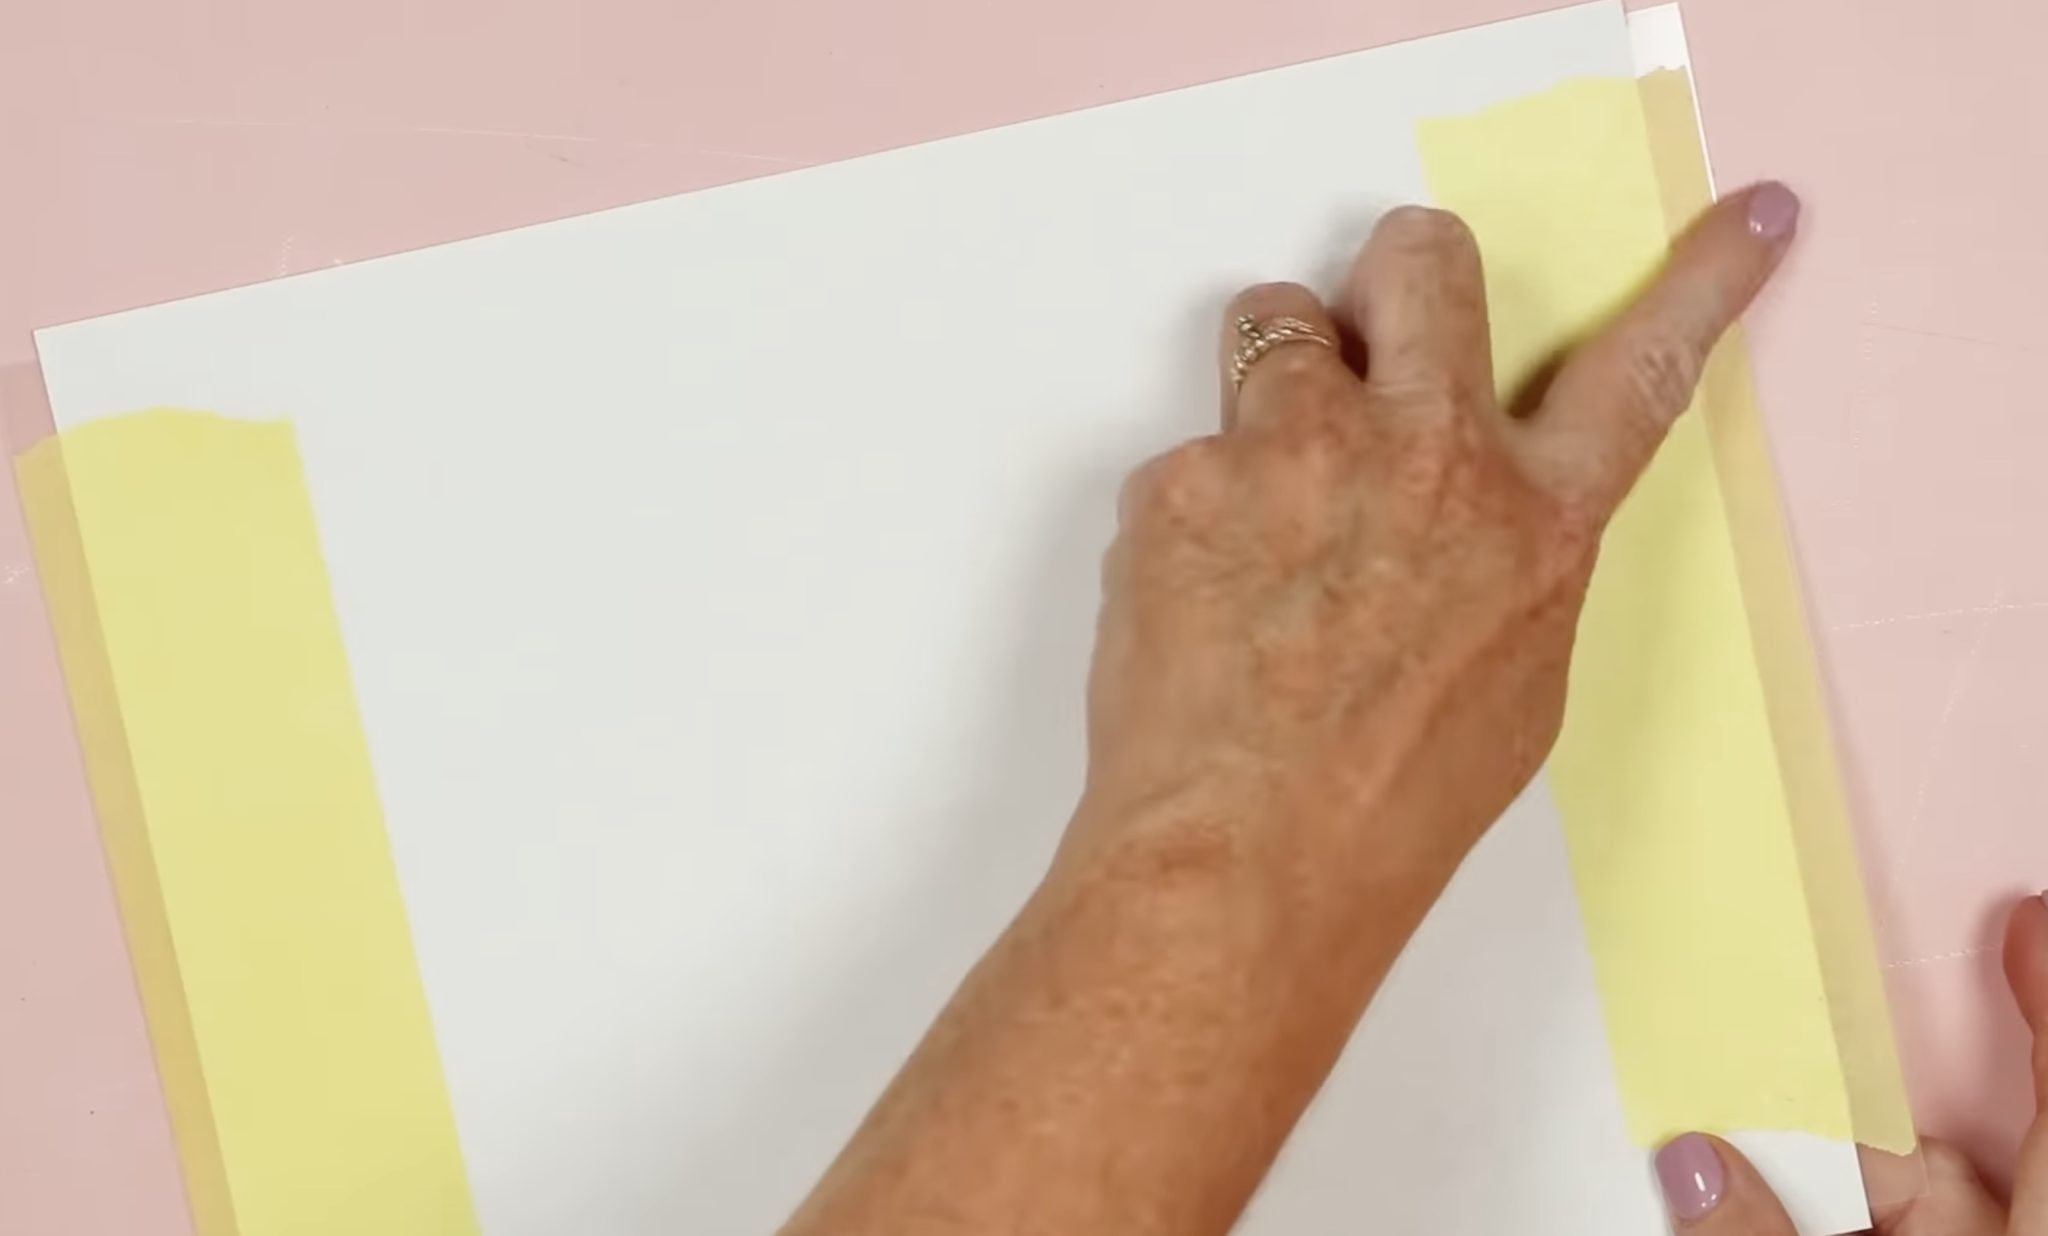
In the package, you'll find adhesive tabs. You can stick these to the end to help the printer grab it more easily.
If the tabs don't work, tape a piece of plain copy paper to the glossy side of the film. The printer will more easily grab that, and it should feed through without any issues.
I tested the film in my Sawgrass sublimation printer and my Brother sublimation printer. I was able to feed the film through the Brother without adding anything extra.
With the Sawgrass, I had to tape a piece of copy paper to the glossy side. I did not test an Epson printer, but I have seen multiple people making projects with this film, and when printing on an Epson, they had to tape the paper to the glossy side.
Regardless of what sublimation printer you use and whether you have to use the copy paper and tape hack, make sure you mirror the design before printing.
Step 5. Dry Sublimation Print
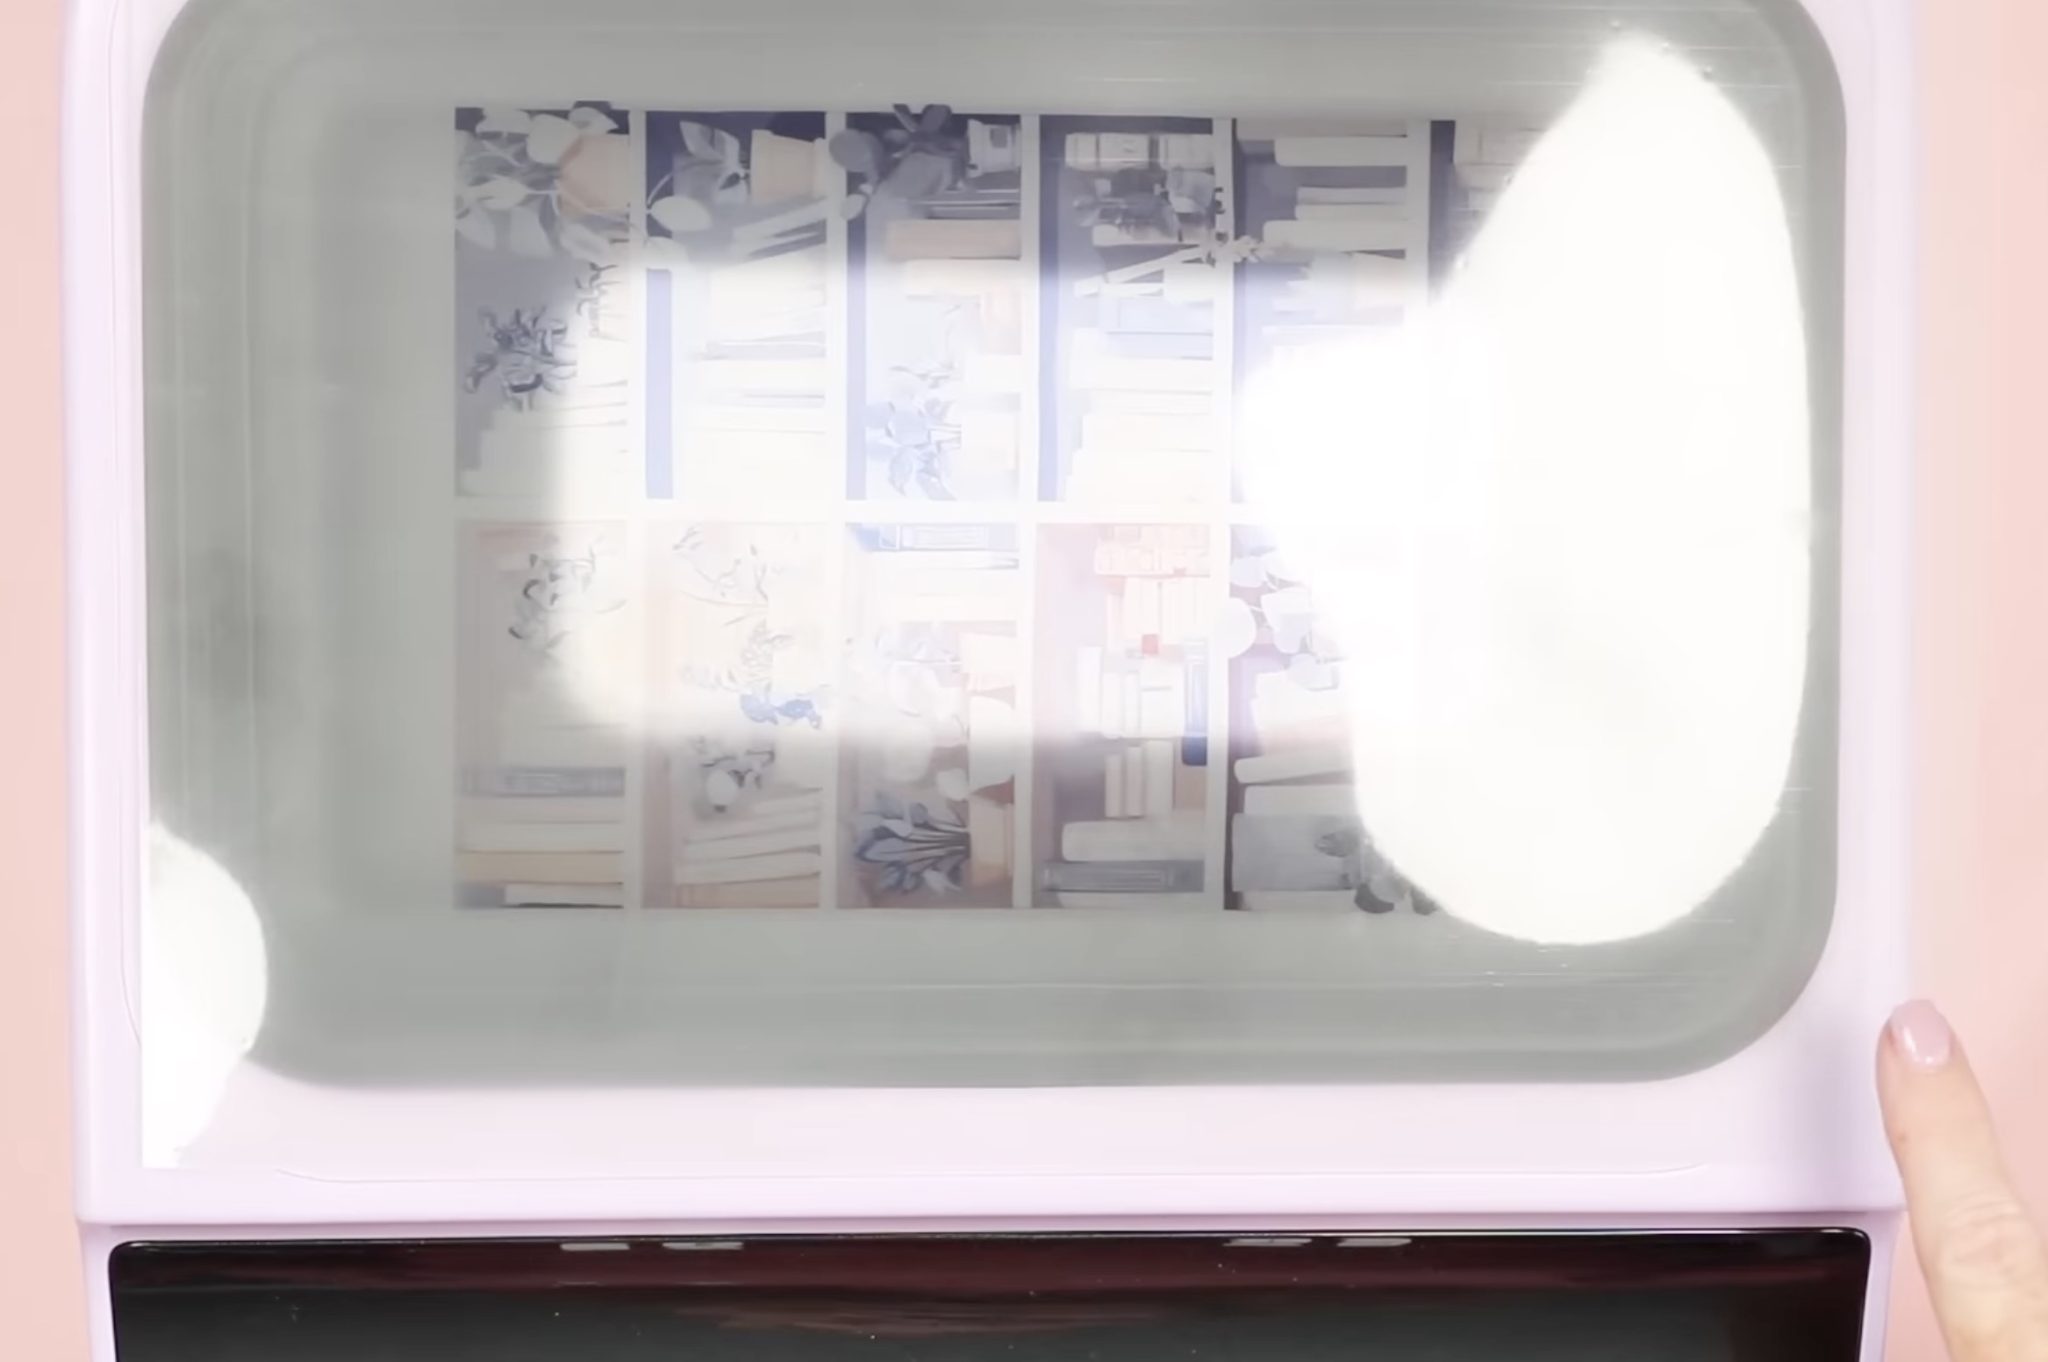
With your design printed on the film, you need to let it dry before using it.
When the heat press is warmed up, the top will be warm to the touch but not hot. Lay the film, ink side up, on top of the press and let it sit for about 5 minutes, and that will help dry the film.
Step 6. Prep the Sublimation Phone Case
The HTVRont Phone Case heat press is for sublimation blanks, and you need to make sure you have the right type of blank.
You want to look for the sublimation phone cases that can be sublimated across the entire back and onto the sides.

When searching for sublimation phone cases, you want to avoid the ones that have a separate back piece that can be sublimated. Those are not meant to be used in this press.
To prep the phone case, we need to use the pieces that come with the fixture to cover any holes.
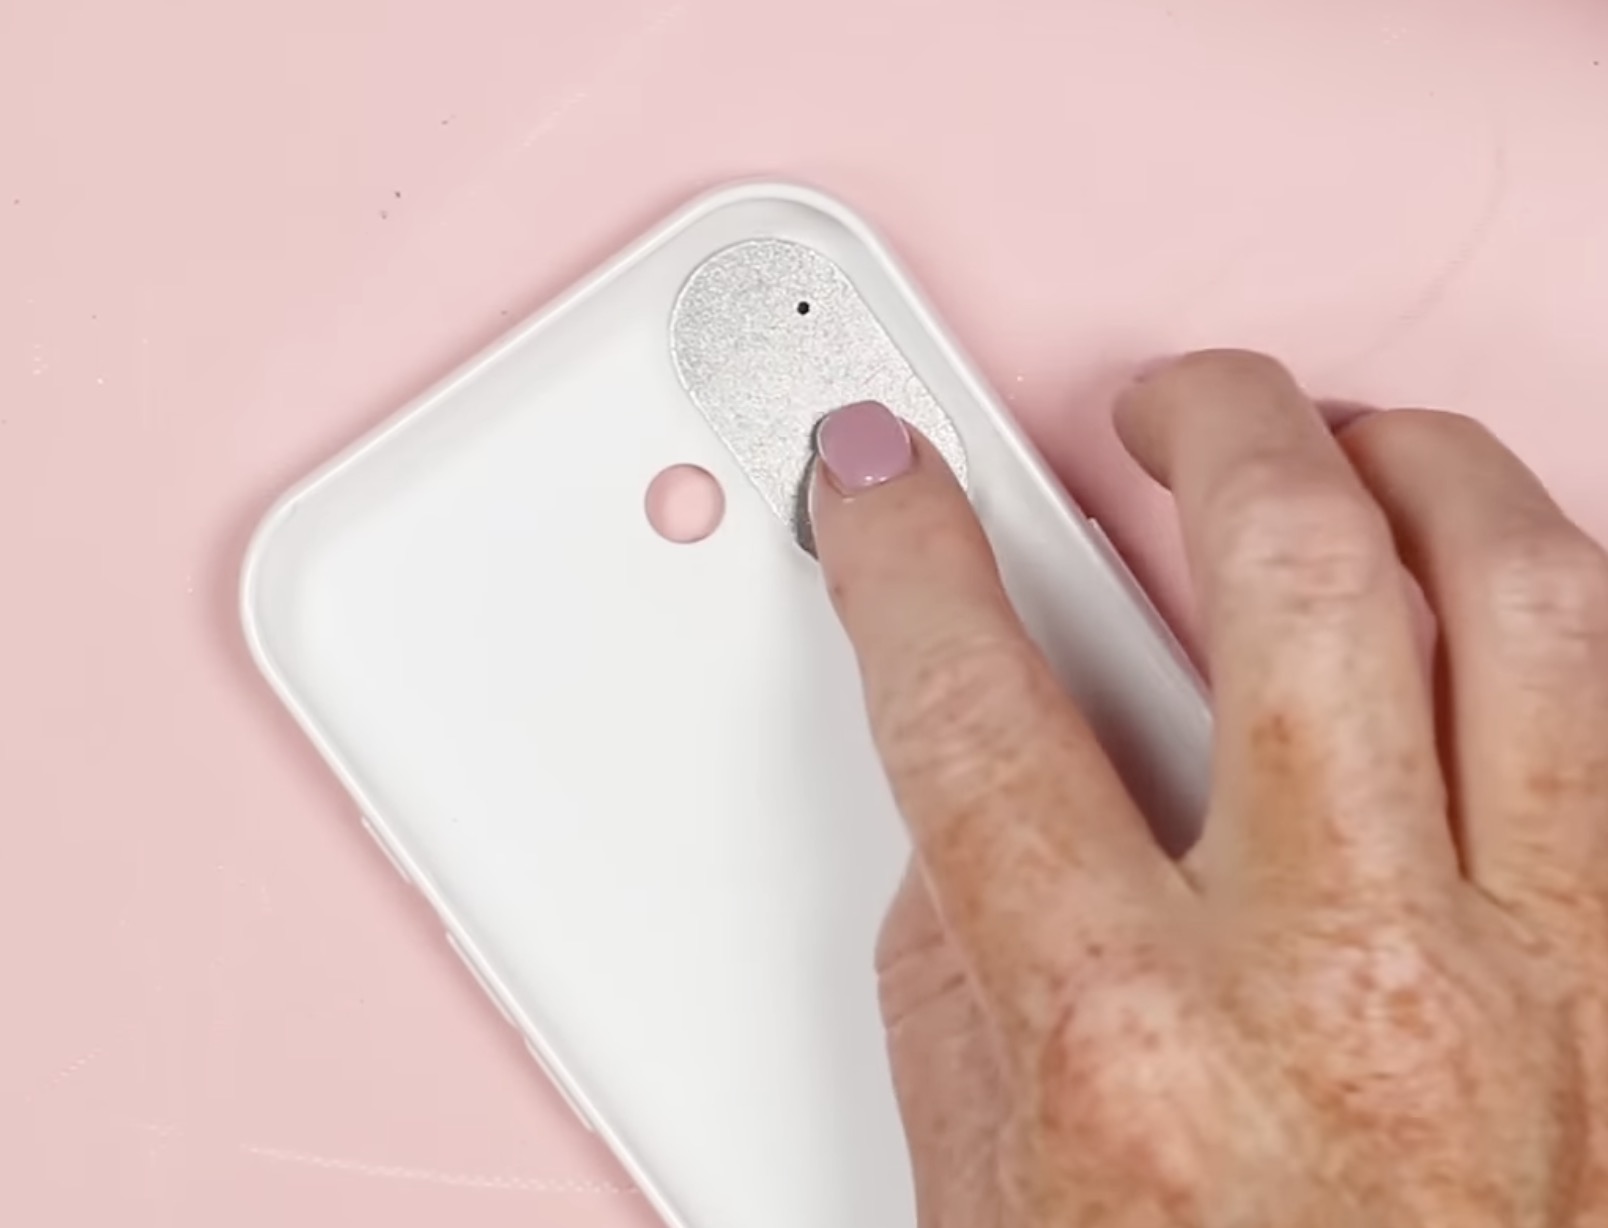
The phone case fixture will come with different tabs, and you'll add the tab that matches the phone case you're using.
I am using a case for an iPhone 16, so I added the tab and used heat-resistant tape to hold it in place. Make sure some of the tape covers any holes not covered by the tab. This will prevent any sublimation ink from getting on your phone case fixture.
Clean the phone case with a lint roller or a lint-free cloth and rubbing alcohol.
Step 7. Add Phone Case to Preheated Heat Press
After 5 minutes of drying the print, remove it from the top of the heat press.
These next steps need to happen quickly; you don't want the heat press to cool down too much.
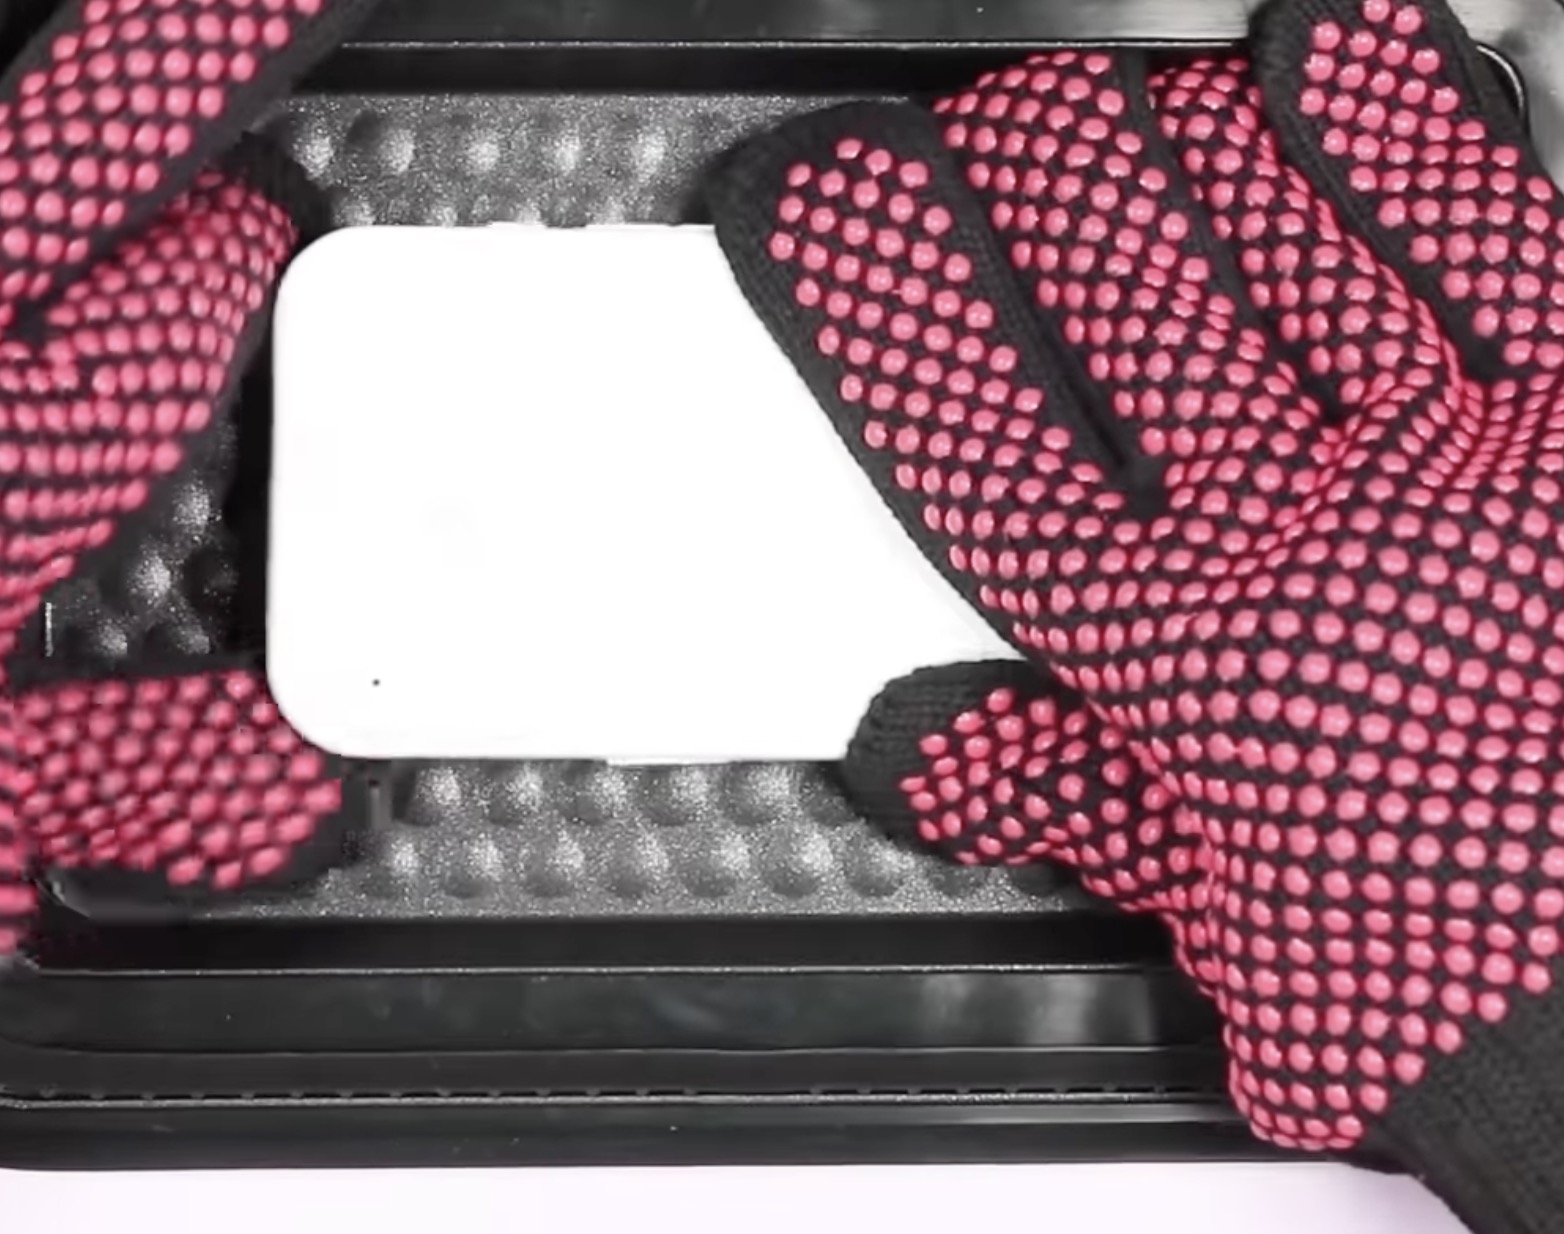
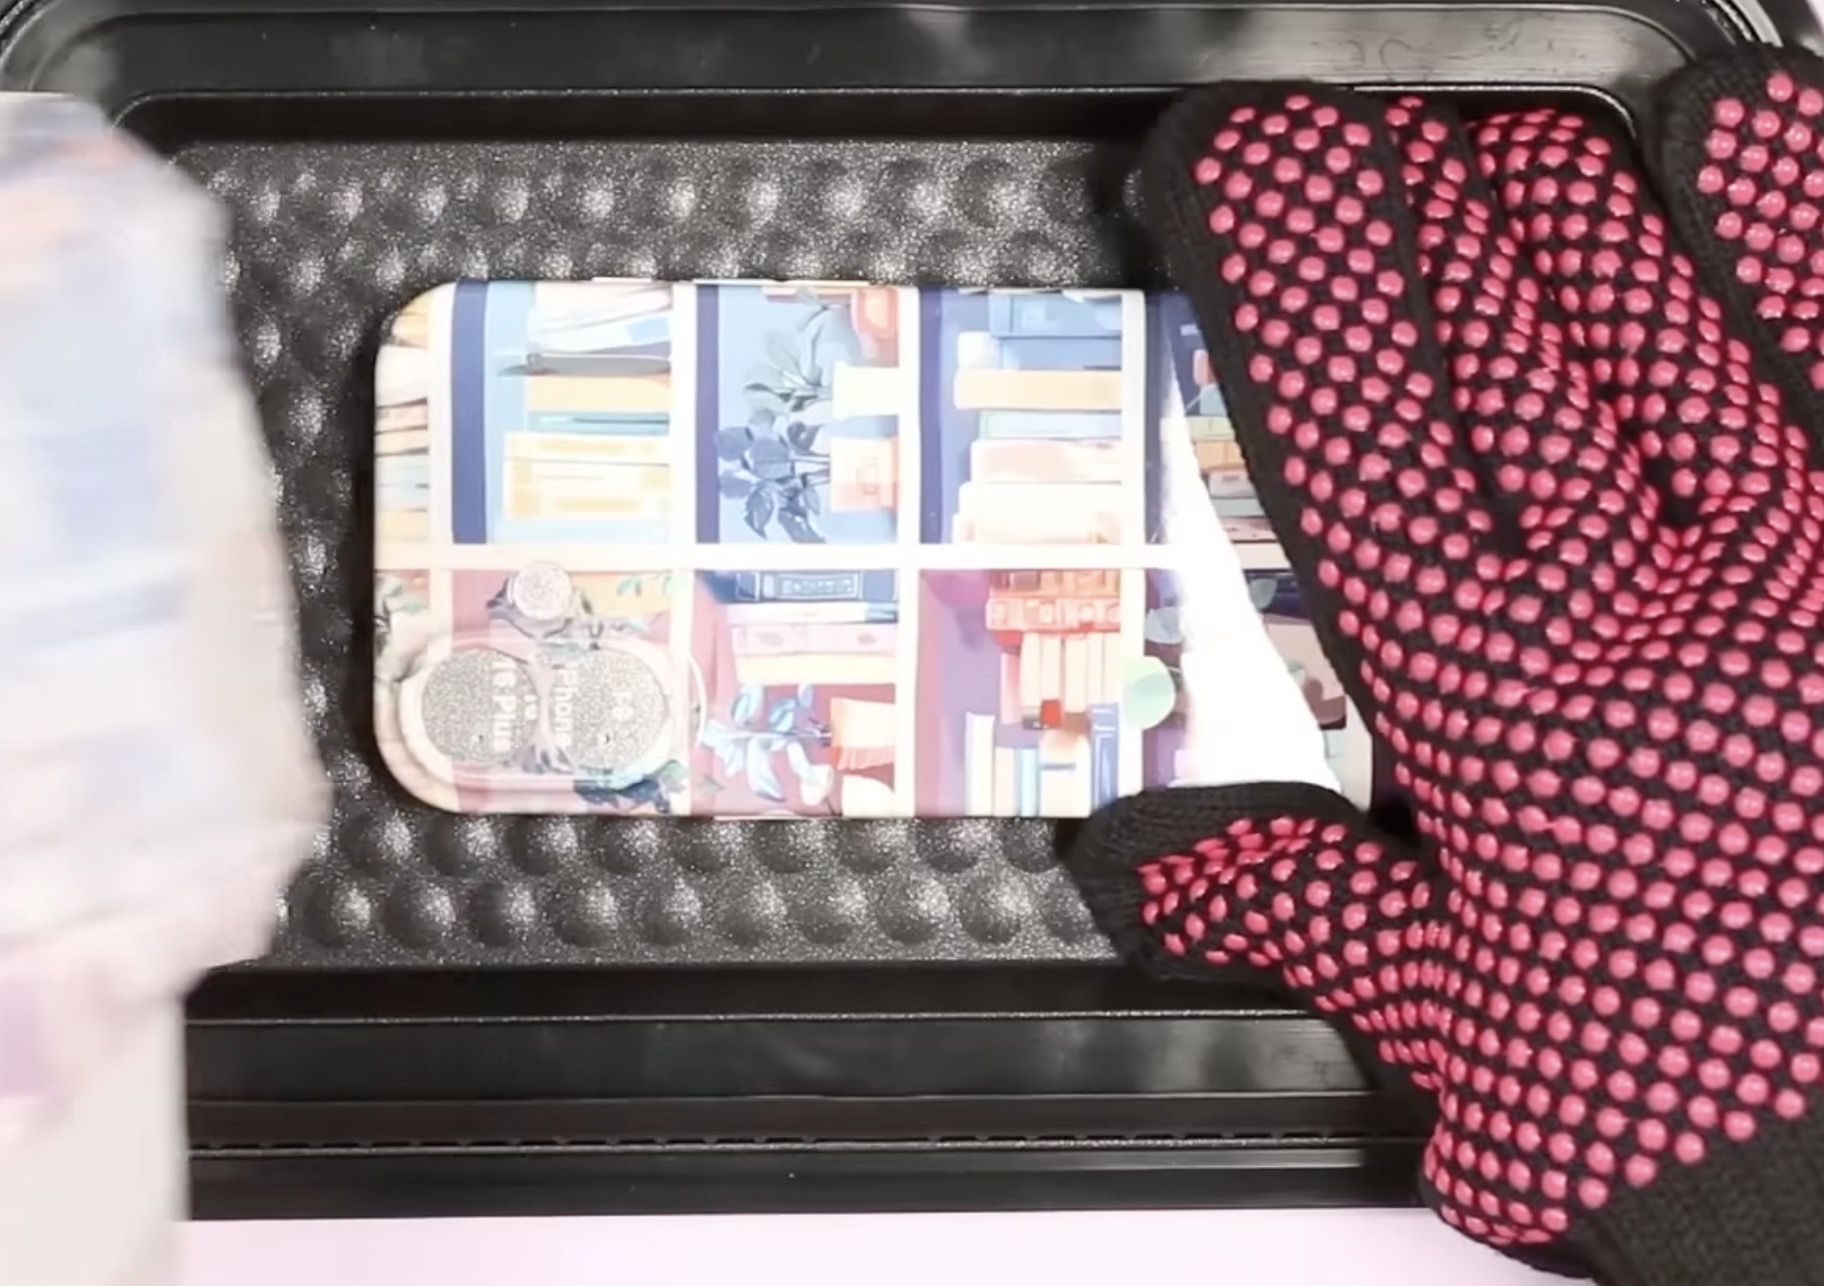
Wearing heat-resistant gloves, open the heat press and add the phone case to the fixture.
Squeeze the fixture with the added pieces in place on both sides so your phone case will fit over it.
Place the sublimation film matte side down on top of the phone case, making sure everything is lined up correctly and that the film covers the gasket area all the way around so you get a solid seal.
Close the lid and press the R button to start the press. You'll hear the vacuum start up, and it will begin counting down.
Step 8. Remove the Phone Case from the Heat Press
When the time is up, open the lid of the heat press and, wearing heat-resistant gloves, remove the film immediately.
With the film removed, remove the phone case from the fixture and remove the tab from inside the phone case.
Everything is going to be very hot, so make sure you have a heat-resistant mat to set things down on.
I do want to warn you that when I first opened the press, I panicked a little because with the film in place, the colors didn't look bright at all. You won't be able to tell exactly how your phone case looks until you remove the film.
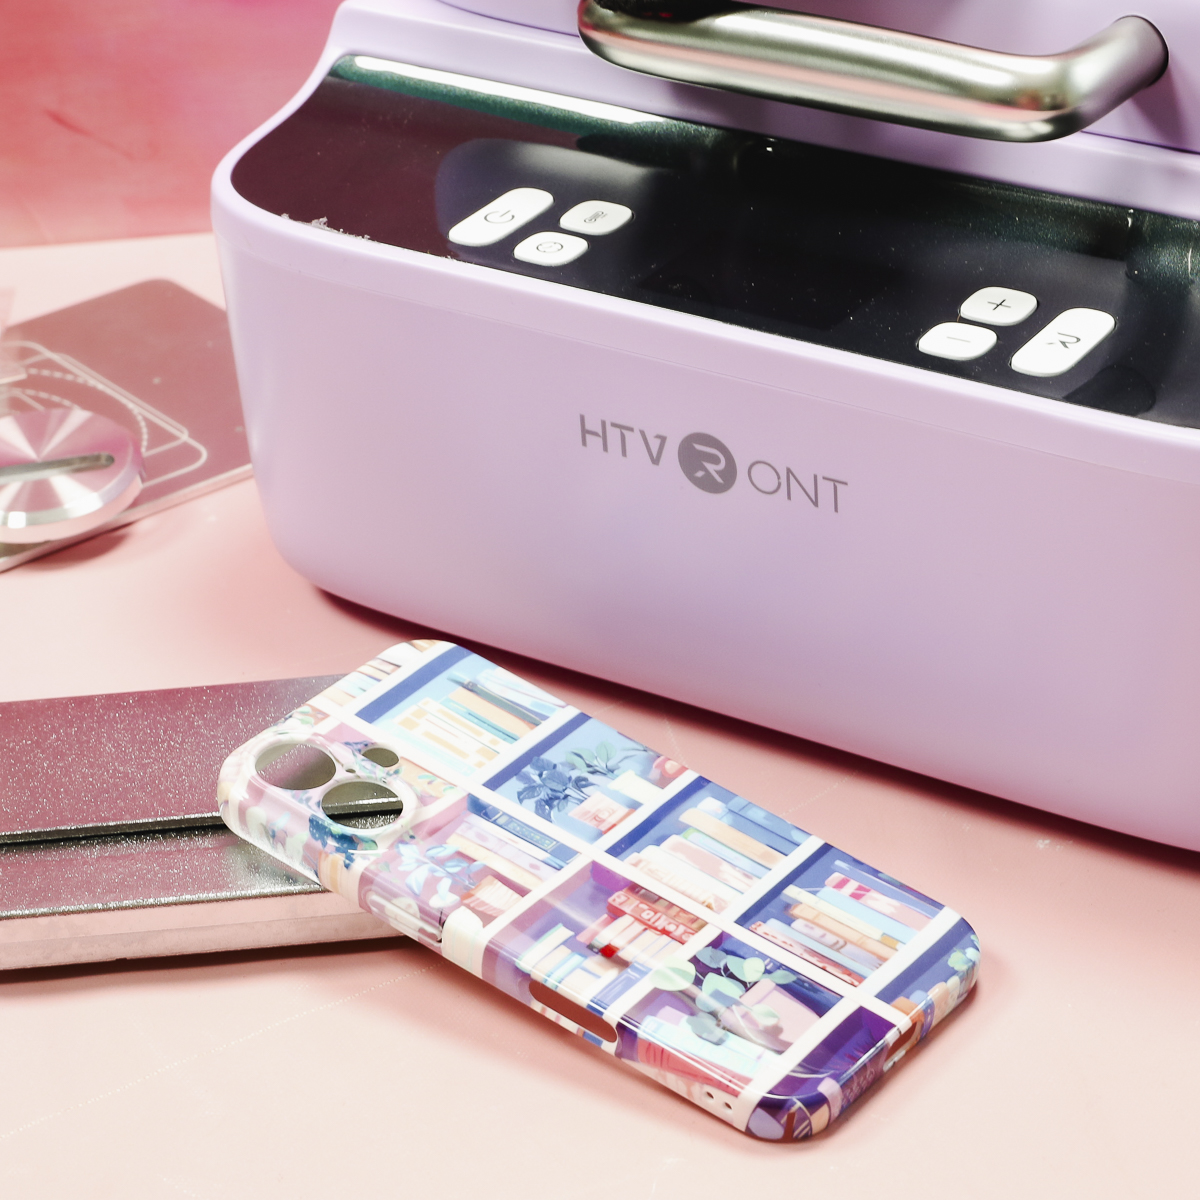
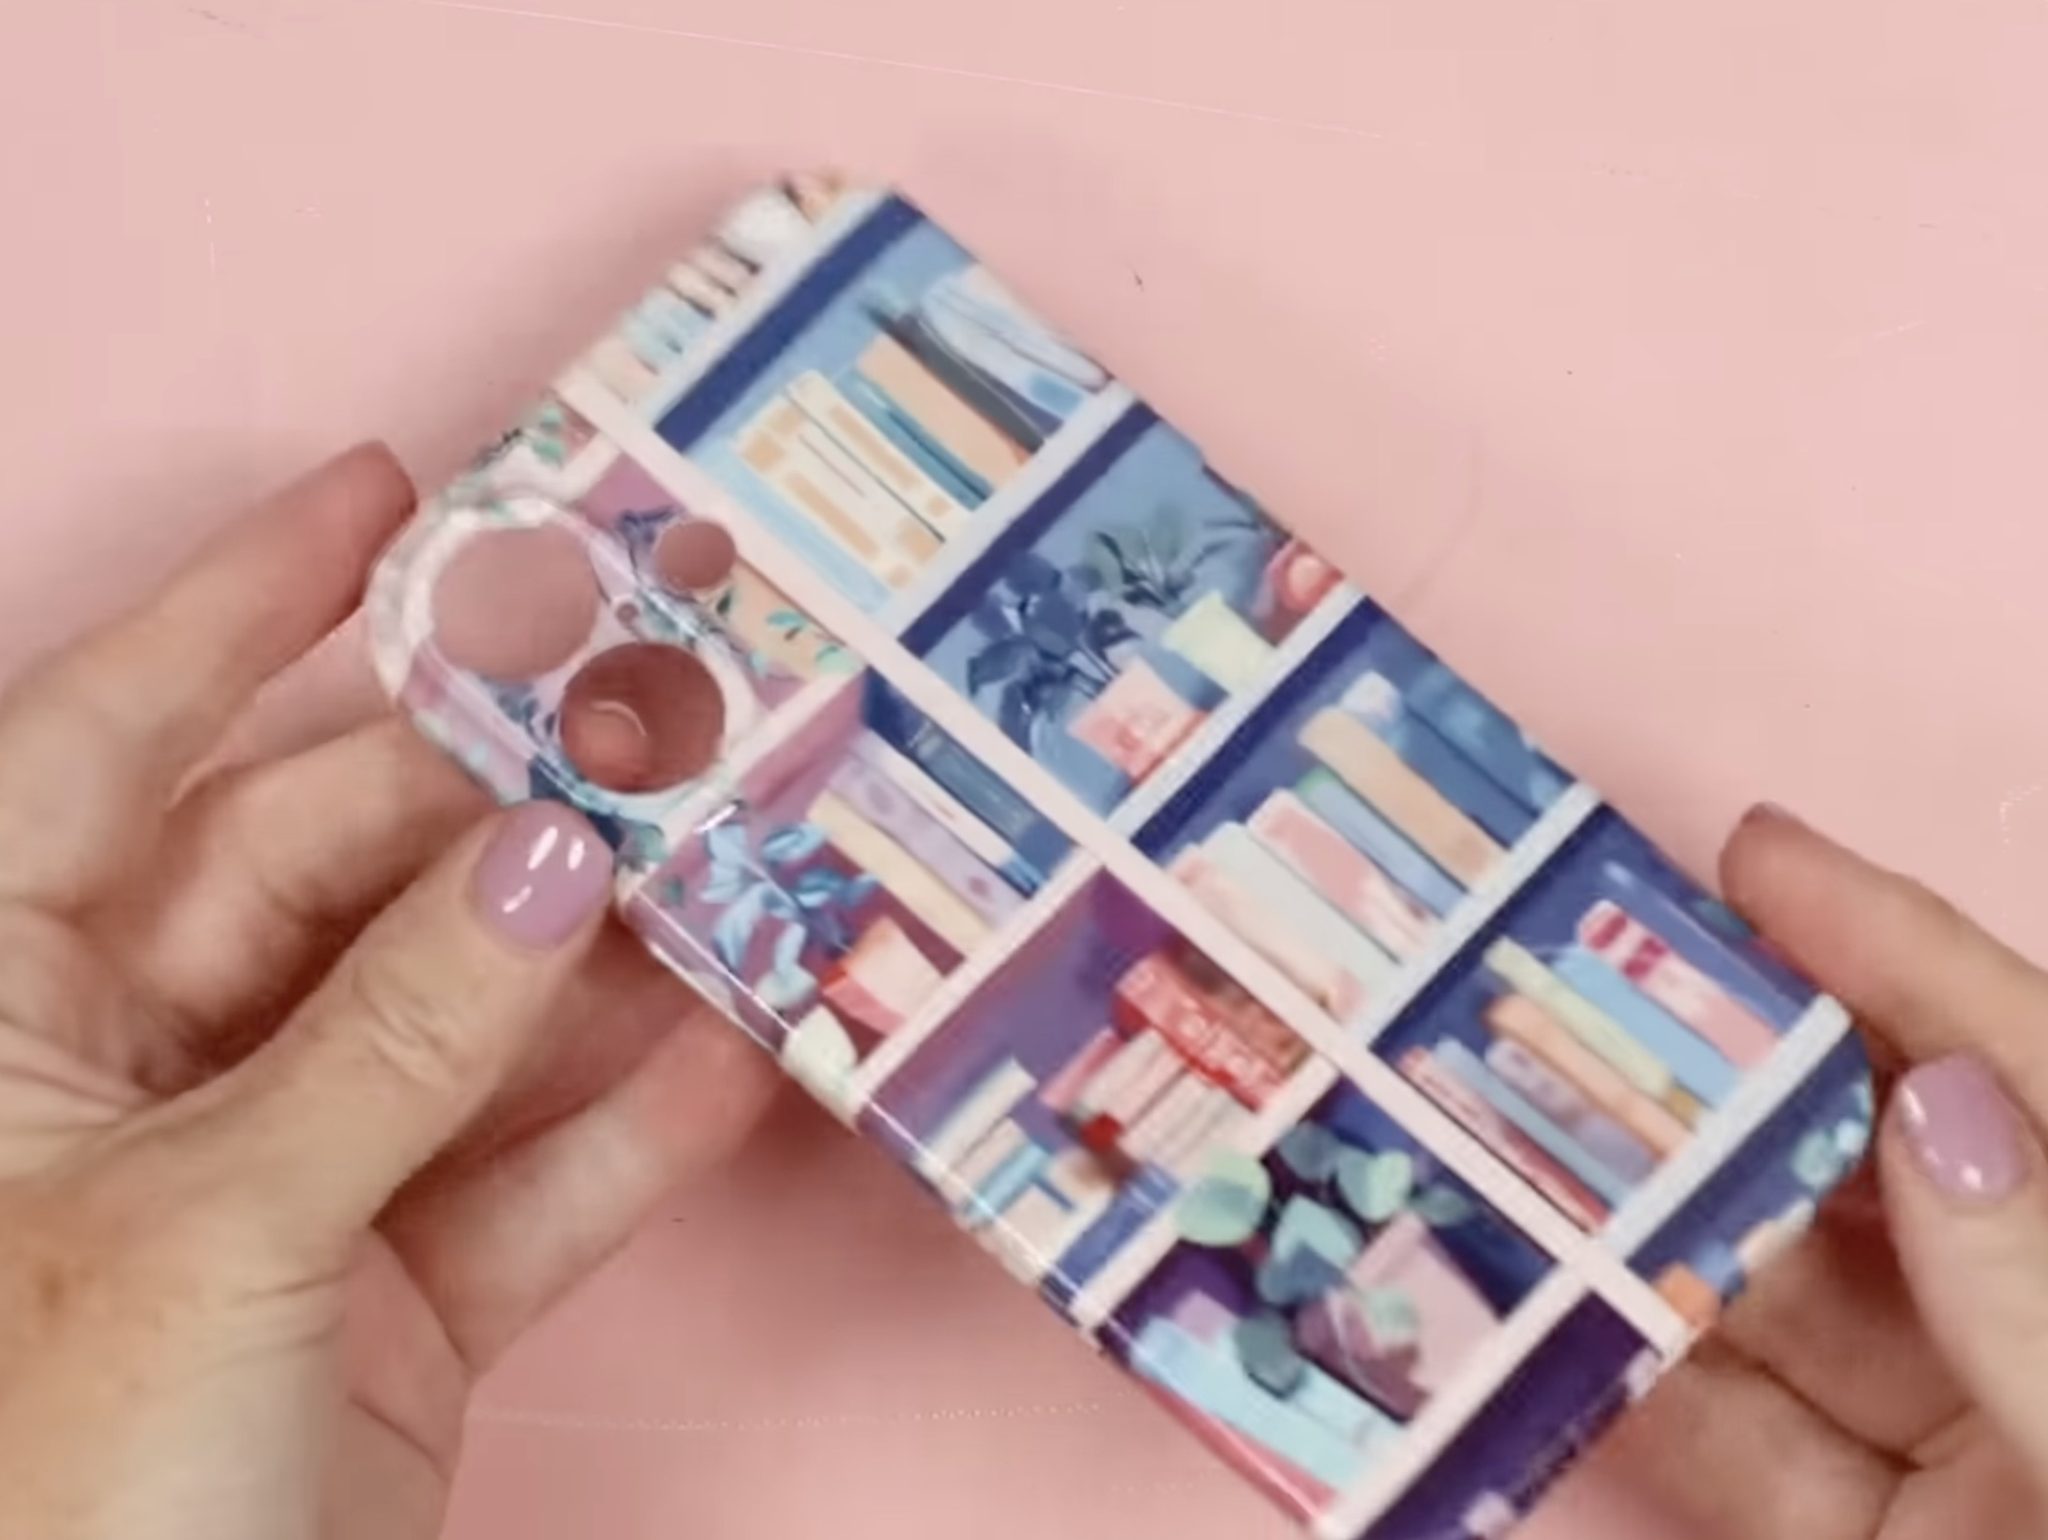
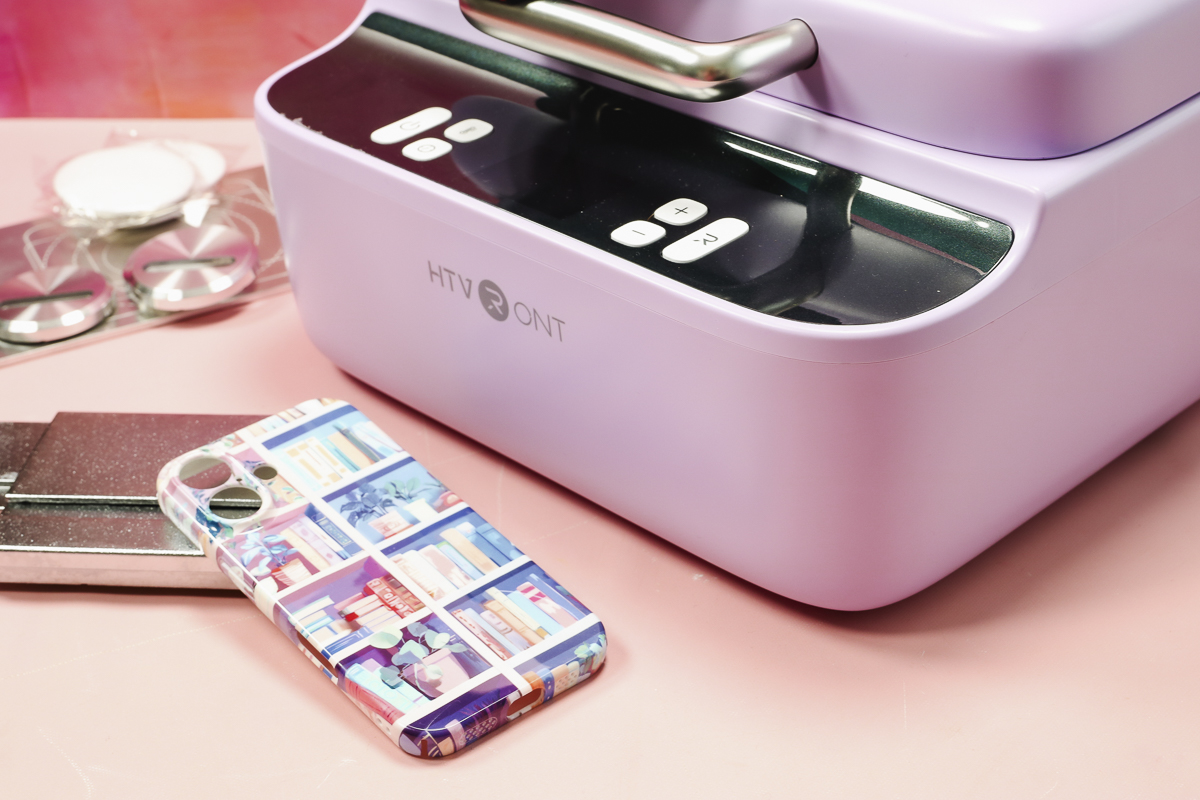
Sublimation Phone Case Results
I am so impressed with how this sublimation phone case turned out. You can see the design wraps all the way around the sides, and it looks so good.

The colors are vibrant and transferred beautifully.
This looks even better than some phone cases you may purchase retail!
Do You Need a Phone Case Heat Press?
Now that we've made a phone case and it turned out beautifully, you may be thinking, “I need a phone case heat press”. Or you might be thinking, “How many phone cases does one person need?”
Let's talk about this heat press and why it might be the right option for you.
While this is called a Phone Case Heat Press, it can do a lot more than just phone cases.
The inside size is approximately 5 inches wide by 8.5 inches long. That is not very large, so the size of your blanks will be limited.
This heat press has fixtures for buttons (badges), iPhones, and Android phones. The flat fixture works with pet tags, ceramic and slate coasters, keychains, etc.
If you want to make projects with the design wrapped around the sides, this heat press and the special film are a great option.
I love that with the film and vacuum feature in the heat press, the design really gets into the grooves. This makes it a perfect option for blanks like slate that are not perfectly smooth across the surface.
Another great example is buttons (also called pins and HTVRont is calling them badges). Being able to sublimate the surface so it wraps all the way around the sides makes them look very professional.
Are You Ready to Make Professional-Looking Phone Cases?
I have hesitated showing how to make sublimation phone cases in the past because I am not really a fan of the 2-piece options that are out there. I don't think they look very professional, and I don't like the look of the solid outside piece that isn't sublimated.
The HTVRont Phone Case heat press is perfect for smaller, slightly 3D blanks that can be sublimated around the edges.
If you're only planning to make flat projects with a design on the top, a regular heat press will work, and you don't need this press.
I really think you're going to love the results you get with this press. I was also impressed with how easy it was to use.
If you've been waiting for a heat press that allows you to make projects that wrap around the edges, I highly recommend this one.
I hope I've answered any questions you have about the HTVRont Phone Case heat press. If you have any additional questions, leave them in the comments, and I'll be happy to answer them for you.