
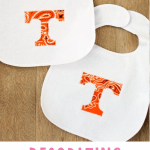
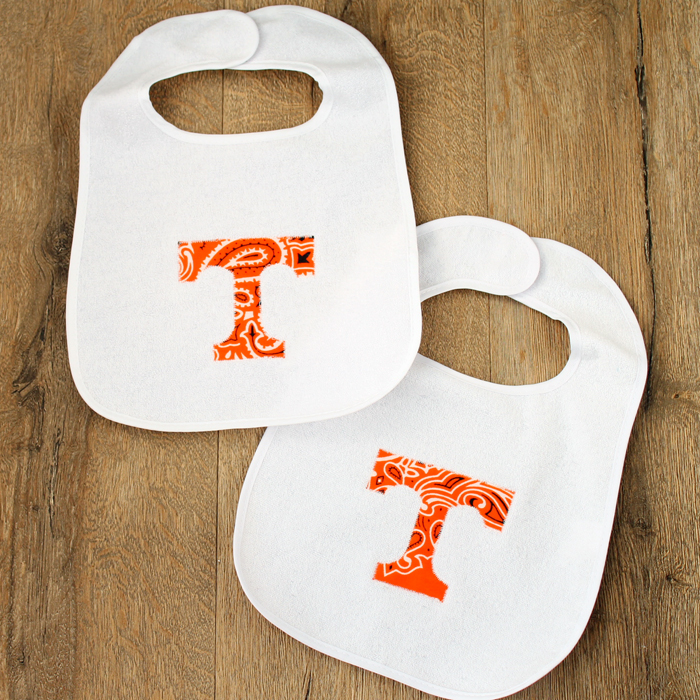
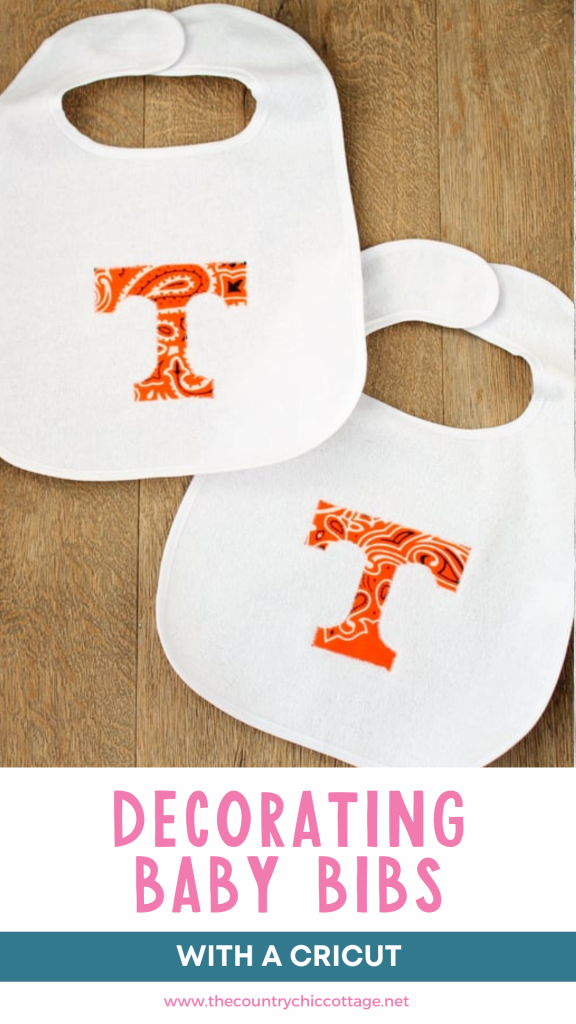
Are you looking for a quick and creative way to personalize baby bibs? In just a few minutes, with only a handful of supplies, you can transform plain bibs into charming, unique gifts that are perfect for baby showers or for your own little one. This simple technique doesn’t just stop at bibs; you can use it to add delightful appliqués to any piece of clothing, whether it’s for your baby or yourself. Get ready to unleash your creativity, because the possibilities are endless once you master this fun and easy method!
For this way of decorating baby bibs, we are using Appliqué. Appliqué is a versatile craft technique that involves attaching fabric pieces to a base fabric to create intricate designs and patterns. From simple shapes to elaborate designs, appliqué offers endless creative possibilities!
Learning appliqué is one of the best ways to decorate and customize clothing and gifts. It's so easy and a great way to make your own custom items. I have several other appliqué projects on this site. Try this tractor appliqué pillow, a stenciled flour sack, or a silhouette football player pillow.
Decorating baby bibs
The great thing about decorating baby bibs with this appliqué technique is that once you learn how to do it, you can pretty much appliqué on any fabric or article of clothing.
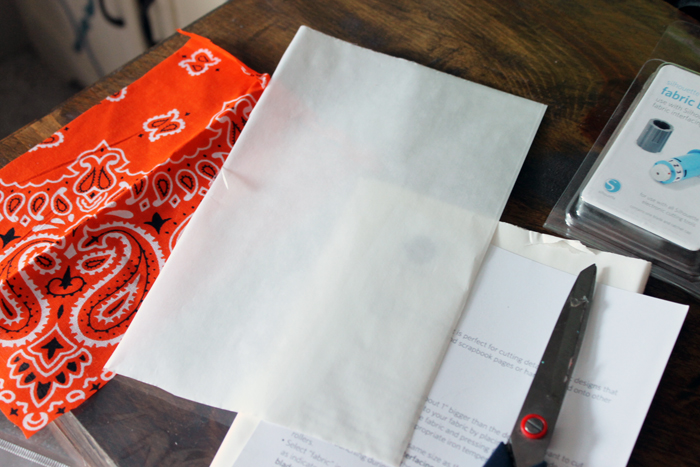
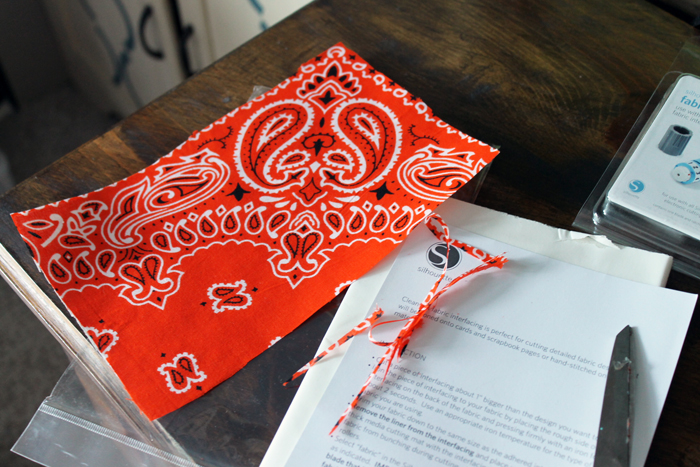
Supplies needed
- Fusible Interfacing
- Cricut Machine
- Fabric Blade or Rotary Blade
- Bandana (or other fabric in the color of your choice)
- Household iron
- Sewing Machine
- Scissors
- Plain Bibs
Instructions
Step 1 – Prep your fabric
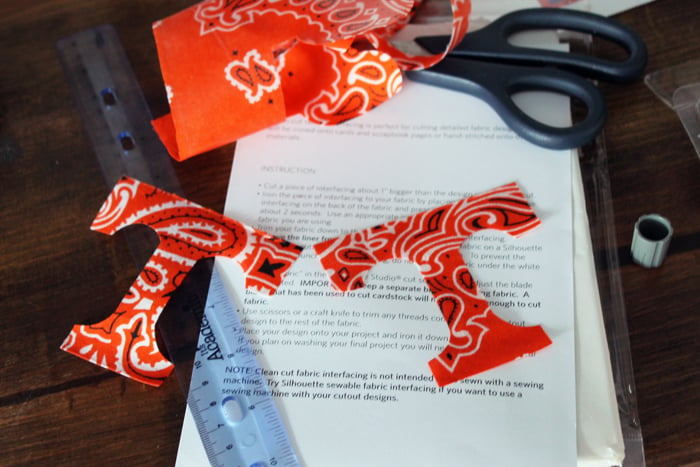
Start by reading the directions that come with your interfacing. You will need to cut the bandana (or fabric) and interfacing to approximately the same size.
Step 2 – Adhere interfacing
Iron the interfacing onto the back of the bandana or fabric. Trim the interfacing to the same size as your fabric. Peel off the liner piece from the back of the bandana. There should be a plastic-like coating on your fabric. Remember to follow all instructions that come with your interfacing, including ironing times.
Step 3 – Cut your fabric shape
Find the shape of your choice in Cricut Design Space to cut from the fabric. Then, using your fabric or rotary blade, cut your fabric. Trim any remaining threads with scissors when removing your fabric from the cutting mat.
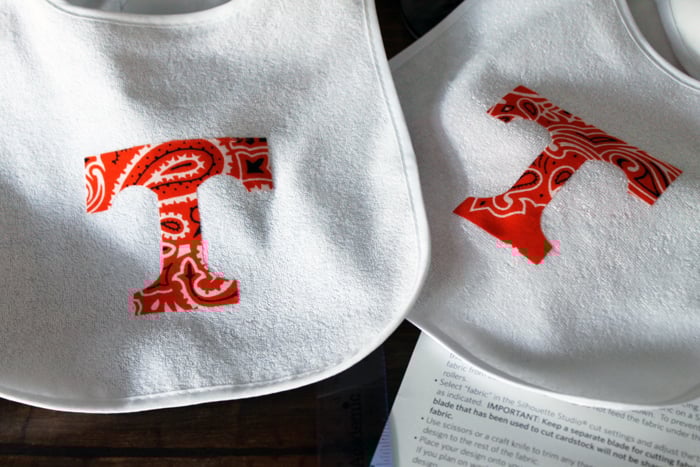
Step 4 – Adhere fabric to bib
Place the fabric onto your baby bib. Remember, you can choose to use a shirt or even pants! Just use your iron to adhere your fabric to the bib.
Step 5 – Sew outline to finish
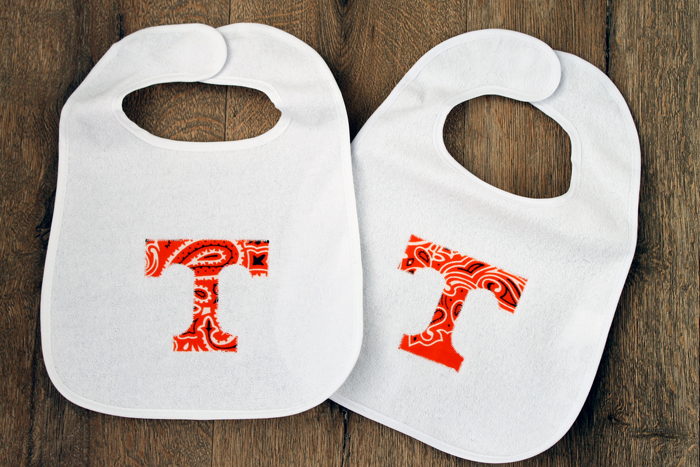
The bandana is now firmly in place on your bib. By decorating baby bibs this way, the decorations are not permanently adhered and cannot be washed. To be washing-machine-safe, you will need to break out the sewing machine. Use a zigzag stitch all the way around to secure your appliqué permanently.
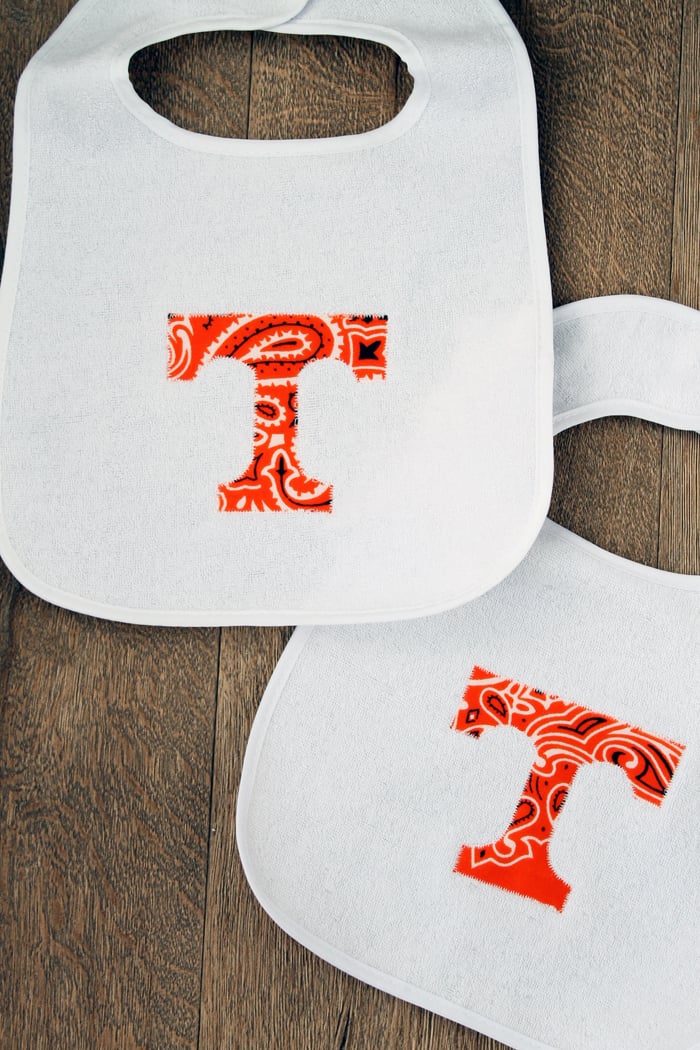
Decorating baby bibs is a fun way to really customize a gift. Choose any shape that you love to use for this project. I used a college football team logo cause we are all about the Volunteers around here.
What shape will you add to a baby bib or other project? You will love this technique for decorating baby bibs, and you can use it for lots of other fabric blanks. What will you customize? Let me know in the comments.
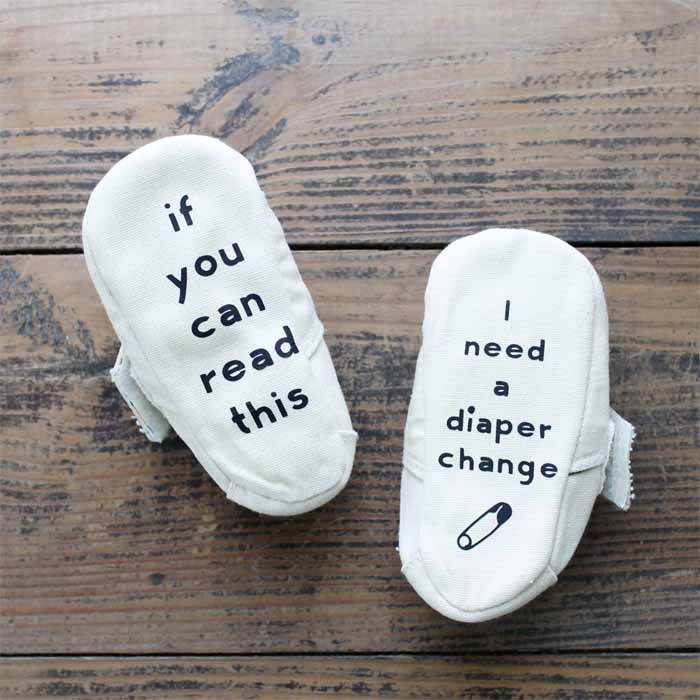
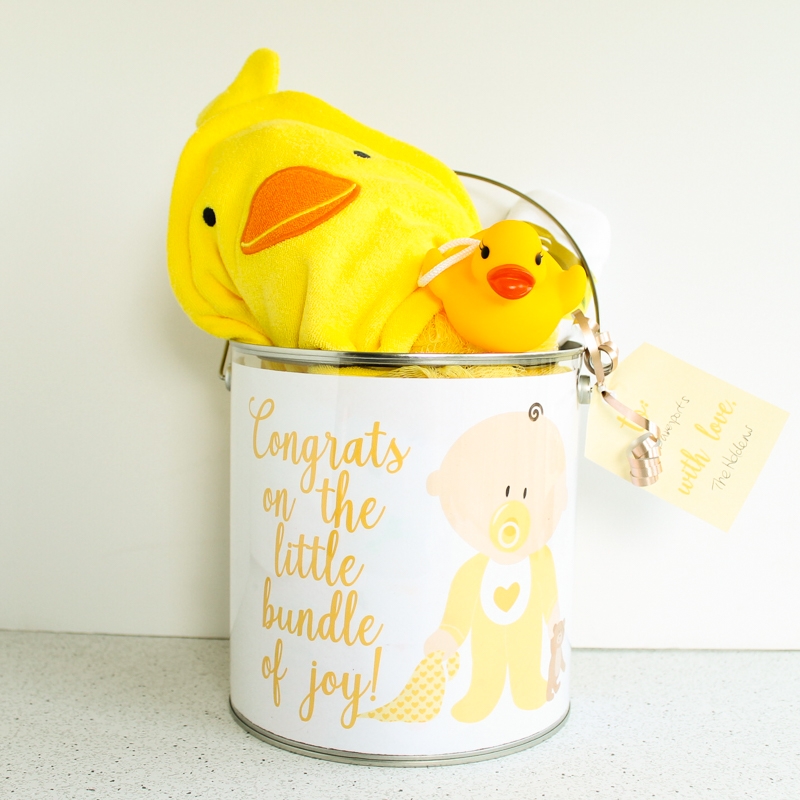
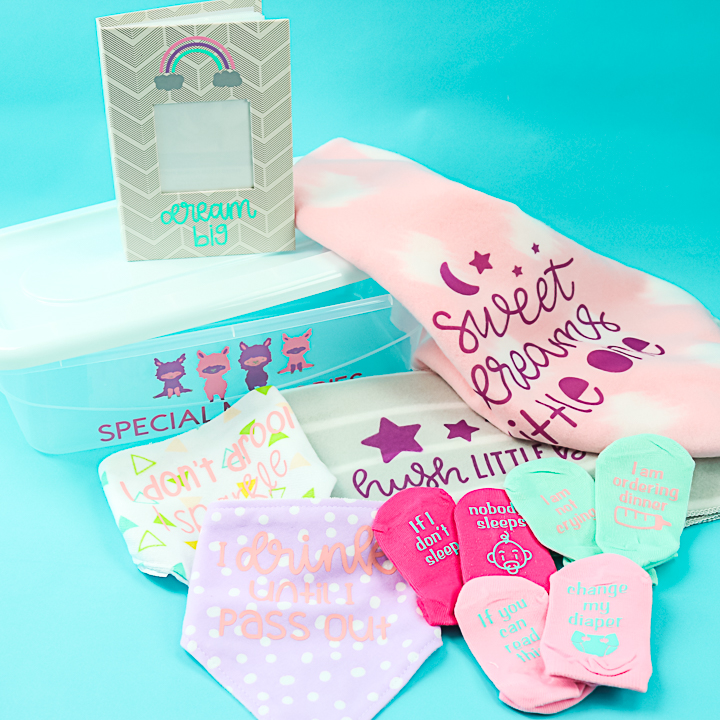
More DIY Baby Gift Ideas
Are you looking for more DIY Baby Shower gift ideas? Check out some of the posts below:


These bibs turned out so nice and professional. I’m glad to have found your blog! I’m excited to keep up with your fun crafts.
Aww…these are so cute!
I’d love for you to share this with my Facebook Group for recipes, crafts, tips, and tricks: https://www.facebook.com/groups/pluckyrecipescraftstips/
Thanks for joining Cooking and Crafting with J
These are so cute and I love that you have good taste in teams. Go vols!
Much Love,
Erica- Designing Vibes
These are so cute. Thanks for sharing at the Inspiration Spotlight party. Shared.
These are just adorable! Thanks for sharing at Merry Monday!
How cute is this? Absolutely love it! Thanks for sharing at Dishing It & Digging It 🙂