Are you gearing up for a wedding or a charming dinner party? Transform your event with these delightful DIY name cards! They’re not only easy to make but also add a personal touch that your guests will love. In just a few minutes, you can create stunning name cards by following the simple instructions below. Explore your local thrift store for unique vintage maps or grab some beautiful cardstock to spark your creativity. Make your occasion unforgettable with these fun and stylish name cards!
This post was originally posted in 2014 using a Sizzix die cutter, but has been updated to make these using a Cricut or other cutting machine.
DIY Wedding Name Cards
Place cards are a wonderful way to guide your guests to their seats while also helping them connect with one another by name, and can be easily customized to any theme or occasion.
Supplies needed
For these DIY wedding name cards, you will need:
- Maps or other pretty paper (sheet music, books, watercolor sheets)
- Dry adhesive (glue dots, 3D adhesive mounts, or other dry glue)
- Cricut machine
- Scoring stylus or scoring wheel (optional)
- Cardstock to match your main paper
- Ruler or other straight-edge
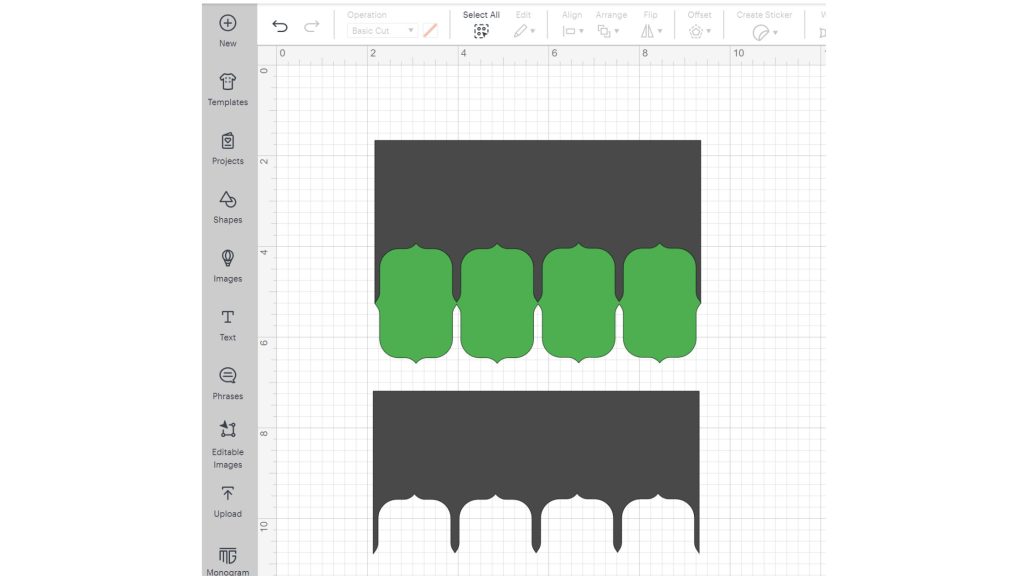
- Cut files in Cricut Design Space (just search for the shape you'd like to use)

I used some maps I found at my local thrift shop for my name cards, but any pretty paper (on the heavier side) would work.
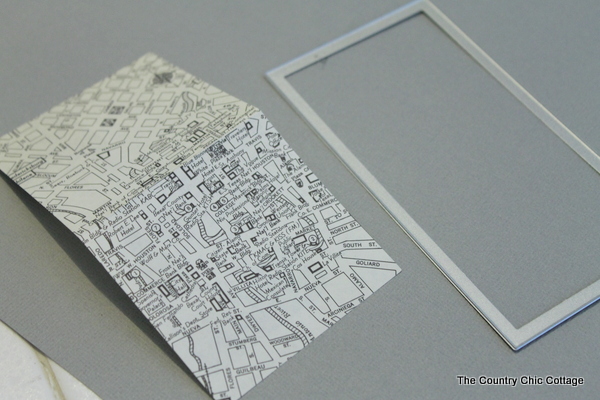
Step 1 – Cut name cards
To start, you can hand-cut with scissors or use your cutting machine to cut your base paper into rectangles. This is a great way to practice cutting and scoring cardstock with your Cricut. To add a score line, add a line to your canvas (using the shapes section) and change the operation to score.

Once cut, fold the rectangle in half to make the card tent.
Step 2 – Embellish
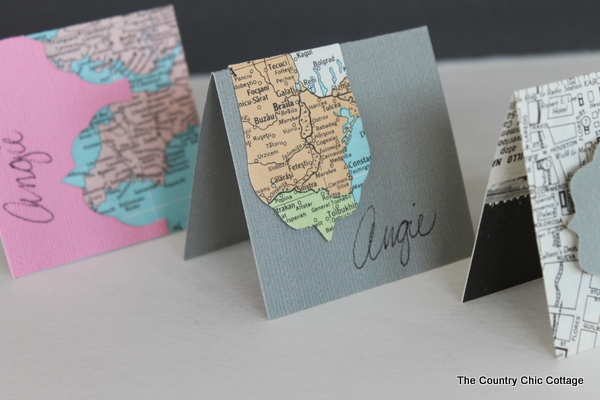
I cut a pretty shape out of coordinating cardstock for this first DIY wedding name card. Then, I used 3D mounts to put it all together. All of the shapes below are in Cricut Design Space.

I love the monochromatic feel of this wedding name card, but you could use colorful maps instead.

I cut the map into a fun shape for the next name card.

I then folded it and added it to a cardstock rectangle. I used some glue tape to attach the map cutout to the top of the card tent.

For the last version, the card is made from a map, and the embellishment is made from a cut piece of cardstock. I created a shape in Cricut Design Space by duplicating a shape that I liked and then welding it together.
You can cut whatever shape you'd like to make a pretty border for your name card.
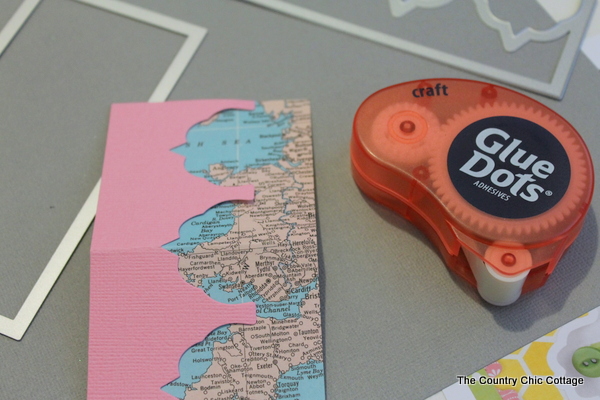
Use glue dots to put the two pieces together, and you'll have a completed name card.

Step 3 – Personalize
To finish these DIY wedding name cards, write the name on the plain part of each card. You can also use your Cricut to write the names for you. Pro Tip: Plan out your names before attaching them to your cards so you can utilize the pen feature on your Cricut.

Which style will you use at your next dinner party or wedding reception? These DIY wedding name cards are perfect for any occasion. Stock up on vintage maps or other pretty paper to make some amazing creations.

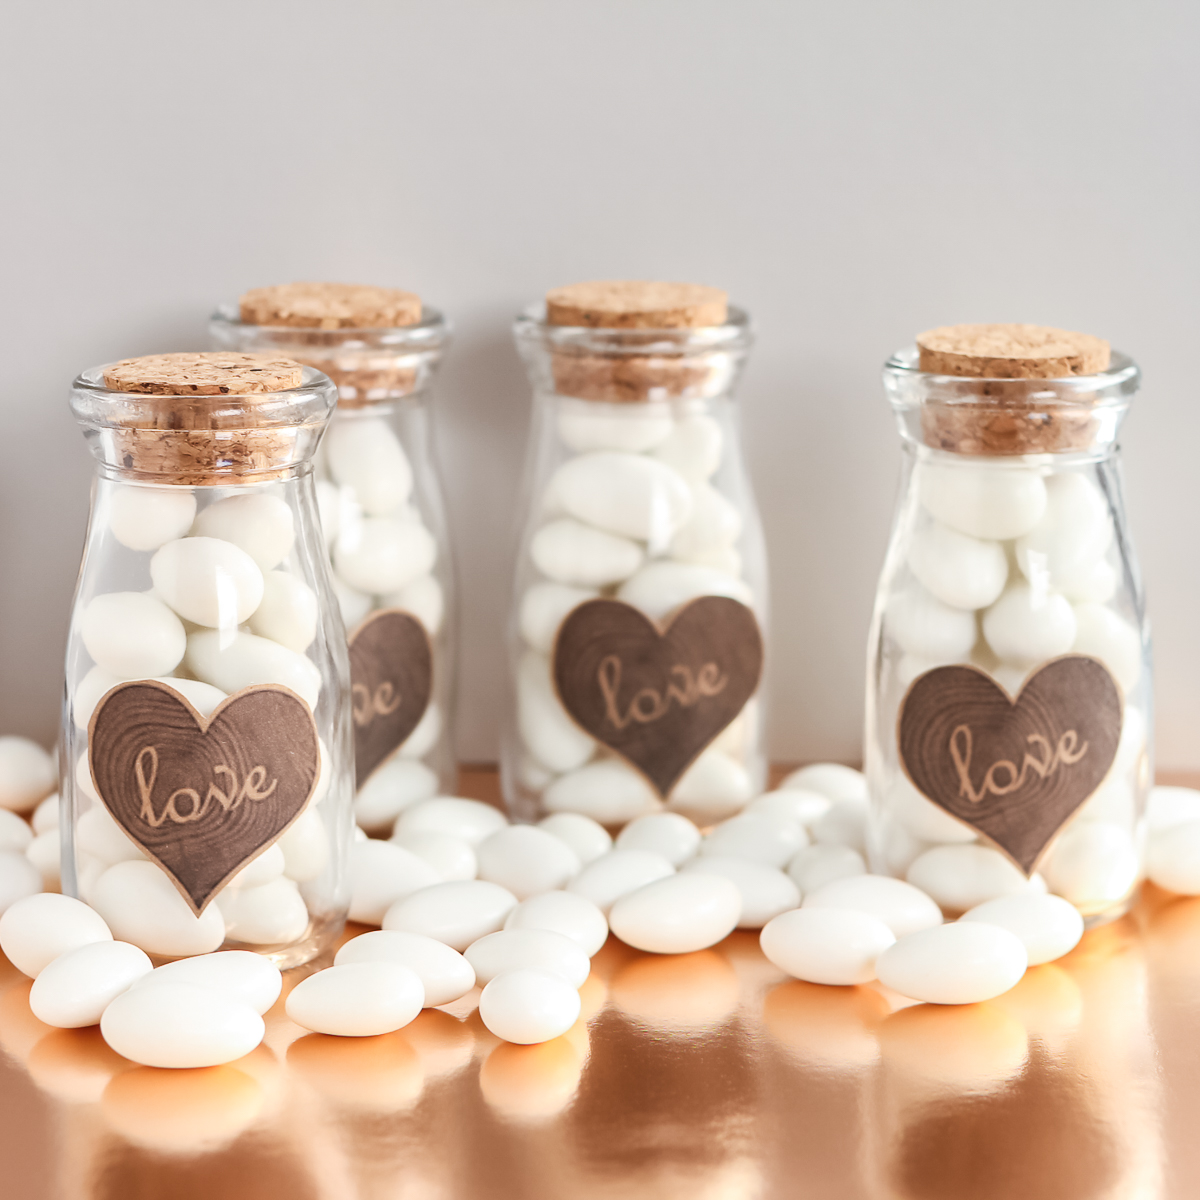
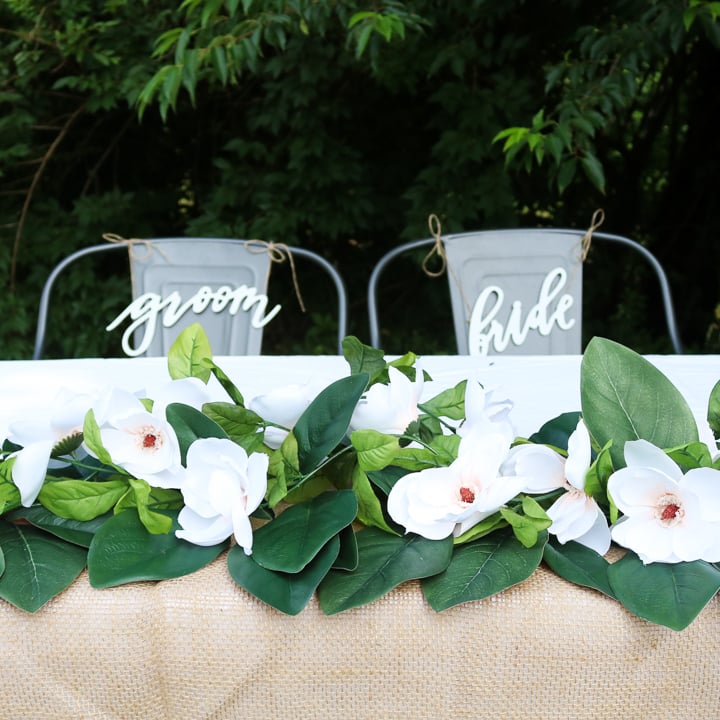
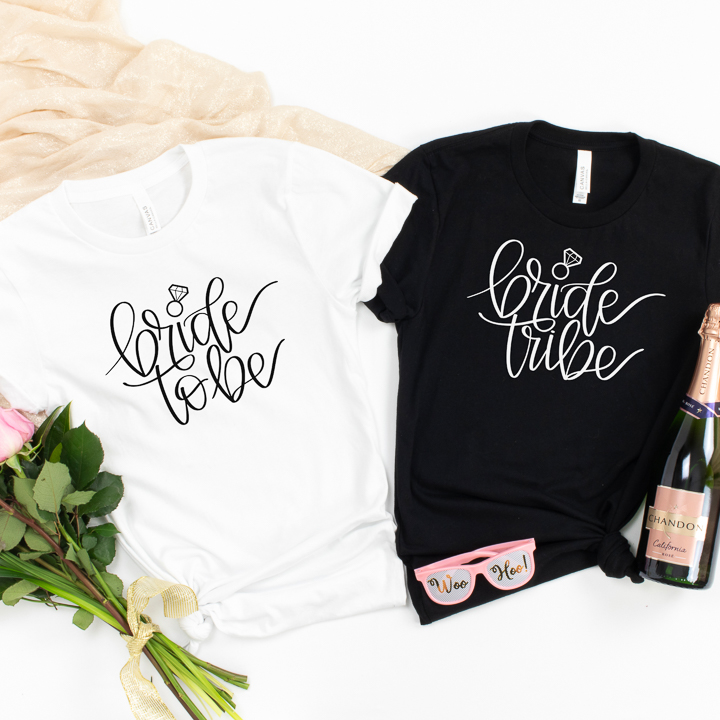
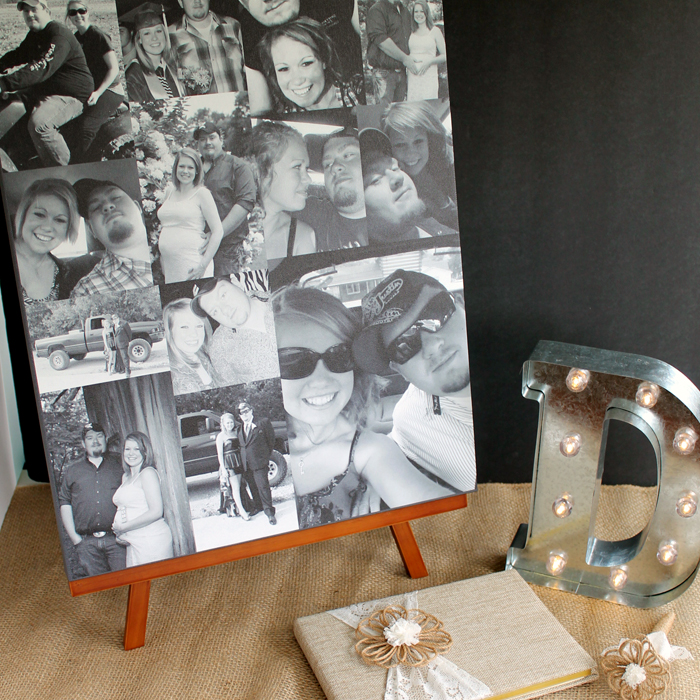
Other DIY Wedding Projects
Are you planning a wedding? Here are some other DIY wedding ideas for you. Let me know if you make these DIY wedding name cards or any of these other projects. I'd love to see your creations!