
Welcome Spring with this simple and easy DIY spring wreath! Whether you want to decorate your front door, living room area, kitchen, or fireplace, this burlap wreath will surely add some sparkle to your home decor.
How To Make A DIY Spring Wreath
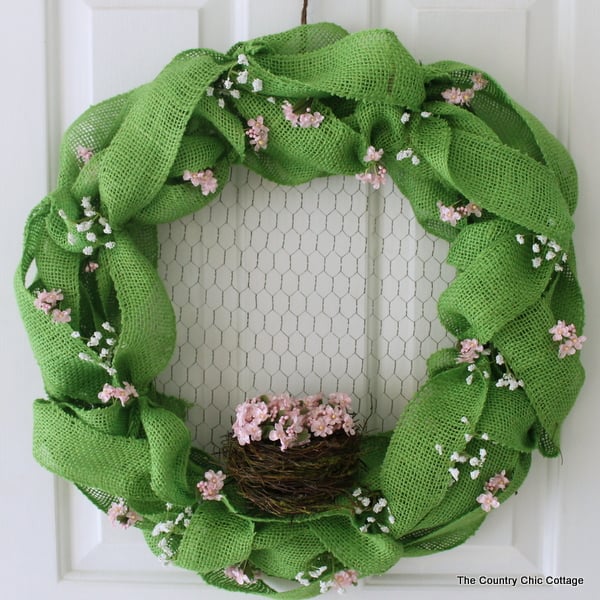
I am feeling the need for spring, y'all. I thought I would add a touch of spring to my front door with this DIY spring wreath made from burlap. At least my door will be nice and warm-looking!
Burlap is about to become your new best friend! Crafting spring wreaths with burlap is like bringing a cozy hug to your front door. Grab some vibrant, pastel-colored burlap, a trusty wreath form, and let the creative magic begin!
If you were looking for other DIY spring wreath ideas made with burlap, try this bee burlap spring wreath, carrot spring wreath, or this flower-shaped wreath.
Now, grab the supplies below and follow the instructions to make your burlap wreath!
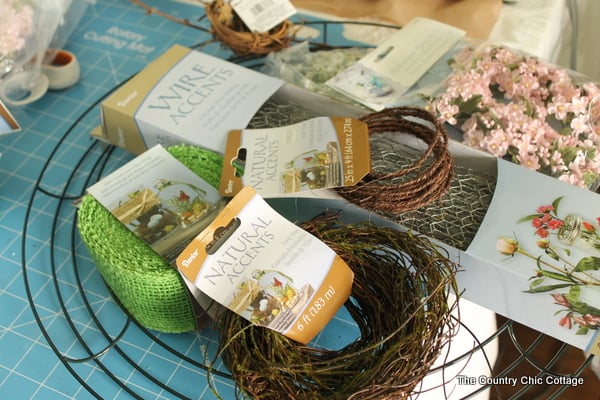
Supplies Needed To Make A DIY Spring Wreath
- Burlap Ribbon Lime
(1 1/2 spools required)
- 12in Wire Wreath Form
- Chicken Wire
- Premade Bird's Nest
- Vine-Wrapped Craft Wire
- Baby Breath
- Hydrangea Flower Pick
- Floral wire
- Hot Glue
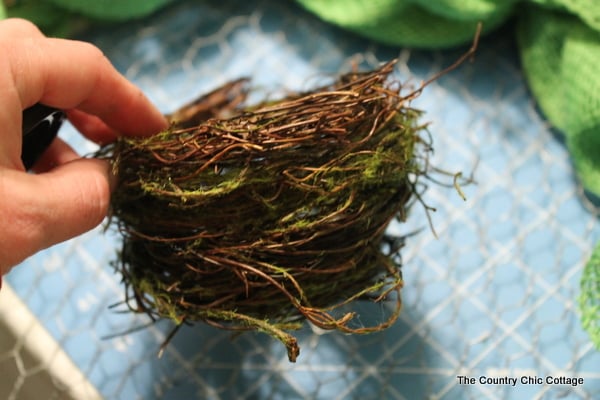
NOTE: For this project, I originally used Mossy Twig Vine to create a bird's nest (you will see that in the supply photo below). Unfortunately, this product is no longer available.
However, you can still make this project using a premade artificial bird's nest. You can find premade bird's nest on Amazon, at the craft store, and even at your local Dollar Tree!
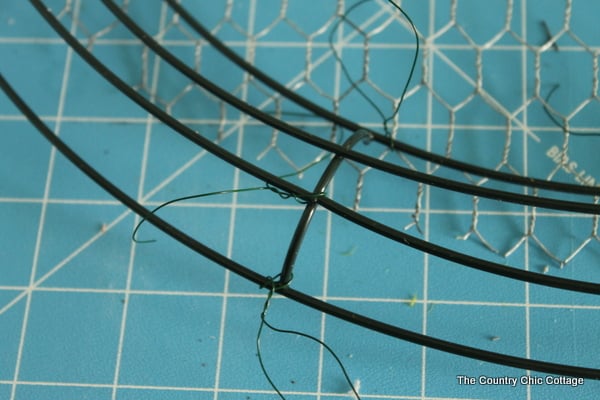
Step 1: Cut Chicken Wire To Fit Inside The Wreath Form
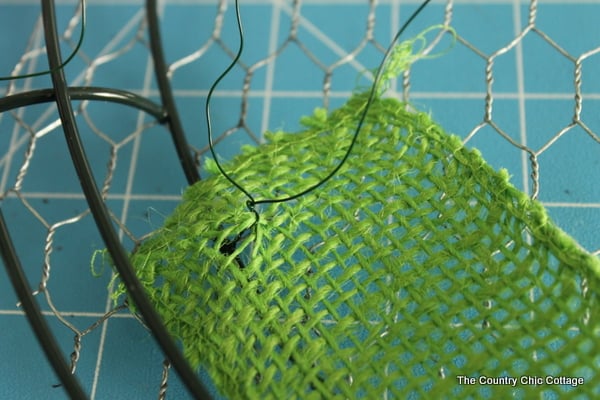
Start with the chicken wire and wire wreath form. Use metal cutters to cut the chicken wire to fit inside the wreath form. Attach the chicken wire to the wreath form with lengths of floral wire as shown. It is important to leave the long ends free as we will use them in a minute.
Step 2: Cut Pieces Of Floral Wire And Tie To Wreath Form
Snip off 6 – 8 inch lengths of floral wire and tie them to the wreath form in various locations in the middle and outside edge as shown. Make sure they are in a location where they will not slide along the form (the place where the vertical and horizontal pieces cross are perfect).
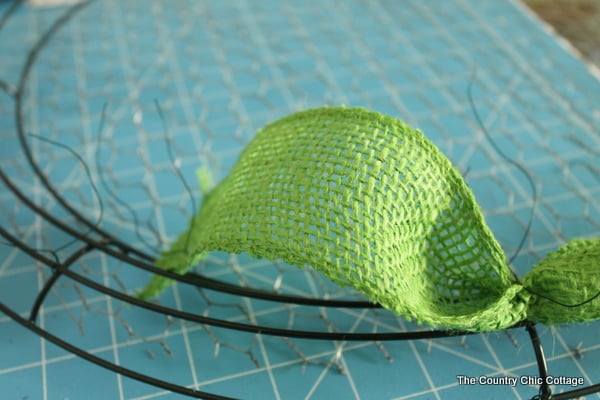
Step 3: Attach Burlap Ribbon To Wreath Form
Start with the burlap ribbon in one area and tie it on as shown below.
Then, make a “bubble” with the ribbon and tie the wire around it, as shown below.
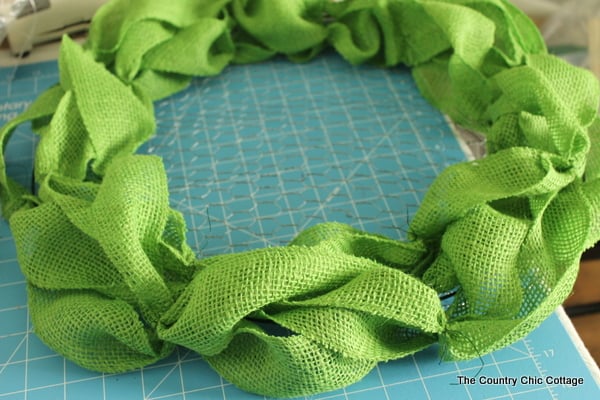
Step 4: Keep Adding Burlap Ribbon Around The Wreath Form
Continue in this same manner around the wreath. Cross the ribbon, make large and small bubbles, or anything else that suits you. Just play with the ribbon and the wreath until you love it. You can add more floral wire if needed.
Step 5: Cover Any Spots Where The Wire Is Showing
The image below is after one spool of ribbon. I used an additional 1/2 spool before calling this one done. Before finishing, try to cover up any places where your wire shows with ribbon bubbles as well.
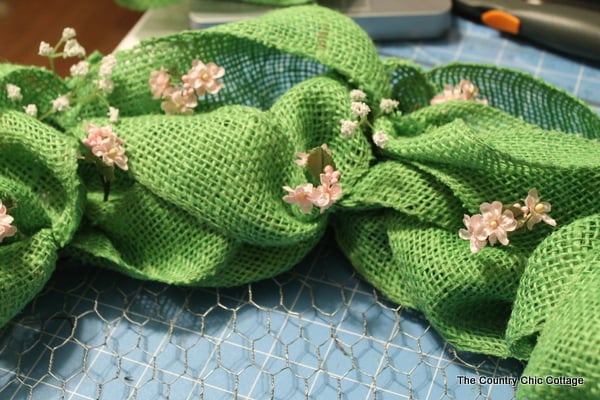
Step 6: Glue Flowers To Wreath Form
Cut little pieces of the flowers and stick them inside the wreath as shown. You can use just a dot of hot glue to secure. Use these flowers to hide anywhere you can see floral wire as well.
Step 7: Examine Bird's Nest
Not all premade artificial bird's nests are the same! Examine your premade bird's nest to ensure it looks how you want it to. If you are happy with how it looks, you can move on to Step 8. However, if you wish it looked a bit different, now is the time to dress it up.
For example, you may want to adjust some twigs, cut off pieces that poke out too much, or glue on some moss here and there. This step is up to you, so be as creative or simple as you would like!
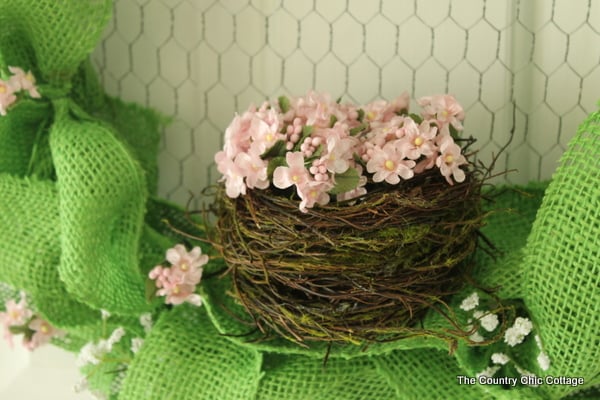
Step 8: Glue Bird's Nest To Wreath Form
Secure to the center of your wreath with additional hot glue. Fill the nest with flowers and secure those with hot glue as well.
Step 9: Add Wired Sisal Vine To Wreath Form
Use the wired sisal vine to hang your creation at the top. You are ready to welcome spring with this DIY spring wreath that your guests will love!
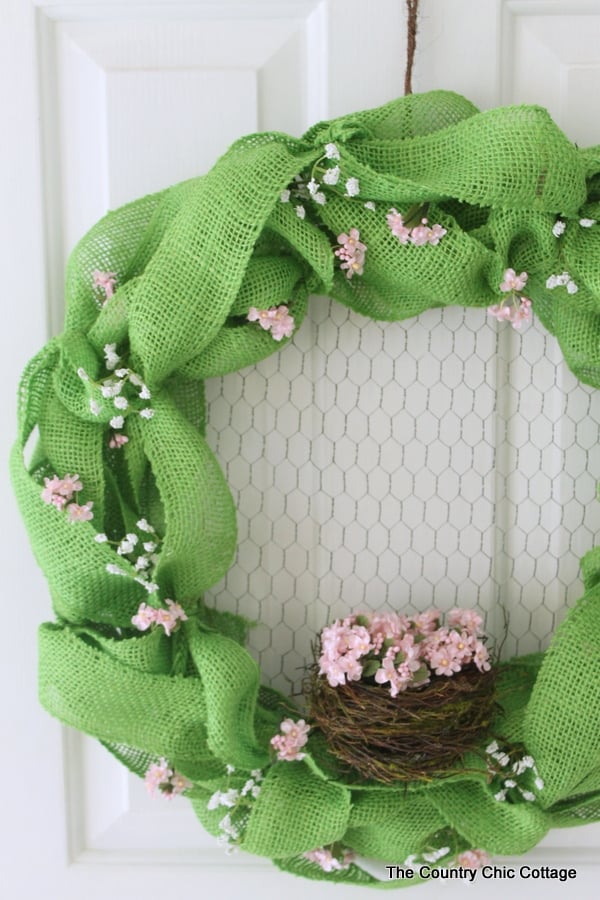
This vibrant DIY spring wreath is a wonderful way to welcome the season. It can also transition nicely into summer, making it perfect for those who prefer not to change their wreaths with the seasons. You can also follow the instructions above with any color of burlap ribbon to make a wide variety of burlap wreaths for any season.
Tips and Tricks for DIY Spring Wreath Making
Now that you’ve seen how to make a DIY spring wreath from burlap, are you ready to make your own? Here are a few tips and tricks to ensure your project goes as smoothly as possible!
- Take Your Time – This project is very easy to make, but I recommend going slow and enjoying the DIY process to ensure that everything looks just the way you want it. Especially when you are adding the burlap ribbon!
- Don't Skip The Metal Cutters – Using metal cutters in this project helps tremendously because it makes cutting the chicken wire (to fit inside the wreath form) so much easier. Don't try to use scissors as a substitute because you can hurt yourself and damage your good scissors.
- Make it Semi-Homemade – If you would rather spend more time decorating than making, you can always buy pre-made items from your local craft store or Dollar Store to add to your wreath. For example, you can buy flower embellishments, bird nests, and fake birds.
- Think Beyond Spring – Even though I made a spring wreath, you could make this wreath for any season of the year. All you would need to do is change up the color of the burlap, flowers, and possibly the bird's nest, to get a new look. The possibilities are truly endless! If you are looking for some fun ideas to get you started, below are a few for different seasons.
- Summer: Yellow burlap with sunflowers, bees, and a bird's nest.
- Fall: Orange/brown burlap with autumn leaves, pumpkins, and a bird's nest.
- Winter: Dark green or brown burlap with berry picks, pinecones, and a bird's nest. You could also swap out the bird's nest and use a small birdhouse instead to ”symbolize” that the birds are inside since it's too cold outside.
8 Spring Inspired Burlap & Bird Projects
No home is complete without a DIY Spring Wreath! Let me know in the comments if you’re going to make this! Also, if you love burlap and bird-themed projects, below are some of my favorites that you should check out!
Burlap Projects
- DIY Storage Box with Burlap
- Burlap Pillows with Stenciled Designs
- Burlap Cactus Succulent Decor: How to Make Your Own Plant Project
- Spring Burlap & Felt Bunting
Bird Projects
- DIY Mason Jar Bird Feeder in Minutes
- How to Paint a Birdhouse Camper
- Beach House-Themed DIY Bird Feeder
- Spring Bird Bookmark Craft- Perfect For Homeschooling


Great DIY wreath. Thank you for the awesome tutorial.
I shared this post on DIY best posts.