
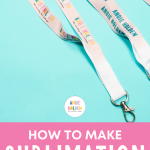
Are you ready to learn how to make sublimation lanyards? Over the years, I've had many requests for this tutorial, so I decided to order some lanyards to figure out the best process.
If you have an upcoming event that requires badges or you want a custom lanyard for your work badge, you'll like this tutorial.
If you are new to sublimation, make sure to check out my Sublimation Beginner's Guide to get started.
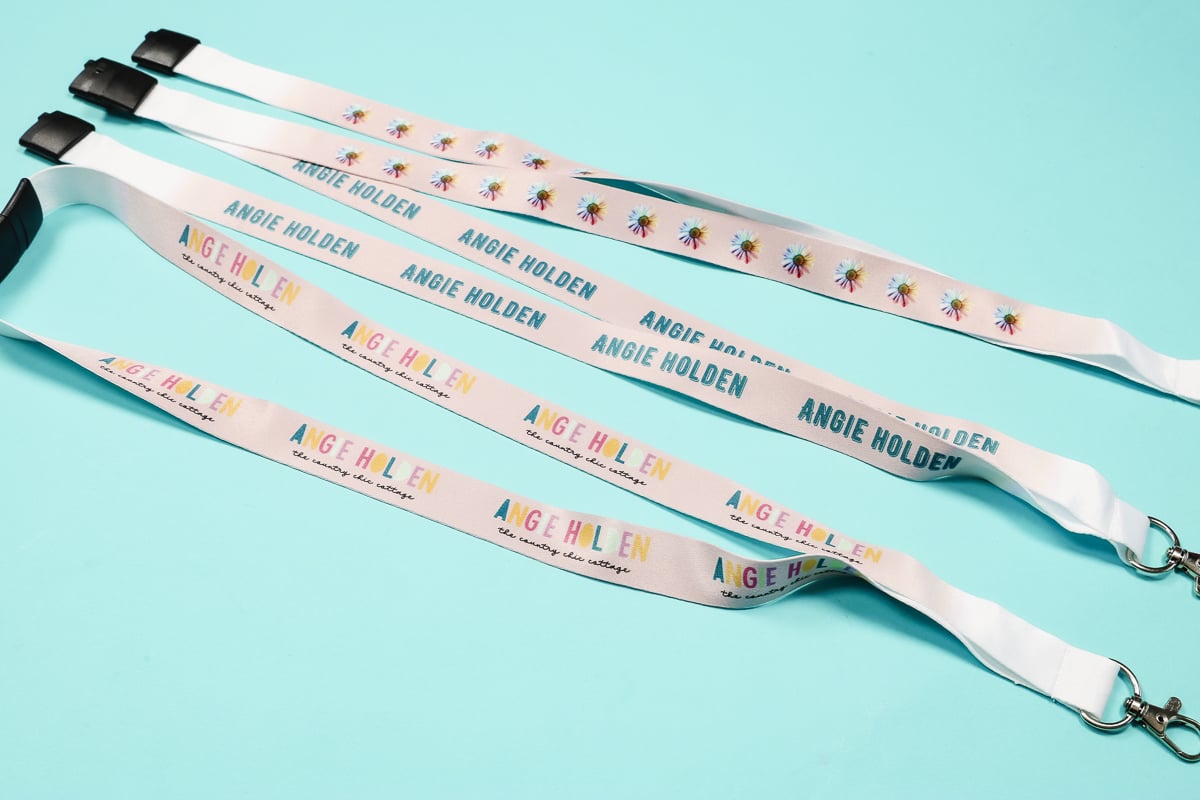
The great thing about the sublimation lanyard I'm using today is that it has a clip at the back of the neck so it can lie flat during the pressing process.
Click play on the video below to watch me create the design and make the lanyards from start to finish.
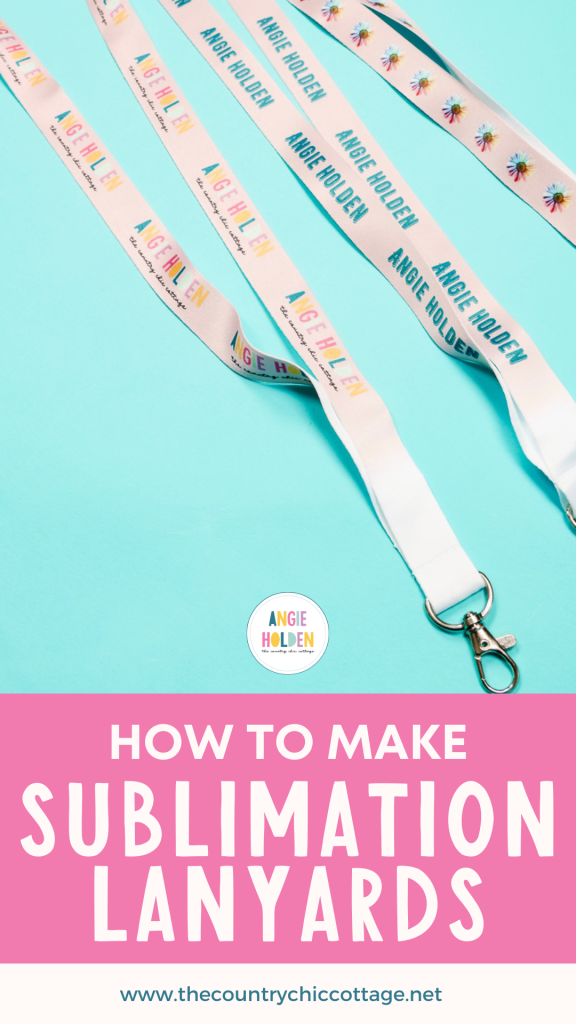
How to Make Sublimation Lanyards
I'm going to show you how to add a logo, text, and an image to these lanyards. I will also show you how to create a gradient background that will give you a more professional finished look.
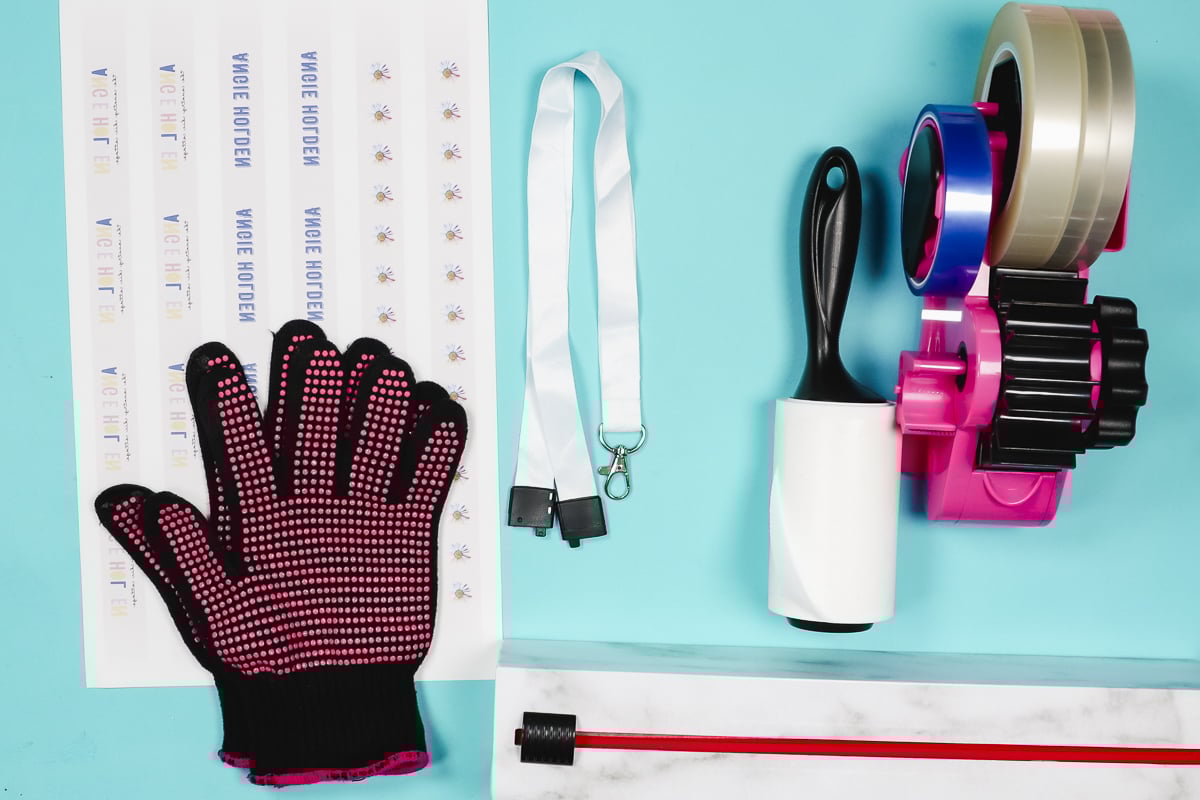
Supplies Used
- Free Canva Template
- Sublimation Lanyards
- Heat Press
- Brother Sublimation Printer
- Sublimation Paper
- Lint Roller
- Heat Resistant Tape
- Heat-resistant Gloves
- Tape Dispenser
- Protective Paper
- Paper Dispenser
What Type of Lanyard Works Best?
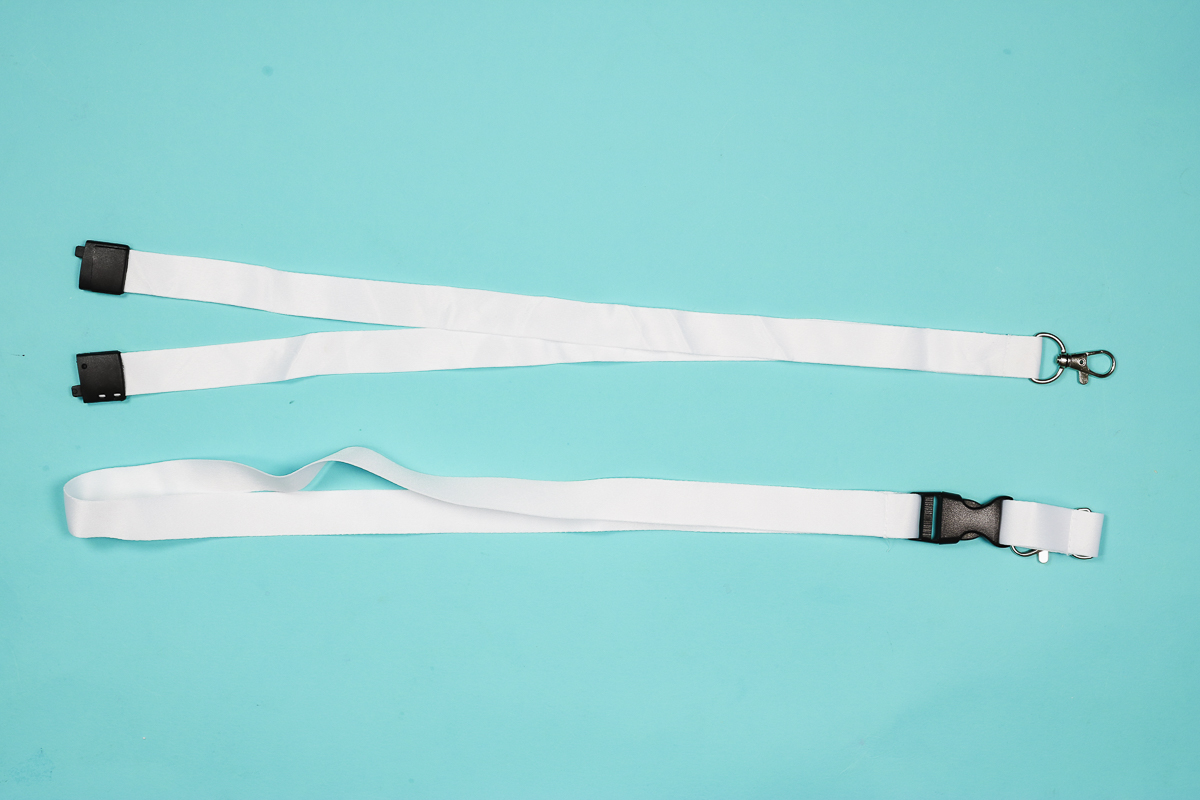
There are a lot of different types of lanyards out there. For this project, you need to make sure you have a sublimation blank. This will be white or light in color and have a high polyester count.
Some lanyard types will work better than others, and you want to make sure you have all the right supplies, including the right size of sublimation paper.
For my examples, I am using a sublimation lanyard that separates at the neck. When separated, you're left with two pieces you can sublimate easily.
A traditional lanyard wraps all the way around the neck so it cannot lie flat. Because we're pressing this in a flat heat press, it would be impossible to sublimate the back of the neck area correctly.
What Type of Sublimation Printer Do You Need?
To make sublimation lanyards, you need a sublimation printer. You can customize lanyards with any sublimation printer, but you'll want to use 8.5-inch by 14-inch paper.
I am using my Brother SP1 sublimation printer today. It has a max print size of 8.5 by 14. I think that is standard for most printers that can print 8.5 by 11 paper.
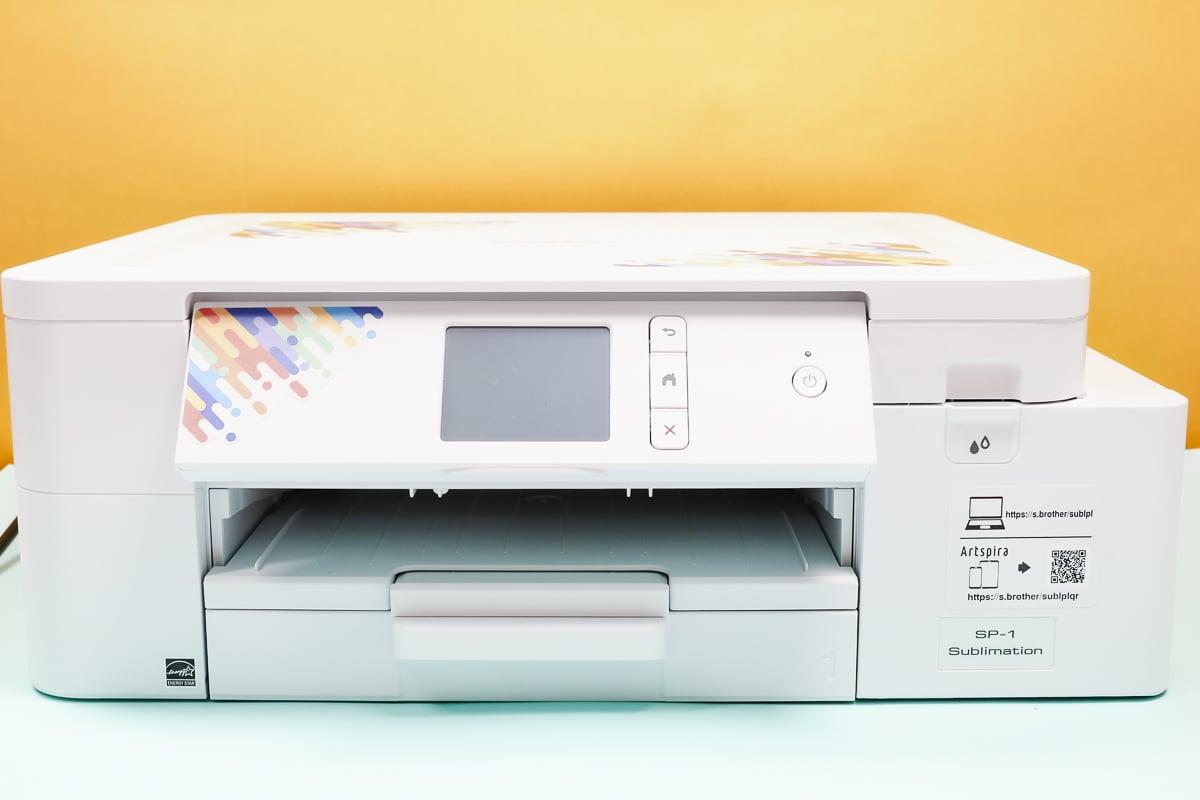
Even with a 14-inch paper, my design doesn't go from end to end. If you have a printer that can print larger than 14 inches, you can get closer to the ends than I could.
What Size Heat Press Do You Need?
I recommend a larger heat press. You can do this project with an EasyPress, but you'll want to use the largest press.
I am using a 15″ by 15″ heat press for my sublimation lanyards. If you have a Cricut Autopress, you could use that as well.
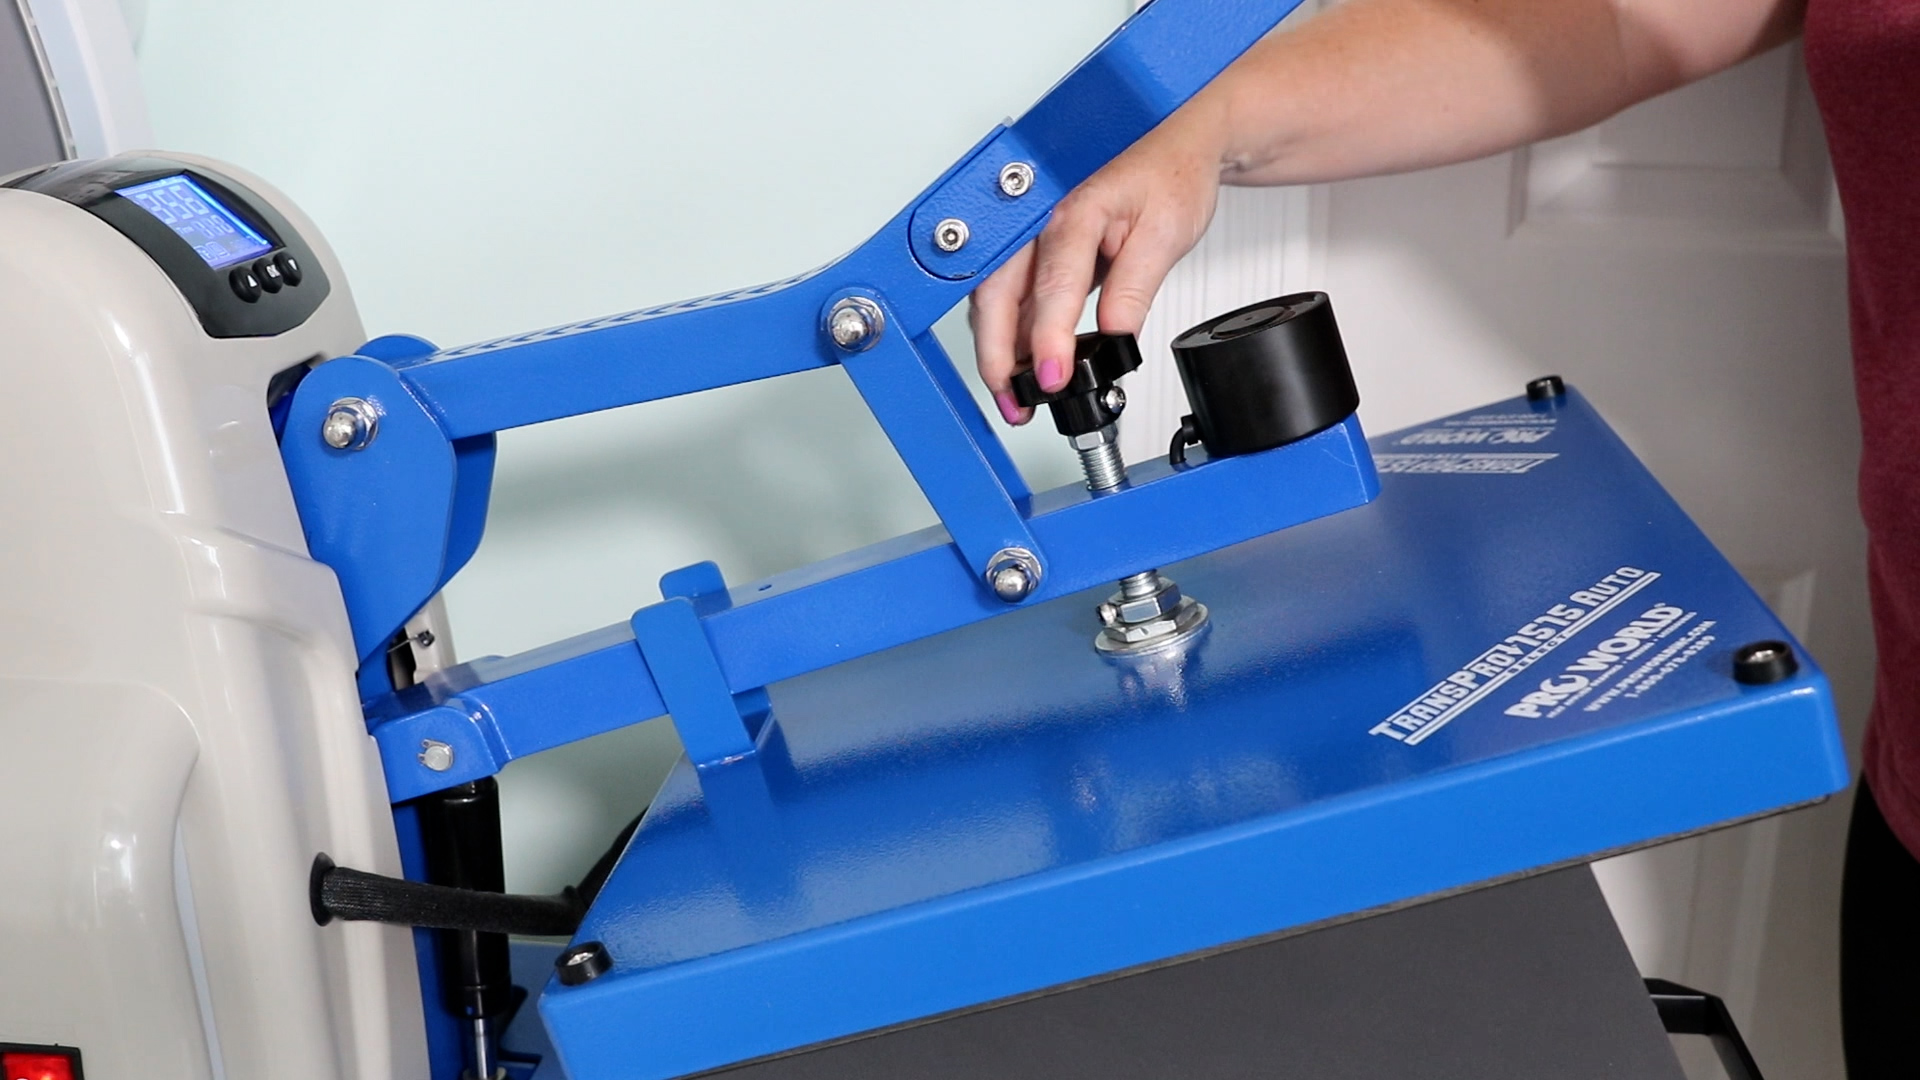
Even with a larger paper size and a large heat press, you will need to be careful of the ends. Most lanyards have plastic or metal pieces that can't go into the press. Those will impact how close you can get your design to the ends.
Step 1: Customize Canva Design Color
Because my paper size is actually slightly shorter than the length of the lanyard, I created the Canva design to fade out toward each end so there isn't a harsh line.
Click here to get the Canva template I am using.
From here, you can customize the design to match what you need to put on the lanyard.
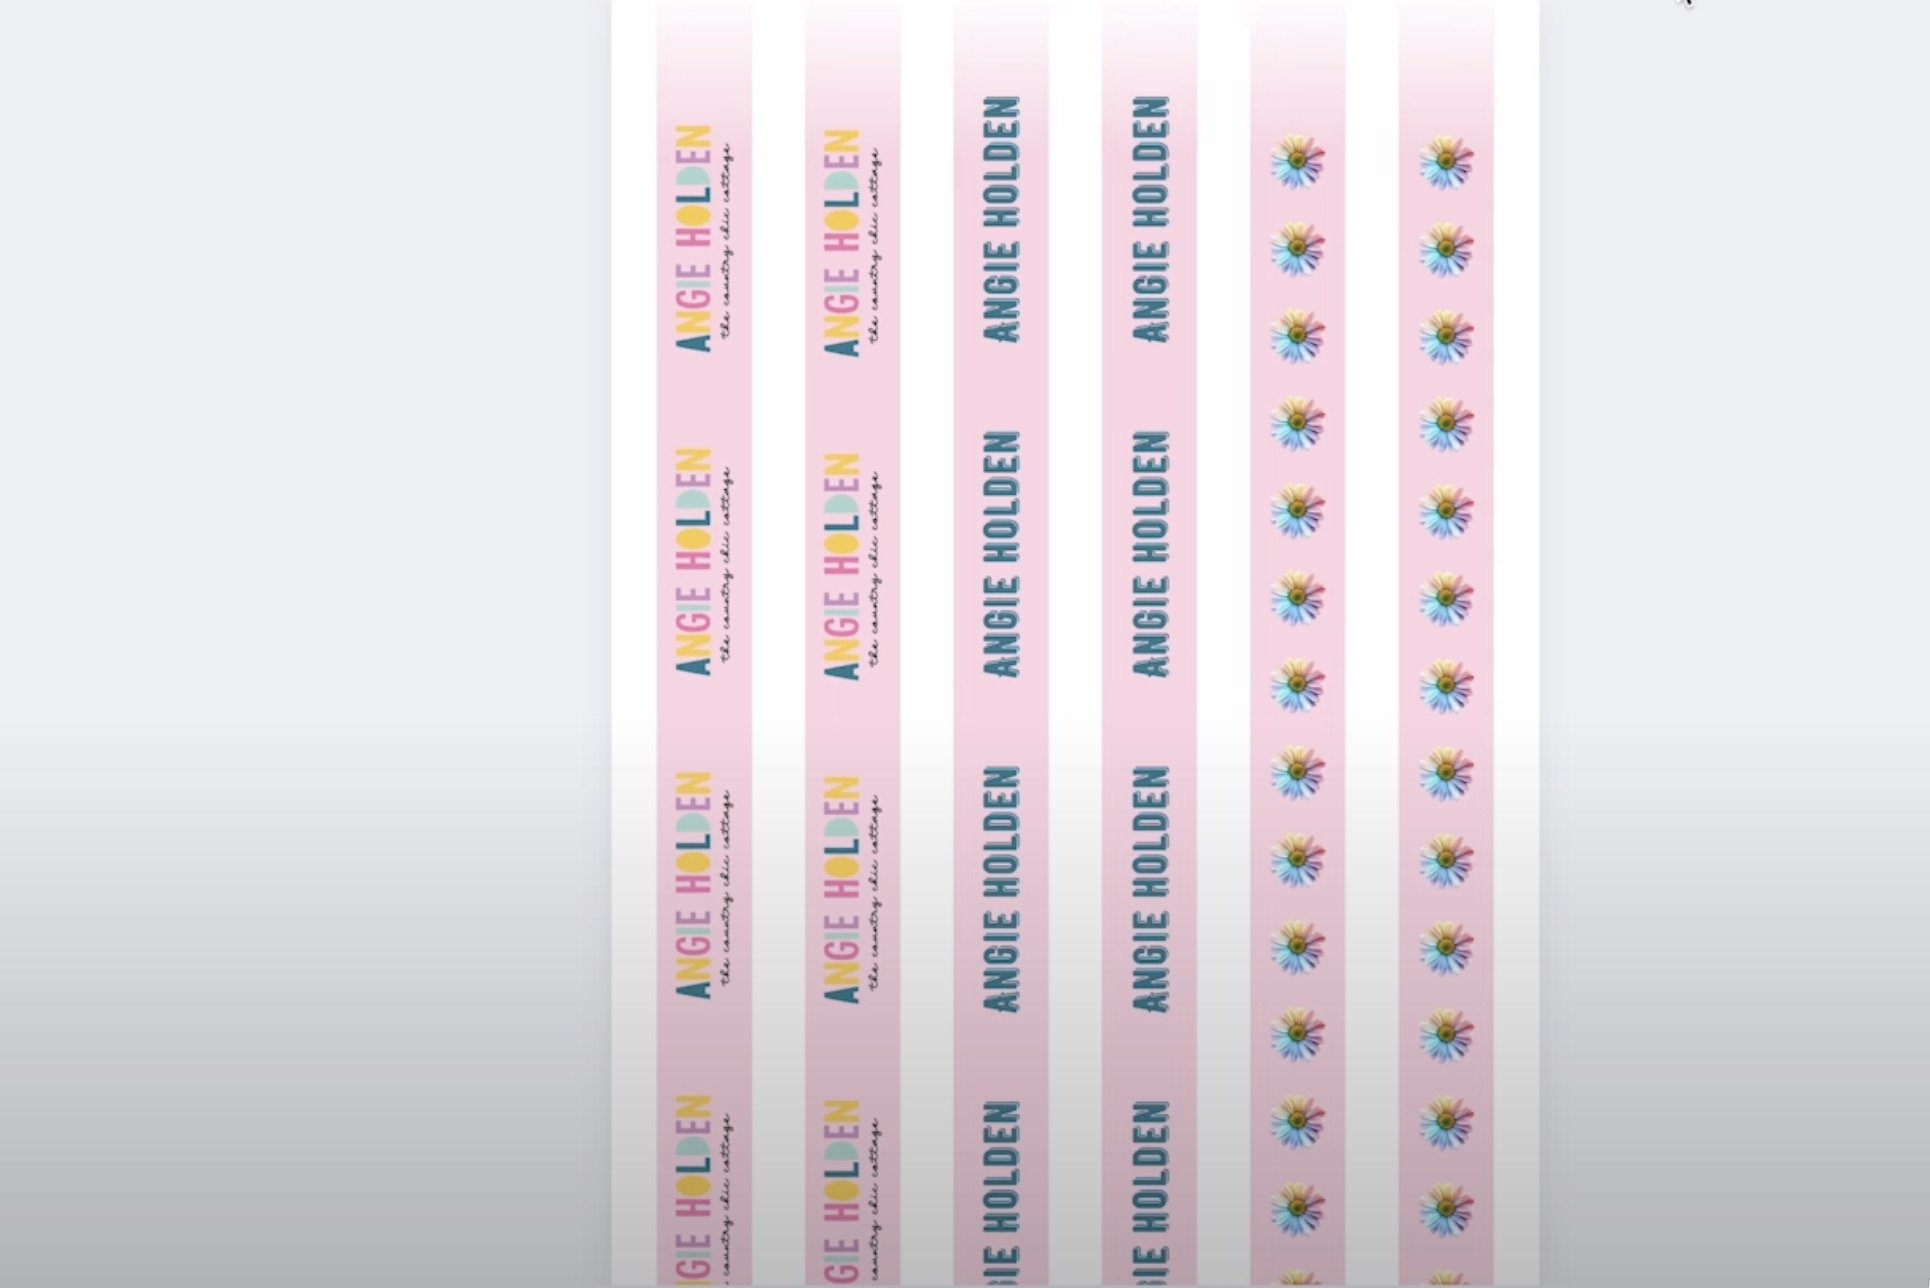
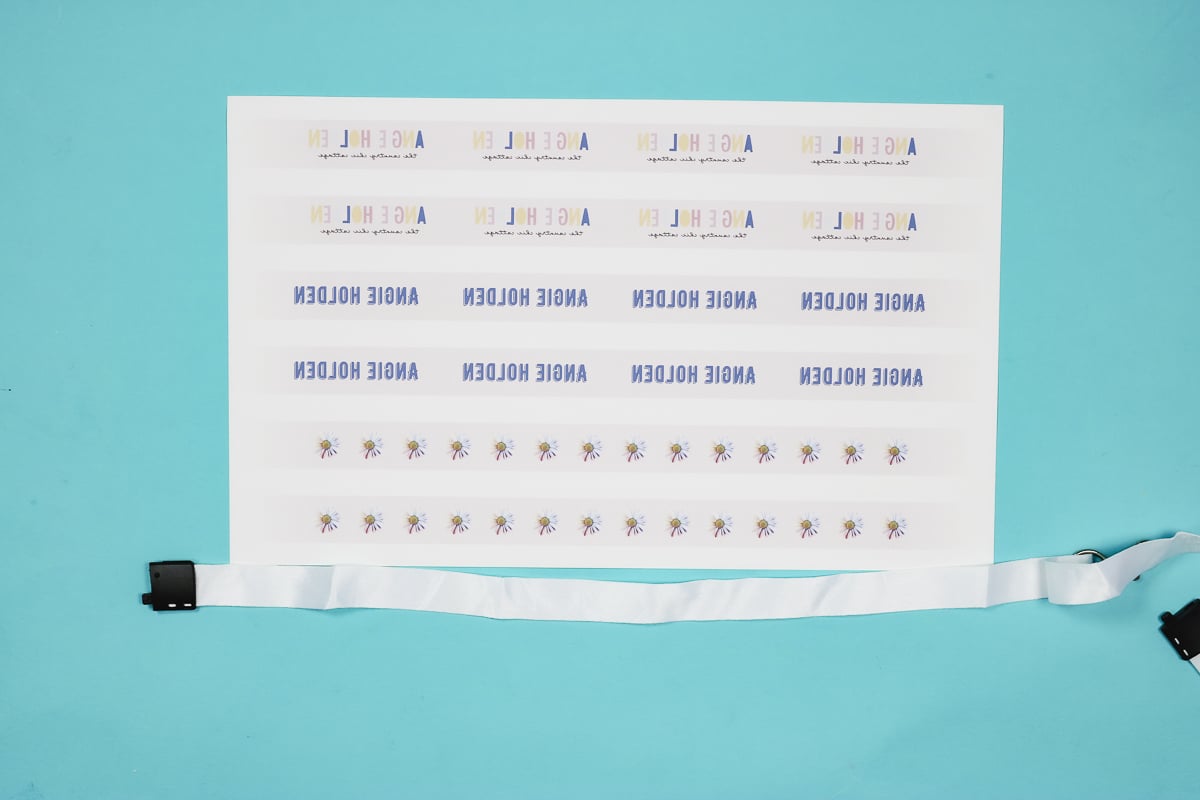
The Canva template is set up for 8.5 by 14-inch paper. There are 6 rectangular shapes on the canvas, and each of those rectangles is made up of 3 elements.
If you want to change the color of the rectangle, start with the middle section. Click on the color and then choose the color you want.
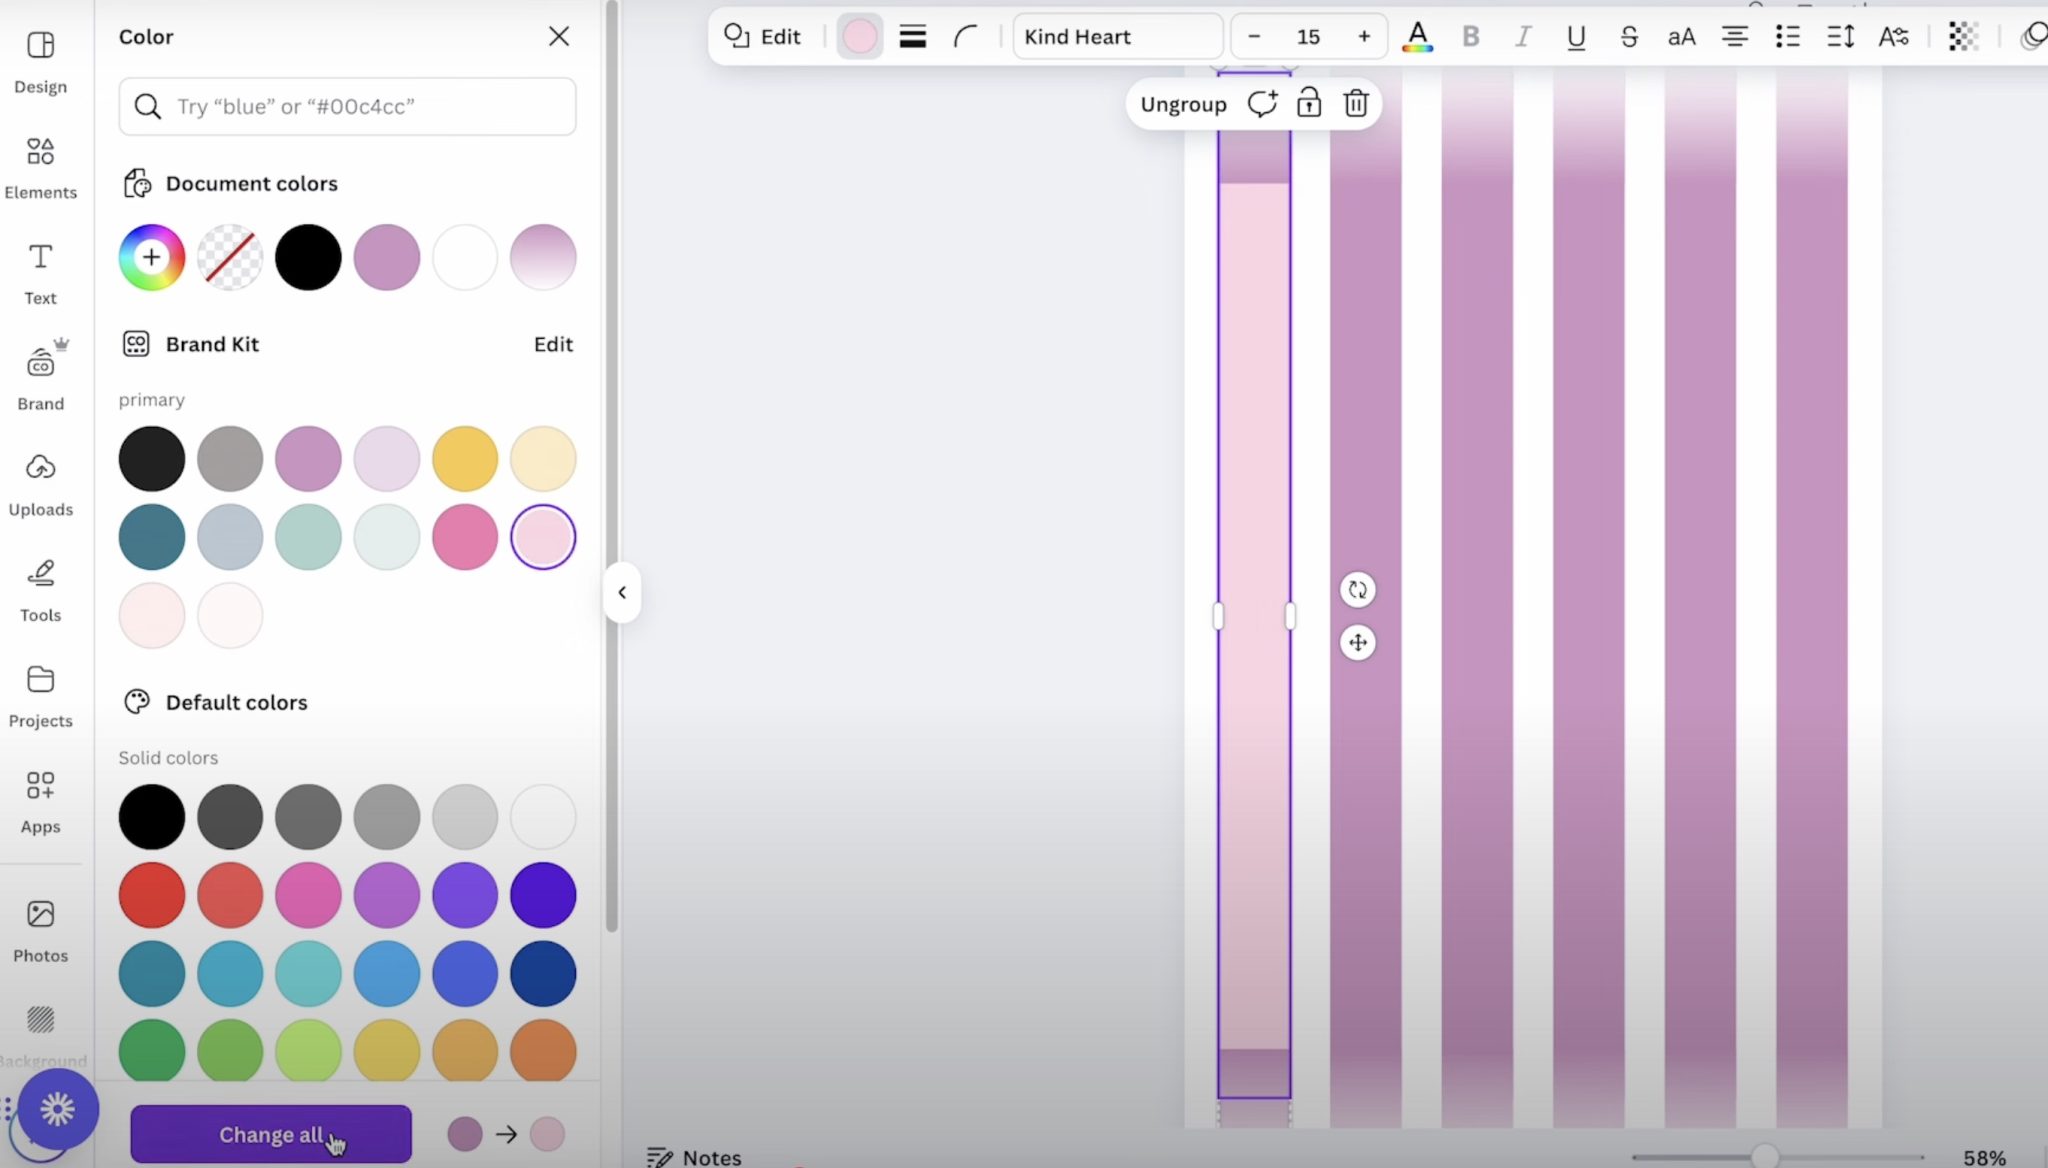
I do not recommend clicking the button that changes all the colors at once. It didn't work right for me.
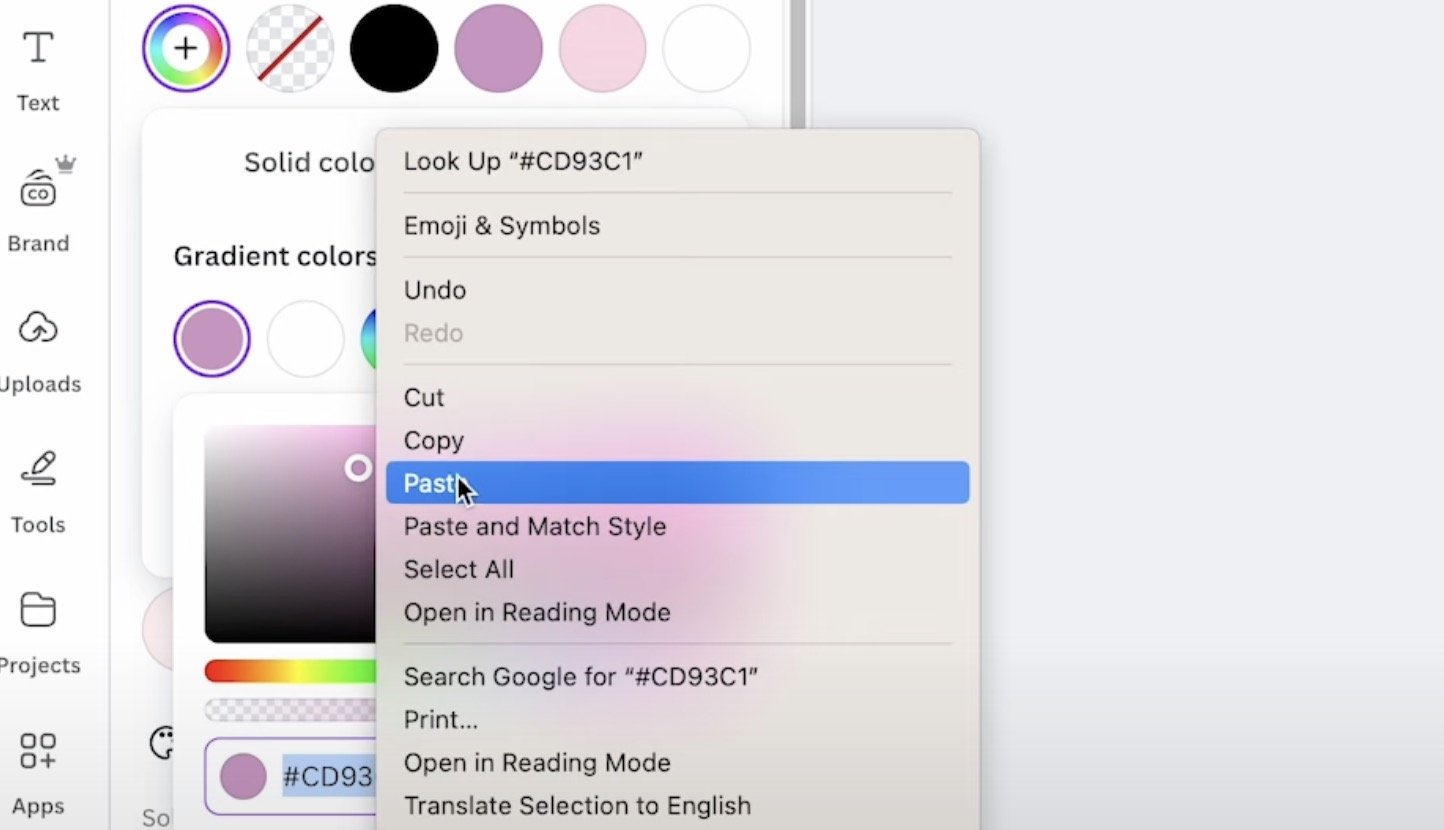
Click each element you want to change the color of, and then select the color in the color panel. You can copy and paste the color code if you want.
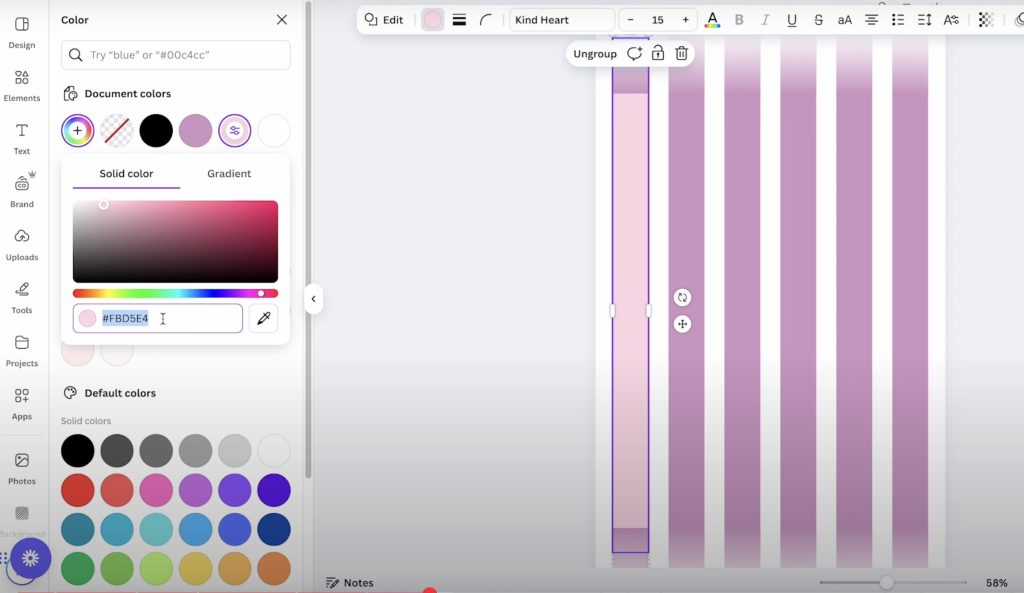
For the gradient ends, we'll need to copy the color code. On the left-hand side, you'll see the different colors. When you click on the color, a new box will pop up, and you'll see the color code.
Copy that code, and then you can paste it when you click on the gradient end elements.
Step 2: Add Design to Lanyard Template
Now that I have the background set up how I want, I can add an image.
I am going to show you a couple of different examples. First, I am going to use my logo. Upload the design and add it to the Canvas.
For my design, I needed to rotate it 90 degrees and resize it to fit on the rectangle. The strips are slightly oversized for my lanyard blanks. Make sure the design is sized to fit on the actual lanyard blank.
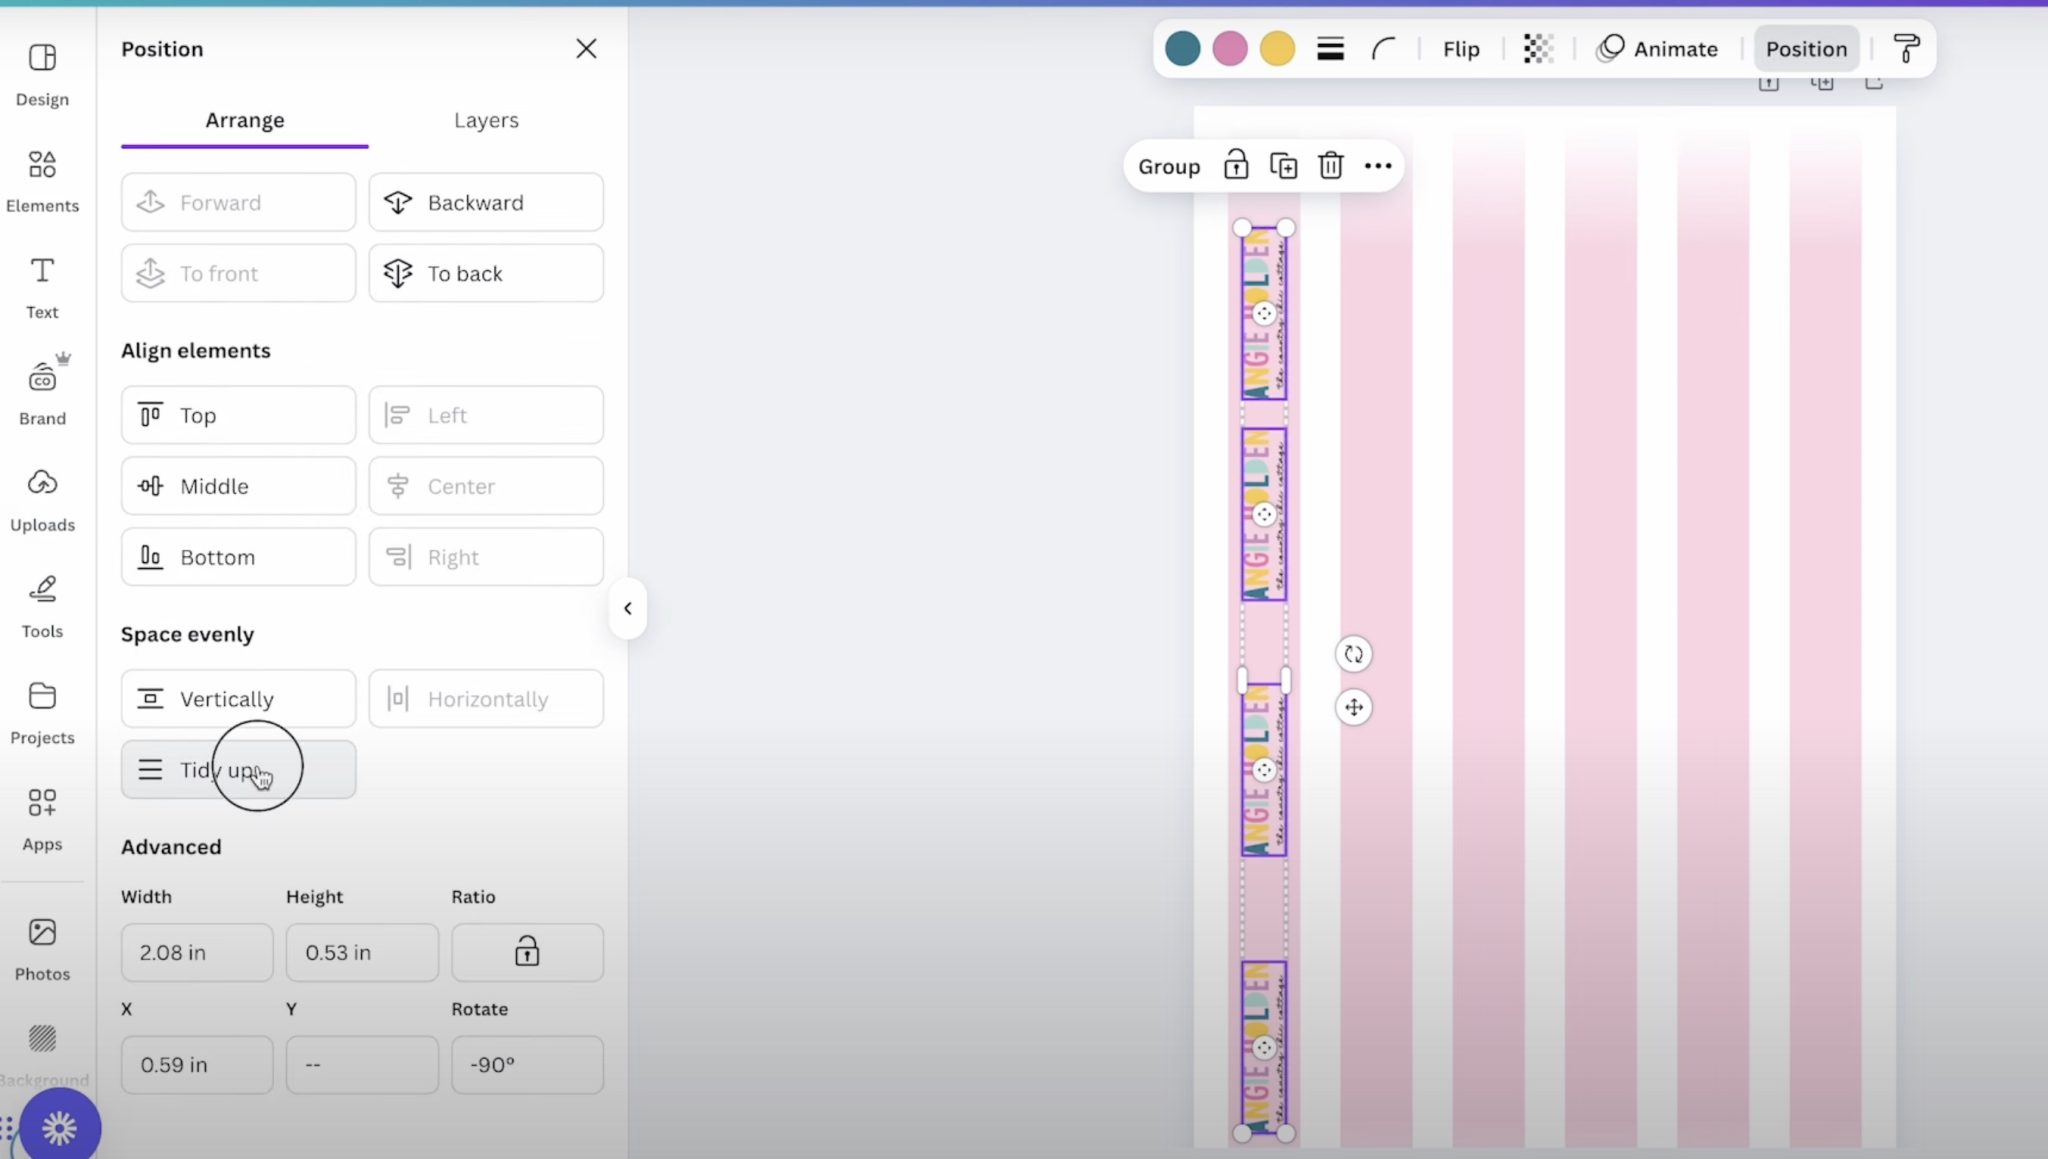
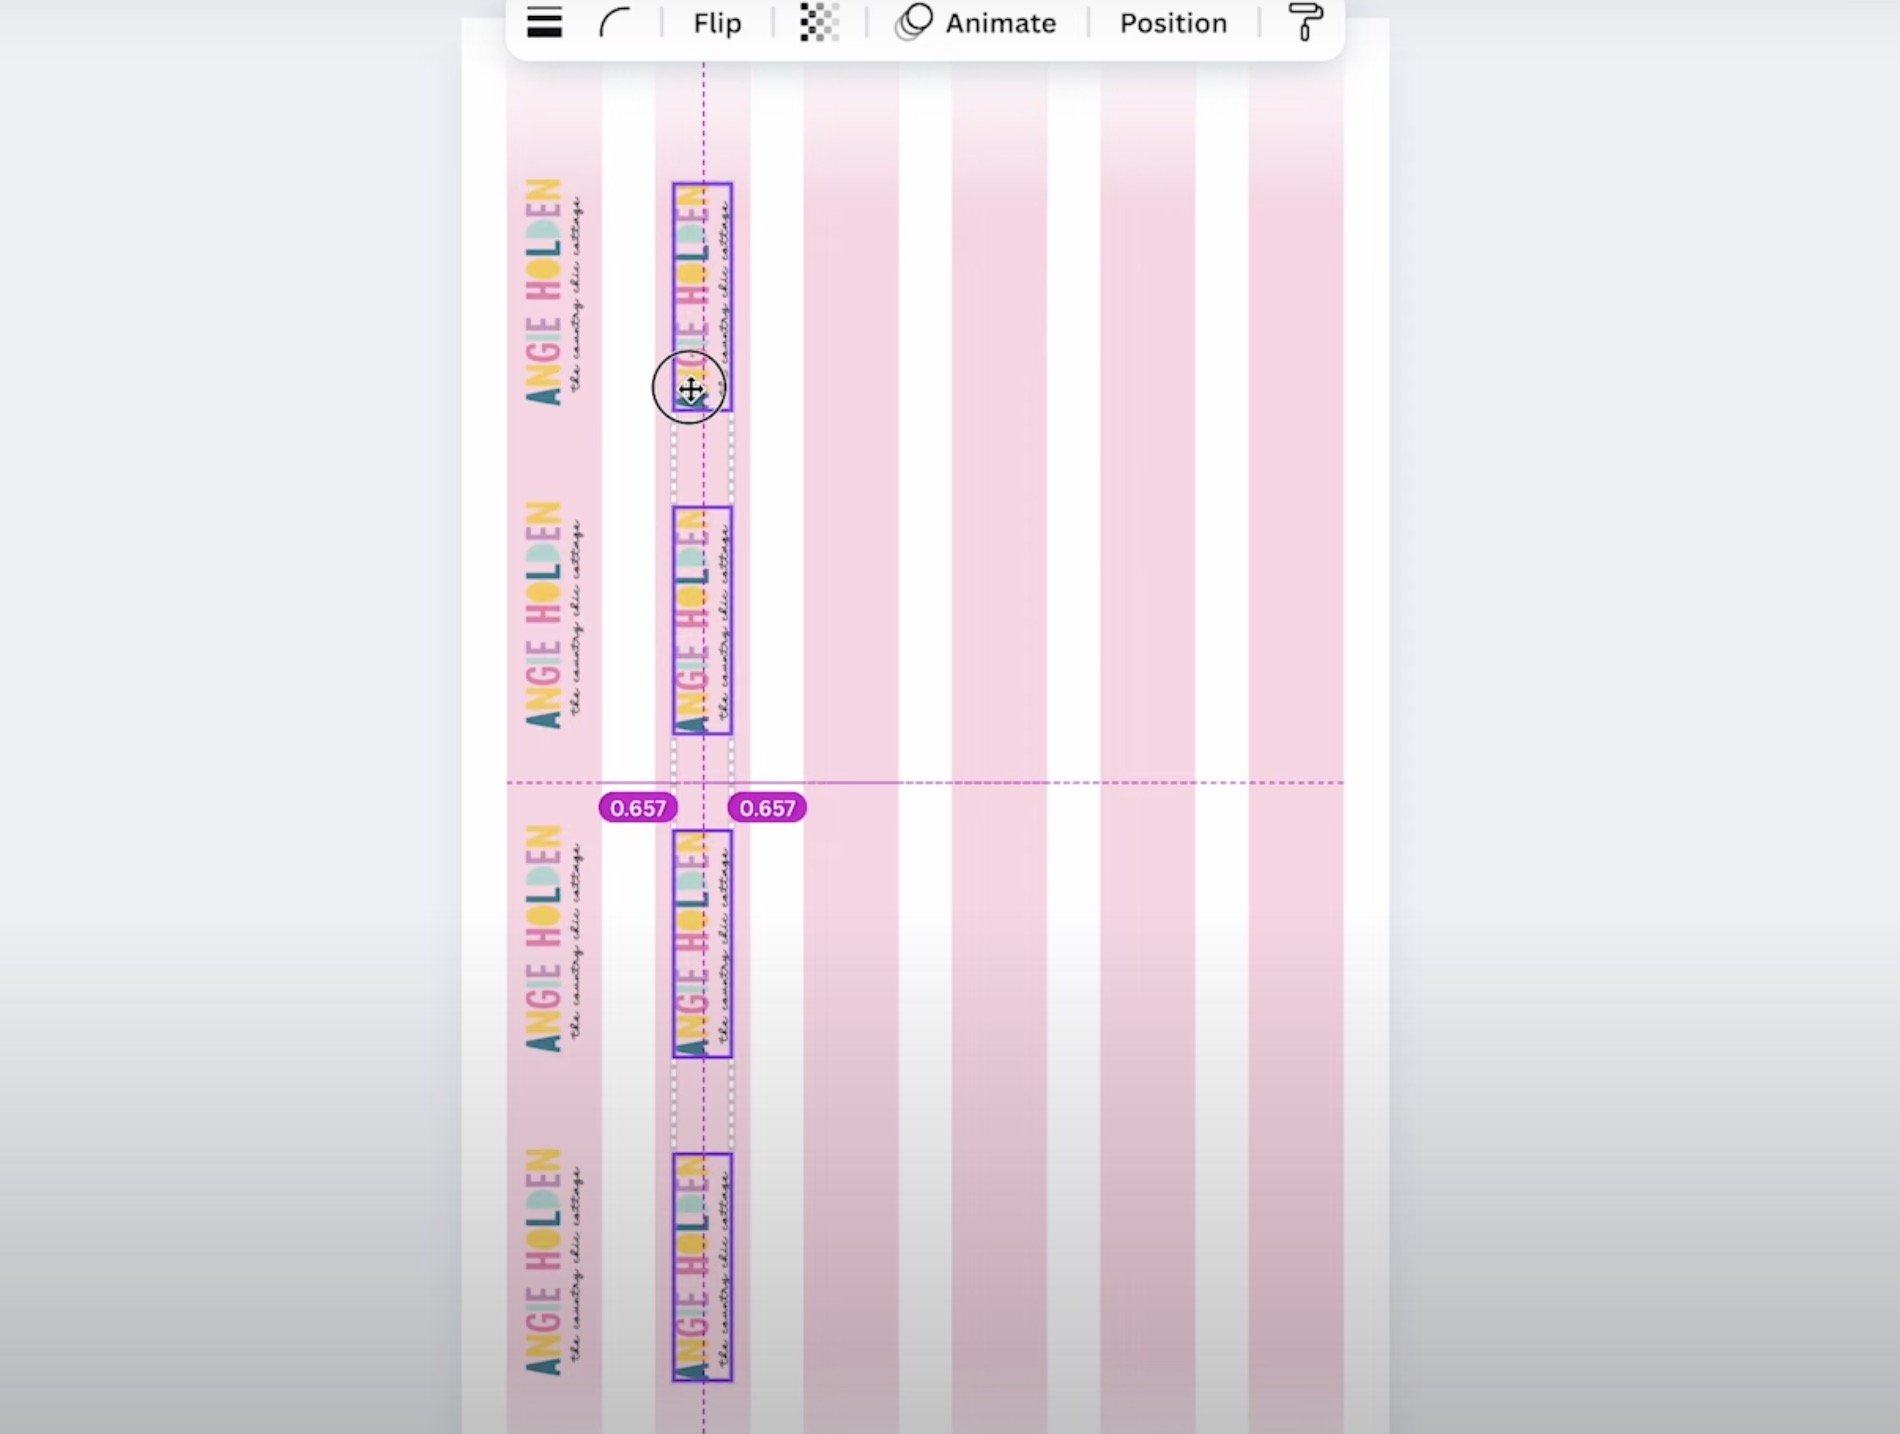
Duplicate the design as many times as needed to fill the rectangle. To make sure they're evenly spaced, locate the designs on each end where you want them, and then select them all, click Position, then Tidy Up. This will equally space them throughout the lanyard.
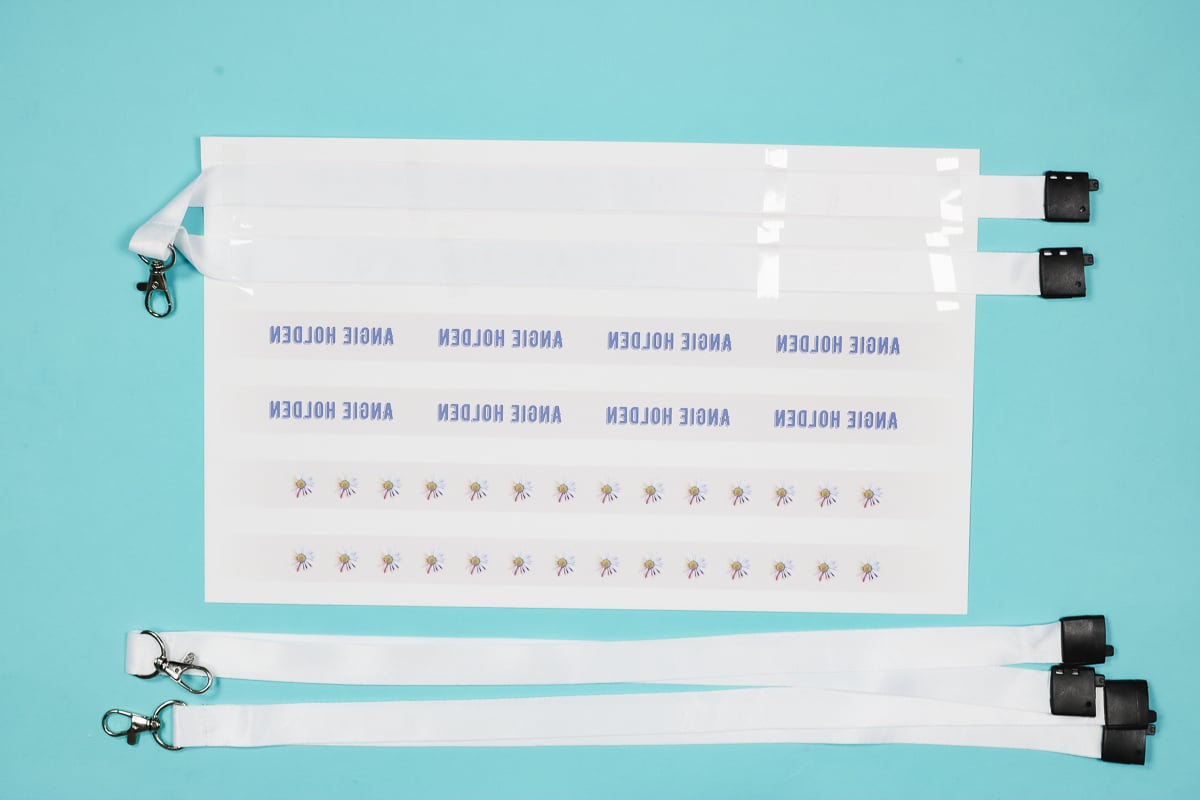
We need two strips for each lanyard. Duplicate the group and then move it to the next strip.
If you don't have a logo, you can add text or another image. Use the text tool and type out what you want it to say. You can change the font or color to make it look however you want it to. Repeat the same steps for spacing them equally along the strip.
The process will be the same if you want to upload another image or add any other elements from Canva.
Step 3: Print the Sublimation Design
Now we're ready to print. You cannot print directly from Canva.
Click Share, Download, and then choose PDF for Print and CMYK. Download the file to your computer, and then we're ready to print.
Print to your sublimation printer and make sure you mirror the design before you print.
Step 4: Preheat the Lanyard
I am sublimating on one side of the lanyard I'm using today. You can sublimate on both sides if you want, but I am not.
Set your heat press to 375 degrees for 60 seconds.
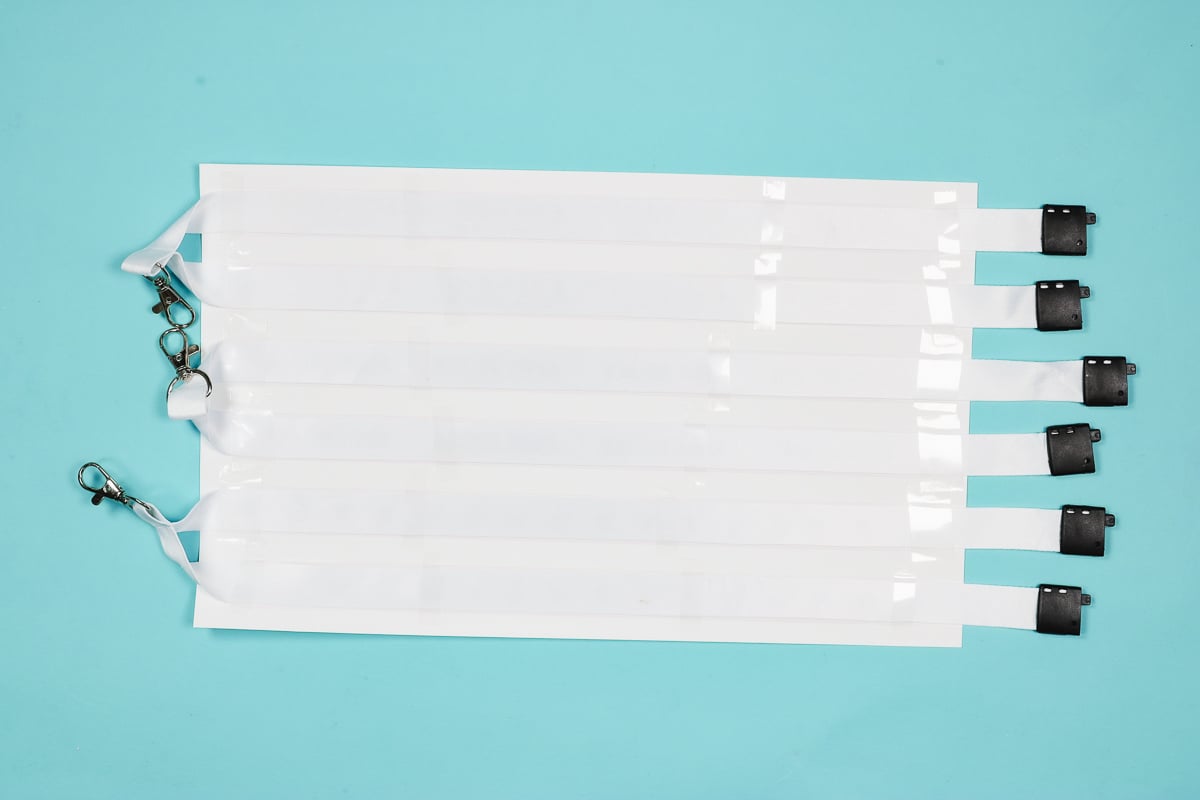
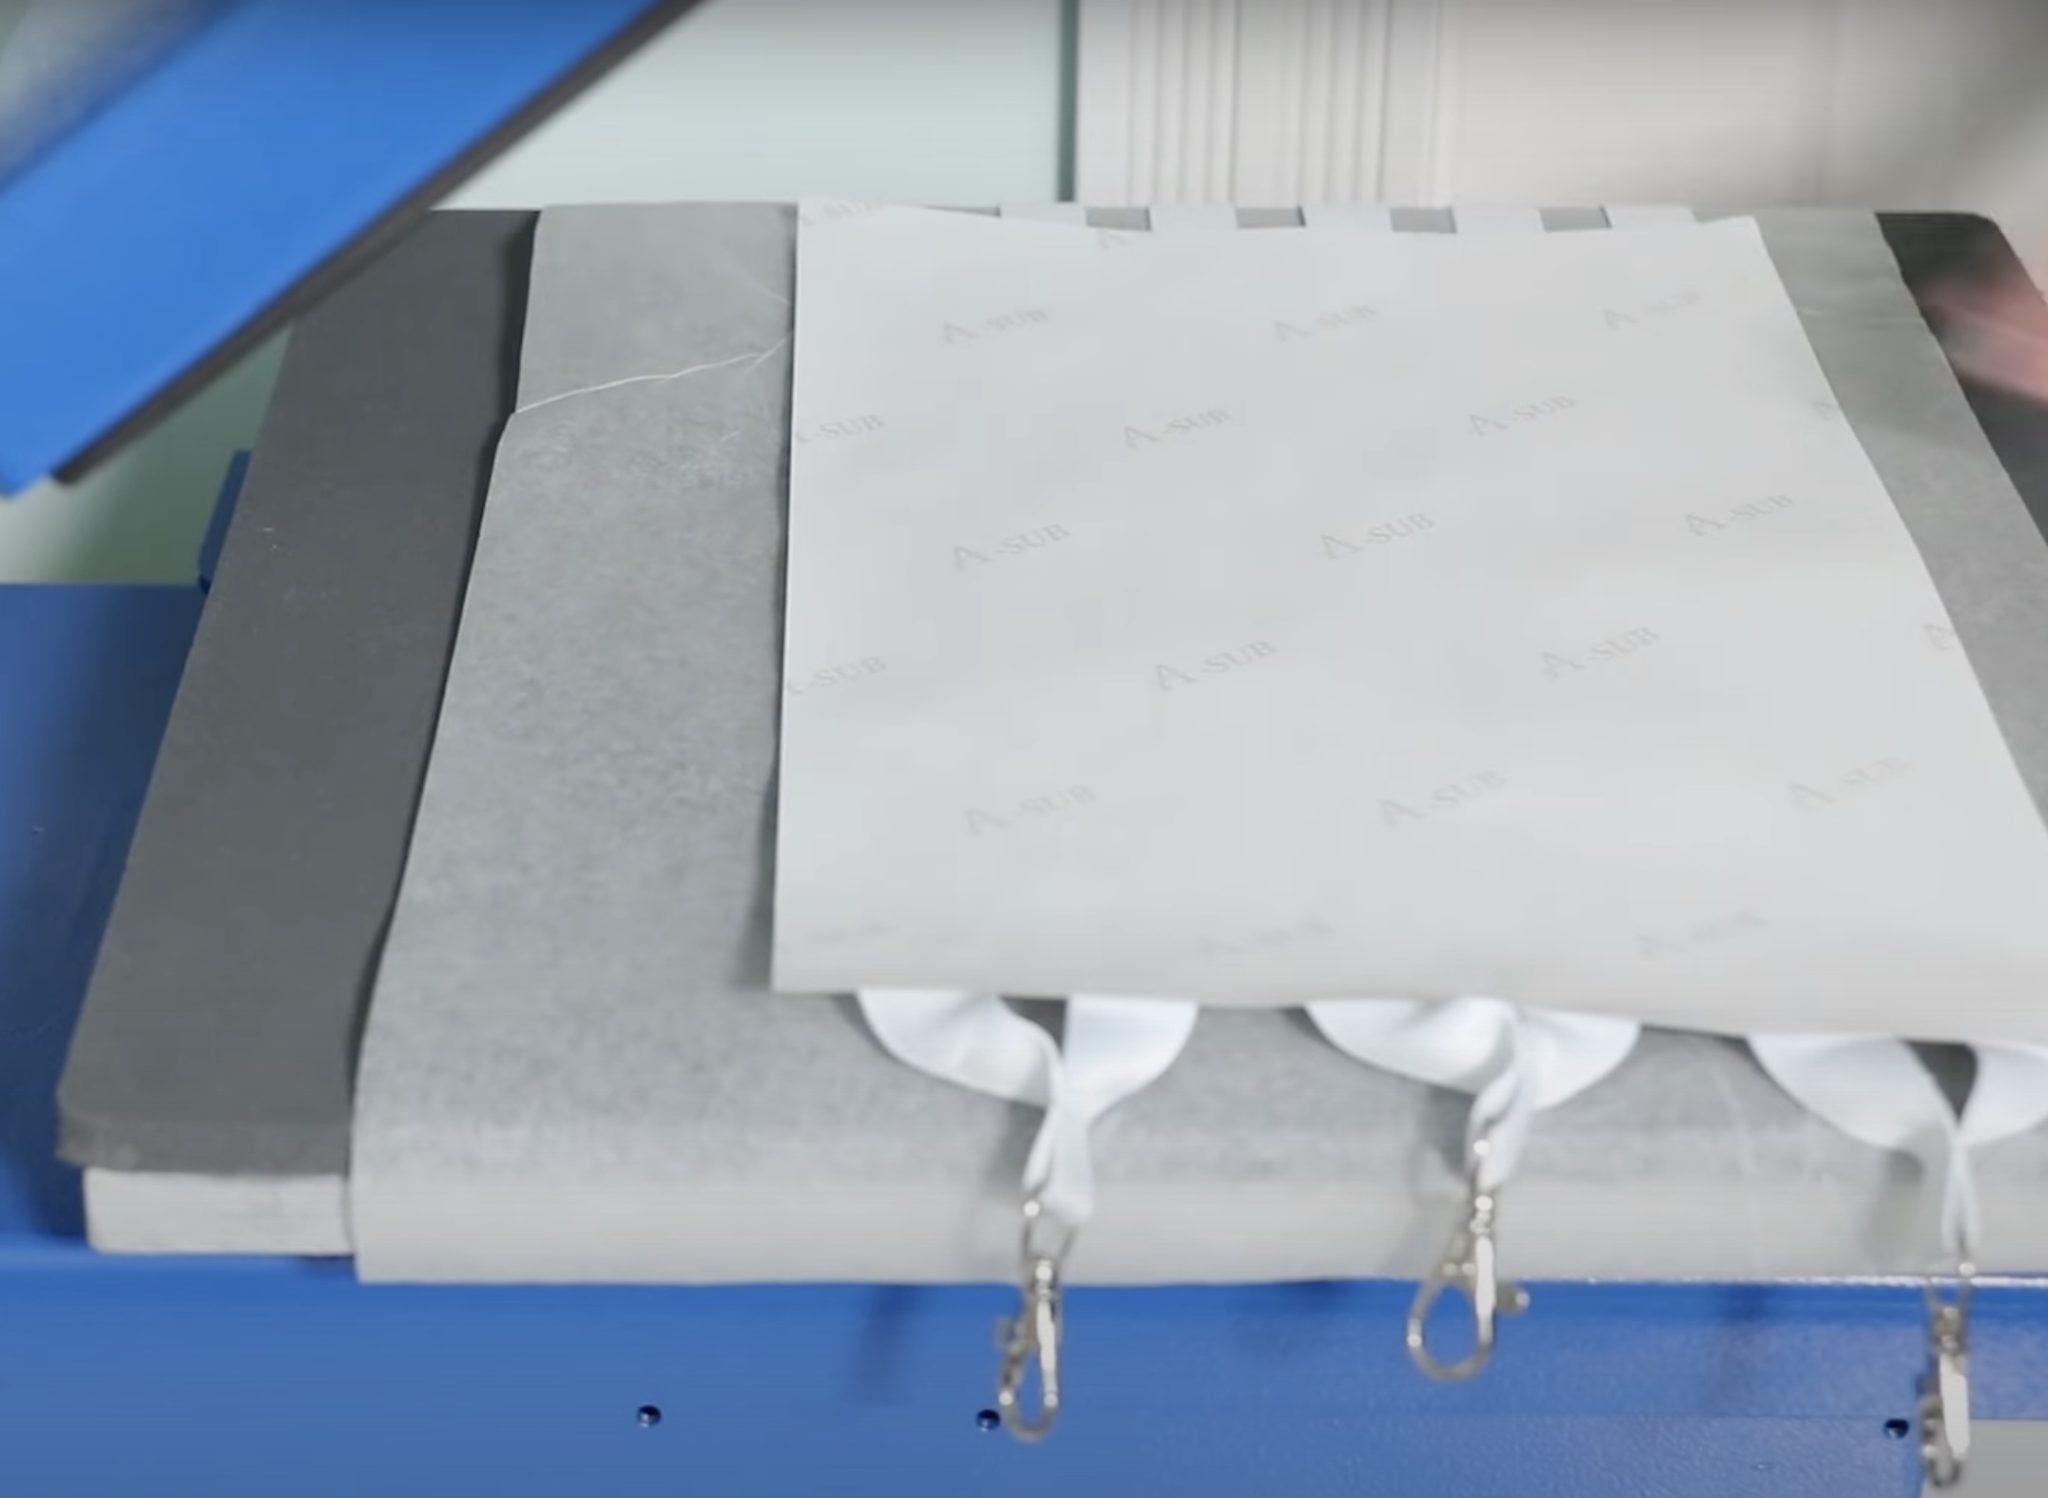
Place the lanyard in the heat press, making sure both ends are hanging out of the press. You can press more than one lanyard at a time. Locate them in the heat press, making sure they don't overlap.
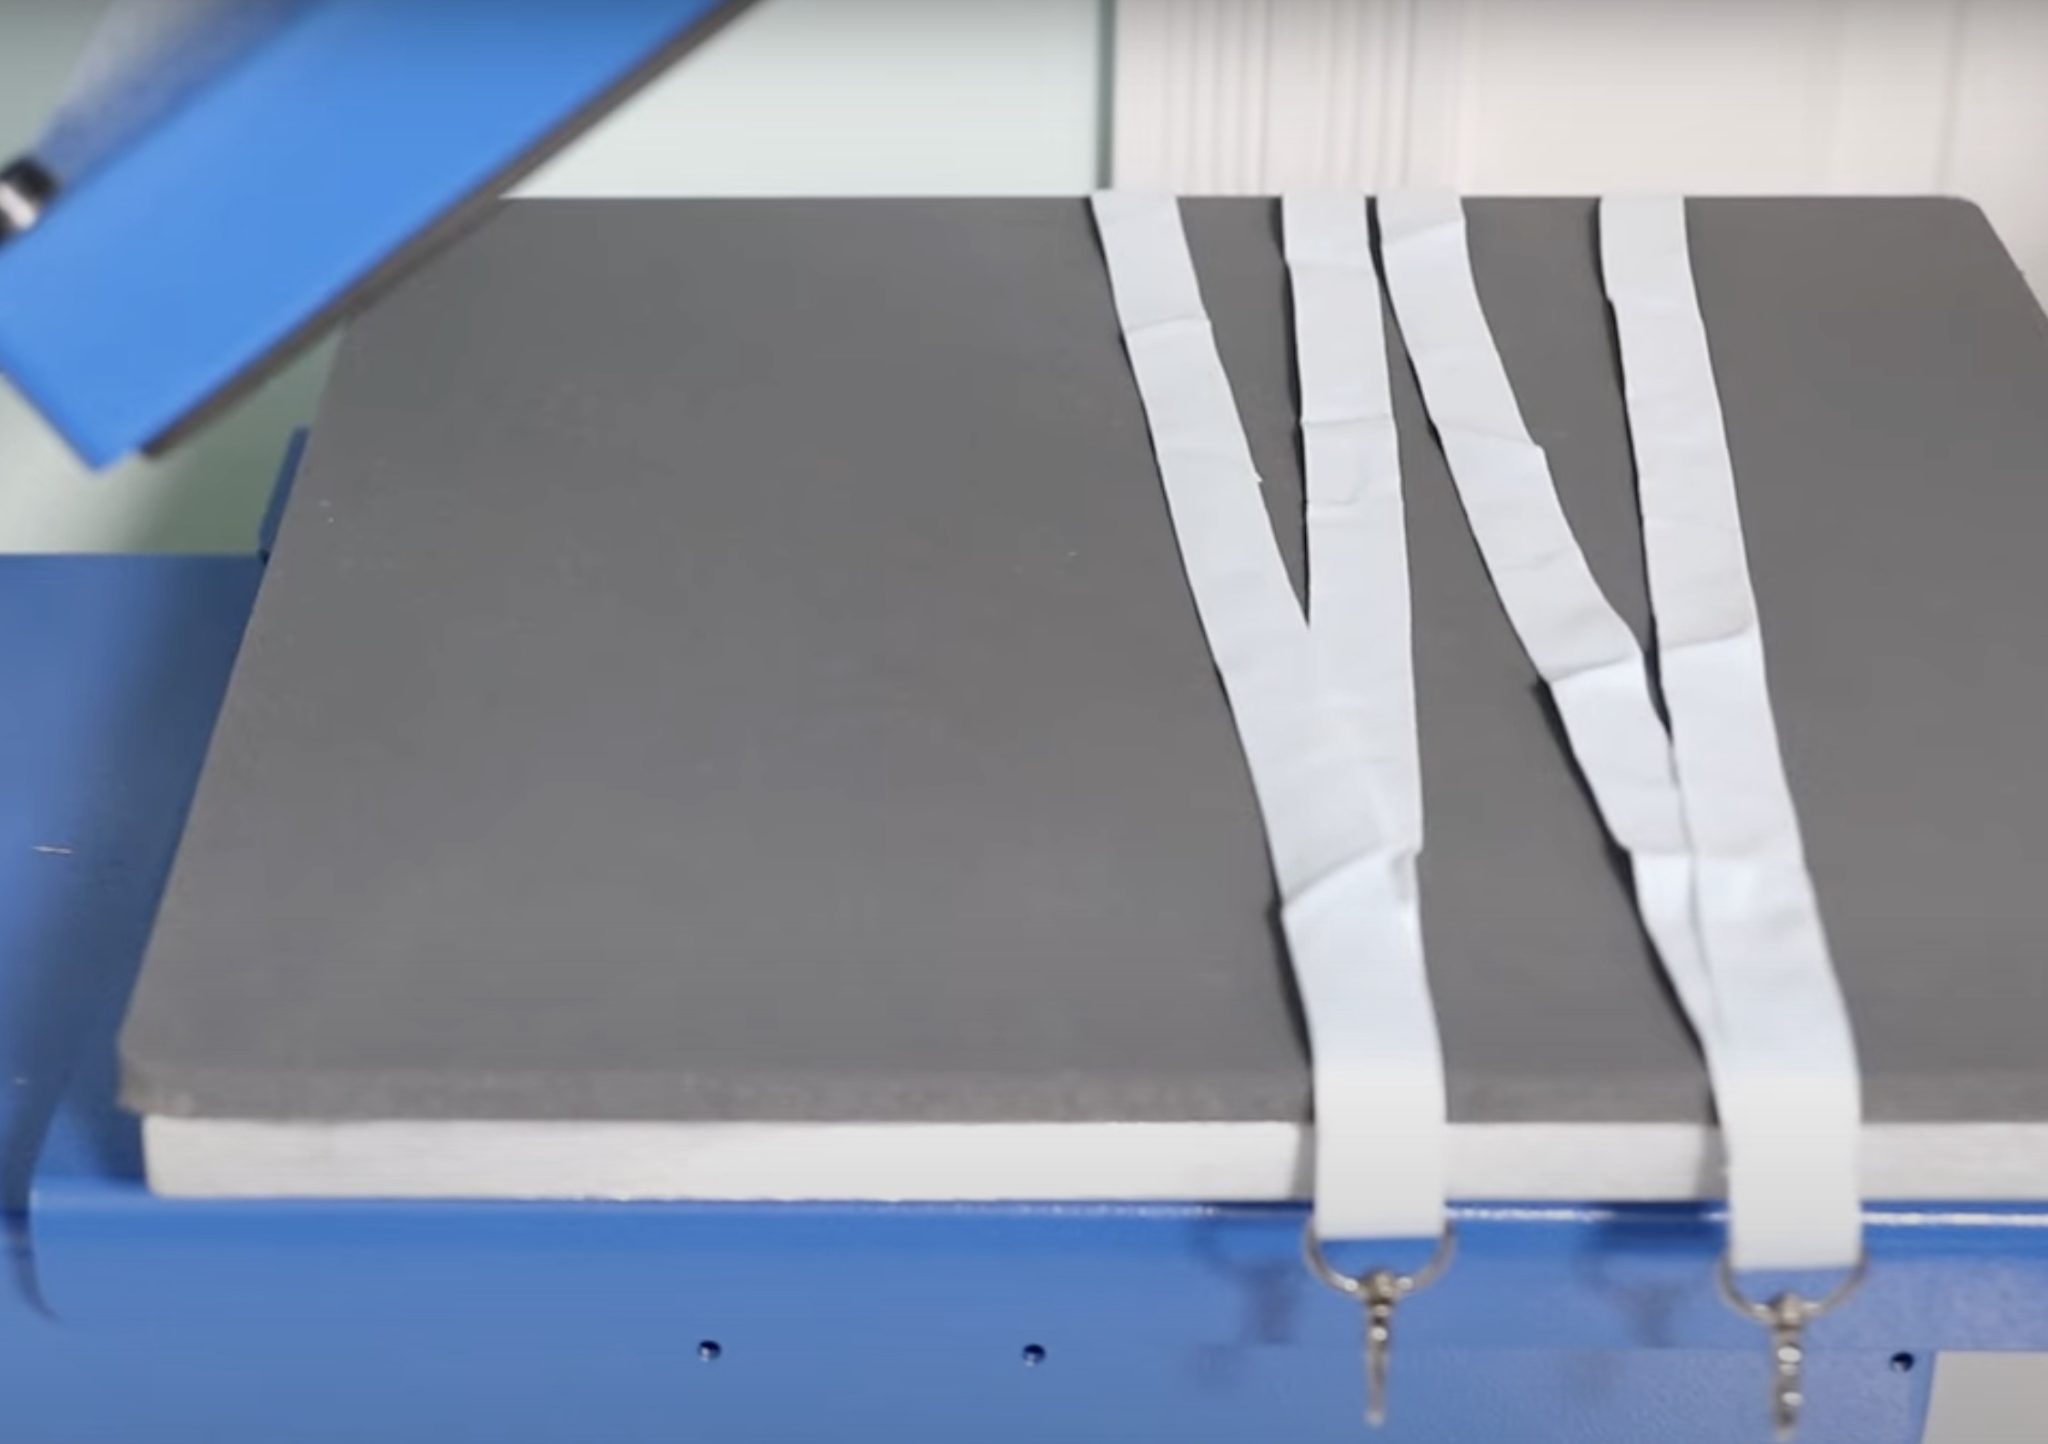
Press for a few seconds. This will remove any wrinkles and moisture. You can also adjust the pressure. Medium pressure is recommended for the sublimation lanyards.
Step 5: Prepare Sublimation Lanyard for Pressing
With the lanyard preheated, we're ready to add our print.
First, lint-roll the surface to remove any dust, hair, or other debris.
My print does not go from end to end on my lanyard. How you choose to locate the design is up to you. You can choose to have more white at one end, or you can center the print on the lanyard.
My goal is to sublimate all of these at the same time.
Take your time and make sure you're locating it so the right side is up. Use heat-resistant tape to secure the lanyard to the print.
Be careful when taping the lanyard down that you don't get tape on other prints. If you have tape between the lanyard and the print, the design will not transfer.
Repeat this process for each lanyard section.
My paper is 14″ long and my heat press is 15″ wide. I can use the paper as a measurement to ensure that I have room on each end for the ends to hang out of the heat press.
Step 6: Press Sublimation Lanyards
Place protective paper in the heat press and place the sublimation lanyards on top with the sublimation print facing up.
Cover the top with protective paper to protect the heat press from any sublimation ink that may bleed through.
I am using medium pressure and pressing for 60 seconds.
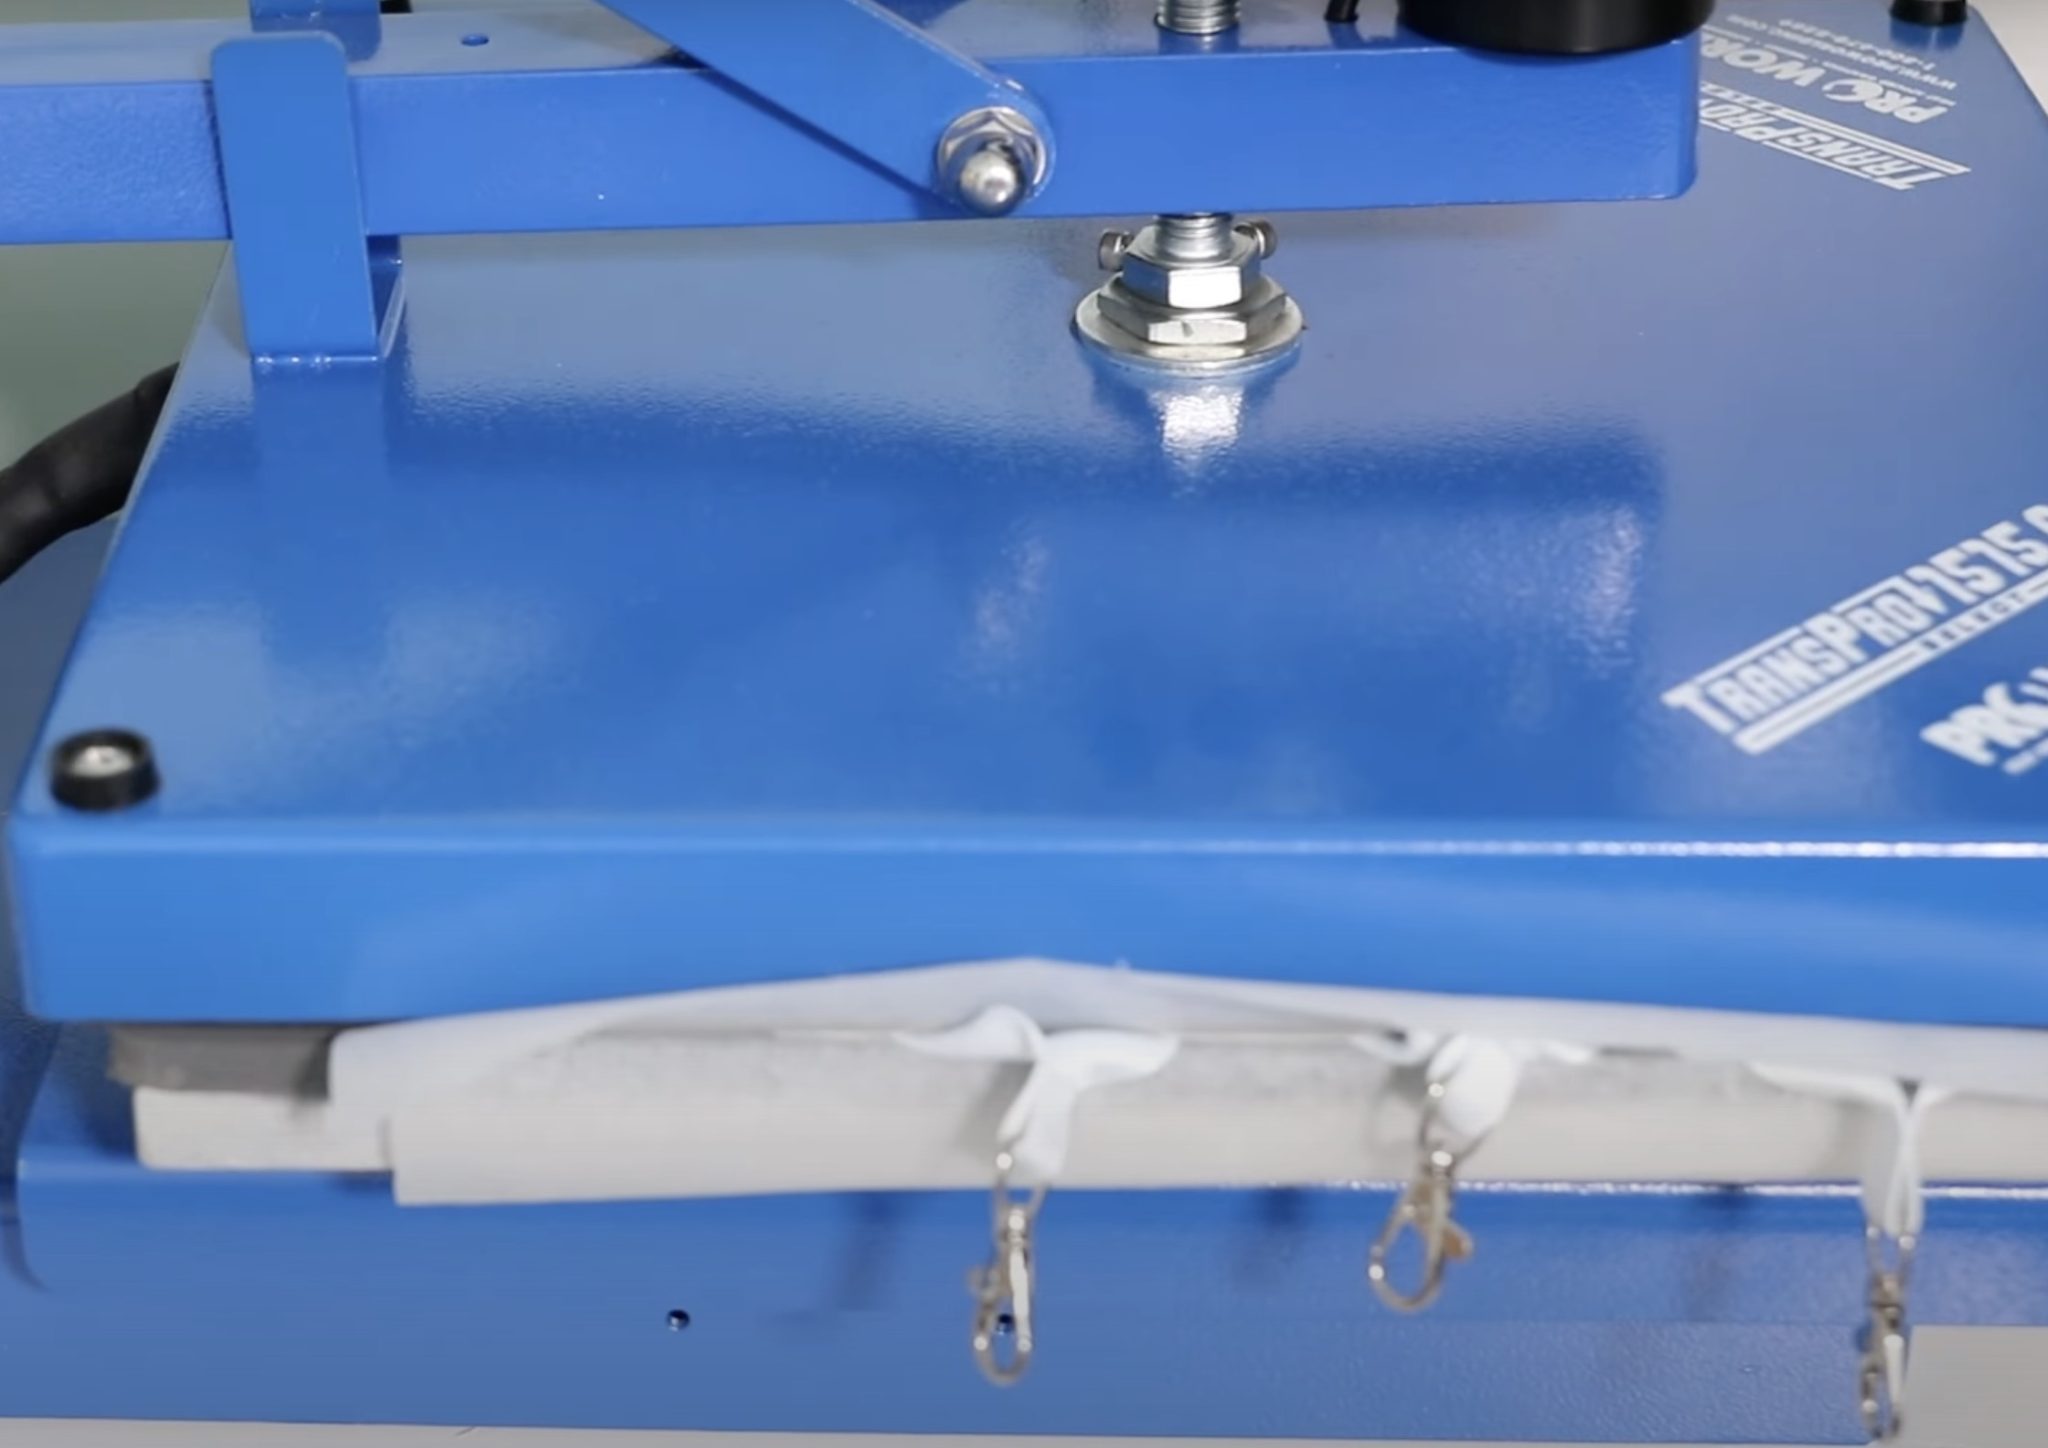
When the time is up, open the press and remove the protective paper and sublimation print from the lanyards.
Step 7: Enjoy Your Finished Lanyards
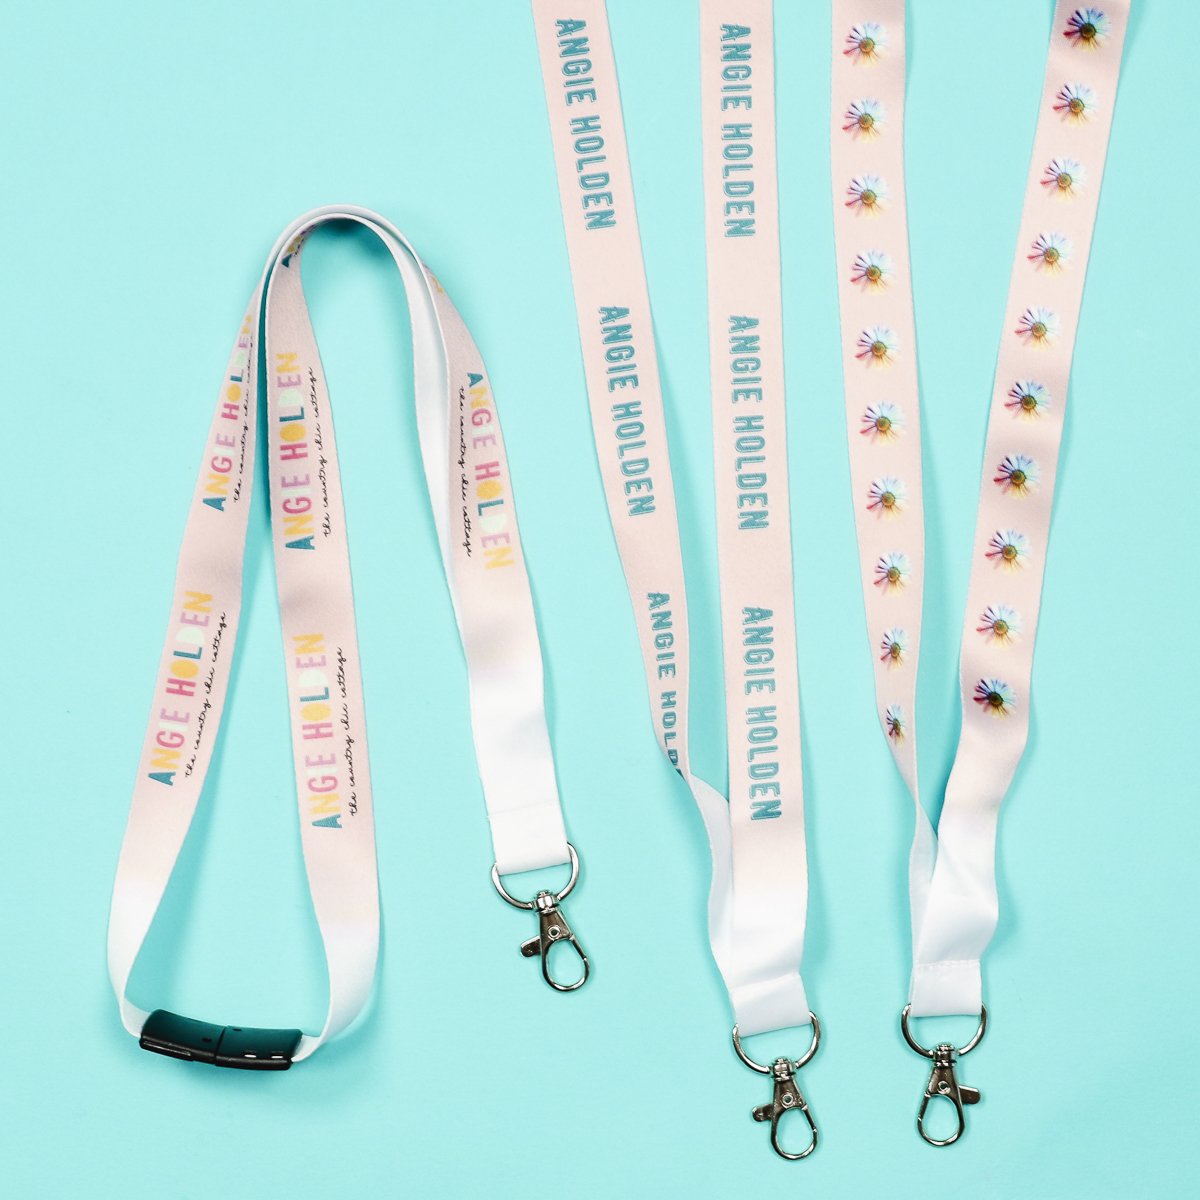
These turned out really good. I sublimated only one side. You could repeat the process and sublimate the other side after it has cooled.
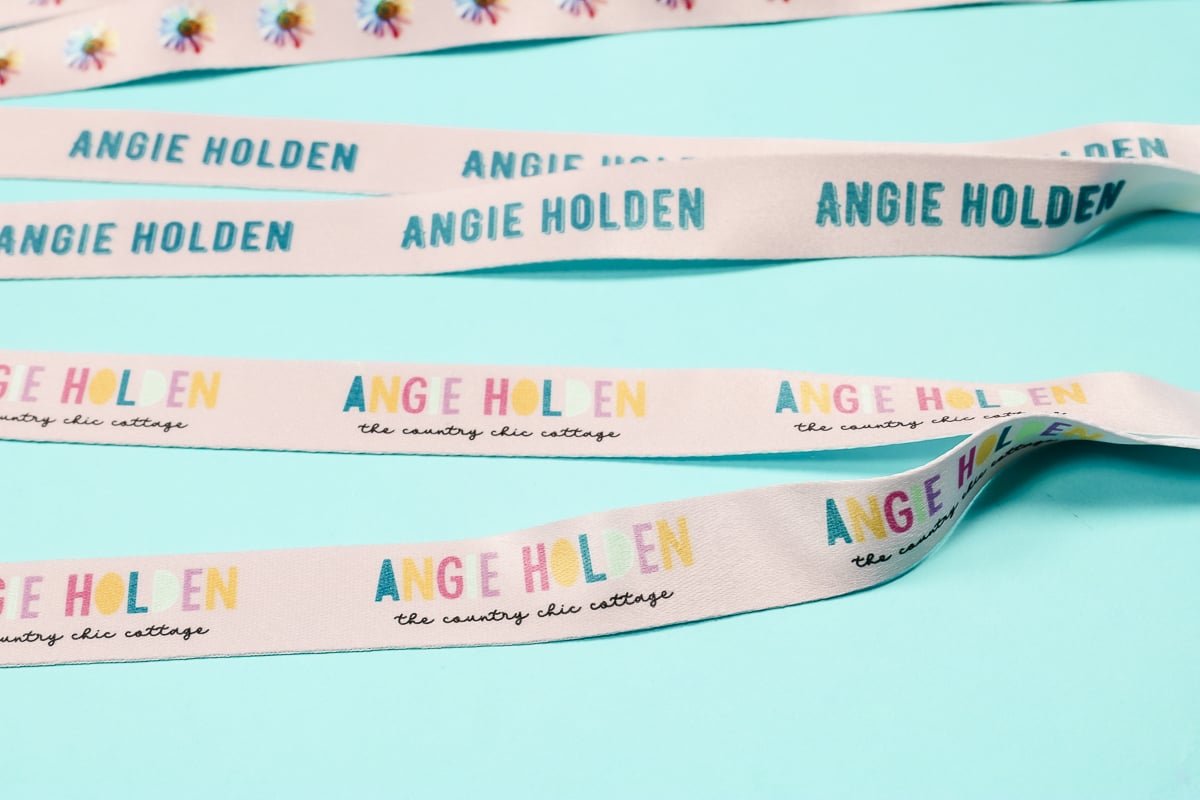
You can see the prints transferred really well. I did not rotate the designs for each side of the lanyard.
If you wanted to, you could rotate one side so that they mirror each other instead of being the same on both sides. I think they look good this way, but it's totally up to you.
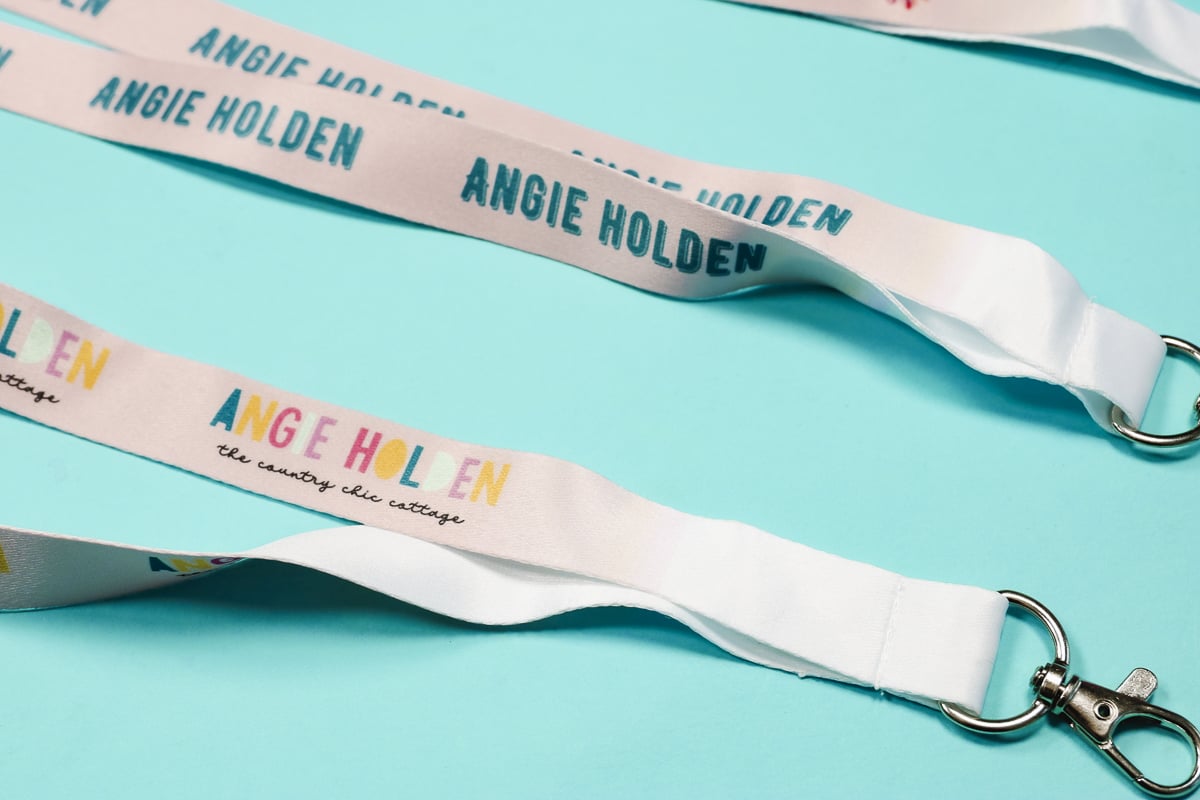
The pink I used is a little hard to see, but the way it fades to the end prevents there from being a harsh line where the color stops. I think this looks more professional than if it had just ended.
If you have a larger printer, you can possibly get closer to the ends with your design. Just remember, the metal and plastic ends need to be outside the heat press.
Ideas for Sublimation Lanyards
Now that you know how to make your own sublimation lanyards, what will yours say?
I found these pretty easy to make, and if you choose not to do the background color, they would be even faster to set up.
The options are limitless. You can add logos, text, or even photos to your lanyard to really make it your own.
Remember, you can sublimate both sides of the lanyard if you want to. You'll repeat the processes we did here, making sure to allow the lanyard to cool before adding the sublimation print.
I hope I've answered any questions you have about making sublimation lanyards. If you have any additional questions, leave them in the comments, and I'll be happy to answer them for you.


I love these sublimation lanyards- they are so cute. They will be perfect for holding my son’s school ID and also for my niece to use as a key chain.
I’m so glad you like them! I hope you’ll share the projects you make 🙂