
Making DIY sublimation flags is a simple project that anyone can do! All you need is a sublimation printer, sublimation ink, and a polyester flag. From there, it’s just a matter of applying heat with a heat press. In this post, I’ll show you how to make both a sublimation garden flag and a fun party flag. No matter which one you choose, you’re sure to love the results!

Sublimation Flags Video
Just click play on the video below to see how I sublimate on polyester flags. Then you can use this same technique to make some cute flags for your home or your next event.
Can't watch the video or miss some of the steps? You can also follow along below.
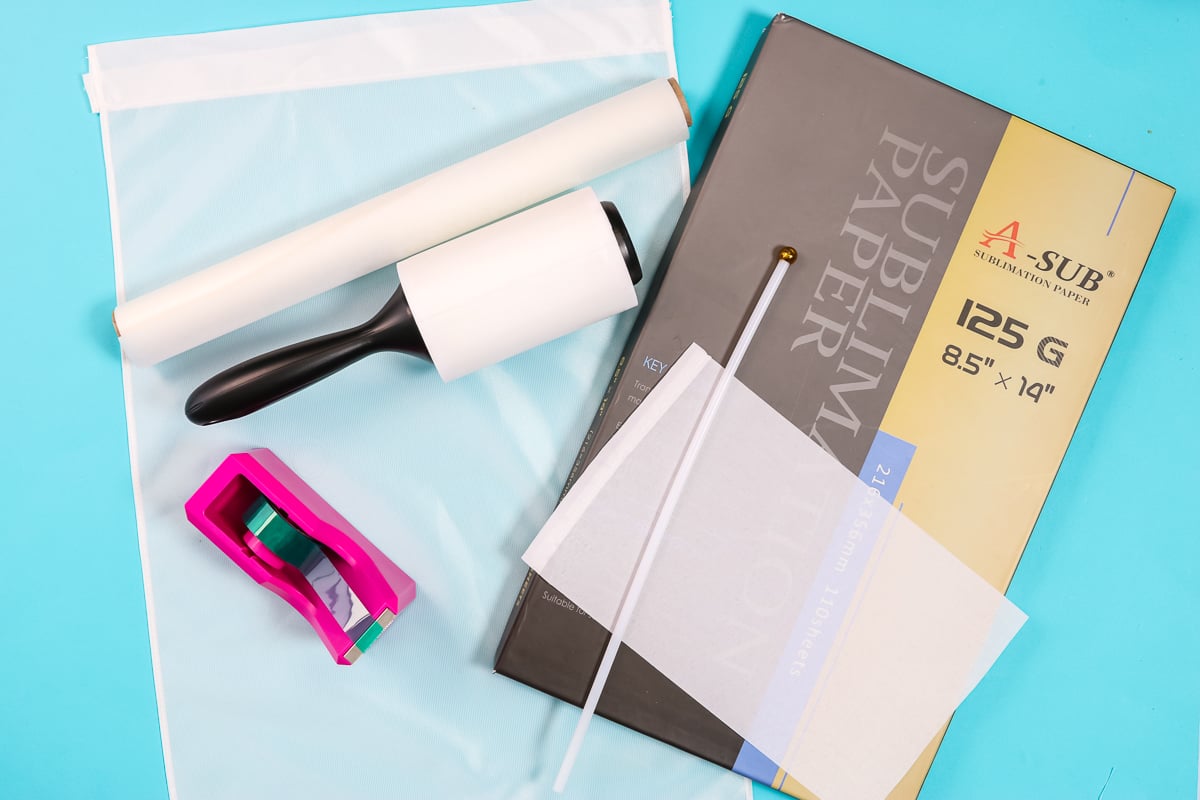
Supplies Needed To Make Sublimation Flags
- Party Flags
- Garden Flags
- Car Flags
- A-Sub sublimation paper (8 1/2 x 14 size may be needed)
- Sublimation printer
- Sublimation ink
- Heat Press
- Lint Roller
- Heat-Resistant Tape
- Artesprix Protective Paper
- Truck file
How To Make Sublimation Flags
For this project, I’ll be making two flags — one for parties and one for outdoor garden use. There are so many flag styles available for cars, parties, gardens, and more, so you can easily choose the one that works best for your project. Just be sure to follow the manufacturer’s instructions for your specific blank, as they may vary slightly. Overall, the process is very similar across all types!
Printing Designs
Step 1: Determine Size Of Flag Design
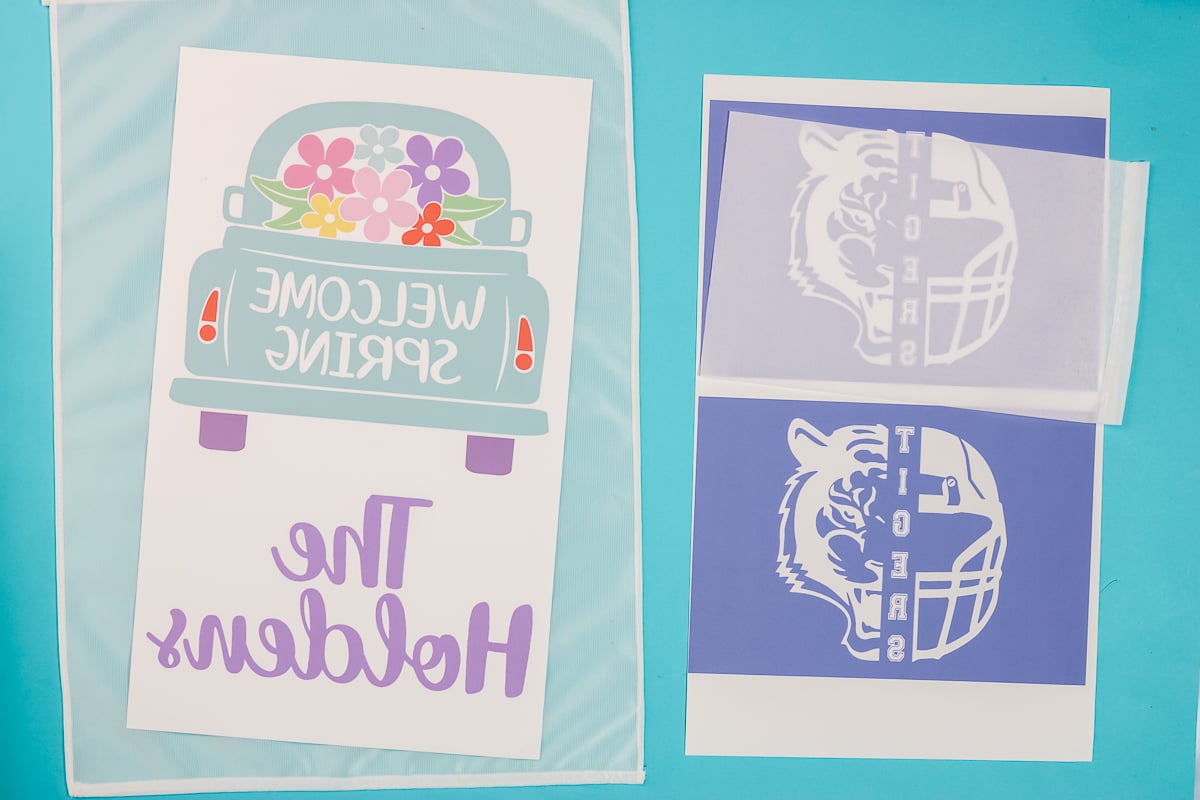
For the small flag, I intentionally used the 8 x 14 sublimation paper so I could fit two flags on one sheet, with a bleed around the edges. If you're going to sublimate the entire flag, there may be some differences in the size between your flags. I kept my design away from the side that goes in the flag pole. If you do go all the way to the edge, you will have a line because the back will be white.
Step 2: Print Flag Design
For the garden flag, I designed it in Photoshop and added some text at the bottom. This will go in the center of my flag because I don't have a very large heat press. If you have a larger printer and a larger heat press, you can sublimate this entire garden flag with a full bleed design.
Prepping The Sublimation Flags
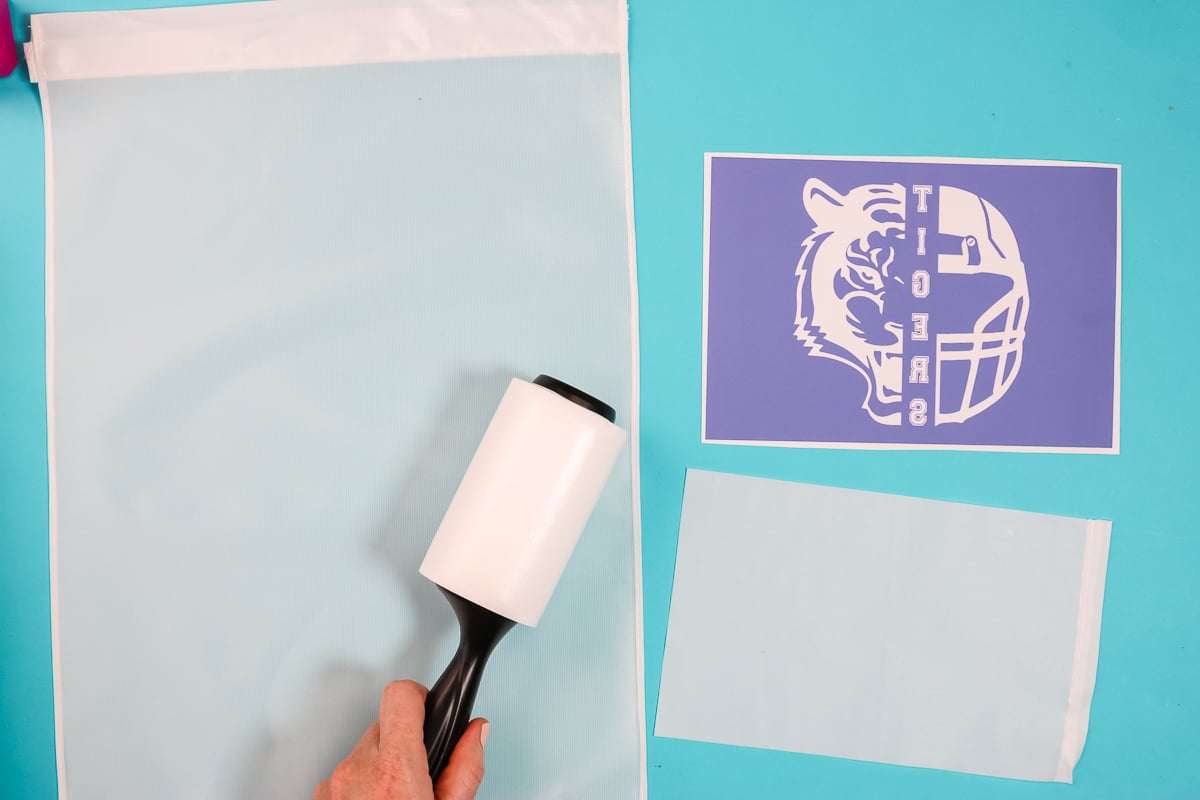
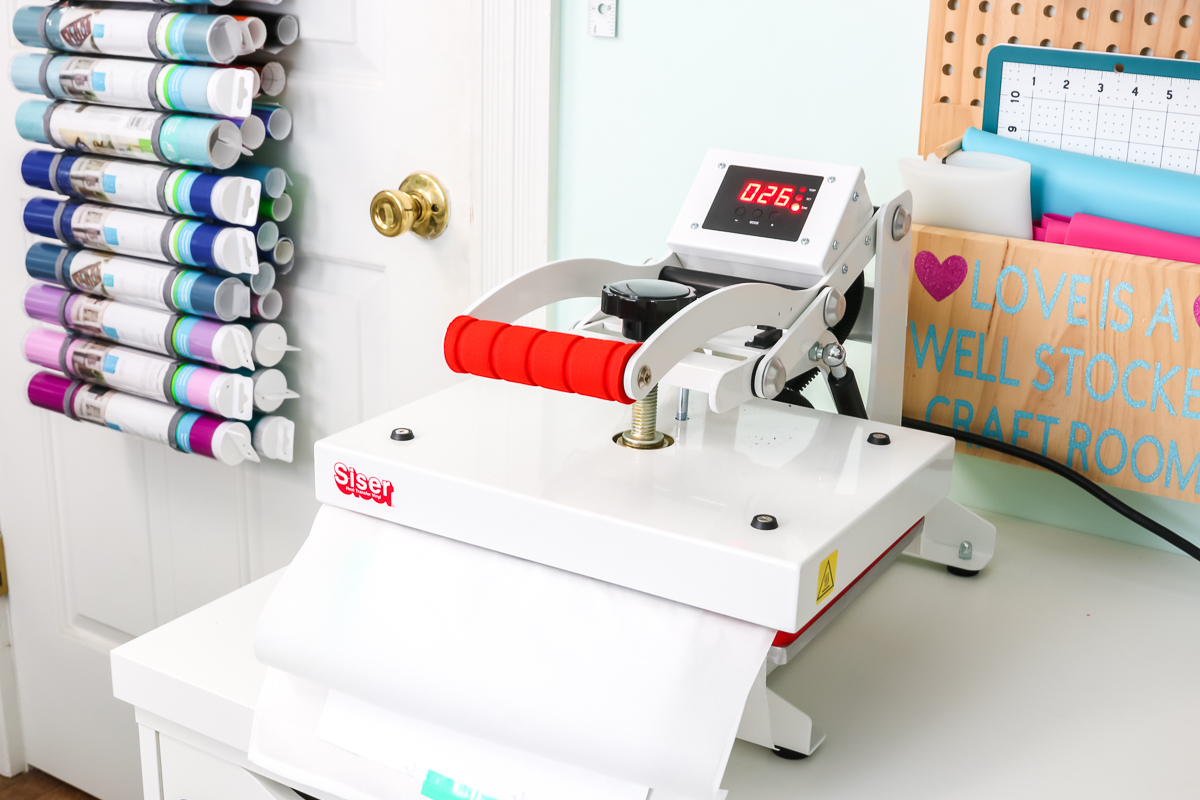
Step 1: Preheat & Lint Roll Flag
I preheated my heat press to 400 degrees and set it for 55 seconds. Pre-press each flag for 5 to 10 seconds at the specified temperature to remove any moisture. Then lint roll the side where you are adding the sublimation print.
Adding Paper To Sublimation Flag
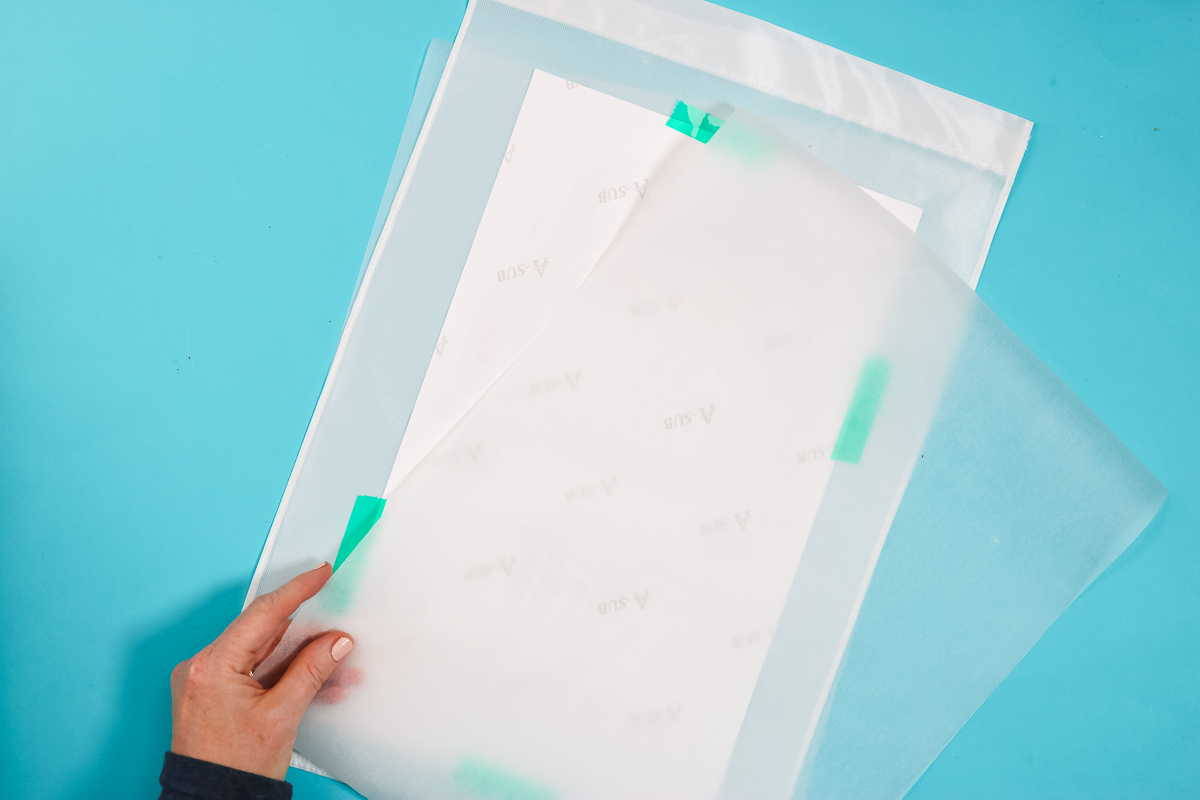
Step 1: Tape Flag Design Into Place
Locate the design on the flag. For the small flag, I left some bleed around three edges, as discussed previously. Then, I taped the print into place. You will also need to use protective paper on both the bottom and the top. Remember that the side with the sublimation print will be the top when it is in the heat press.
I did want to note here that the large flag I am using is a single layer of fabric. If you get flags with a double layer of fabric, you can put a design on both sides, but you will need to put protective paper between the two layers.
Pressing In A Heat Press
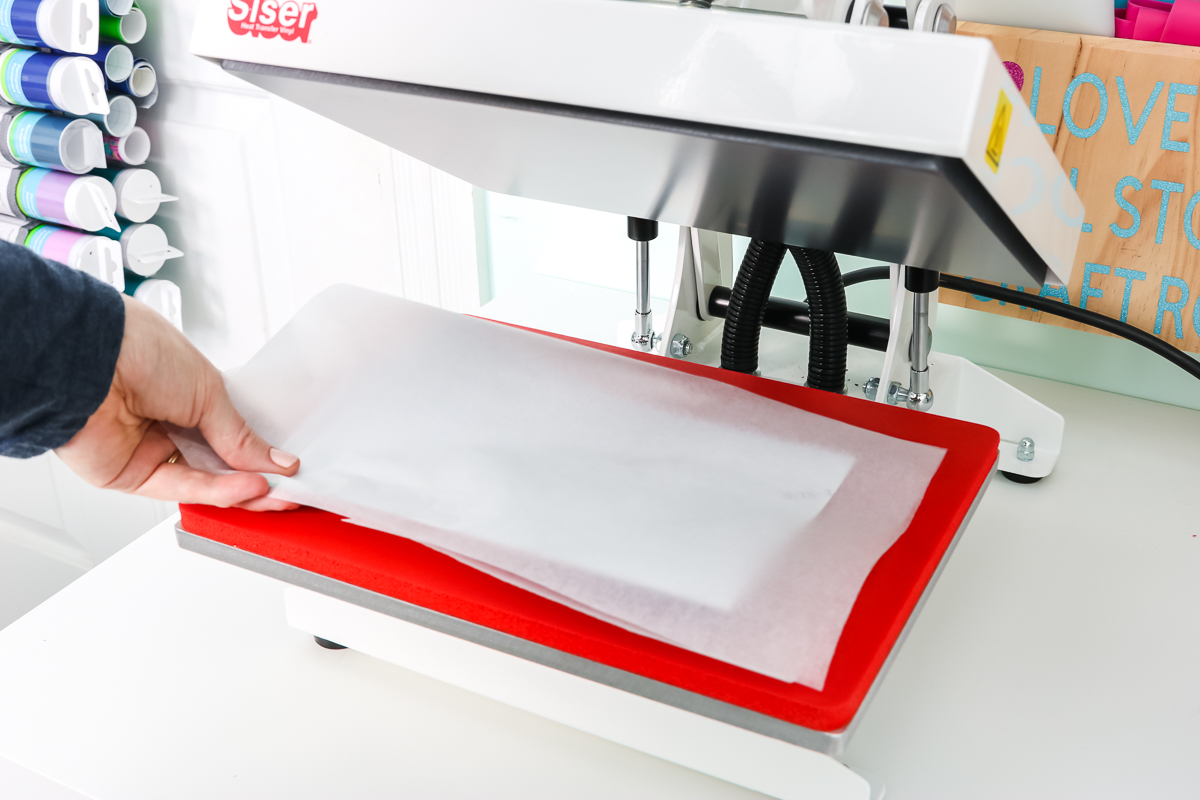
Step 1: Add Flag To Heat Press
Add the flag to your heat press with the sublimation print on the top. Ensure everything is covered with protective paper on the top and bottom, and press. This requires medium pressure. Once it's done pressing, lift up the handle, remove it, and allow it to cool for a few minutes.
For the larger flag, I pressed the truck portion first with the name portion hanging off the press. Then, I flipped it around and pressed the other side. After pressing it on both sides, I allowed it to cool for a few minutes.
Revealing The Design
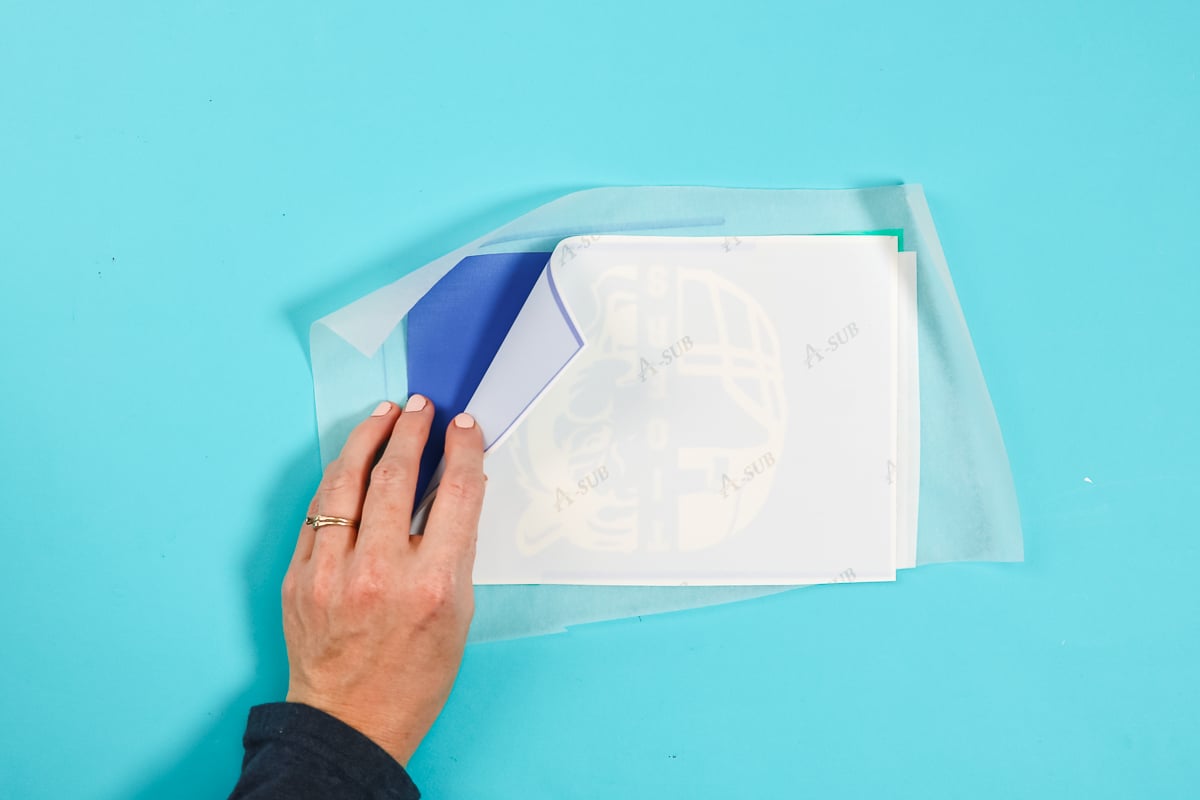
Step 1: Remove Protective Paper
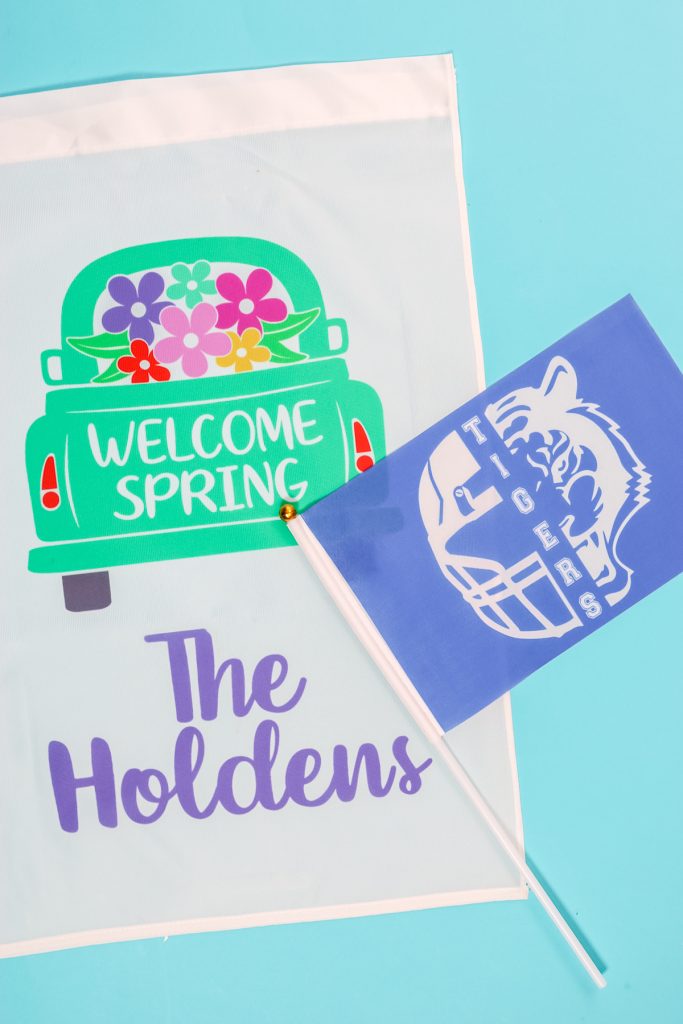
Remove the top protective paper and peel back the print from the flag. Remove any tape. The smaller flag is for something like a party, and you will want to add the pole to the side. This one I made is ready for a football bash.
Remove the top protective paper from the garden flag as well. Then, remove the print with the design. You can see just how gorgeous this flag looks and how great it's going to look in my garden this spring.

These are permanent as soon as you press them because this is sublimation ink on a sublimation blank. There's no need to do anything else – they are ready to go outside.
As you can see, the process for making sublimation flags is super simple. Grab your sublimation printer, a few sublimation blanks, and you'll be well on your way to making some cute flags for parties, for your garden, for your car, wherever you would like them.
FAQs About Sublimation Flags
Here are answers to some of the most frequently asked questions I receive about creating these sublimation flags. If your question isn’t listed, feel free to drop it in the comments, and I’ll be happy to help!
Do You Have A Video Showing How To Print On Sublimation Paper?
Yes, I do! If you want to see how to print on sublimation paper, check out my video titled How To Use A Sublimation Printer: Your Guide to Software and More.
I Have 8.5×11 Inch Paper, How Can I Print And Press A Larger Print Onto The Flag?
I would recommend printing each element separately, then pressing them twice onto the flag.
When You Center A Design On A Flag, Do You Exclude The Part That Has The Insert For The Pole?
This is a personal preference, but I would!
Can You Make This Project With Infusible Ink?
Yes! You can use Infusible Ink with these as well, and the process is exactly the same!
Can This Be Done On Both Sides Of A Flag?
It depends on the flag. The large flag I used above is a single layer of fabric, so it wouldn't be ideal for printing on both sides.
However, if you get flags with a double layer of fabric, you can put a design on both sides, but you will need to put protective paper between the two layers.
My Flag Stuck Together So I Can't Add My Pole. Do You Have Any Tips?
This sounds like a poor-quality sublimation blank. If this happens, I would try using less heat when pressing or hanging the rod pocket out of your press.
5 More Sublimation Crafts
Do you love these sublimation flags and want more sublimation crafts? Then check out the projects below!
- Sublimation License Plates: Step-by-Step Tutorial
- Glow In The Dark Sublimation Shirt Perfect for Halloween
- Adding Sublimation on Flocked HTV
- How to Do Sublimation on Mugs in an Oven


Great video – so informative. I am attempting to do party flags & the pocket for the flag keeps getting sealed shut so I can’t insert the small pole into it. Help!!
I would hang it off of the edge of your press.
What does the back look like? Is it white or can you see the image in reverse?
For a single layer flag, you can see the reverse image. If you get a double layer flag, the back is either white or you can add another image there.
Angie, thank you for all you do! I used your temperature and time settings as recommended in this post, and it worked perfectly in my HTVRONT Auto Heat Press with a single layer garden flag. Thanks, again! Keep up the awesome work!
I’m so glad to hear that! Thanks for sharing 🙂
Hello Angie:
I am curious how I would make a double sided flag. Do I just make two and sew them together?
I think you would have to. I don’t think you’d be able to do this process without it showing through to the other side 🙂