
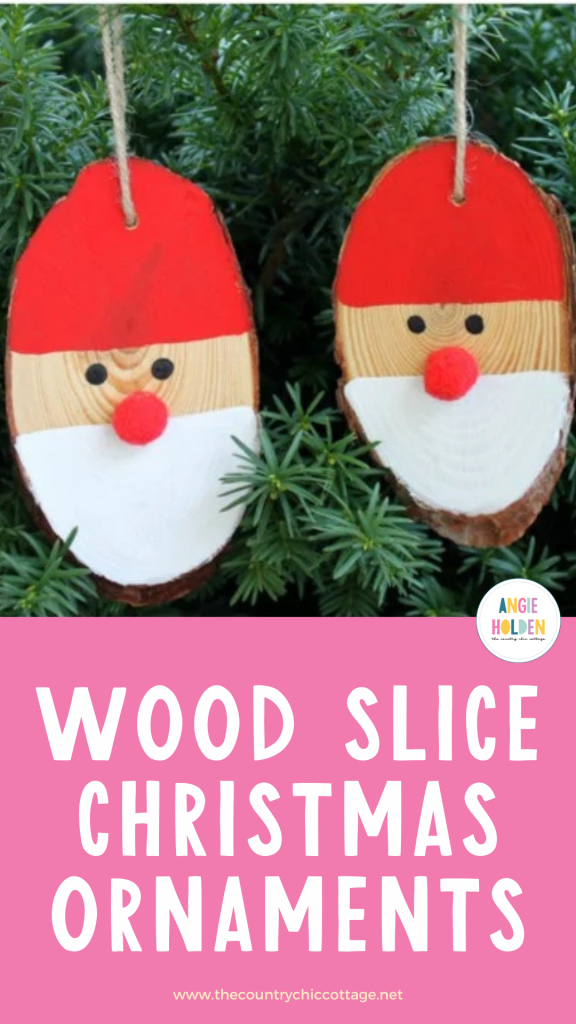
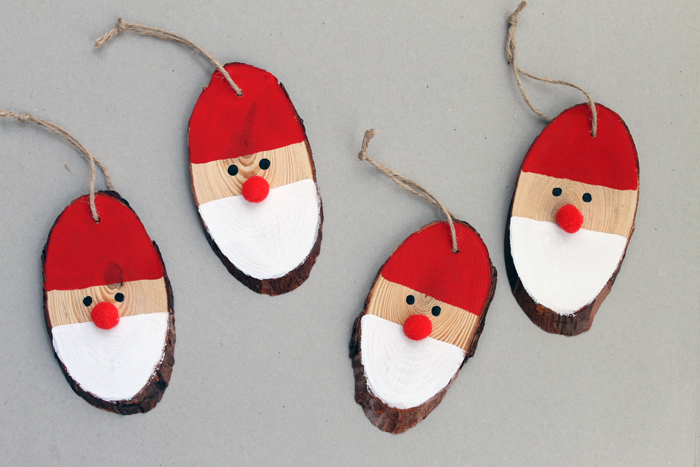
Wooden ornaments provide a lovely rustic charm to the holiday season. Use this tutorial to make Santa wood slice Christmas ornaments for your tree this year!
It is the last day of Craft Lightning, and I’m showing you how to make these adorable wooden Christmas ornaments. Yep, you caught me! I’m using wood slices again.
I can’t seem to get enough of these rustic beauties this year. If you have missed any of the Craft Lightning fun, be sure to catch up with day 1, day 2, day 3, and day 4.
Stay tuned for tomorrow as I wrap up all of the 15-minute crafts shared this week – you won’t want to miss it! Please note that Testors sponsor this post; however, all projects and opinions are mine.
Santa Wood Slice Christmas Ornaments Video
See exactly how I made these Santa wood slice ornaments in the quick video below!
Can’t watch the video or missed some of the steps? Follow along with our instructions below!
How To Make Santa Wood Slice Christmas Ornaments
These wooden ornaments are so adorable and make a fun, festive holiday craft that looks amazing on a Christmas tree. I had a great time making these ornaments and can’t wait to show you how!
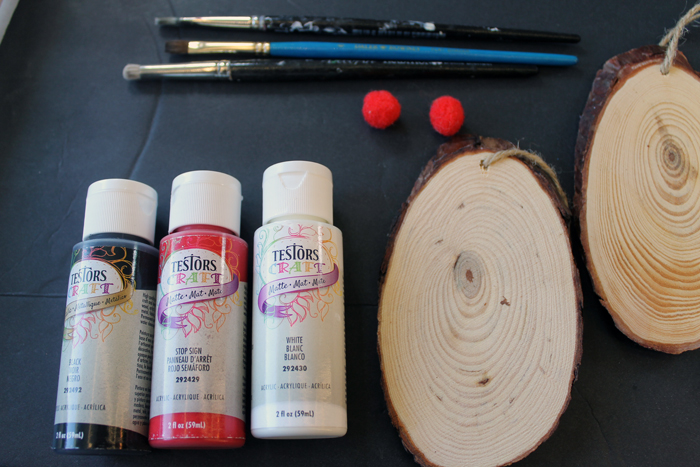
Supplies Needed To Make Santa Wood Slice Christmas Ornaments
- Testors Craft Paints (in white, red, and black)
- Wood slice ornaments
- Paintbrushes
- Red pom pom
- Hot glue and glue gun
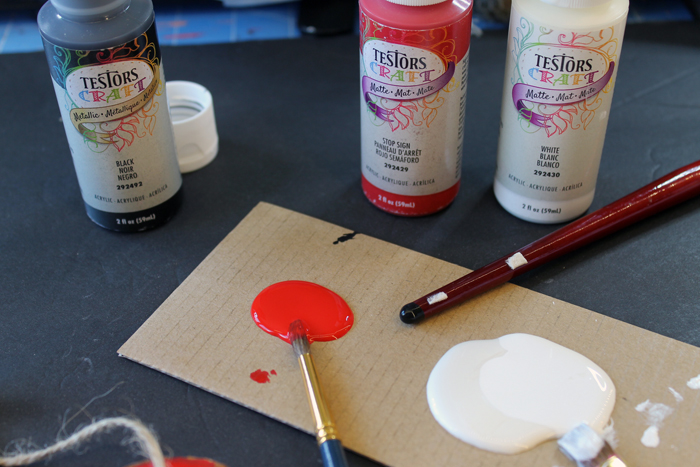
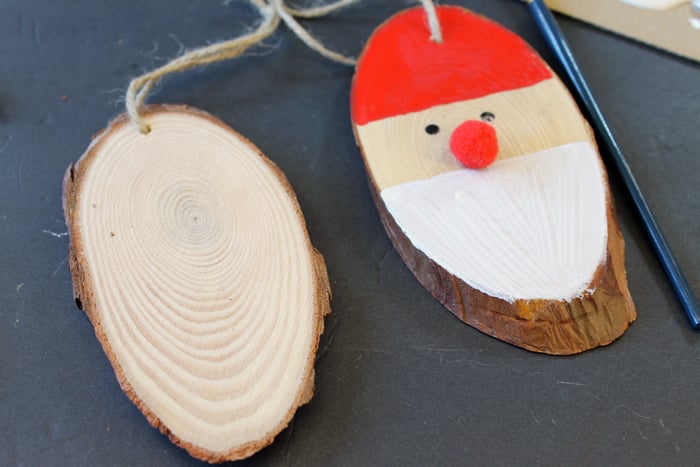
Step 1: Paint Wood Slice
Paint the top of the wood slice red. Paint the bottom white. Leave the middle wood tone.
NOTE: It may take a few coats to get complete coverage, especially on the white.
Step 2: Add Eyes
Add the eyes with the black craft paint.
TIP: For the eyes, you can actually use the wrong side of the paintbrush. This technique will give you a circle without any effort.
Step 3: Add Pom Pom Nose
Use a hot glue gun to add the red pom pom nose.
Be sure to allow everything to dry completely before adding these wood-slice Santa ornaments to your tree.

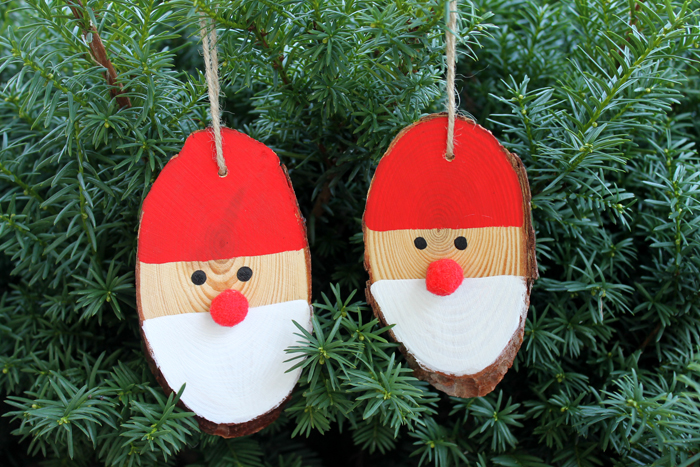
I love the simplicity of these rustic wooden Christmas ornaments. They will look amazing on my rustic farmhouse Christmas tree!
I highly encourage you to take 15 minutes to add these wood-slice Santa ornaments to your tree this holiday season – you’ll be so glad you did!
If you’re looking for a simple but gorgeous seasonal craft to make, this is it! Plus, if you have kids, this is easy enough for them to do it, too! Happy Crafting!
FAQS About Santa Wood Slice Christmas Ornaments
Here are a couple of questions that I see readers ask about If you have a question, please check to see if I’ve already answered it below. Don’t see your question? Leave it for me in the comments!
Here are a few common questions that I often see readers ask about making these Santa wood slice Christmas ornaments. If you have a question, please check if I’ve already addressed it below. If you don’t see your question listed, please leave it in the comments!
Where Did You Get Your Wood Slices?
I bought my wood slices from Hobby Lobby, but you can buy them at any craft store or online.
Could I Use A Round Wood Slice For This Project?
Absolutely! I liked the look of the oval wood slice, but a round wood slice would be great for this project.
Can I Adjust The Size Of This Project?
Yes, you can! However, I would not make it so big that is difficult to hang on the tree or so small that it’s a challenge to paint.
Is Hot Glue The Best Type Of Glue To Use For This Project?
Yes. Hot glue is easy to use (be sure to supervise young children, so they don’t get burned), sets quickly, and adheres strongly.
If you are in a pinch and need a good substitute for hot glue, I recommend using craft or super glue. Both will require longer drying times and will probably be a little messier. But they will work well if you don’t have a hot glue gun.
7 Holiday Crafts
Did you love these Santa wood slice Christmas ornaments and want more holiday crafts? Then check out the projects below!
- Embroidery Hoop Wreath for Christmas
- Christmas Paper Quilt Block Artwork with the Cricut
- Wooden Christmas Tree to Make Yourself
- Rudolph Reindeer Puppet-Kids Christmas Craft With Free Printable
- Christmas Jars Turned Into a Nativity Scene
- DIY Big Letters for Your Home Decor
- Make Your Own Christmas Scandinavia Gnome


Oh these are so cute! 🙂
I would love for you to share this with my Facebook Group for recipes, crafts, tips, and tricks: https://www.facebook.com/groups/pluckyrecipescraftstips/
Thanks for joining Cooking and Crafting with J & J!
Thanks for sharing!!!