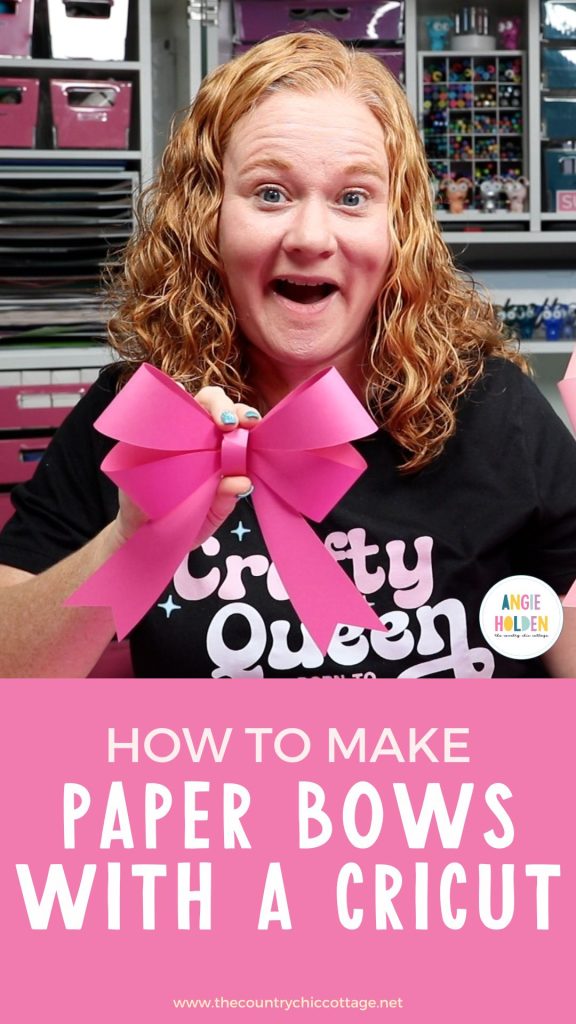
Bows are definitely having a moment right now, and making paper bows with your Cricut machine is easier than you think! If you love the bow trend as much as I do, you're going to love being able to make bows in different shapes and sizes using nothing but your Cricut machine, cardstock, and adhesive.
These bows are perfect for holiday decor, parties, and adding to gifts! If you're still learning your Cricut machine, join my free 7-day Cricut course!
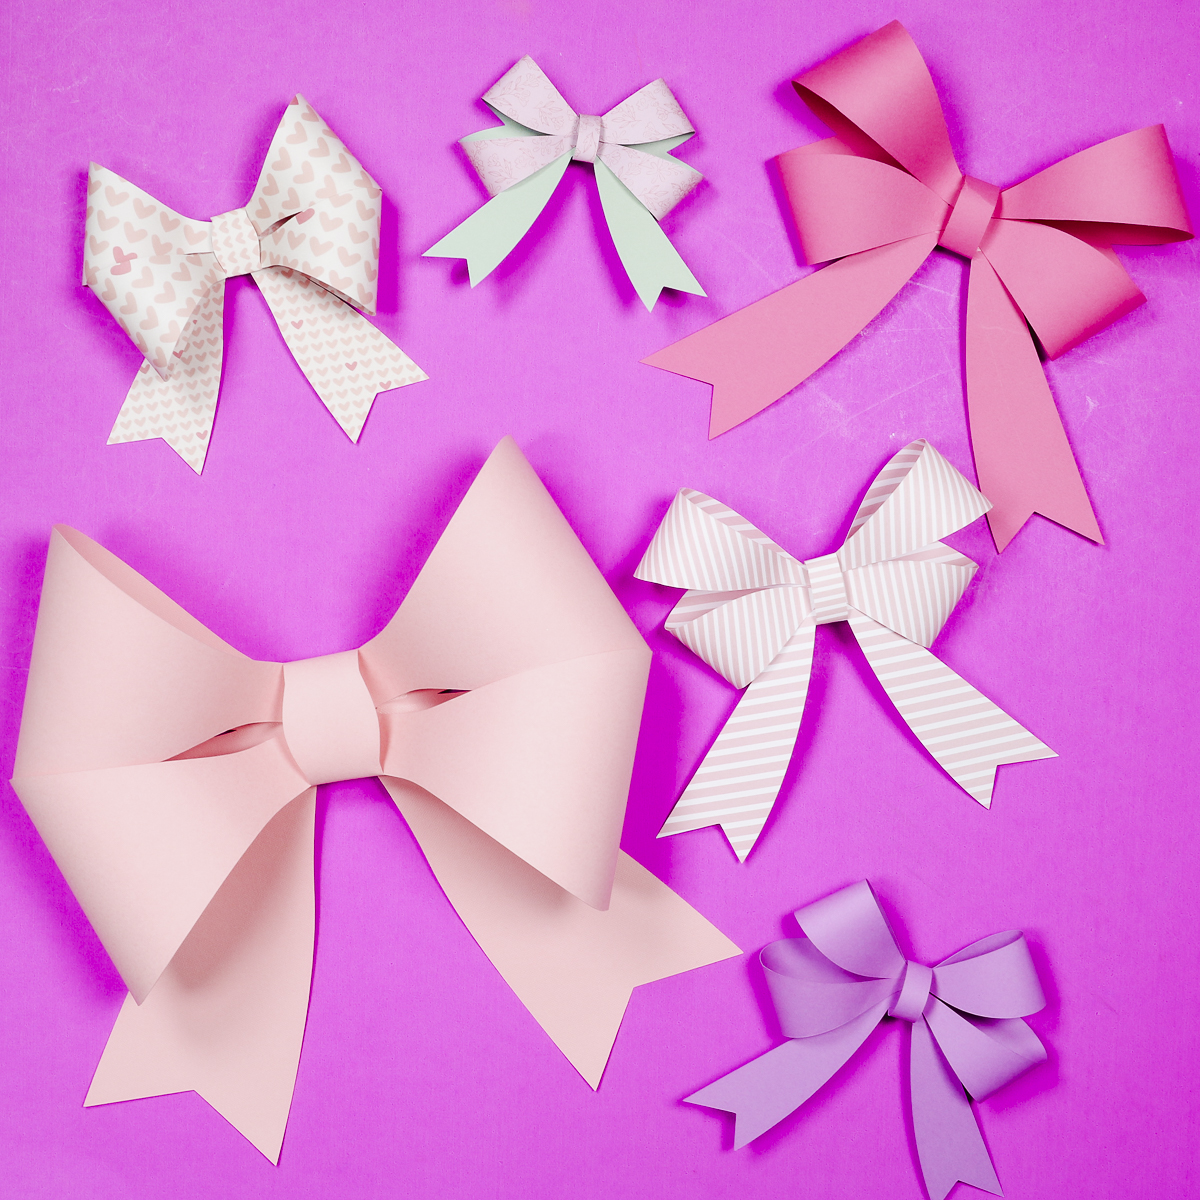
All of the bows I am making today have a similar look, but as you will see, there are many options that have double loops and tails.
These are not the only paper bow options. You can find designs that look different than these by searching 3D Paper Bow in Design Space and other file programs.
You can watch me make these bows from start to finish by pressing play on the video below.
How to Make Paper Bows with a Cricut Machine
It is so easy to make paper bows with a Cricut. Your machine will do all the hard work. For most of the bows, I used 12 inch x 12 inch cardstock in solids and patterns.
For the largest bow, I used 12 inch x 24 inch cardstock. You will need the 12-inch by 24-inch cutting mat, but this can be done on Maker and Explore machines.
If you have the Cricut Venture and large paper, you could make even larger paper bows. Simply, resize the design to fit your paper size, and you're good to go.
Supplies Used
- Paper Bow Design Used
- Cardstock
- Cricut Machine
- Cutting Mat
- Brayer
- Dry adhesive/Paper Glue/Hot Glue
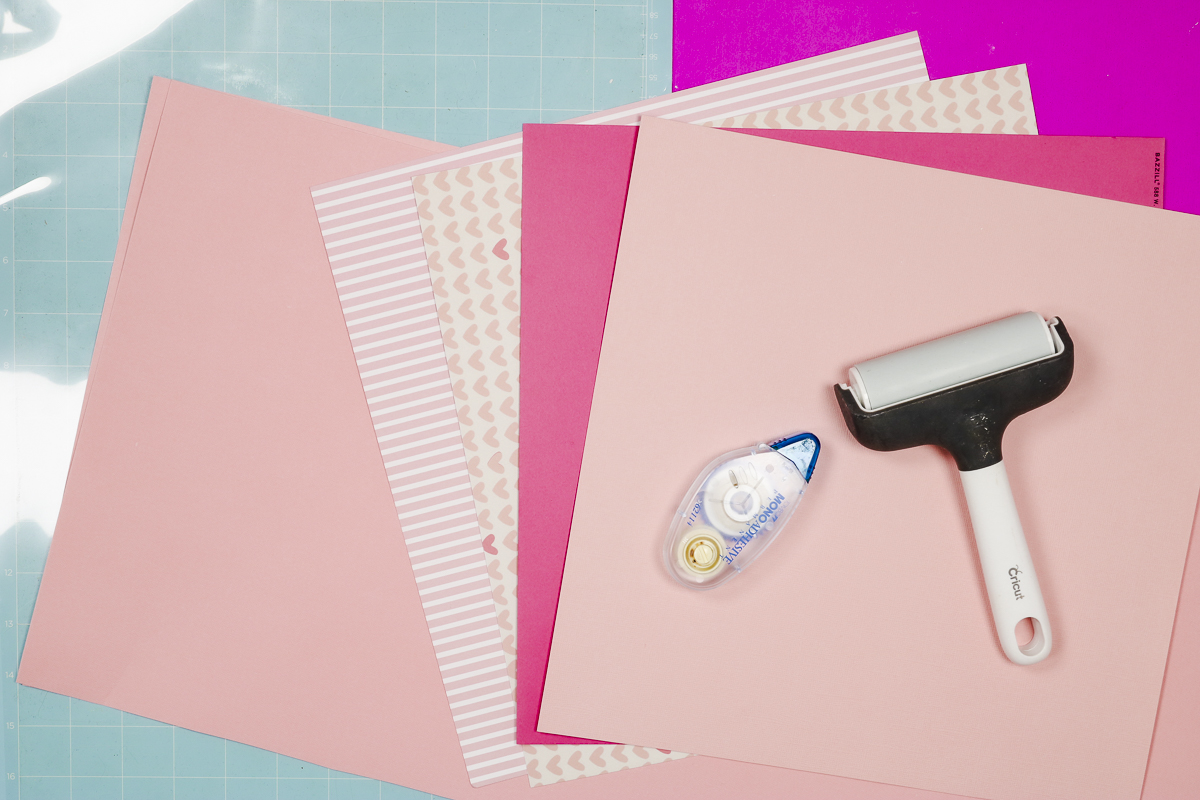
NOTE: I am using a dry adhesive in this tutorial and am sharing a few versions below. For bows that will last a long time, you may want to use hot glue. The paper will want to flatten back out and may pull away from the dry adhesives, and the hot glue will be stronger.
Options for Dry Adhesives:
Step 1. Add Paper Bow Designs to Cricut Design Space
Because I am using my Cricut machine to create these paper bows, I am using Design Space to set everything up correctly.
I am using a one-piece design from Creative Fabrica and a three-piece design from Cricut Access.
There are many 3D paper bow designs in both Creative Fabrica and Design Space, and many of them are the same.
If you're using a design from another site, like Creative Fabrica, click Upload, find the design on your computer, and upload it as a cut file.
Add the file to your canvas.
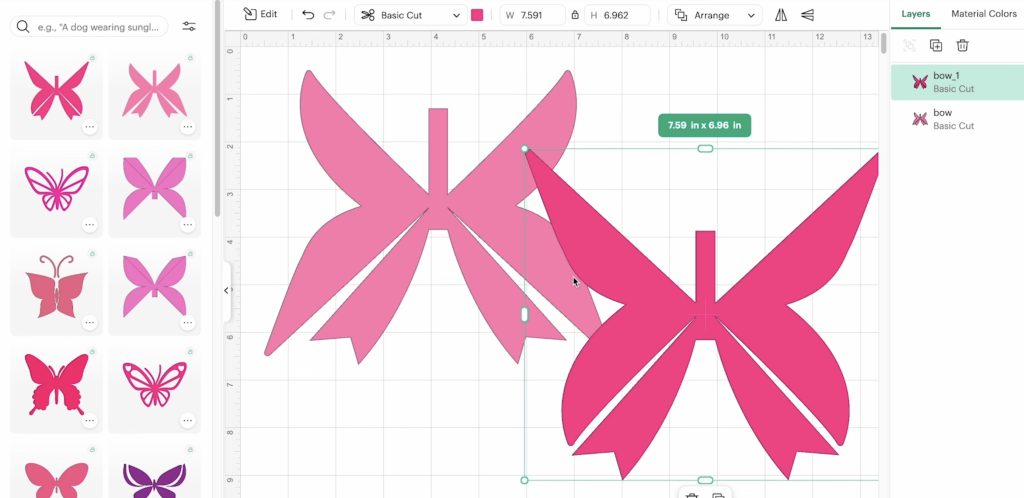
I want to make multiple bows in different sizes, so I duplicated the design on the canvas.
This design is also in Design Space and is included with a Cricut Access subscription.
The next design is a layered bow that cuts in multiple pieces.
There is a piece for the loops, a piece for the tails, and a piece for the middle section.
The three-piece design is actually a layered bow. I do not want mine to be layered.
Go to the layers panel, click the layer, and ungroup it. Then you can delete the top layer, leaving only the base layer.
Step 2. Resize Bow Designs
How big your bow can be will depend on the design, the machine, and the mat you're using.
With Explore or Maker machines, you are maxed out at 11.5 inches wide. That will limit how big a bow you can make, especially the one-piece bows.
One of the benefits of the three-piece bow is that you can make a larger bow because you can cut the pieces on different mats.
To make it so that the three-piece bow can be cut on multiple mats, you need to do a few steps:
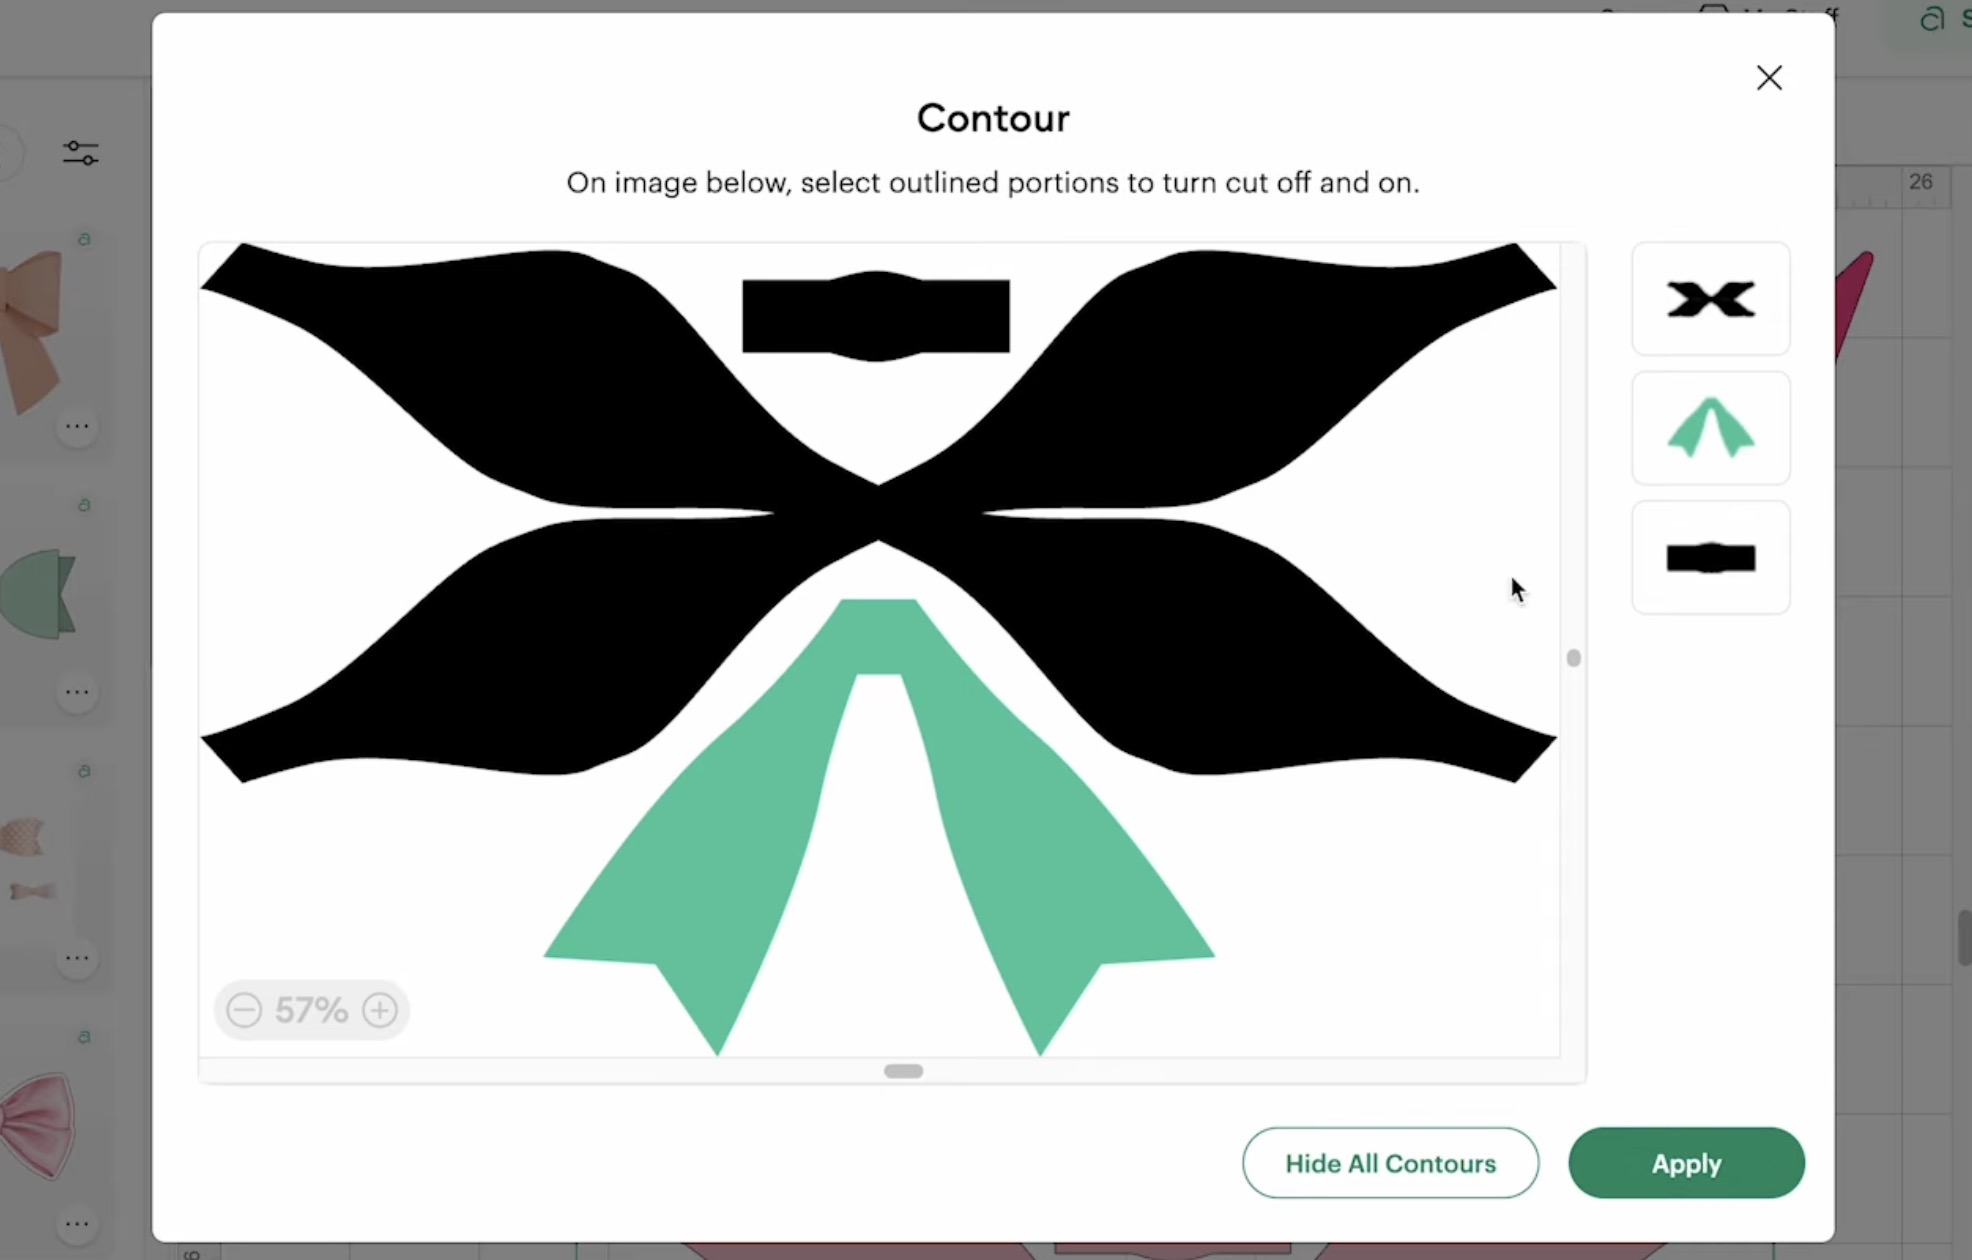
- Duplicate the design.
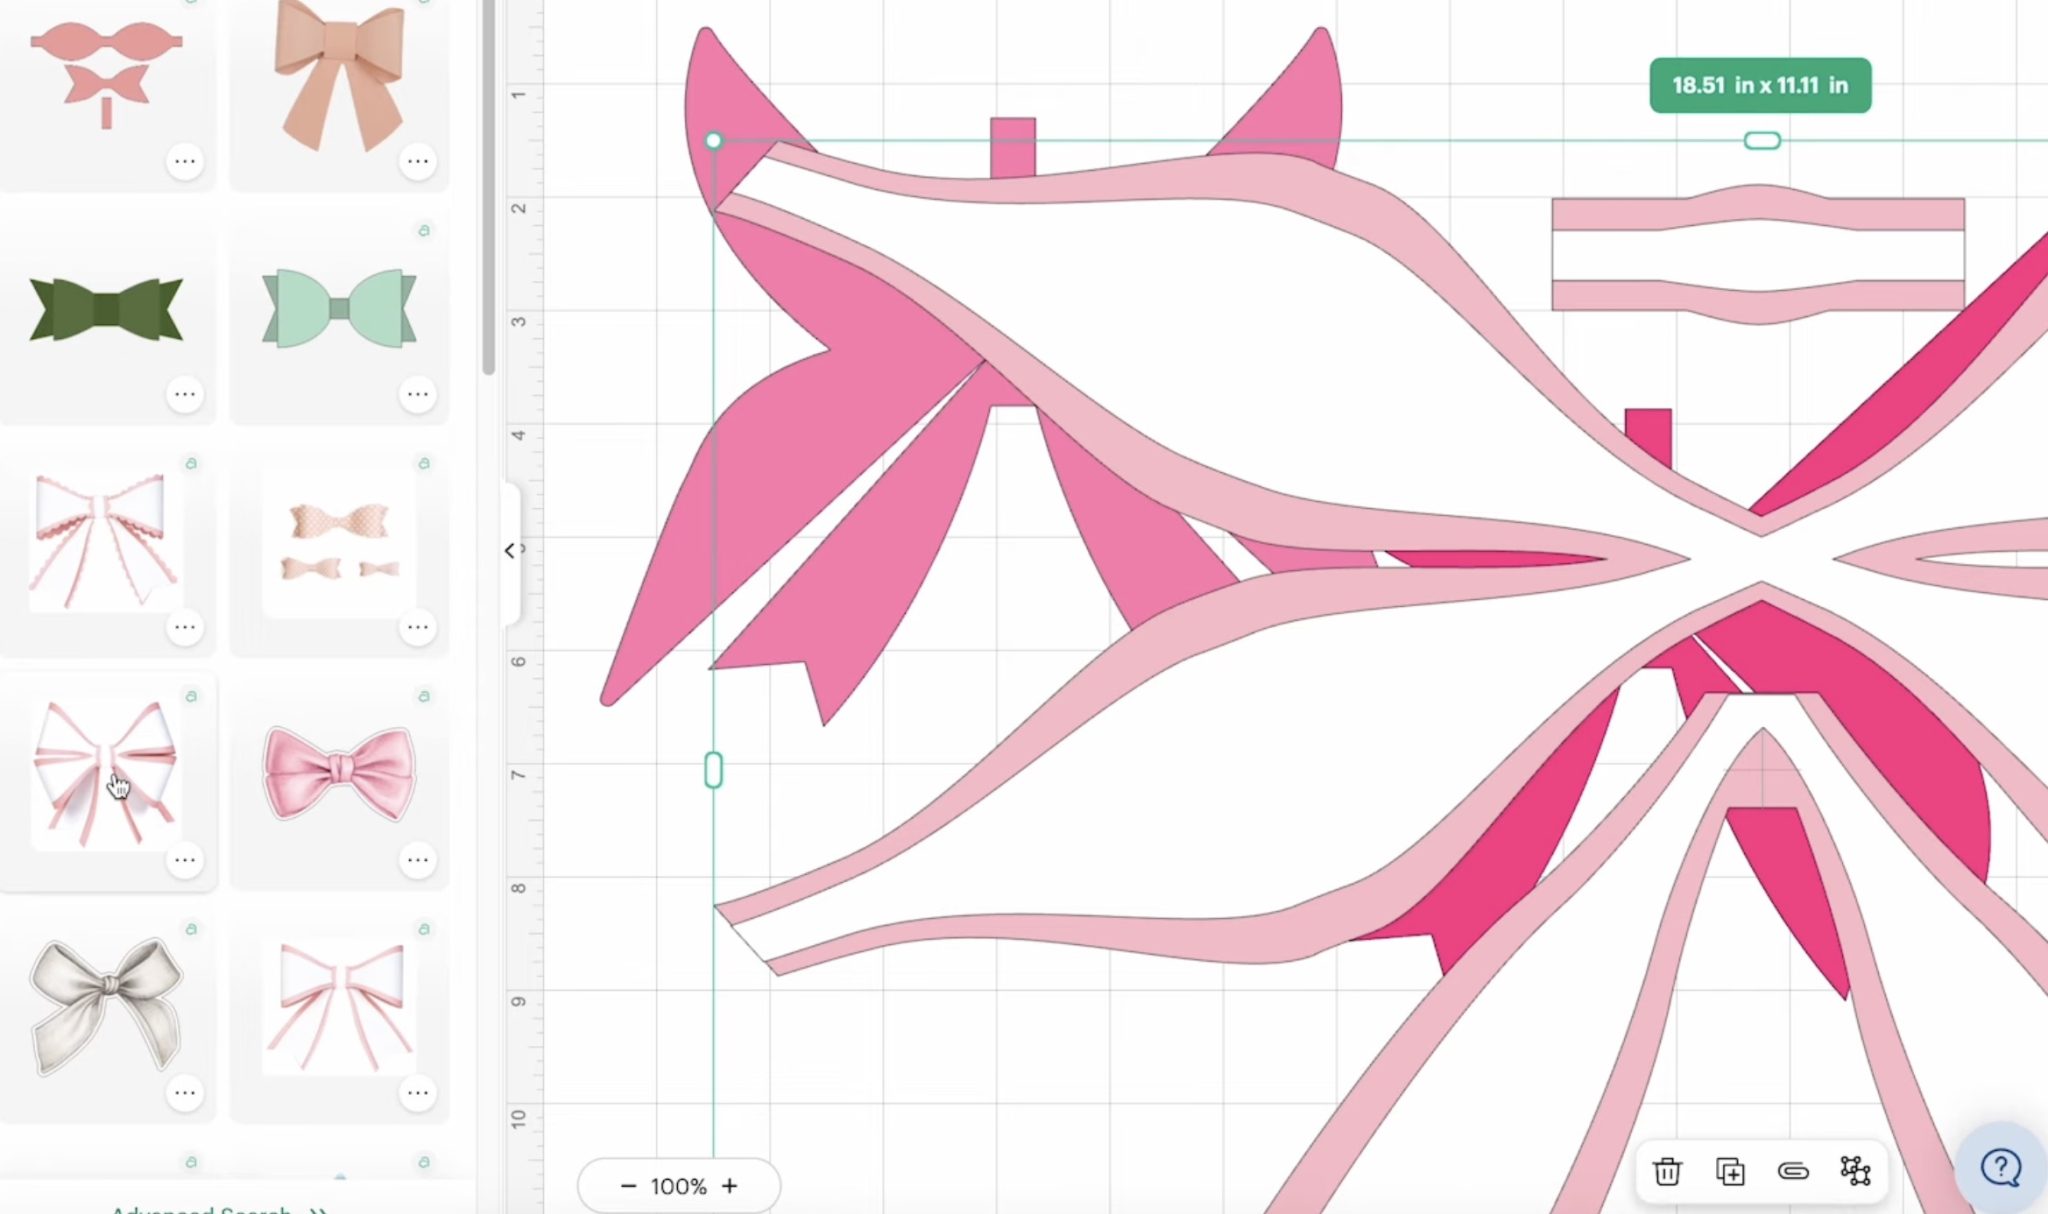
- On one layer, click Contour and then click on the tail piece to remove it from that layer.
- On the other layer, click Contour and click on the bow and middle piece. This will leave just the tails on this layer.

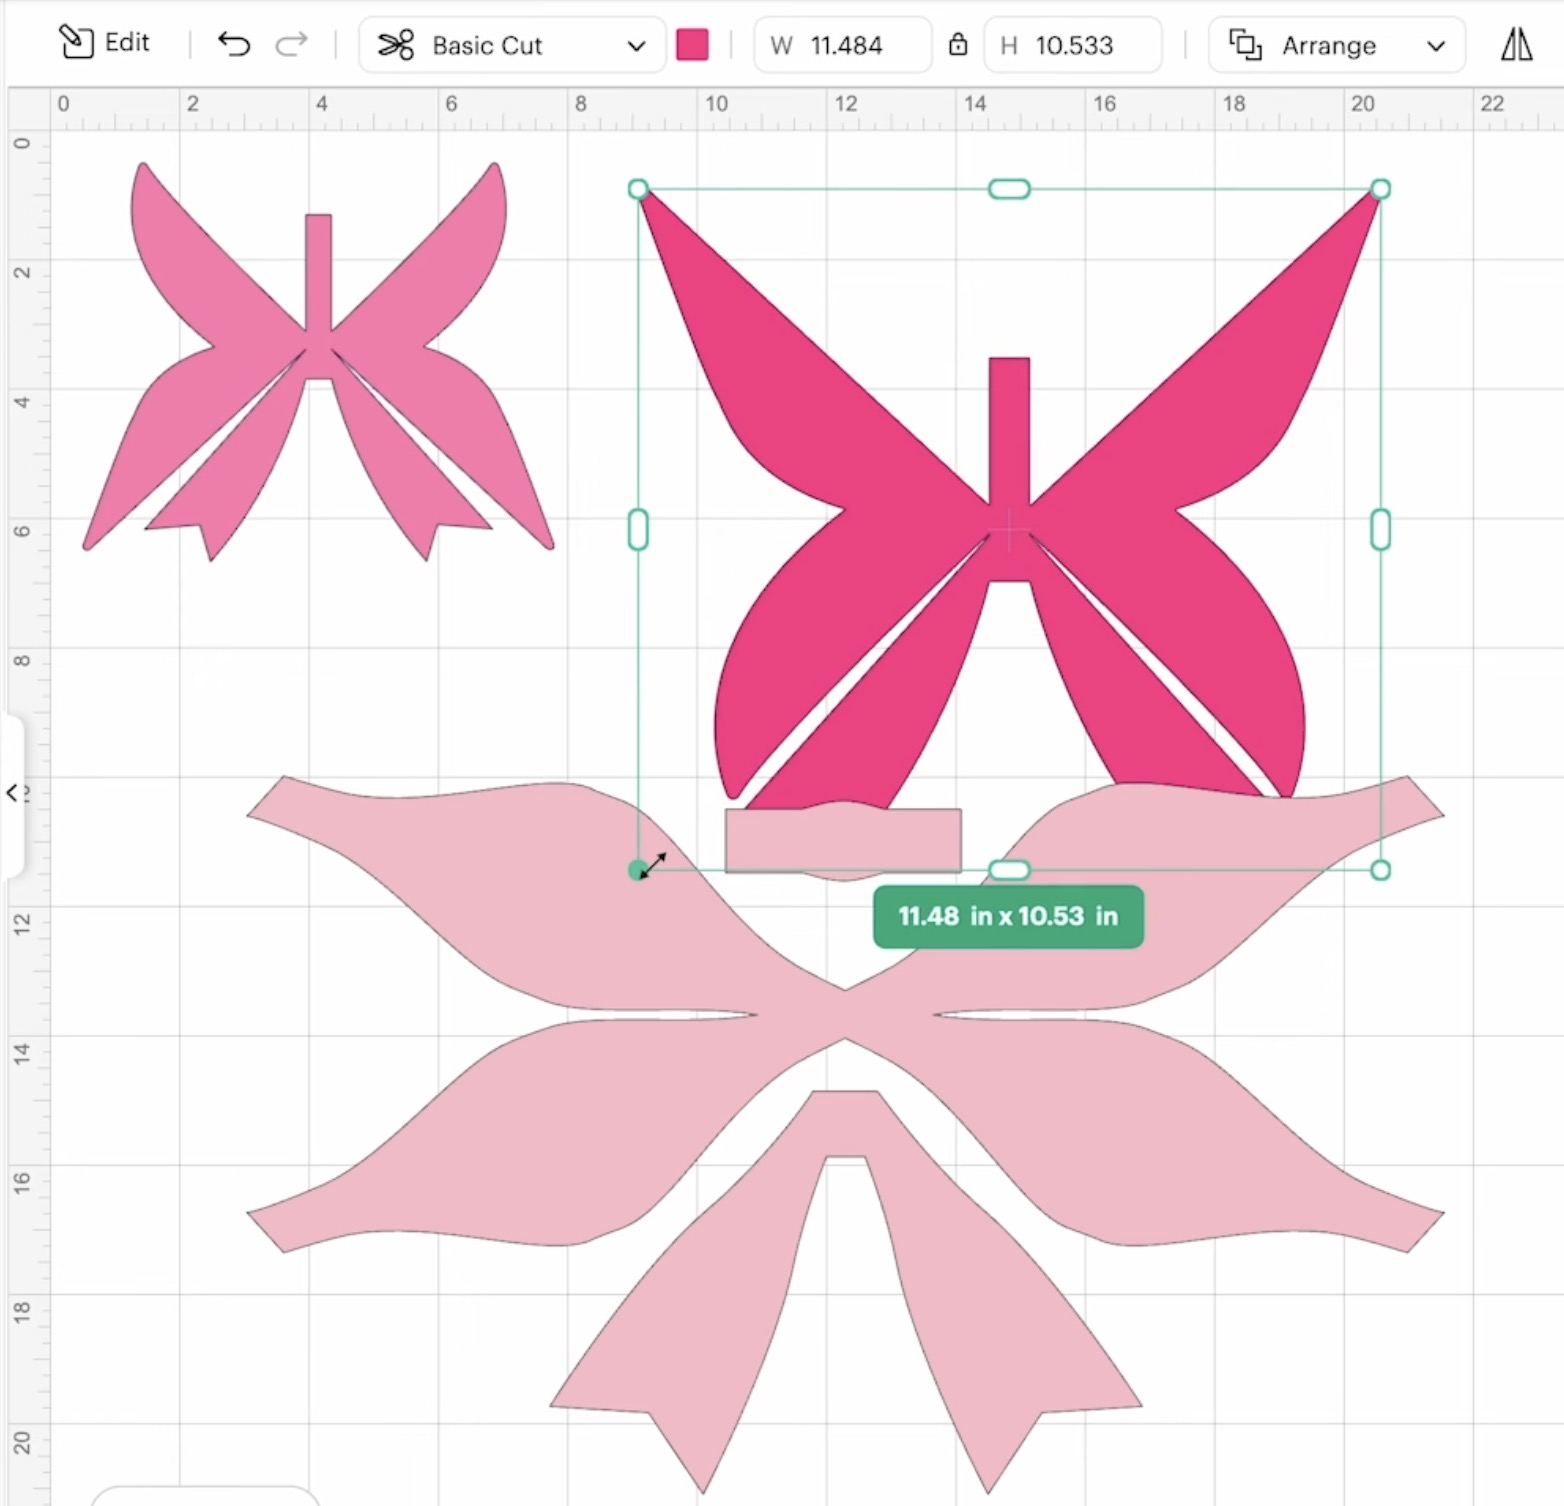
Anytime you resize this design, make sure you select both layers and resize them at the same time so they stay proportionate.
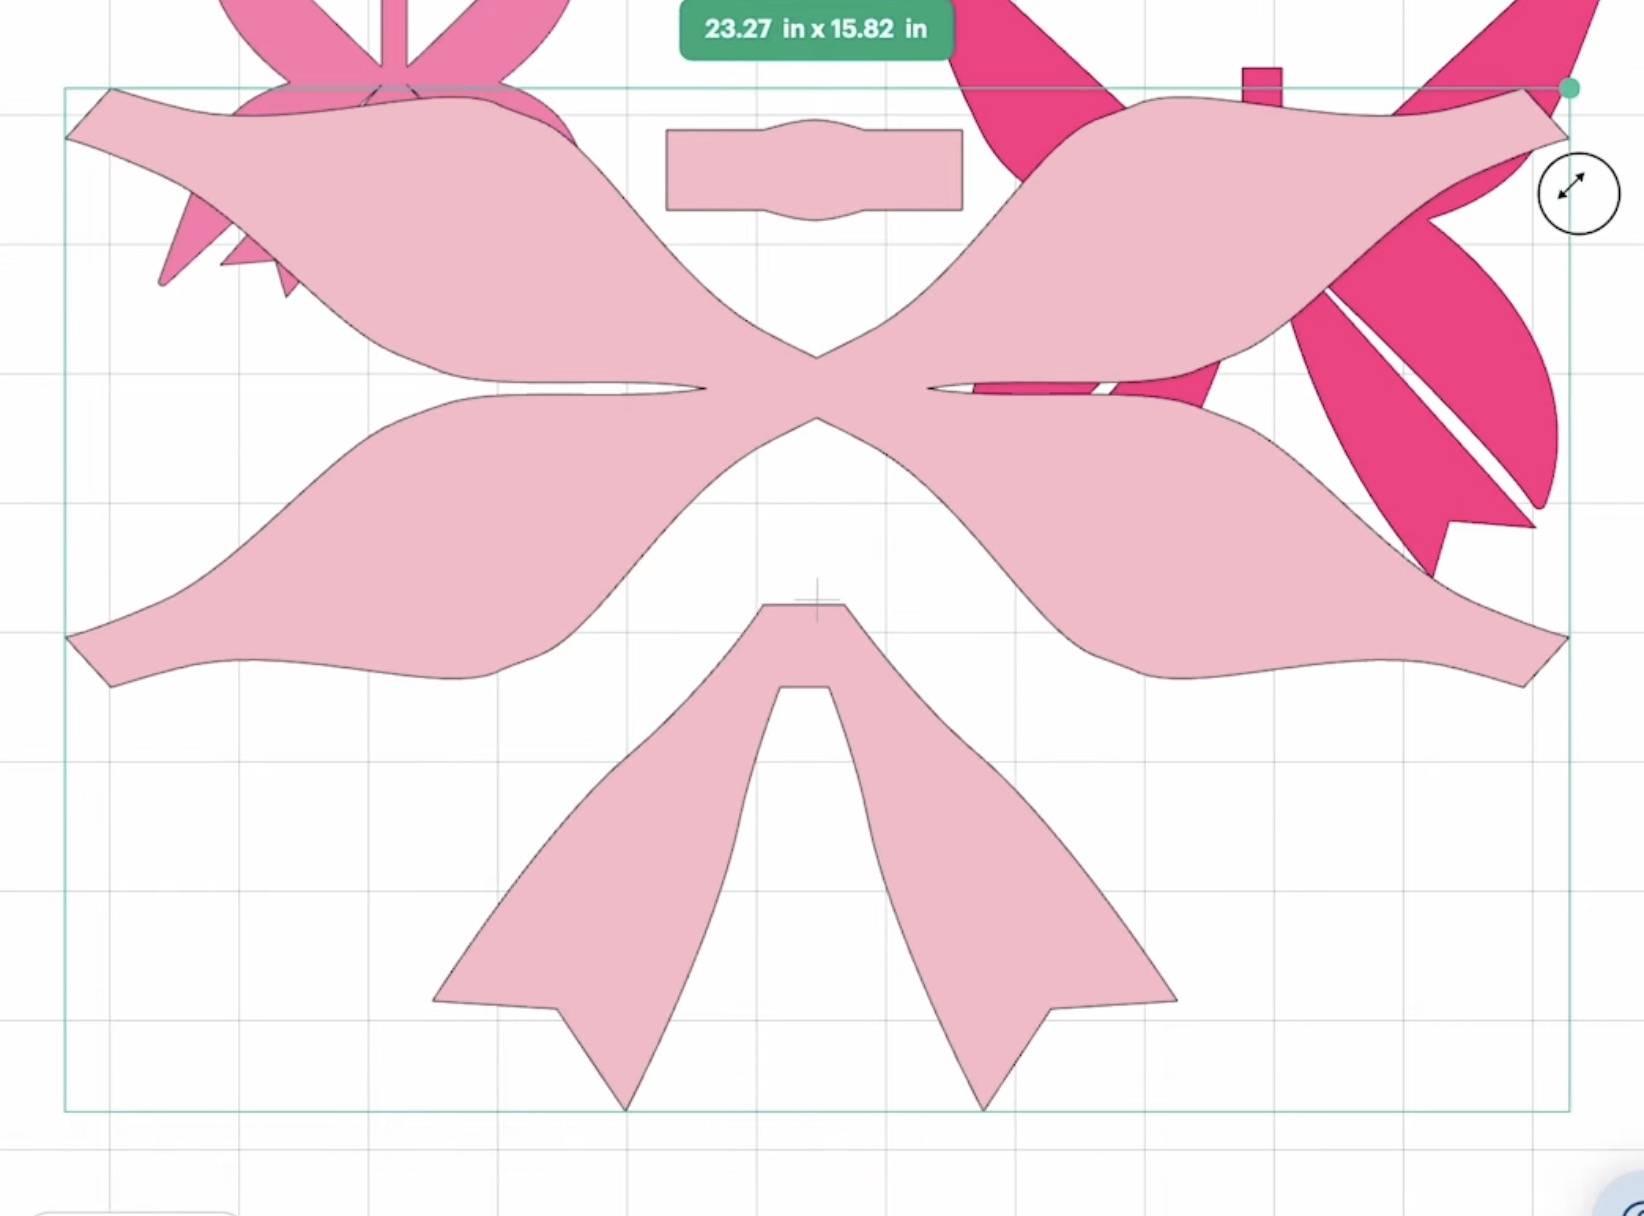
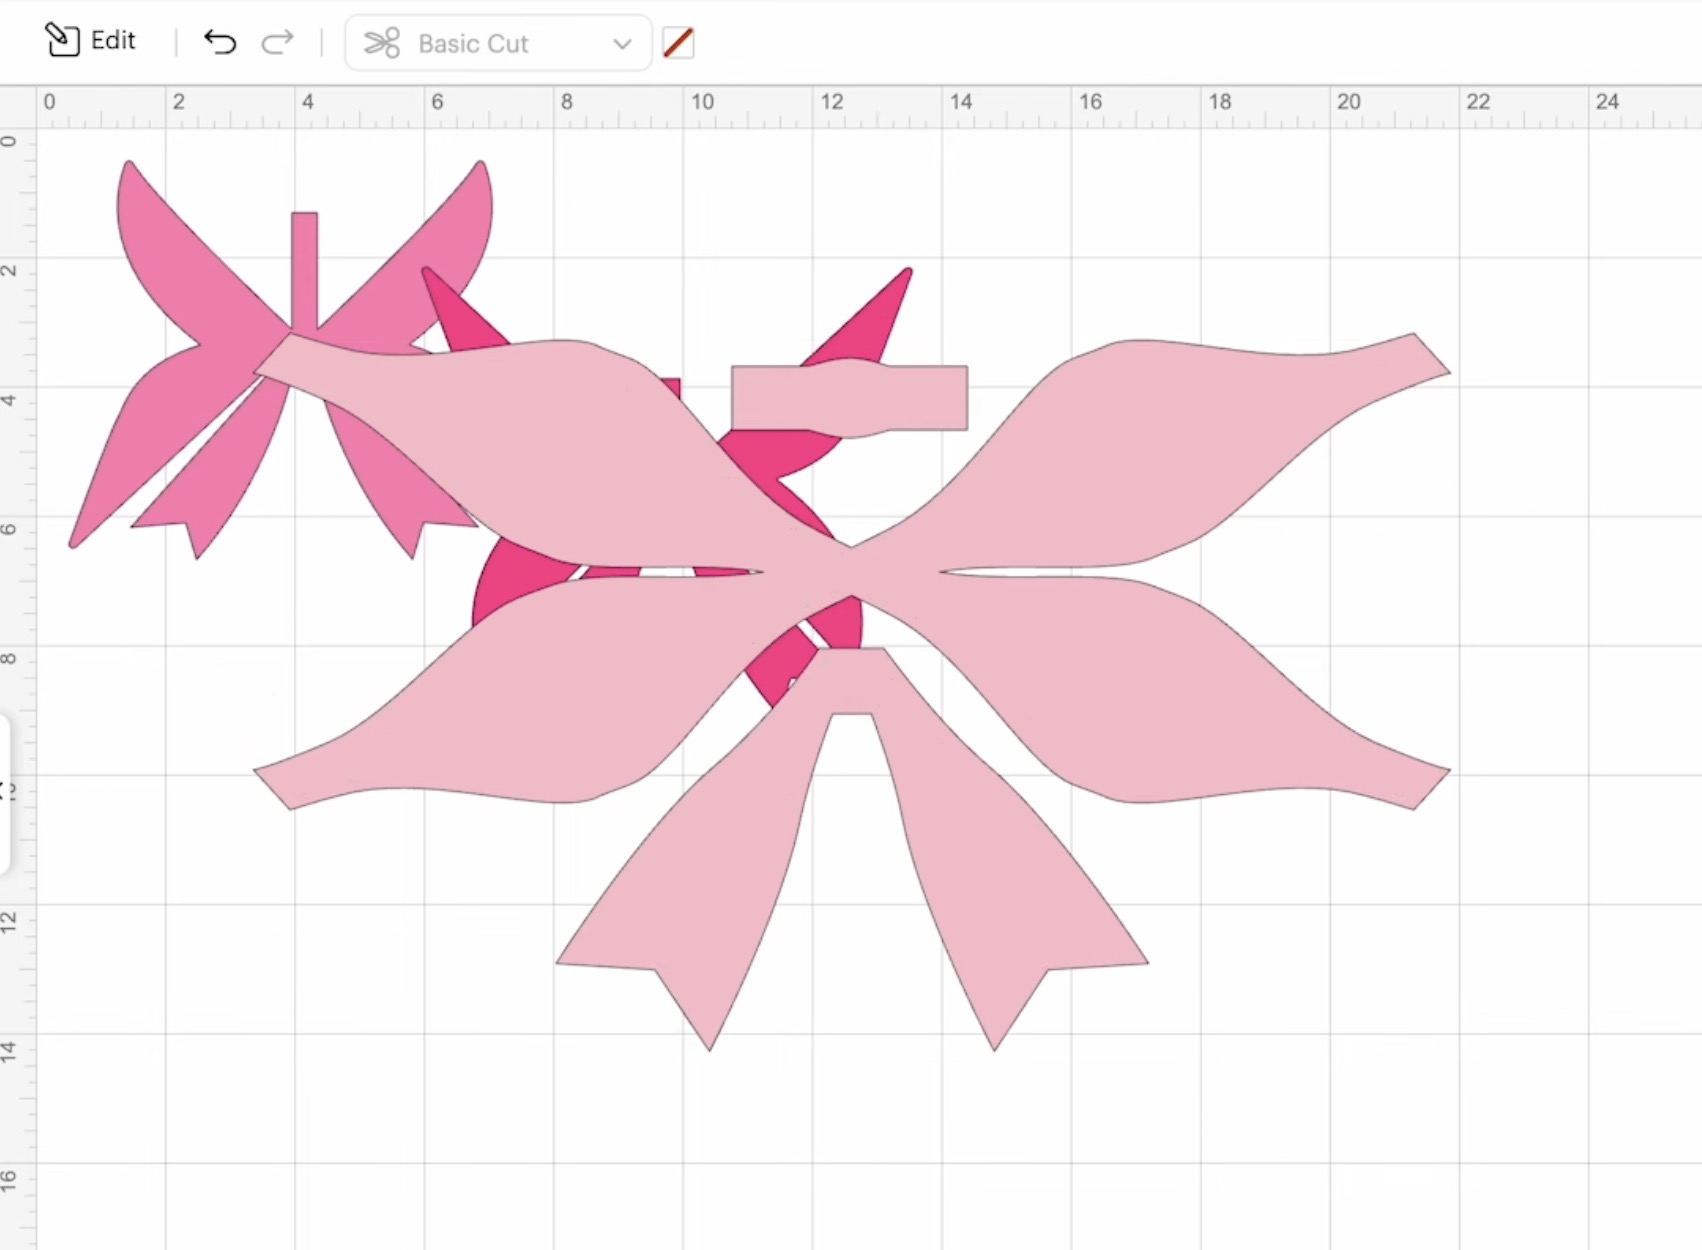
Using 12 x 24-inch paper, I can make this bow much larger, being separated into layers, than if it were all one layer.
Step 3. Cut the Design out of Cardstock
Click Make and select On Mat.
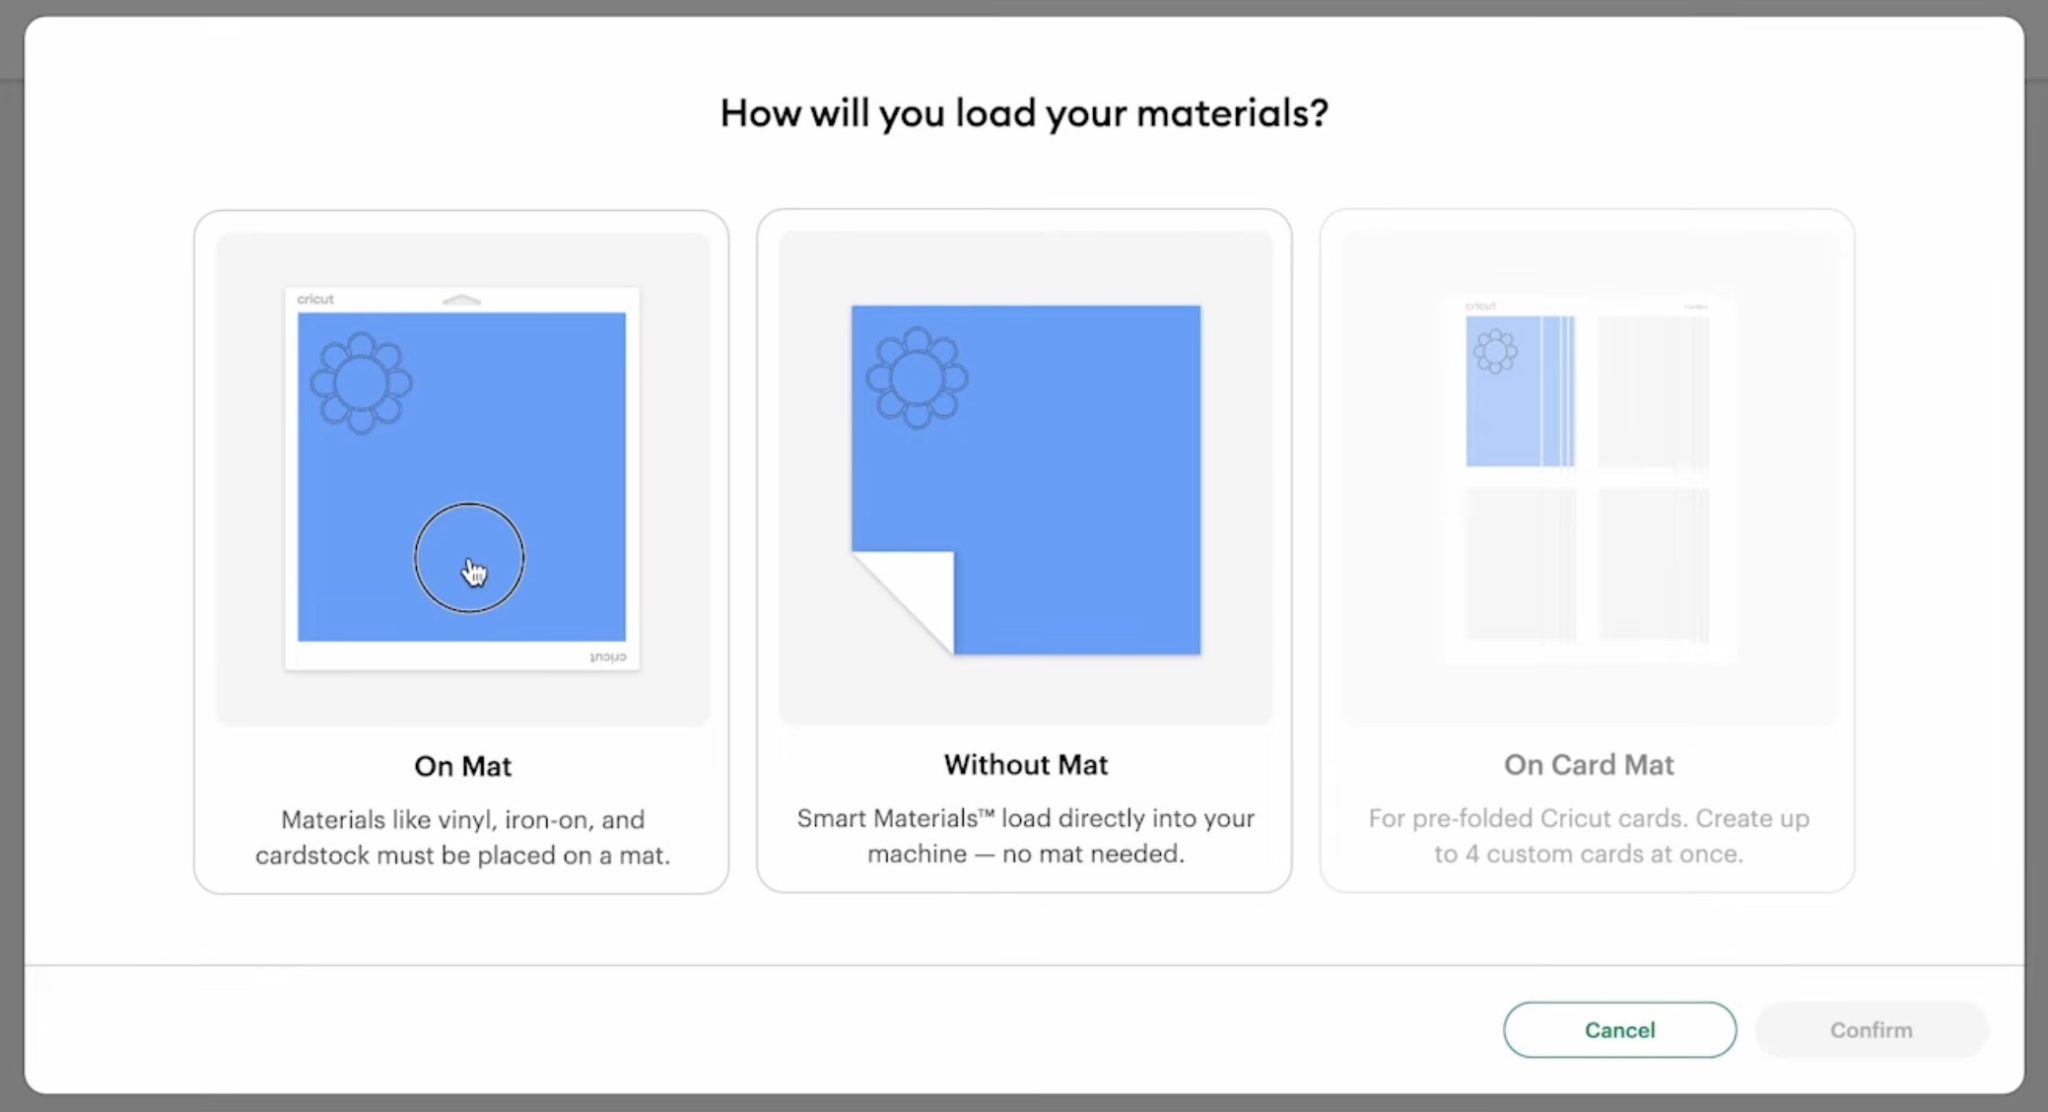
Here you'll see what the design looks like on the mat, and you can make any changes you need to if you need to move it around on the mat.
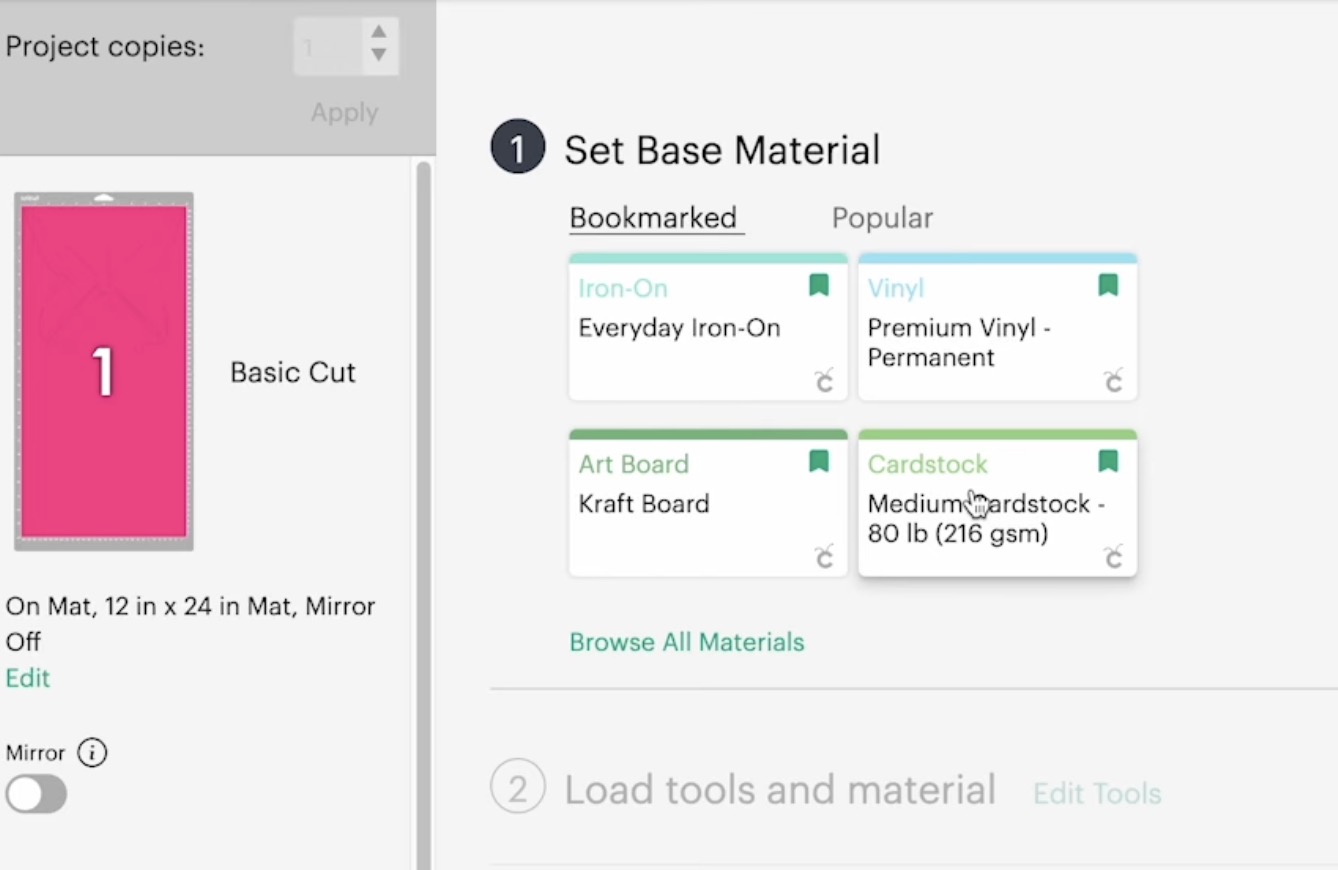
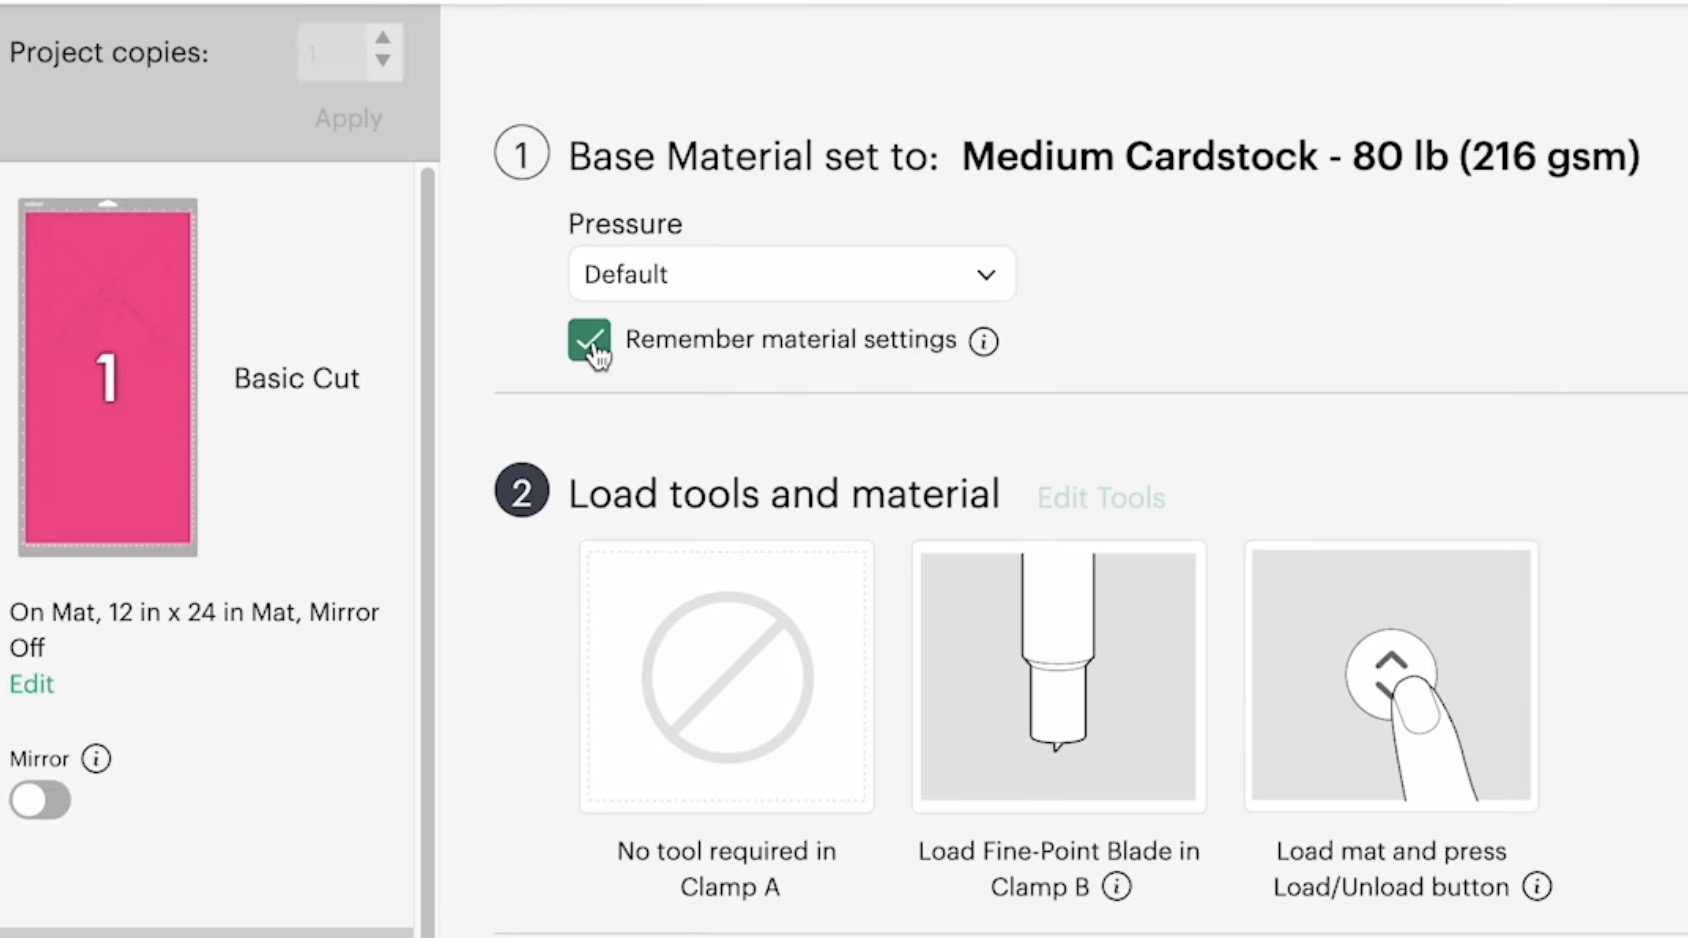
Choose the Medium Cardstock setting.
If you're cutting the same type of material on multiple mats, click Remember Material Settings under the pressure setting.
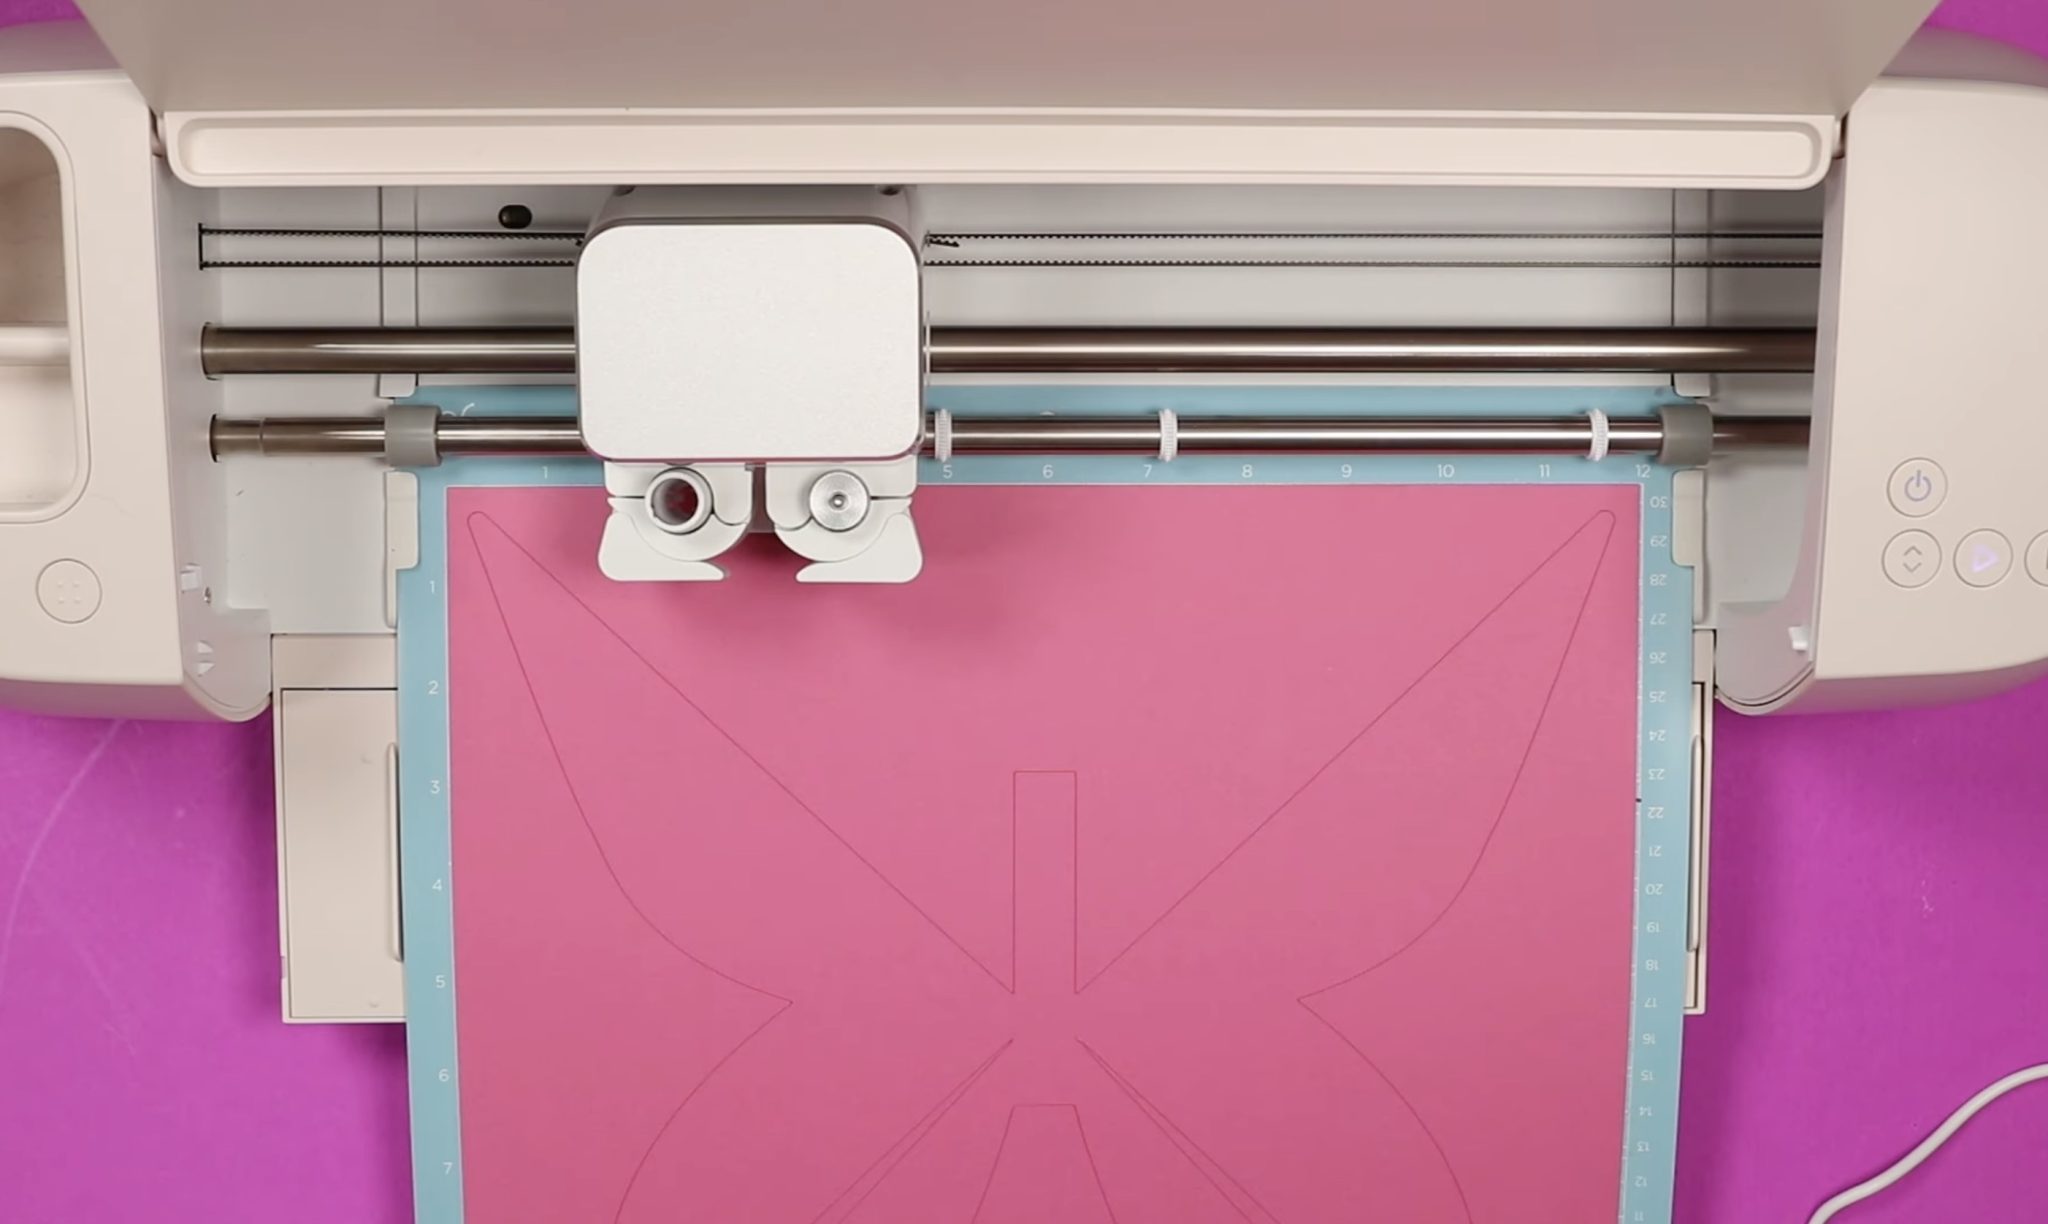
Place the cardstock on the cutting mat.
I like to use the blue LightGrip mat for cardstock. The cardstock adheres well and releases without tearing.

Use a brayer to ensure the cardstock is smoothed onto the surface and adheres well everywhere.
Load the mat into the machine and click Go.
Step 4. Remove Your Pieces
When the machine is done cutting, unload the mat and remove the cardstock from the mat.
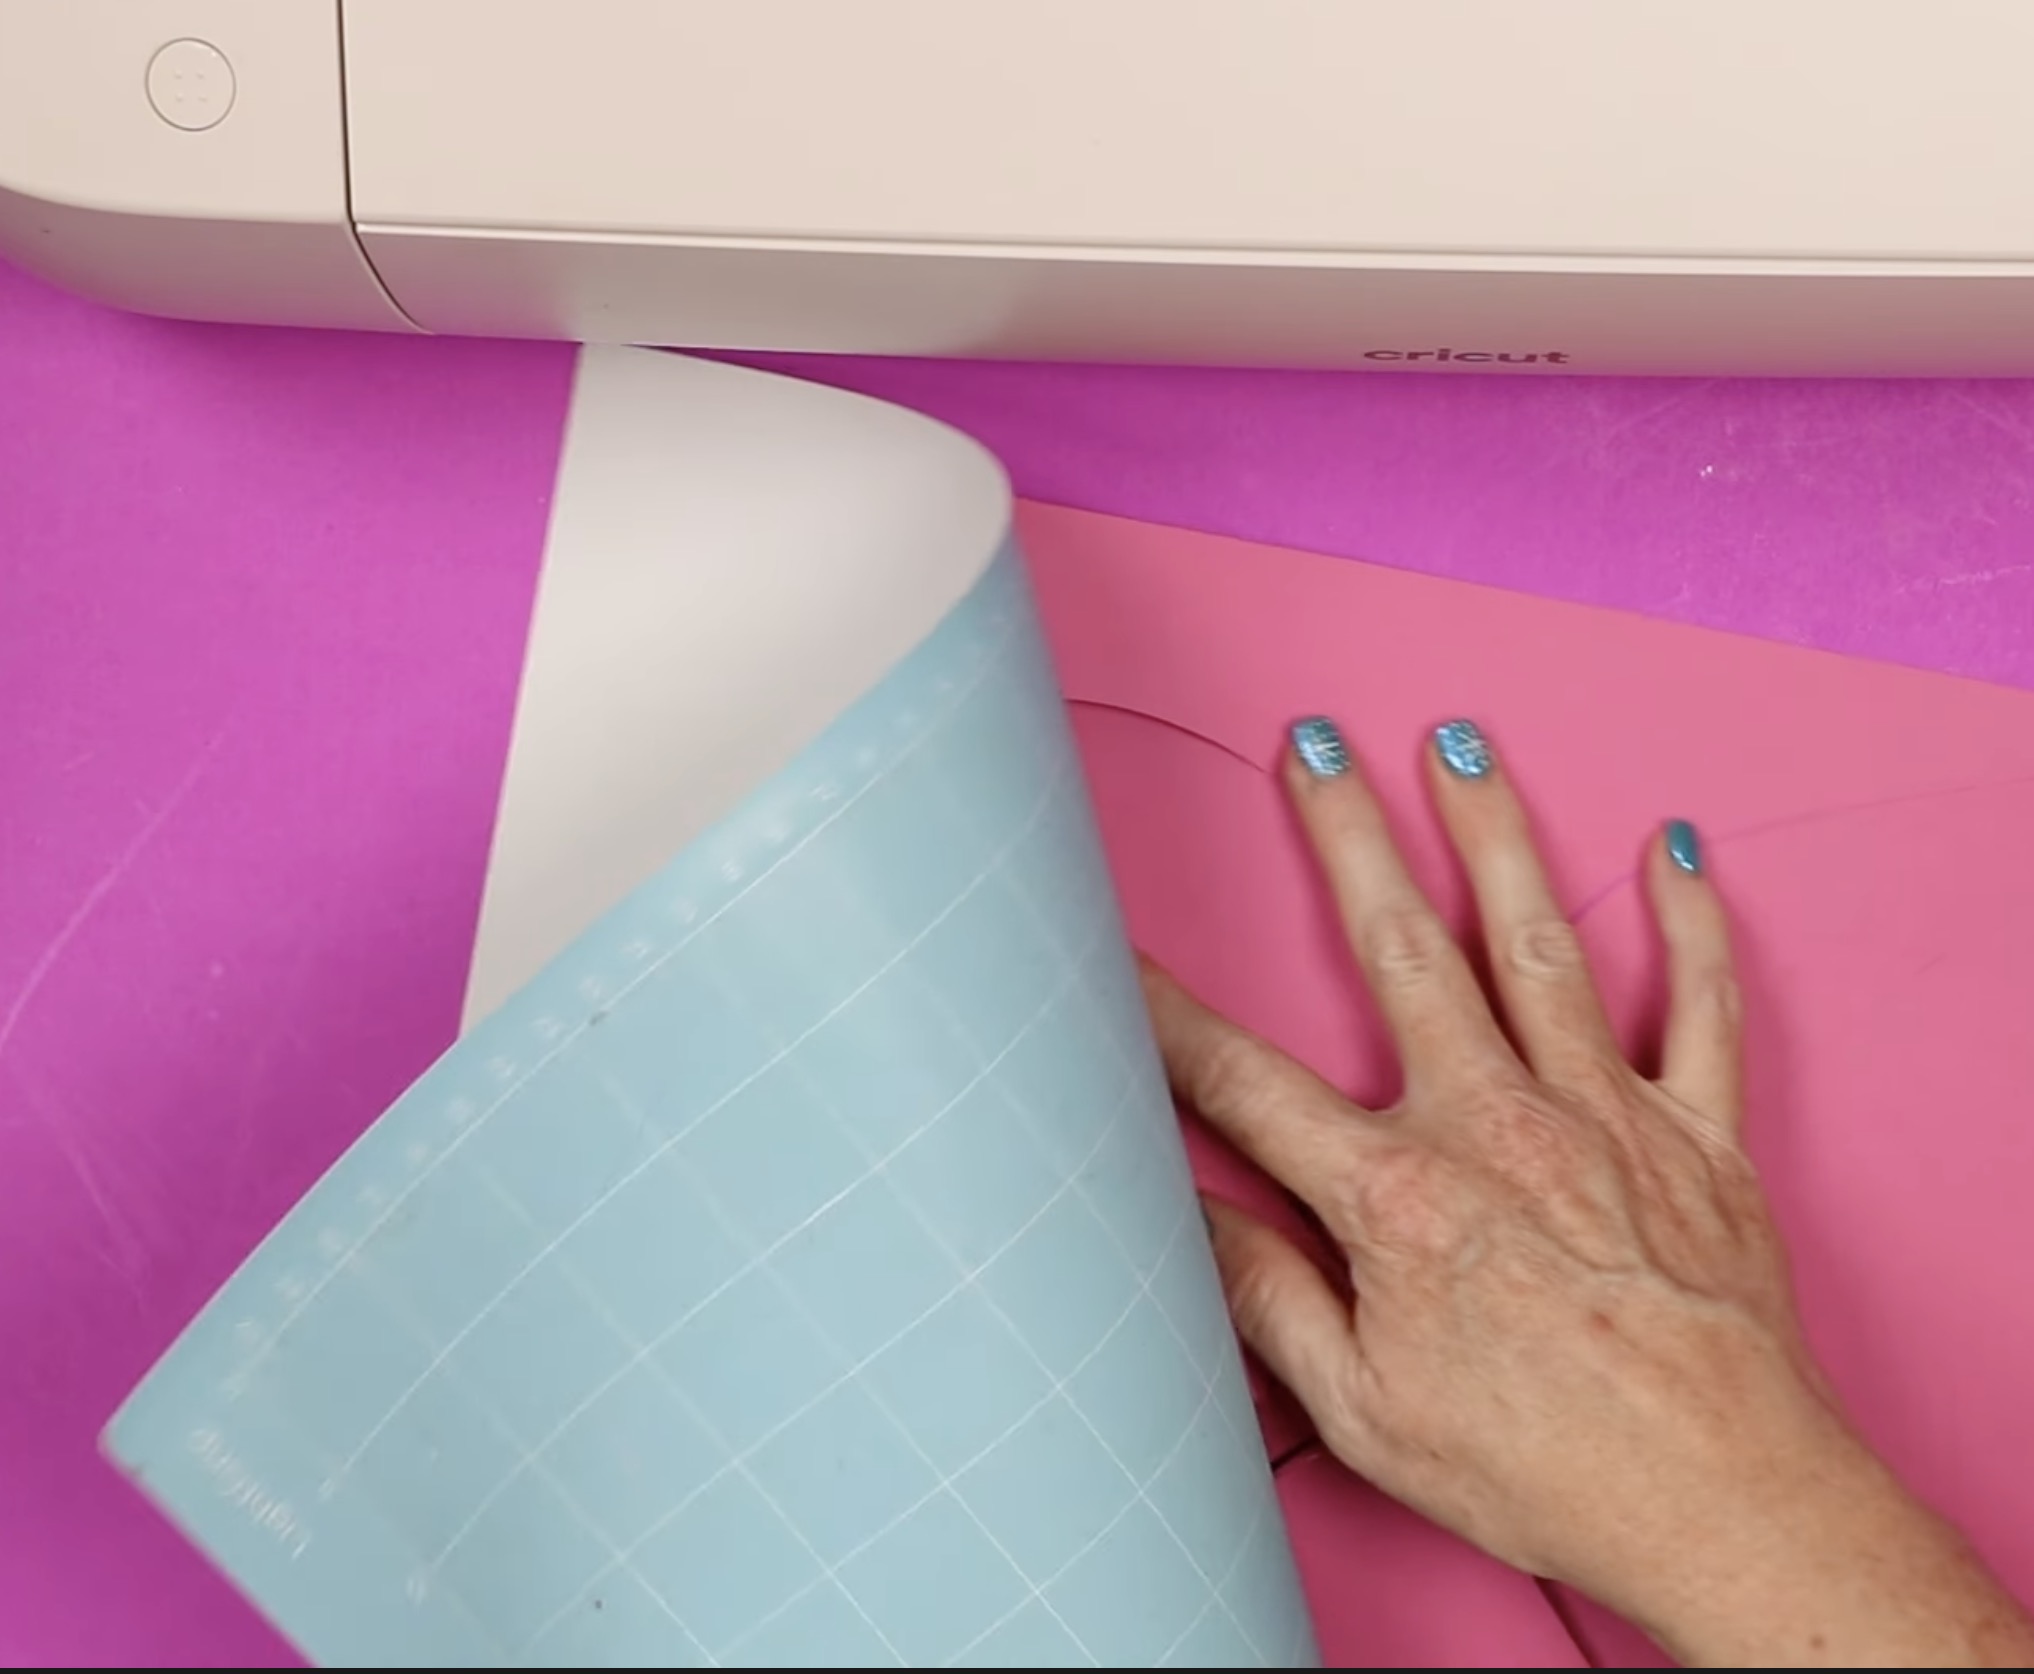
Especially with cardstock, I recommend flipping the mat over and rolling it away from the material.
This will prevent the cardstock from curling.
Step 5. Assemble the Bow (One Piece Design)
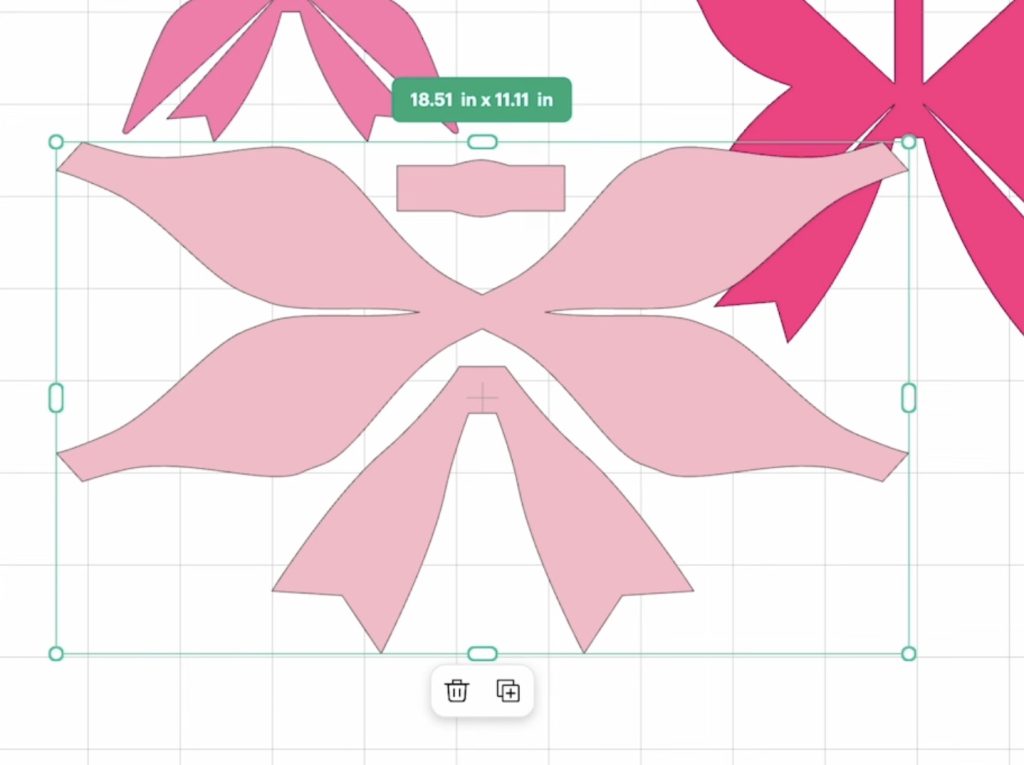
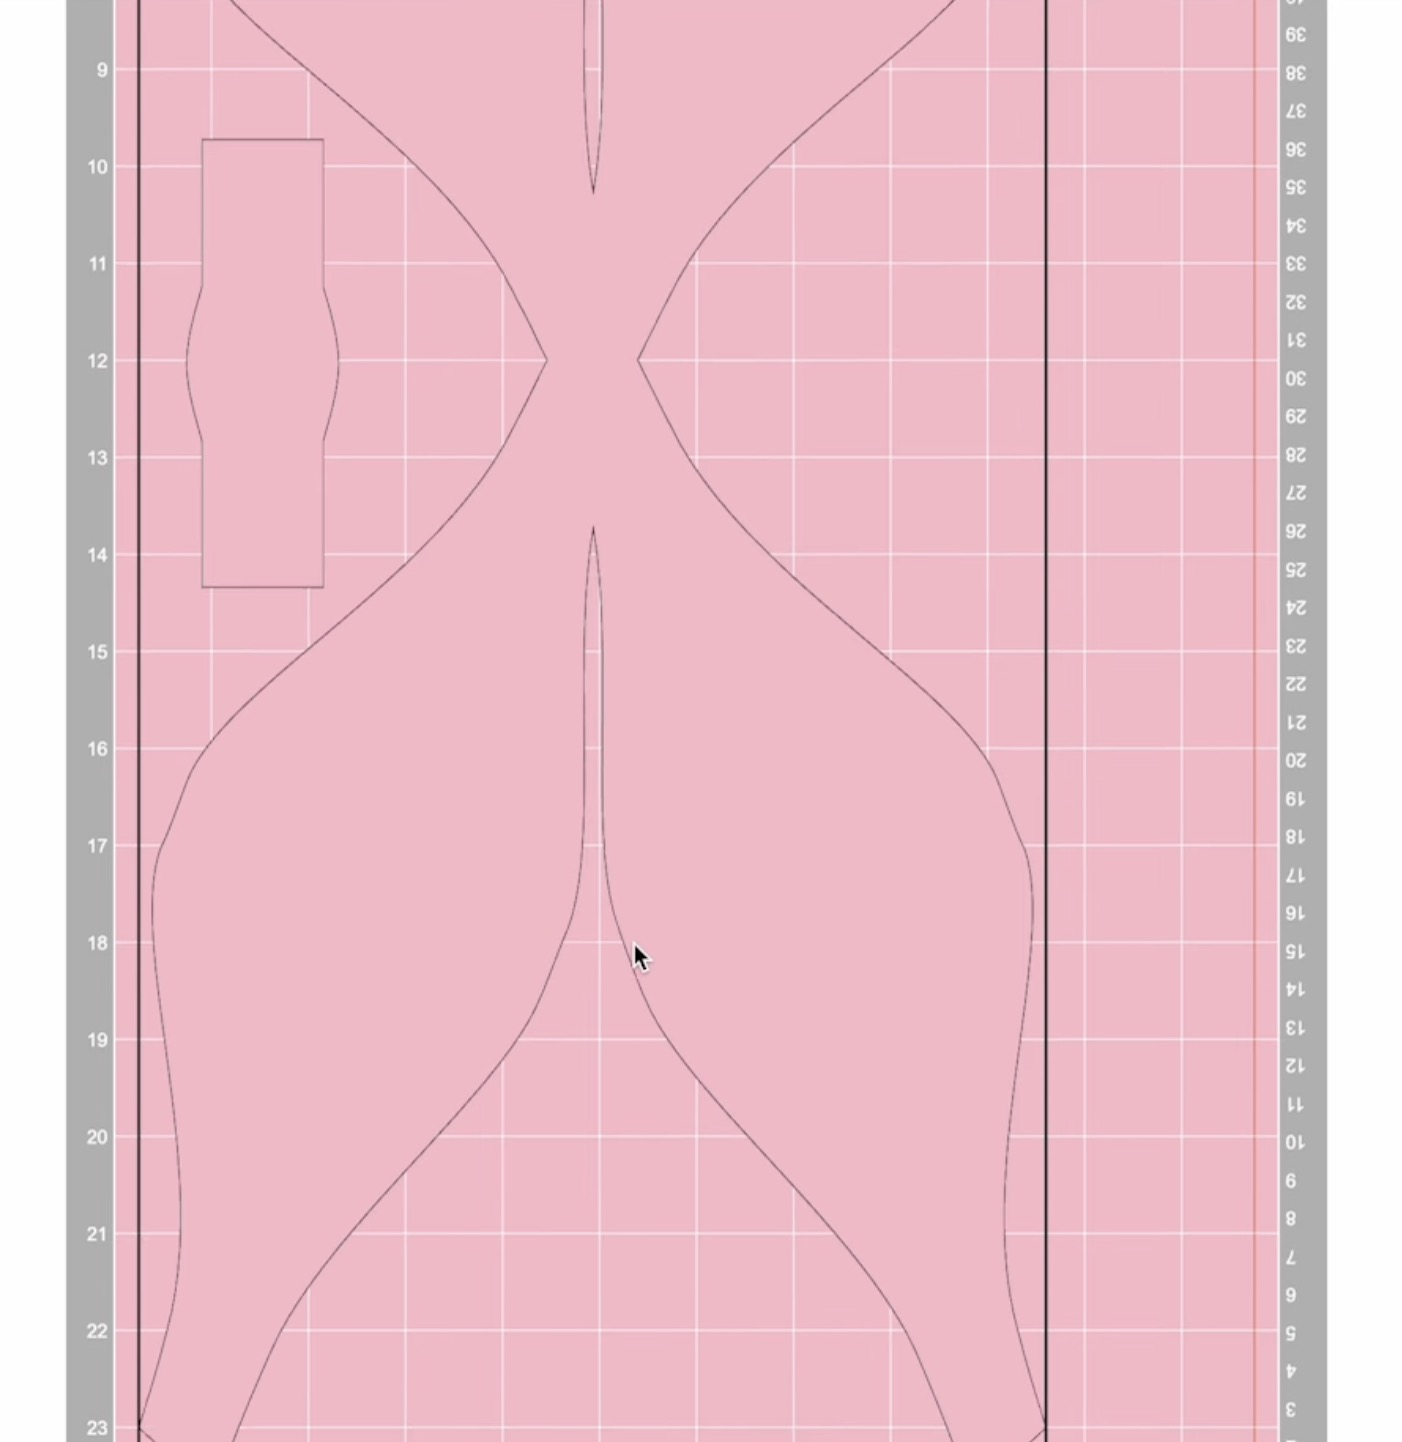
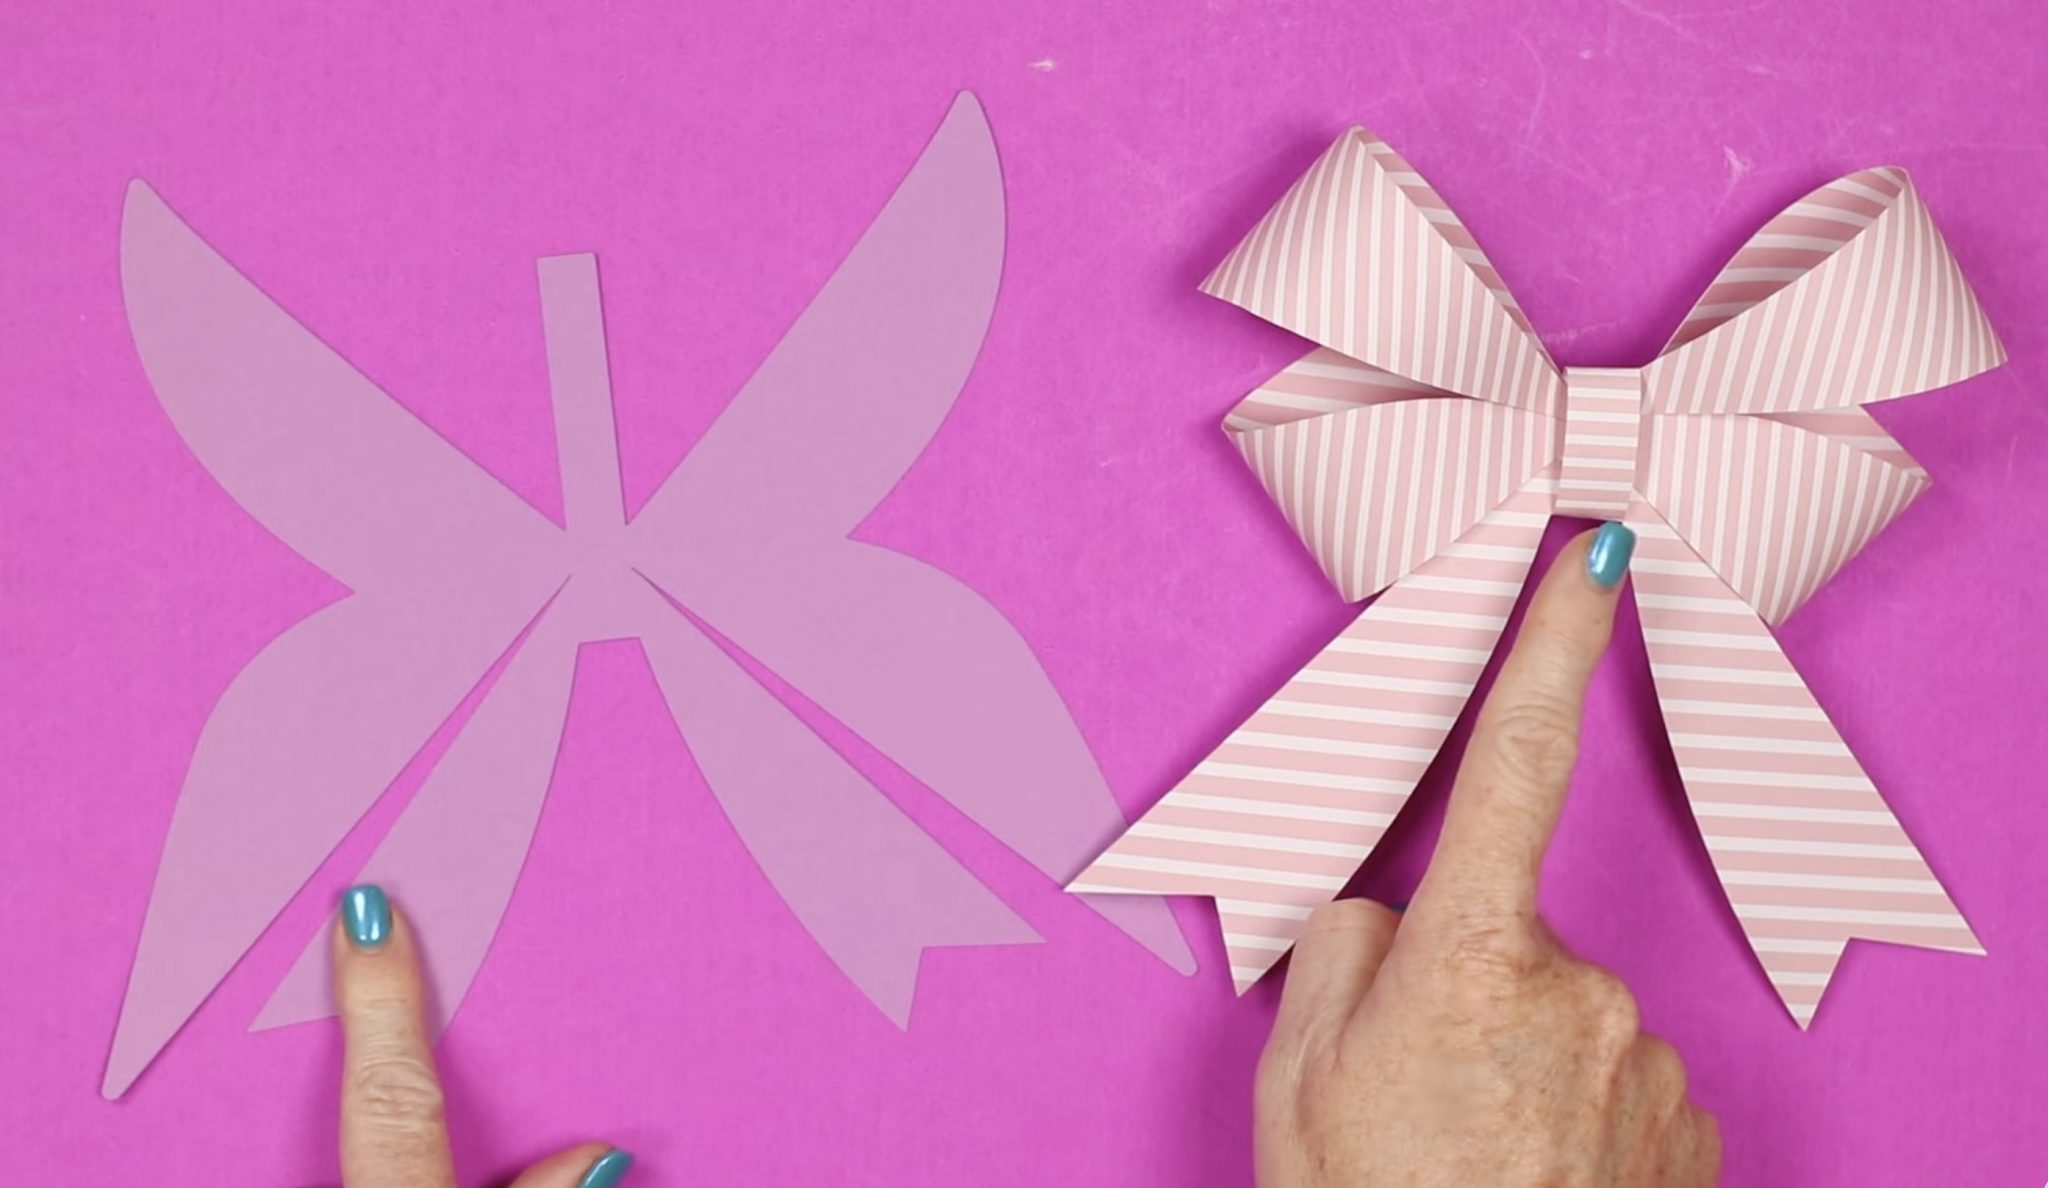
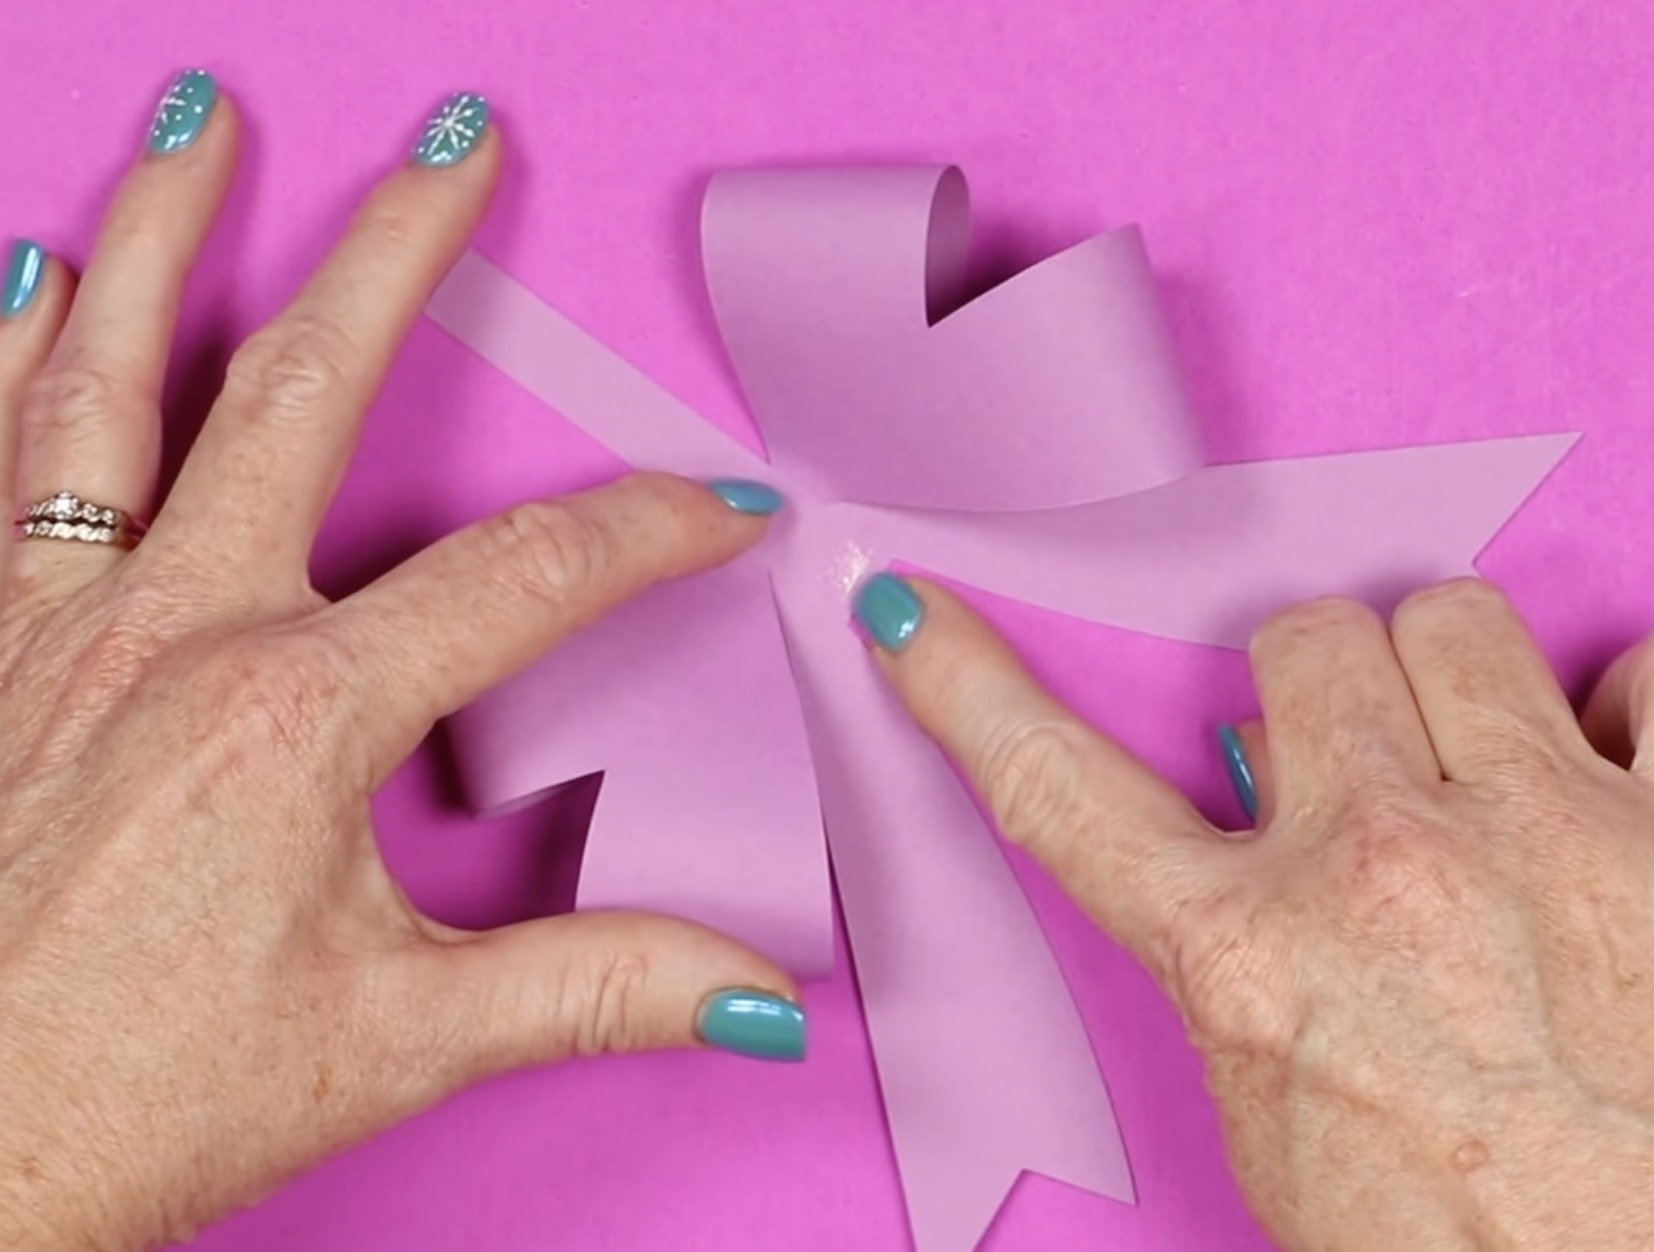
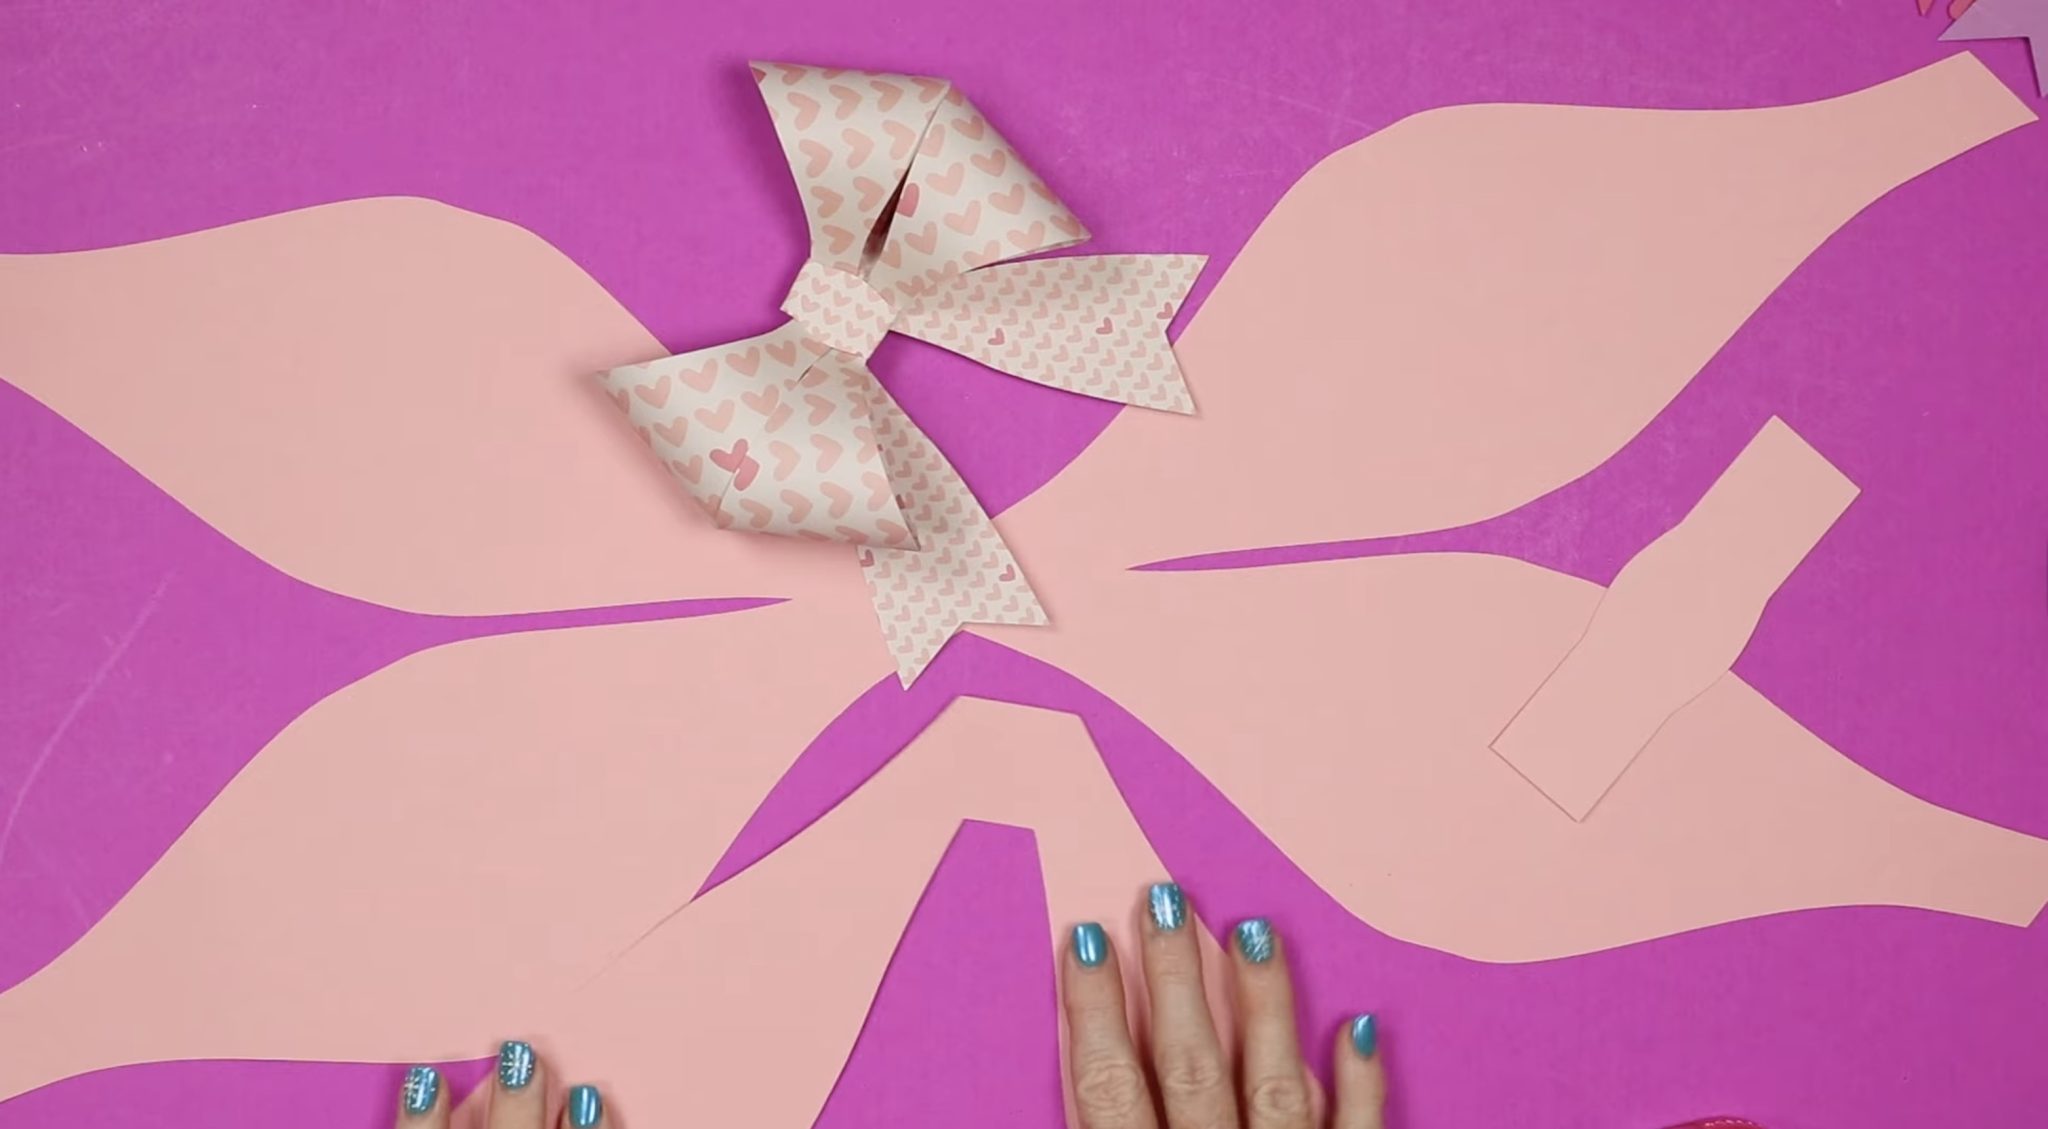
Here is a close-up of the bow design cutout.
The top rectangle is the loop around the middle of the bow. The two butterfly-looking wings are the loops, and the bottom two pieces are the tails.
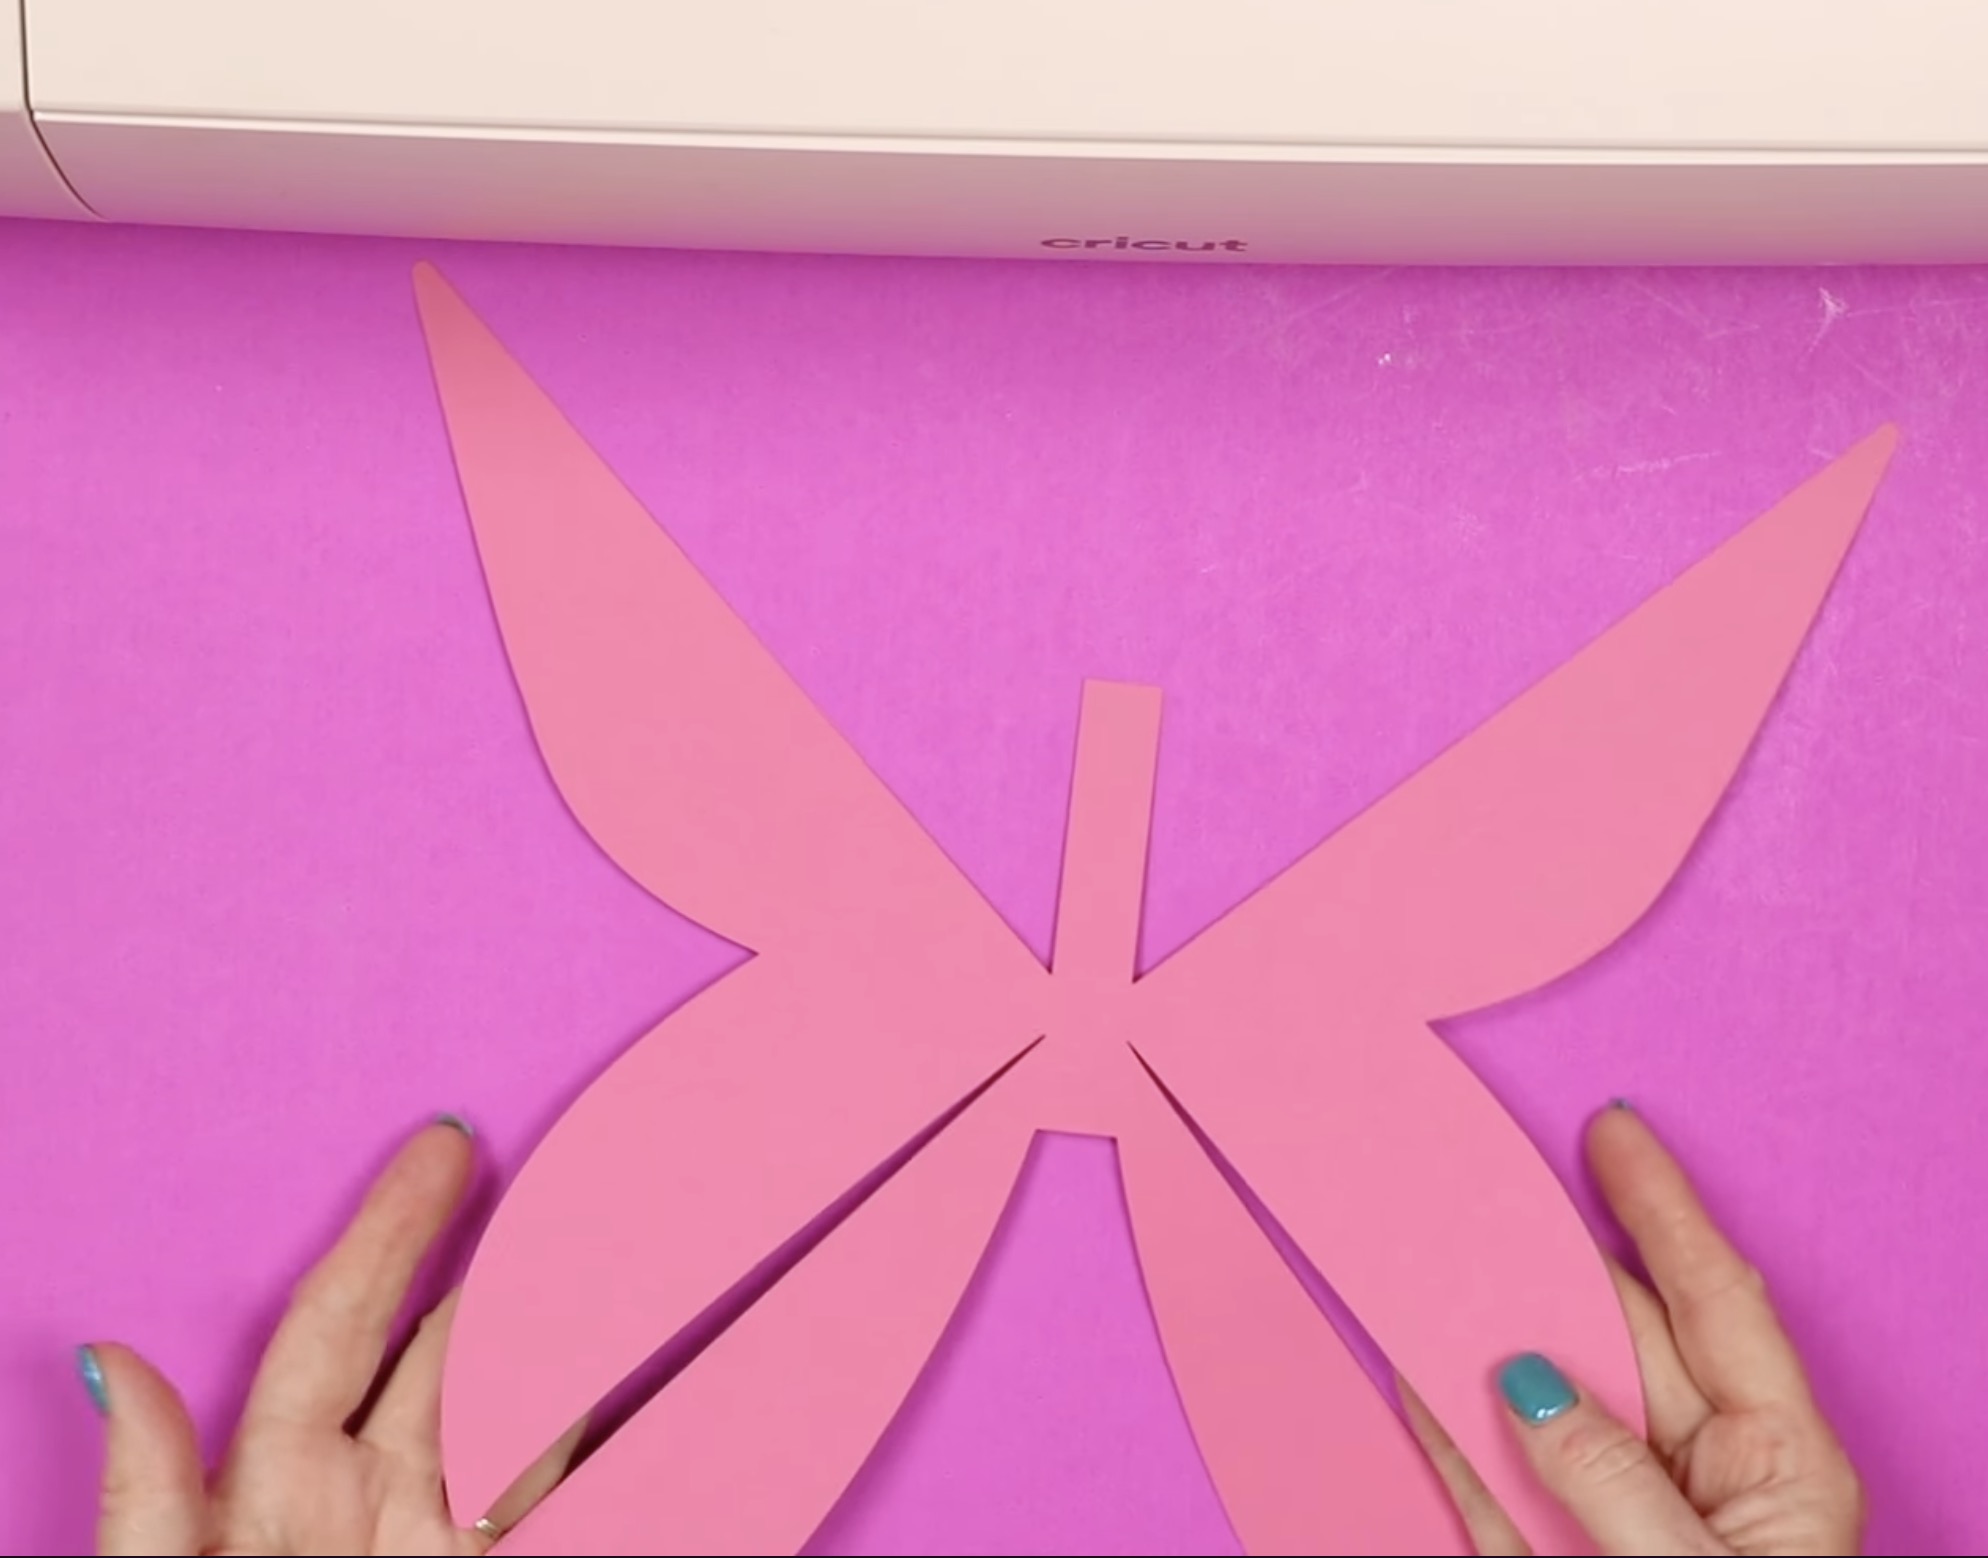
On the right is what this bow will look like when it's completely assembled.
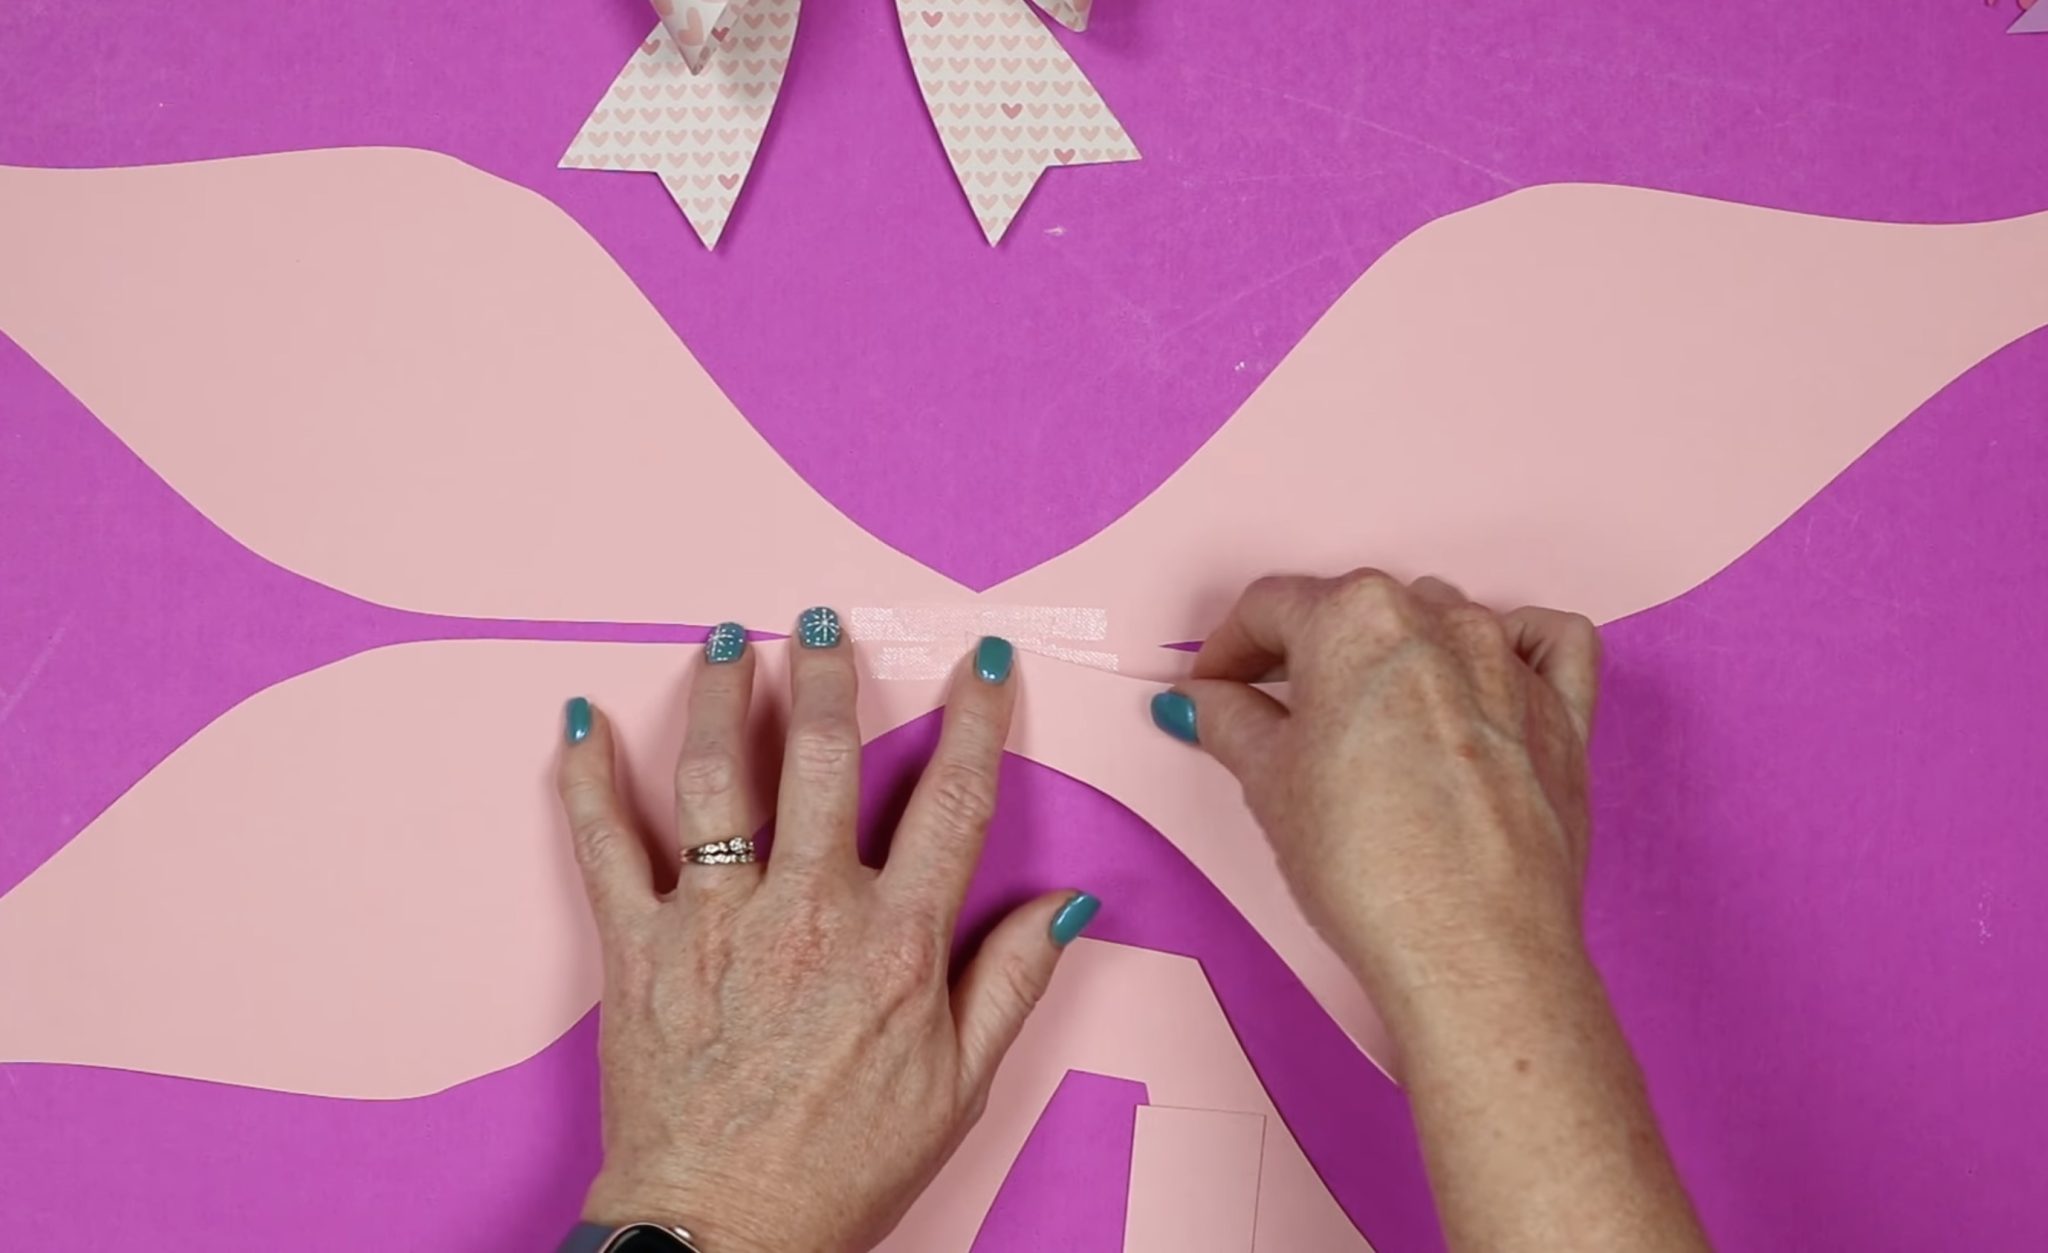
I am using a tape runner to assemble the bow.
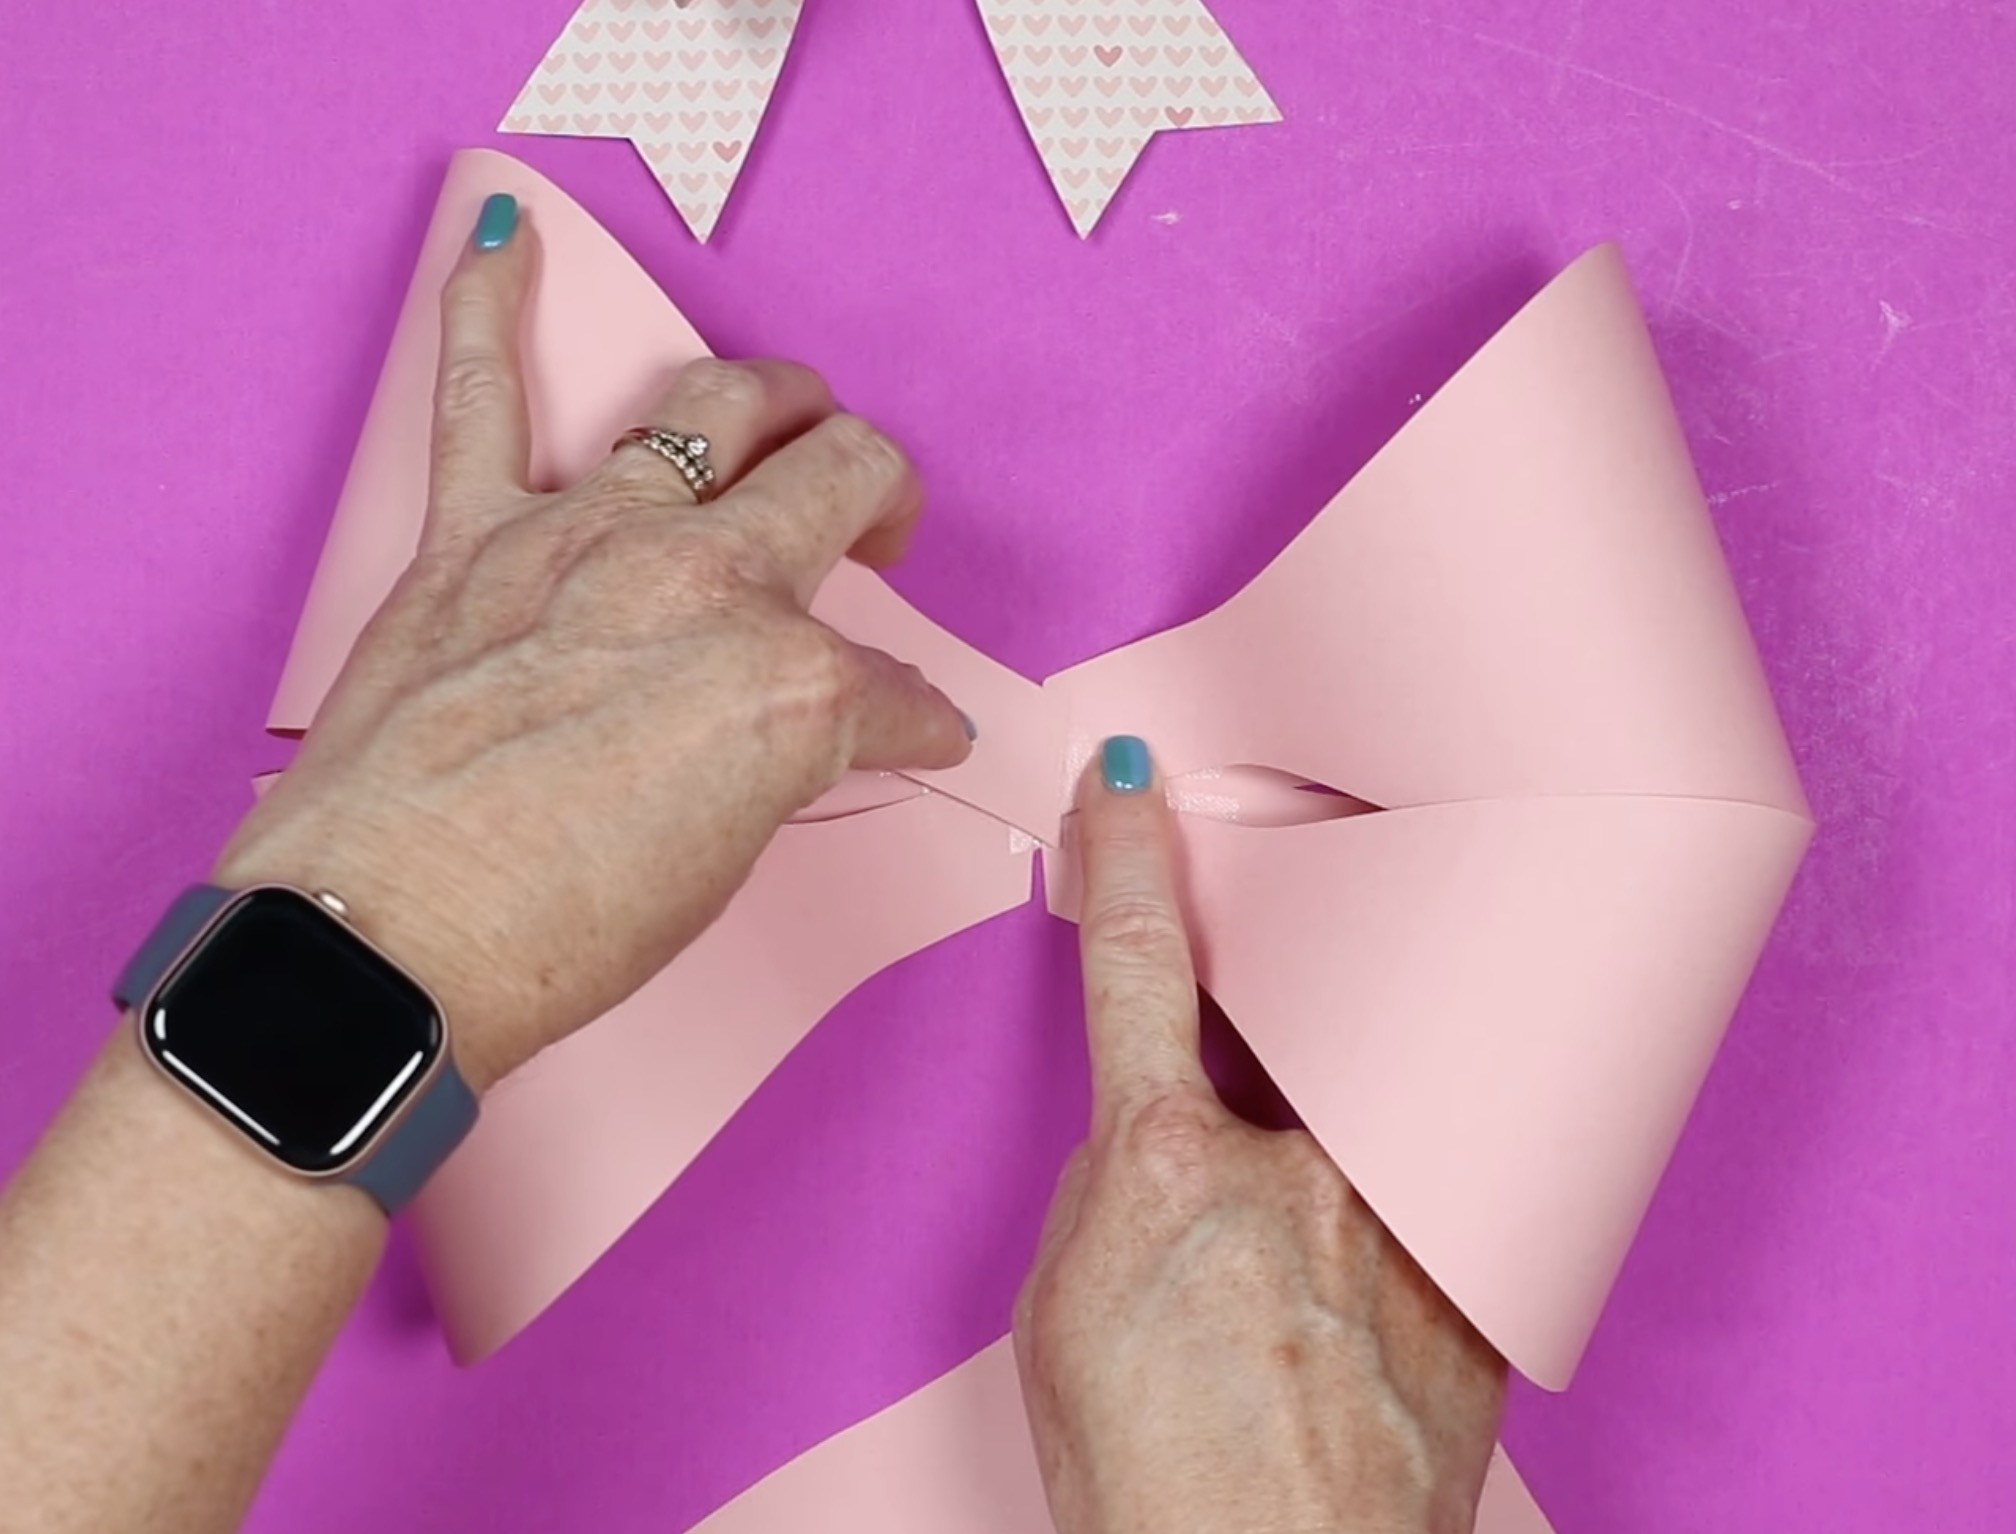
First, add double-sided tape to the center of the bow.
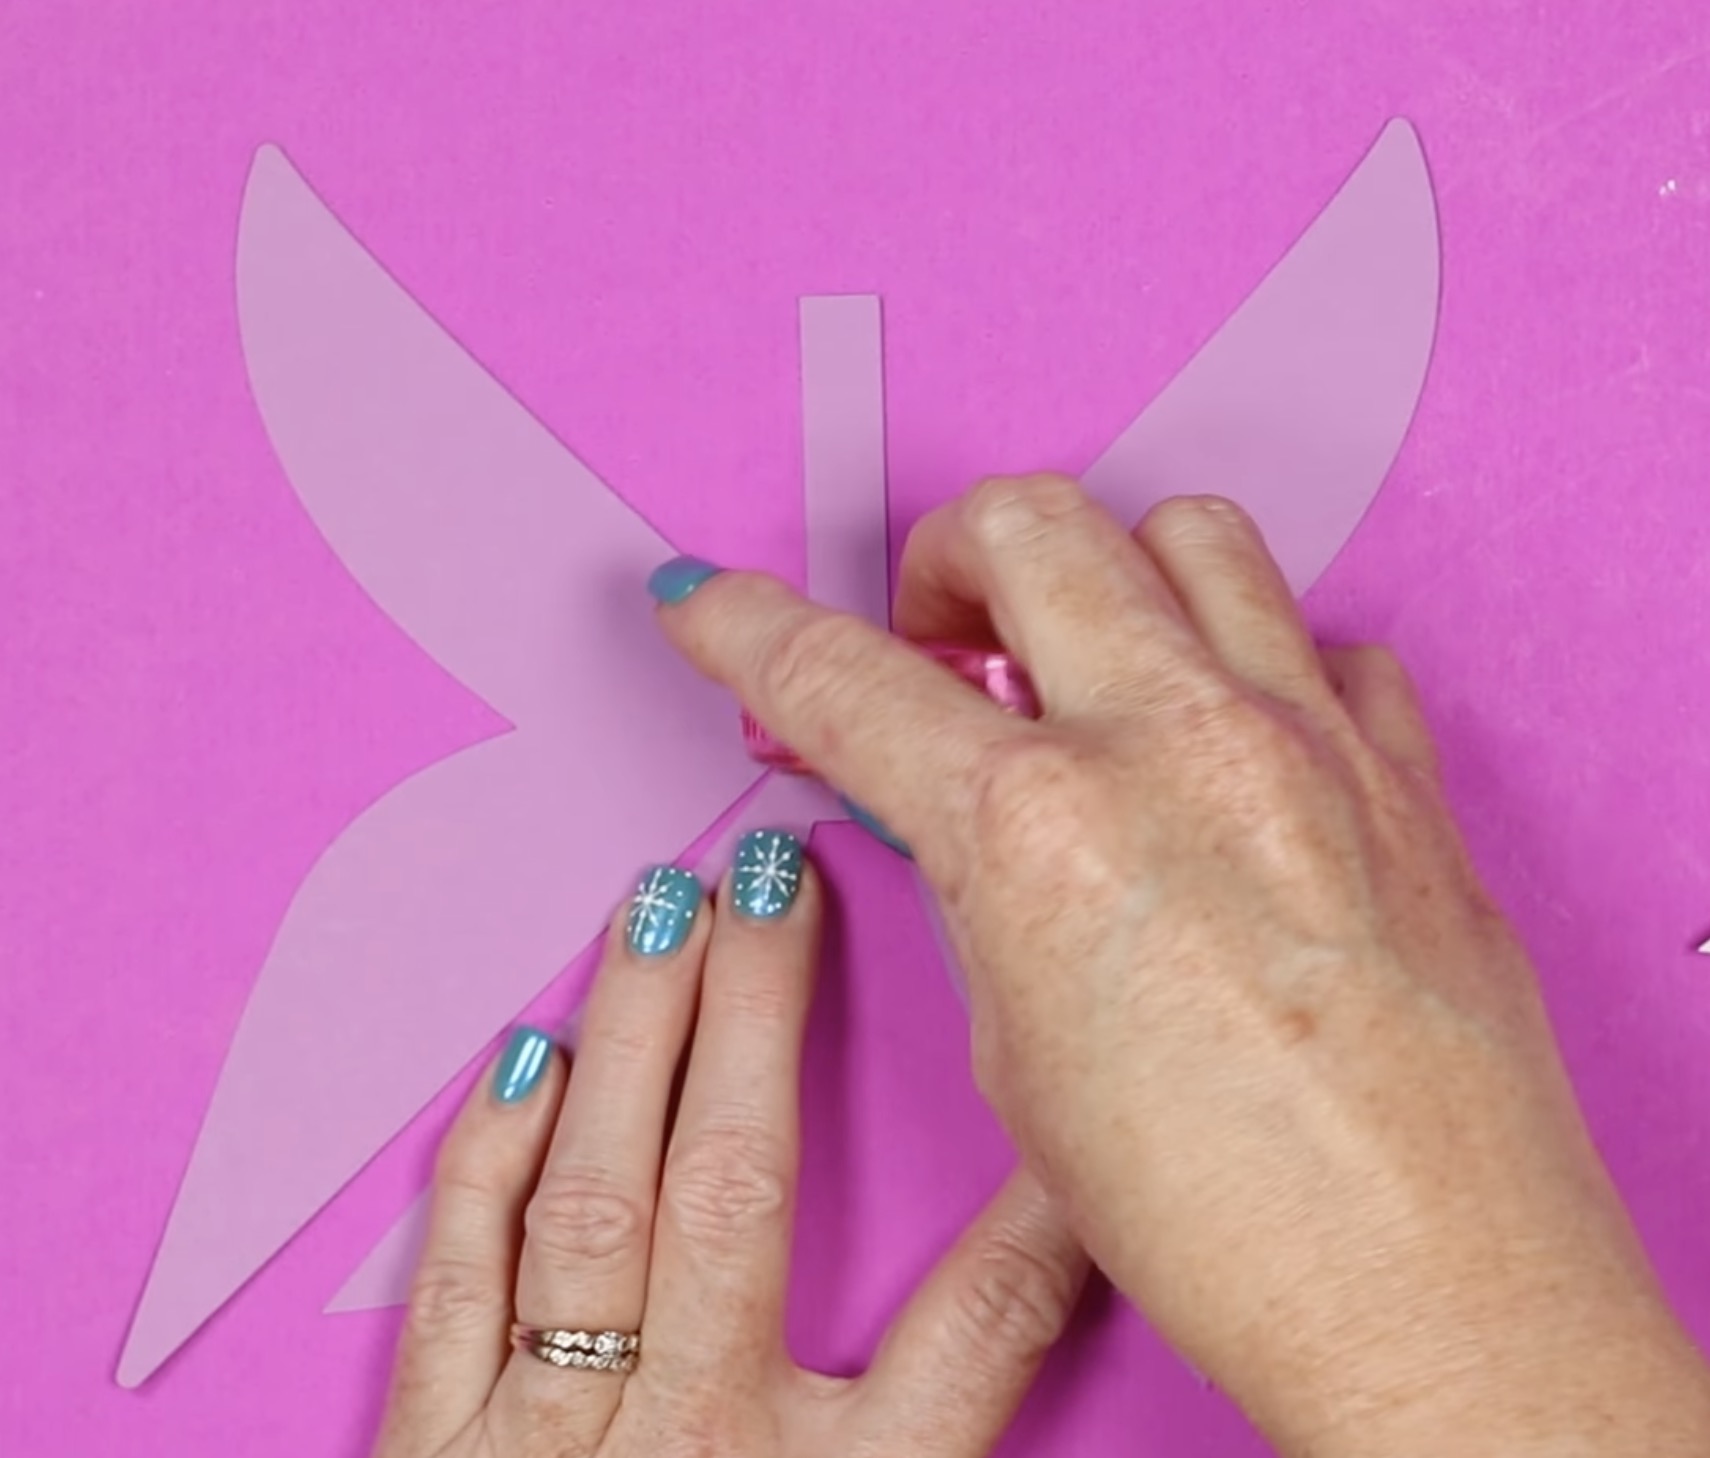
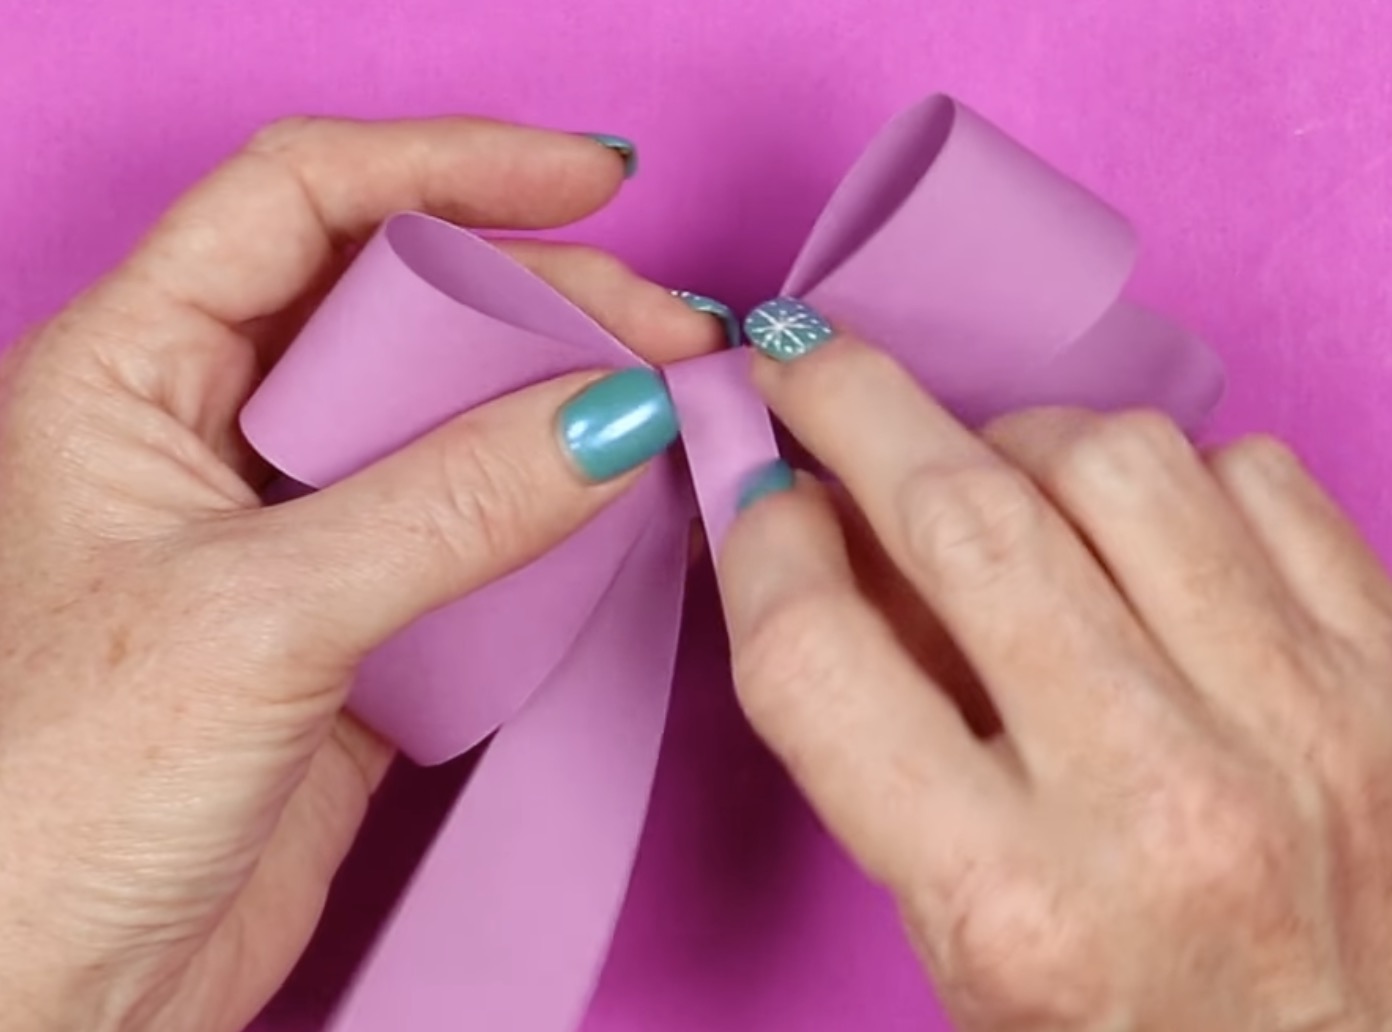
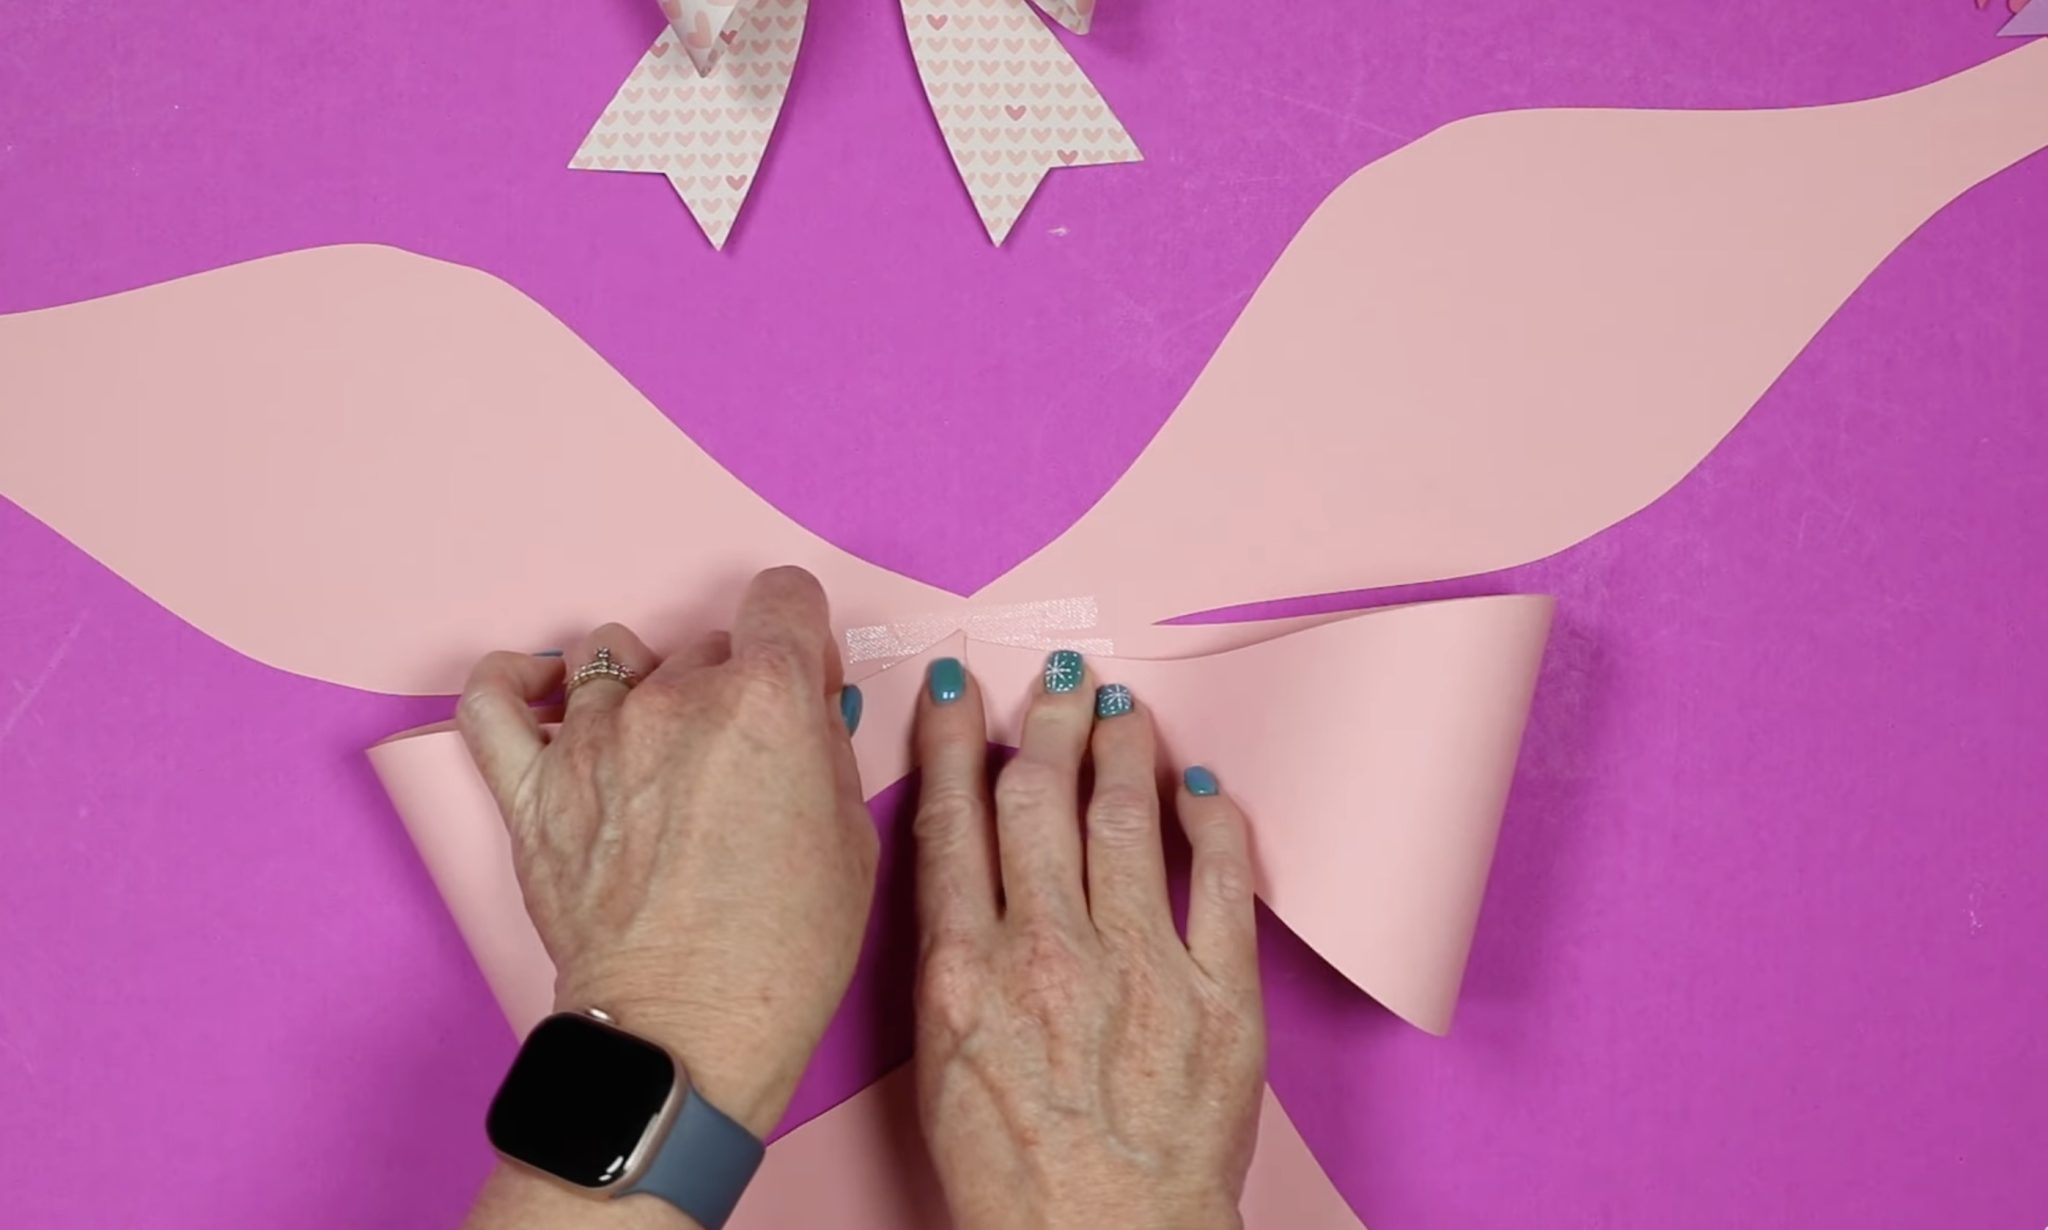
Next, bring the bottom left loop up and attach the end to the adhesive, right in the middle.
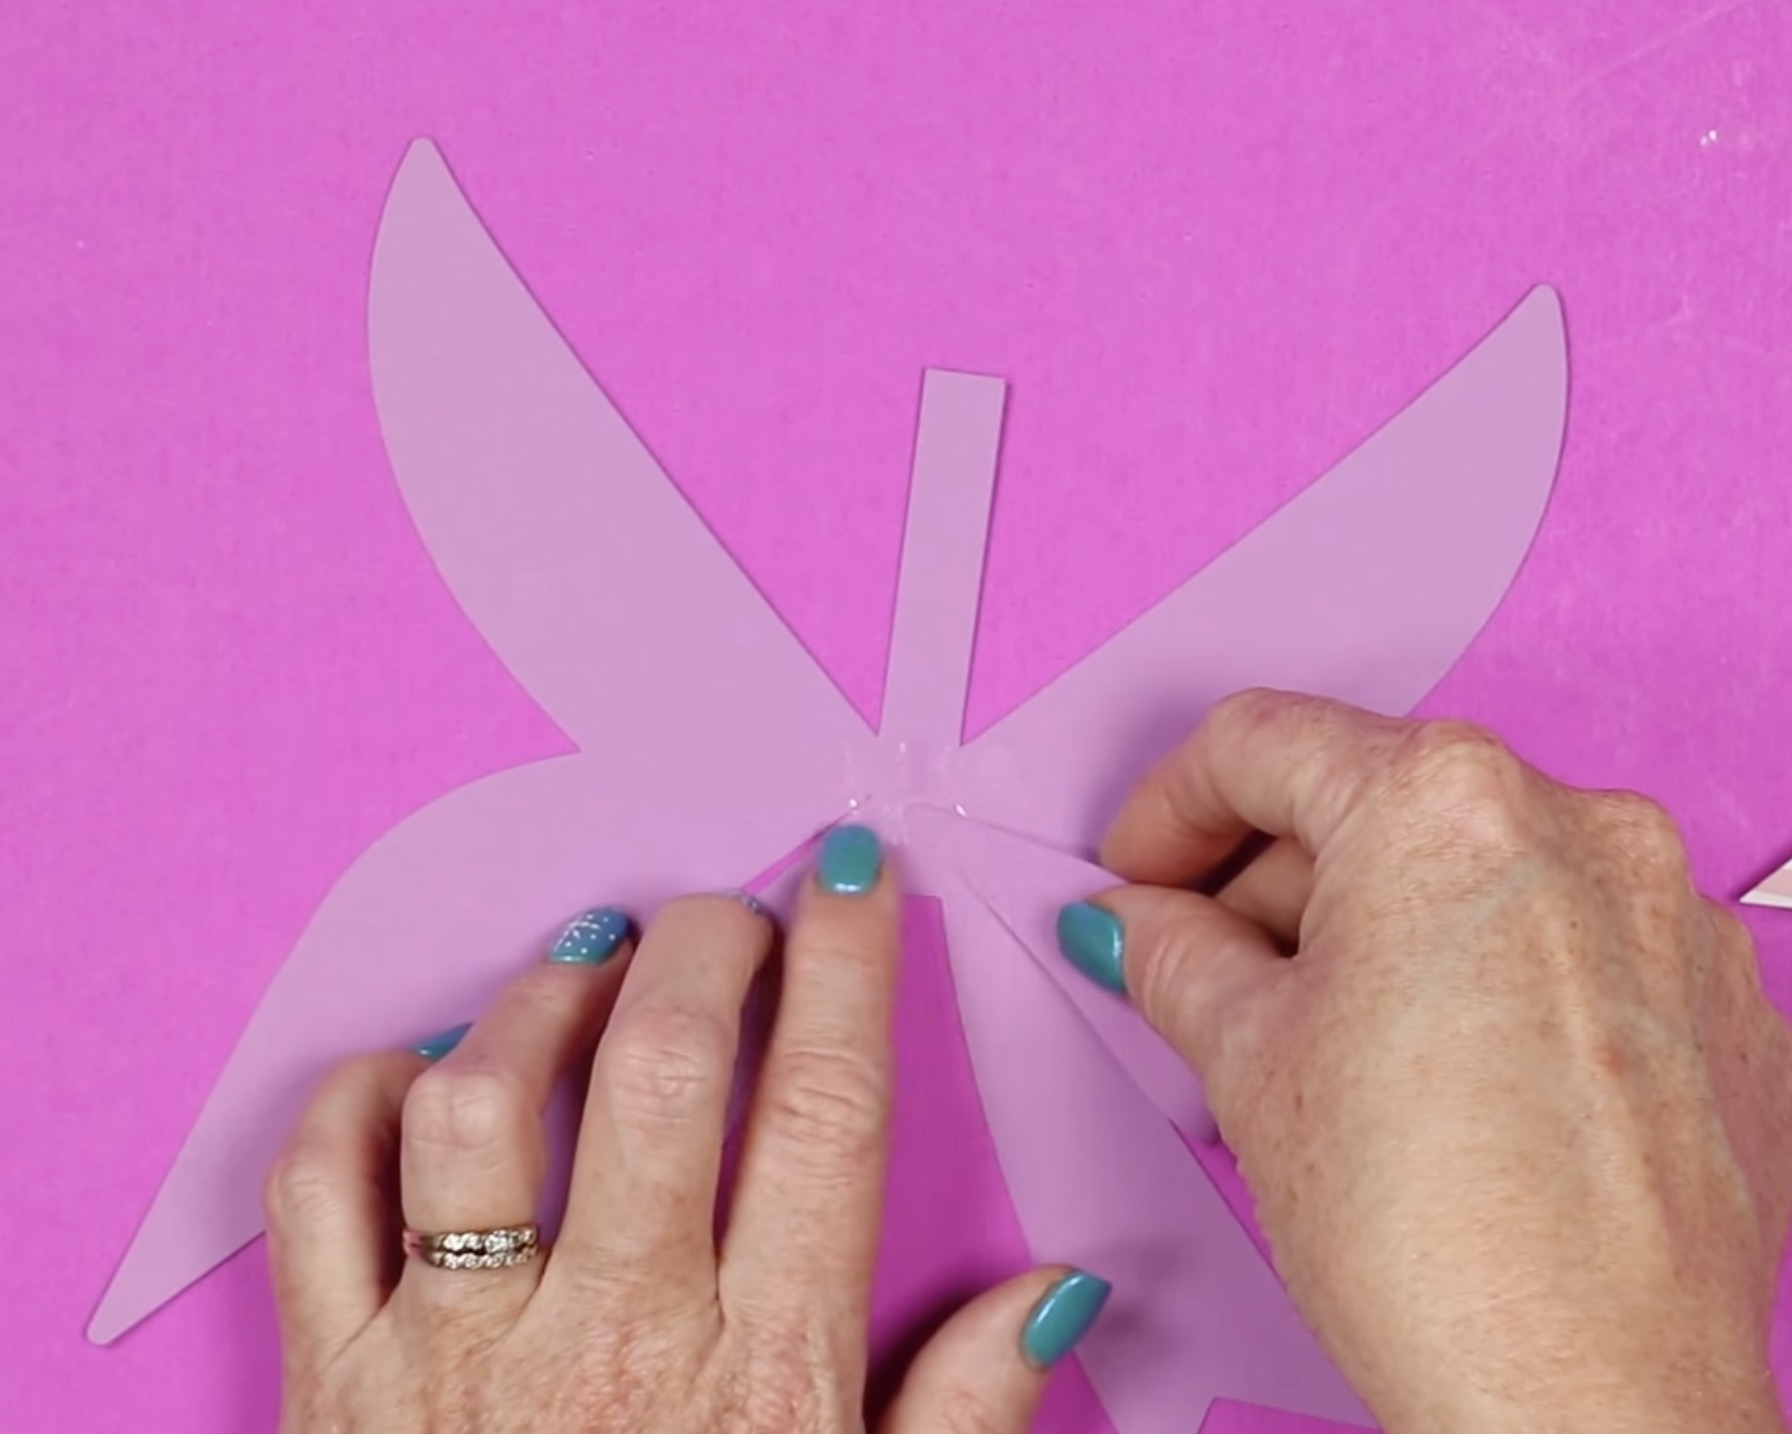
Bring the top loop down and secure it to the adhesive right above the other loop.
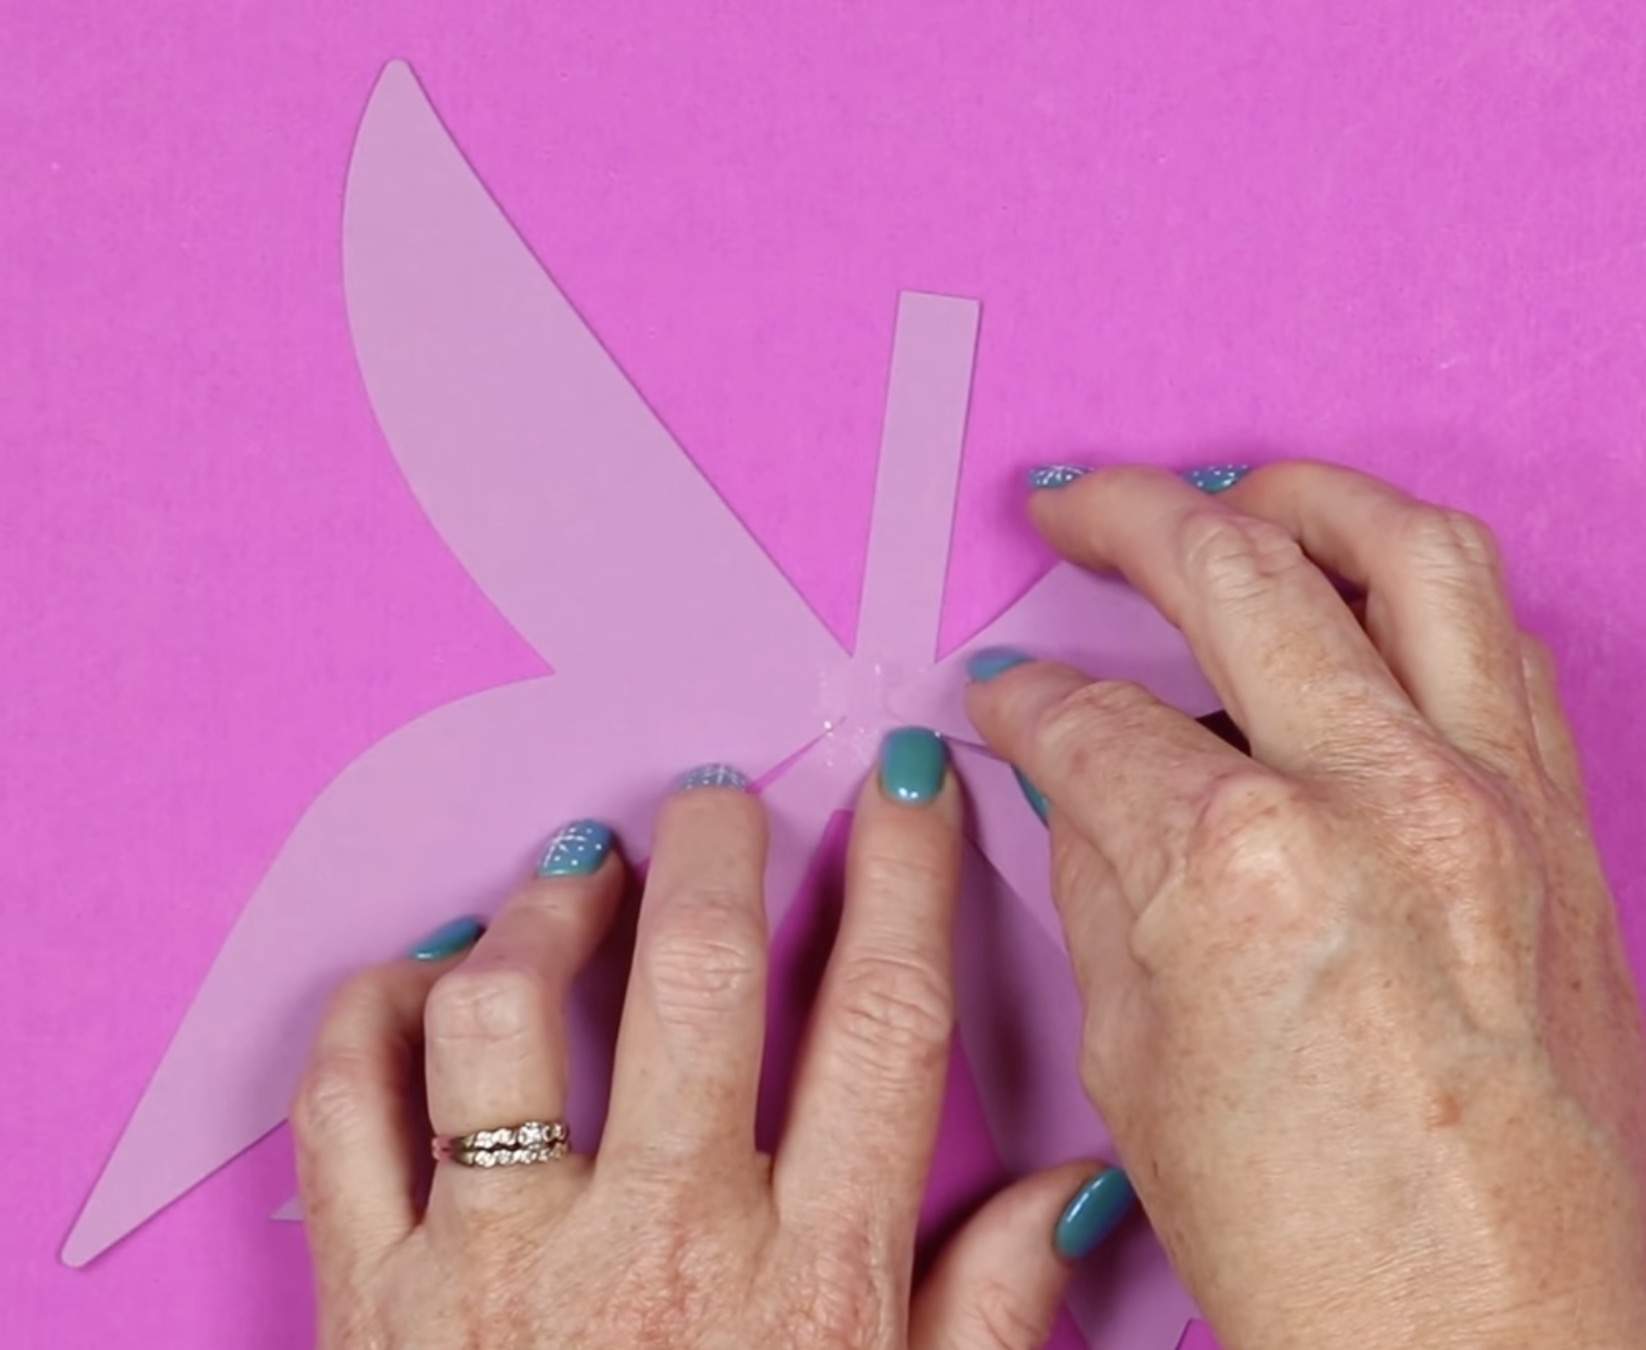
Repeat the process for the other side and hold them all in place for a few seconds to make sure they're stuck down really well.
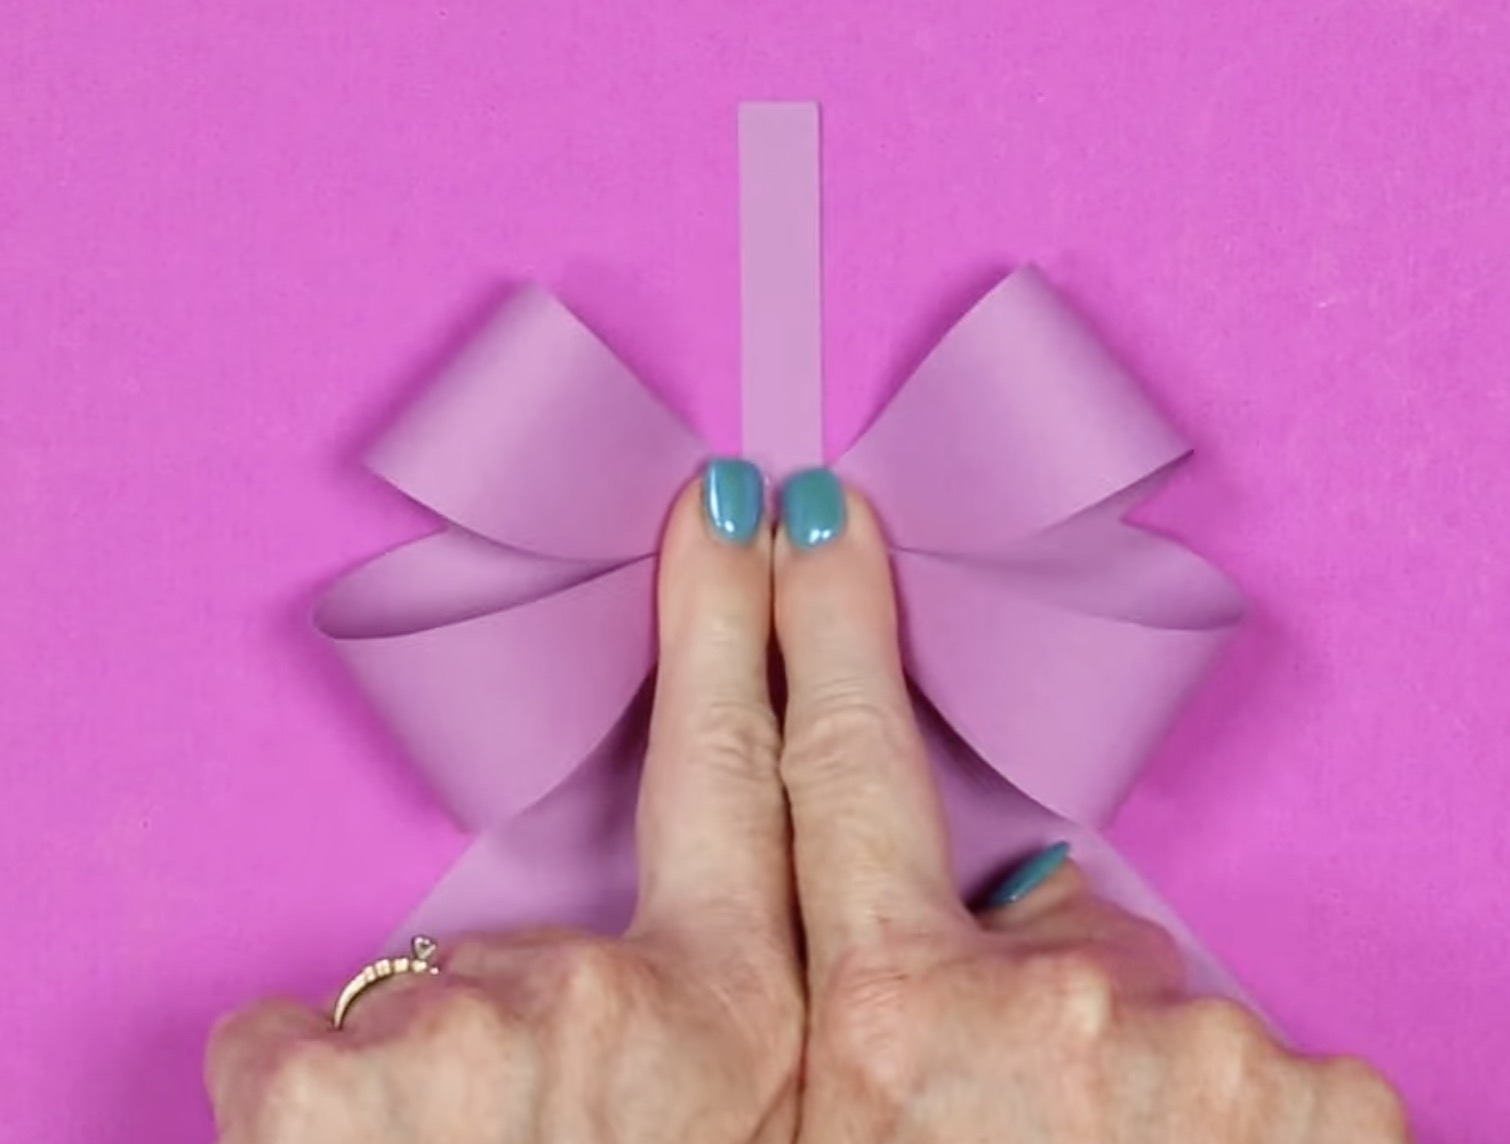
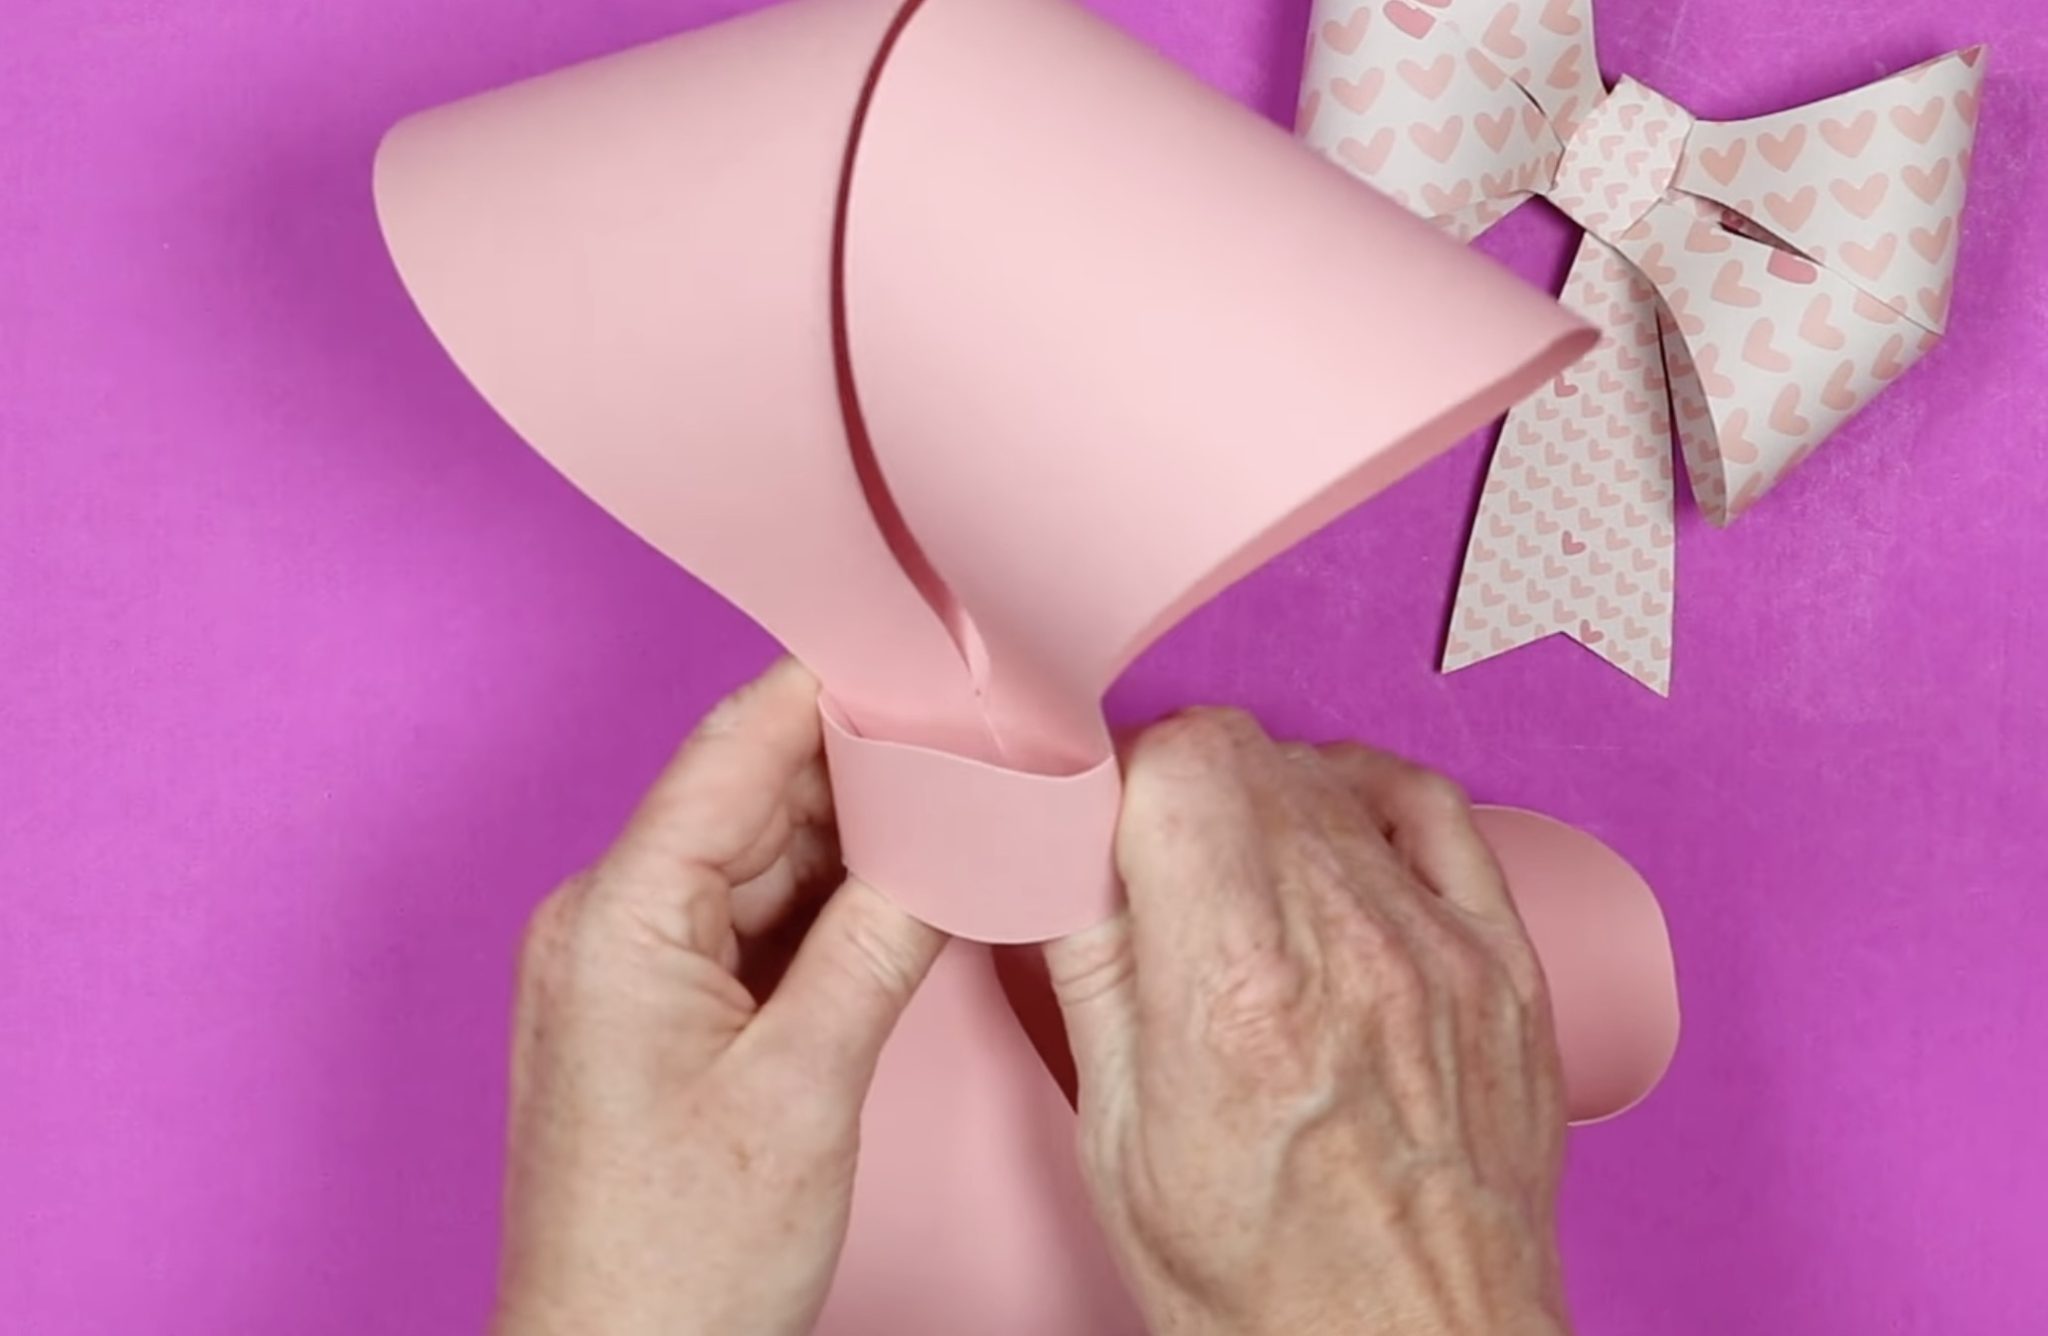
To finish the bow, we're going to bring the center loop down the front and adhere it to the back.
Add adhesive to the middle of the back of the bow.
Loop the center piece around the front. I like to leave the loop a little loose so the center piece is puffed up a little.
Adhere the end of the center piece to the adhesive on the back and hold it in place to secure it.
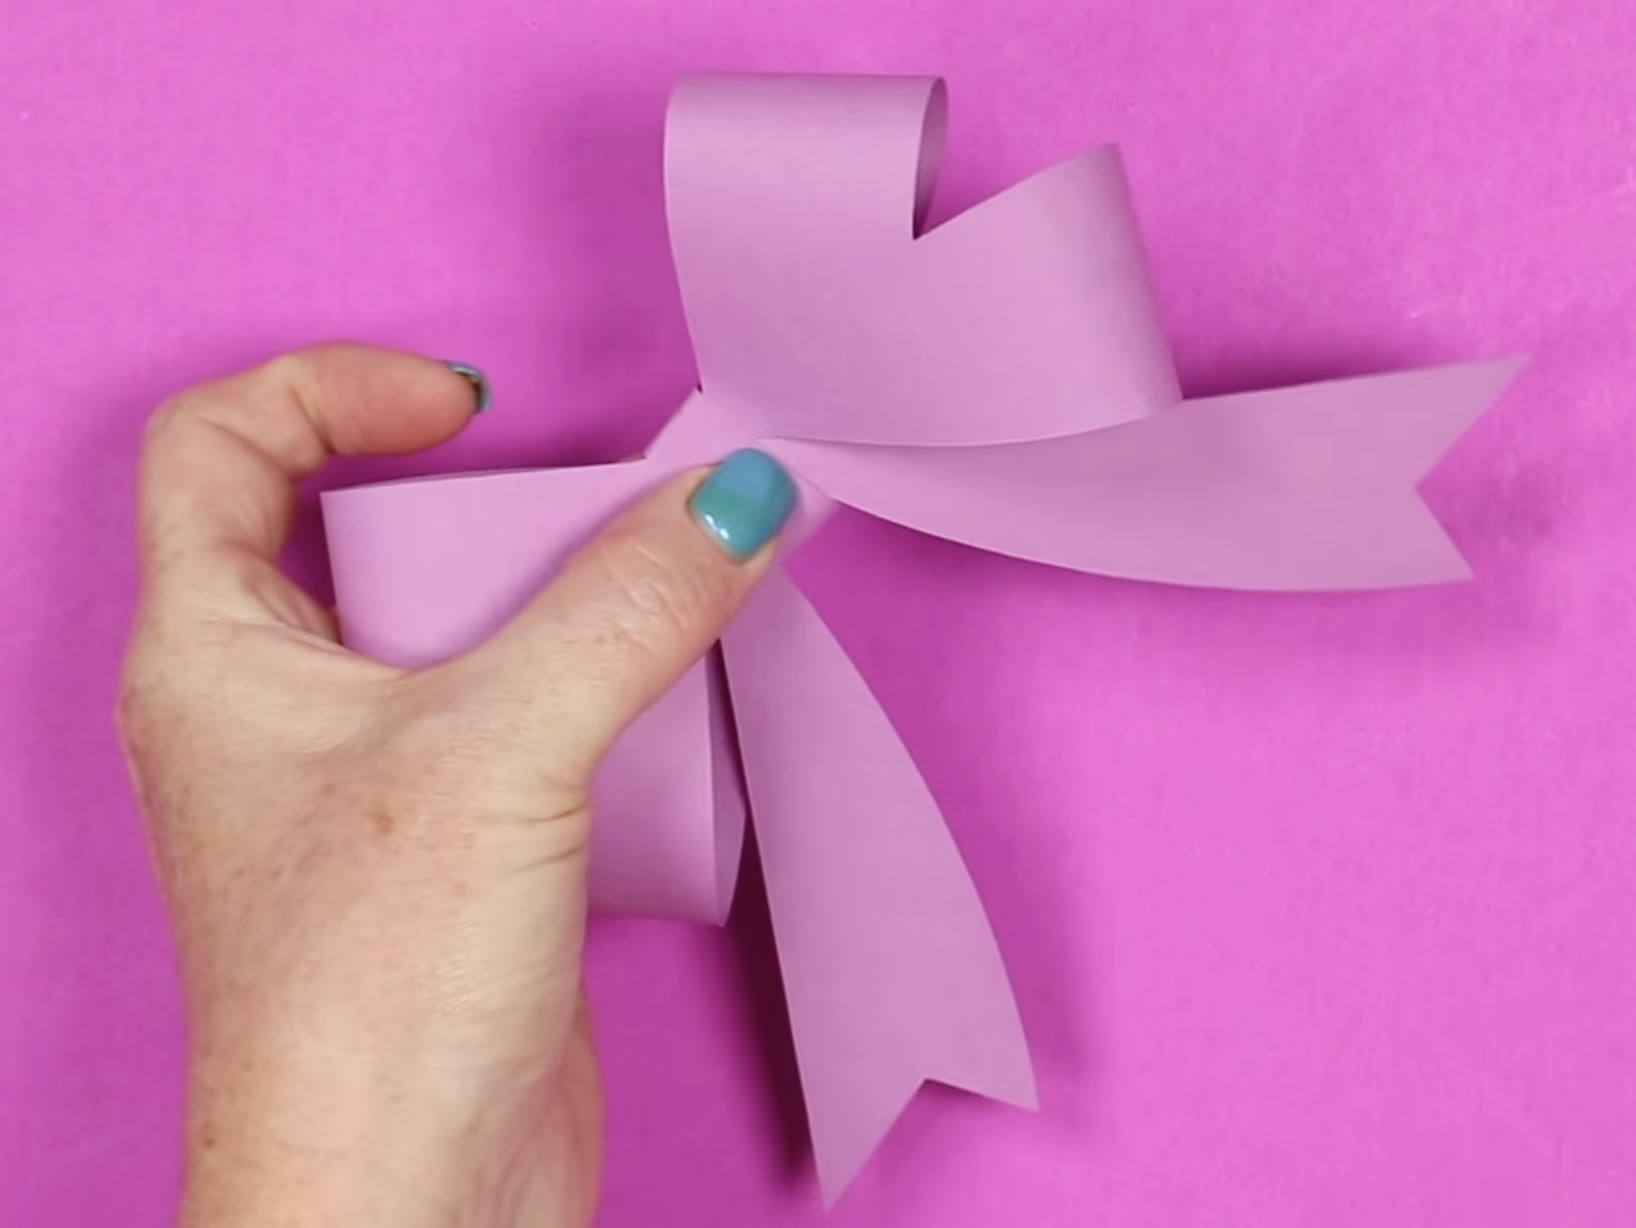
If needed, fluff up the middle piece, and this bow is done.
This paper bow style turned out so good with both plain cardstock and patterned.
I love the look, and with this design set, you get two bow options. One has larger loops on top, and the other has larger loops on the bottom.
Step 6. Assemble the Bow (Multi-piece Design)
Assembling the multi-piece paper bow is very similar to the previous bow. The only difference is that we'll add the tails and the center piece separately.
Because this bow is much larger, I am making sure to use a lot of adhesive.
Add multiple rows of adhesive to the middle of the bow piece.
Fold one bottom loop up to the middle and press it down well.
Secure the other bottom loop next to the first one.
Repeat this process for the top loops. You may need to add more adhesive to ensure everything is secure and won't pop free.
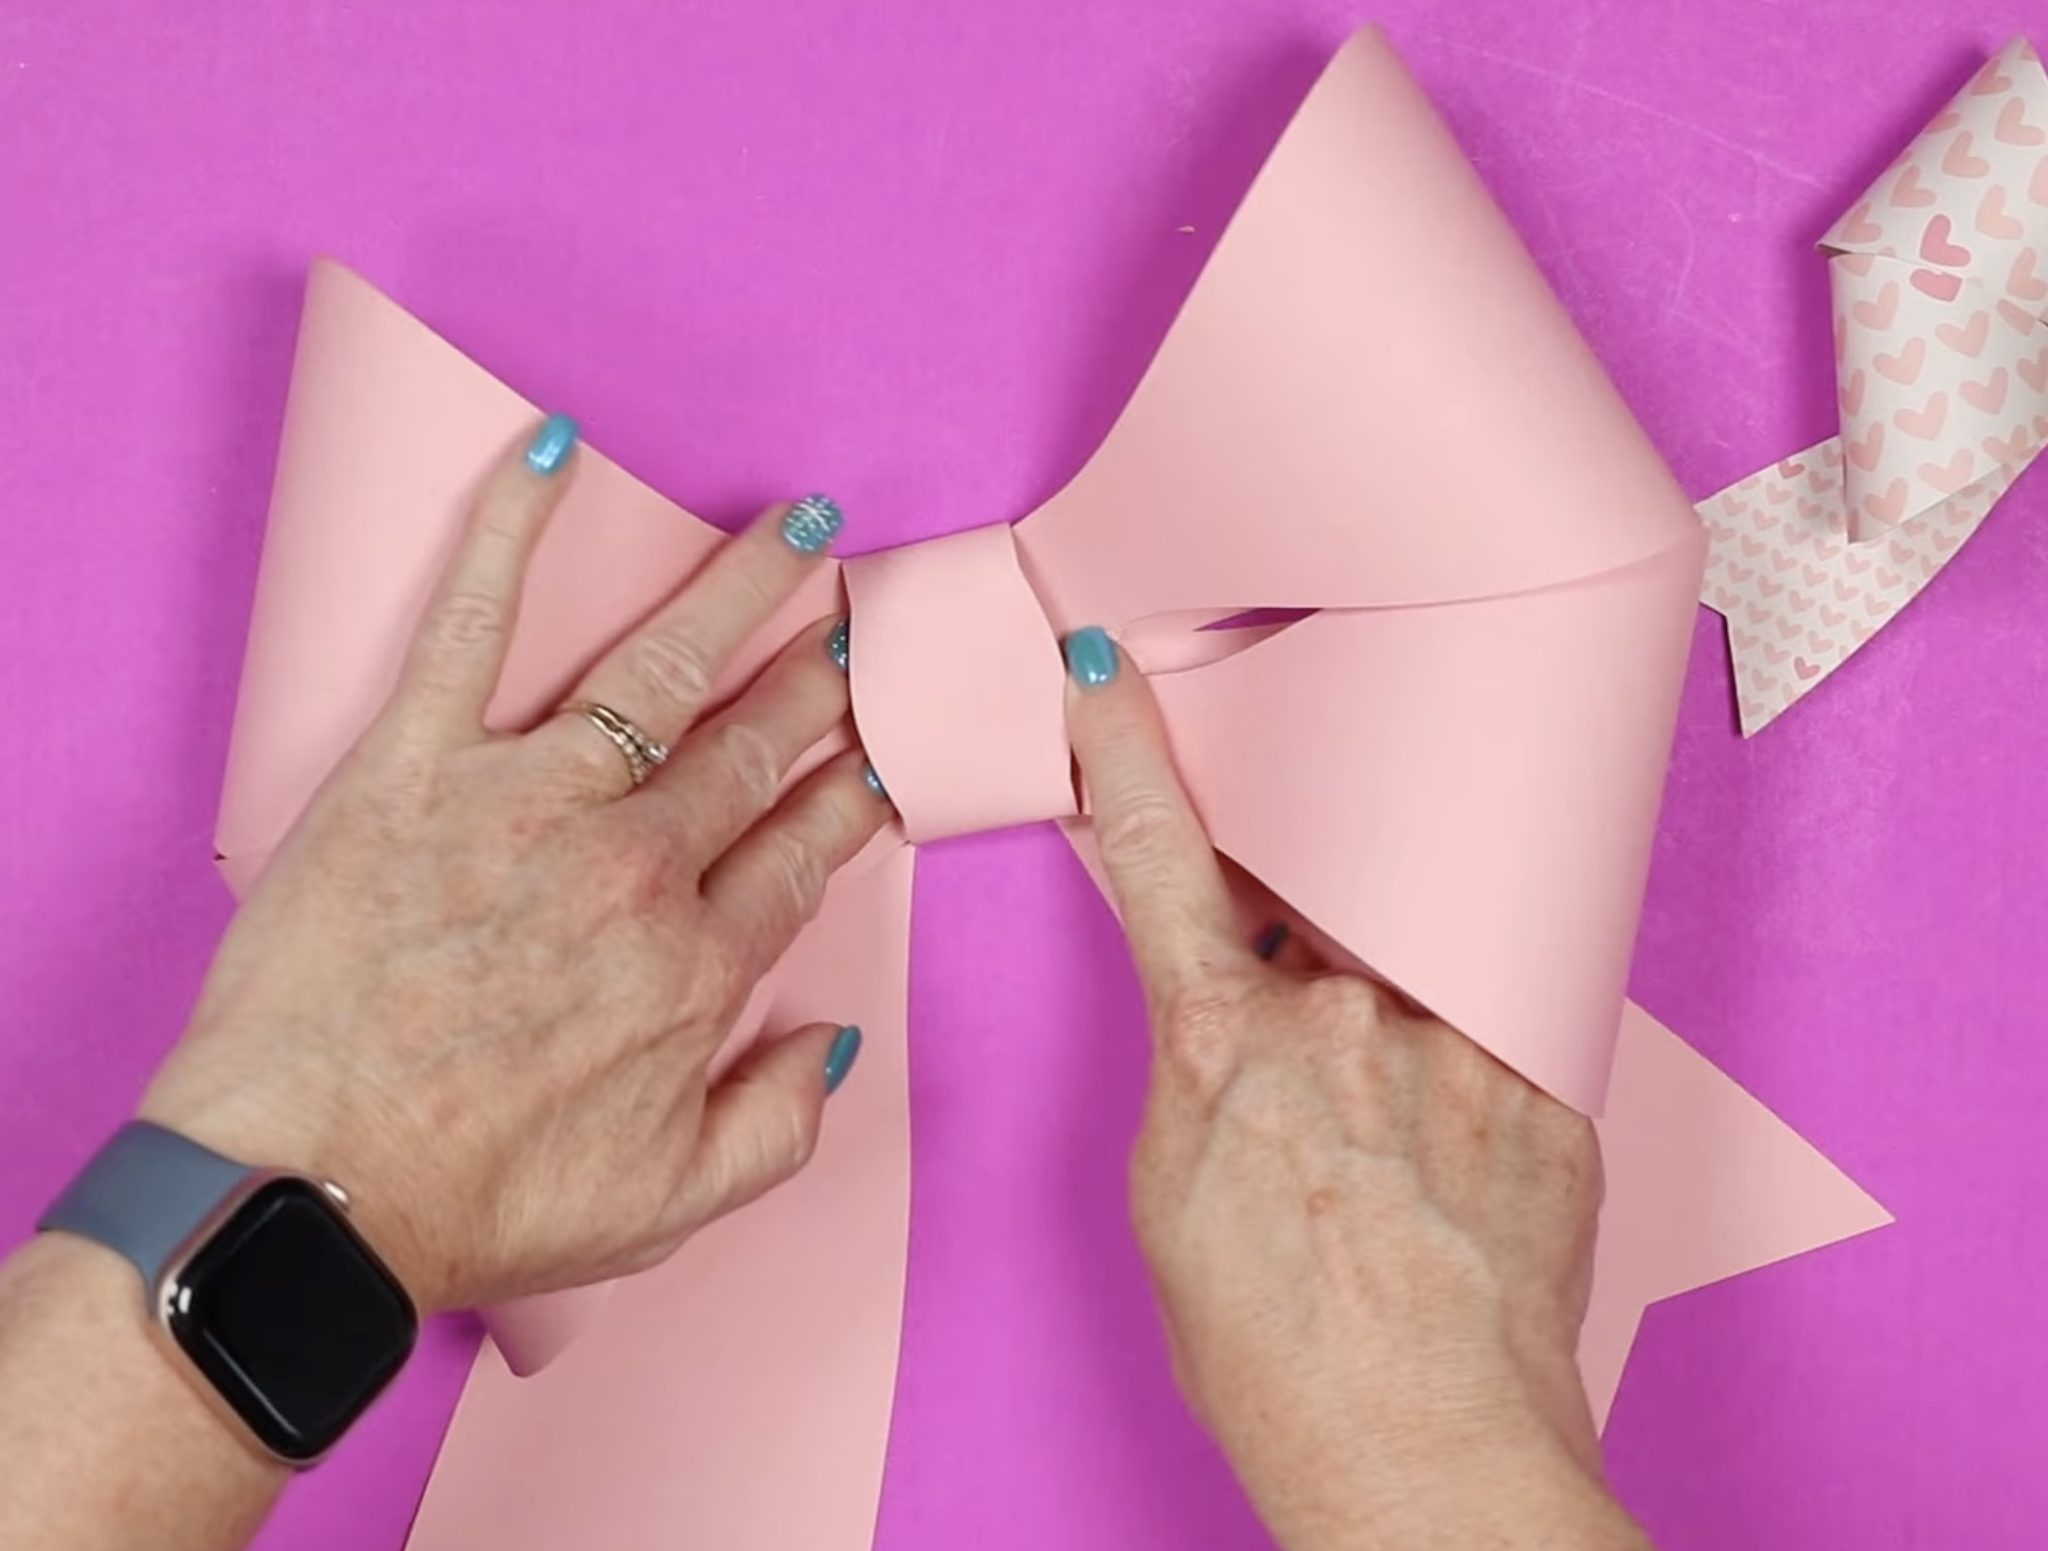
Next, we're going to add the center piece to the paper bow.

How tightly you secure the center piece to the back will determine whether the loop is flat or puffed out on the front.

Secure the center piece to the back of the bow with double-sided adhesive.
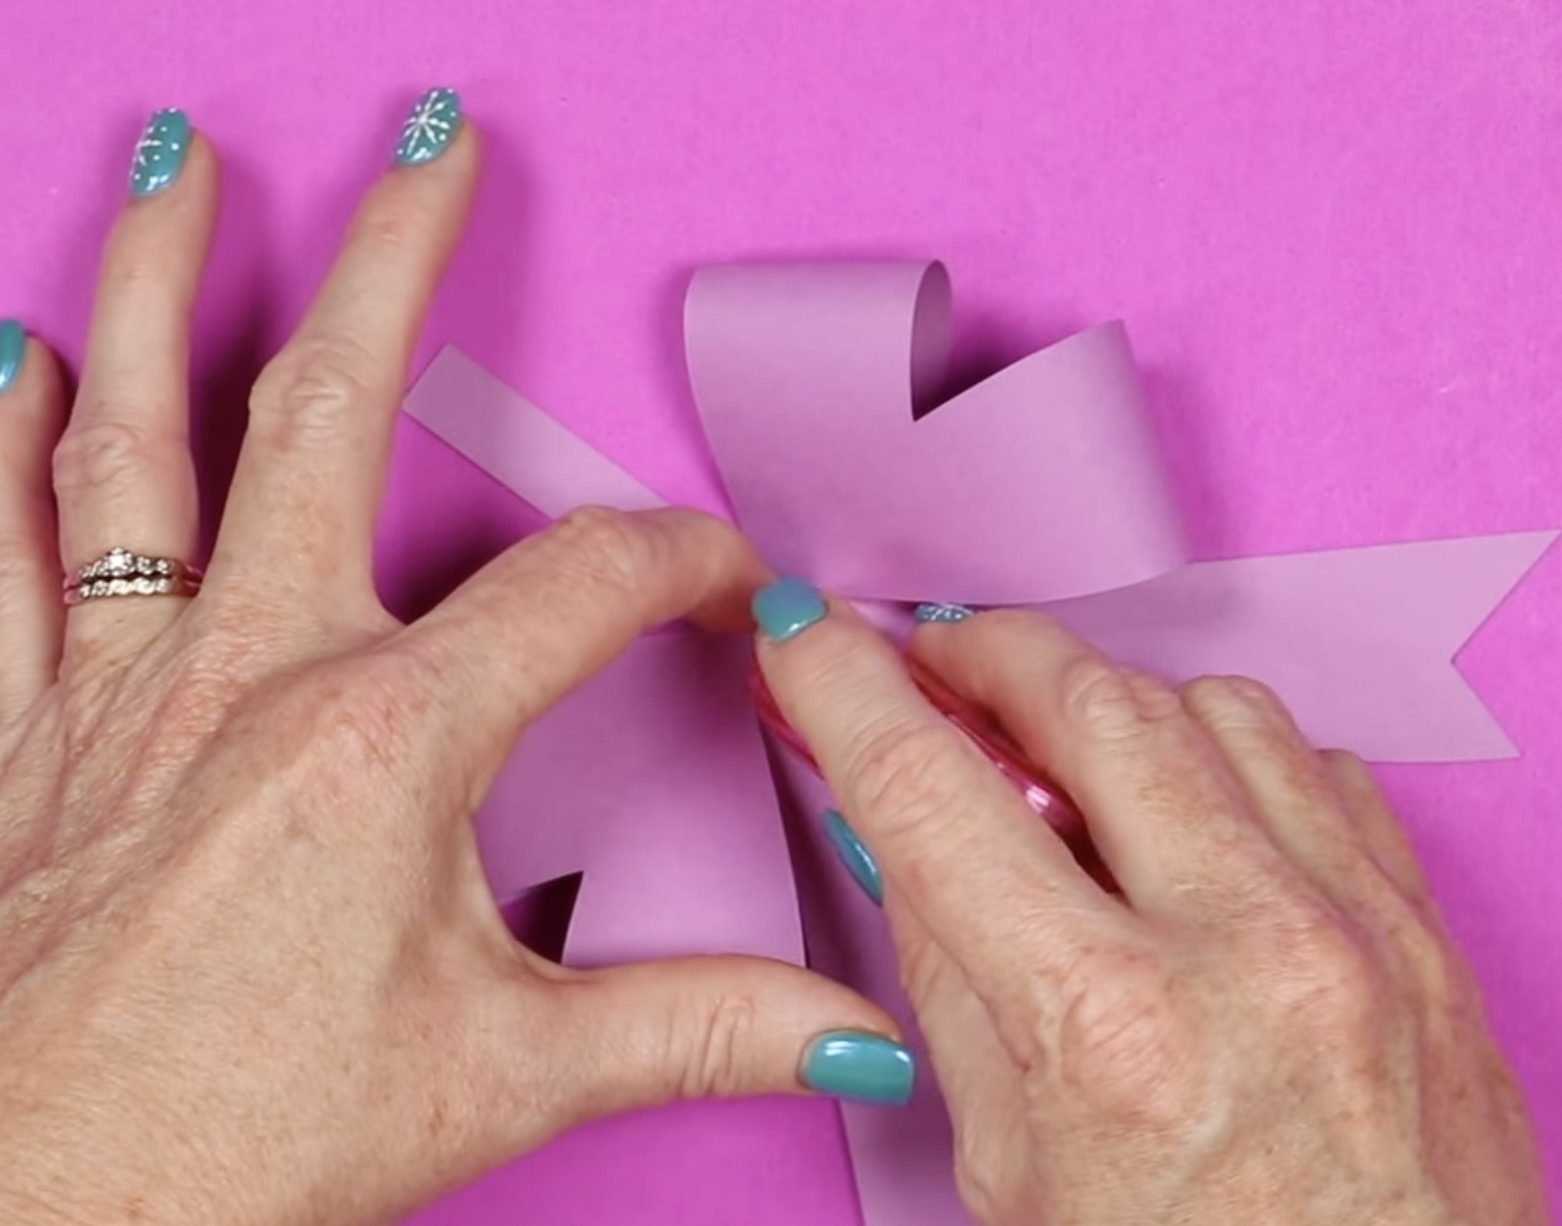
Next, we're going to attach the tails to the bow.
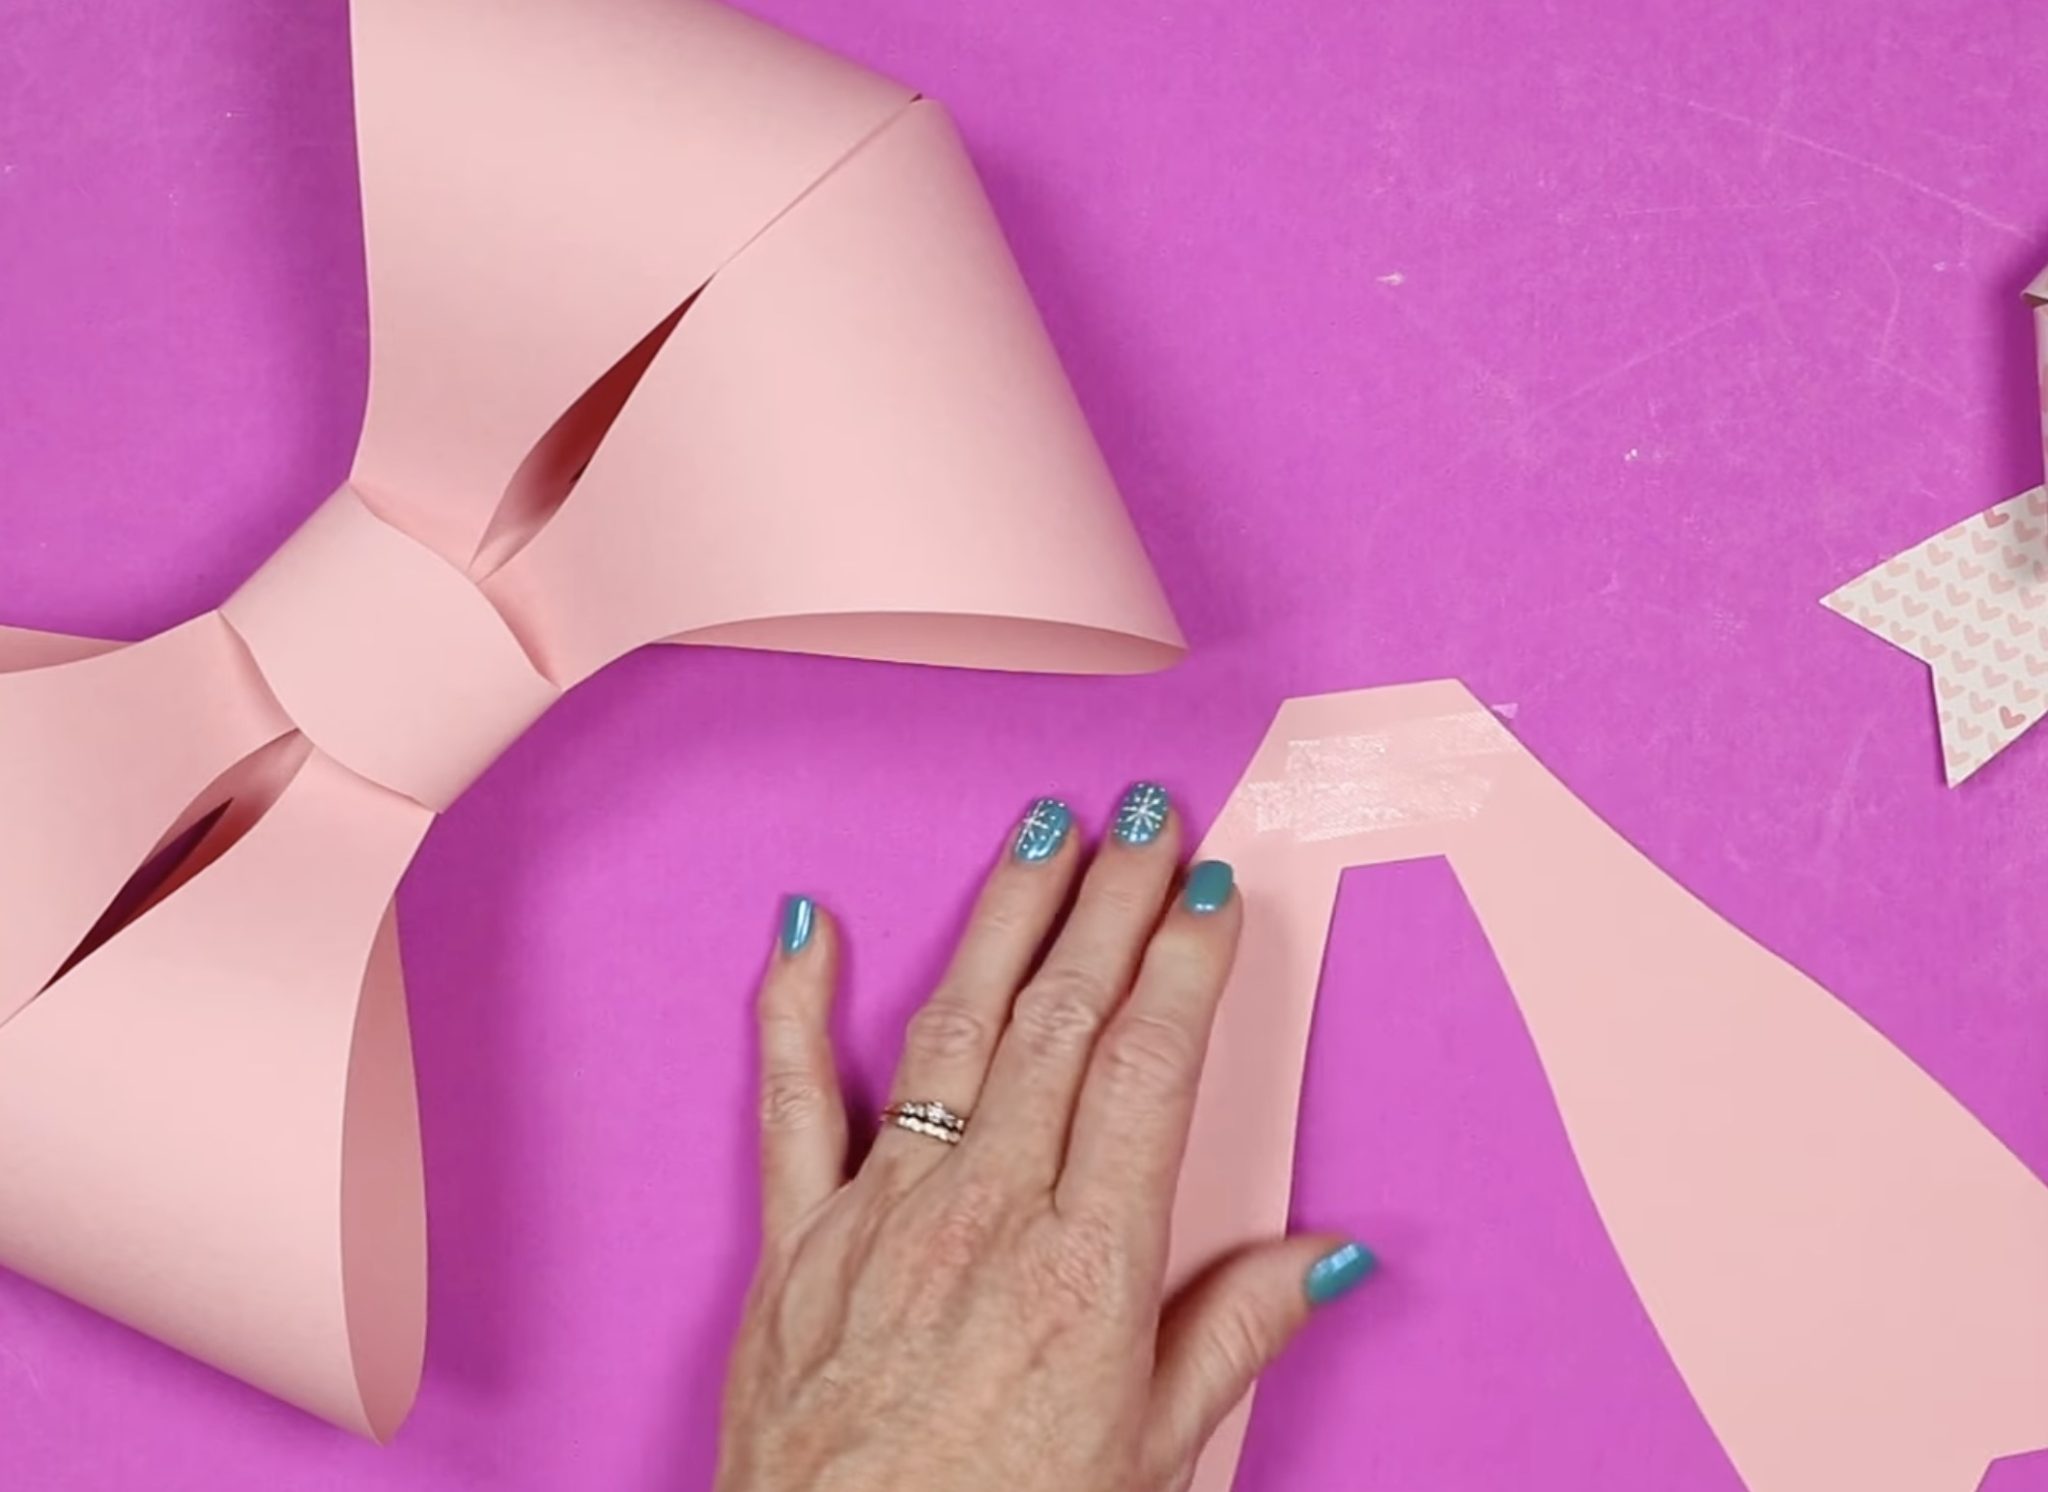
Add adhesive to the top of the tails. I used a lot of adhesive to make sure it would stick really well.
Place the tail on the back of the bow and then push it down really well. I like to push it down from the front by getting under the middle piece.
With the tails attached, the multi-piece paper bow is complete.
FAQ
Here are a few questions I get about making paper bows as well as my answers. Feel free to ask any additional questions in the comment section below.
Should You Use Patterned/Double-Sided Paper?
Now, I'd like to talk to you about what type of paper you should use for these paper bows.

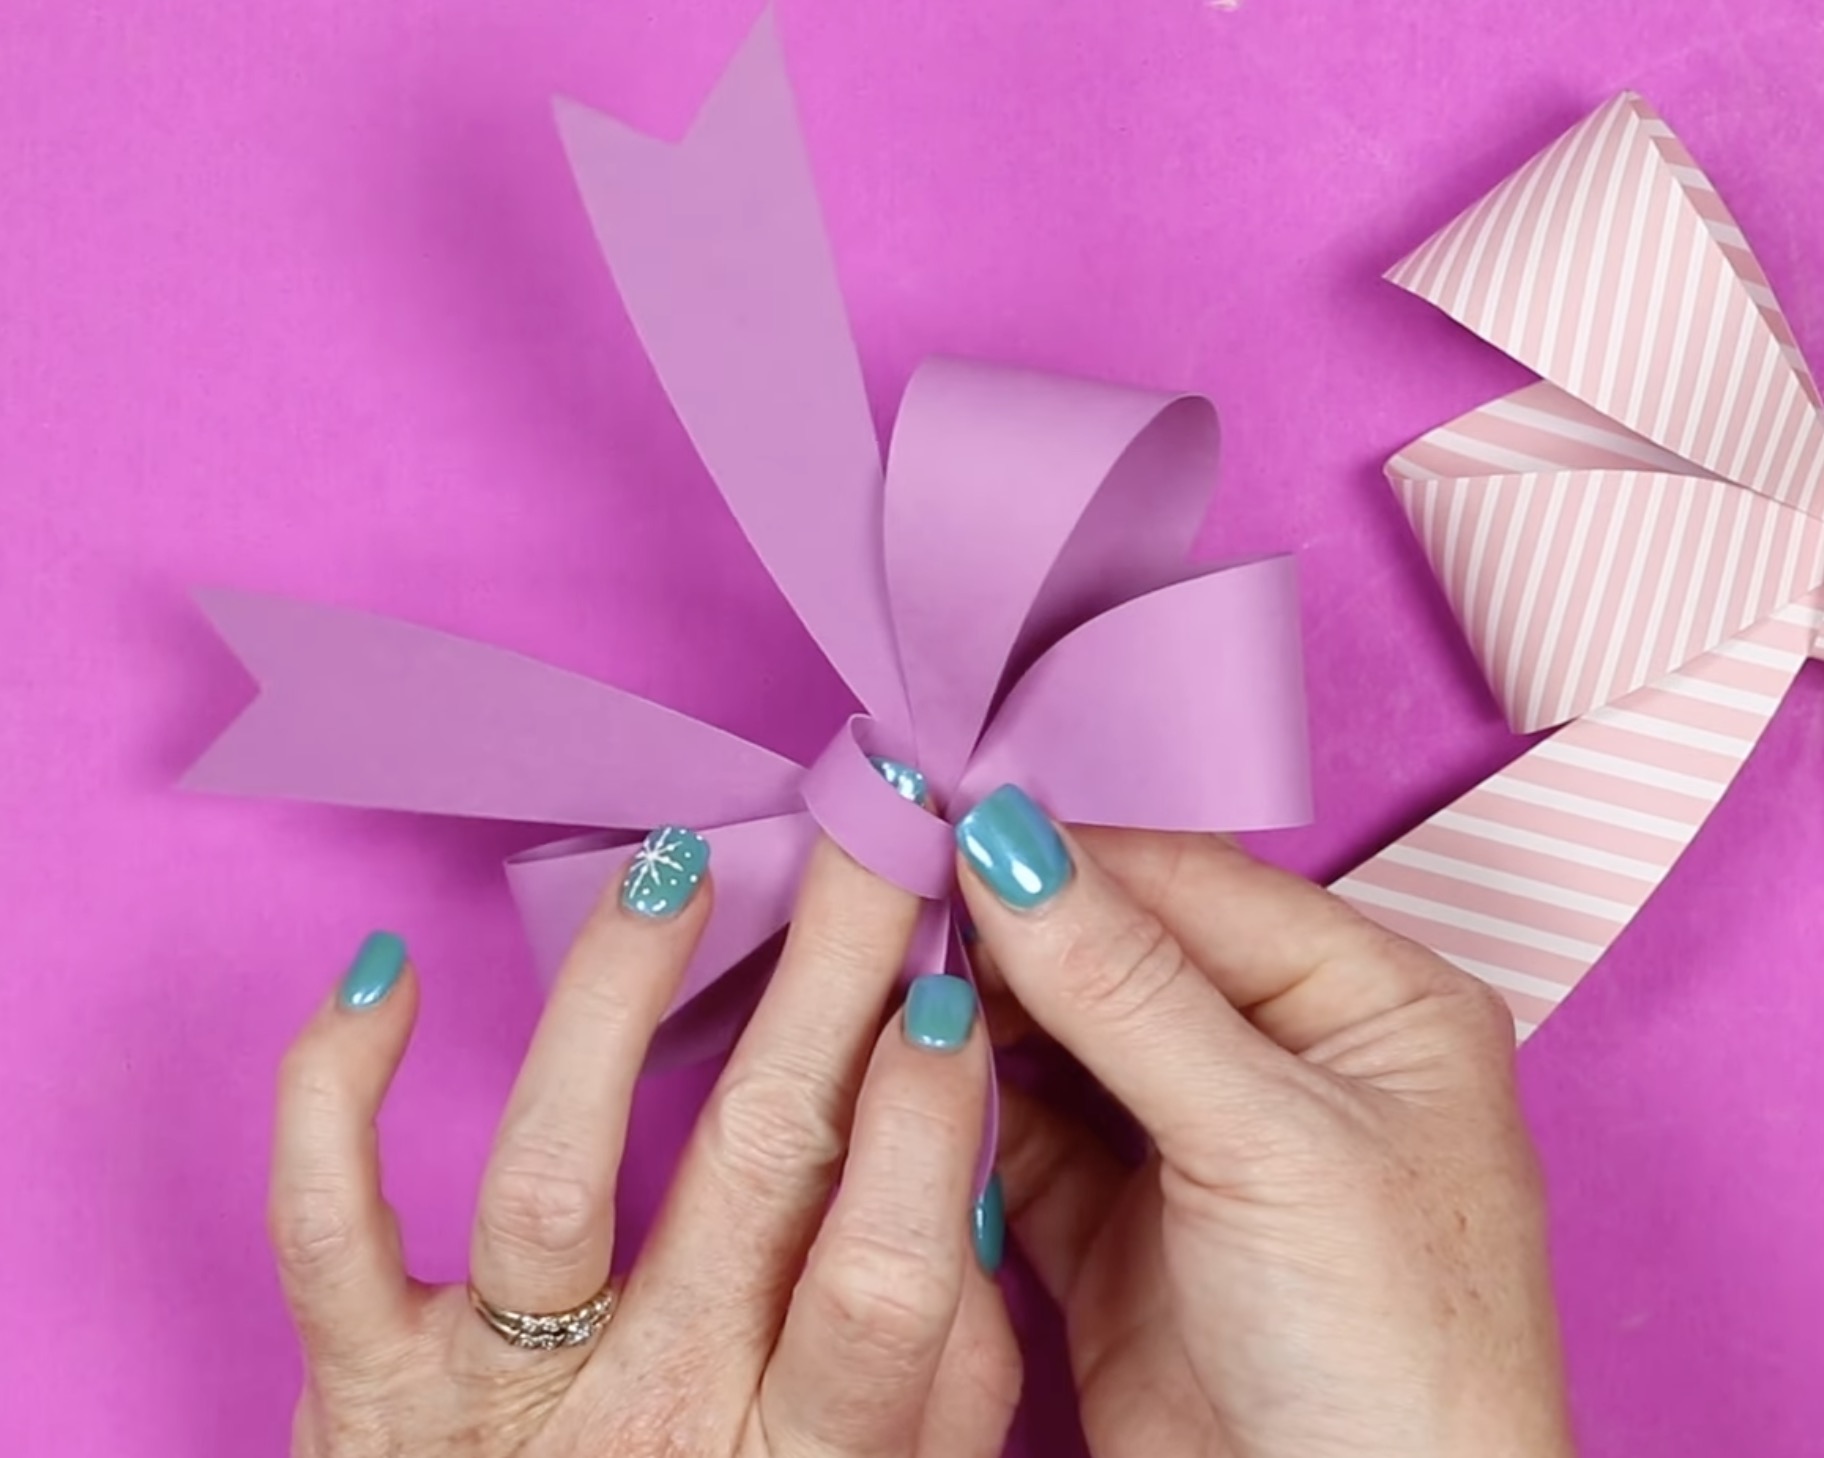
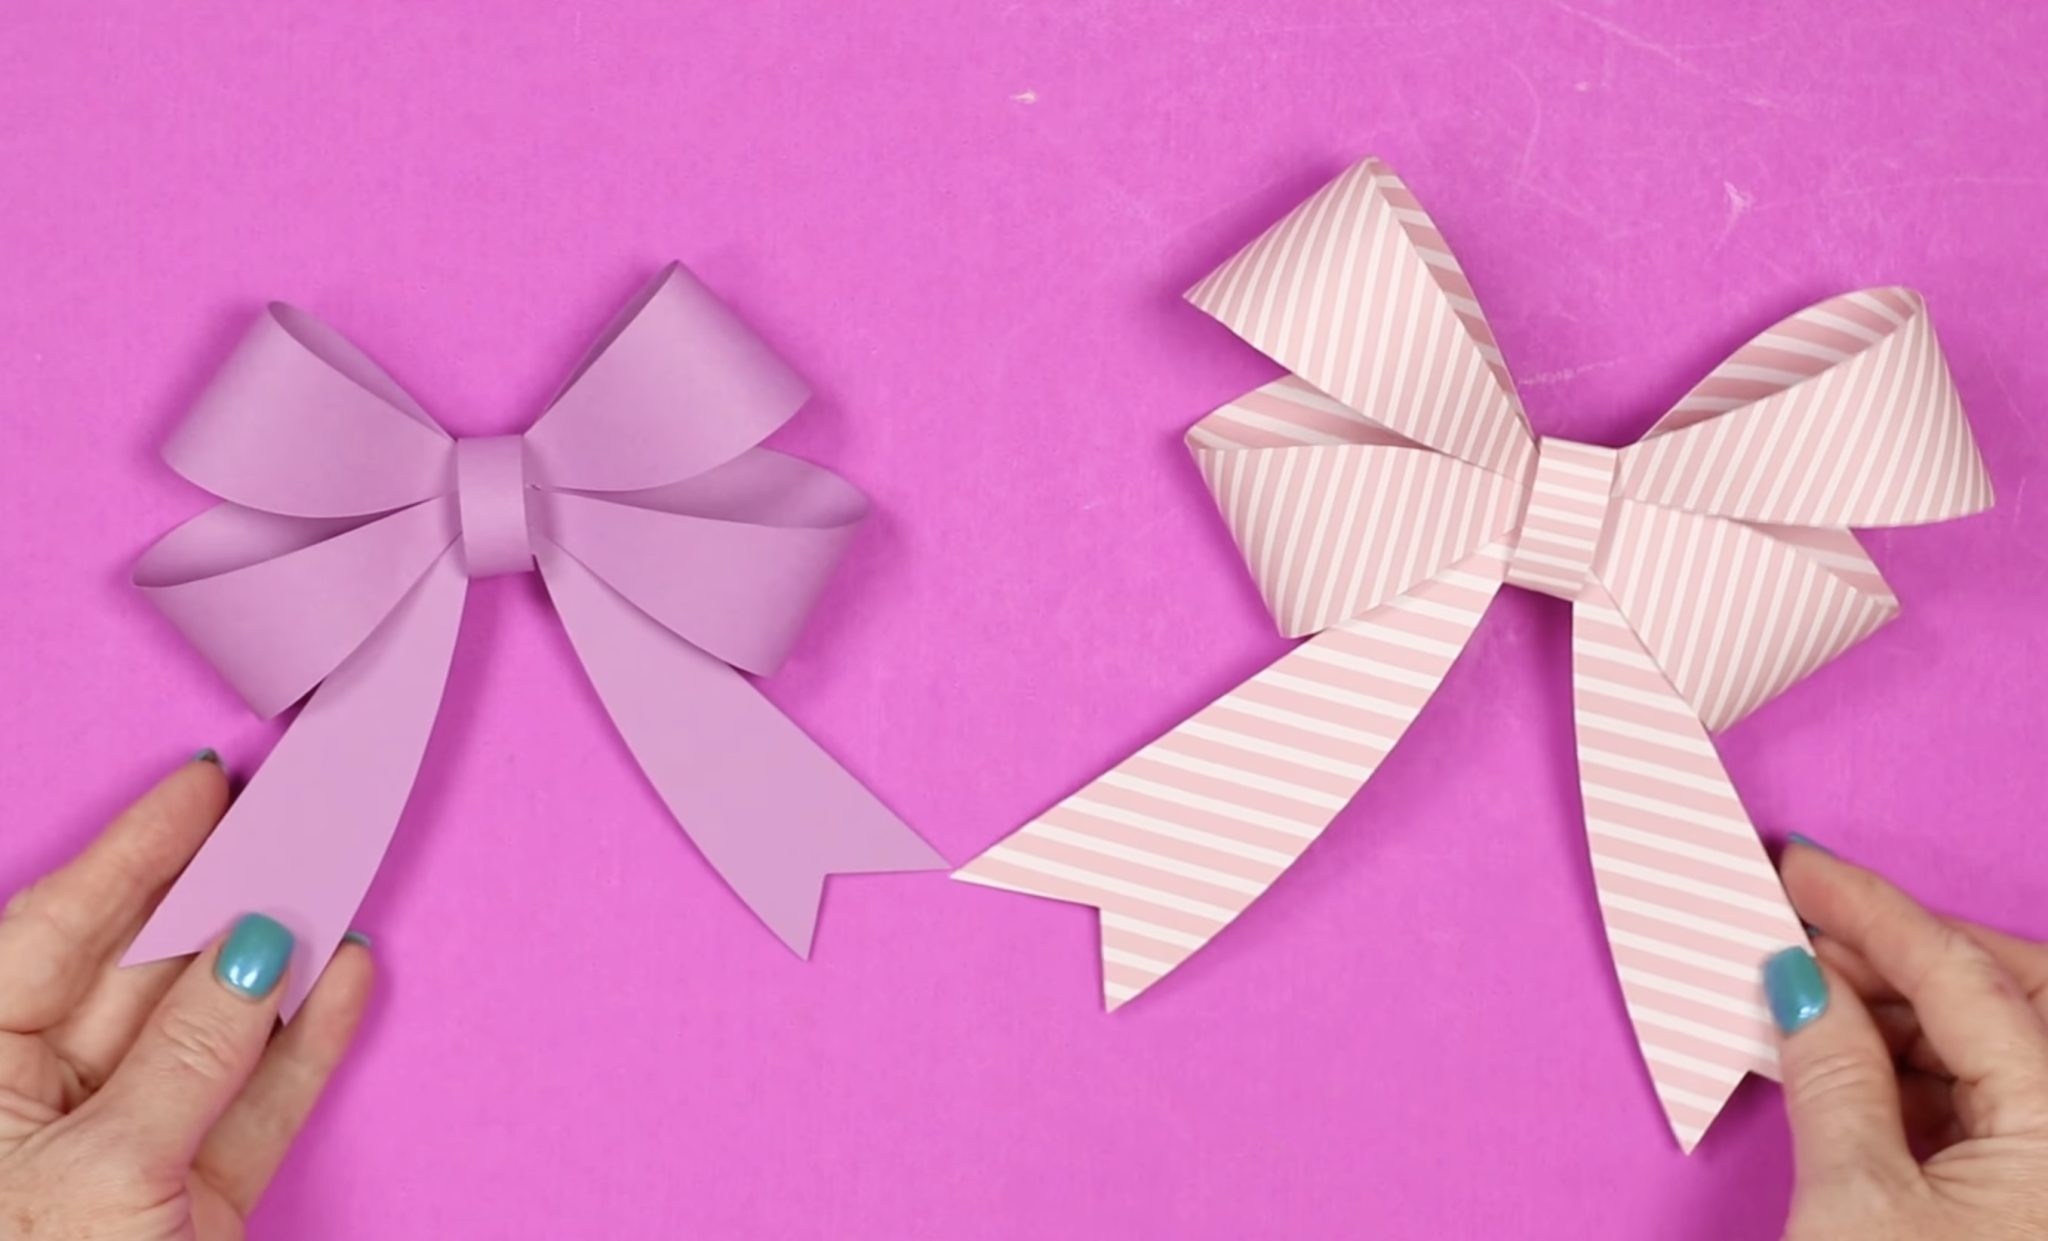
With the one-piece bow design, if you're using a double-sided patterned paper, you need to be aware that you cannot control how the pattern will look when you flip the loops.
The striped paper is double-sided with larger stripes on one side and smaller stripes on the other. When the paper is lying flat, the stripes are linear.
When you bring the loops up to the front, the lines will change direction, so you'll want to make sure you like the look of that.
The purple-ish patterned paper is green on the other side. The loops and tails will be different colors, so again, make sure you like how the bow looks with both sides showing.
The heart paper is the three-piece bow design. As you can see on the heart paper, on one side it has small hearts, and on the other side the hearts are bigger.
With the three different pieces, you have more control over which side shows. I have the loops showing the large hearts and the center piece and tails showing the smaller hearts. I could flip the paper for the center piece and tails, so everything showing is the large hearts.
What About Using a Specialty Paper?
I did not use the papers I'm talking about, but I want you to be aware that some specialty papers may be plain on the back.
Some glitter, foil, patterned, holographic, etc. papers are white on the back. They don't even have the same color on the back. So, make sure you look at the paper and remember that both the front and the back of the paper are going to show on your finished paper bow.
If you want to use a glitter, holographic, or foil cardstock, I would do the three-piece design. This will allow you to make sure that, other than the inside of the loops, all the pieces look the same.
How Big Can I Make Paper Bows?
These two bows were both made with the three-piece design.
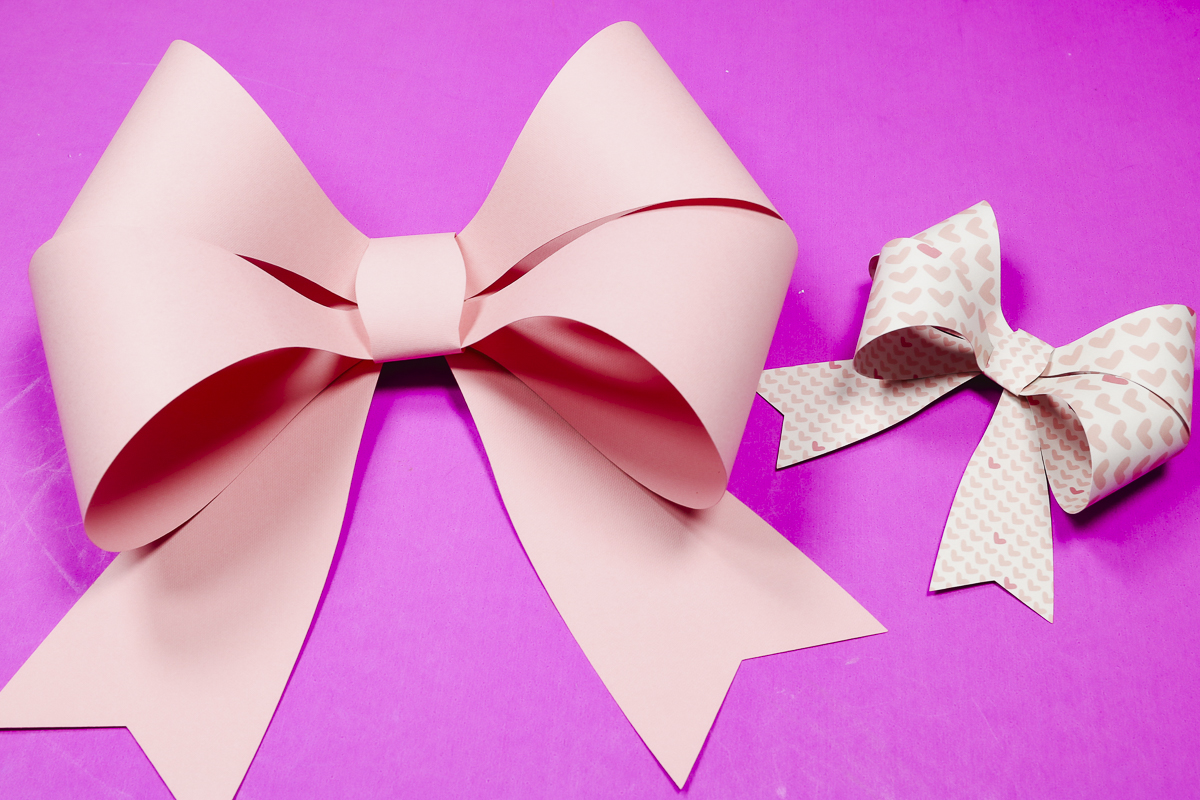
The bow on the left was made with 12 by 24-inch cardstock and a 12 by 24-inch mat. This was the largest I could make that bow with those supplies.
The heart bow is the largest size I could get with the 12 by 12 cardstock and mat.
I love how they turned out.

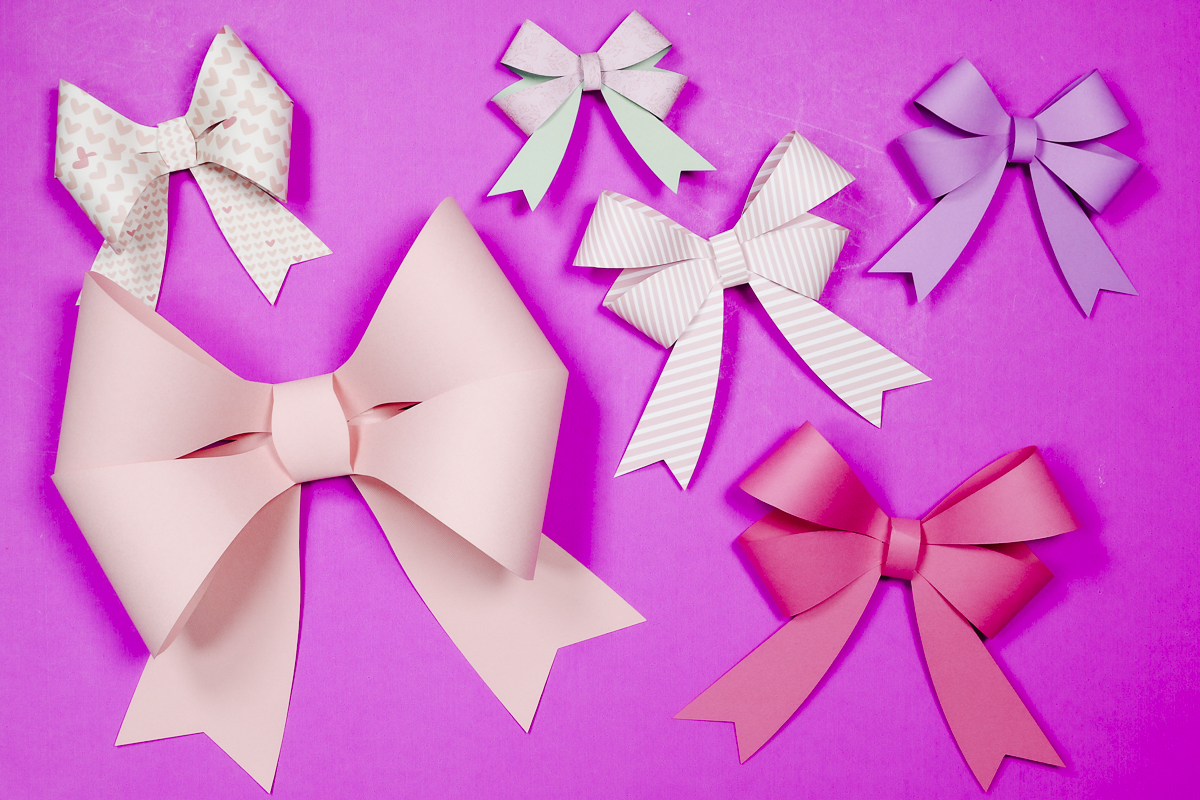
These bows are all made with the one-piece design. You can see they are a variety of different sizes and all look really good.
The one-piece bow is easier to assemble, and I really like the way it looks. However, the dark pink bow was as large as I was able to go with the one piece design.
If you want to make really big bows, you'll want the three-piece bow design.
What Type of Adhesive Works Best?
I tried multiple different dry adhesives while making these paper bows.
When I say dry adhesives, I mean things like tape runners and double-sided tape.
Because of the way you assemble the bows, the loops really want to flatten back out. The dry adhesives worked, but I think over time they may pull away.
I think in the future, when making these, if I wanted them to last, I would use a glue gun. I think that would be more secure over time.
Are You Ready to Make Paper Bows?
I had so much fun making these paper bows with my Cricut machine. They are easy and inexpensive and look great.
The trickiest part of making paper bows is probably deciding what type of adhesive you're going to use and which bow design you want to use.
I hope I've answered any questions you have about making paper bows. You're going to love them. If you have any additional questions, leave them in the comments, and I'll be happy to answer them for you.