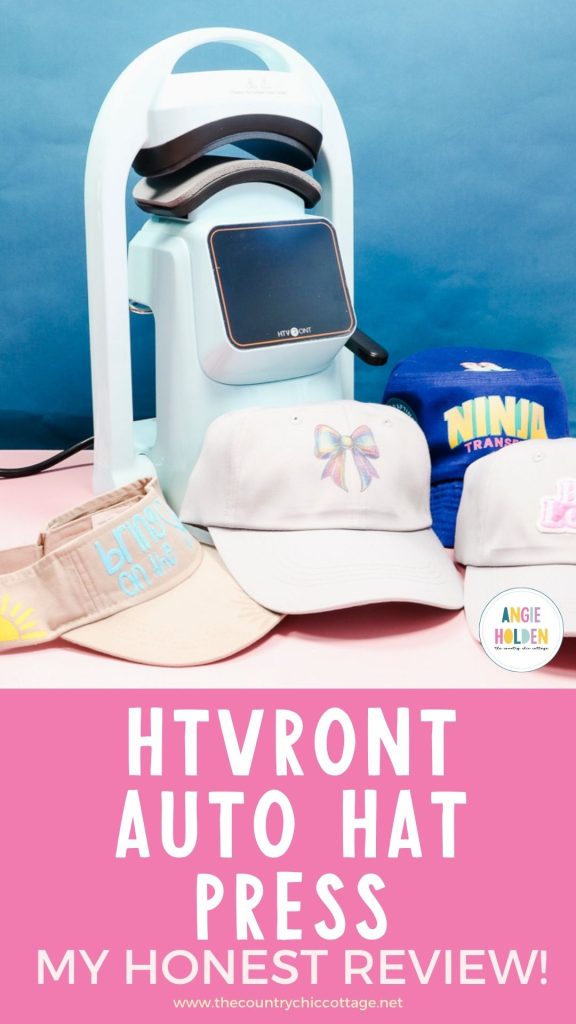
I thought I would test the HTVRont A300 Auto Hat Press so that you can decide if this is the right hat press for you. You can also use this as a guide if you have purchased this press and want to know how to use it!
Whether you want to use HTV, patches, sublimation, or DTF, I'm going to test them all with this HTVRont auto hat press to see how it performs.
If you want to add hats to your small business but don't need an industrial-sized press, this may be the press for you.
I have used hat presses before. I have a smaller, handheld hat press and a large industrial-sized hat press, so I'm excited to try this press that is more of a medium-sized press.
With the press of a button, this hat press opens and closes automatically. Watch me test the press by pressing play on the video below.
HTVRont Auto Hat Press
I'm going to put this hat press to the test. I don't make hats for my business, but I really like the idea of not having to manually press the designs as I do with handheld presses.
Let's look at the press and what comes with it, and then we'll make a few projects.
What Comes in the Box?
When you open the box, you'll see the HTVRont Auto Hat Heat Press, and it comes with a second heat platen.
There is also the power cord, quick start guide, other manuals, and a pair of heat-resistant gloves.
HTVRont Auto Hat Heat Press Setup
The setup for this hat press couldn't be easier. Plug the power cord into the back of the press and then plug it into the power outlet.
When it's plugged in, the power button will flash on the front.
Power it on, and that will lower the bottom platen.
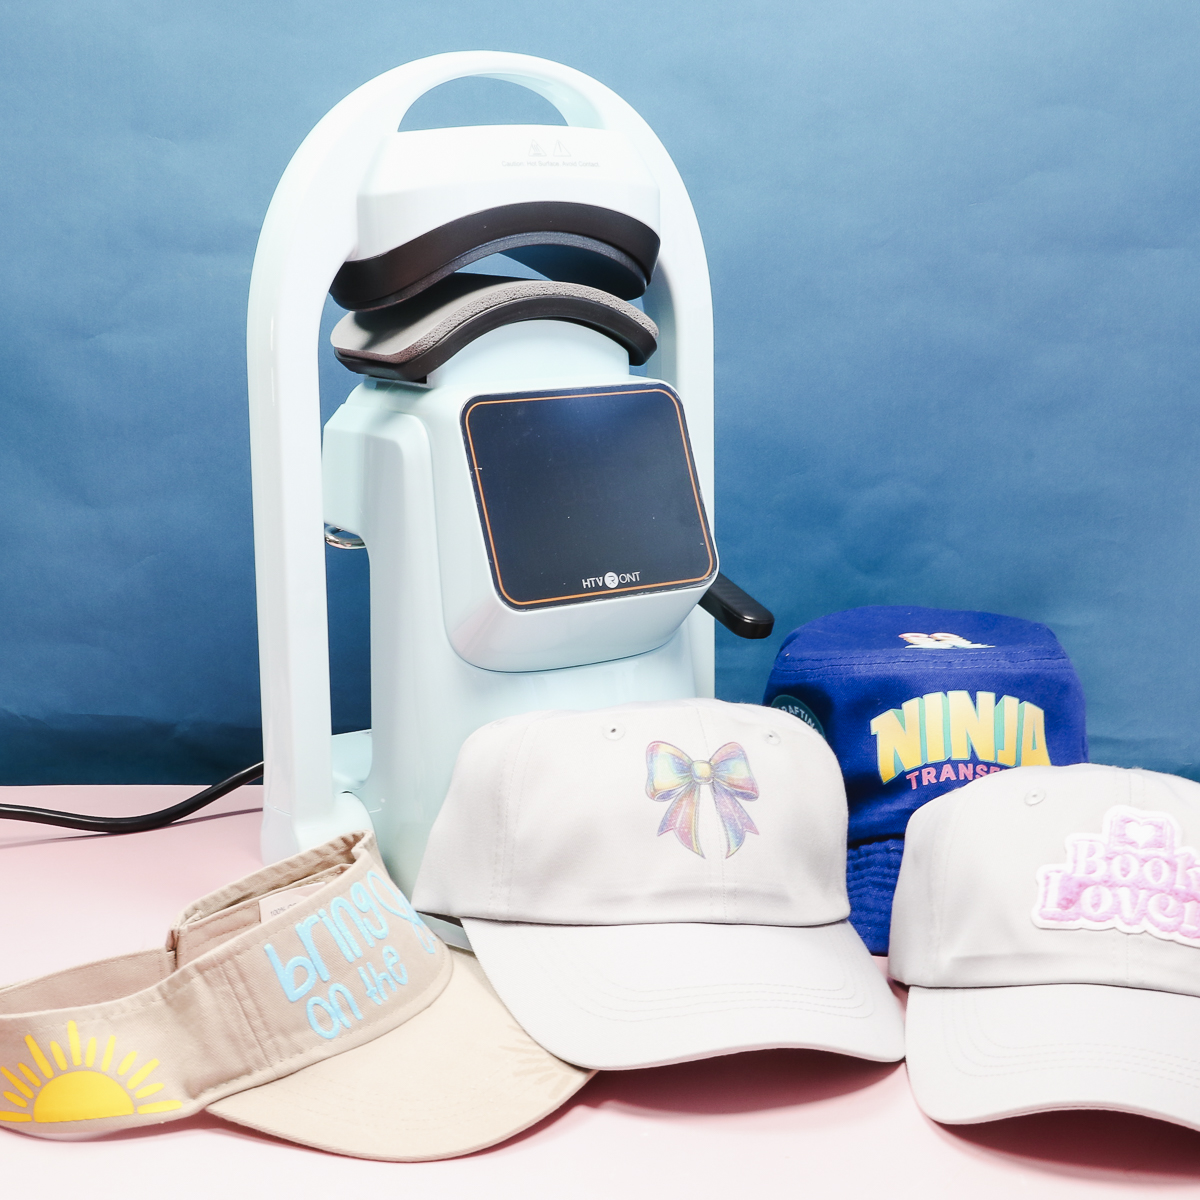
Now, let's look at how to adjust the time and temperature.
Press the temperature button and use the plus and minus buttons to adjust the temperature. Press the temperature button again to confirm the setting.
To set the time, press the clock button, and use the plus and minus buttons to change the time setting. Press the clock again to confirm.
There are presets you can scroll through using the second button.
How to Change the Bottom Platen
The hat press comes with a platen installed. There is a skinnier and smaller platen included. The hat you're pressing will determine which platen you should use.
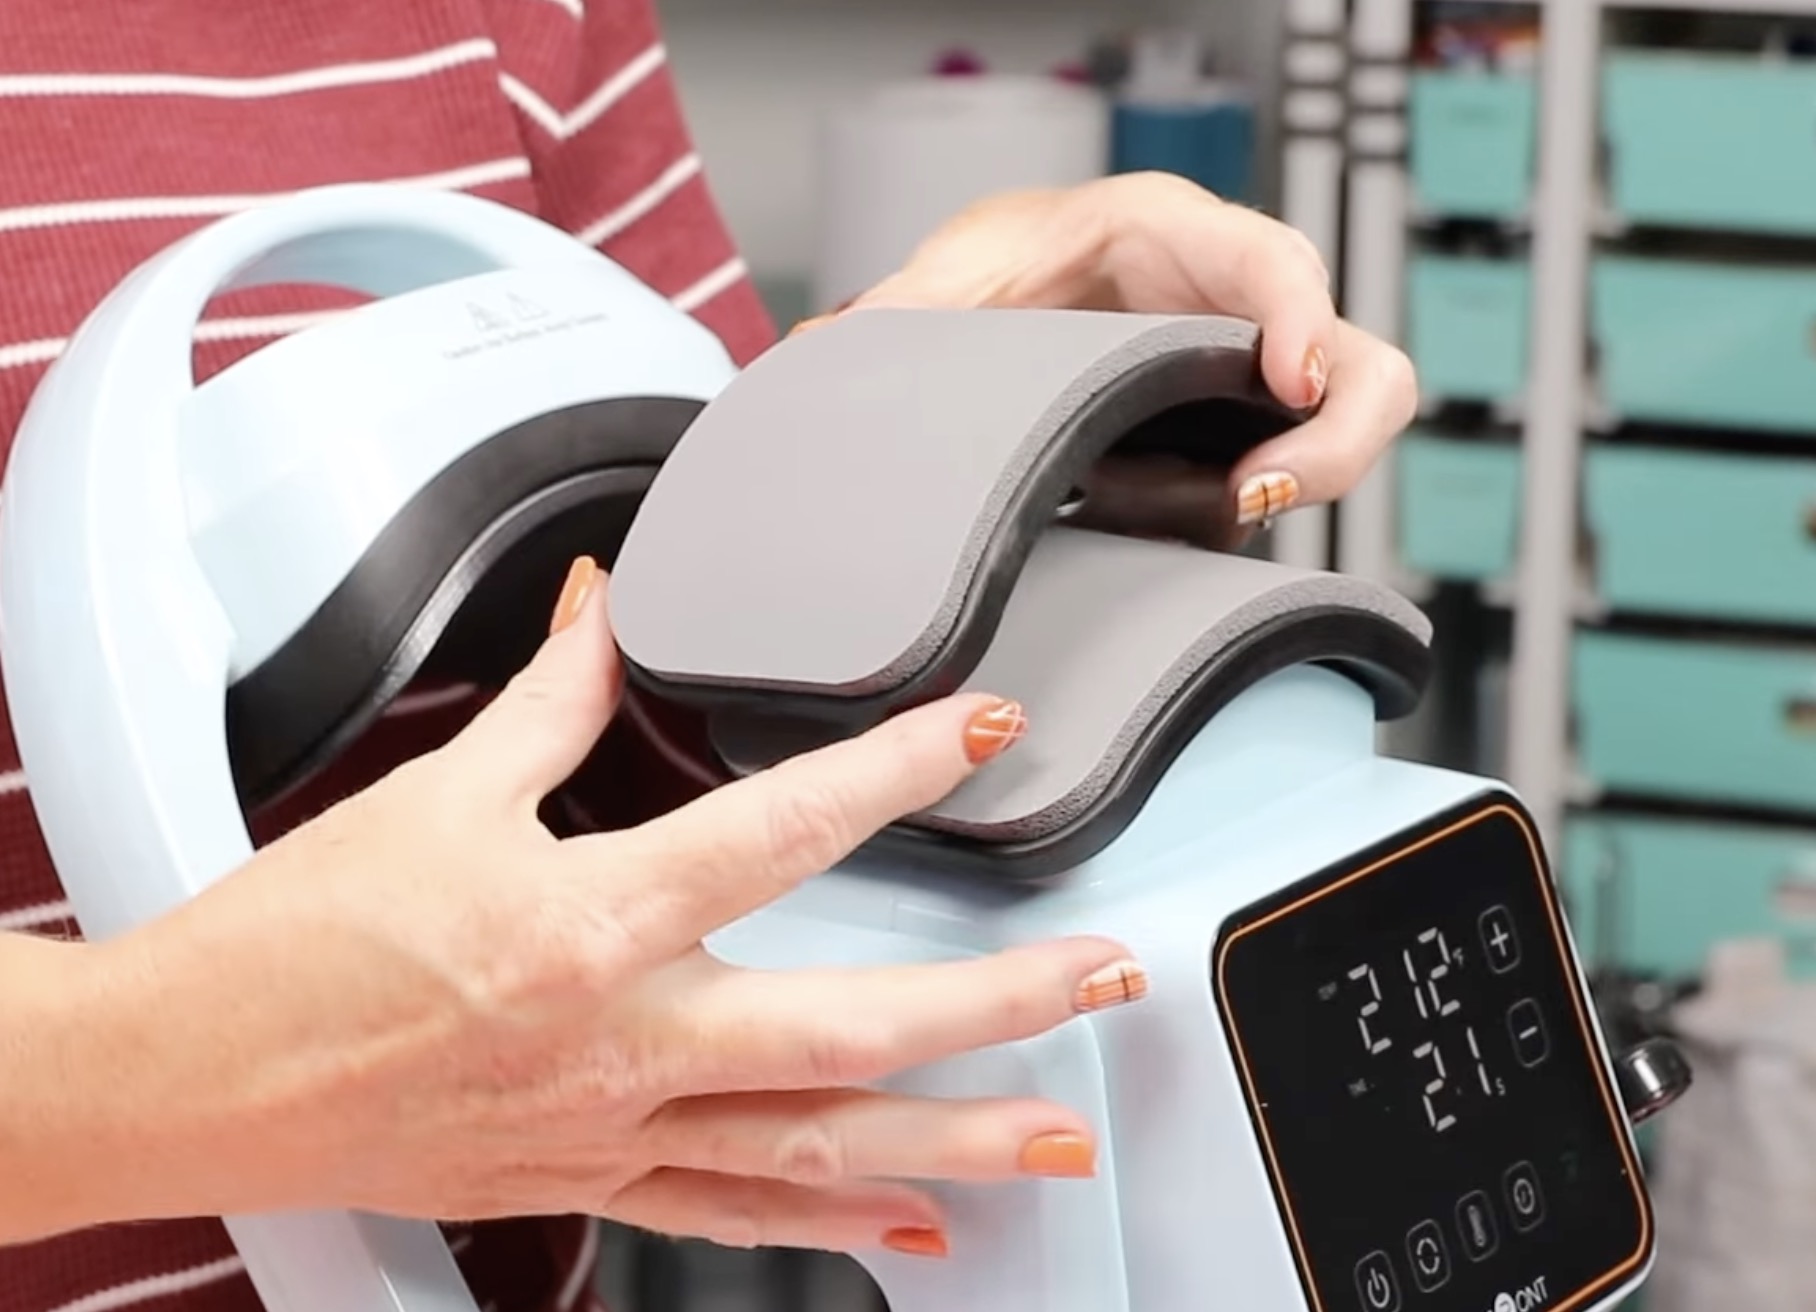
Changing the platens couldn't be easier. Simply lift the one installed straight up to remove it and press the other platen into place.
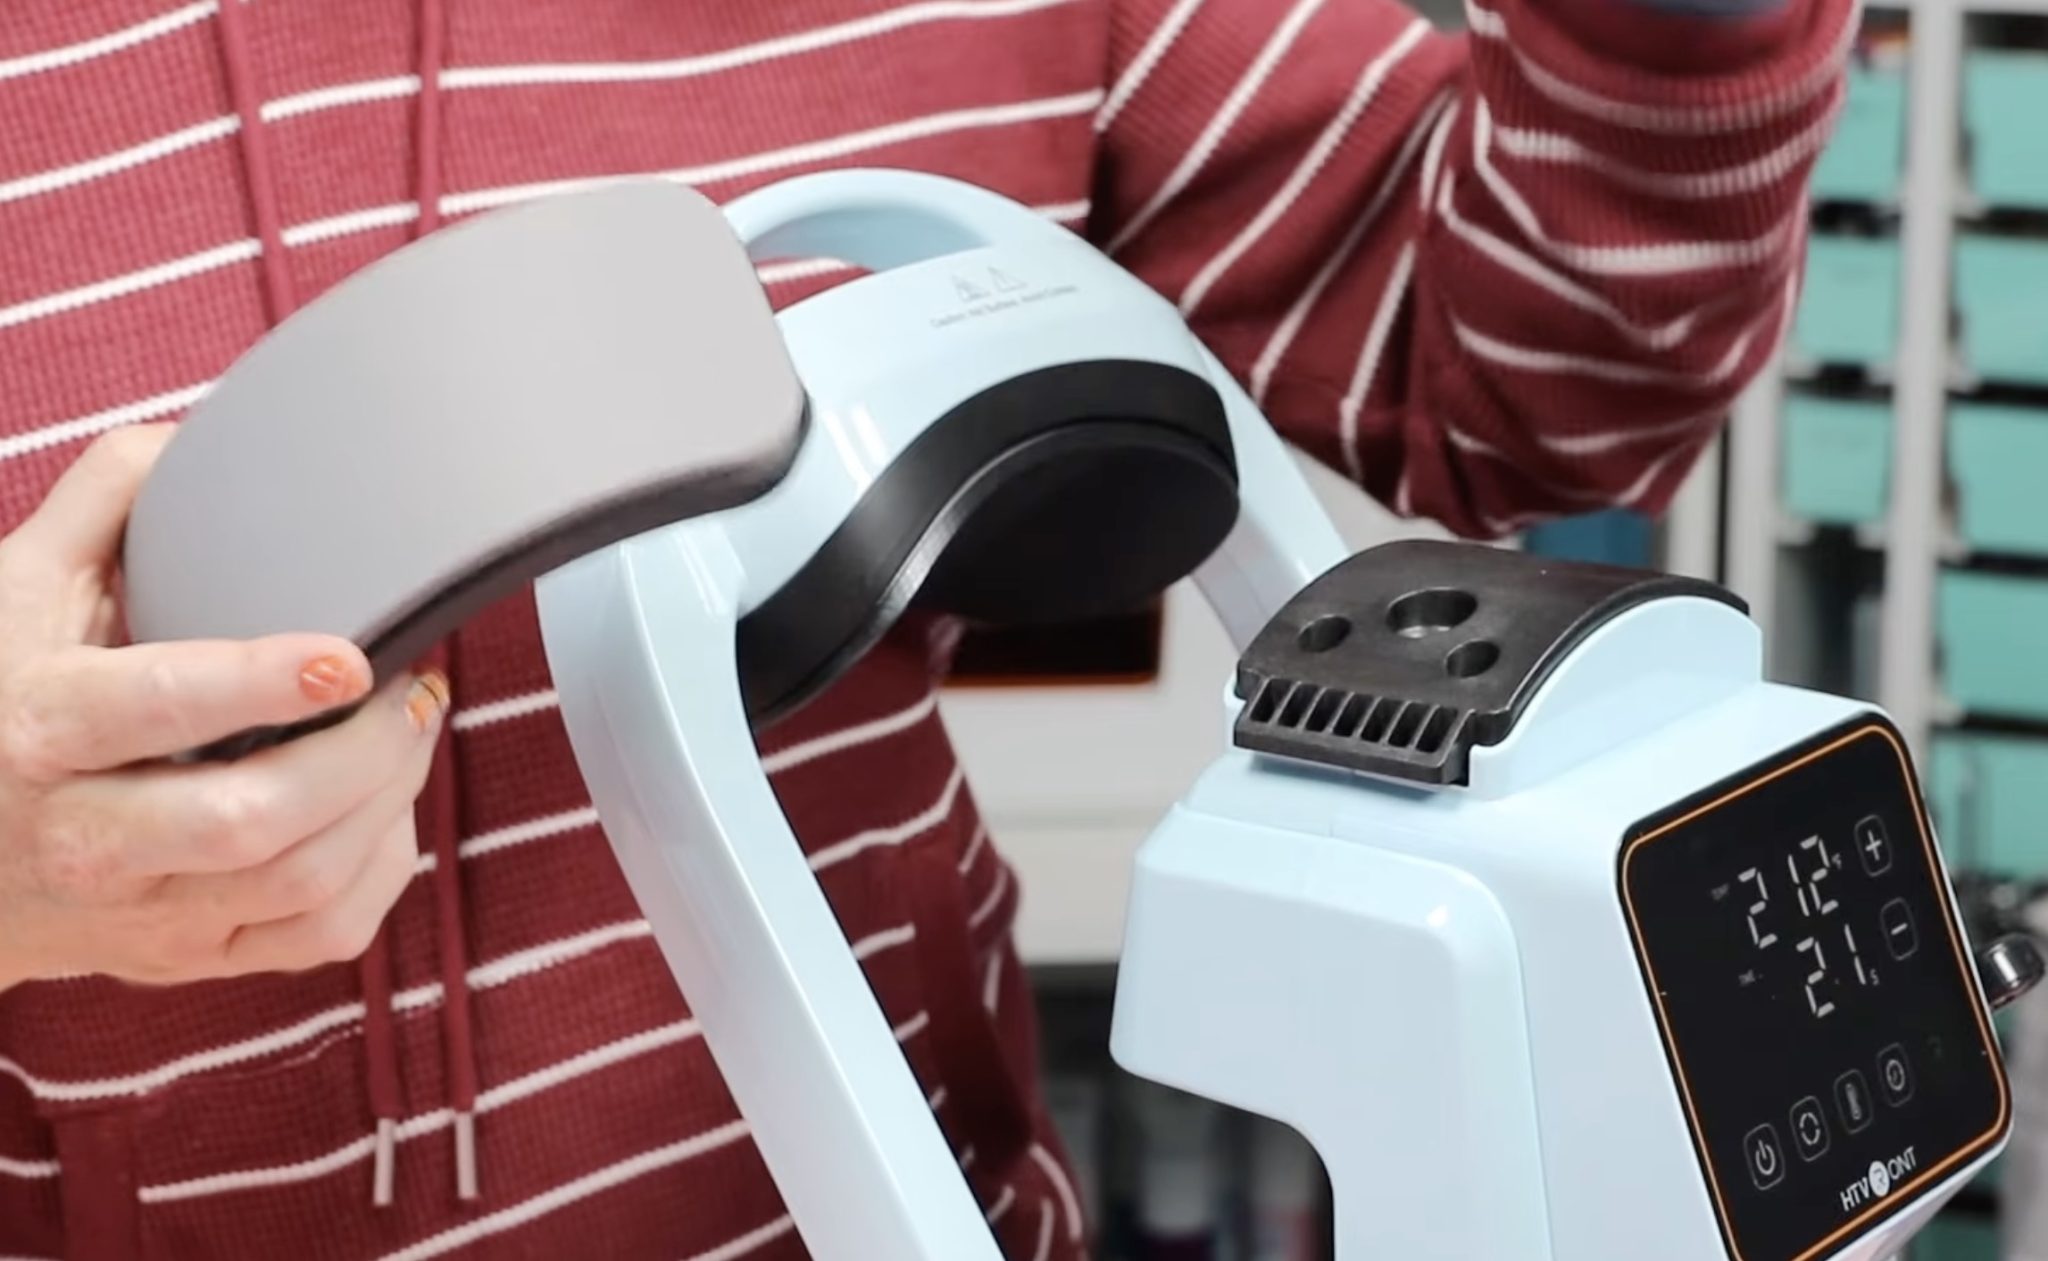
Easy and done in just a couple of seconds.
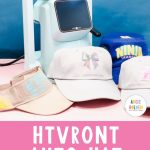
I am going to make a few different projects today, including a visor with a few different types of HTV, a hat with a heat-activated patch, a ball cap with sublimation, and a bucket hat with different DTF patch designs.
How to make a Visor with HTV
The first project I'm going to make today is a visor, and I am going to use HTV for this project.
I am going to add regular HTV to the side of the visor and the bill. I am also going to test glitter puff HTV on the front of the hat itself.
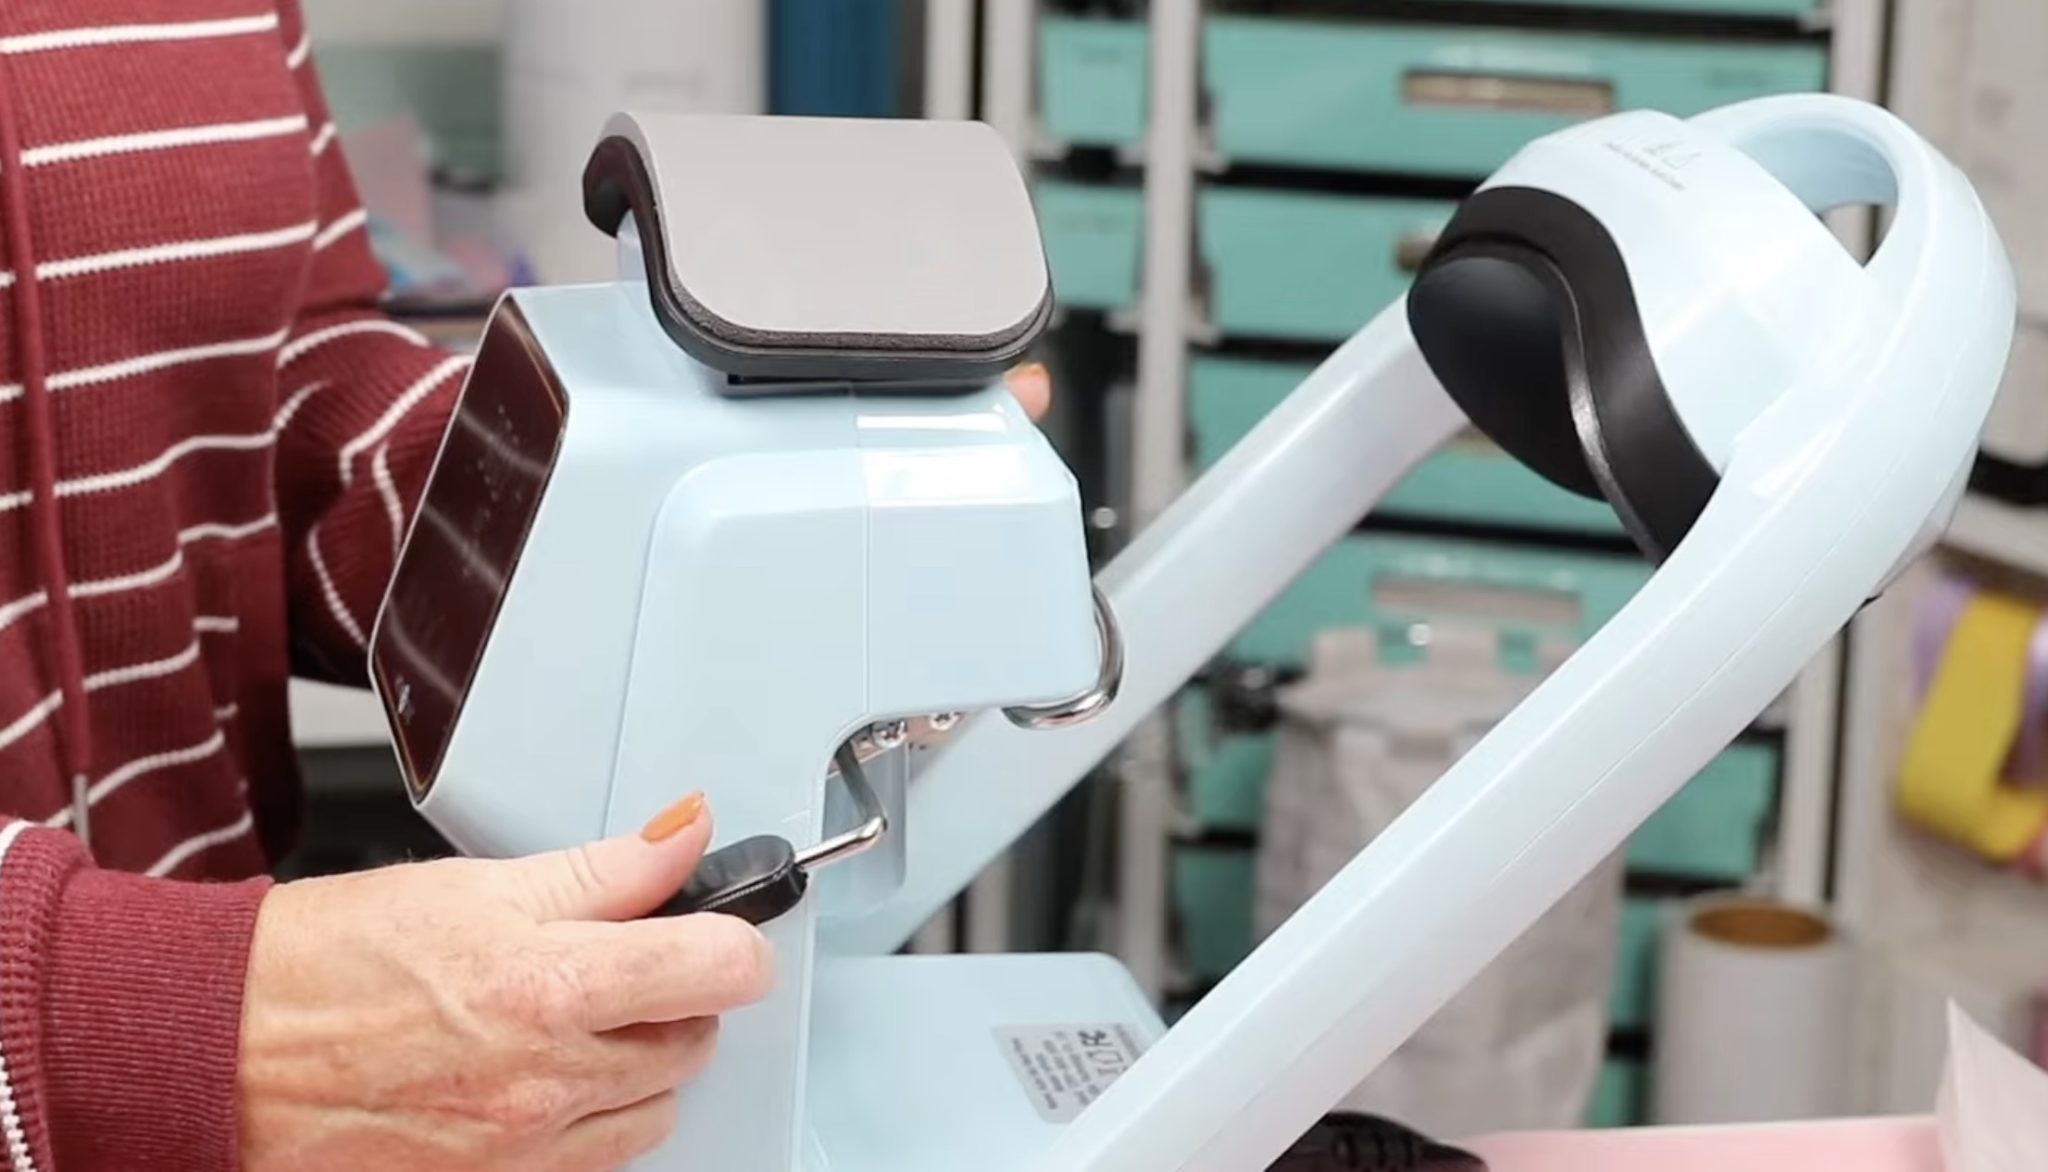
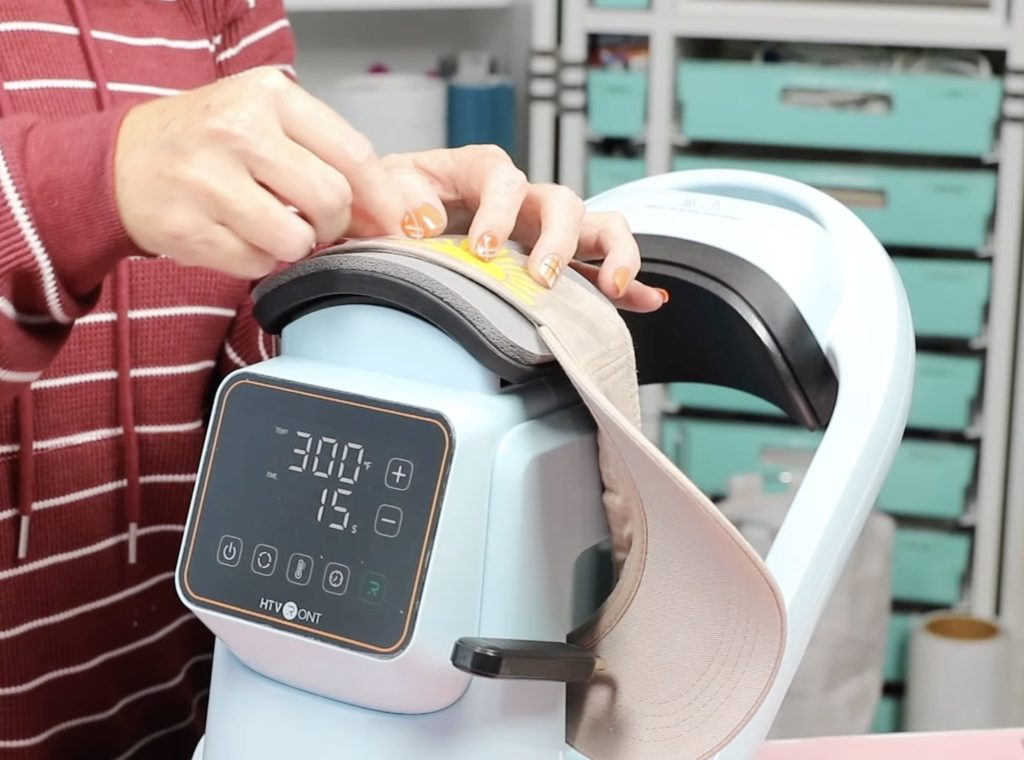
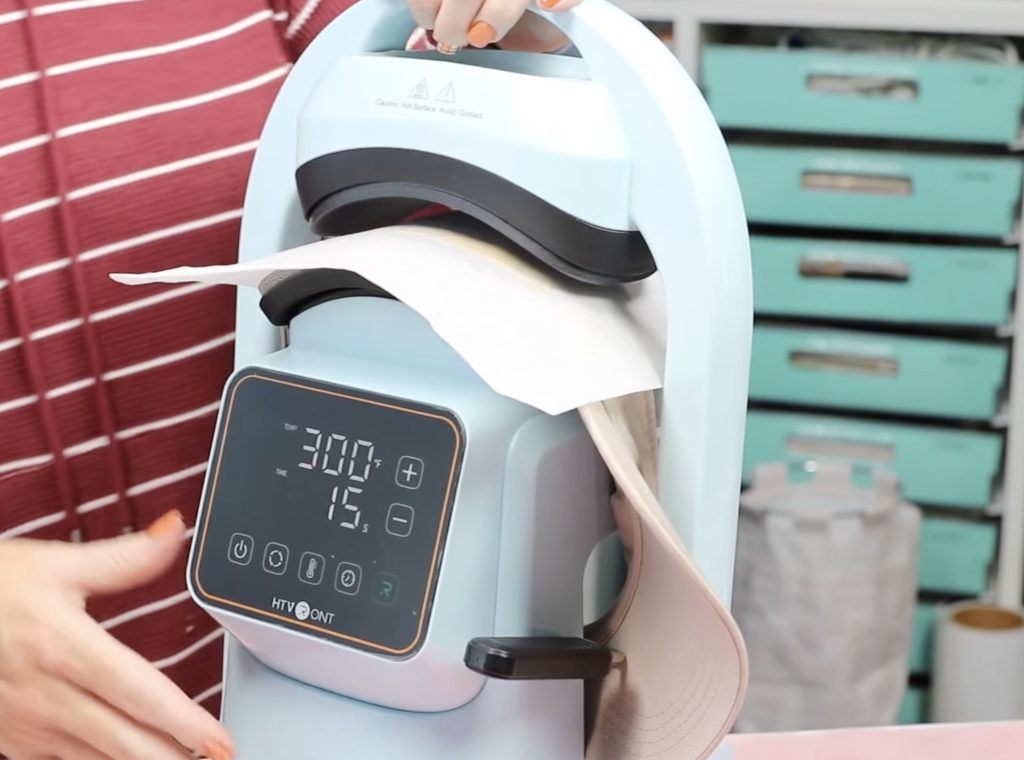
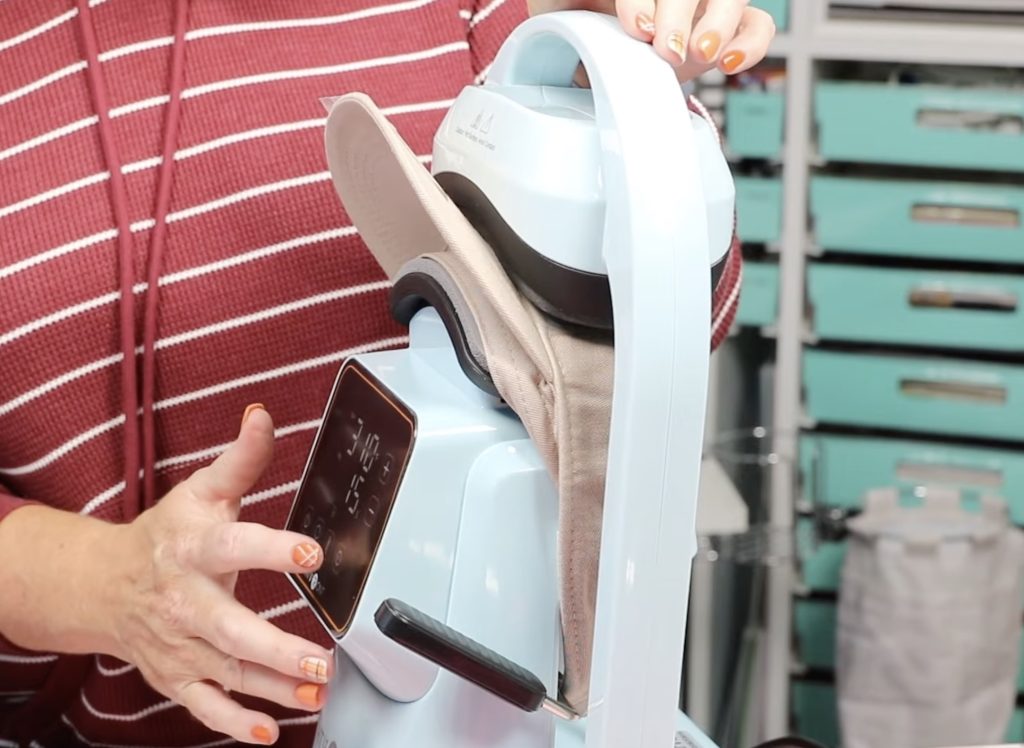
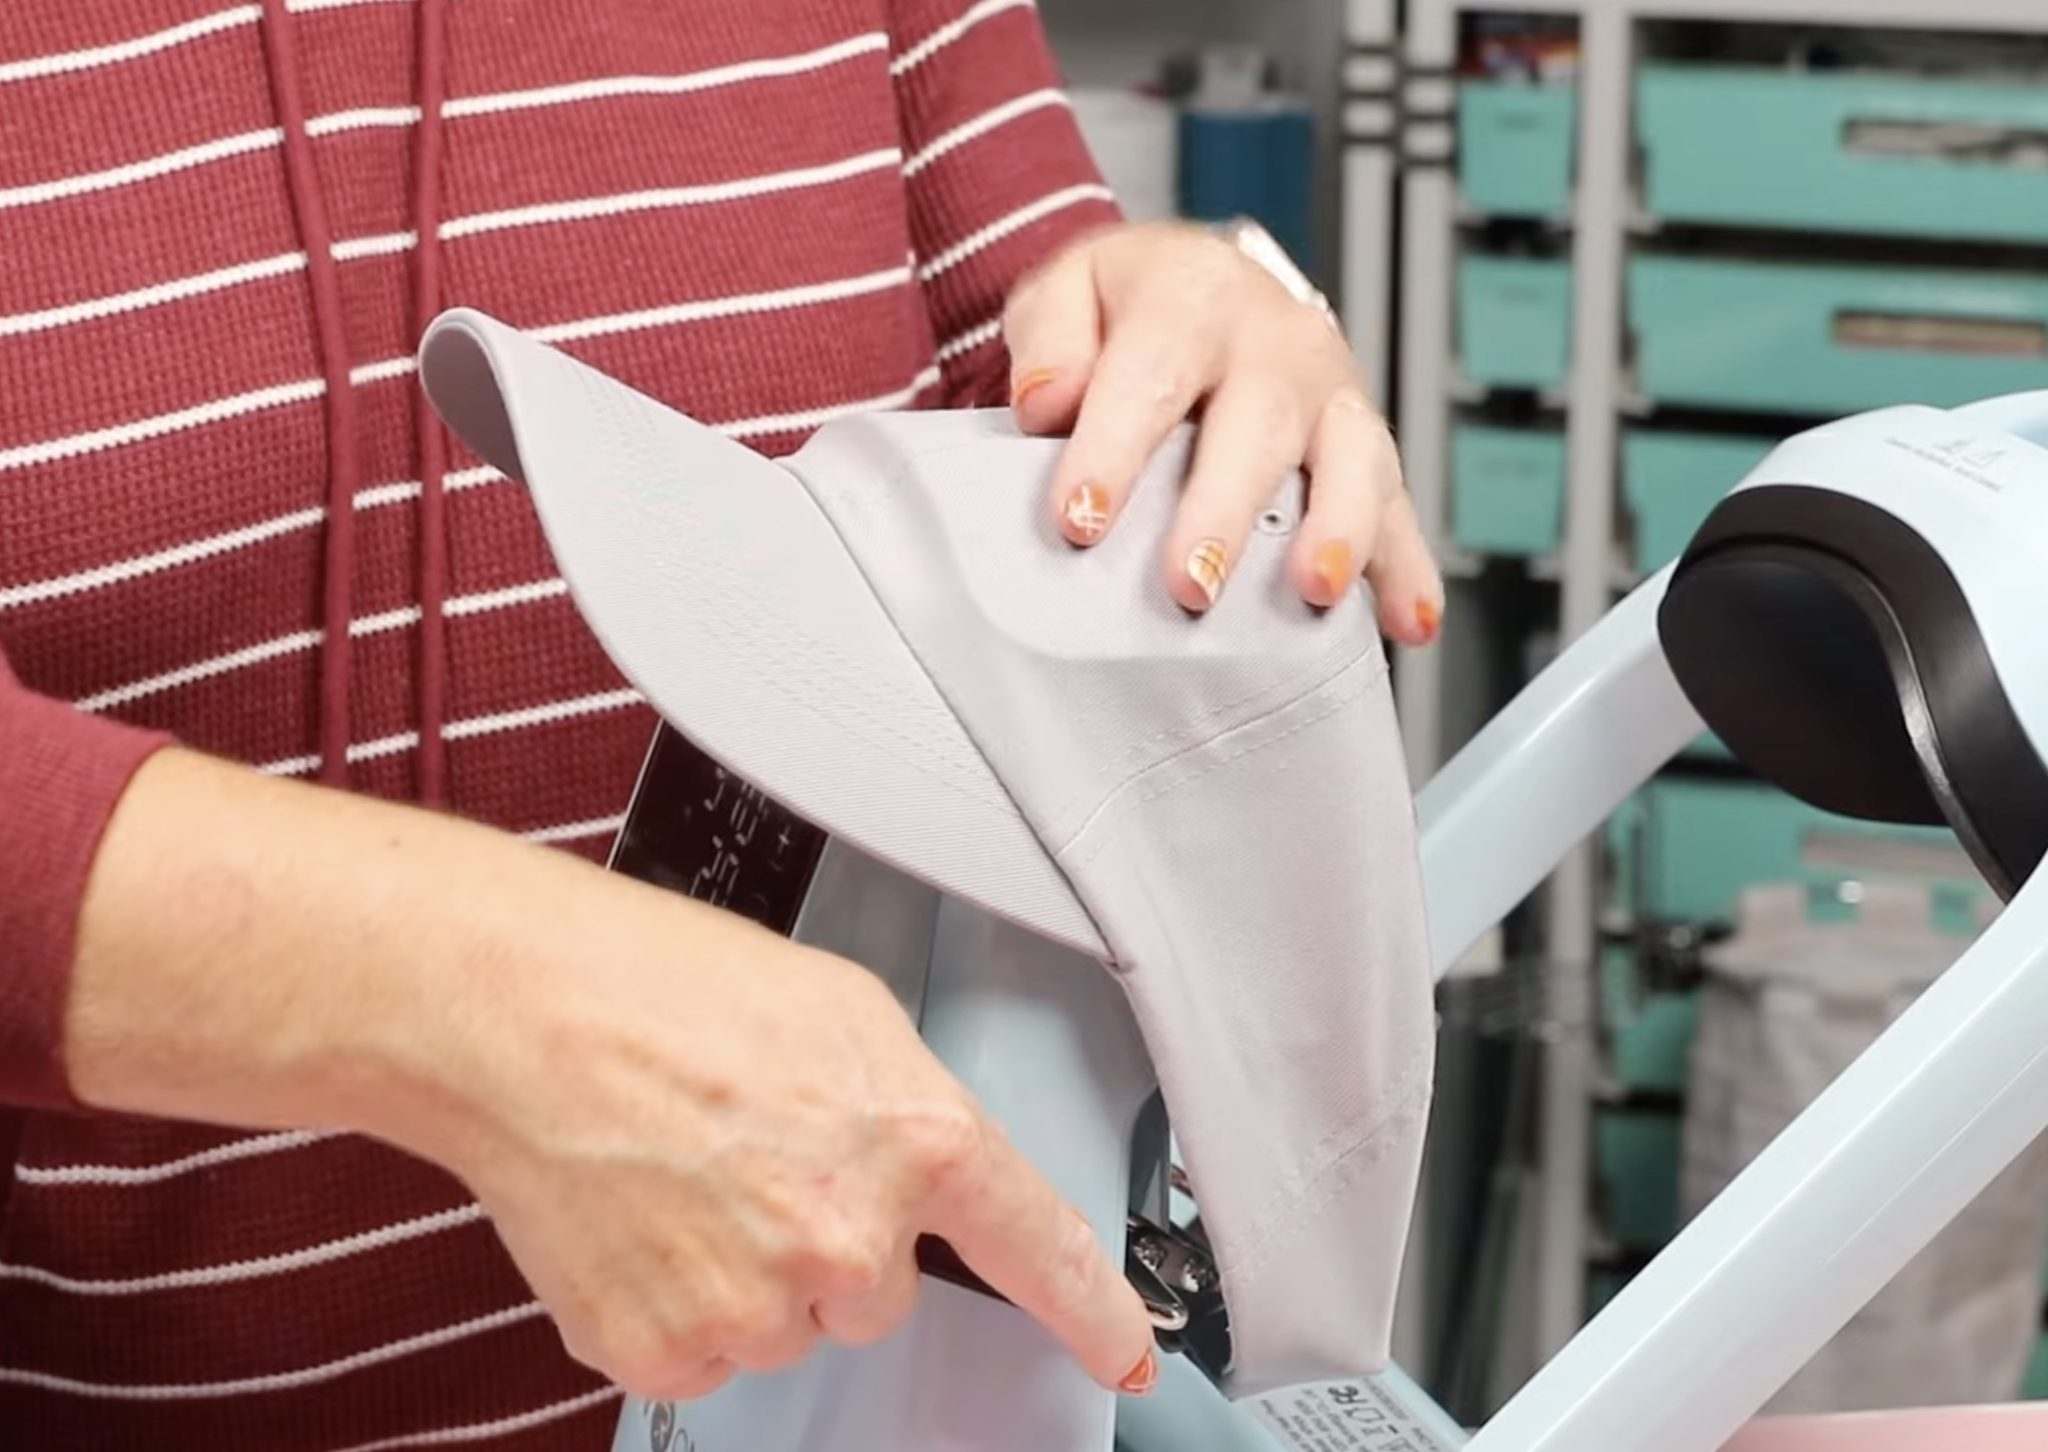
Step 1. Load Visor on Hat Press
To load hats onto the hat press, you'll move the top platen out of the way, and there is a lever on the side.
You'll raise and lower the handle to tighten or release the hat on the press.
I am adding the first HTV design to the side of the visor, so I've loaded it with the side on the bottom platen.
Raise the lever handle so the hat is pulled tight on the platen.
You may find the bill gets in the way of the top platen side arm. If it does, you can move it a little. I was able to get it to press with no problem.
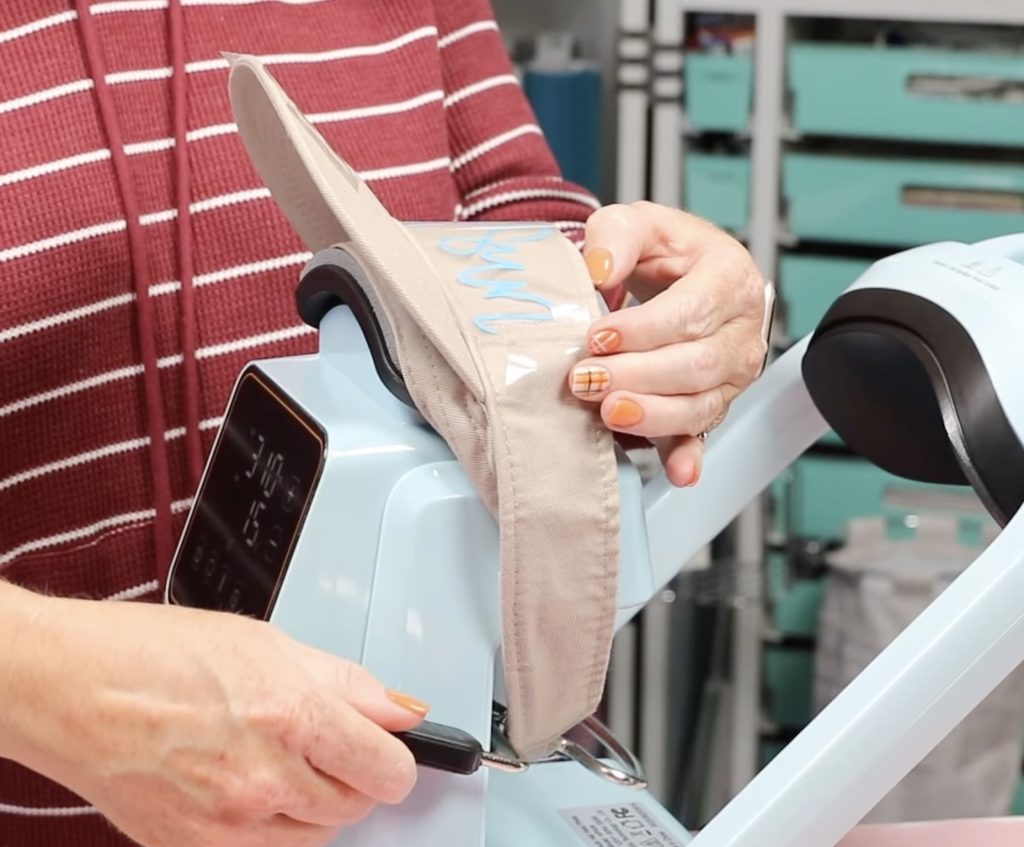
Step 2. Locate HTV on the Visor Side
Place the HTV where you want it on the visor. I am adding this design to the side of the visor.
If your HTV has a sticky carrier sheet, it may stick to the hat. Mine is tacky but not very sticky, so I used a few pieces of the Cricut StrongGrip heat-resistant tape to hold it in place.
Adjust the time and temperature to what is recommended for your blank and HTV.
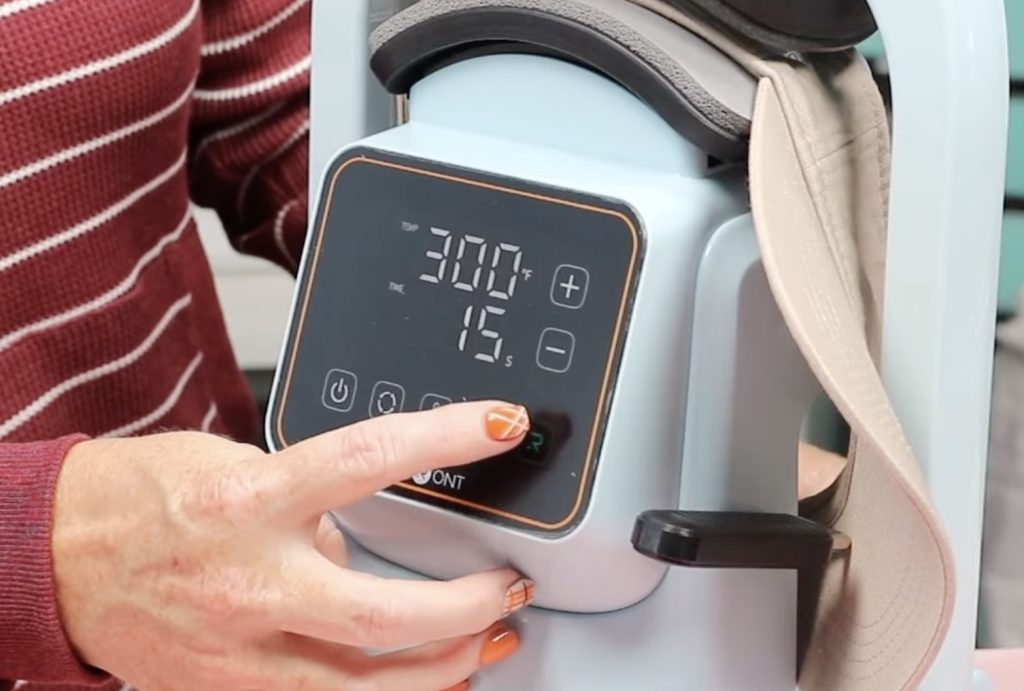
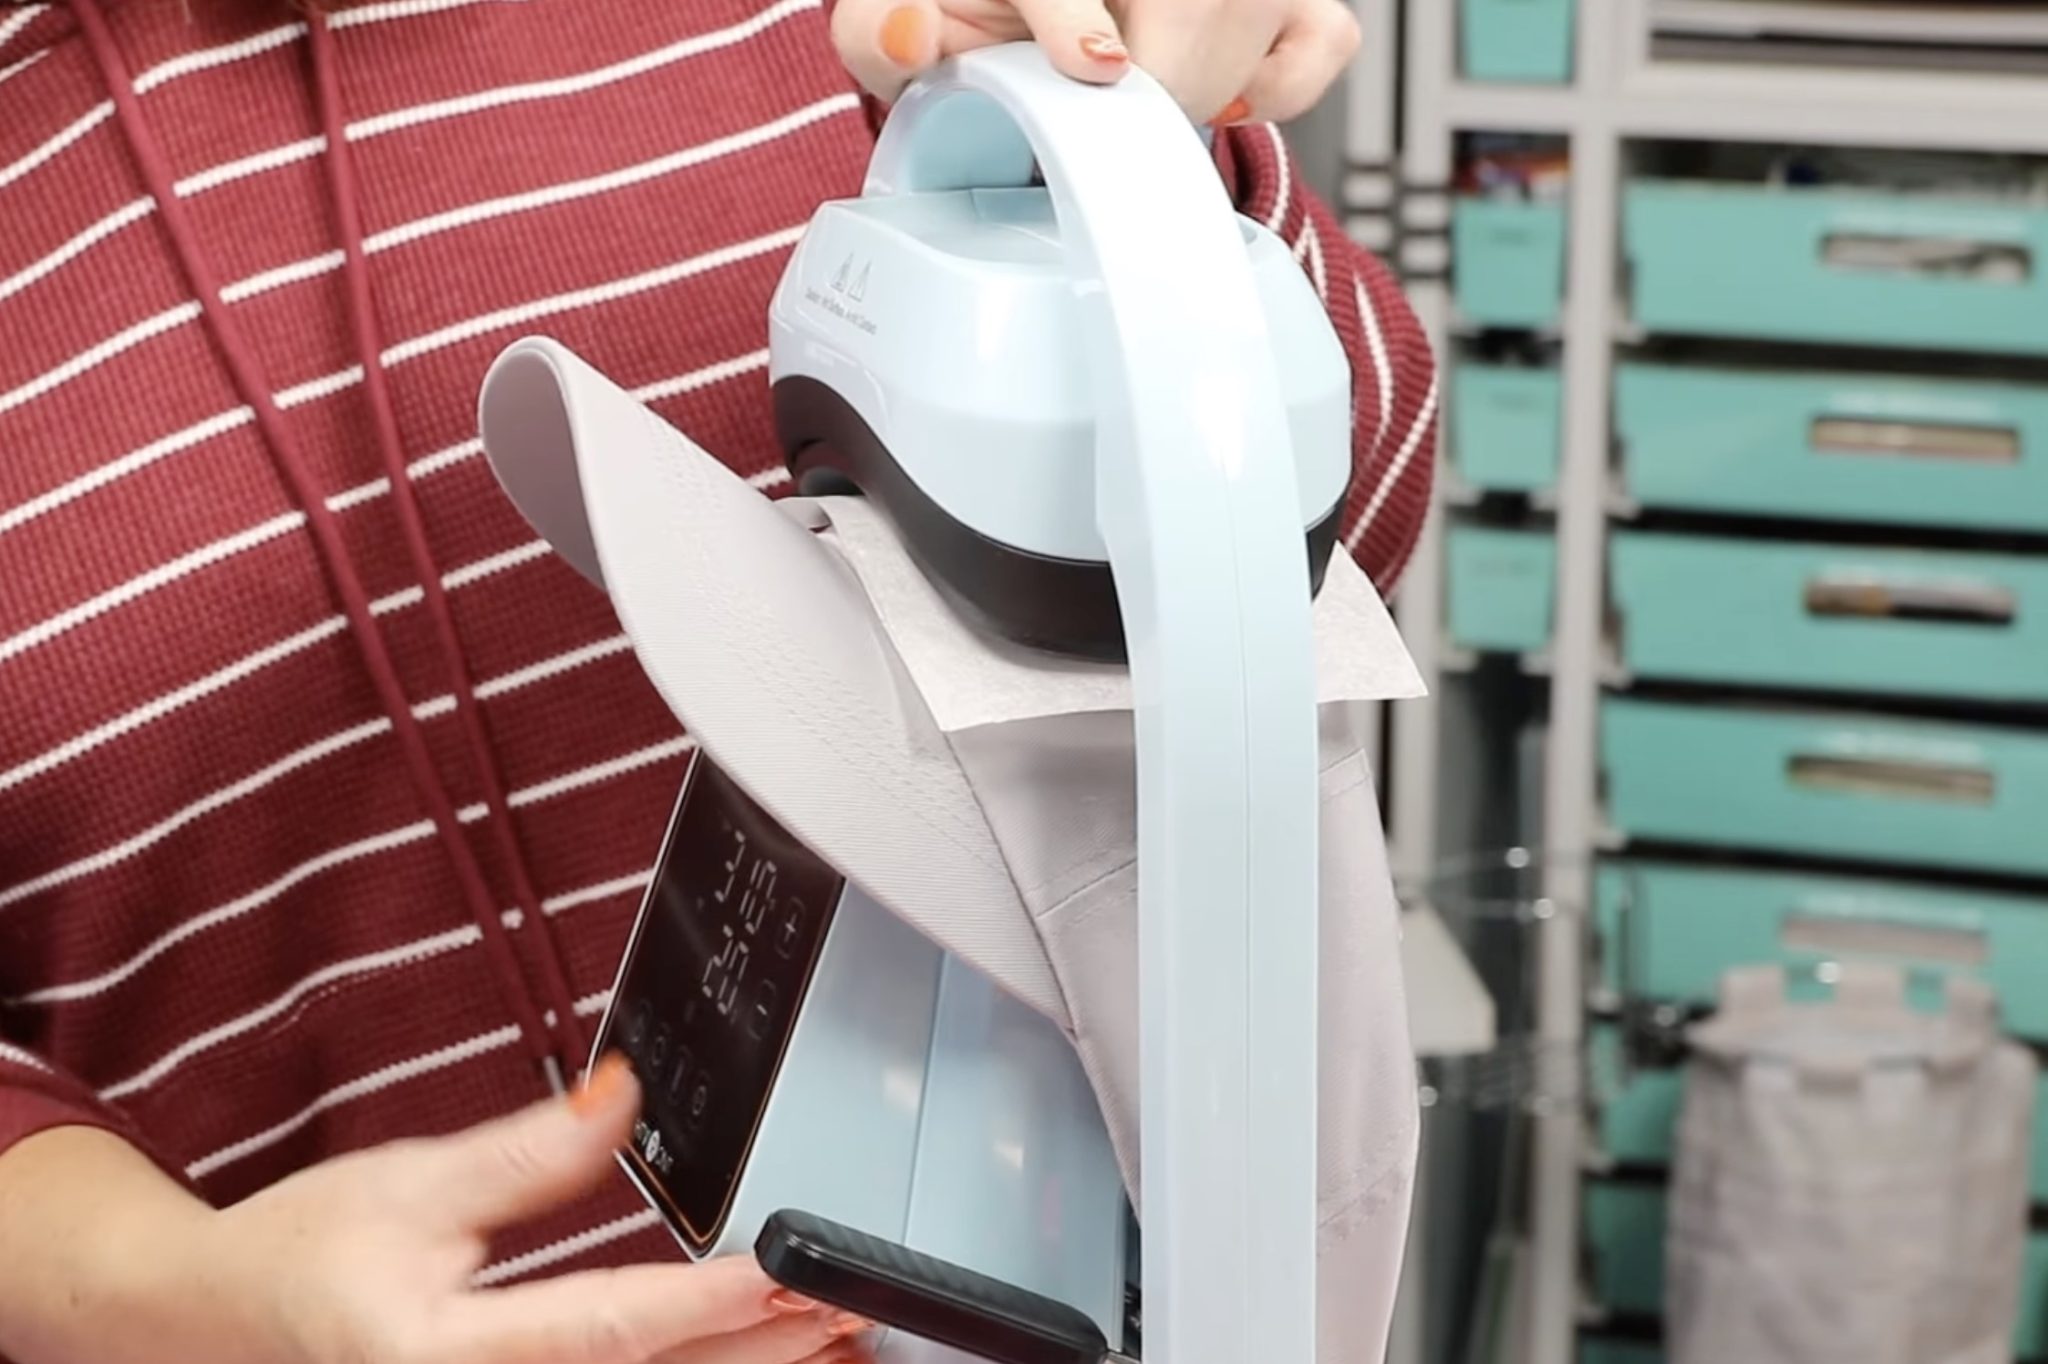
Step 3. Press
Press the R, and the top platen will automatically lower onto the hat.
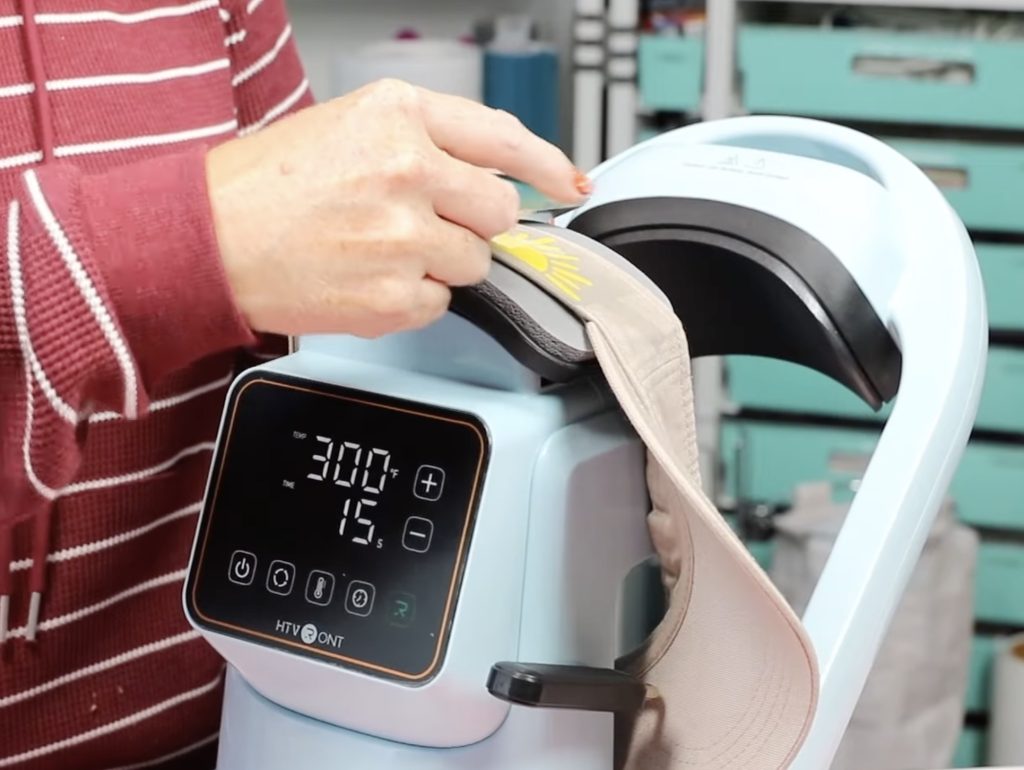
When the time is up, the top platen will rise. You will need to manually move it toward the back.
My HTV is a cold peel. While it cools, go over it with a scraper or DTF cooling block to help the adhesive stick to the hat while it cools.
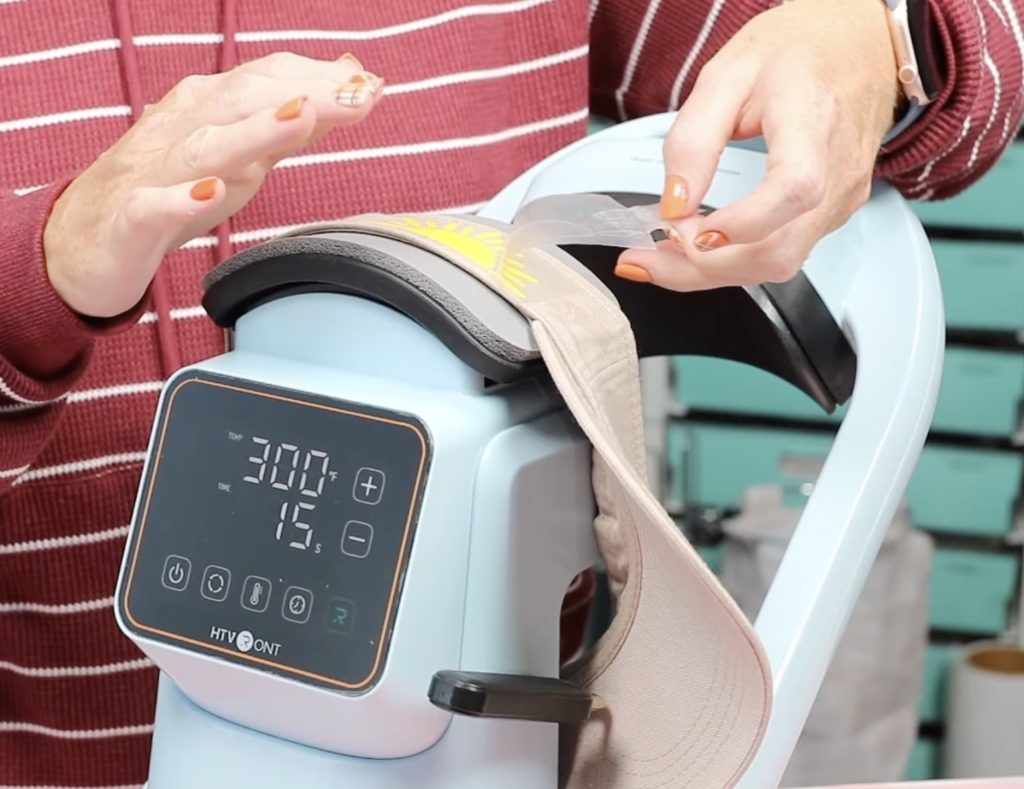
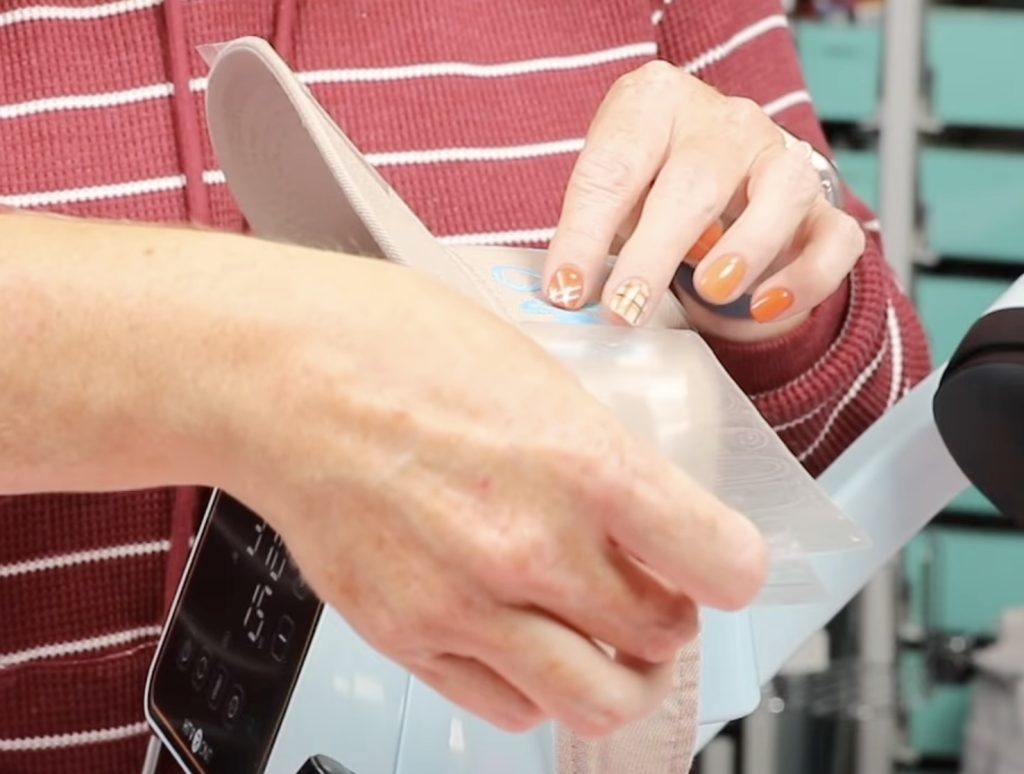
Step 4. Remove the Carrier Sheet
When it's cool, gently lift the carrier sheet to make sure it's stuck down well.
If it is, remove the carrier sheet.
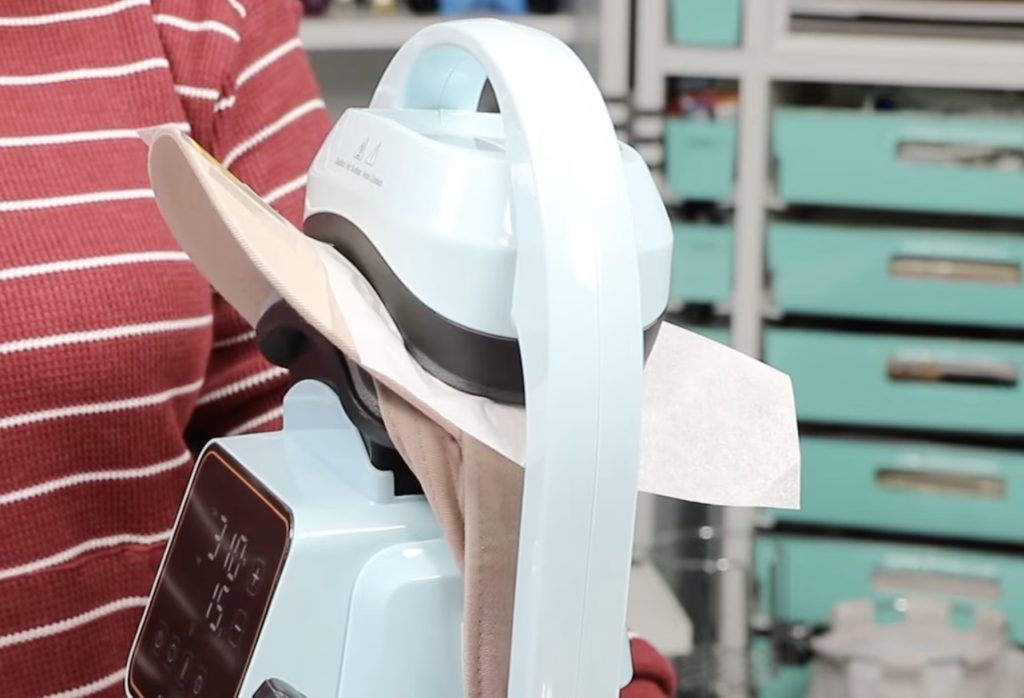
Step 5. Post Press
Since this is a surface that will curve around the head, I am going to do a post-press to make sure it's stuck down really well.
Place a piece of protective paper over the HTV to protect it from the heat and press for a few more seconds.
Can You Add HTV to the Bill of a Visor?
I wanted to try adding HTV to the bill of the visor to see how it would do.
Locate the HTV where you want it and, if needed, secure it in place with stronggrip heat-resistant tape.
Place the bill in the hat press. I had to hold the visor in place until the top platen lowered because it didn't work for me loading it the other way.
When the time was up, the top platen rose, and I removed it and allowed it to cool completely before trying to remove the carrier sheet.
Using this hat press and this HTV, even letting it cool while I pressed the front of the visor, it did not stick at all.

I would say, for this combination, adding HTV to the bill does not work.
Can You Use Puff HTV with the HTVRont Auto Hat Press?
Next, I'm going to test Glitter Puff HTV to see if it will puff up using the HTVRont Auto Hat Press.
Step 1. Add Visor to the Hat Press
When pressing the front of the hat, make sure you flip the sweat brim out so the surface is flat against the bottom platen.
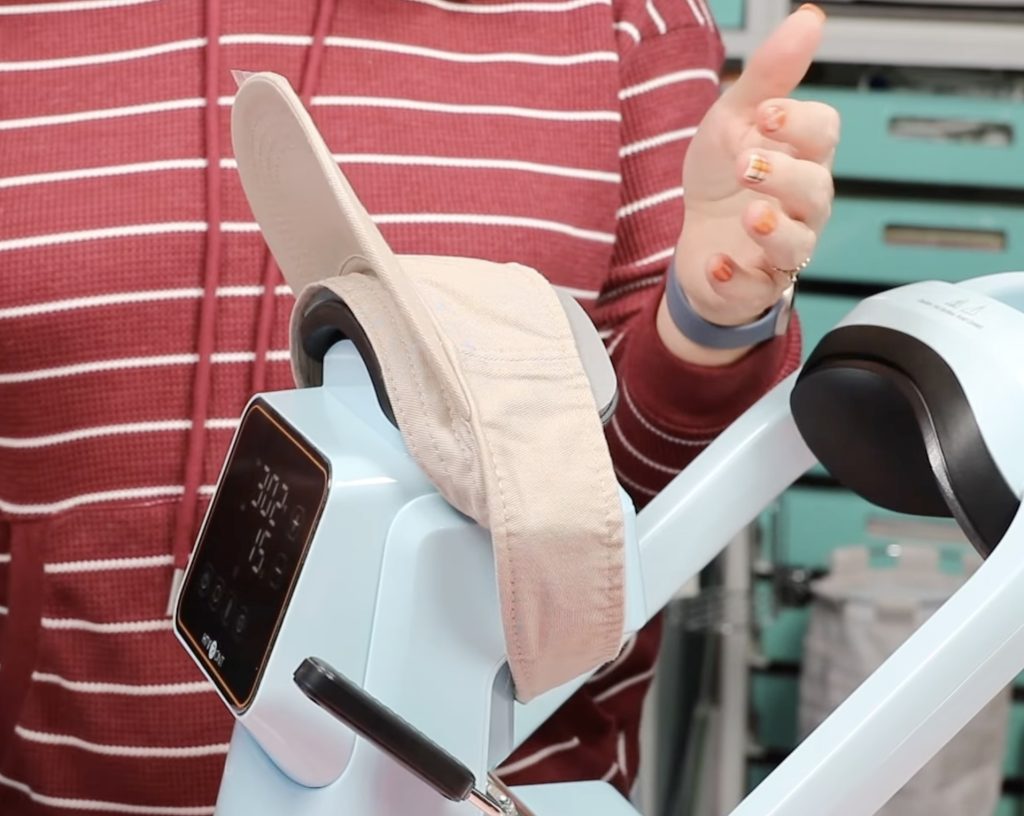
Lower the lever so the hat is nice and tight.
Step 2. Locate the Puff HTV
When using puff HTV, you want to make sure the entire design will fit under the heat plate so it can be pressed all at one time.
I made my design on the larger size so I could test if it would work with a medium-pressure auto press and if it heated evenly from side to side.
If needed, secure in place with heat-resistant tape.
Step 3. Multi-Step Press Process
For Glitter Puff HTV, the first press is 2-3 seconds.
Rather than adjust the time, I am just going to press the R and then, after a couple of seconds, press the R again to raise the top platen.
After the first press, it says to peel the carrier sheet back while it is warm. I went over the Puff HTV with my DTF cooling block for a few seconds to make sure it's pressed down everywhere and to help it cool a little more quickly.
Gently remove the carrier sheet. It's okay if you don't see the puff right now; that's what the second press is for.
Cover the HTV with protective paper and press again for the full 15 seconds.
When the time is up, check to see if the entire design is puffed up. Mine was not completely puffed up on the ends so I pressed it again for a few seconds and it looks really good.
If it looks good, move the heat platen out of the way, remove the protective paper, and your HTV visor is done.
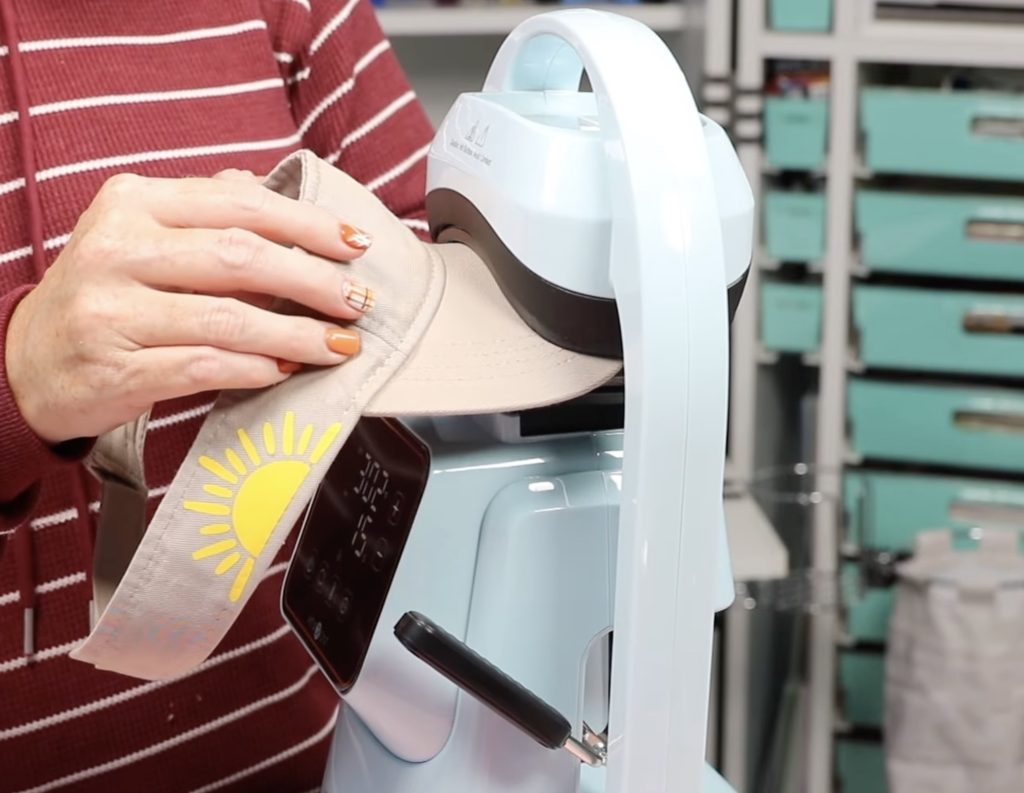
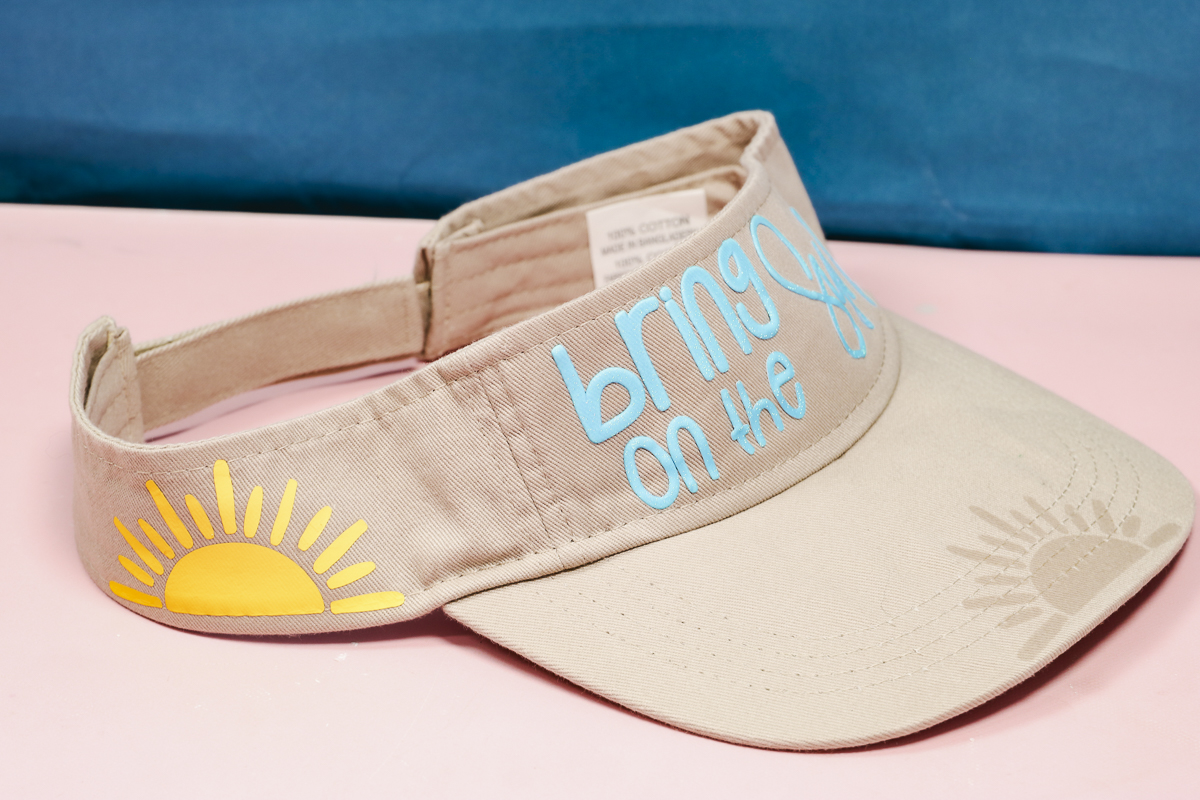
Step 4. Finished Visor with HTV
Here is the finished visor, and where the HTV stuck, it looks so good.
I can't say why the HTV did not stick to the bill. It's possible that whatever is inside to make it stiff, holds too much moisture, or it's possibly too hot for too long after removing it from the press.
If you want to add a design to the bill, I'd start with something really small and see if you can get it to stick. It may do better using something like the EasyPress Mini.
The HTV on the bill of the hat is the same HTV that I added to the side of the hat, so I know it does work, just not on the bill.
Other than that, both the regular HTV and Glitter Puff HTV look so good. I am really happy with the results.
Add a Heat Activated Adhesive Patch to a Hat
For my next project, I am going to see how the HTVRont Auto Hat Press does with heat activated adhesive patches.
Step 1. Add the Hat to the Auto Heat Press
If there is any cardboard or other packaging inside the hat, make sure to remove that.
Flip the sweat band out so it's on the outside of the press and use the lever to pull the hat tight against the platen.
Pre-heat the hat for a few seconds to remove any moisture.
Step 2. Locate the Patch on the Hat
Locate the patch where you want it on the hat and use heat-resistant tape to secure it in place.
Cover the patch with a small piece of protective paper to protect the fibers from the heat plate.
Step 3. Press the Patch onto the Hat
Set the time and temperature to what is recommended for your patch and your blank and press the R button.
When the time is up, allow the patch to cool for a few seconds and then lift the protective paper and check all around the edge to make sure it's stuck down well everywhere.
If it is lifting anywhere, replace the protective paper and press again for a few more seconds.
Step 4. Close Up of Finished Patch Patch
My patch stuck perfectly. This is a chenille, fuzzy patch, and it stuck down everywhere perfectly.

If you have press marks after pressing, you can use something like the EasyPress Mini to go over those lines to iron them out.
I think the HTVRont Auto Hat Press is perfect for adding patches to hats.
It would also probably work really well for adding patches onto fanny packs and other small bags that will fit on the press. Having that pressure from the bottom and top is ideal for these heat-activated adhesive patches.
Add DTF Prints to a Bucket Hat
Next, I'm going to test adding all of these DTF prints to a bucket hat. My hope is they'll look kind of like patches on the hat. I think that'll be really fun if it works.
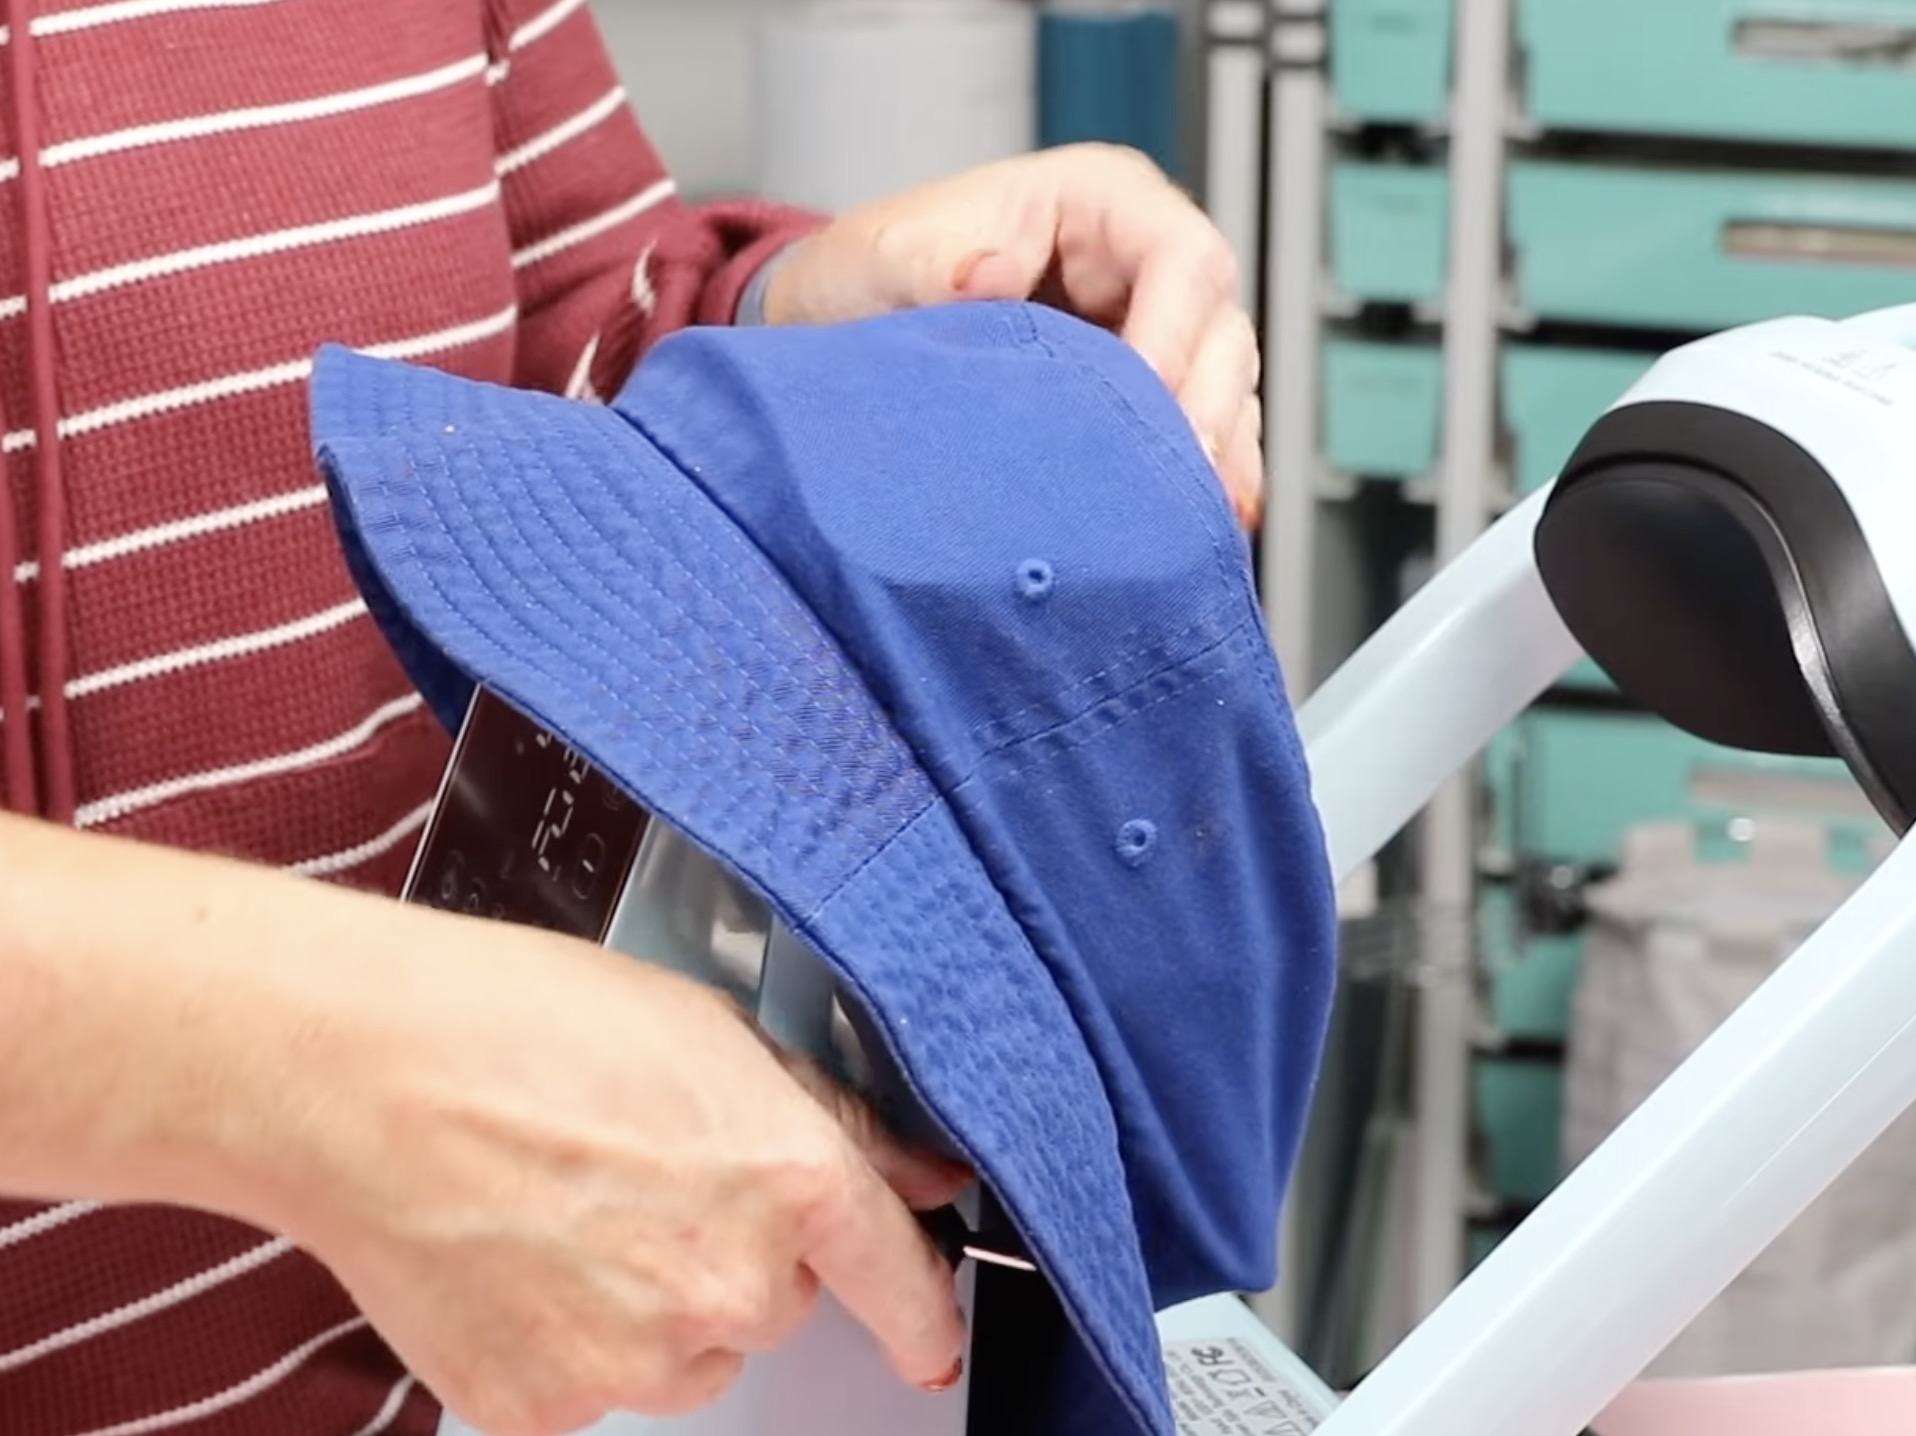
Step 1. Add the Hat to the Auto Hat Press
How you'll load the hat onto the Auto Hat Press will depend on where you want your patch to be. I plan to add patches all around it, so I'm going to start by loading it just like I did the ball cap.
Adjust the time and temperature recommended for your DTF print.
Step 2. Pre-Press the Hat
Depending on where you get your DTF print, it may be recommended that you do a pre-press of the fabric to remove any moisture and to heat it up a little bit.
If your recommendations call for a pre-press, do that now.
Step 3. Locate DTF Print on the Hat
Locate the DTF print on the hat where you want it and secure it in place with heat-resistant tape.
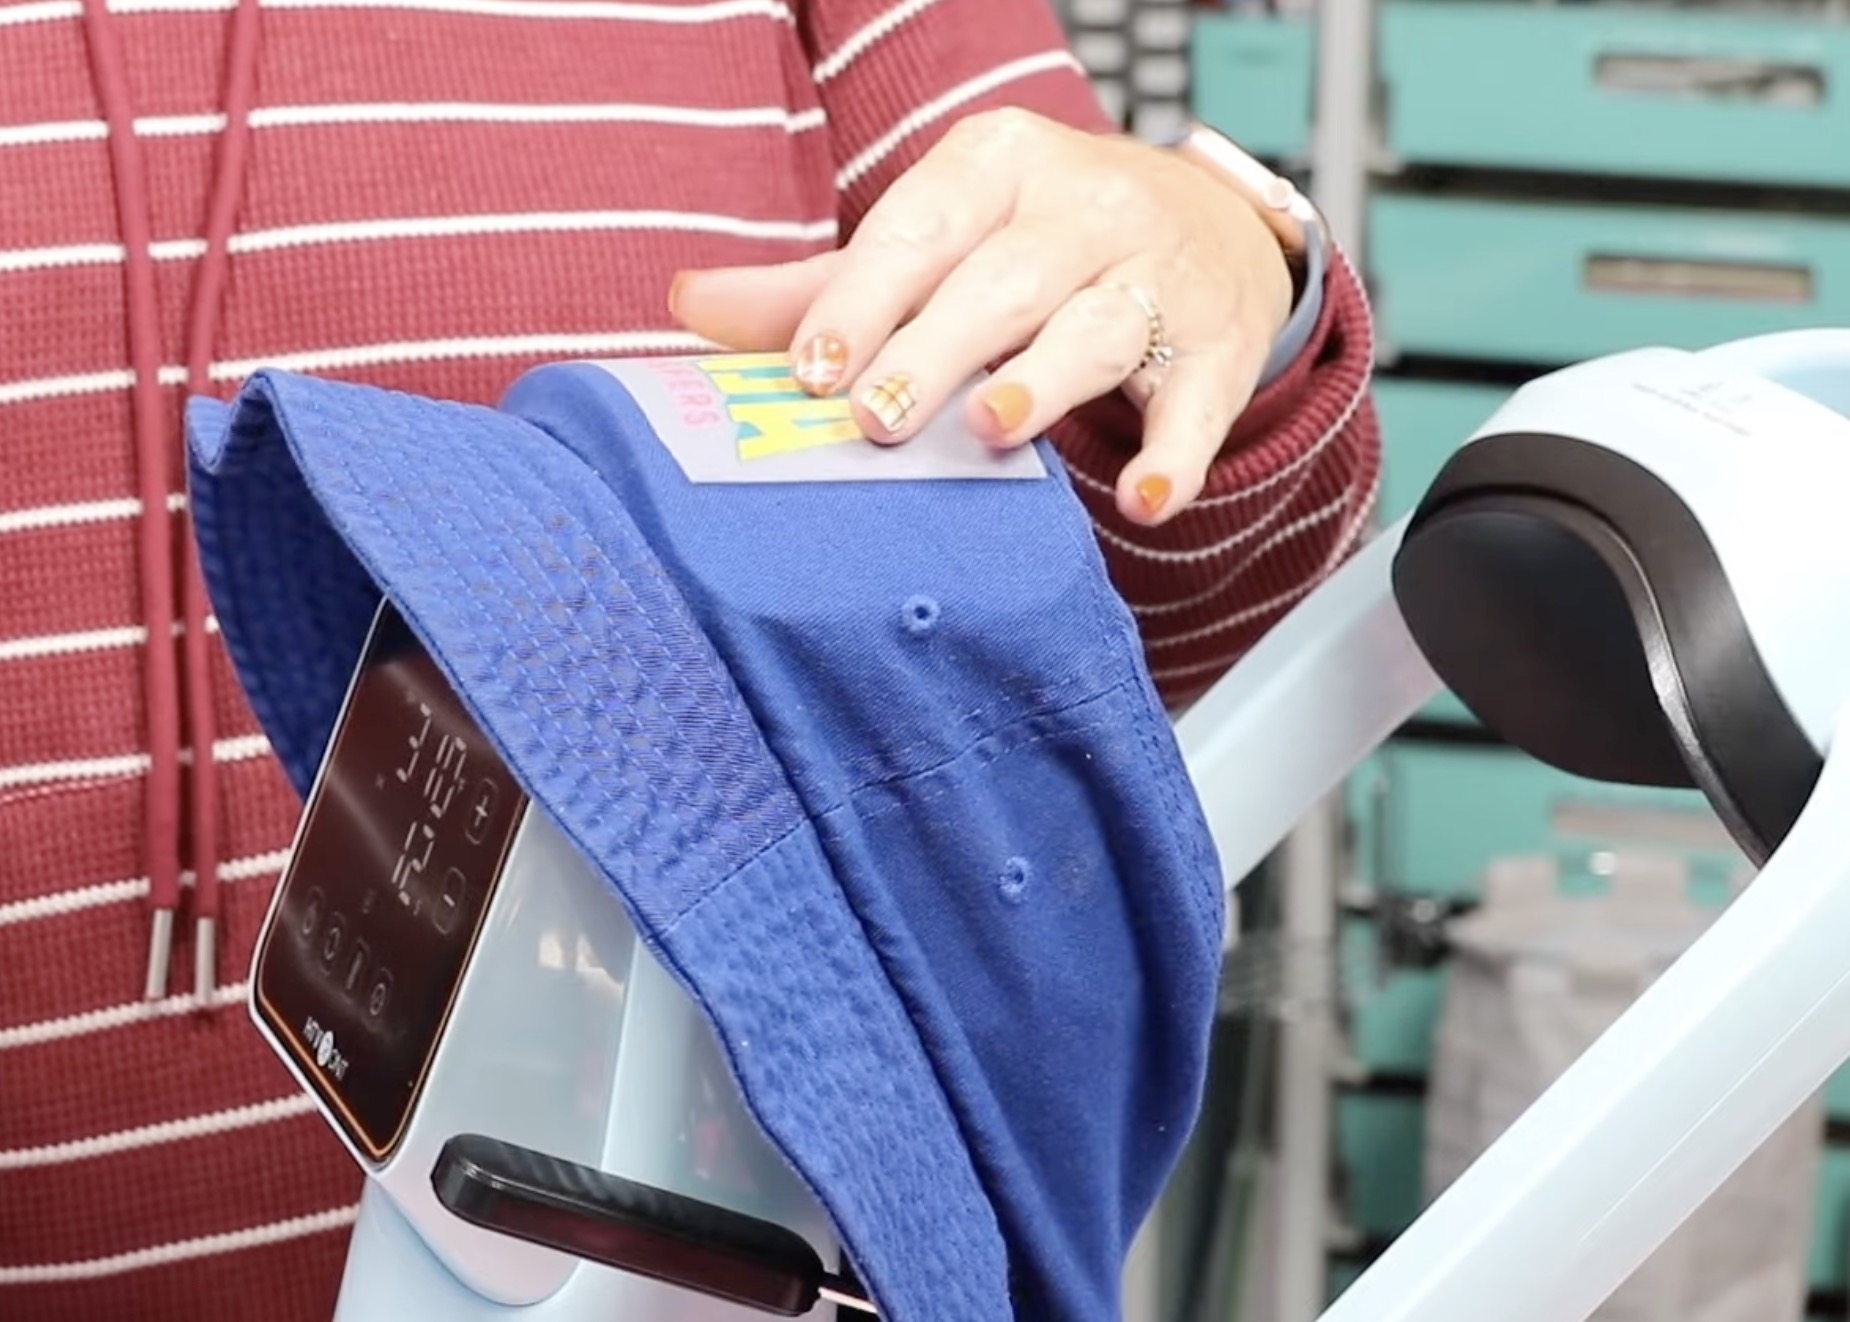
I add protective paper over the print during the first press. You can also use heat-resistant tape to hold that in place.
Step 4. Press DTF Print on the Bucket Hat with the HTVRont Auto Hat Press
With the design located, we can raise the top platen so it is over the design and press the R on the hat press.
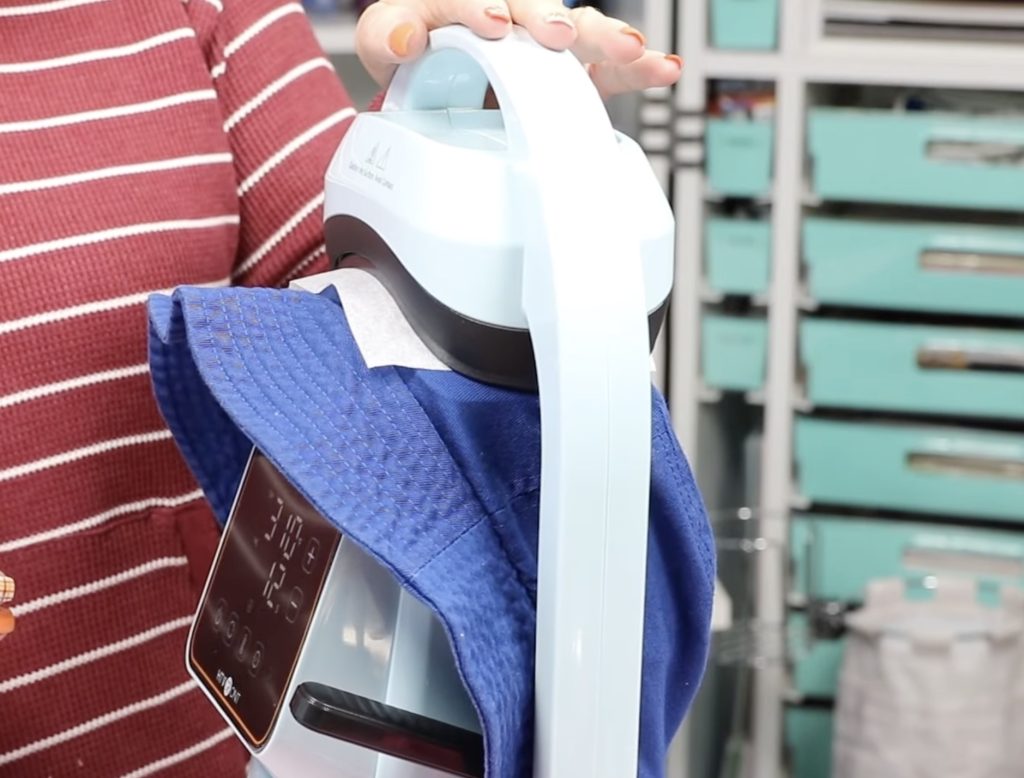
When it's done, move the top platen out of the way and remove the protective paper.
Check your recommended settings to see if your DTF is a warm peel or a cool peel.
Use the DTF cooling block to help speed up the cooling process.
Lift the edge of the carrier sheet to make sure the design is stuck down. If it is, remove the carrier sheet.
Cover the design with protective paper and press again for a few seconds. This post-press really helps press the DTF print into the fibers of the fabric.
Step 5. Repeat the Above Steps for Each Additional DTF Print You Add
With the first print done, we're ready to repeat the steps for each additional print.
I ended up adding a DTF print to the top of my bucket hat, too, and they all turned out great.
Step 6. Reveal the Finished DTF Bucket Hat
I think this DTF print bucket hat may be my favorite project with the HTVRont Auto Hat Press.
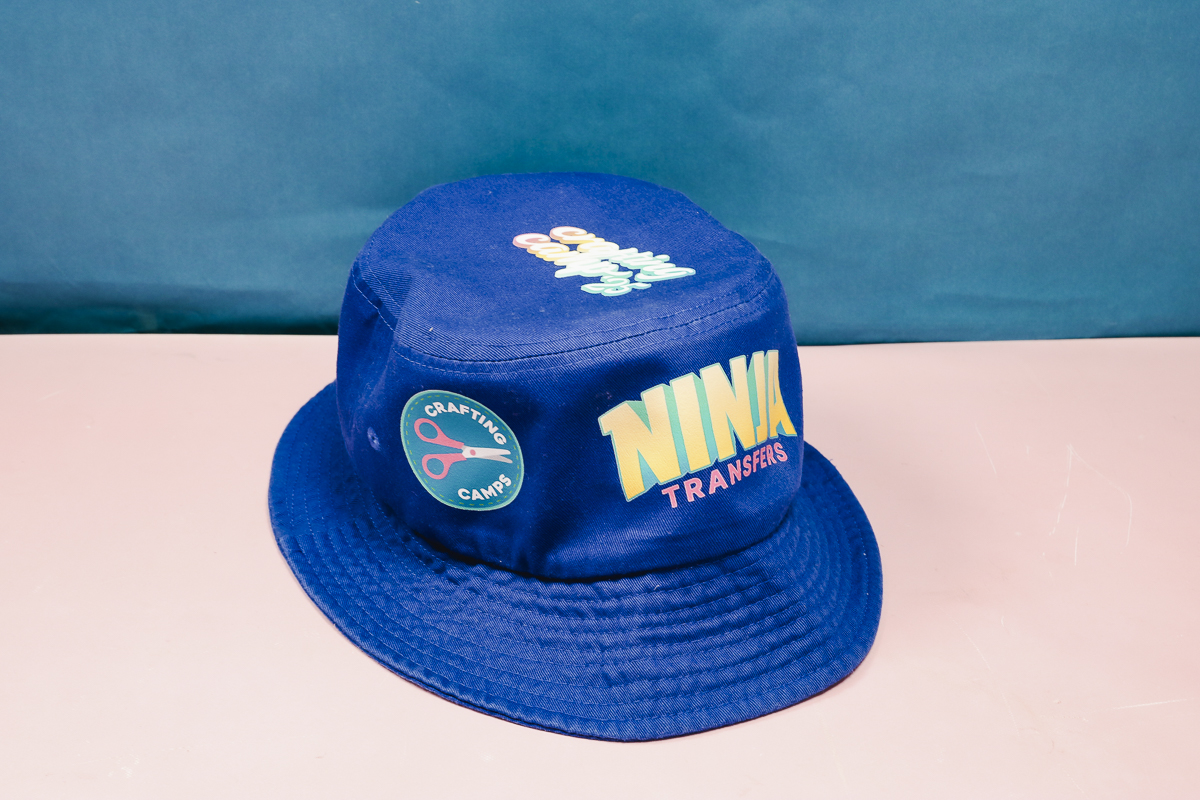
The DTF prints, mine are from Ninja Transfers, all worked perfectly.
The process is so easy, and I think they'd be the same no matter what hat you use. I highly recommend DTF prints with this hat press.
Can You Do Sublimation with the HTVRont Auto Hat Press?
For my last project, I am going to test sublimation.
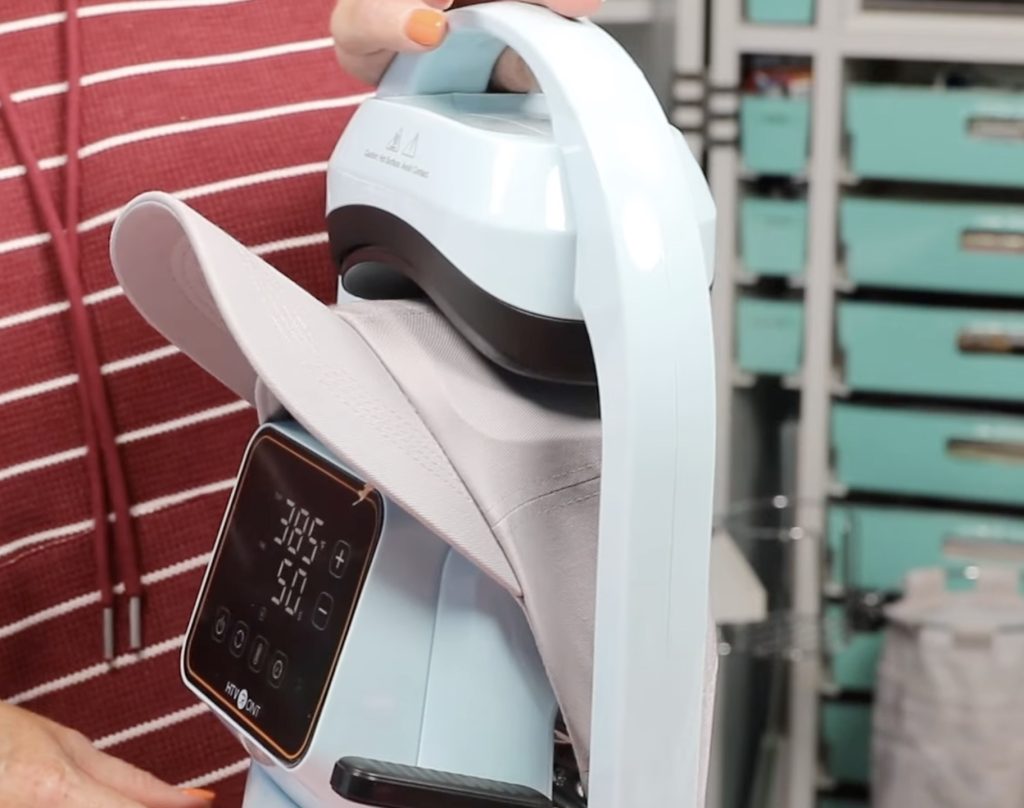
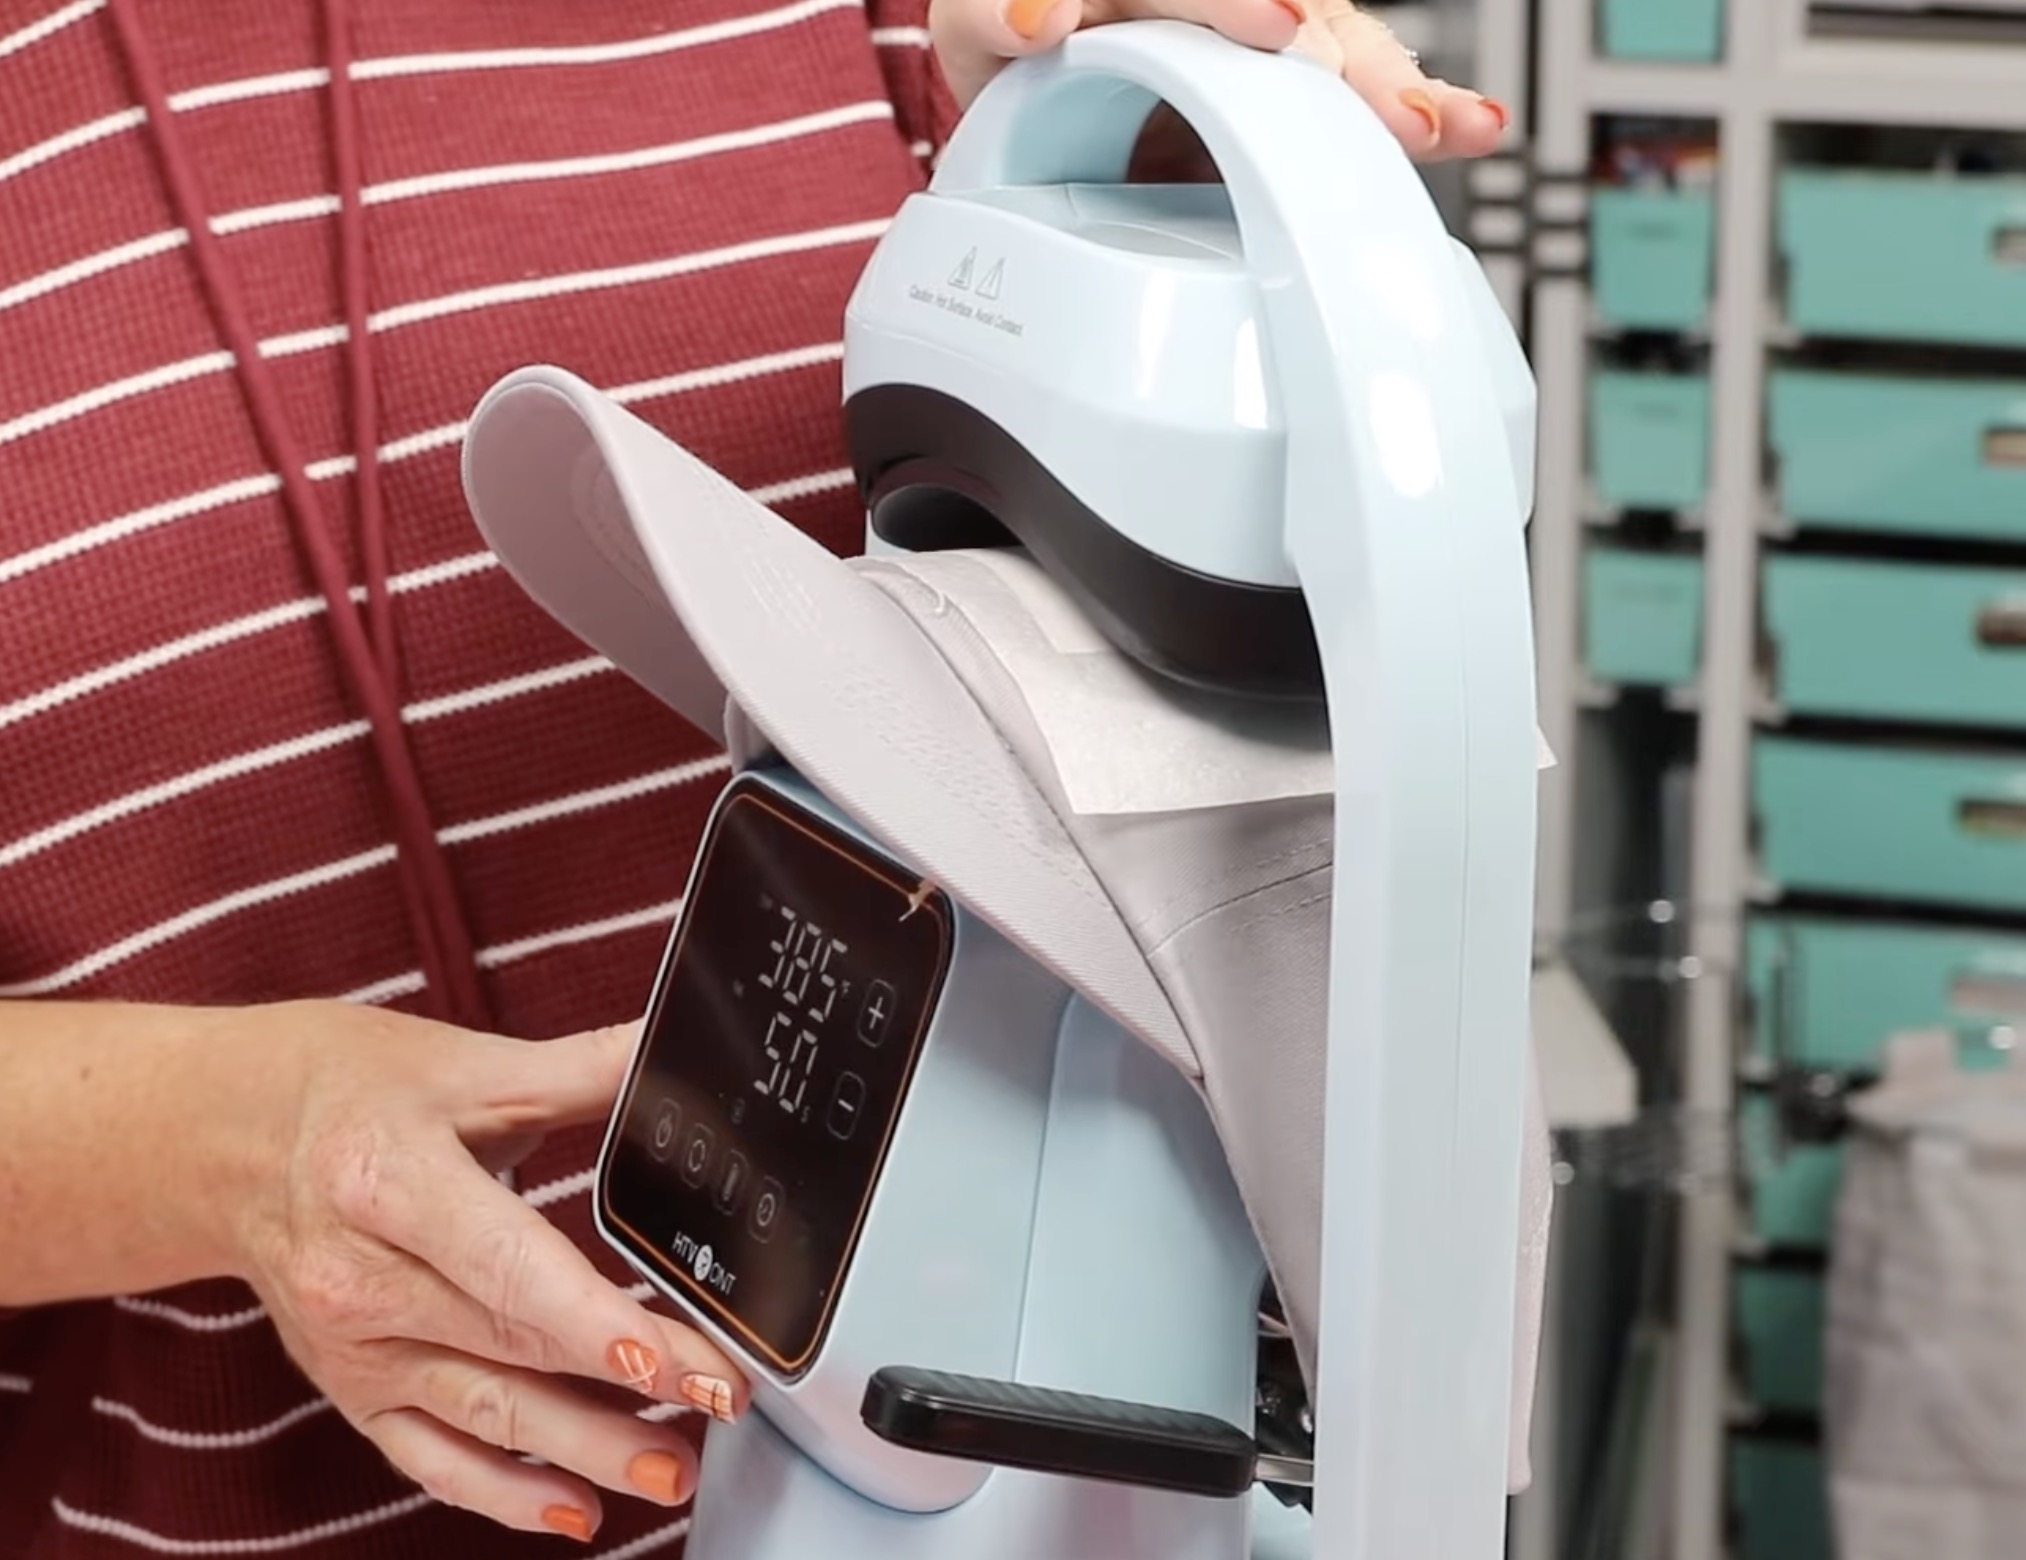
The HTVRont Auto Hat Press does go up to 400 degrees, so it gets plenty hot enough for sublimation.
The recommended temperature setting for my project is 385 degrees, and the time is 50 seconds.
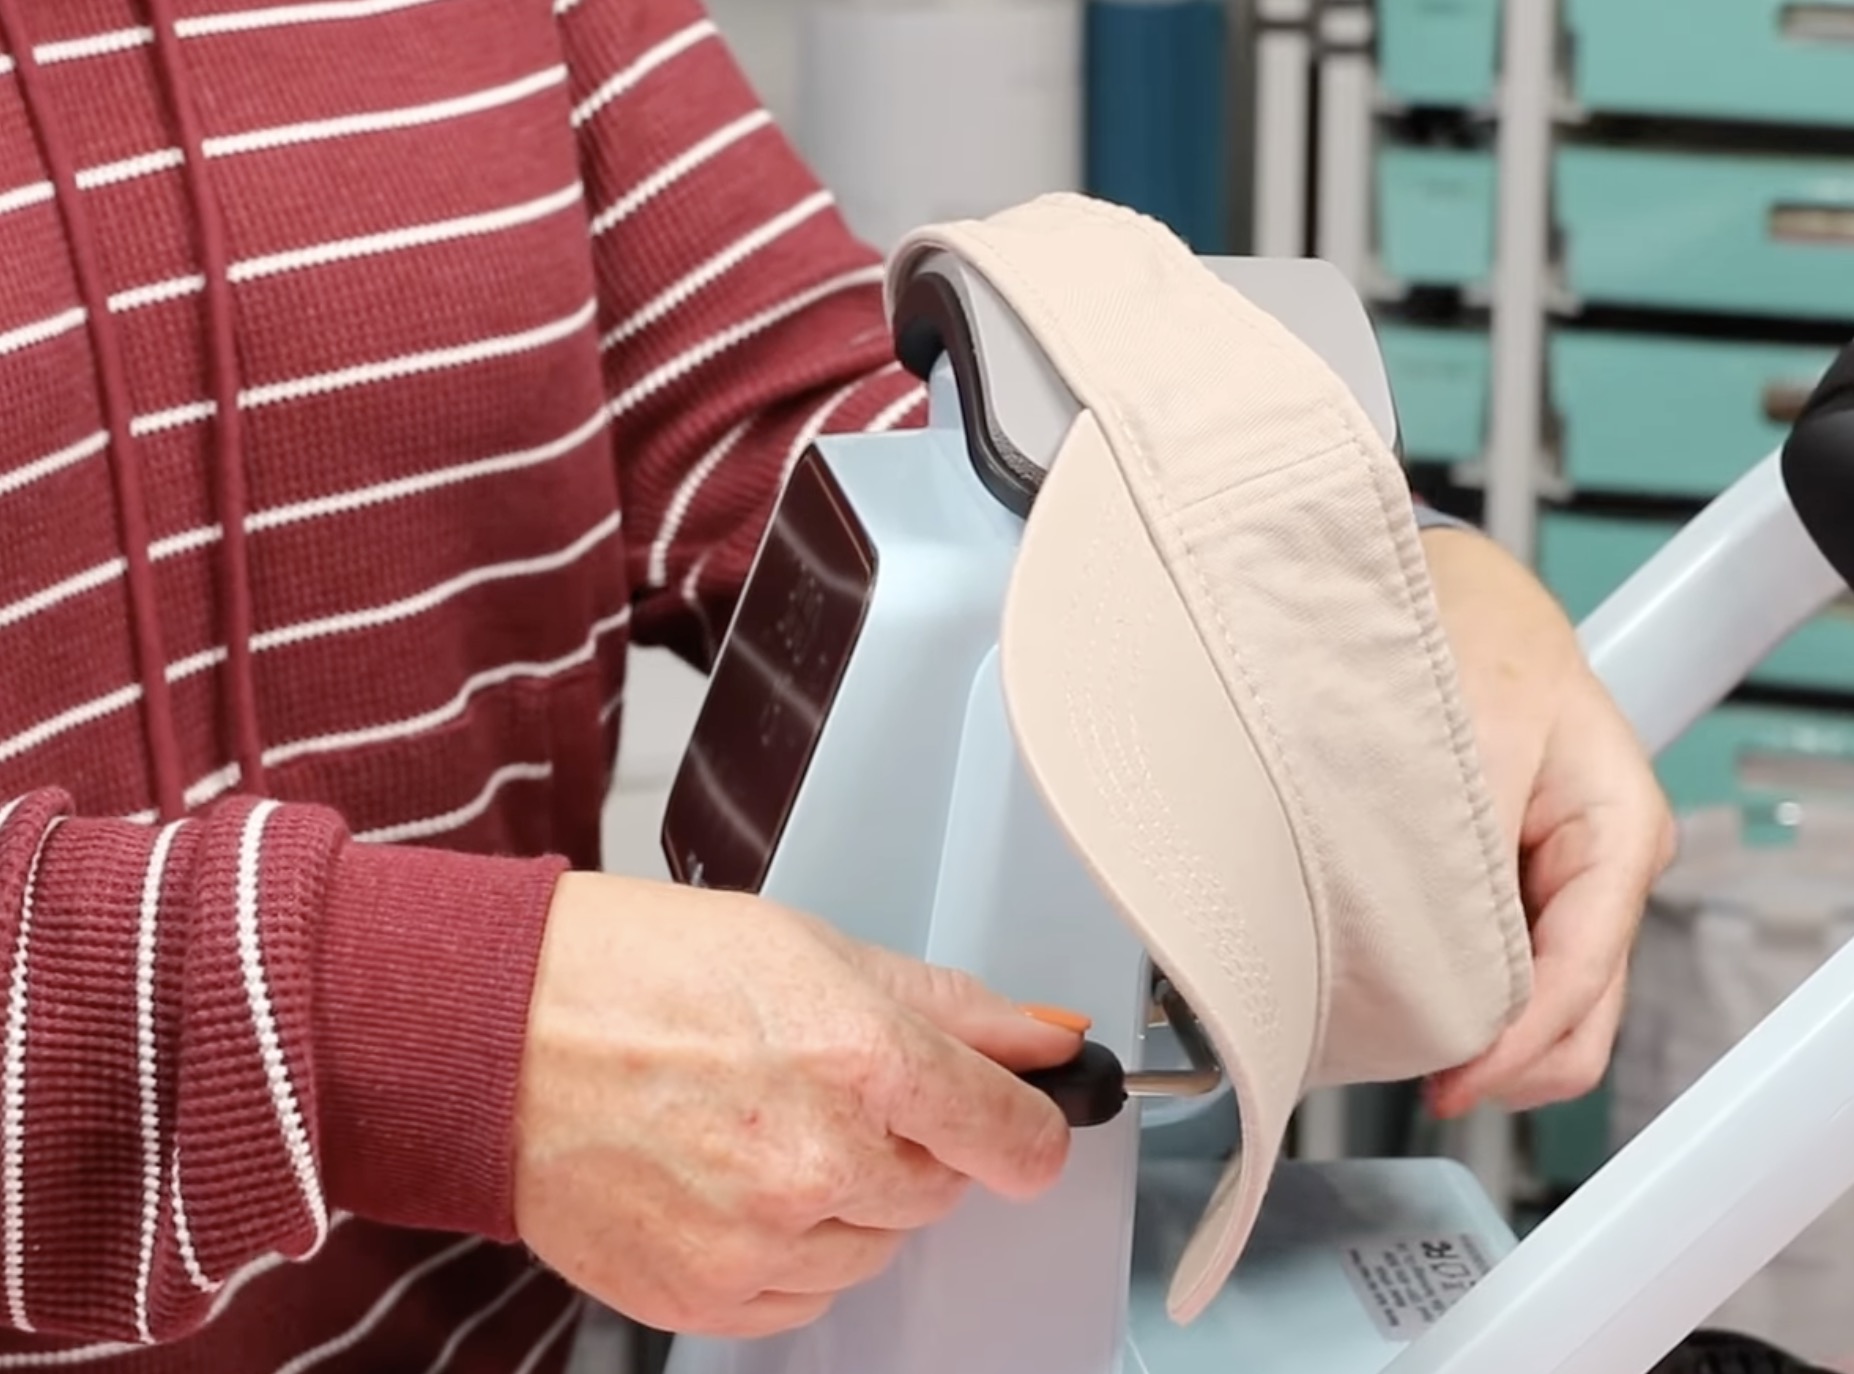
Step 1. Add the Ball Cap to the Hat Press
The process for sublimation is exactly the same as it was for the other ball caps.
Load the hat onto the press. Use the lever to pull it tight. Make sure you move the sweat band out of the press before you begin.
Step 2. Prepare the Hat for Sublimation
If you've followed me for any length of time, you know that moisture is the enemy of sublimation.
Make sure you do a pre-press of your hat to remove any moisture.
When the pre-press is done, lint roll the surface well to remove any dust, pet hair, or other debris.
Step 3. Locate Sublimation Design on the Hat
Next, allow the hat to cool enough that the sublimation print won't start to transfer before you're ready, and then locate the design.
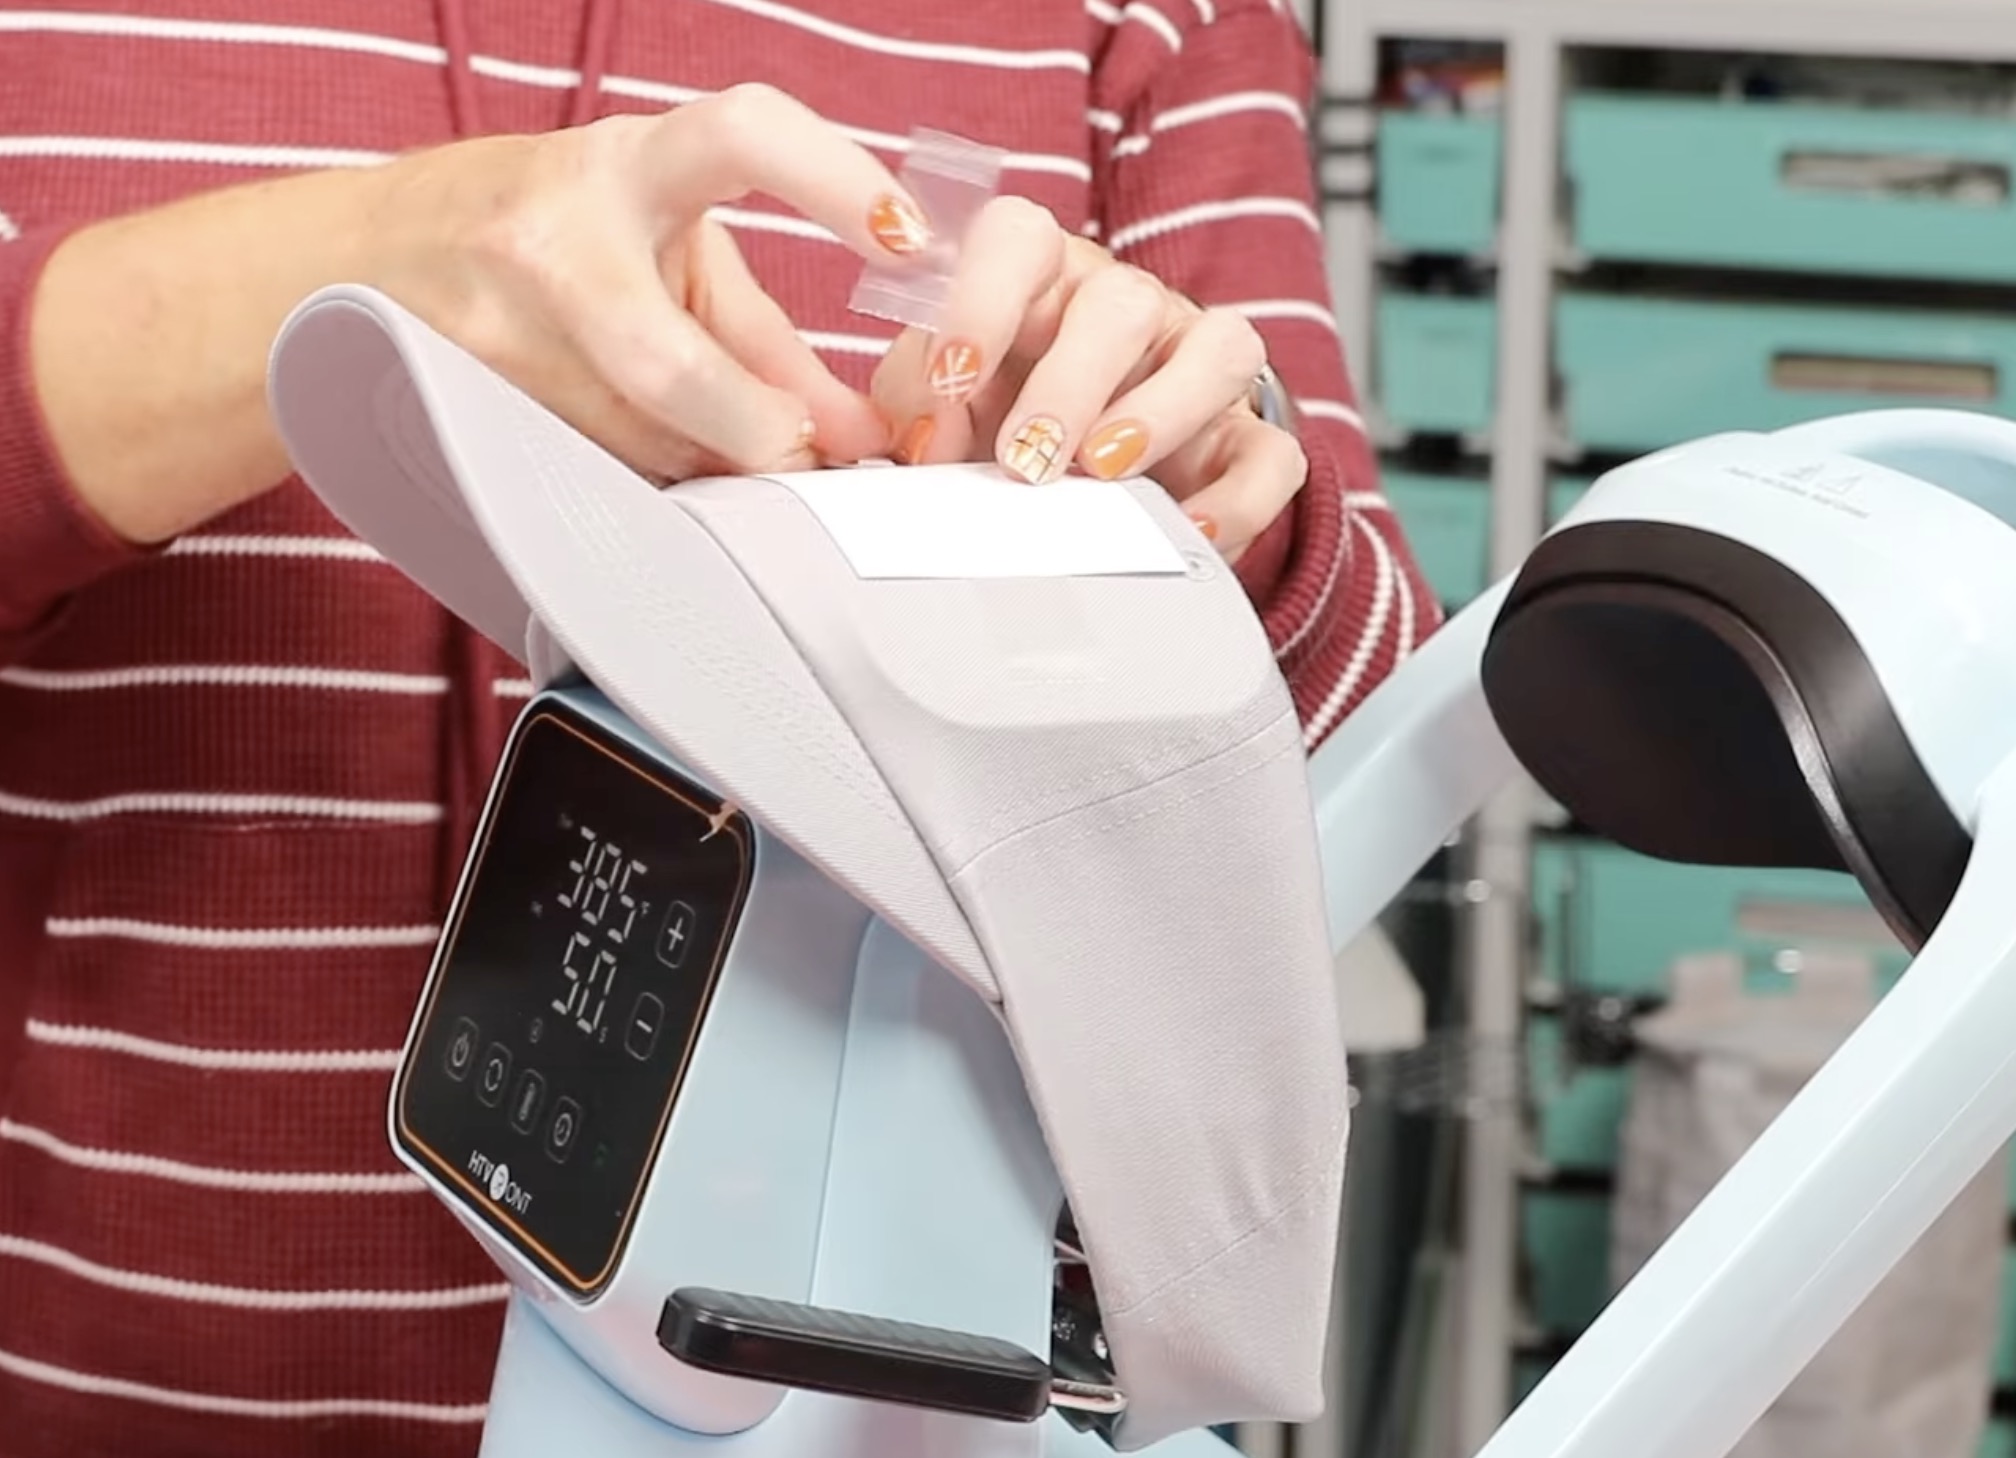
I have my design centered on the front of the hat.
Secure with heat-resistant tape and cover with protective paper.
Step 4. Press Sublimation Design
Lift the top platen so it's covering your design and press the R on the hat press to begin the pressing process.
When the time is up, move the top platen and the protective paper.
Step 5. Peek Test Your Hat
With sublimation, I always do a peek test. This test involves lifting the print just a little along the edges to see if it has transferred completely.
The reason I do this test is that if I just remove the print and it didn't transfer correctly, I will never get it lined up perfectly again.
If I do a peek test without removing the print, if the design didn't transfer, I can lay it back in place and press the whole thing again for a few more seconds.
This process can be very hot, so if needed, use heat-resistant gloves.
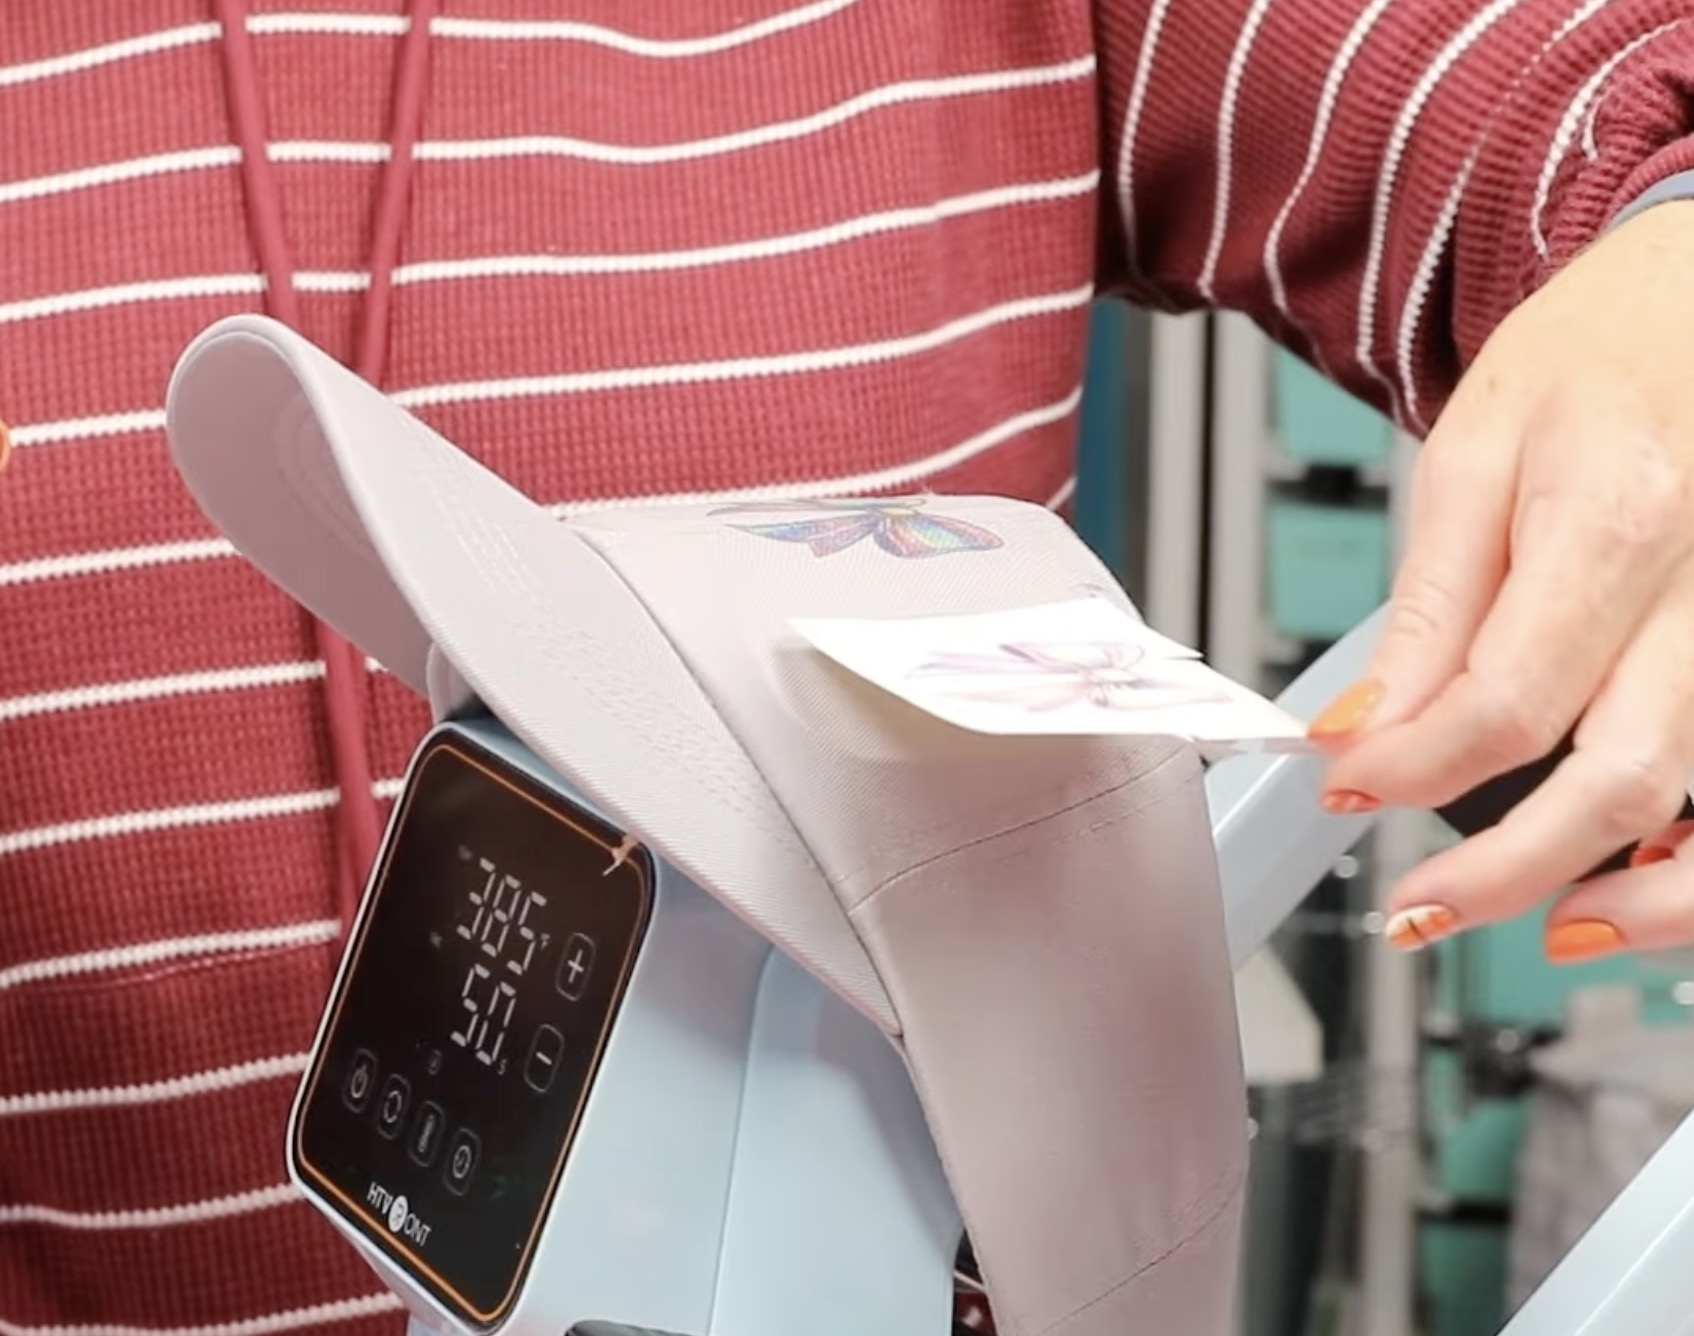
Step 6. Remove the Sublimation Print
My design transferred beautifully and my hat is done.
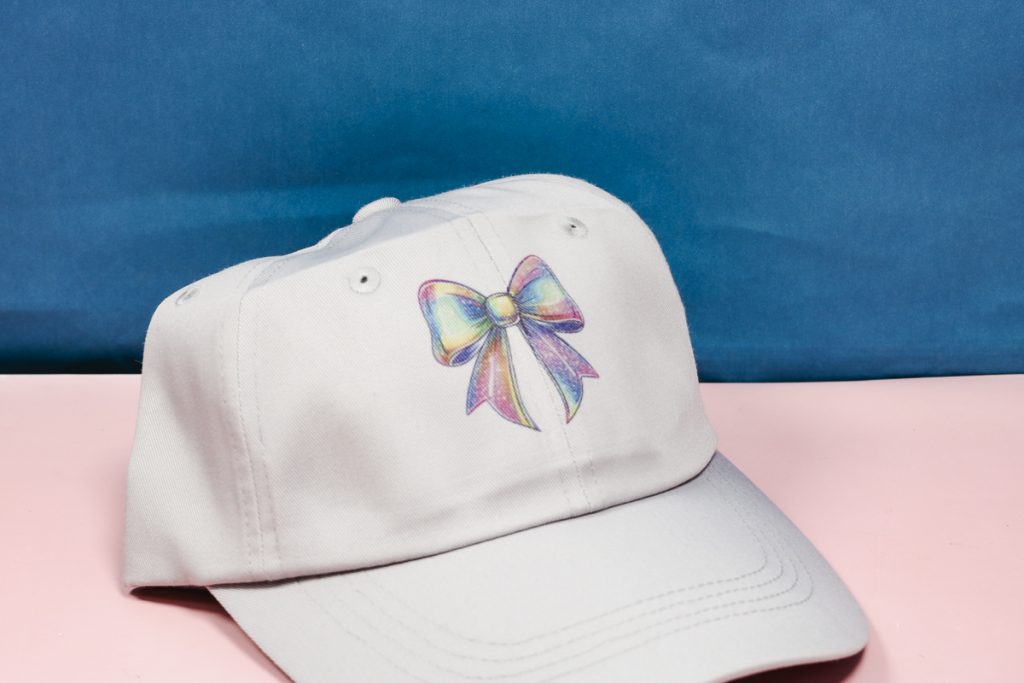
I'm really impressed with how well the sublimation print transferred. All the colors are vibrant from side to side, even on this hat that is not white.
I did notice more pressing marks on this hat compared to the others. I think this is because of that higher temperature.
Again, I use the EasyPress Mini to press out those lines, and that seems to work well, even on these hats.
Is the HTVRont Auto Hat Press Right for You?
I am really impressed with the HTVRont Auto Hat Press. I like the size, and I am really happy with how it worked with all the different materials I tried today.
Unfortunately, I could not get the HTV to stick on the bill of my hat. In the end, I think that is the only real complaint I have, and I'm not even sure it's specific to this machine. It may not have stuck with any press.
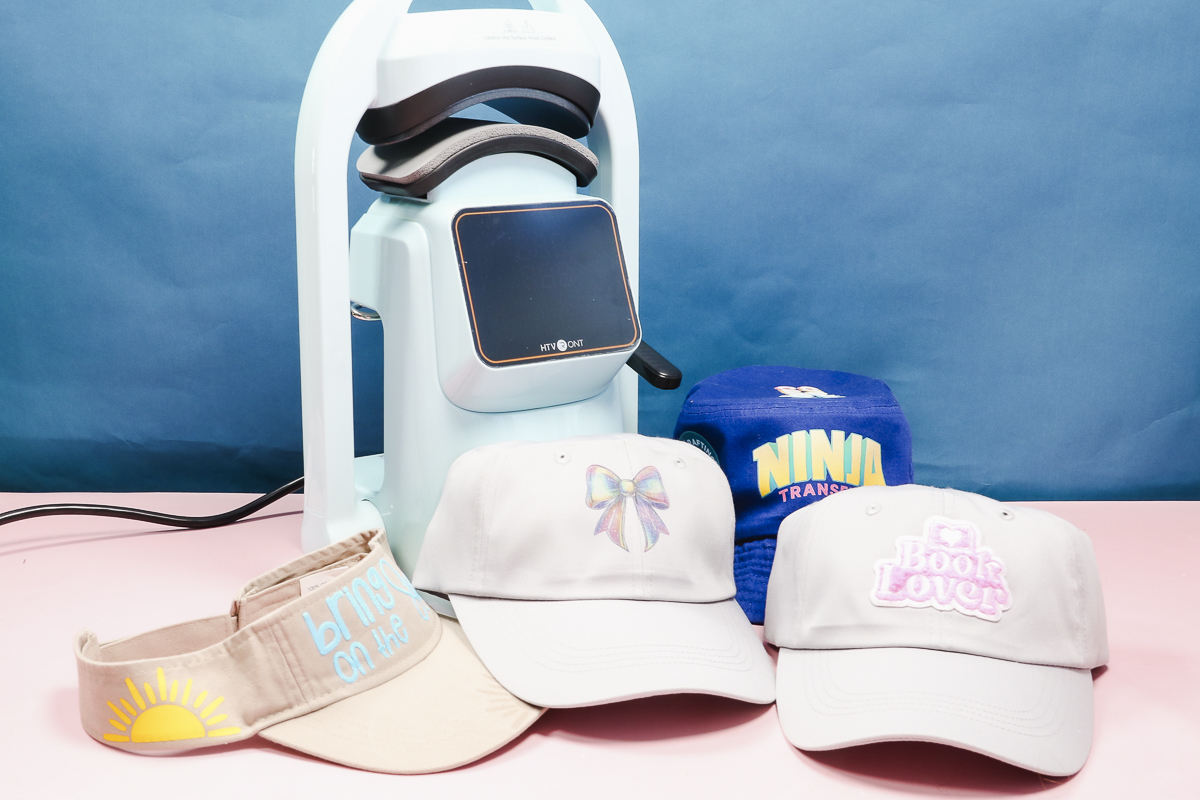
HTV, Glitter Puff HTV, DTF, Sublimation, and adhesive patches all worked perfectly with it.
If I were forced to choose, I think the DTF bucket hat would win.
I am always a fan of DTF; it's just so easy to press, and the full color designs from Ninja Transfers always look so good.
If you are planning to make more than a handful of hat projects this year, I would recommend the HTVRont Auto Hat Press over a handheld press, especially if you're using sublimation. Holding a handheld press perfectly still for 50-80 seconds can be hard, and with sublimation, if you move your heat source around, you will get ghosting.
This is also a great option if you have any issues with your hands. Handheld hat presses aren't always really heavy, but they're not nothing either. If you have issues with gripping or overall hand strength, this hat press would be a great option.
I hope I've answered any questions you have about the new HTVRont Auto Hat Press. If you have any additional questions, leave them in the comments, and I'll be happy to answer them for you.