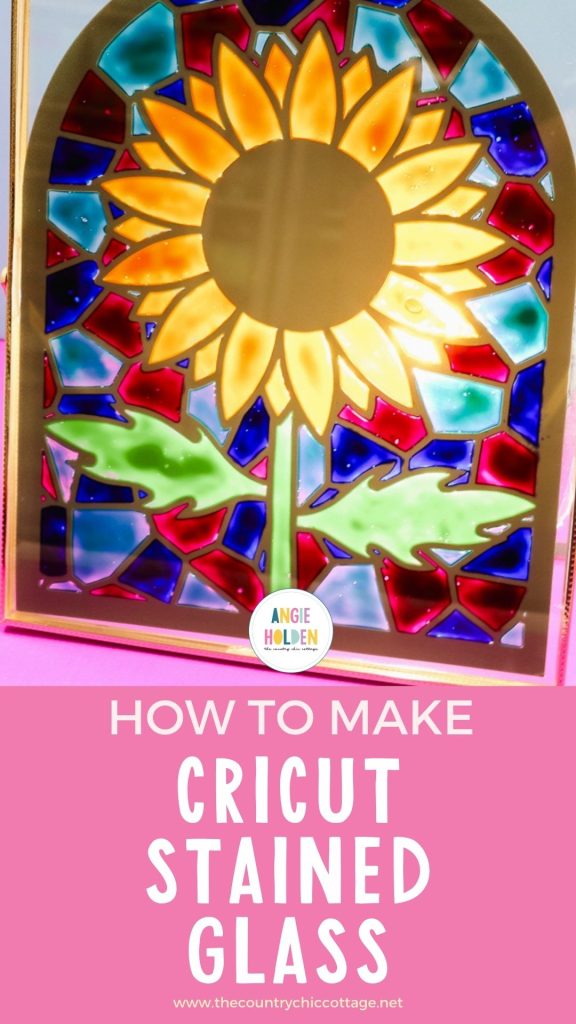
If you've ever wanted to make your own stained glass, you're going to love this tutorial. I'm going to show you how to create faux stained glass with your Cricut machine.
This process doesn't require soldering irons, glass cutters, or messy liquids to create the lines.
If you're new to using a Cricut machine, my 7-day Free Cricut Class is a great starting place.
In the past, when I've tried making my own faux stained glass, I have used a liquid leading for the lines and was never happy with the results.
It was hard to get straight lines; it wasn't precise, and it could also get goopy when applying.
When I saw Plaid had released Ready to Cut Instant Leading sheets that could be cut with a Cricut machine, I knew I had to give them a try.
Pairing these sheets with a Cricut machine allows you to cut flawless, precise leading lines that are easy to color in with vibrant glass paints.
How to Make Faux Stained Glass with a Cricut Machine
I'm not sure I have considered making my own faux stained glass after the last unsuccessful attempt, but these leading sheets have me excited to try it again.
I do want to note that I am using the Deep Point blade for this material. That means you'll want either an Explore machine or a Maker machine when working with this material.
Materials & Tools
The list below includes the materials and tools I used. You could use a different glass blank. The Gallery Glass paints even say they can be used on a vertical surface if you want to apply them directly to a window.
- Cricut Machine
- Deep Point Blade
- Standard Grip Mat
- Brayer
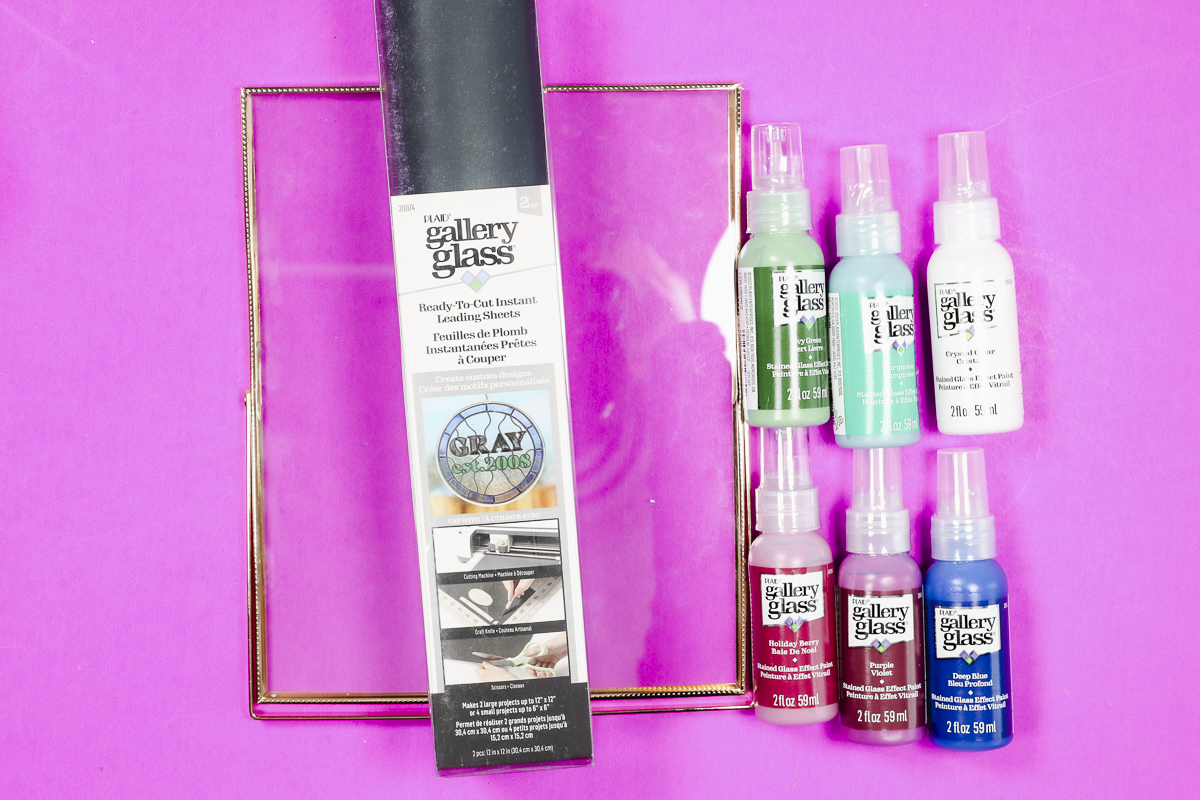
- Gallery Glass Leading Sheets
- Gallery Glass Paints (Make sure you use the Gallery Glass Paints if you're making your own faux stained glass; this won't work with just any paint.)
- Strong Grip Transfer Tape
- Rubbing Alcohol + Lint-Free Cloth or Alcohol Prep Pads
- Floating Glass Frame with two panes
- Toothpick or Wooden Skewers
- Weeding Tool
- Scraper Tool
Step 1: Find and Size Your Design
Before choosing a design, picture the stained glass you've seen. The design usually has clear, defined sections in various sizes that come together to complete a single image.
I was able to find a variety of designs on Creative Fabrica, so definitely check there.
Plaid Paints also has designs you can download for free right on their site.
I am using an image I found in Design Space. I searched “Stained Glass” and a lot of different designs popped up.
While scrolling through, I looked for images that would work with the size of my floating frame. Since this is my first project with the Leading Sheets, I don't want anything too detailed.
One option is to look for layered designs. Typically, with these designs, you can remove the colored layers and keep just the black outline layer.
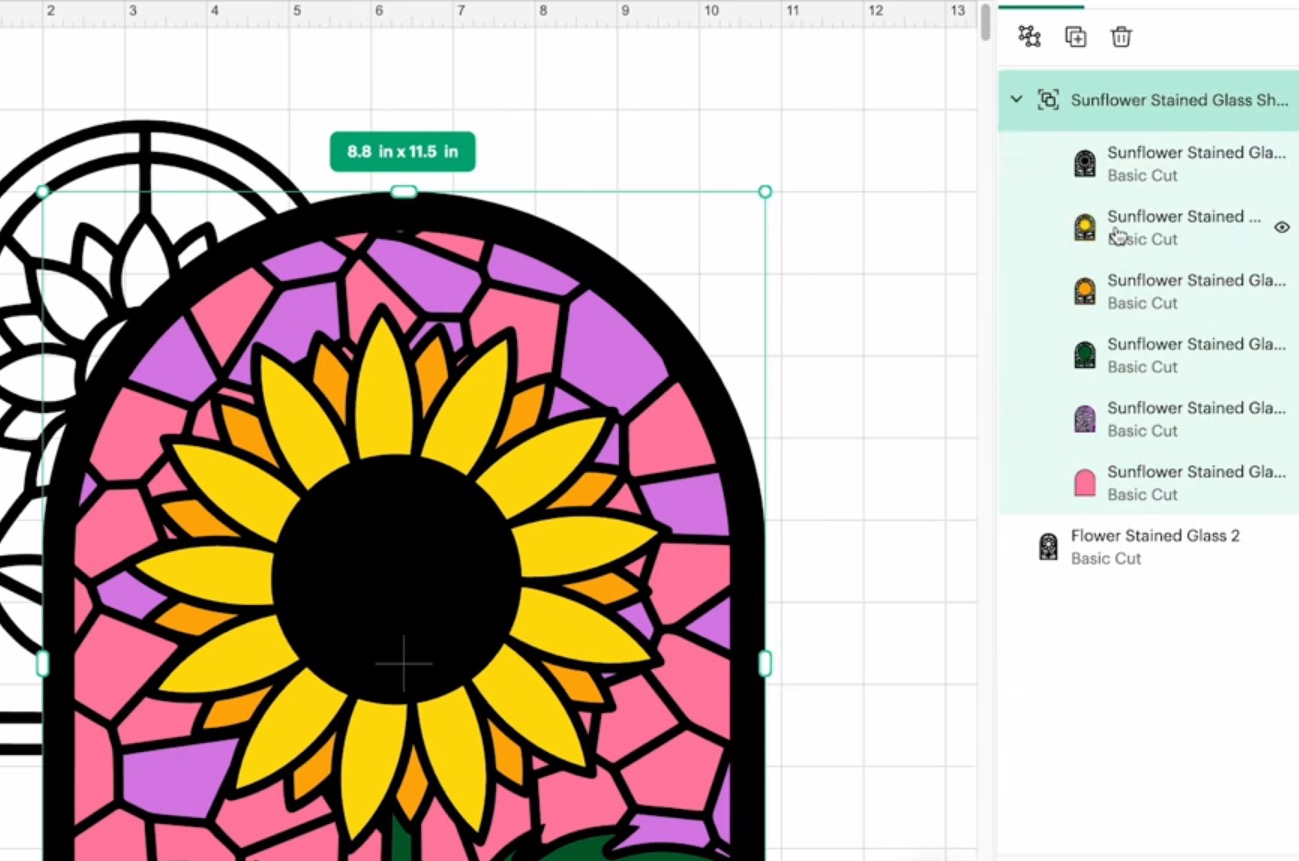
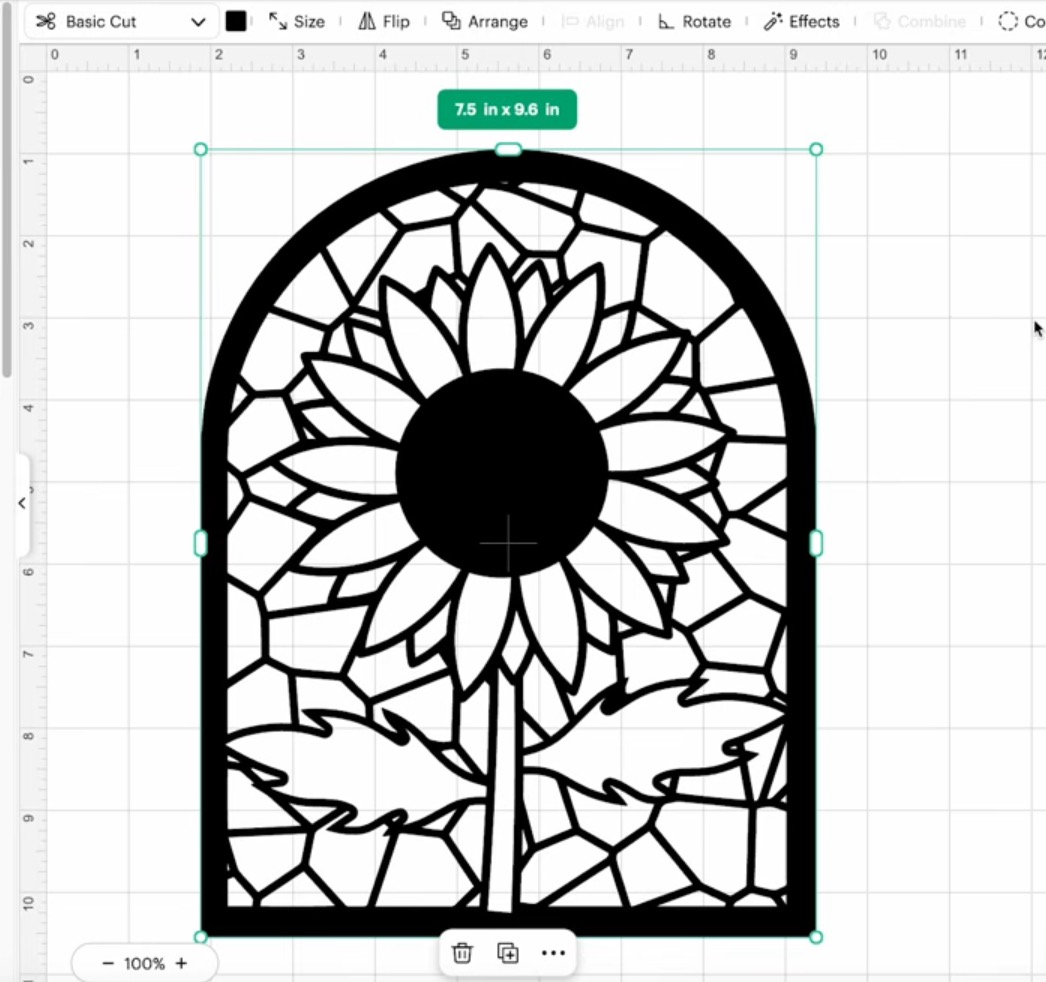
After looking at a variety of images, I decided on this stained glass sunflower. This was a layered design, and I really like the way the outline layer looks.
Note: You can build your own stained glass design by selecting different designs and combining them into one image. Remember, you need the outlines because that is what will be cut from the Leading Sheets. You don't want too many wide open spaces.
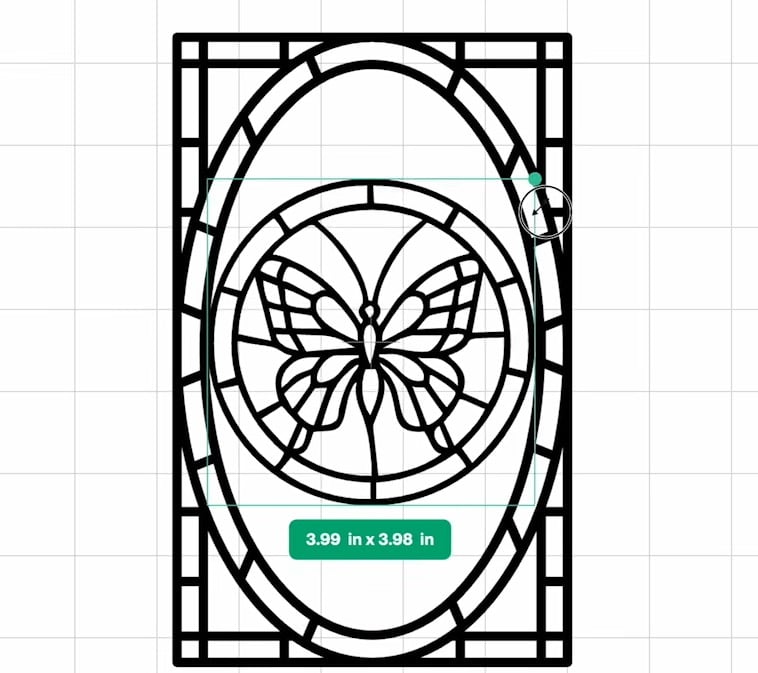
With your design set up, make sure the size is correct for your blank.
I am working with an 8×10-sized frame, and I want the sides of the design not to go all the way to the frame, so I shrunk it a little bit so it will sit inside the frame.
Step 2: Cut Out the Design from the Leading Sheets
Next, we're ready to cut out the design.
Here I want to note that when I was cutting out my design, I realized the top edge and left-side edge both had a small section that had no adhesive.
If you notice the same thing, when possible, I would move the design away from both of those edges before cutting.
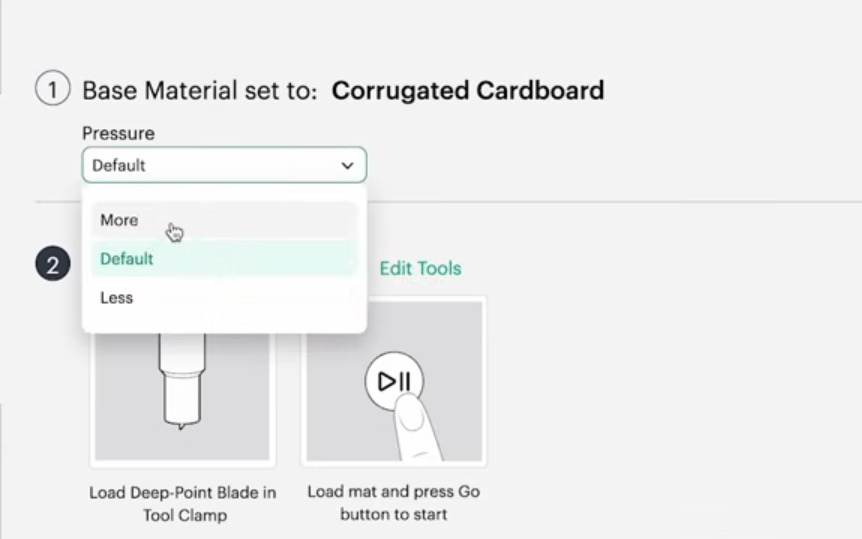
The Ready-to-Cut Leading Sheets are thick and a little rubbery. I used the Cricut Corrugated Cardboard setting.
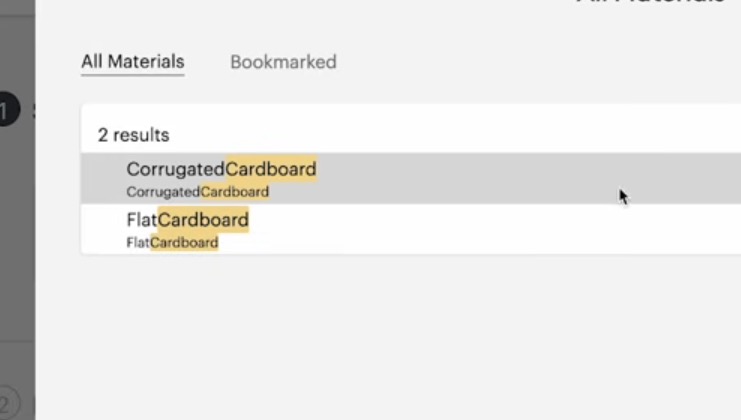
Design Space recommends that you use the fine-point blade with this cardboard material. I am using the deep point blade. To change the blade, click Edit Tools and then select the Deep Point blade option.
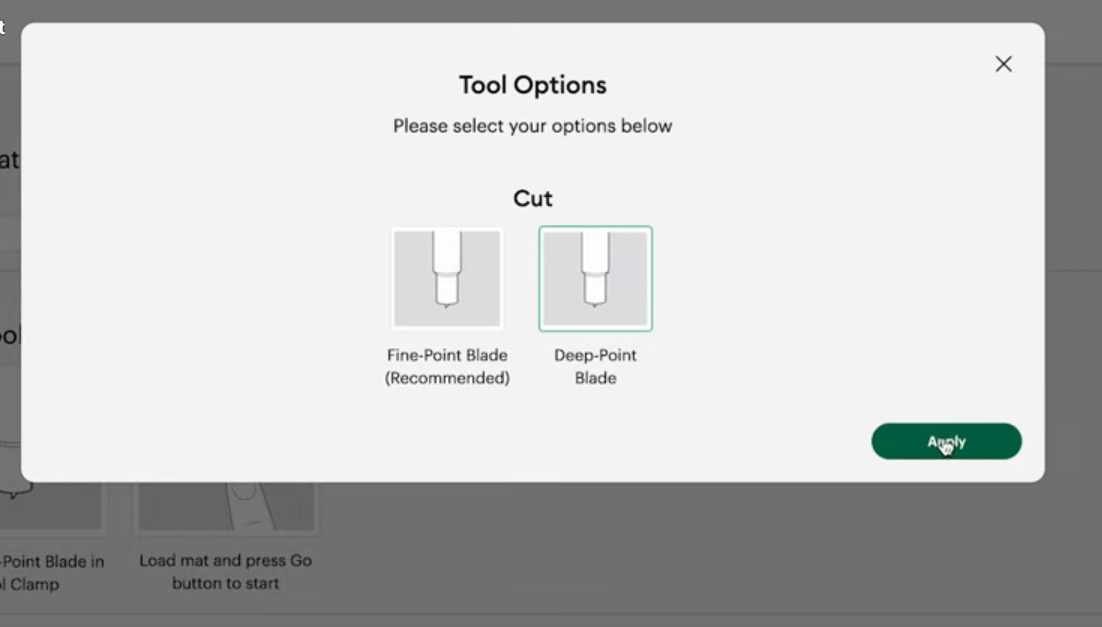
Next, I upped the pressure from Default to More and then clicked Continue.
Place the leading sheet liner side down on a green StandardGrip mat and press it down firmly. Using a brayer worked really well for this step.
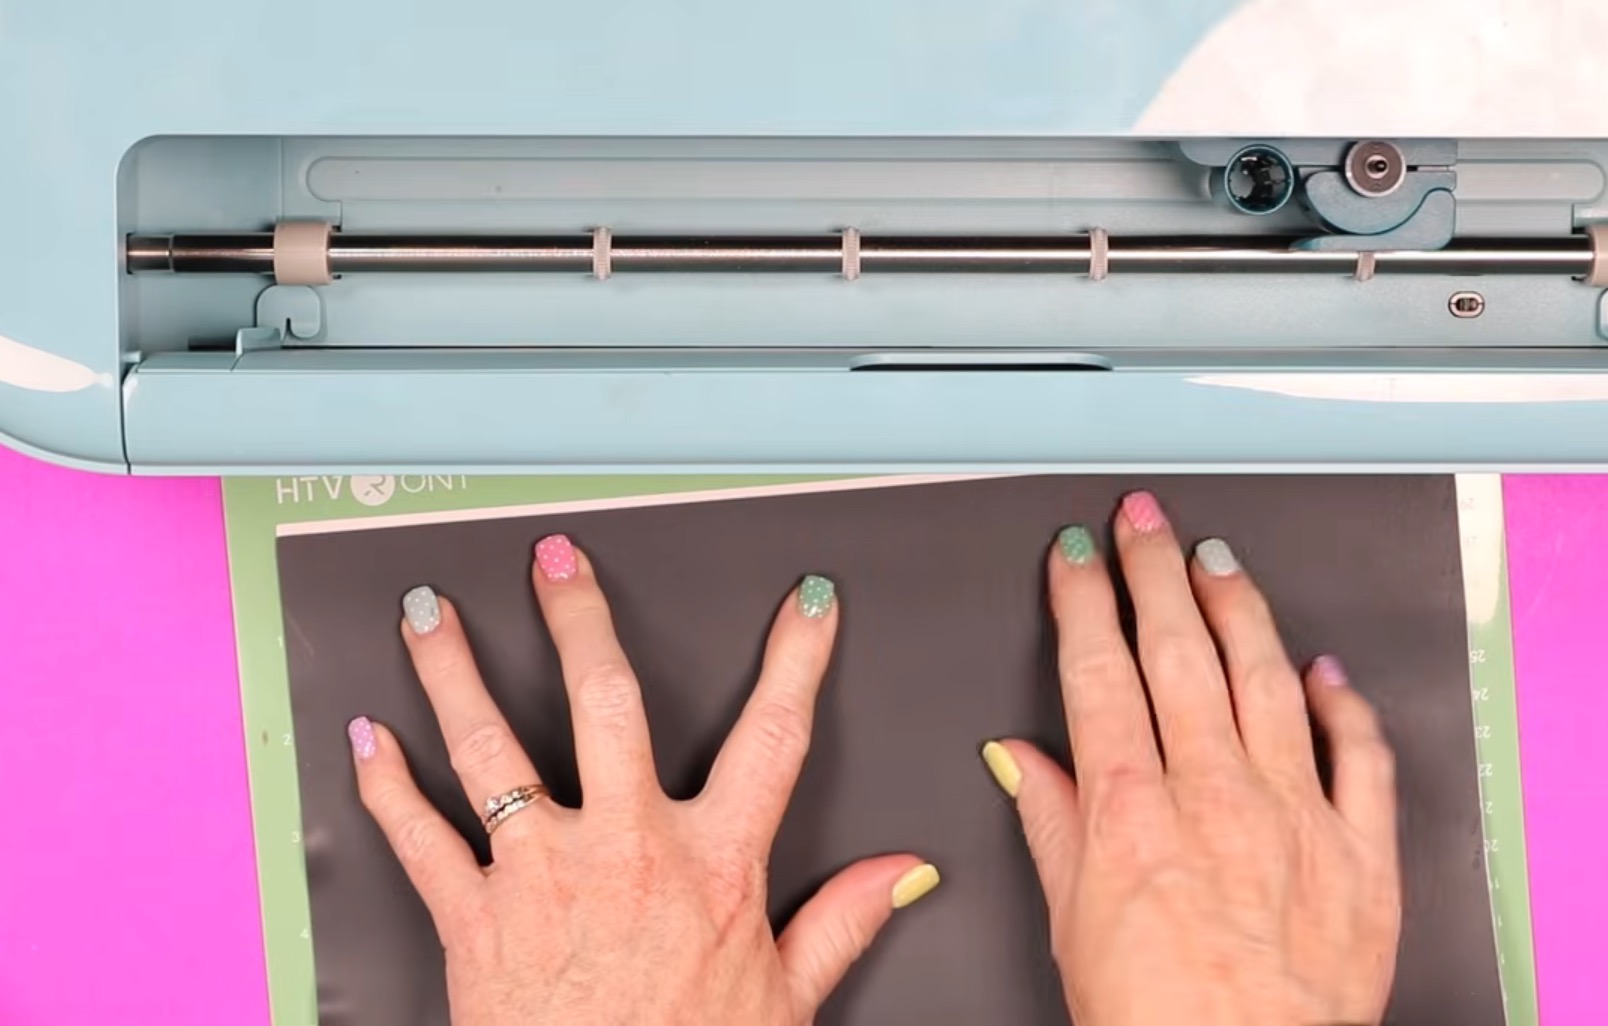
Load the Deep Point blade into your machine and load the mat.
Click Go and allow the machine to cut out your design.
If you notice the left side or top edge material is lifting during the cut, pause the machine and use a pair of scissors to carefully cut away the loose pieces.
Step 3: Weed Away the Excess Material
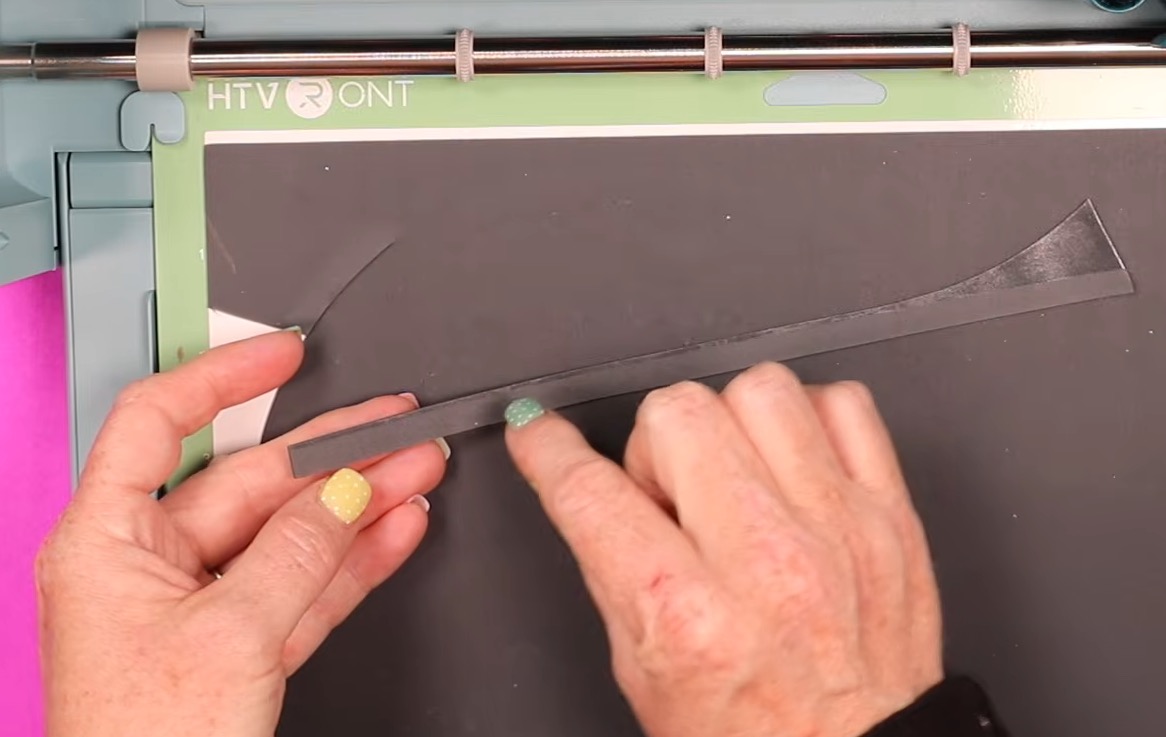
When the machine is done cutting, unload the mat, and use a weeding tool to remove the excess Leading material.
Within the design, you want to remove the portions you want painted.
The leading material can stretch, so I found it helpful to leave it on the mat while I weeded.
Go slow, take your time, so you don't stretch out the lines.
Step 4. Locate the Leading Material on the Glass
First, we need to prepare the glass.
- Remove the glass from the frame.
- Clean the glass with rubbing alcohol and a lint-free cloth or an alcohol prep pad.
- Allow the glass to dry completely before adding the leading sheet.
My frame has two pieces of glass. I went ahead and cleaned both of them at this point.
I first tried my normal transfer tape, and it did not stick to the leading material. StrongGrip Transfer Tape, however, worked very well.
Cut a piece of StrongGrip Transfer Tape slightly larger than the size of your design.
Remove the liner and locate the transfer tape over the top of the design.
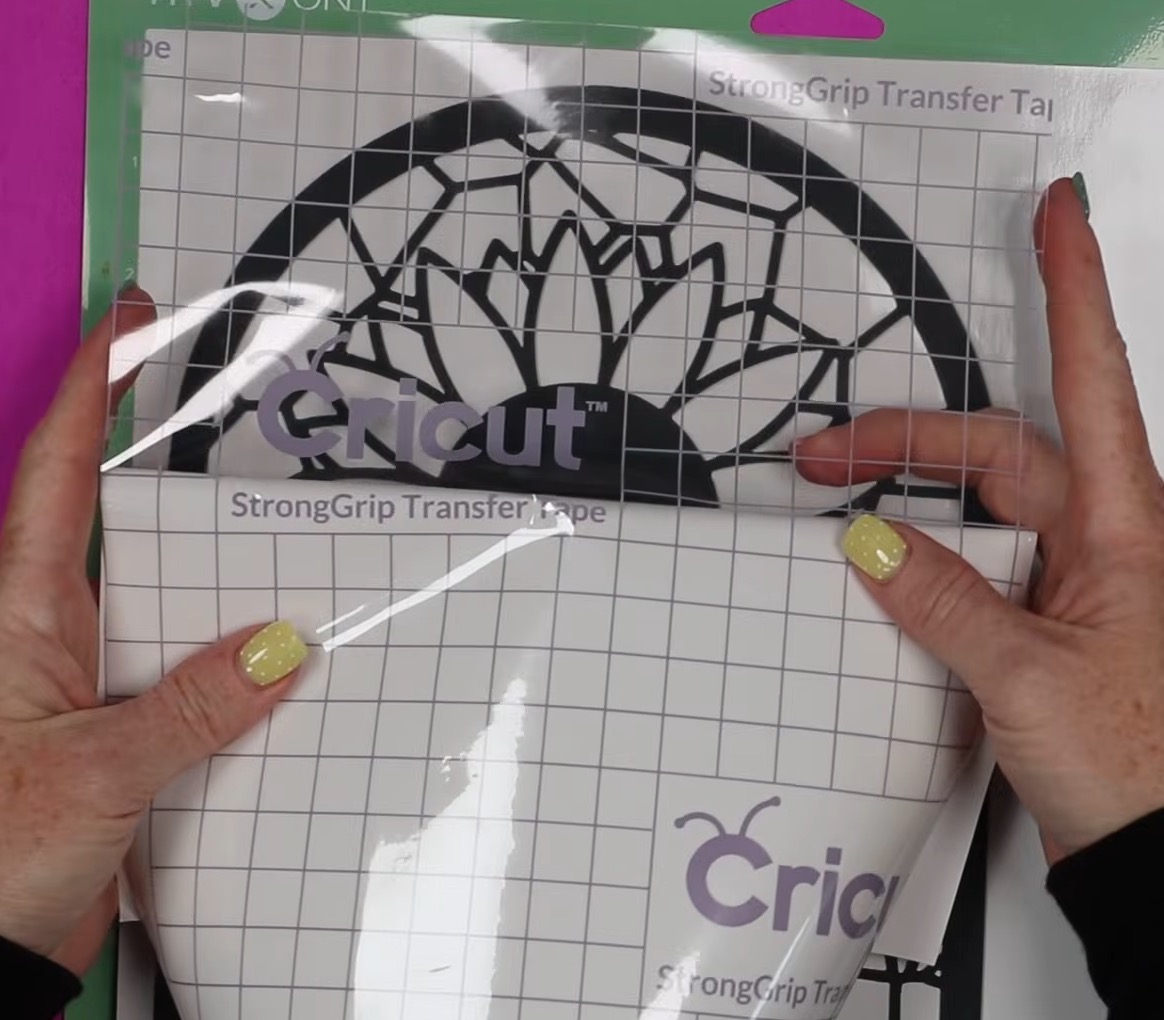
Use a scraper tool to burnish the transfer tape onto the leading sheet, making sure the leading sticks to the tape.
When checking to see if the leading is stuck to the transfer tape, use caution to not stretch the leading.
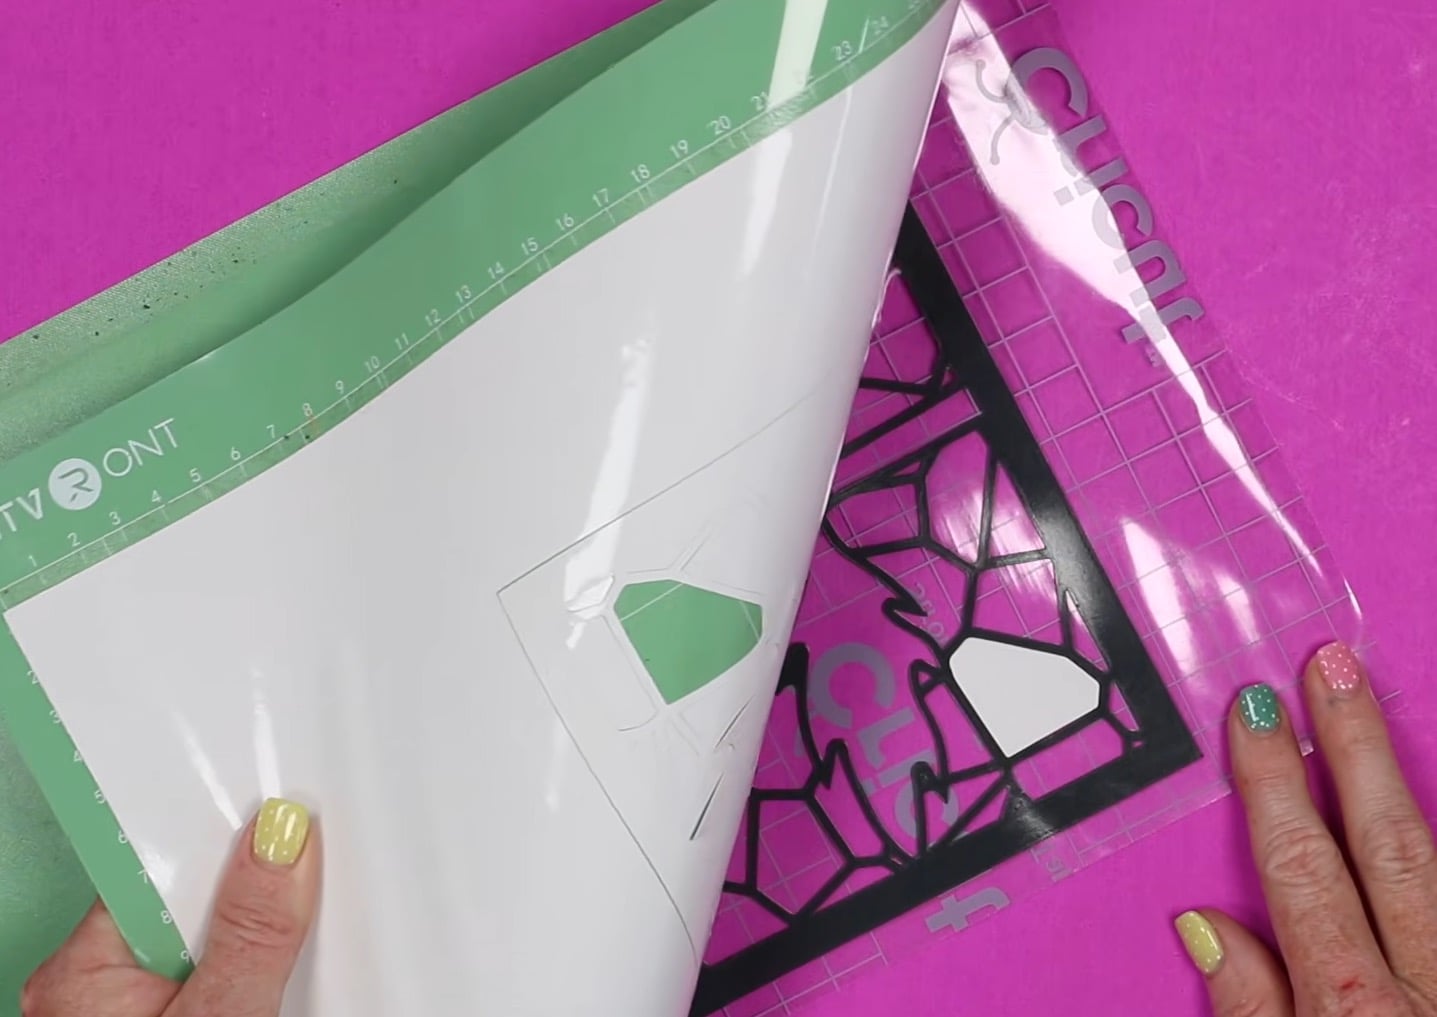
To remove the material from the mat, flip the whole thing over and gently roll the mat away from the transfer tape.
My cut was a little deep, so it cut through the backer in a few spots. To remove the piece of backer that stuck to the transfer tape, use the weeding tool.
With the leading off the backer material, locate it on the center of the clean piece of glass.
Rub the surface to stick the leading sheet to the glass. I found a brayer helpful for this step.
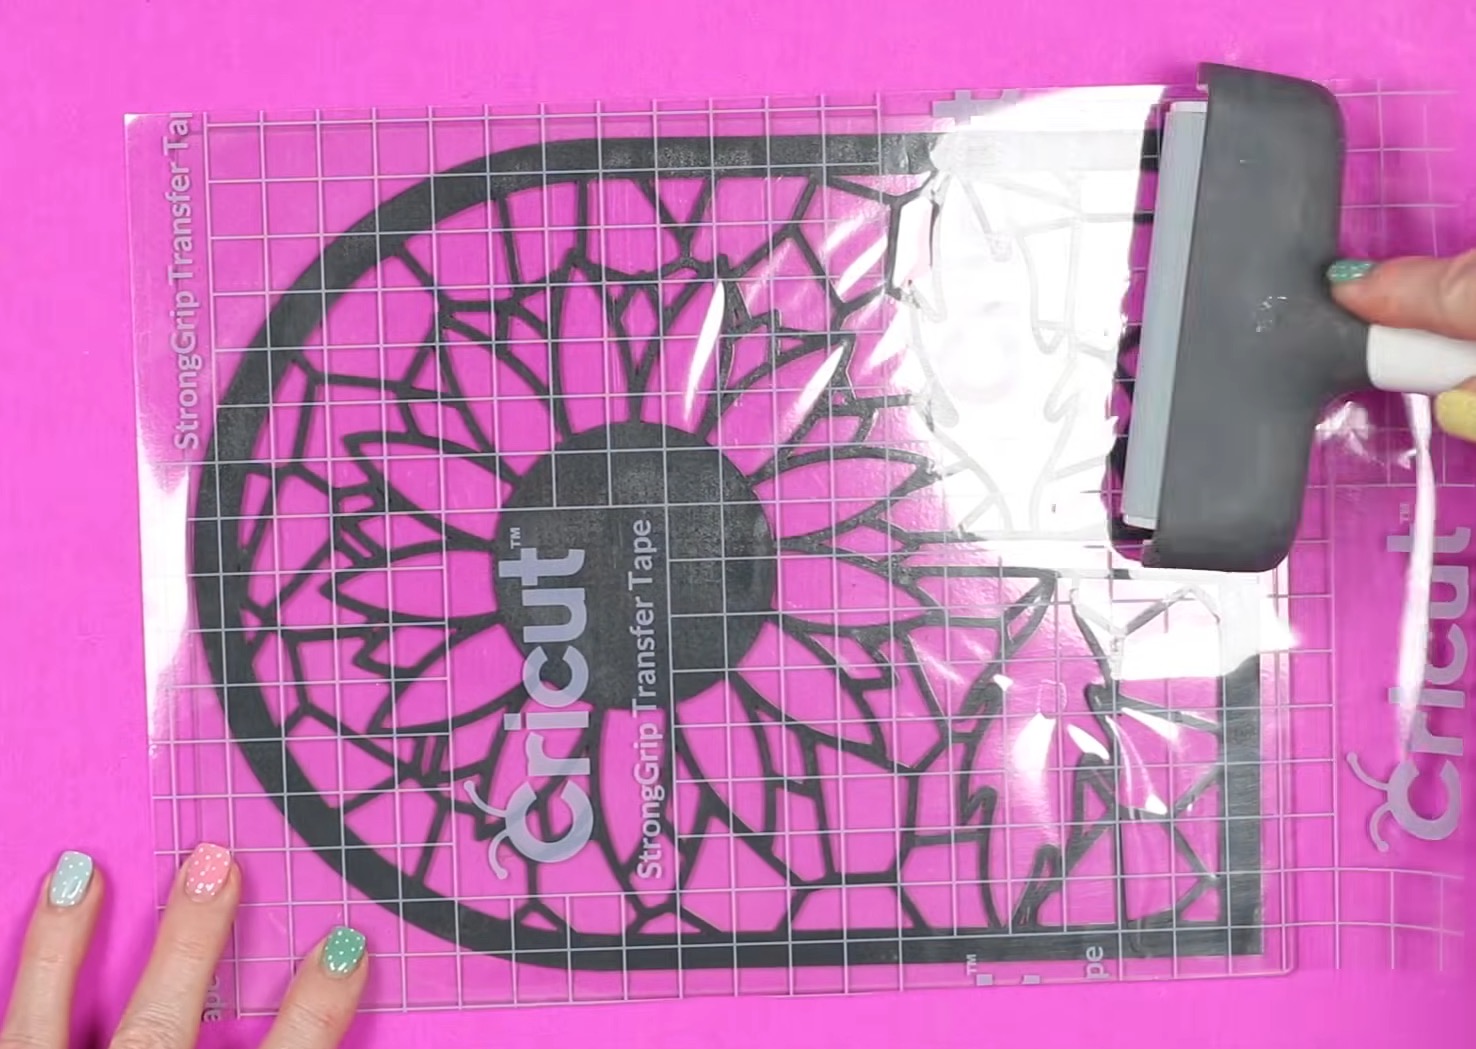
Gently remove the transfer tape, again taking care not to stretch the leading material.
With the transfer tape removed, I went over the surface again with the brayer, making sure everything was stuck down so no paint would seep under the edges.
Step 5. Paint the Glass
Now we're ready for the fun part.
Using the Gallery Glass paints, color inside the lines. Because of the bottles this paint comes in, you don't even need a paintbrush.
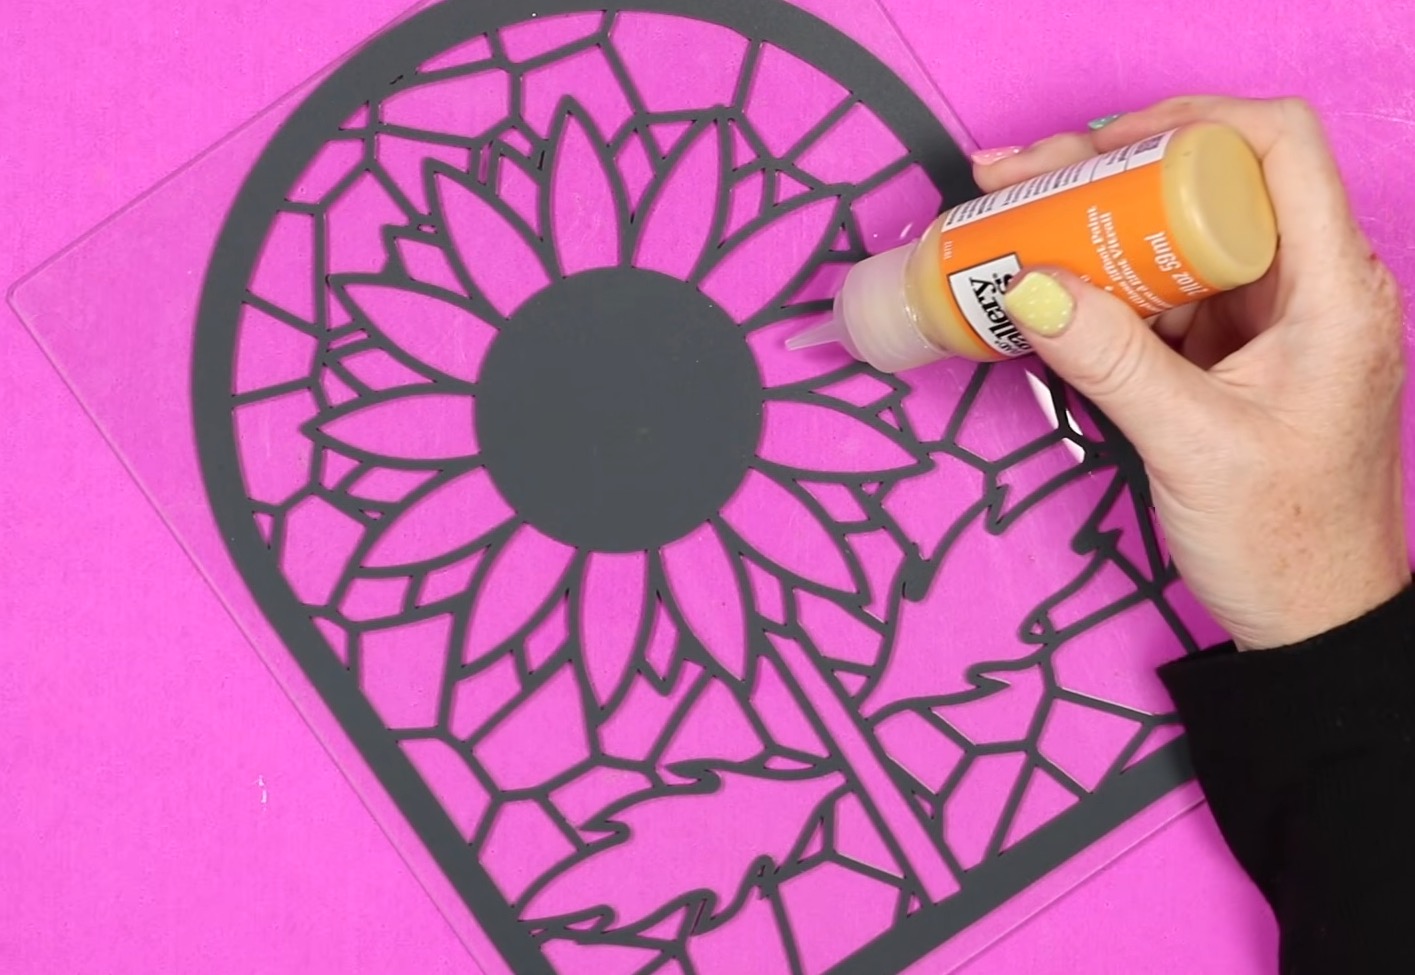
Start with one color, add paint inside the leading lines, and use a toothpick or skewer to push the paint all the way to the edge.
You want the paint to match the height of the leading line. I tried to get mine the same thickness in each section.
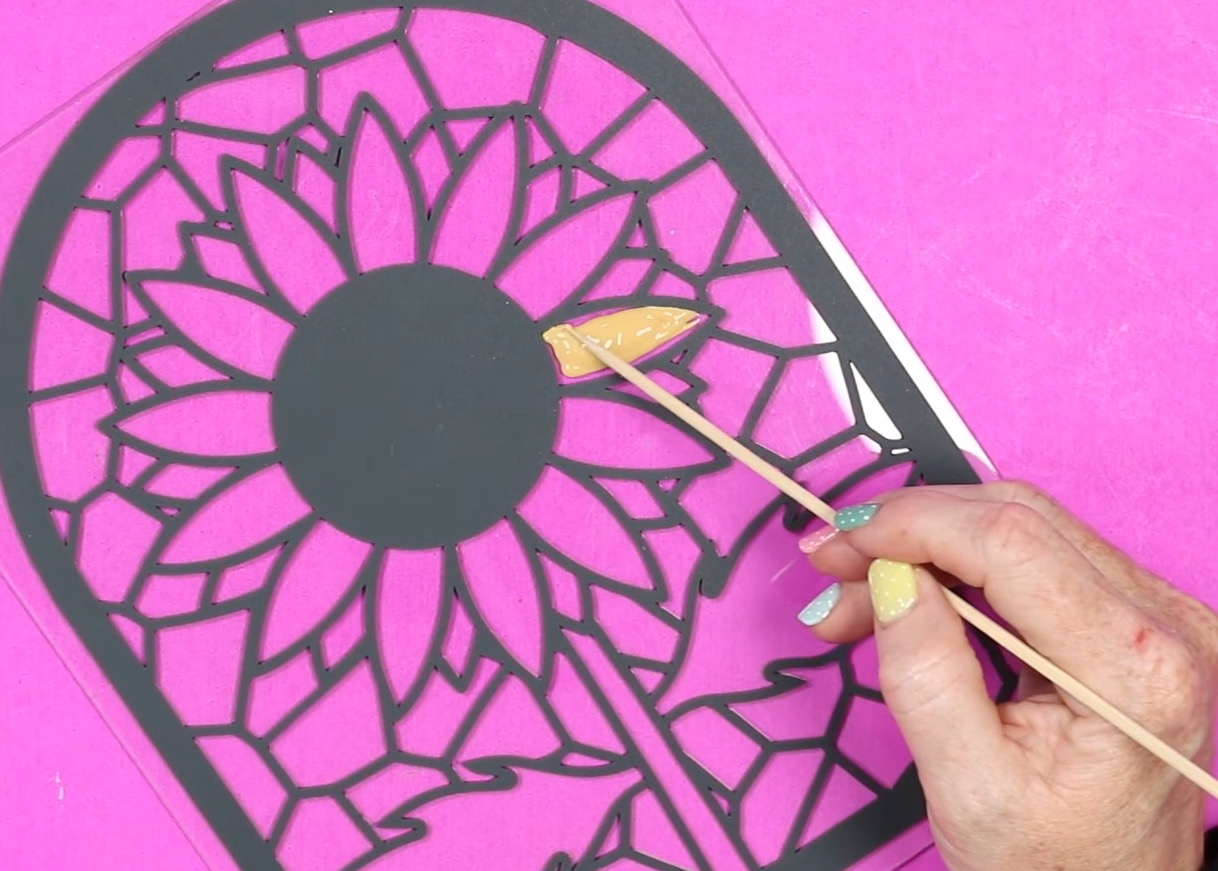
You can also use a toothpick or skewer to pop any bubbles that you see in the paint.
While the paint is wet, it is very opaque. It's also very thick, so make sure you get it right against the leading lines and fill in all the spaces.
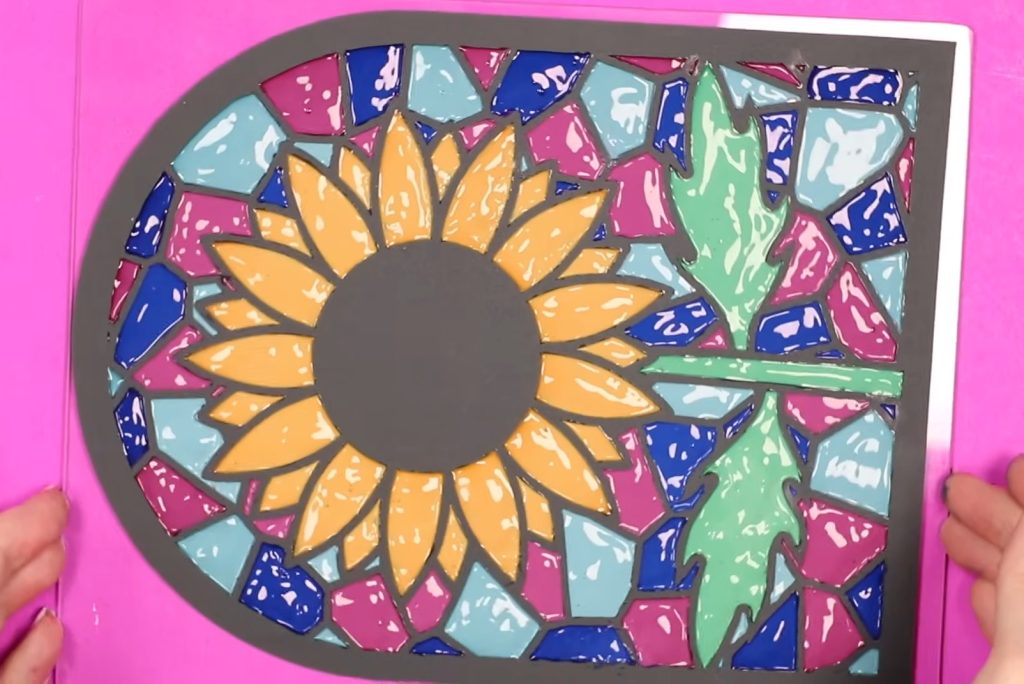
With the entire stained glass painted, place it on a flat surface and allow it to cure undisturbed for at least 24 hours.
Step 6: Assemble the Stained Glass Frame
As the paint dries, it becomes beautifully clear.
I love how this looks when it's dry.
Here is the back. This is the side that we applied the paint to. The glass is behind it.
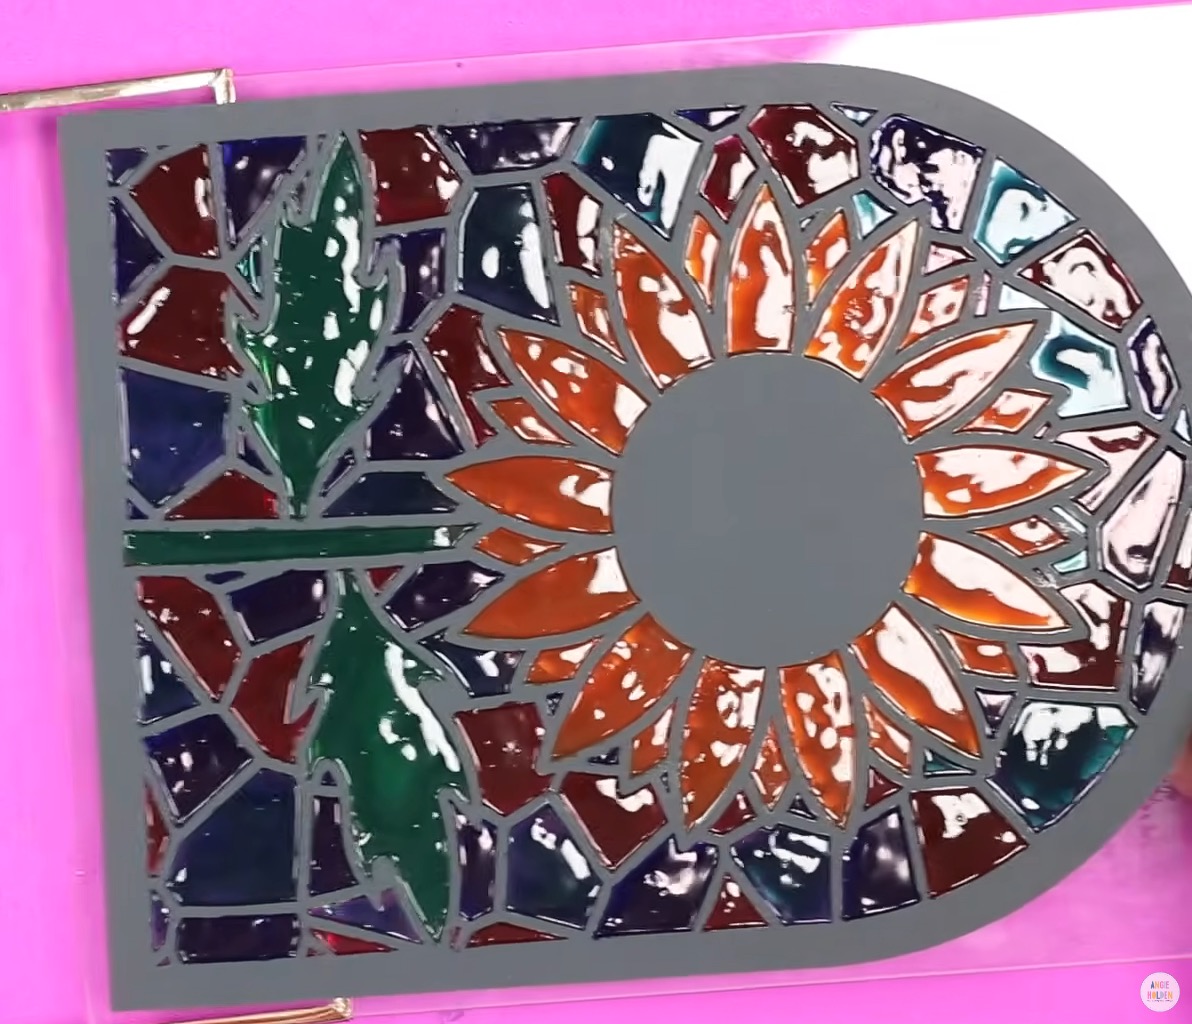
Depending on the frame you use, you may need to reassemble it.
Mine has two pieces of glass. I loaded the stained glass piece to the front of the frame with the glass side facing out.
Next, I slid the second piece of glass in place, sandwiching the stained glass paint and leading between the two pieces of glass.
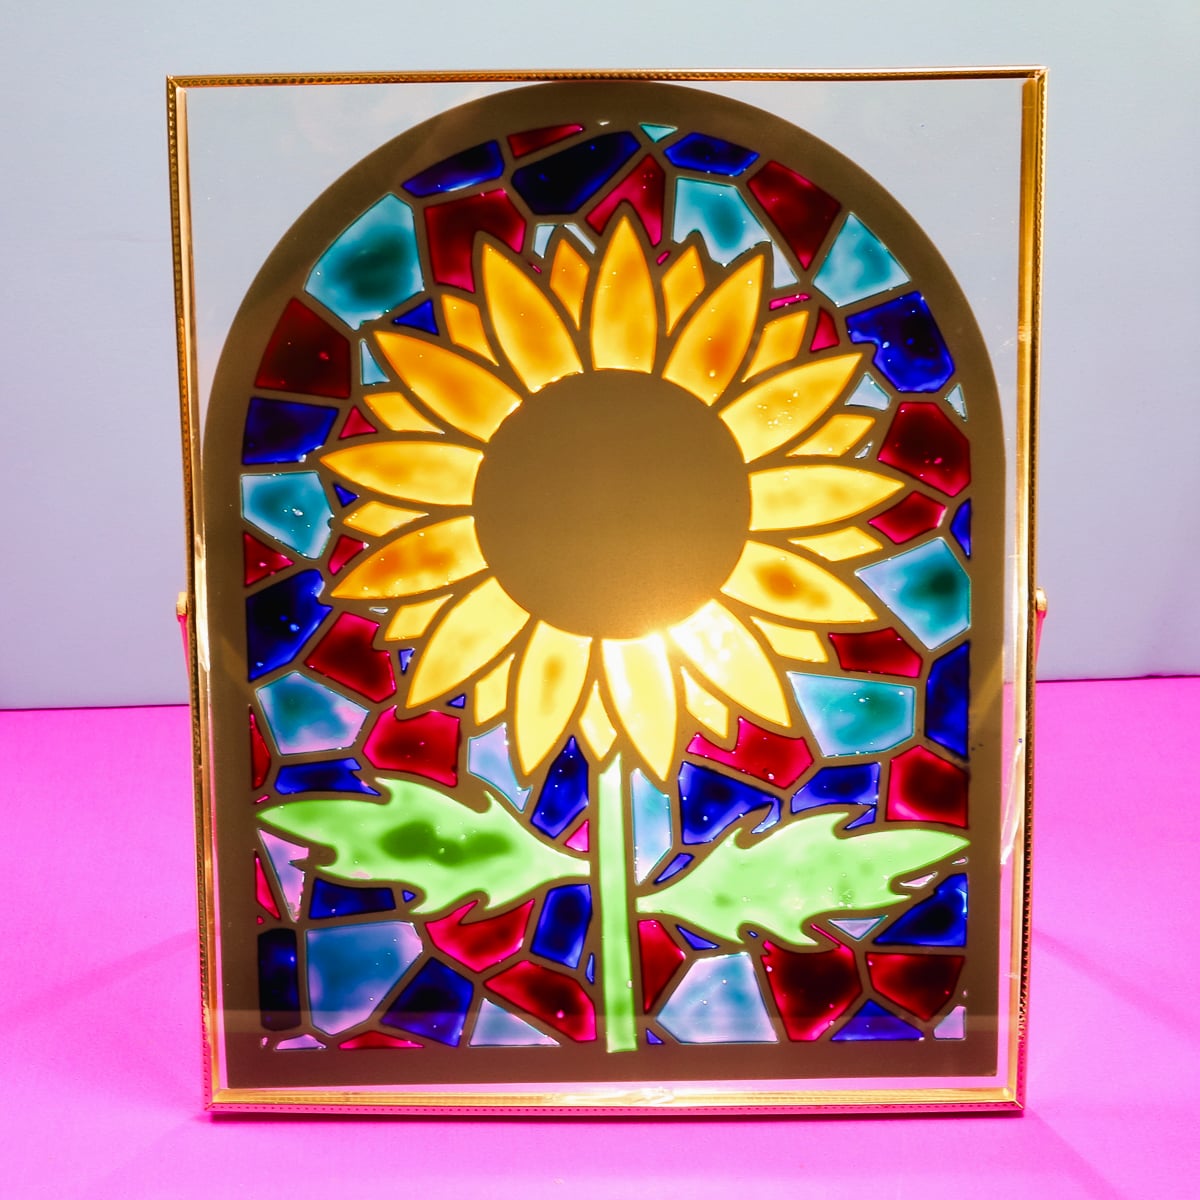
Here is the stained glass, made with my Cricut, from the front.
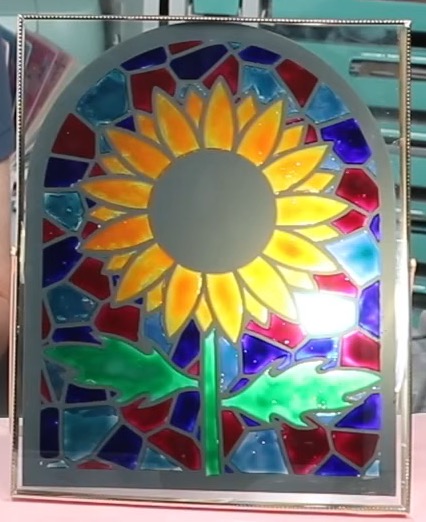
To give you a true representation of what it looks like in real life, I have a light shining from the back, and I love how it looks.
My frame had plastic pieces that you slide between the glass and the frame from the back, to keep the glass from moving.
With the leading lines and paint between the two pieces of glass, they no longer fit correctly.
Using scissors, I was able to trim off a thin strip of the plastic piece, and they fit perfectly. Start small; you can always cut off more if needed.
Are You Ready to Make Your Own Stained Glass with Your Cricut Machine?
I have to say, these ready-to-cut leading sheets have completely changed my mind about DIY faux stained glass projects.
Past projects have left me frustrated with the time I took making them and how they turned out.
Now that I have the leading sheets and the ability to control my lines, I am all about the faux stained glass.
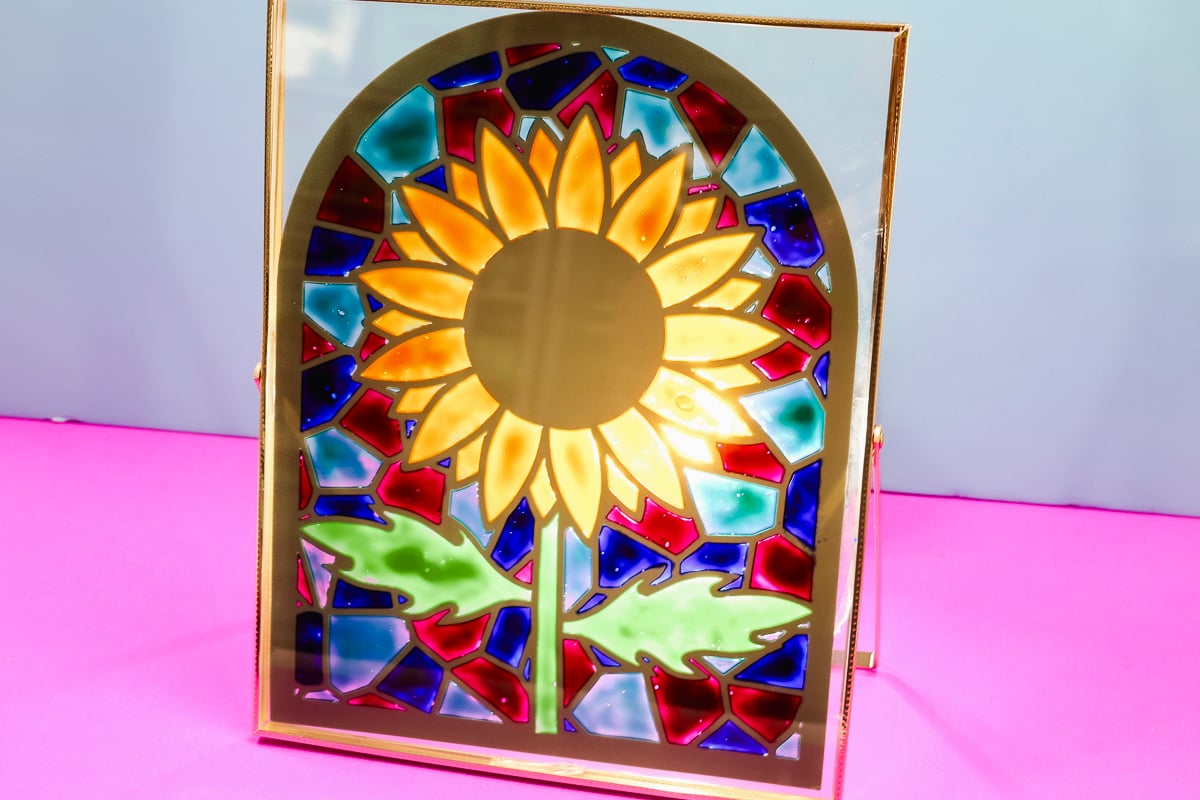
The way the colors almost glow in the light is beautiful. I can't wait to use my Cricut to create more stained glass projects.
I'm hoping to get brave enough to try it on an actual vertical glass surface vs something that can be laid flat. I want to test how well the paint works in a permanent situation.
I hope I've answered any questions you have about making stained glass with a Cricut. If you have any additional questions, leave them in the comments, and I'll be happy to answer them for you.