
Have you ever considered creating painted mason jars that resemble sea glass? It might seem challenging, but it's actually quite simple with the right sea glass paint. Follow the steps below to learn how to quickly make your own painted mason jars!
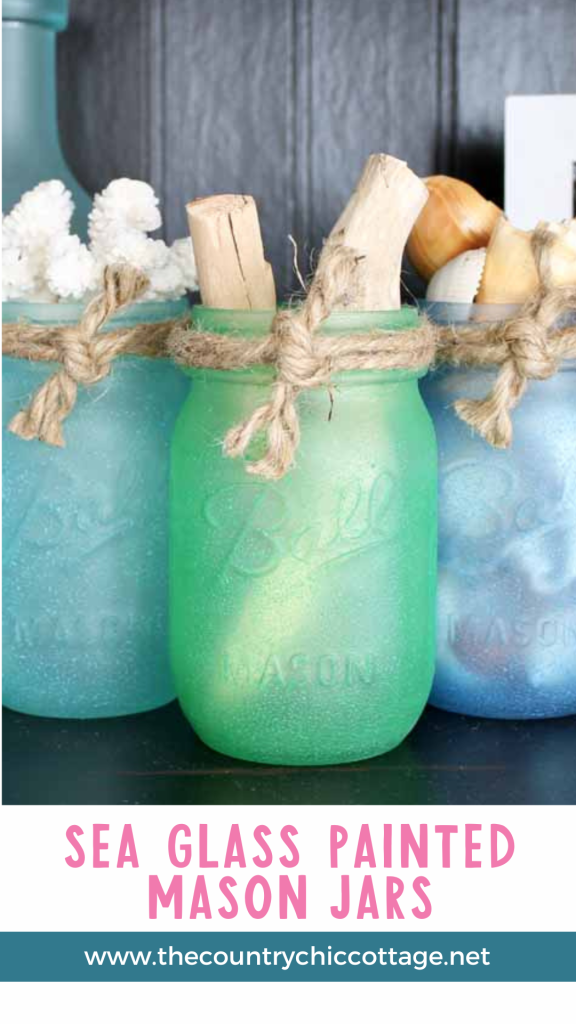
How To Make Sea Glass Painted Mason Jars
Sea glass has a very distinctive and timeless look. Maybe it has something to do with the constant churning of the ocean waves. Does anyone else pick up pieces of sea glass when they walk on the beach?
If you love sea glass as much as I do, check out my Decorative Flower Pots with Sea Glass and Sea Glass Monogram!
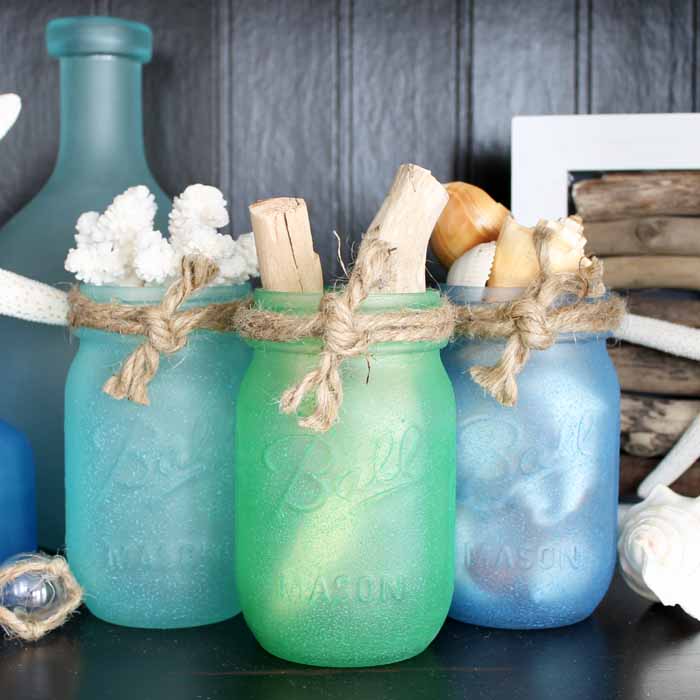
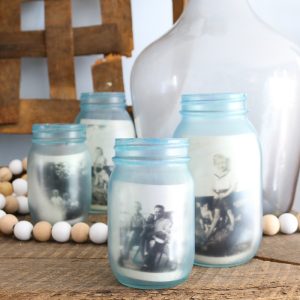
I saw this sea glass paint a while back and immediately fell in love with it. I knew I just had to use it to paint a trio of mason jars to add some extra sea glass decor to my home.
They look gorgeous in beach or nautical-themed rooms! You can use them as a vase for flowers, a candle holder, a gift holder, and more.
Without further ado, let's dive right in and get started making this simple project.
Supplies Needed To Make Sea Glass Painted Mason Jars
NOTE: Unfortunately, the product I originally used for this project is no longer available. However, you can still make this project using Sea Glass Spray Paint instead.
Step 1: Clean Mason Jars
Make sure your mason jars are clean and dry. I recommend cleaning them with rubbing alcohol and allowing them to dry completely.
Once they're clean, avoid touching the glass surface, as this will deposit oils from your hands, which can affect your paint.
Step 2: Paint Mason Jars
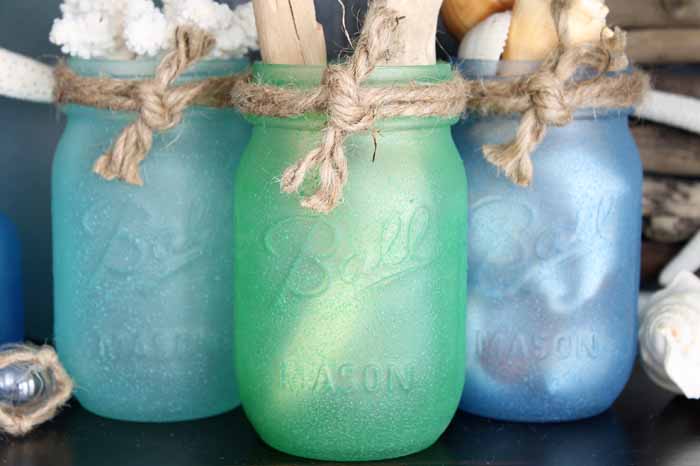
After spray painting, use a pouncer brush to create texture over the paint. This gives your jars a tumbled sea glass look. For a smoother finish, simply allow it to dry naturally.
Step 3: Allow Paint To Dry
Allow the paint to dry thoroughly.
Step 4: Add Twine
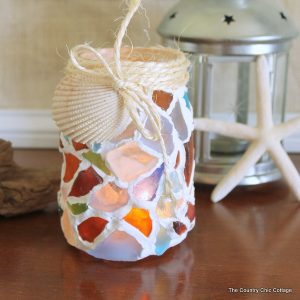
Tie a piece of rope or thick twine to really give these beautiful jars an authentic nautical feel.
That's it! It really is that easy, y'all. You can create your own painted mason jars in just minutes.
Pick up some sea glass spray paint and create your own sea glass jars.
This paint would look great on other projects as well, such as the large bottle in the background of this picture or the Sea Glass Wind Chimes. Give it a try, because I know you'll love how easy it is and the way it looks!
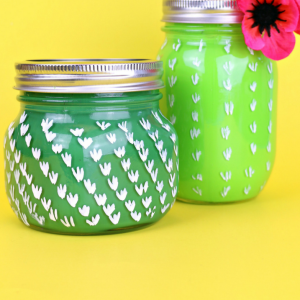
More Painted Jar Crafts
Want some more ideas for crafts with jars? Try the bloggers joining in our series below!
FAQs About Painted Mason Jars
Here are a few common questions that I often see readers asking about making these painted mason jars. If you have a question, please check if I’ve already addressed it below. If you don’t see your question listed, please leave it in the comments!
Can I Use Any Type Of Mason Jar For This Project?
Absolutely! You can use any type and size of mason jars for this project.
I’m Using A Jar With A Label. Do You Have Any Tips For Removing The Label?
If you are using jars from your kitchen (such as pickle jars, jam jars, etc.), there are several ways to remove the original label.
For these types of jars, I would let them soak in warm, soapy water, then use a scraper to remove the label. This has worked for me, but if you're dealing with a stubborn label, consider the following additional steps.
- Pour hot water into the jar, let it sit, and the label on the outside will loosen up.
- Create a mixture of dish soap and vinegar.
- Apply heat to the label using a hair dryer.
I’m Using A Jar With A Label. Do You Have Any Tips For Removing Sticky Residue?
To remove any sticky residue from the jars, I would use Goo Gone, along with soap and water. However, if you don’t like the smell of Goo Gone or need alternative options, the following are a few suggestions.
- Adhesive Removers (like 3M Adhesive Remover, Un-Du, etc.)
- White vinegar
- Nail Polish Remover
Do I Need to Add a Protective Clear Coat on Top Of The Paint?
No, I just painted my jars and left them as is.
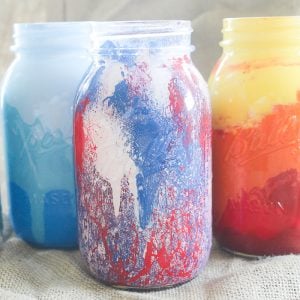
5 More Mason Jar Projects
If you loved these painted mason jars, here are some other mason jar projects that you won’t want to miss!


Those are beautiful, Angie!
I really love these Angie! The colors are fabulous! So great to be hanging out with you this week!!! Sending hugs : )
These are beautiful! I didn’t even know there was sea glass paint!
Thanks for sharing.
Hi, beautiful tutorial! I have couple of old jars with neat patters, but I haven’t been able to remove the lime scale on the inside. Do you think this would work to highlight the patterns? One is ridges and the other is lattice and the patterns are raised on the outside. Thank you.
It probably would! You might give it a try on one as a test!
Hi thanks for all the info. I also love the nautical look my family and friends also receive my creations. Not sure where I can buy this paint I’m in Australia. Must go looking. Keep up the info, cheers!
I tried and got streaks…
Did you use a regular paint brush or a sponge pouncer brush? That will make a big difference.
How do I make it dishwasher safe?
Not sure if this paint can be made dishwasher safe! Sorry!
I just ran across this site on Pintrest. I am interested in lots of crafts, but my main passion is card making. This sea glass paint is so gorgeous, how about using it on acetate for paper crafting?
You definitely can!
could you use the Art Deco frosted enamel paints for this ?? How would it compare to the Sea glassPaint?
I have used both and I like the sea glass paint better for this particular look.
Could I do this technique on clear lamp bases? How durable would it be?
It should work and be totally durable!
how do you get the jar off your hand
I touch it on the bottom with one finger and rest the lip on a piece of cardboard or paper. Remove my hand then paint over the place where I touched on the bottom.
Lovely! Where can I find the instructions for baking after the jar has been painted?
I’m not sure, I didn’t bake mine.
I think that you are pretty awesome even though you don’t sell anything you still take the time to out of your day to teach others. I think you so very much for your teaching and time. I loved the sea glass jars they’re beautiful.
Thank you so much for your kind words. I’m so glad you’ve found my tutorials helpful!