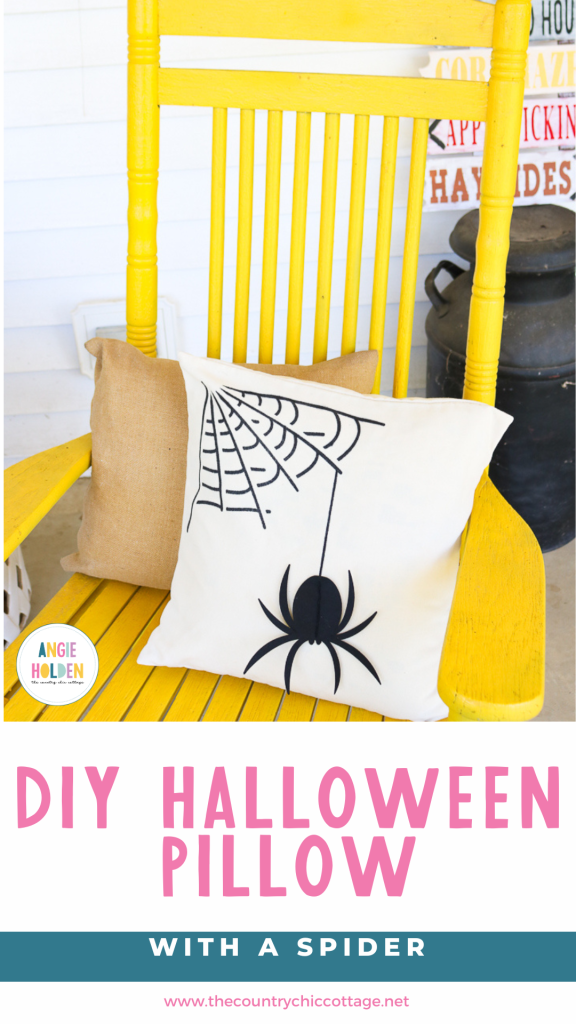
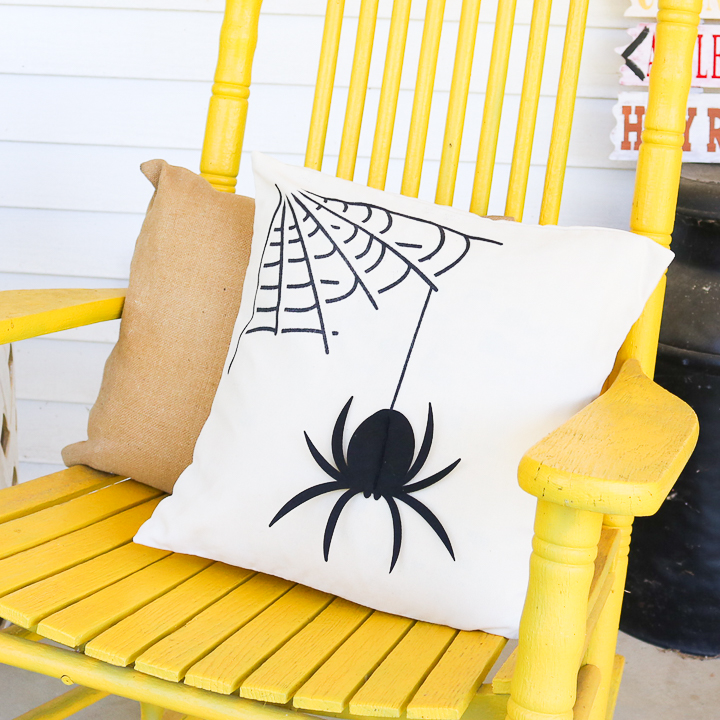
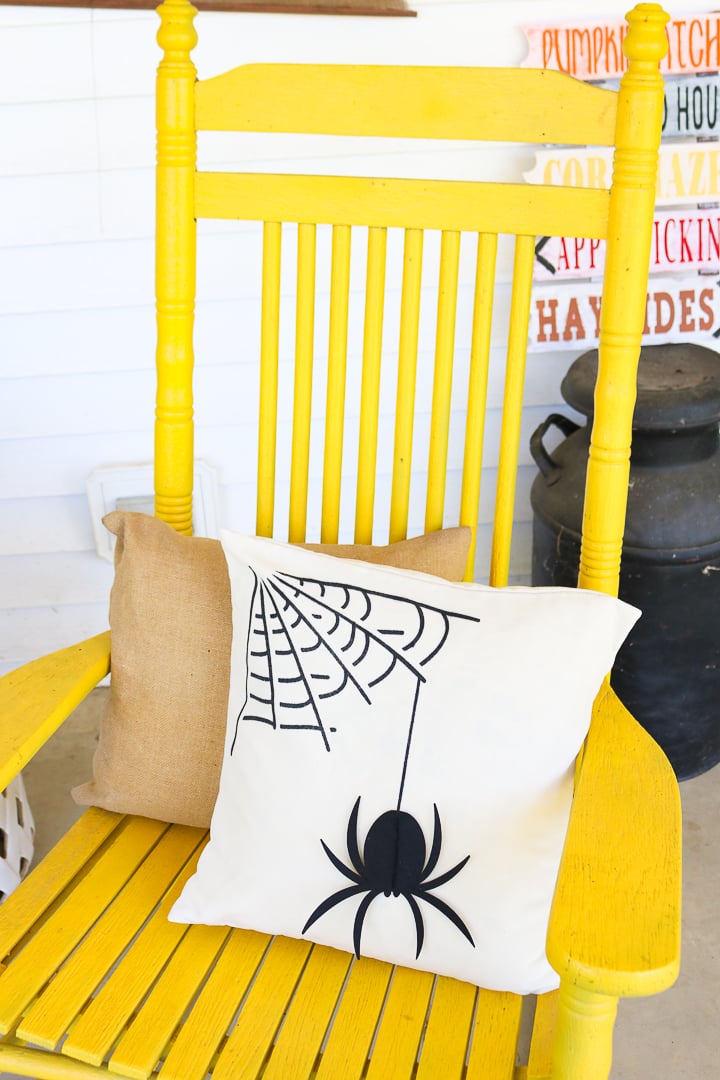
You can make your own DIY Halloween pillow in a few minutes with fabric spray paint and our tutorial below. Then add this spider pillow to your front porch for a simple touch of fright on Halloween night. After all, it is these simple touches on your porch that the trick-or-treaters love! You can add this as well as our Halloween wood sign from last week to your must-make list this year! In fact, you should start planning a Testors Crafternoon right away! Read on to learn more. This post is sponsored by Testors; however, all projects and opinions are my own.
DIY Halloween Pillow Video Tutorial
Want to see a video on how to make this fun DIY Halloween pillow? Just watch below!
Can't watch or missed some of the steps? Just keep reading for step-by-step instructions.
How To Make A DIY Halloween Pillow
Seasonal throw pillows are a great way to add a little holiday spice without going crazy on the decorations. I love this idea for fall decorating or adding spring touches around your home. These are also great for making outdoor patio furniture a little more comfortable or layering on another throw pillow to complete your look.
For this project, you can use any size pillow cover. Place this creepy-crawly design on any throw pillow cover, like a bolster pillow for the living room, outdoor pillows for the patio, or even on a burlap pillow cover.
This is so easy and makes a great gift, too!
Supplies Needed To Make DIY Halloween Pillow:
- Pillow cover
- Fabric Spray Paint
- Cricut machine (alternately, you can purchase a pre-made stencil and felt spider)
- Stencil material
- Masking tape
- Stencil adhesive
- Paper or cardboard
- Black felt
- Embroidery floss
- Needle
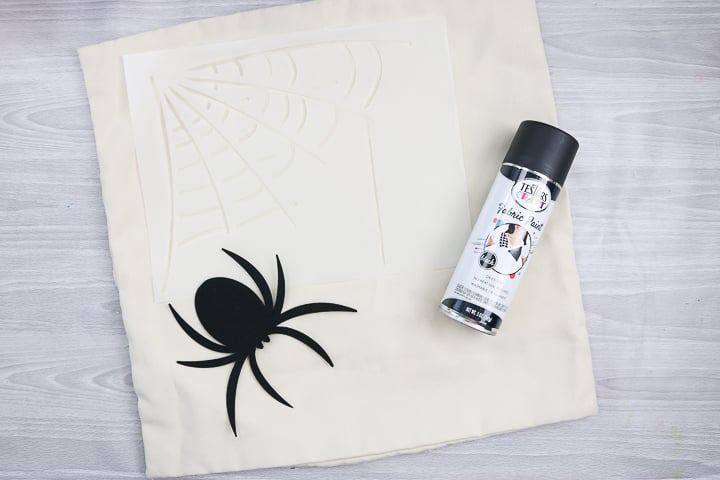
Step 1: Cut Stencil & Spider For DIY Halloween Pillow
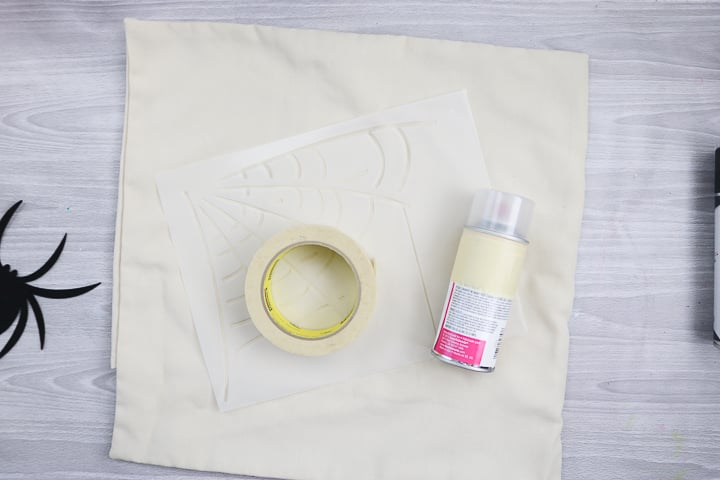
Start by cutting your stencil and spider on your Cricut machine. You can find the files in Cricut Design Space (spider web #M7868E5A and spider #M4F2526B1). Cut the stencil from a stencil material and the spider from felt. Then grab your stencil adhesive as well as masking tape to paint your pillow.
Step 2: Spray Stencil
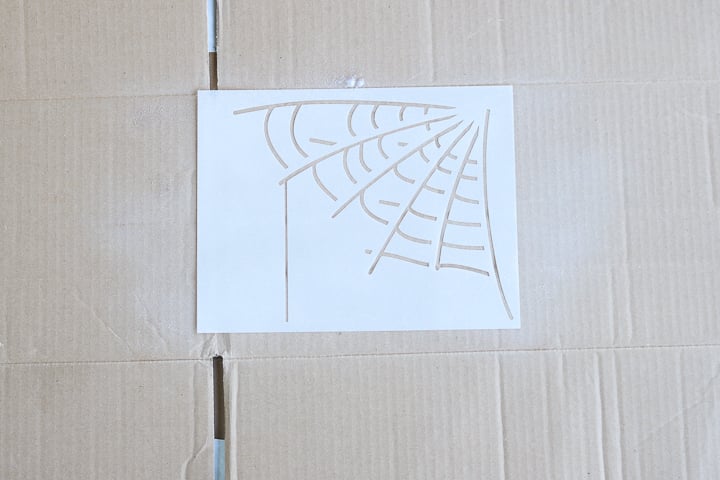
Spray the back of the stencil with the stencil adhesive and allow it to dry. After drying, it will still be tacky but shouldn't be wet.
Step 3: Add Paper Or Cardboard Inside Of Pillow Cover
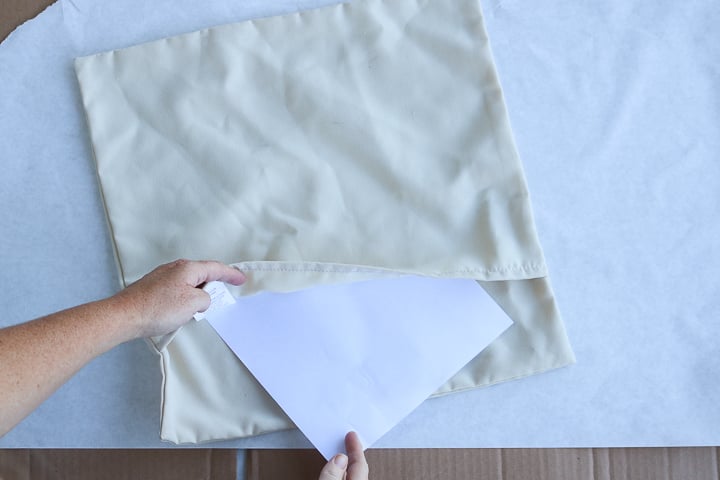
Add paper or cardboard to the inside of your pillow cover to prevent the paint from bleeding through.
Step 4: Place Stencil Onto Pillow Cover
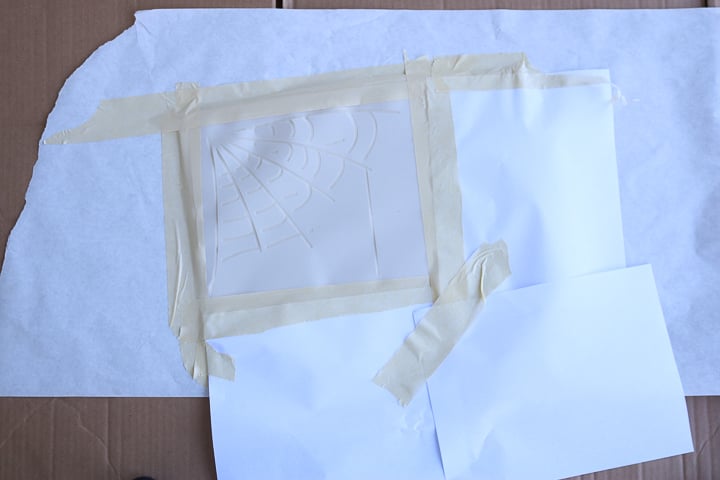
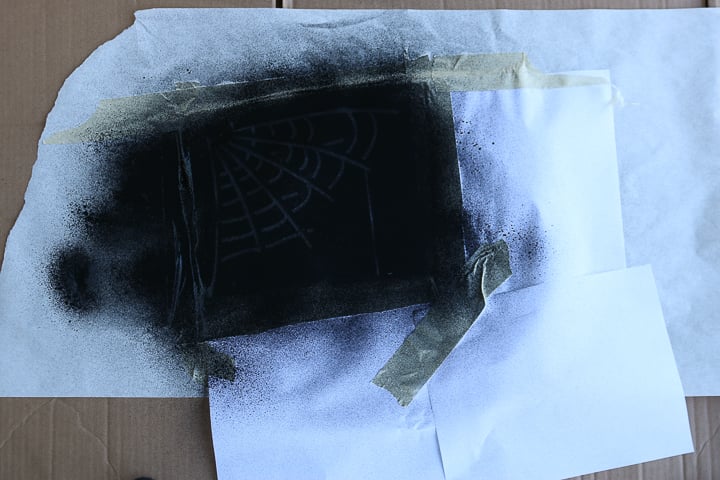
Then place the stencil on the front of your pillow cover. Add masking tape and paper all along the outside to protect the rest of the pillow cover from overspray.
Step 5: Spray Stencil With Spray Paint
Spray Testors Fabric Spray Paint over the top of your stencil. Give it a couple of light coats, being sure to get even coverage.
Step 6: Remove Stencil From Pillow Cover
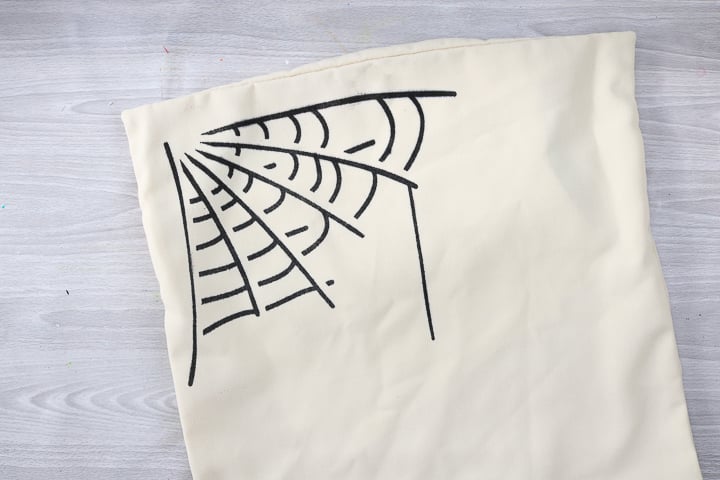
Remove the stencil and allow the pillow cover to dry completely.
Step 7: Sew On Spider To Pillow Cover
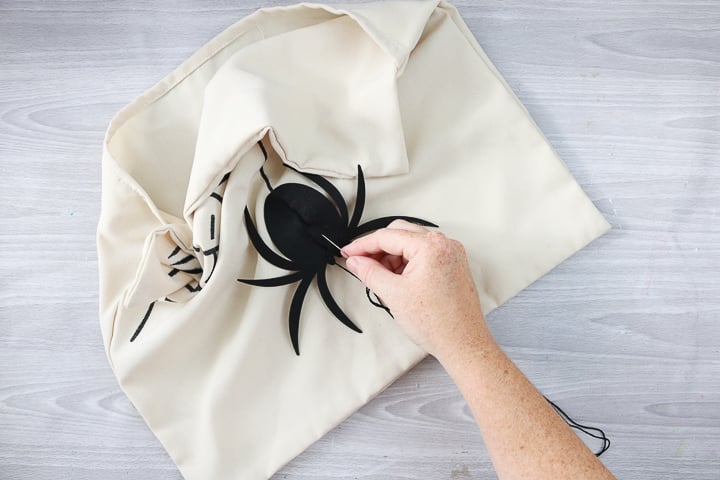
Remove the paper from inside the pillow cover and add the spider to your web. Just use a needle with embroidery floss to hand stitch down the middle.
Step 8: Tie Off Threads & Add Pillow Inside Pillow Cover
Tie off the thread once the stitching is complete. Then, add your pillow to the inside to complete your DIY Halloween pillow.
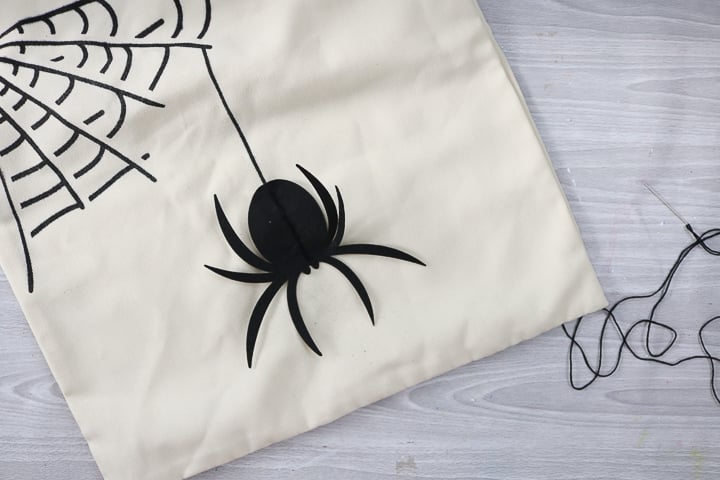
I added mine to my front porch. In fact, you can see the Halloween wood sign from last week in the background!
Hosting a Testors Crafternoon
You can actually plan to do both of these projects with friends by hosting your own Testors Crafternoon! Just get the supplies or have everyone order their own. Then get together and get crafty! Everyone comes away with their own Halloween decor plus an afternoon of fun with family and friends! It doesn't get much better than that! Want more ideas of projects to tackle during your Crafternoon? Try these Halloween ideas with Testors paint:
- Halloween Signs and Testors Crafternoons
- Pot Decoration Ideas for Testors Crafternoons
- Halloween Tree for Testors Crafternoons
- Halloween Lanterns: Testors Crafternoons
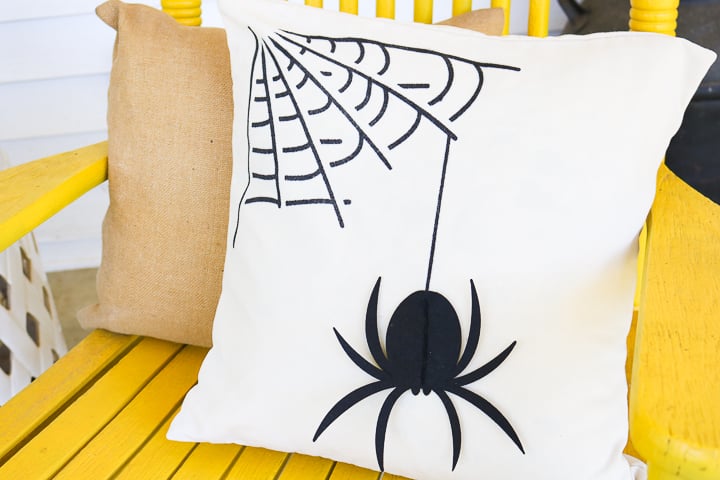
I am partial to this DIY spider pillow myself, but you can pick and choose from all of the craft ideas for your event.
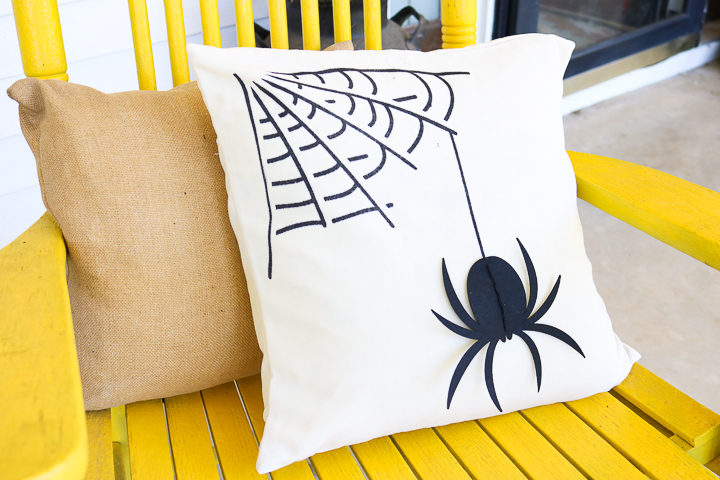
So, will you be making a DIY pillow for Halloween? With Testors fabric spray paint, the process is super easy!
I might just need to make another DIY Halloween pillow for my other porch rocker!
FAQs About DIY Halloween Pillow
If you have questions about making this DIY Halloween pillow, I have answers! Please leave your question in the comments if you don’t see it answered below.
Can I Change The Size Of The Pillow Cover?
Absolutely! You can make this project any size you want; however, the only thing to keep in mind is that you may need to adjust the spiderweb/spider to fit your pillow cover.
What Cricut Machine Do You Recommend For This DIY Halloween Pillow?
For this project, I remommend using the Cricut Maker because you will need to cut stencil material and felt.
Do You Have To Heat Set This Fabric Spray Paint?
I would! Let it dry and cure for about 24 hours, then press.
Can I Glue The Spider On The Pillow?
You can, but I would sew the spider on the pillow. This is because if you want the option to wash the pillow in the future, the glue may prevent you from doing that.
With that being said, if the pillow is going to be decorative and not used much, you could use fabric glue.
5 More Halloween Crafts
Did you love this DIY Halloween Pillow, and are looking for more Halloween crafts? Check out the projects below!
- Cute DIY Halloween Snack Jar Craft
- Cricut Print then Cut Halloween Stickers
- How to Make Halloween Bags with a Cricut
- Free Witch SVG Cut Files for Halloween
- DIY Halloween Mason Jar Toppers with a Cricut