
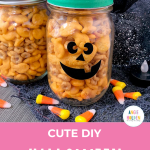
I have a treat for you today – or rather a DIY Halloween snack jar that will hold a treat! Jen Goode is back again this month with a fun Cricut project the kids will love helping with!
I'm always on the hunt for and brainstorming new Halloween craft ideas. It's one holiday that is full of a neverending supply of fun possibilities. It doesn't matter whether you like to make things such as Halloween bags, signs and other decor pieces, or Halloween food. This fun holiday provides something for everyone!
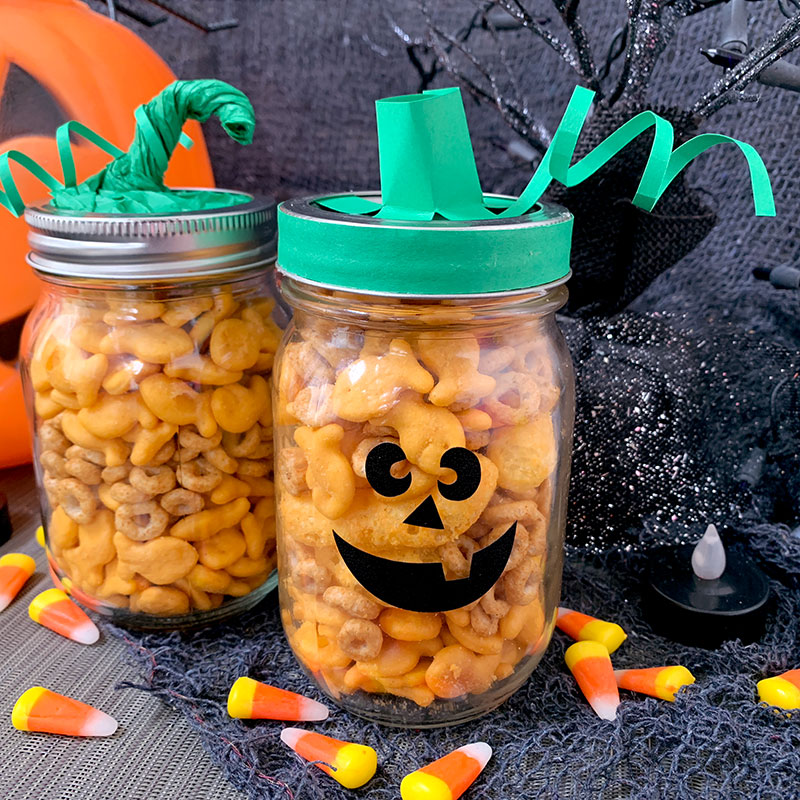
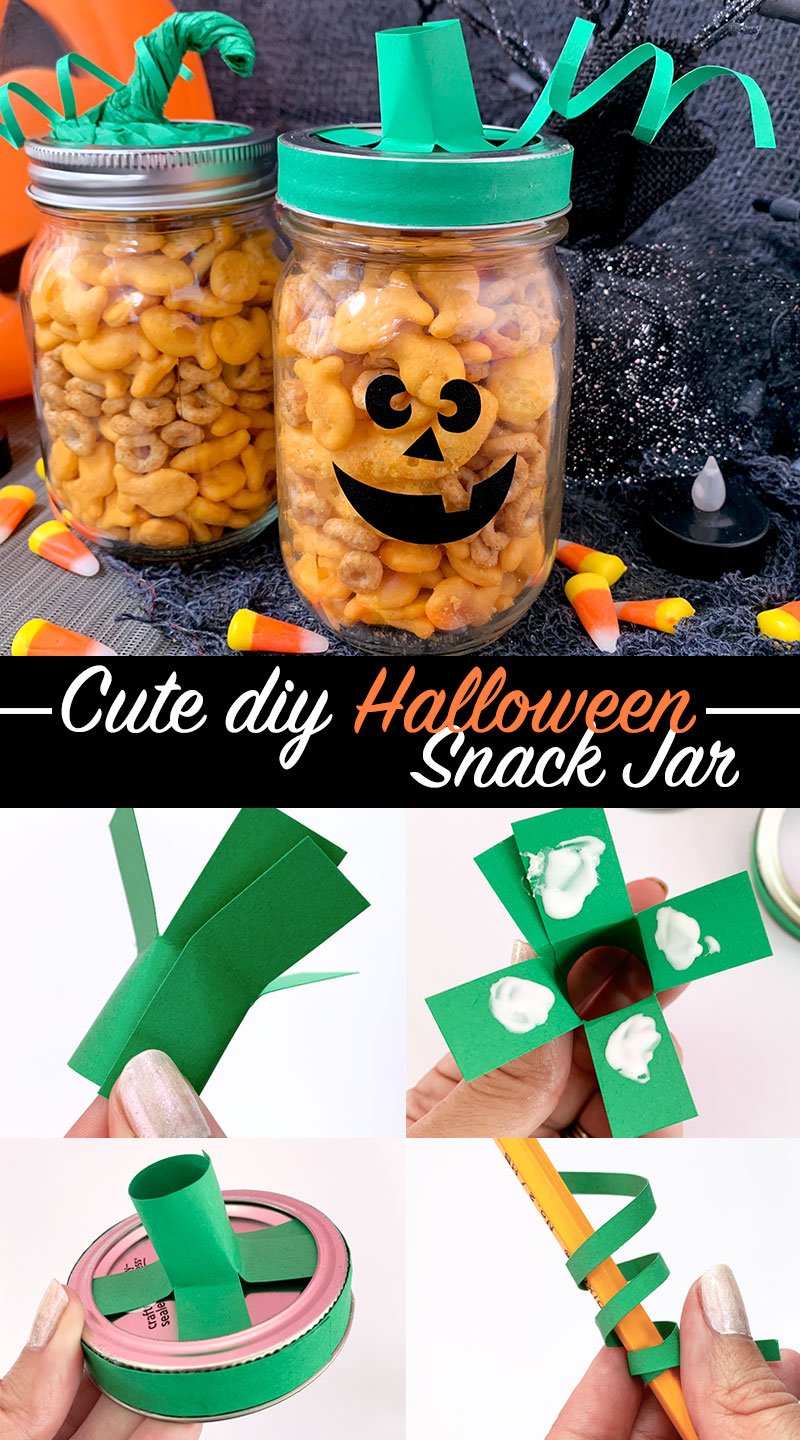
Today we're combining food and crafts and create an adorable Halloween-themed snack jar. If you're looking for Halloween treat ideas, or maybe a fun class party activity this cute DIY Halloween snack jar craft is a winner.
The pumpkin faces are quick-to-cut Cricut designs using vinyl. That means you can mix and match the faces to create a whole bunch of pumpkin jars in minutes. Then fill your jar with non-candy treats or your favorite sweets (candy corn for me, please!). It's a great activity for the whole family to do together!
Cute DIY Halloween Snack Jar Craft
Crafting on my own is always fun, but I'm particularly partial to kid-friendly crafts. I love getting the kids involved and seeing the delight on their faces when they see how their project turns out. The kids can help with just about every step of this project, and you can customize the pieces you use.
You can even take this project “on the road” into the classroom. If you make all the project pieces ahead of time, you'll have a fun and easy class Halloween party craft.
In addition, this project is easy to personalize and change around if you want to achieve a different look. Change the lid, leave off the stem, or even use tissue paper to create an even more elaborate vine. Have fun making your own not-so-spooky Halloween mason jar snacks!
Don't have a Cricut machine? You can still make this craft! Simply use the pumpkin faces as templates to cut out your own vinyl. This snack jar makes a great gift set with matching pumpkin face tea towels!
Materials Needed To Make A Halloween Snack Jar
Here's a complete list of what you'll need to gather for this craft. Some links may be affiliate links which means you do not pay anymore but I may receive a small commission to put towards this site.
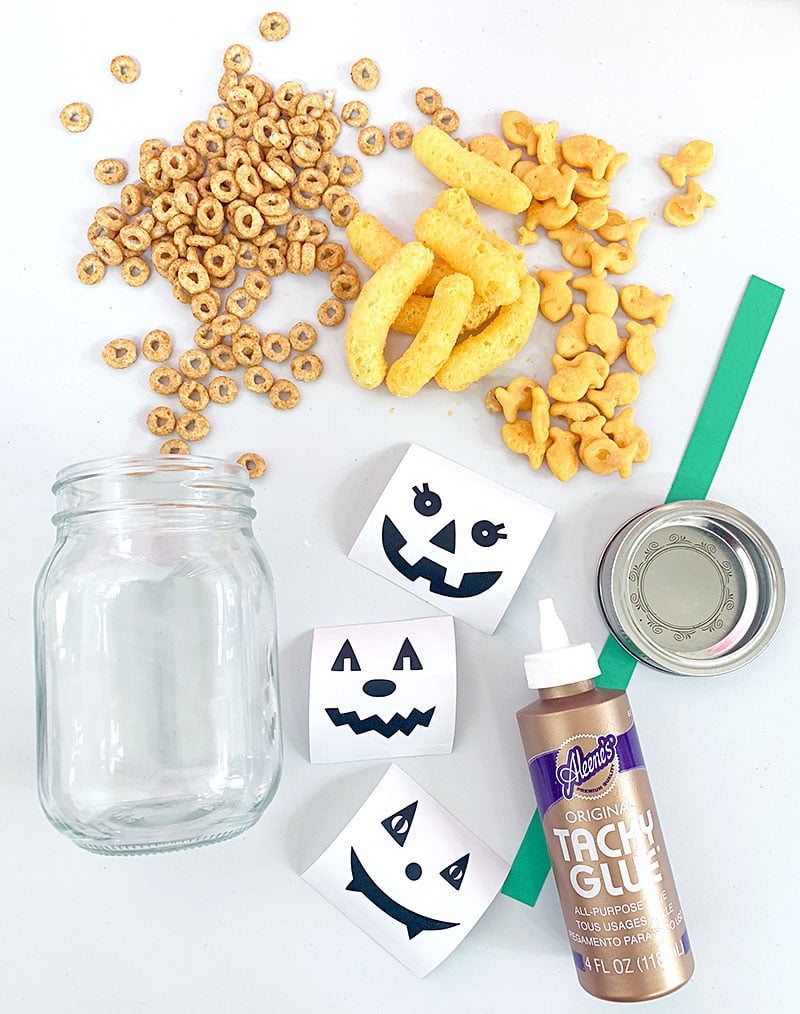
- Clear jar with lid
- Cricut machine and Cricut Design Space (click here to see my favorite Cricut machine)
- Pumpkin faces SVG – free download from Jen Goode
- Green cardstock
- Craft glue
- Orange colored snacks
A note about snacks: We wanted to stick with orange snacks to go with the pumpkin theme. So, we used a variety of orange snacks including Goldfish crackers, Cheese doodles (or puffs), and Pumpkin Spice Cheerios. What other orange snacks can you think of to add to your jars?
Instructions To Make Halloween-Themed Snack Jar
This craft comes together quickly and easily. Simply follow these instructions and you'll have a jar ready in just minutes!
Download The Pumpkin Face Designs
Download the designs and upload them into Cricut Design Space. Then follow the onscreen instructions to cut the face/s you'd like to use. If you need more detailed help on how to do this, check my video on how to upload images to Cricut Design Space.
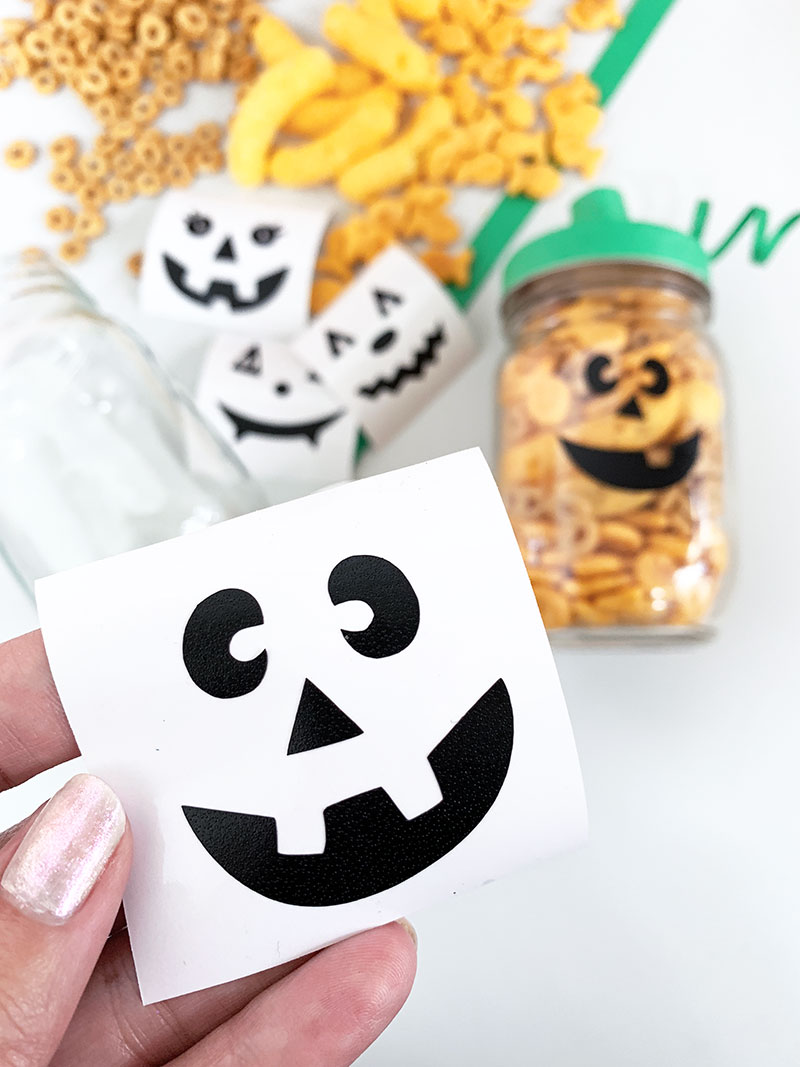
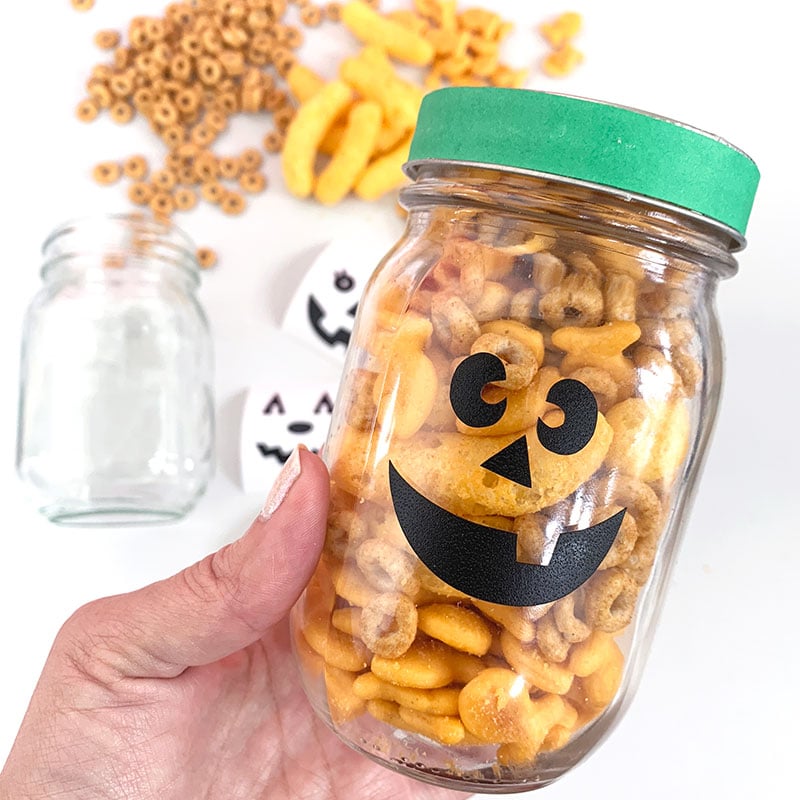
Add Face To The Mason Jar
Apply the face stickers to a clean, dry jar.
Add A Band To The Lid
Cut green cardstock into a strip and glue around the side of the jar lid.
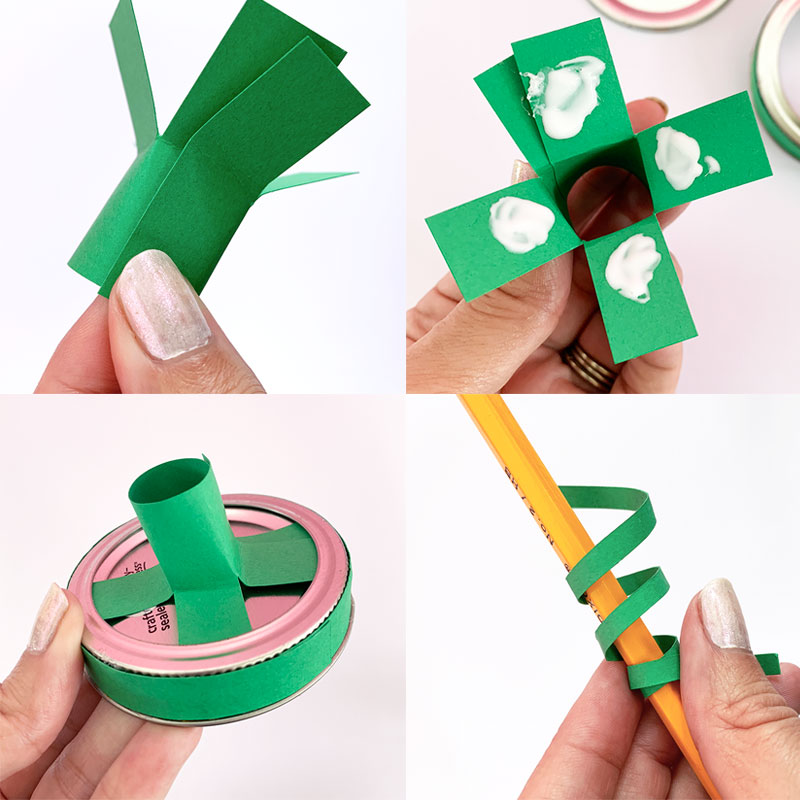
Create The Stem
This is totally optional but super cute! You can add a stem to the top of the jar lid to complete the look of the project.
Remove the ring of the lid and set it aside. Make the stem by cutting a 2″ wide strip of green cardstock. Cut 4-5 lines along the strip, only cutting halfway across. Roll to make a tube and glue it in place.
Next, fold the cardstock at each cut, creating flaps at the bottom of your “stem”. Apply glue to the bottom of these flaps and attach them to the top of the jar lid. Place the ring around the lid. Then add a vine accent, if you want to, but curling a thin strip of green paper.
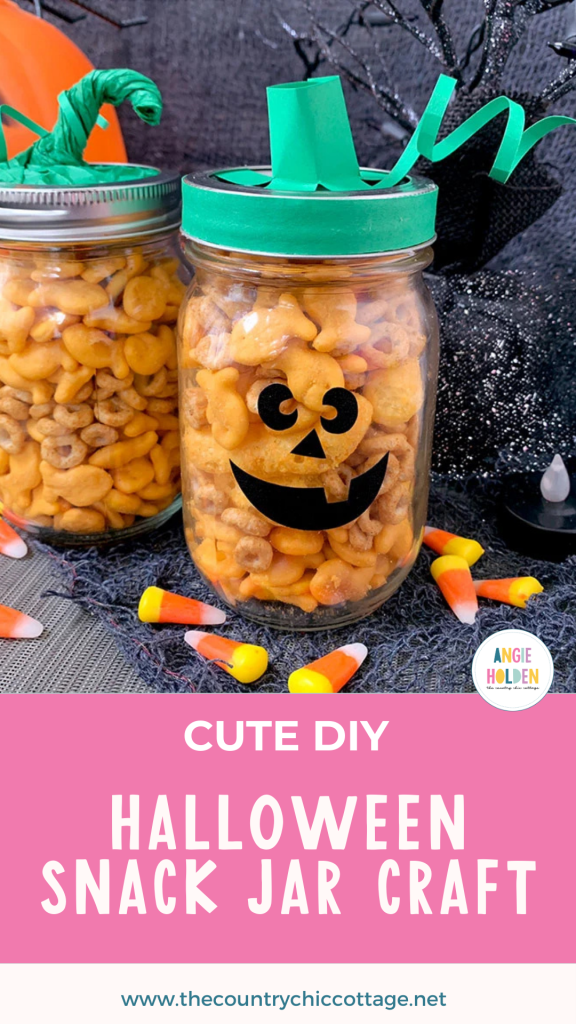
Fill The Jar With Layers Of Treats
The possibilities are endless here! Go with all orange or choose Halloween-themed treats. You can even go colorful. Layer them up to create a visually interesting jar.
Tighten the lid in place on the jar. That's it!
FAQs
If you have questions, check below to see if I've already answered them. If I haven't, please leave your question in the comments below so that I can answer them for you!
Do I have to use vinyl?
Not at all! You can cut the face shapes out of paper and glue them to the jar. Or, if you're working with small children and don't want to use glue sticks, you can always tape the cutouts to the jar. That's just not my preferred method because you'll see the tape.
How do I make this activity as a classroom activity?
For a class party activity, first cut a bunch of the pumpkin faces. Next, cut the paper (with scissors) into individual face squares around each face. Then it's simply a matter of letting the kids grab their favorite face as a complete sticker to add to their jar.
Get creative, mix and match the faces or fill the jars with different colors of treats. You can also add extra embellishments or unique designs using permanent markers. Add a gift tag to give to friends or boo a neighbor.
Have fun making your own Halloween snack jars!
More Halloween Craft Inspiration
If you love this DIY Halloween snack jar craft idea and are ready to try even more fun ideas, check out the links below!
- Halloween Luminary Lanterns (Mason Jar Craft)
- DIY Halloween Mason Jar Toppers with a Cricut
- How to Make Halloween Lanterns from Jars
- Halloween Slime Recipe in a Jar
- Candy Corn Cookies in a Jar
- Halloween Signs
- Halloween Gift Ideas
- Decorative Tree for Halloween
- Easy Halloween Crafts for Kids
- Halloween Maternity Shirt

Supplies
- Mason jars clean
- Cricut machine and Cricut Design Space
- Pumpkin faces SVG
- Green cardstock
- Craft glue
- Orange-colored snacks
Instructions
- Download the designs into Cricut Design Space and follow the prompts in the software to cut out the faces.
- Attach your cut out face to the outside of the mason jar.
- Cut out a strip of green cardstock and glue it around the side of the jar lid.
- Create a paper stem, if you want. Cut a strip of green cardstock 2" wide. Cut 4-5 lines about halfway across the strip and roll the strip into a tube. Glue it to hold it closed.Create flaps in the stem by folding the strips out. Add glue to the bottom of each flap and attach it to the top of the jar lid.Create a vine accent by taking a thin strip of green cardstock and rolling it around a pencil. Glue it to the jar lid.


This is just adorable, and I love that you used snack mix for a change of pace for such a “candy” holiday! Thank you for sharing at Celebrate It!
these are rather cool and just to remind all those that may read this comment Halloween is not just for little ones but the older ones as well. These jars would be perfect for the older ones even those that I care for in nursing home.
Cute way to reuse a jar! Thank you for sharing at Party In Your PJs!
What a great way to treat kids for Halloween but without the sugar – these are all treats my own kids like and would see as something special.
These jars are adorable! Sharing! Thank you for sharing on Merry Monday! Hope to see ya next week!
Kim