
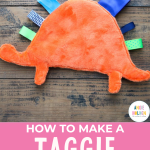
Are you looking for a delightful and thoughtful gift for a baby shower or a new parent? Consider making a handmade taggie blanket! Not only is it easy to create, but it's also incredibly adorable, and new parents will truly appreciate such a heartfelt gift. Plus, with Dinosaur Day coming up on June 1st, why not celebrate with a fun dinosaur-themed blanket for babies and toddlers?
Dinosaur Day is officially on June 1st! And Baby Day is…well, every day! Here's a fun kids dinosaur blanket idea for babies and toddlers to celebrate Dino Day and every day.
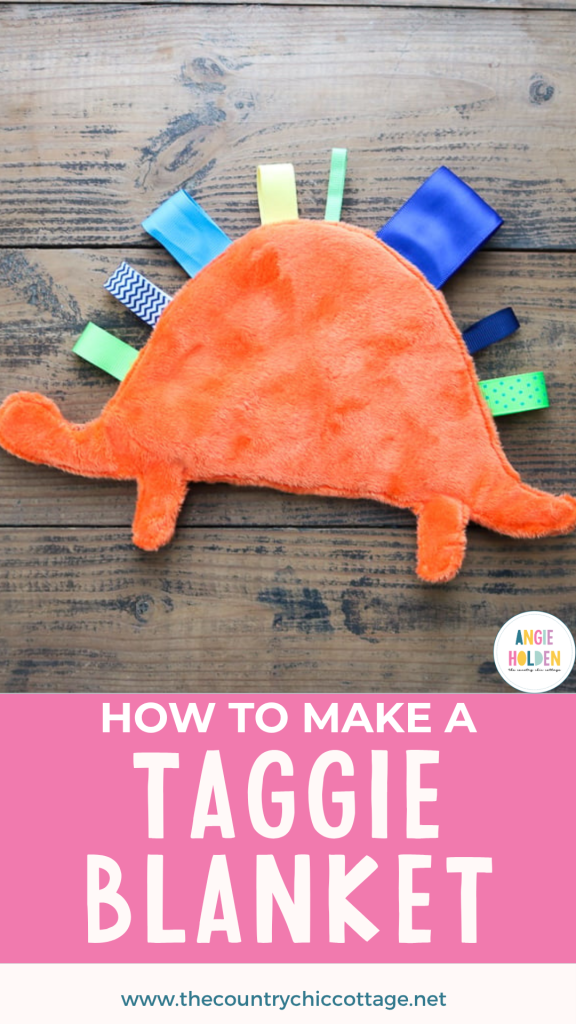
Tag blankets are adorable, easy to make, and loved by babies and even toddlers. The soft main part is cozy and cuddly to rub on their cheeks or hug close, while the tags offer sensory stimulation and let very young children do what they do best: fidget.
Today, I'm showing you how to make a taggie blanket. It's a fun and easy project, and it's much easier to make than it may look! Let's jump right into how to make this great baby shower gift idea!
How To Make A Taggie Blanket
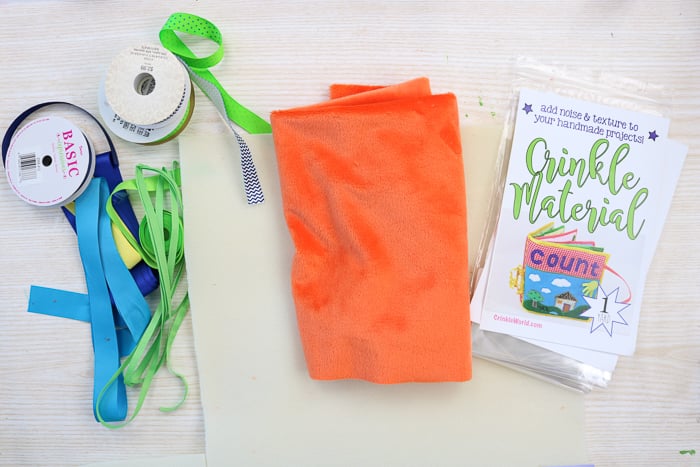
Supplies Needed
Here's what you'll need to make this project. I have included links to help find some of the supplies you may need.
- Minky fabric (in any color)
- Crinkle fabric
- Foam stabilizer
- Cricut Maker (click here to see why I prefer the Maker for projects like these)
- Ribbon
- Scissors
- Pins
- Sewing machine (click here to see the basic sewing machine I use)
- Thread
- Cricut cut file (scroll to “dinosaur taggie blanket”)
Step-by-Step Video Tutorial:
I thought this project would be a good one for a video tutorial. Watch it so you can follow along and see just how easy it is to make this baby tag blanket yourself!
Instructions on How To Make A Taggie Blanket
If watching the video isn't your jam or you missed some of the steps, I'm also including instructions. Just follow along to see how to make a taggie blanket of your own.
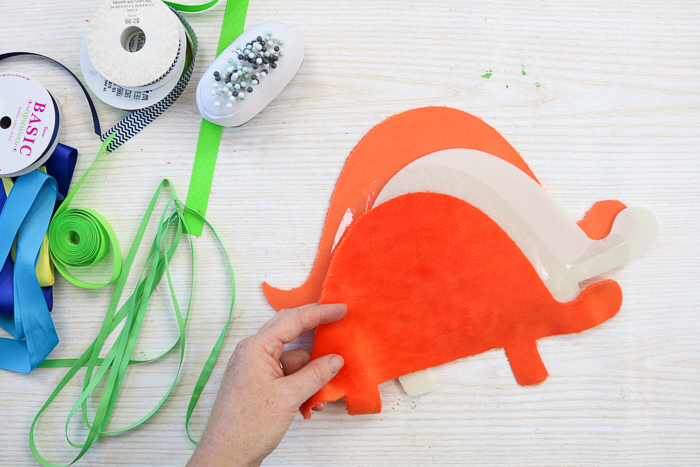
Step 1: Cut your dinosaur pieces
Start by cutting all of your dinosaur pieces with your Cricut Maker. You can use the cut file I created in Cricut Design Space (scroll to “dinosaur taggie blanket”).
Don't have a Cricut Maker? You can also freehand a dinosaur shape and cut with scissors. You will need two pieces of minky fabric that are mirror images of one another, and one additional piece each of the foam stabilizer and the crinkle fabric.
If you are interested in buying a Cricut, here's everything that you need to know about the Cricut Maker.
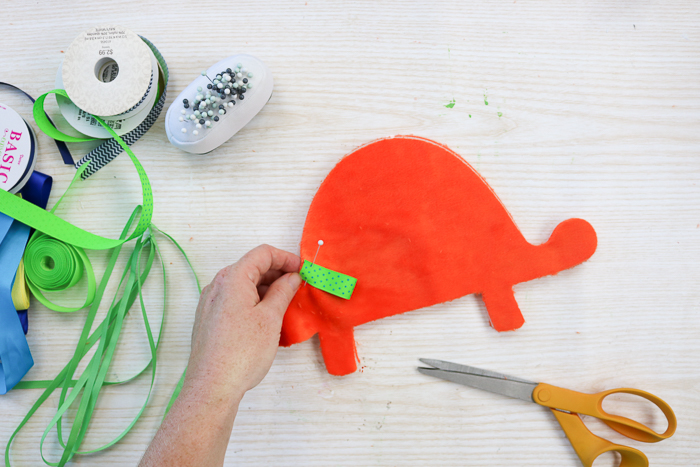
Step 2: Cut your ribbon pieces
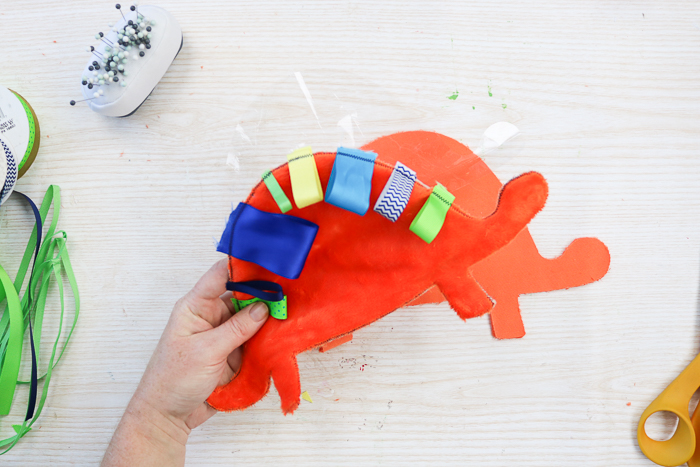
Then cut bits of ribbon measuring roughly 2 to 3 inches. Vary the lengths and types of ribbon you use. The goal is to offer a variety of colors, textures, and lengths for the baby to fidget with.
Fold the pieces of ribbon in half with the “good side” out and pin them along the dinosaur's back. This is a great project for leftover and scrap ribbon pieces!
Step 3: Sew the minky fabric and stabilizer foam
Sew one piece of the minky and the foam stabilizer together with the ribbons around the back. Use a zigzag stitch close to the edge to hold it well.
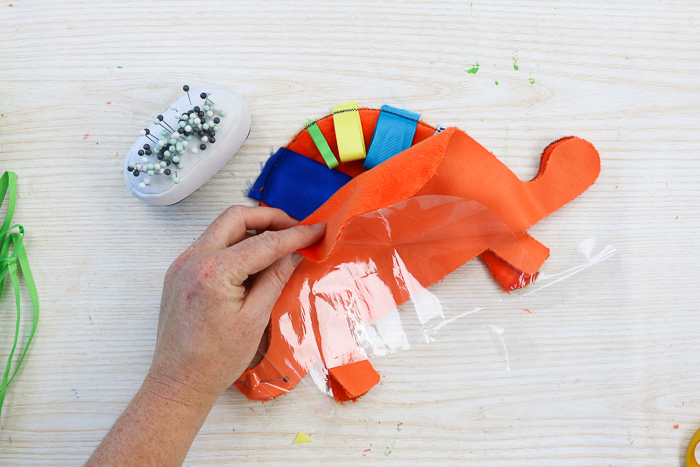
Step 4: Add your other layers
Then, put the good sides of the minky together and the crinkle fabric layer on top of that.
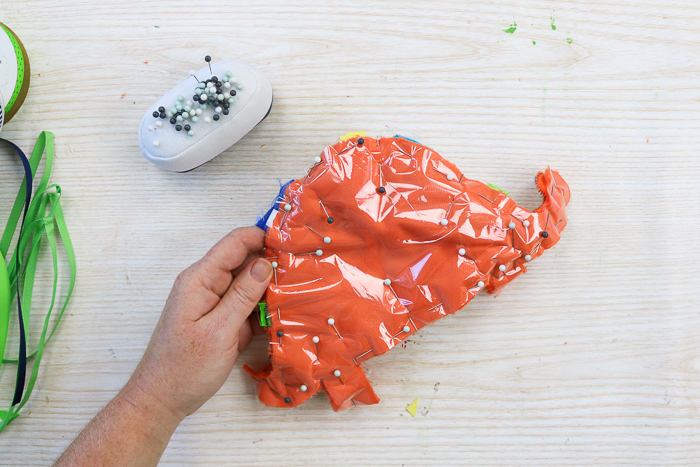
Step 5: Stabilize the crinkle fabric
Use lots of pins to securely hold it together because that crinkle fabric is slick and can easily slip while you're sewing.
Step 6: Sew around the shape
Sew all the way around the dinosaur. Be sure to leave an opening at the bottom so that the tag blanket can be flipped the right way.
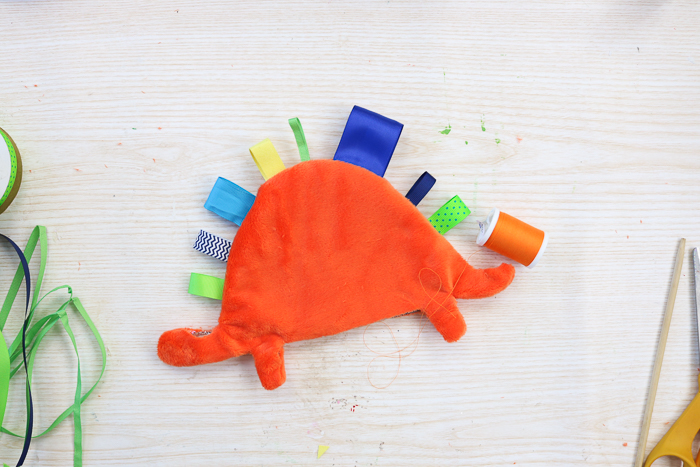
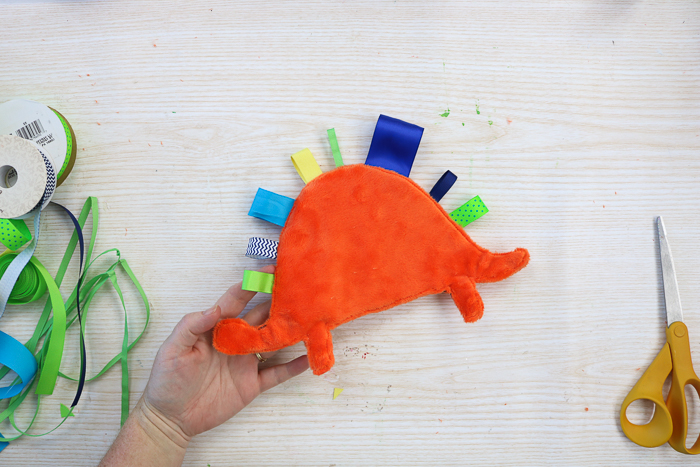
Flip the right side out so that the good side of the minky faces out, the tags flare away from the blanket, and the stitches are hidden as shown in the image below.
Step 7: Secure the tags
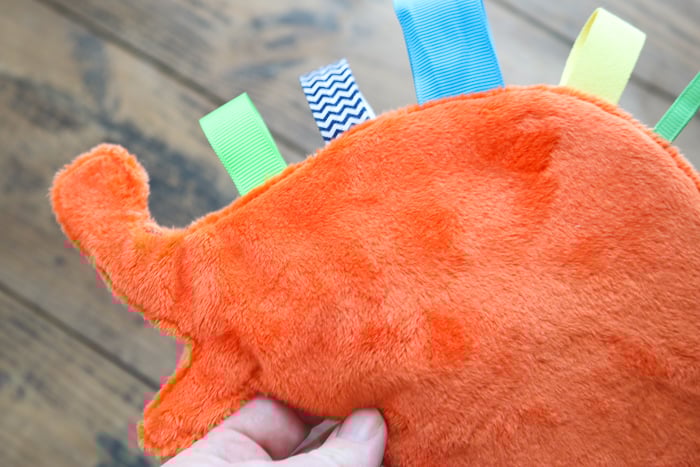
Finally, sew all the way around the piece with coordinating thread.
By sewing the ribbon pieces three times, you are really securing them in place and ensuring they are safe for a baby.
Be sure to check each ribbon and make sure it is tightly secured before gifting!
Step 8: Complete the sewing
When you sew this final time, turn the opening in and close it up as well.
Step 9: Ready to gift!
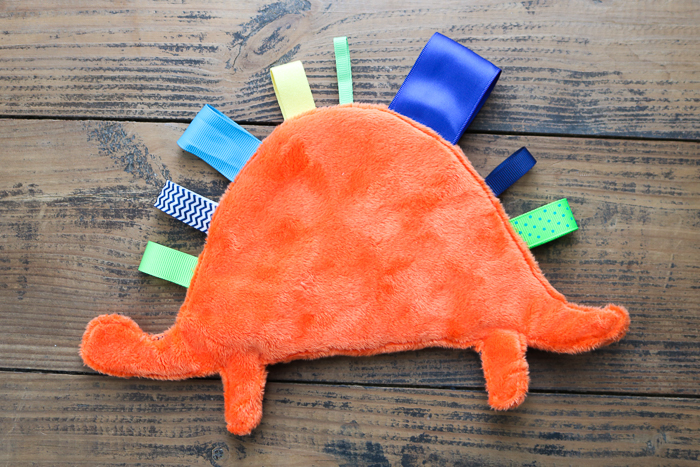
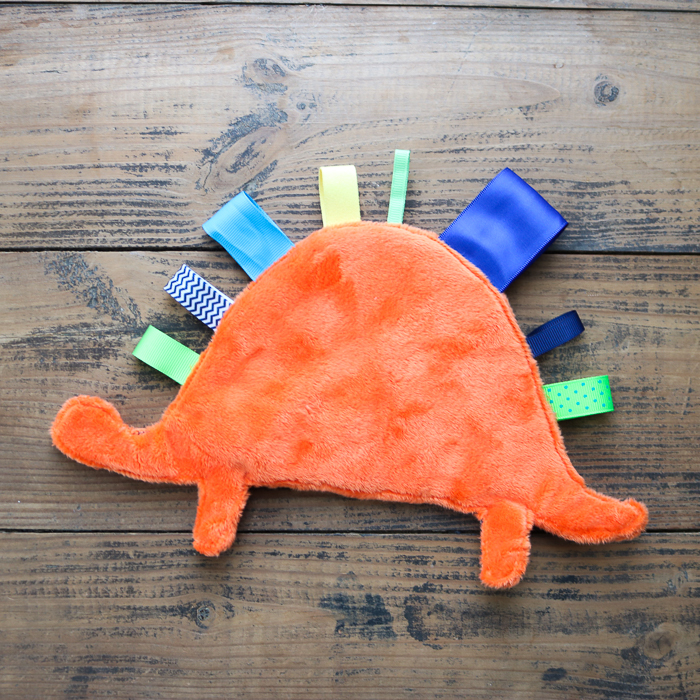
Now your baby tag blanket is ready to give to any baby in your life!
I bet you can think of other shapes that will work with this same technique. There are SO many possibilities! The process would be virtually the same, with only the shape differing.
Now that you know how to make a taggie blanket, you are ready to make one for any baby on your gift-giving list!

Love this Taggie Blanket Idea? Try These Other Baby Gift Ideas!


Hi, thank you for sharing! it’s beautiful!
Is it ok if I do it without the foam stabilizer?
Best and thanks,
Sara
Maybe? It just won’t keep its shape as well.