
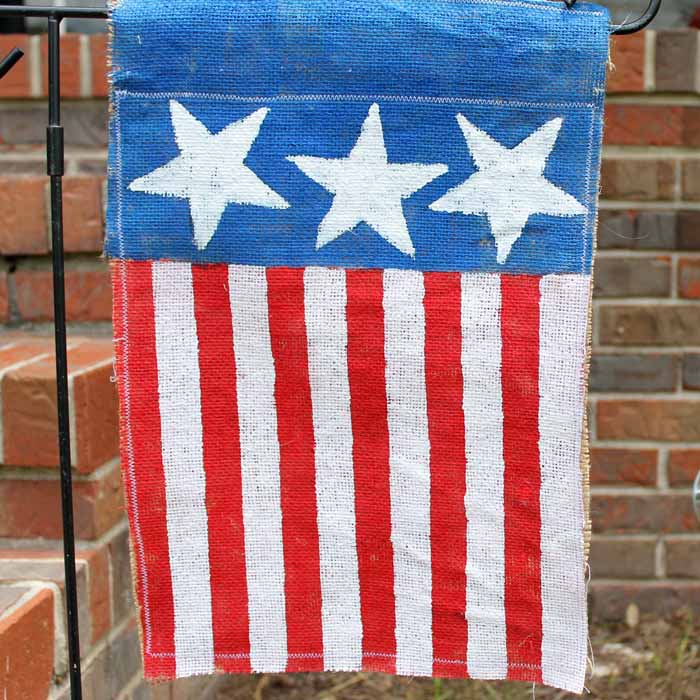
This burlap garden flag for summer can be created in just a few minutes. I have been making several garden flags using this same technique over the past year, and they have all held up beautifully! I love it when an easy project also delivers great results!
How To Make A Garden Flag For Summer
This week, we’re participating in Craft Lightning, featuring 15-minute patriotic crafts. If you’ve missed any of the fun, be sure to catch up with day 1, day 2, day 3, and day 4. Don’t forget to scroll down to find more fun craft ideas! For now, let’s jump into making your own burlap garden flag.
I adore garden flags! Summer garden flags are wonderful additions to any outdoor space. I have various designs that embody the spirit of summer, like this mason jar “welcome y'all” garden flag and this monogrammed mason jar-shaped flag.
I love to place these along garden paths or tuck them into flower beds. They instantly brighten up outdoor areas and create a warm and inviting atmosphere. These flags are the perfect way to showcase your personality and welcome guests to your outdoor oasis all summer long.
Supplies Needed To Make A Garden Flag For Summer
- Burlap fabric
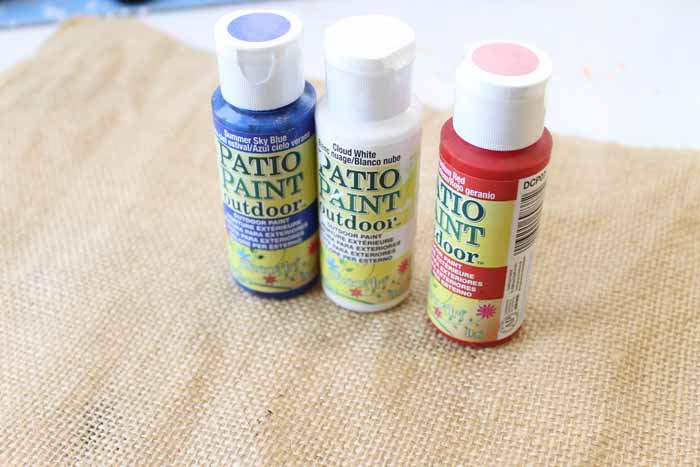
- Patio paint in red, white, and blue
- Sponge brushes like round pouncer brushes
- Painter's tape
- Star shape
- Sharpie
- Paint brush
- Sewing machine and thread
Step 1: Cut Burlap
Begin by cutting two pieces of burlap to the same size. If you already have a garden flag, use it as a reference to cut the burlap pieces to a similar size. If you don't have an existing flag, estimate a size that will look good with the hanger you plan to use.
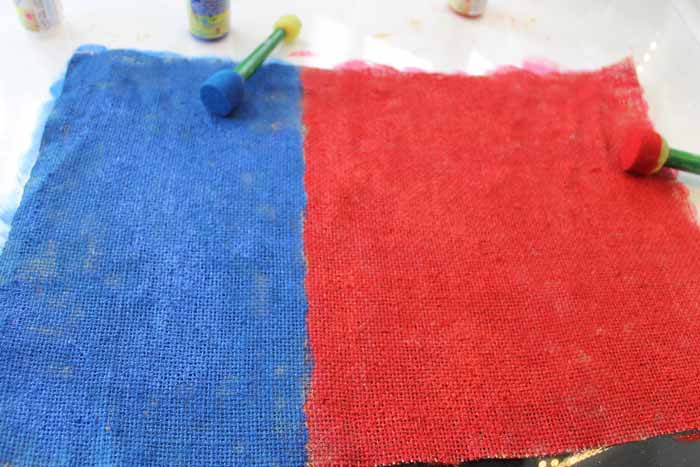
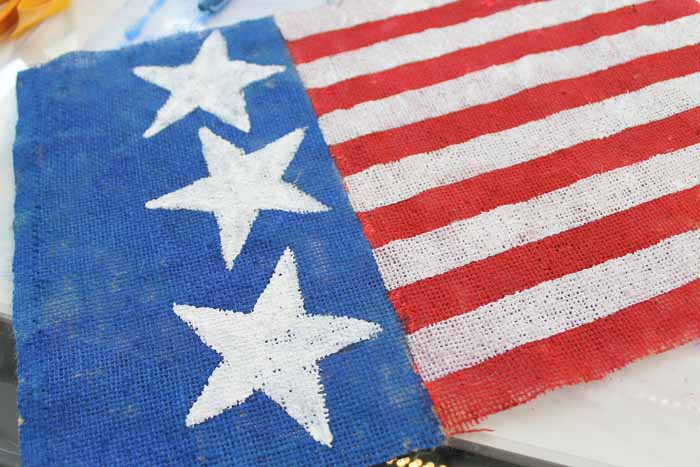
Step 2: Paint Burlap Blue & Red
Paint a piece of burlap red and blue, sectioned like the American flag. I find that sponge pouncher brushes work best on burlap.
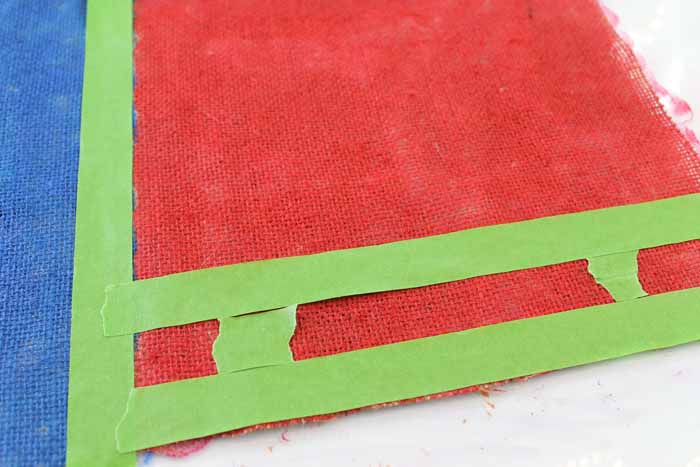
Step 3: Mask Of Burlap To Create Stripes
Allow to dry completely, then mask off for your stripes. Use a few small pieces of tape to space your stripes.
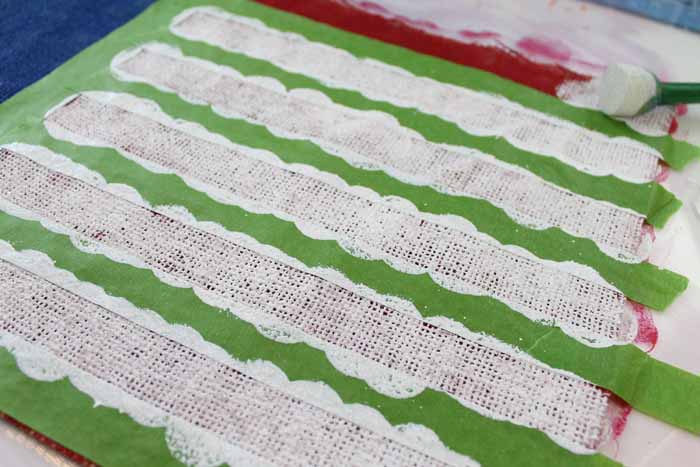
Step 4: Paint White Stripes
Use white paint and a sponge brush to paint the stripes and allow them to dry.
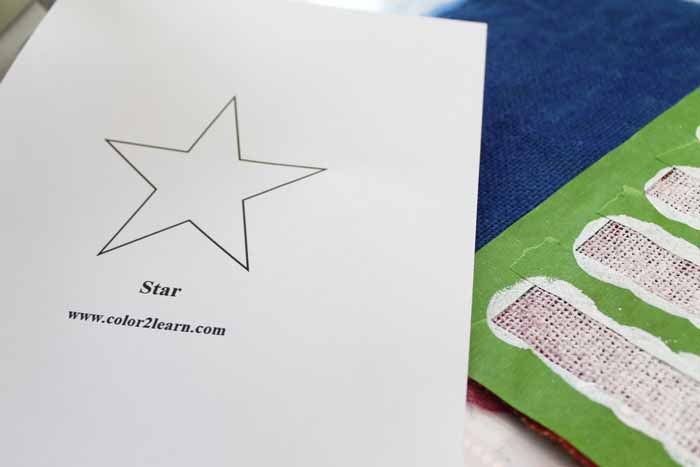
Step 5: Print Out Star Shape
In the meantime, print out a star shape from your computer.
NOTE: You can Google ”star shape” to print one for free, or you can cut a star shape using your Cricut machine.
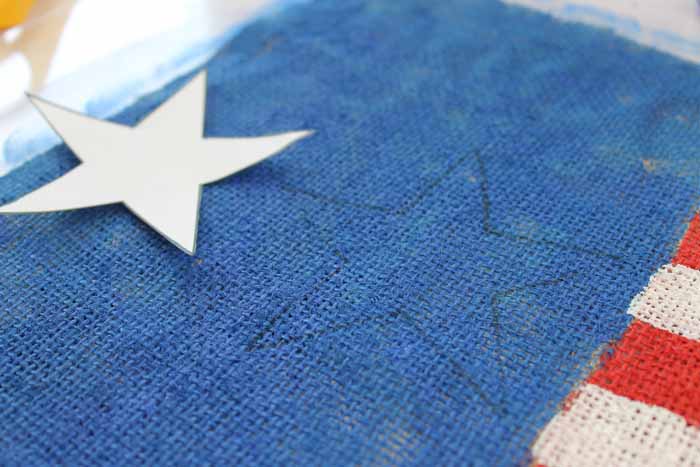
Step 6: Trace Stars Onto Burlap
Once your stripes are dry, remove the tape. Then, cut out the star from the paper and use a Sharpie to trace it onto your flag.
Step 7: Fill In Stars With White Paint
Fill in the drawn stars with white paint using a paintbrush.
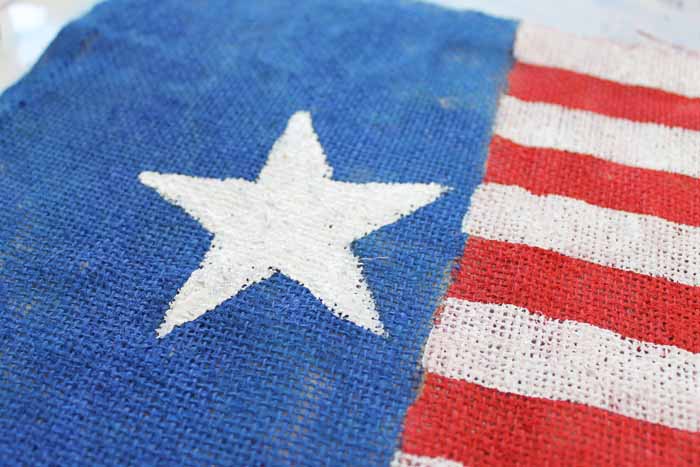
Then repeat two more times for a total of three stars.
Step 8: Sew Burlap Flag Pieces Together
Allow to dry before sewing. Sew the painted burlap piece to the one that you cut and did not paint. Remember to leave a place where you do not sew that is large enough to insert your flag hanger.
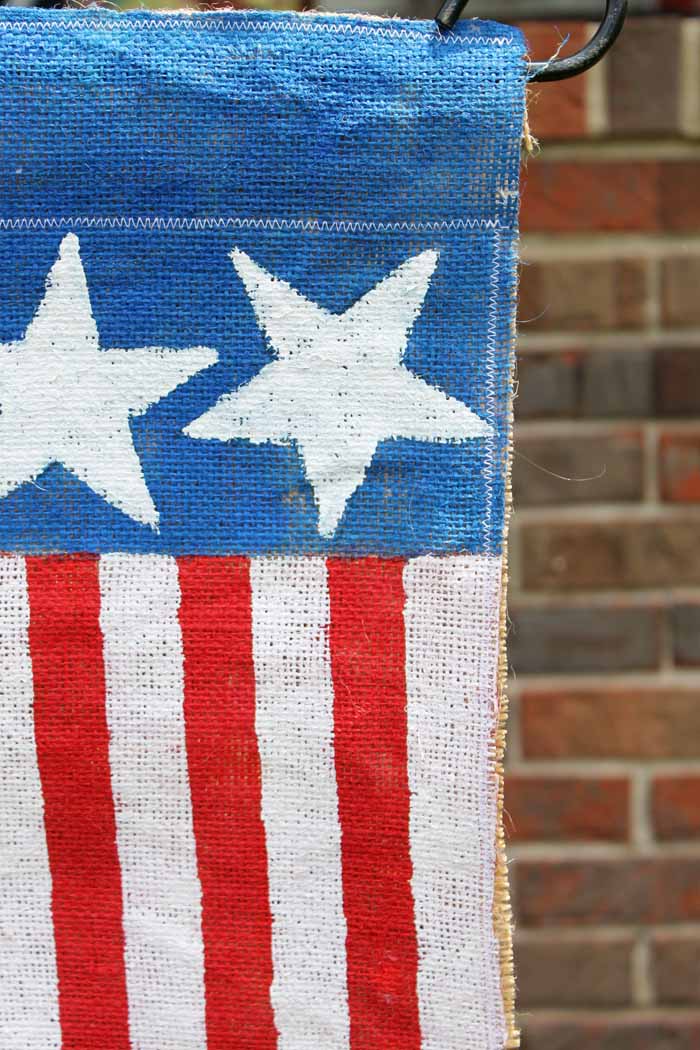
Step 9: Sew Zig-Zag Stitch Around Garden Flag
Then sew all the way around the other areas using a zig-zag stitch.
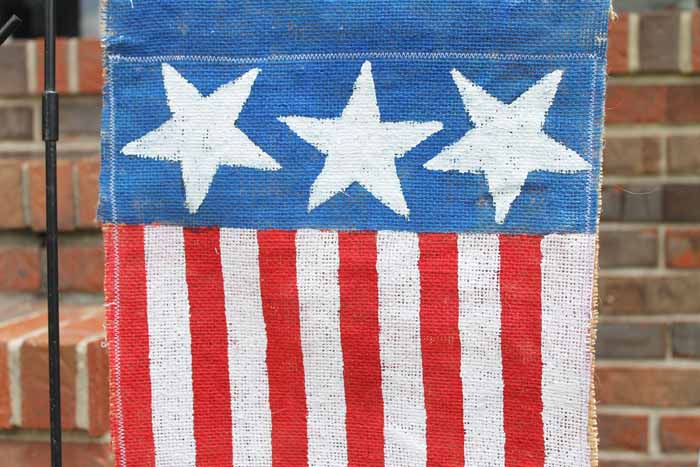
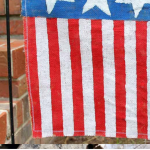
Now enjoy a touch of Americana in your garden this summer with this patriotic flag!
7 More Patriotic Crafts
Want to see more quick and easy patriotic crafts? Check out the ideas from our bloggers for this series below!
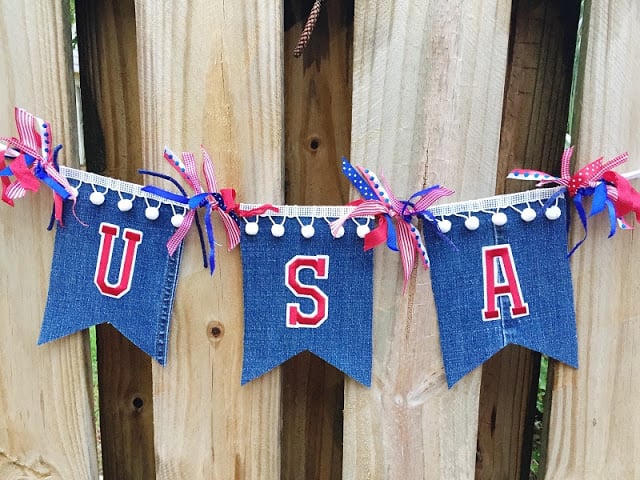
Recycle old jeans into this patriotic garland from Beth Watson Design Studio.
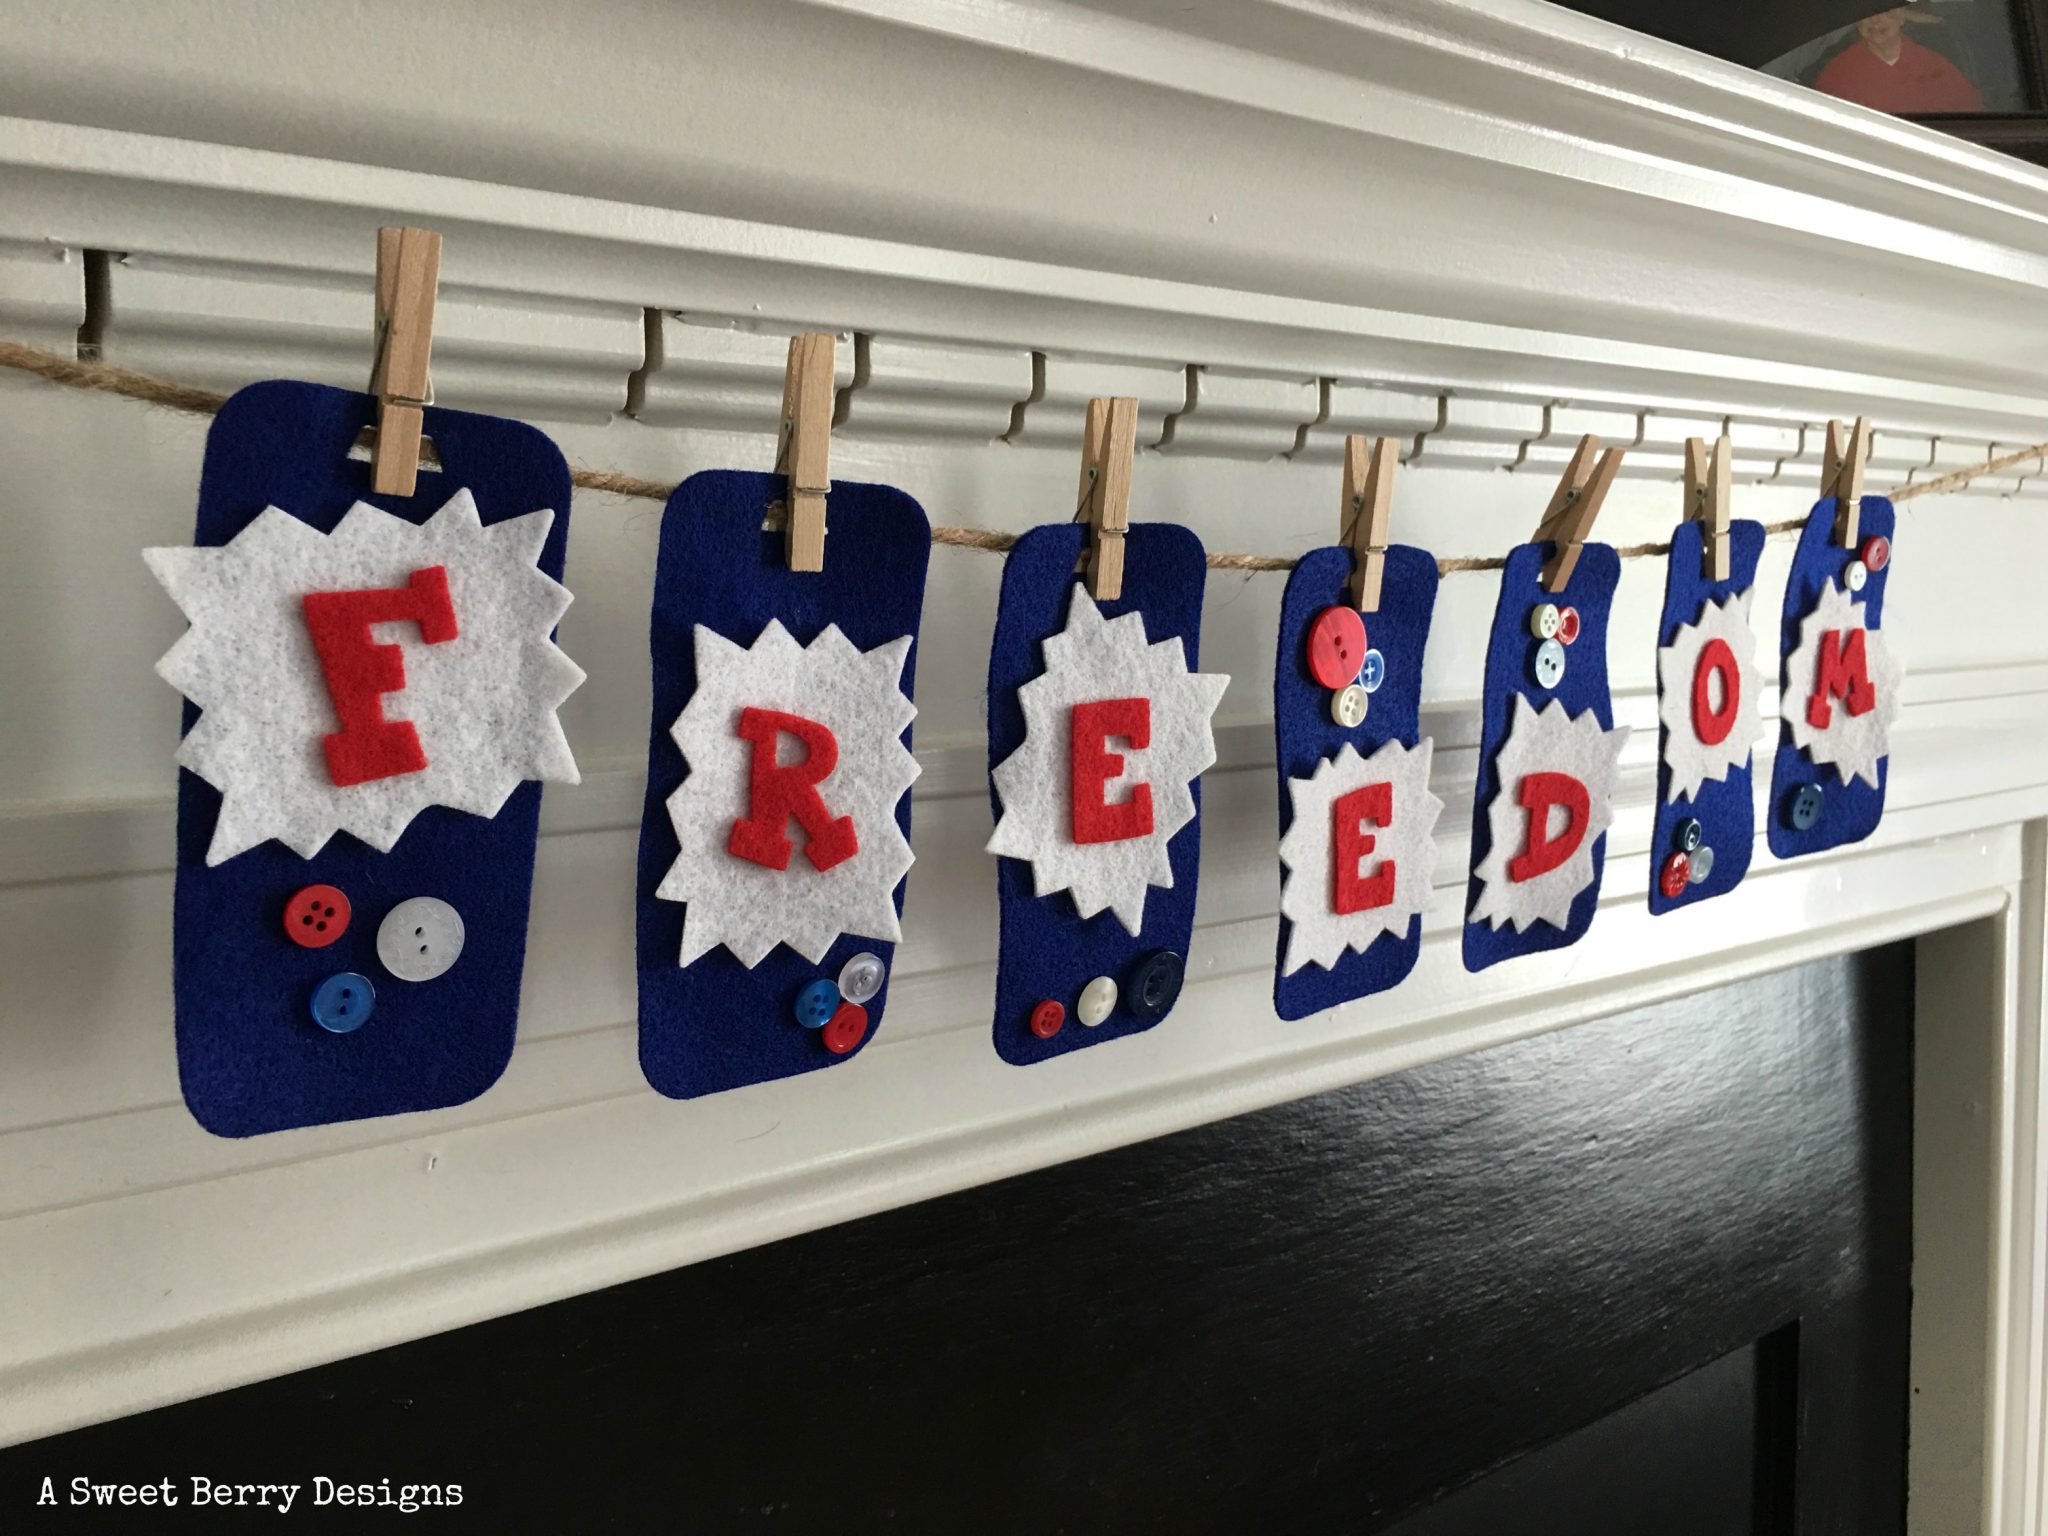
Don't have any old jeans? Use felt to make this cute garland from A Sweet Berry.
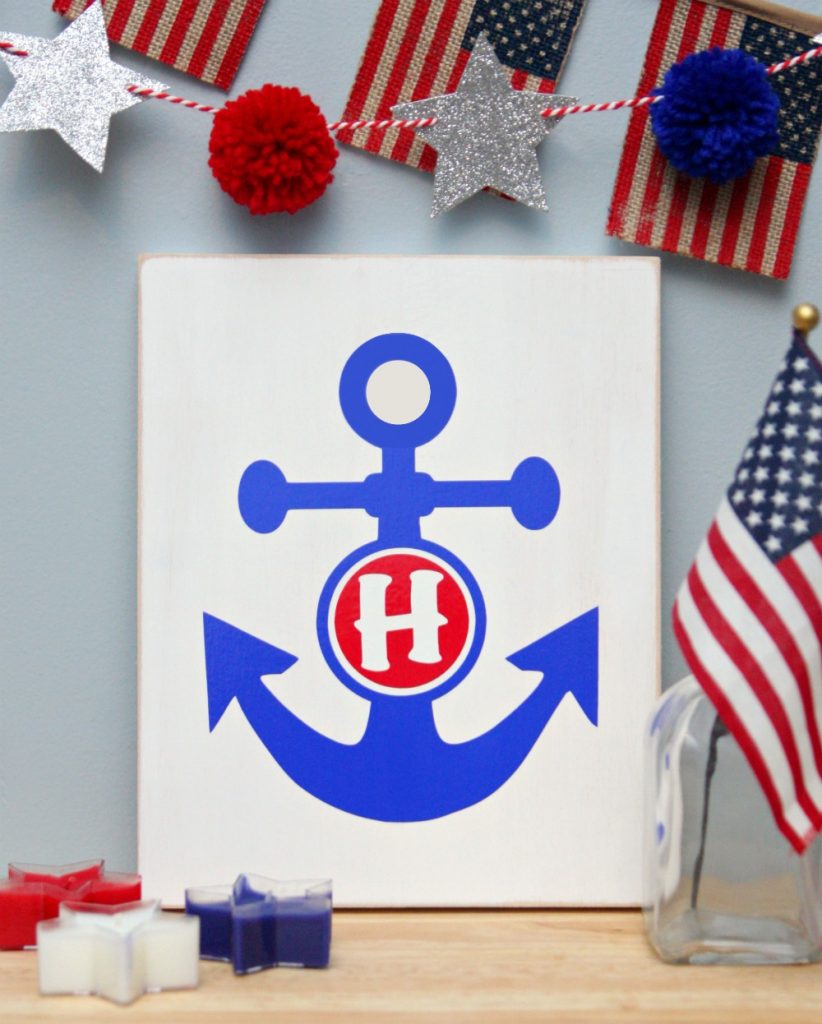
Next up is a project using a craft cutter to create a monogrammed patriotic canvas, similar to this one from Happy Go Lucky.
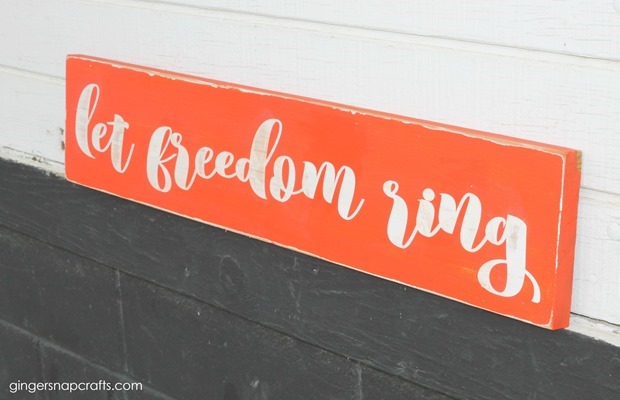
You can also use a craft cutter and some paint to make this gorgeous wood sign from Ginger Snap Crafts.
I love a good string art project, and this one from Doodle Craft is perfect for summer.

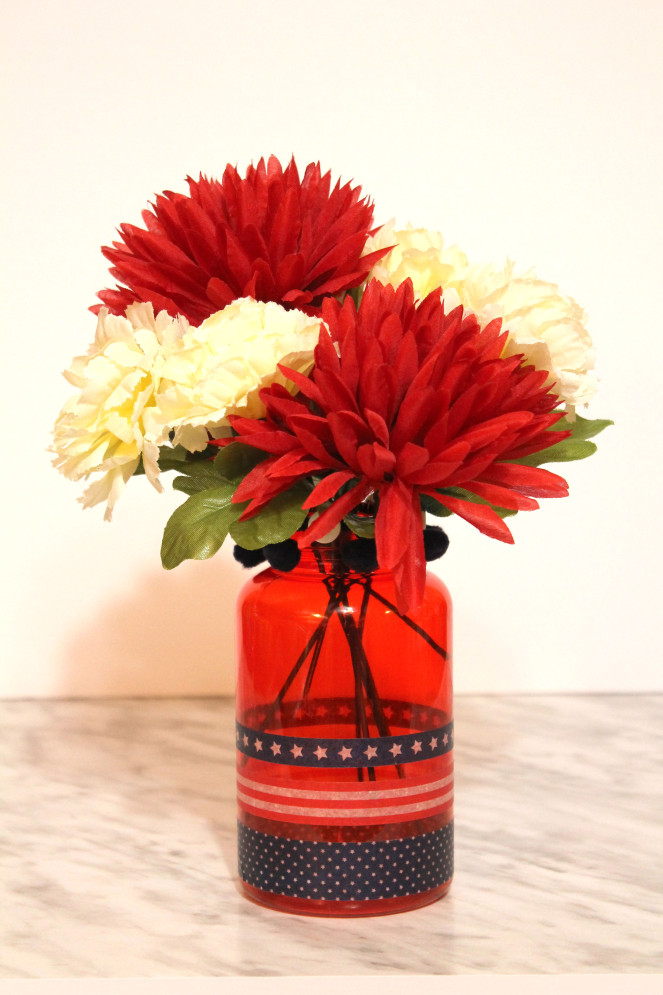
Use a few simple supplies to make a patriotic centerpiece like this one from Scrappy Chick Designs.
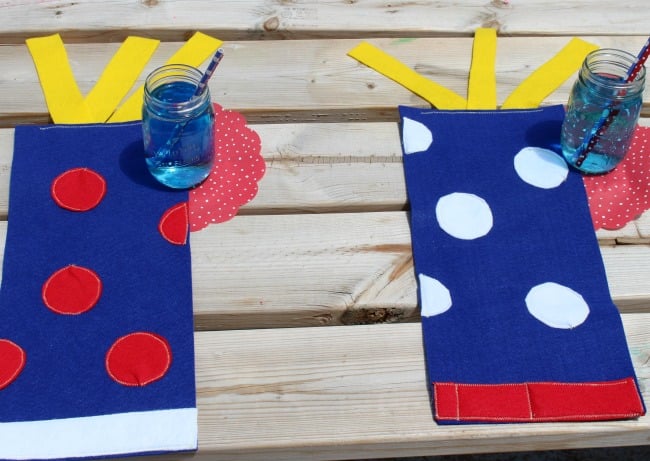
Finally, you can also use felt to make these firecracker place mats from our guest co-hostess, Me and My Inklings.
I hope you enjoyed this tutorial on how to make a burlap garden flag, as well as these other quick and easy patriotic crafts.
FAQs About How To Make A Garden Flag For Summer
Here are some questions I frequently see readers ask about creating a garden flag for summer. If you have a question but don’t see it answered down below, please leave it in the comments so I can answer it for you.
Can I Use Acrylic Paint Instead?
Since this garden flag is designed for outdoor use, I don't recommend using acrylic paint. I would stick with the Patio Paint because it's designed for outdoor use, it's water-resistant, and doesn't require a sealer.
Can I Hand Sew This Garden Flag?
You can, but it will take you more time to complete the project.
Can I Add Embellishments To This Garden Flag?
Absolutely! However, the only thing to keep in mind is that the garden flag will be outside. Therefore, you will want to be mindful of what embellishments (buttons, trim, etc.) will be exposed to the elements (rain, heat, etc.).
3 More 4th Of July Crafts
Did you love learning how to make a garden for summer, and want more 4th of July crafts? Then check out the projects below!
- How To Make A Wooden Flag: DIY Patriotic Decorations
- Summer Wreath with USA Cutout
- Button 4th of July Tray


What a beautiful tutorial. This burlap flag looks amazing, not only for the upcoming holidays, but also to keep it in the front yard. Love it!
I love your adorable patriotic flag! So cute!
We just love this adorable flag! Thanks for linking up at The Pretty Pintastic Party! We will be featuring your post this weekend, so stop by, grab a featured badge, and link up some more awesome posts!
This DIY burlap garden flag is such a charming summer project—perfect for adding a personal touch to any garden or porch!