

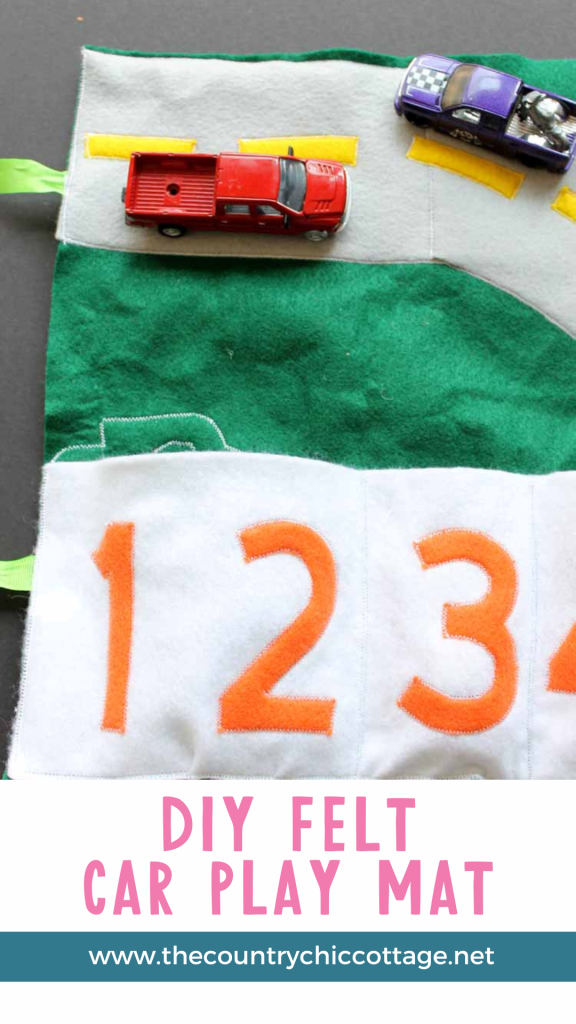
Do you need a way to keep the kids busy while you make a phone call or wash your hair? This easy-to-make felt play mat is just what you need! Following this tutorial will make creating it a breeze.
It's no secret that young children have boundless energy—seriously, where do they get it all? To avoid feeling overwhelmed by the end of the day, parents should look for ways to channel that energy into various activities.
Today, I'm sharing one of those activities. This play mat is perfect for pulling out when you need a moment to yourself or for bringing along in the car during drives or appointments.
You can make this felt play mat in just one afternoon, making it an ideal DIY gift for your little one or any child in your life. Once it's made, your child can enjoy playing with cars on the road anytime and anywhere!
Note: If you are craving more interactive toy ideas, check out our Quiet Activity for Toddlers, Magnetic Fishing Game, and Easy DIY Toddler Busy Bag With Truck Shapes.
How To Make A Felt Play Mat
This project is simple to make. Get ready to be amazed at what you can accomplish with a few supplies and a little bit of time!
Supplies Needed
Here’s everything you’ll need to make this fun project! I’ve included some handy links to make finding certain items a little easier and faster.
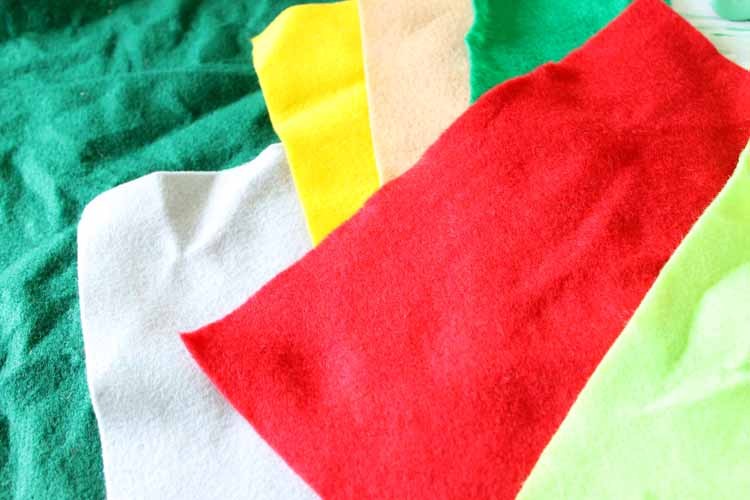
- Felt Sheets in:
- Green (needs to be a large sheet)
- White (one sheet)
- Grey (one sheet)
- Orange (one sheet)
- Yellow (one sheet or scraps)
- Sewing Machine and Thread
- Green Ribbon
- Cricut Maker
- Rotary blade for Cricut Maker
- Scissors
- Pins
- Car and numbers cut file
Instructions
Just follow these step-by-step instructions and your car play mat will be ready in (practically) no time.
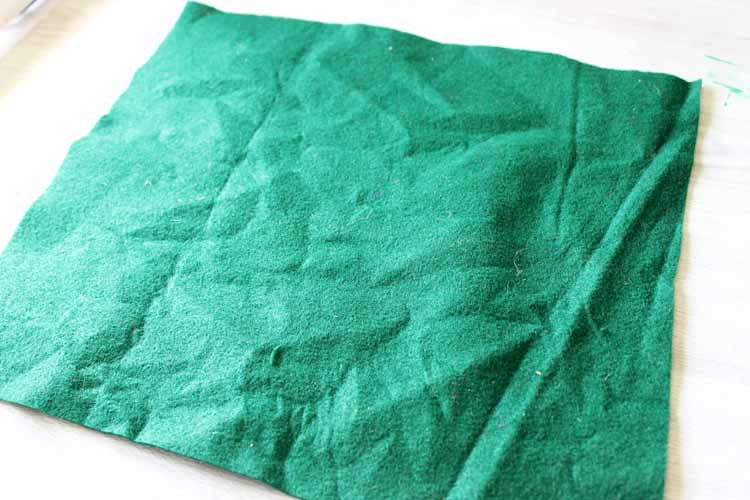
Step 1
Start by cutting your green felt to 11 inches by 13 inches.
Step 2
Cut your other pieces of felt. You can cut these by hand or with your Cricut machine. Cutting felt with a Cricut is really easy, and it's one of the many reasons I love my Cricut Maker.
Upload the cut file with the car and numbers into Cricut Design Space.

For the rest of the felt play mat, you can cut the other pieces by hand, or I used rectangles and a curve from Cricut Design Space, so I had everything ready to cut with my machine.
Here are the measurements for the other pieces:
- 5-inch by 12-inch rectangle of white (you'll need a 12×24 cutting mat for this)
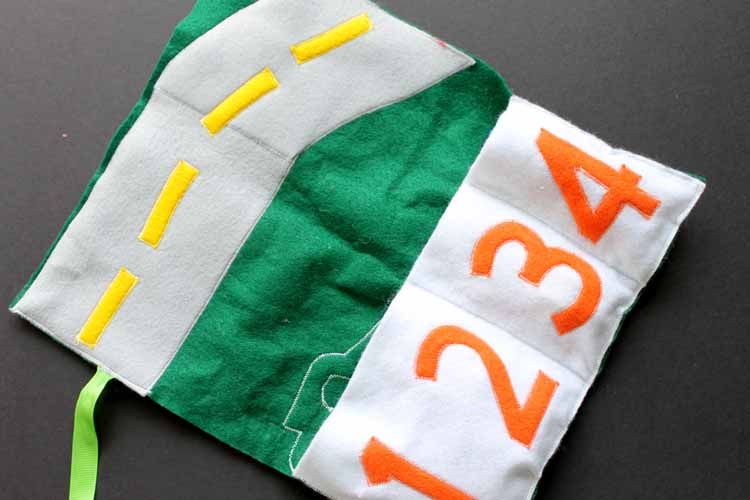
- 4-inch wide curved piece of grey (for the road)
- 1/2-inch by 2-inch yellow pieces for road stripes
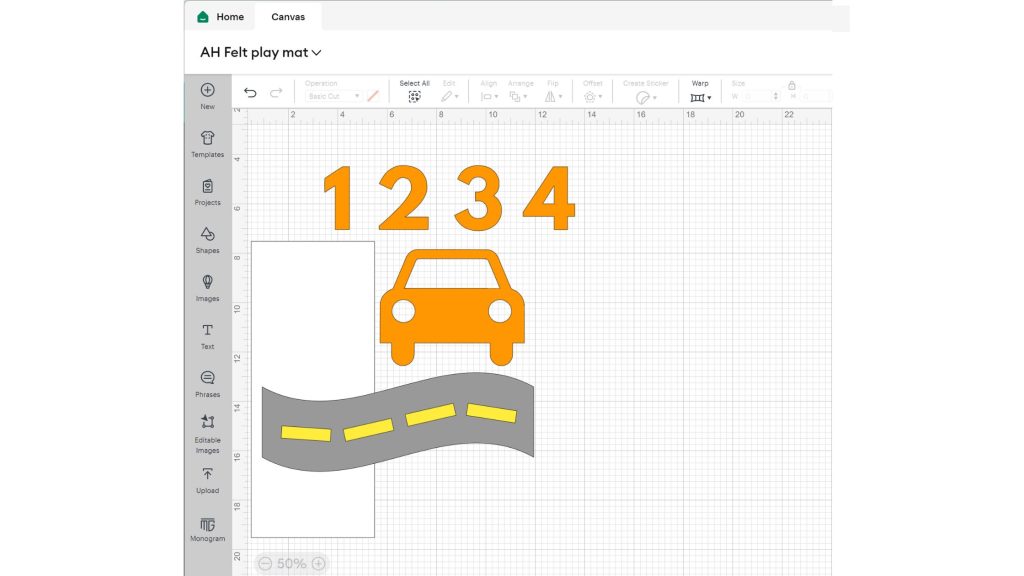
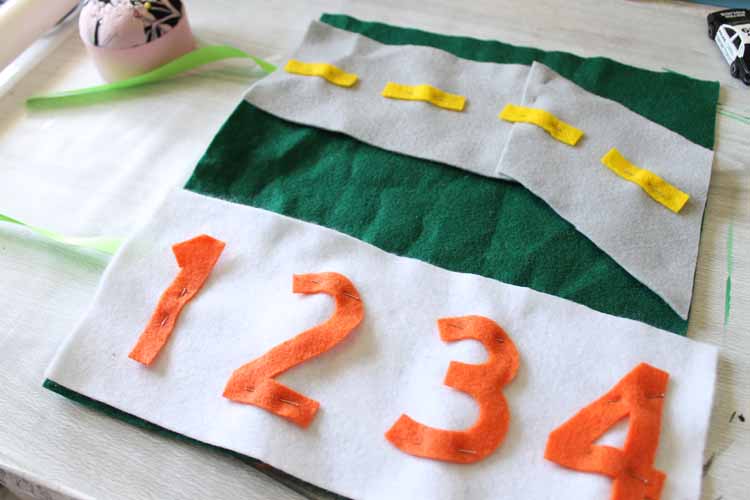
Here is an example of the cut pieces for the felt play mat.

Step 3
Start pinning all of your pieces to each other, but not to the green piece yet.
Note: The white piece is one inch longer than the 11-inch-wide green piece. This gives you extra room when creating your car pockets.
Step 4
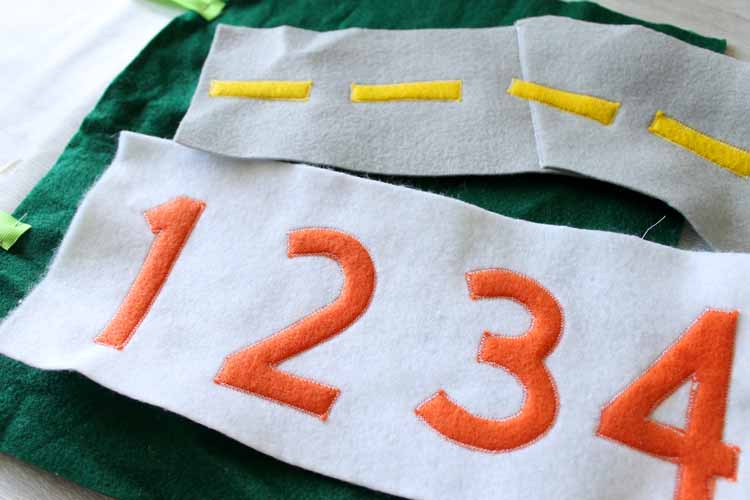
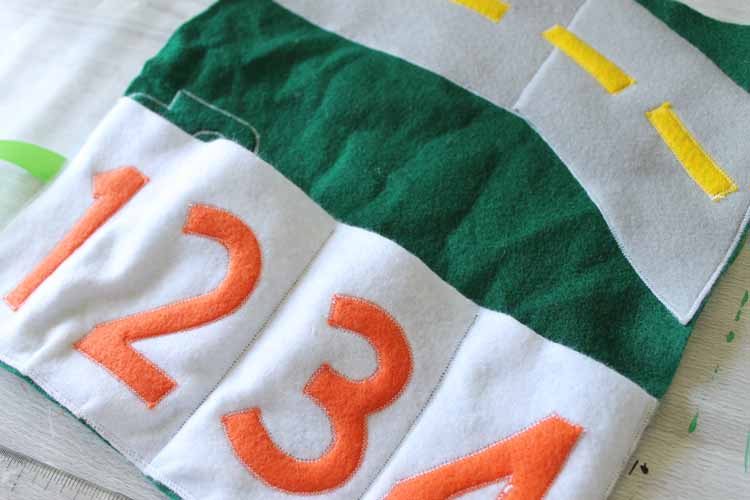
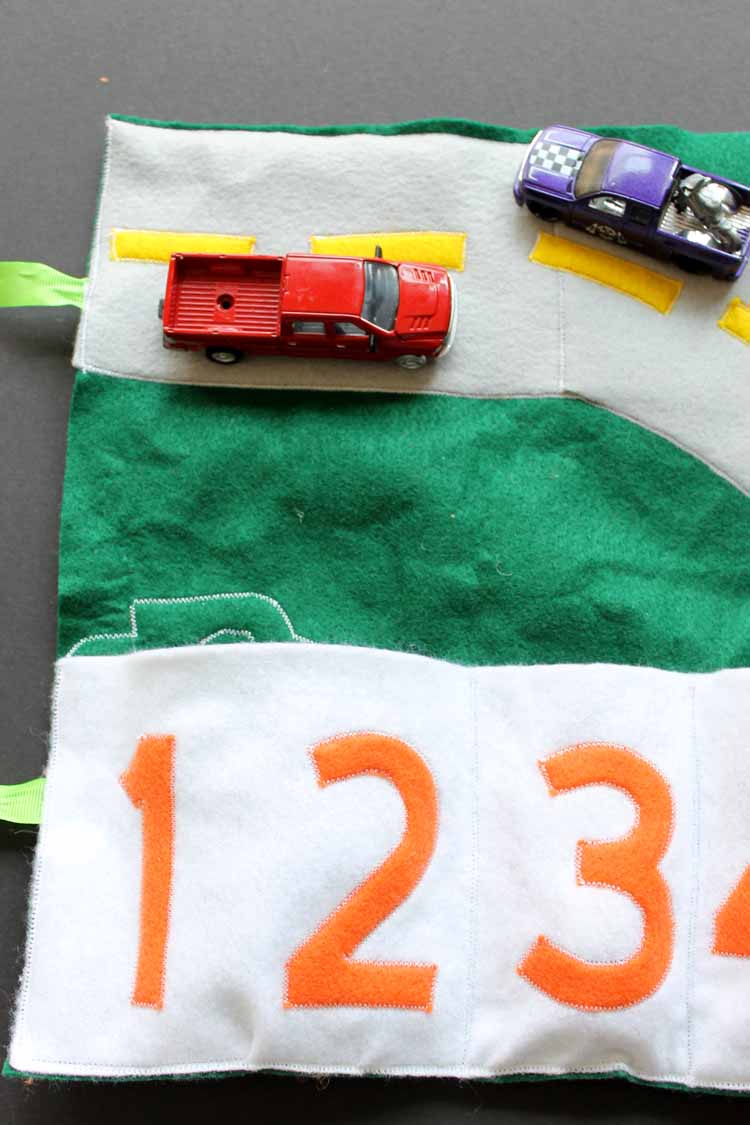
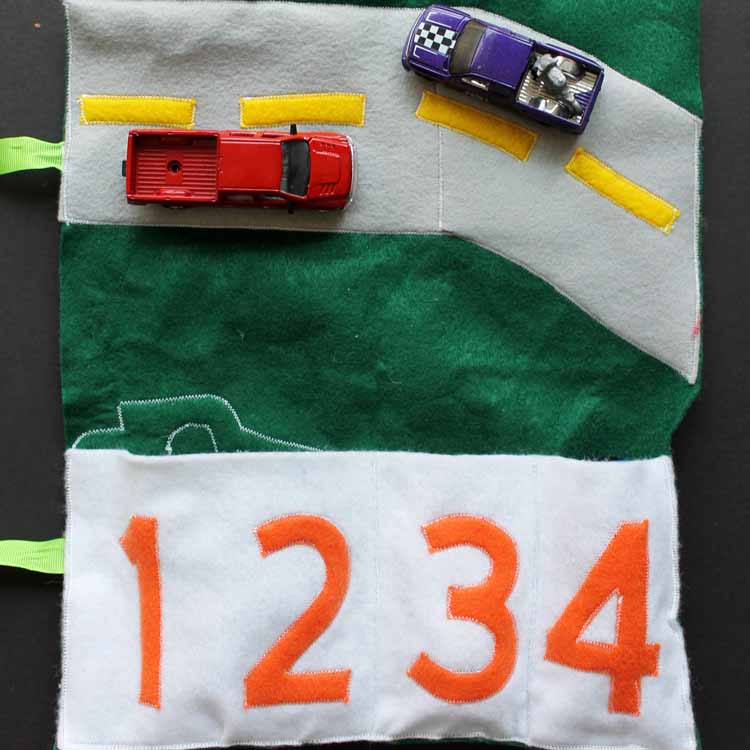
Then sew your yellow road lines to the grey road piece. Stitch your numbers to the white piece.
Note: I used two pieces of grey to create my road. However, you can also use one felt piece cut into a curve.
Step 5
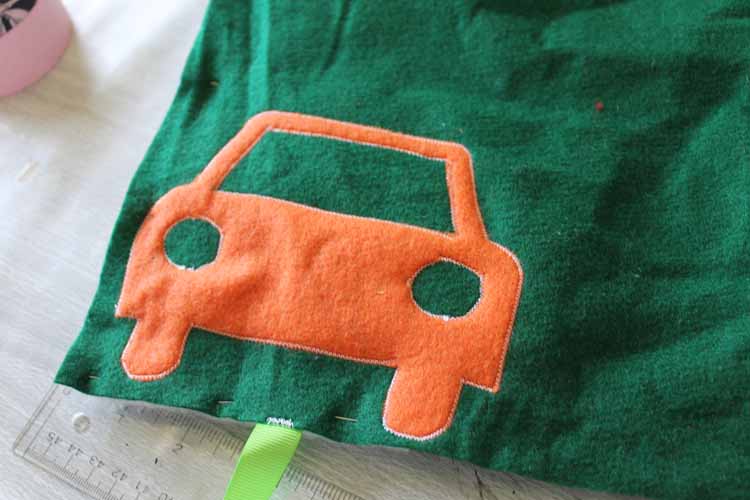
Pin the car to one corner of the green felt piece and stitch it into place with your sewing machine.
Step 6
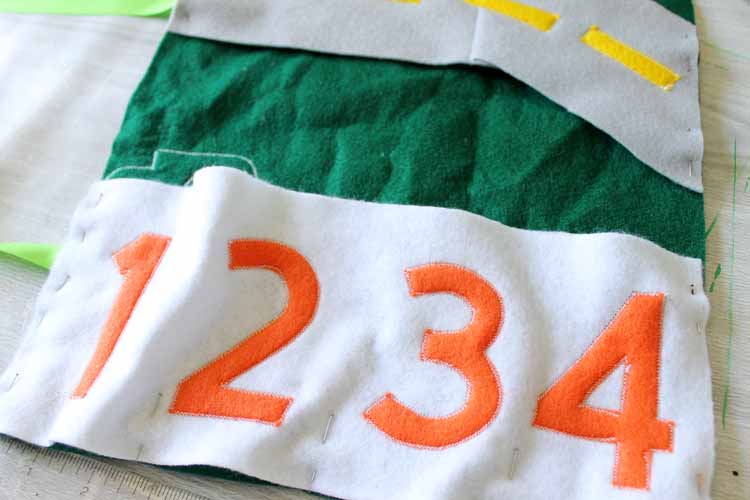
Flip the green piece over, then start pinning your pieces and ribbon into place.
Gather your felt as you pin the white piece into place to create roomy car pockets, as shown in the image below. Before sewing, fold your project to ensure the proper placement of objects and ribbons.
Step 7
Then just use your sewing machine to stitch everything into place.
Note: I did not sew a line between one and two on the white felt. I did this for two reasons:
One, I did not want a sewing line on my car applique. And two, I have found that there are some LARGE mini cars. Monster trucks and ones with lights on the top, for example. I have made things like this before and have not always been able to fit all the cars in the slots.
Not sewing this line leaves room for those larger cars and trucks.
Step 8
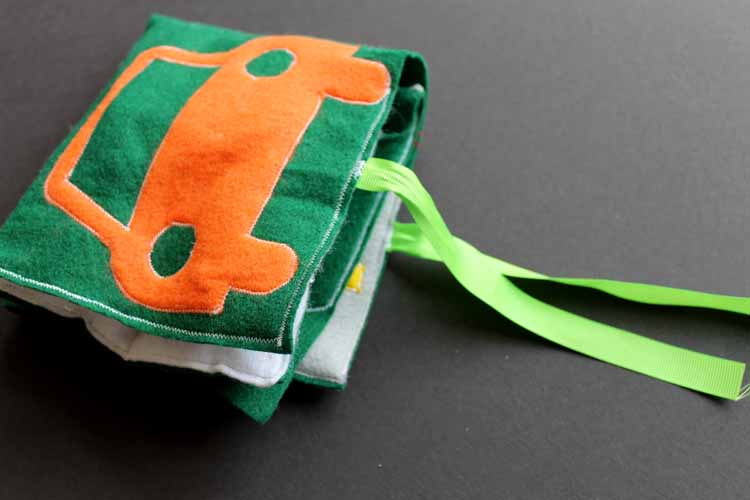
Then fold up your felt play mat, and it's ready to give to any kiddo on your holiday gift-giving list.
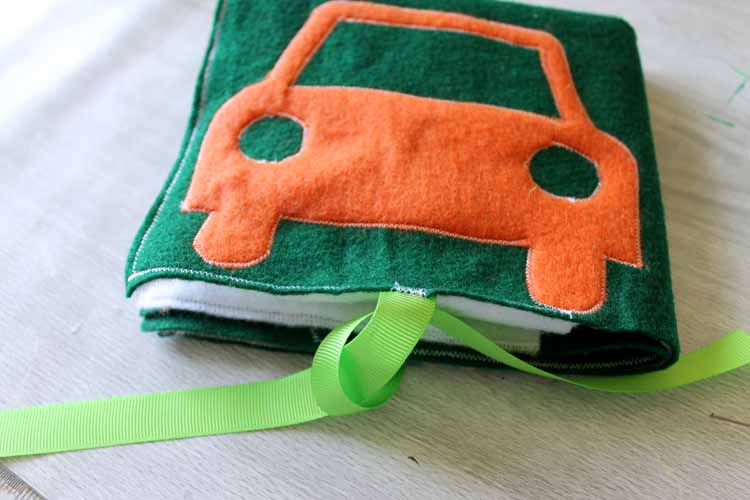
Be sure to add in a few cars before wrapping this one up!
FAQs
Here are a couple of questions that I see readers ask about making this felt play mat. If you have a question, please check whether I’ve already answered it below. Don’t see your question? Leave it for me in the comments!
Could I just glue this felt play mat project instead of sewing it?
Technically, yes, you could. However, the downside to simply gluing everything is that it won't achieve the complete, professional look that sewing provides. Plus, sewing everything makes the entire project a little more durable.
Could I add a zipper to close it instead of using a ribbon to tie it closed?
Honestly, I think that adding a zipper to close this project would make it much more complicated than I would even want to attempt. If you're a proficient sewer and want to add a zipper, please feel free. However, I like the ribbon tie method because it's fast, easy, and just as effective for closing up this project.
This portable felt play mat is ideal for on-the-go play. Just pop the cars inside, fold them up, and drop them in your purse or bag!
Every small child would love a felt play mat like this one. An on-the-go toy that is perfect for busy days and errands with mom or dad.
This felt project could not be easier (even if you don't sew often), so get started on your own today. Your little one is sure to love playing with their own felt play mat!
Isn't it amazing what a few sheets of felt and your Cricut can create?
More Craft Ideas For Kids
Love this felt play mat and want more gift ideas for the little ones? Try the links below!


