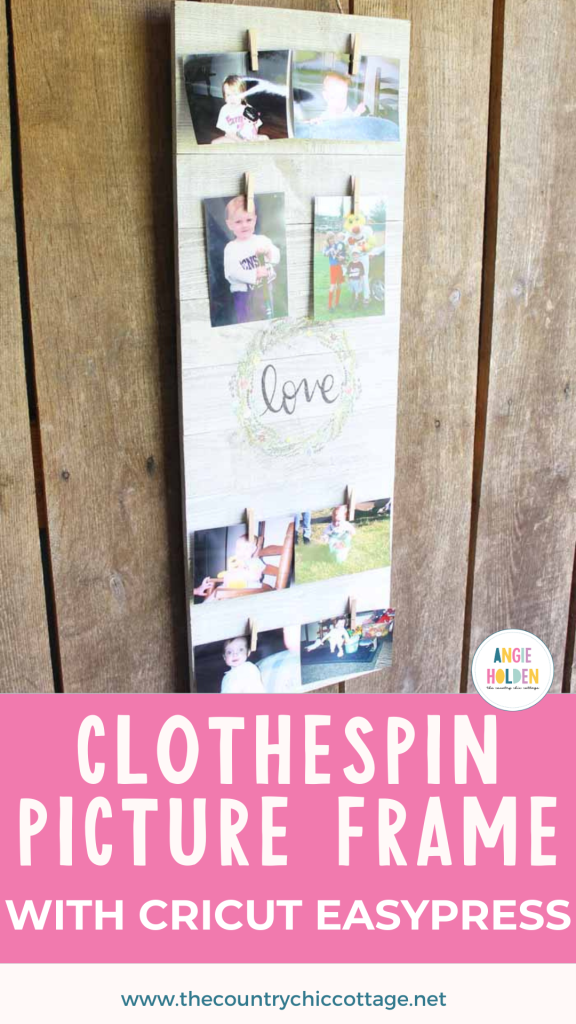
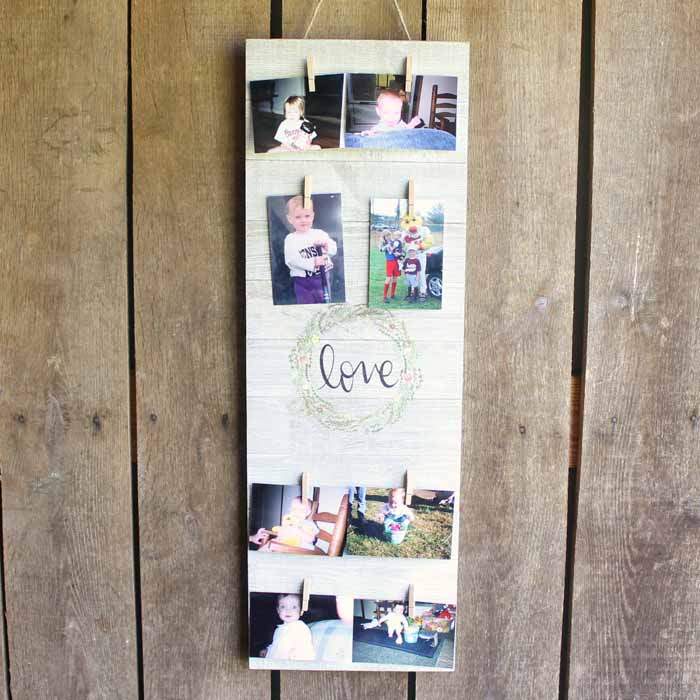
Make a clothespin picture frame in minutes with these super simple step-by-step instructions. This tutorial includes adding an embellishment as well as adding the clothespins for your pictures. You can make this clothespin picture frame in just minutes with a few supplies. Yes, that does include a Cricut EasyPress, as it makes this project SUPER simple!
This is a sponsored conversation written by me on behalf of Cricut; however, all projects, opinions, and text are my own. You got a sneak peek of the Cricut Wisteria EasyPress here on Monday when we chatted about the Cricut Wisteria Explore Air 2. Yes, there is another bundle, and it is a great deal as well!
Supply Update For Clothespin Picture Frame
While the Cricut Wisteria color shown in the images is discontinued, you can still purchase the Cricut Explore line and Cricut EasyPress for your crafting projects! Cricut has also discontinued its Iron-On designs.
As a substitute for the Iron-On designs, you can use a DTF Transfer.
In the video below, you will see the Cricut Iron-On Design being used, but if you follow our written instructions (in this blog post), you can substitute this supply with a DTF Transfer and still follow along with the tutorial.
Clothespin Picture Frame Video Tutorial
You can see the tutorial on how to make this clothespin picture frame in the video below.
Can't watch the video or missed some of the steps? Try the instructions below!
How To Make A Clothespin Picture Frame
I love this picture frame! It was a hit at my daughter's graduation party. Now, she can take this with her to college and swap out the photos whenever she likes.
Before we get to the project, I want to let you in on the bundle deal and that fabulous Cricut Wisteria EasyPress! This is the first-ever custom-colored EasyPress. So, if you want to be the envy of all your friends, this one is for you! That metallic shimmery purple fits right in with the Pantone color of the year. It is the only way to get professional iron-on results with a small footprint and easy storage. Finally, a foolproof way to get that flawless transfer you have been looking for. Now, what about this bundle? What do you get extra?
- 4 exclusive 8.5” x 12” Iron-On Designs
- 2 11.8” x 12” sheets SportFlex™ Iron-On
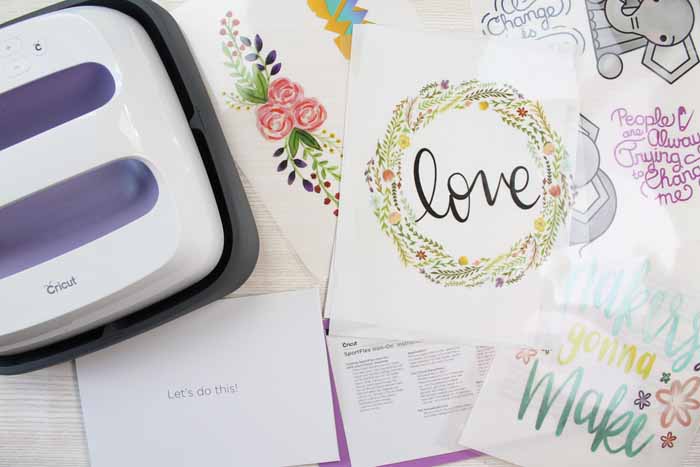
Supplies Needed To Make Clothespin Picture Frame
- Cricut EasyPress
- LOVE DTF Transfer Design
- Rustic wood panel
- Clothespins
- Hot glue and glue gun
- Paint and paint brush (optional)
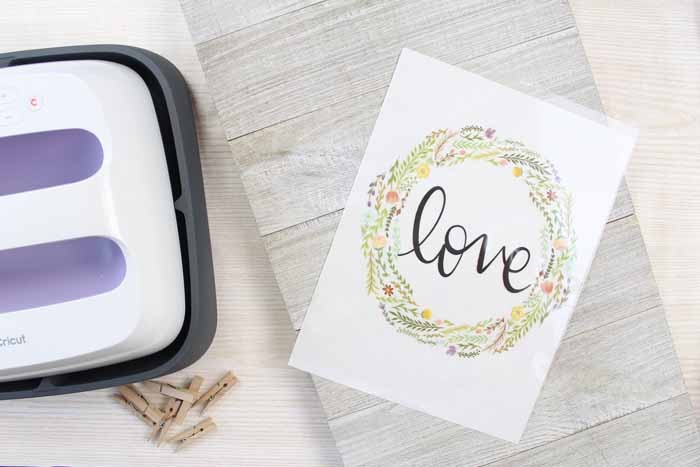
Step 1: Center DTF Transfer Design Onto Wooden Piece
Start by picking a DTF transfer design you want to use for your project, then center it on your wood piece.
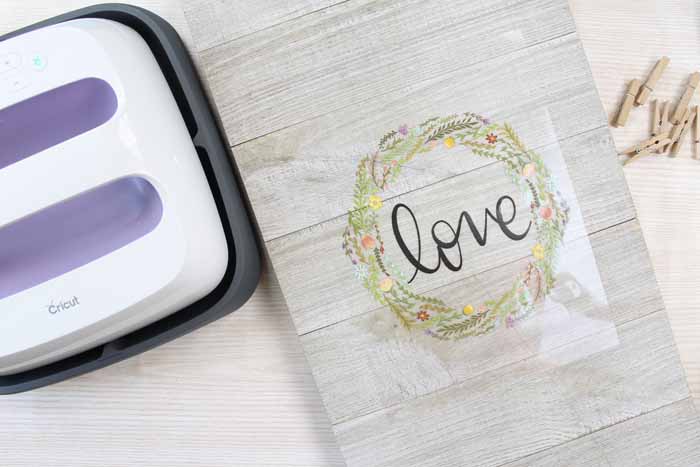
Step 2: Press DTF Transfer Design Onto Wood Piece
First, you can find the EasyPress settings here. Remember that the settings change depending on whether or not you are using the EasyPress mat, the materials you are using, and more, so be sure to look each time to verify.
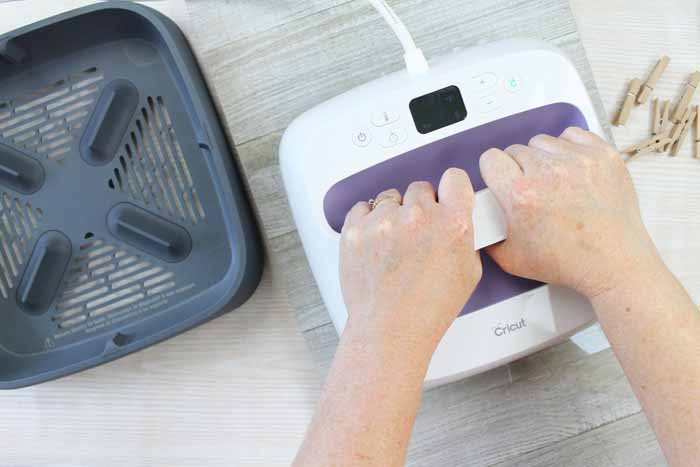
Next, set the time and temperature on your EasyPress to the recommended time and temperature for your DTF transfer design.
Once it is heated, a tone will sound. Move it to your surface and press the green button. Apply medium pressure while the machine counts down. A tone will sound once it is complete. Then you can remove the EasyPress, return it to its base, and continue on with your project. So super simple! That is why I love this machine!
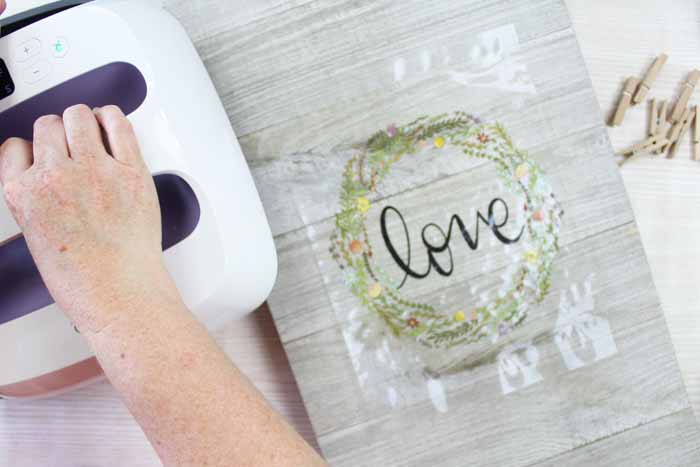
Allow the DTF print to cool before peeling back the carrier sheet. You can speed up the cooling process by rubbing a DTF Cooling Block over the surface.
When the design is cool, peel back the carrier sheet, and peel it back in a continuous motion.
NOTE: I wanted to point out one thing about using a rustic wood piece. For my rustic wood piece, the sap did pull up from the wood in a few spots when heated. This is REALLY sticky, so raise up your sheet with caution.
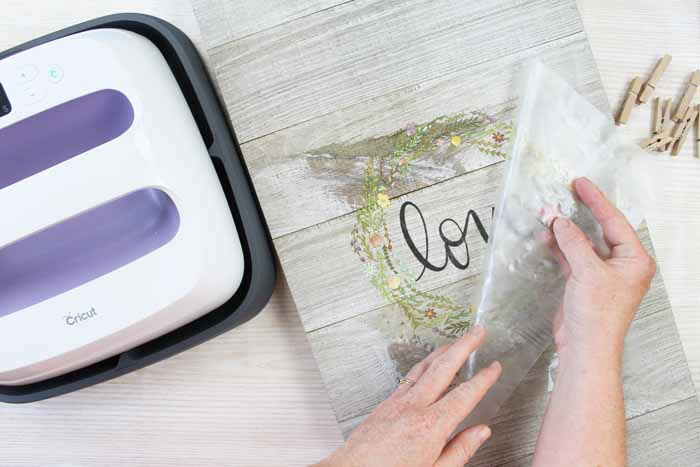
You might need your scraper to rub down the design before lifting, just because of the sticky sap.
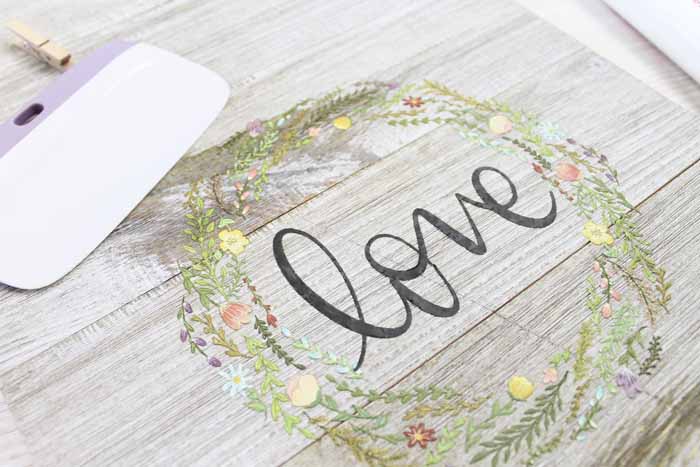
Step 3: Hot Glue Clothespins To Wooden Piece
Use hot glue to secure your clothespins into place and to complete your clothespin picture frame.
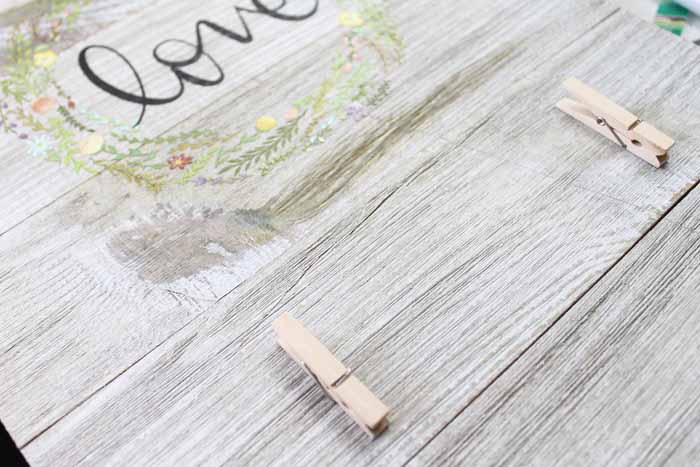
Step 4: Touch Up Wood Piece With Paint (If Needed)
Now, if your piece does have the sap staining, you may want to take a few paints and a paintbrush and just barely touch over those areas. That is what I did, and I love the results!
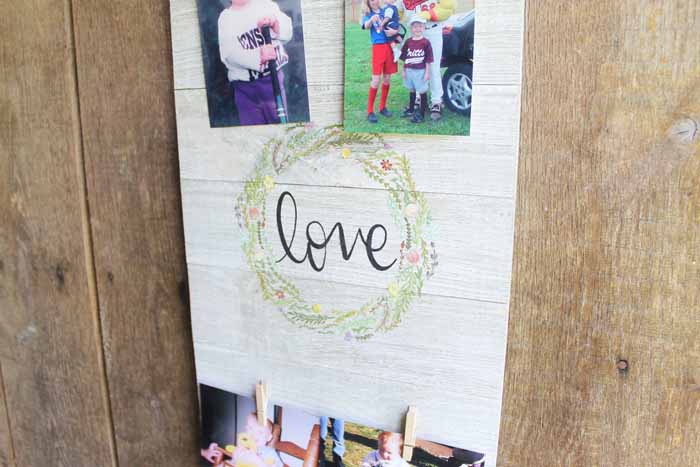
Step 5: Add Your Pictures
Add on pictures, and your clothespin picture frame is ready to hang in your home.
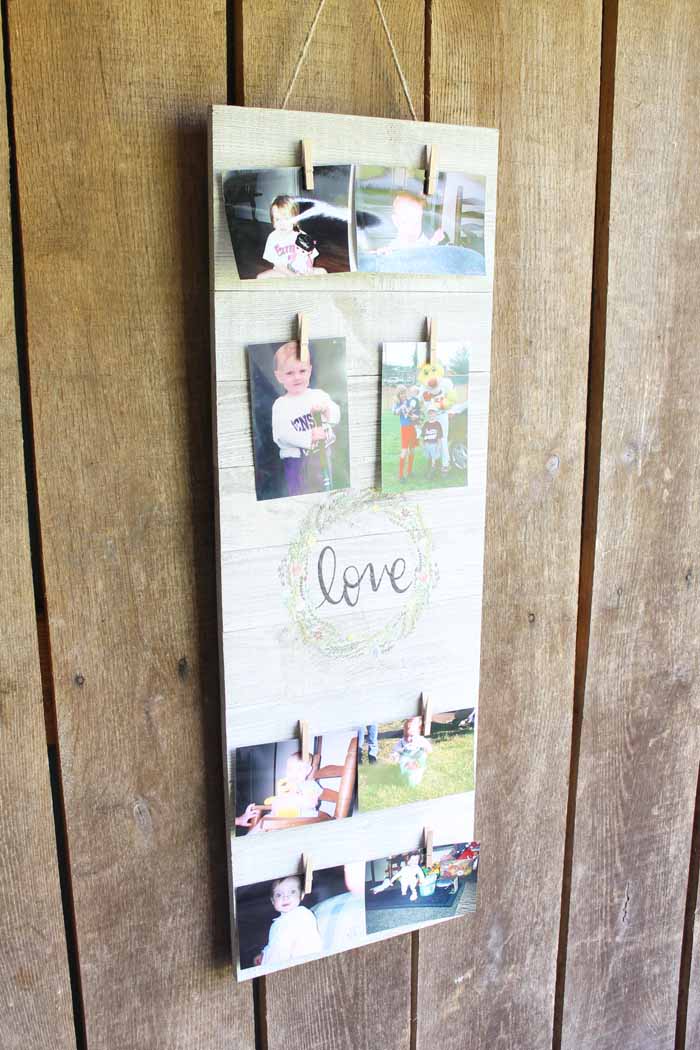
How did I use this one? Well, I used it to display baby pictures of my daughter at her graduation party! Stay tuned to see even more from the event!
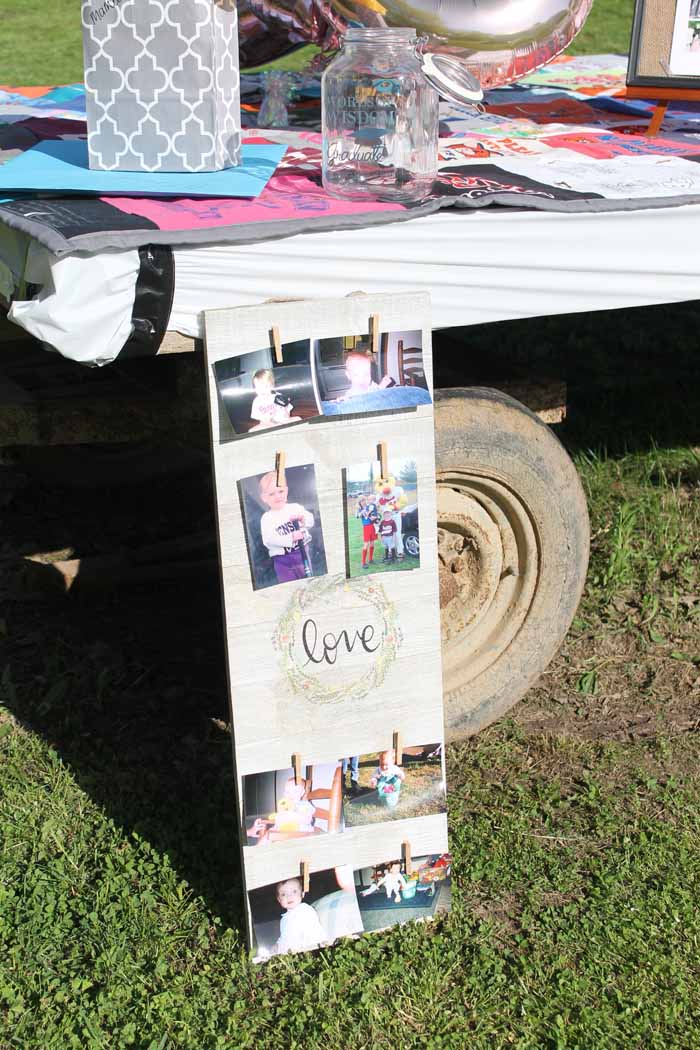
Will you be making a clothespin picture frame of your very own? Be sure to pick up the Cricut Wisteria EasyPress bundle to make it super simple!
FAQs About Clothespin Picture Frame
Here are answers to some of the most common questions I get about making a clothespin picture frame. If your question isn’t listed, feel free to drop it in the comments, and I’ll be happy to help!
Do You Have Any Resources About DTF Transfers?
Yes, I do! If you are looking to learn more about DTF Transfers or DTF in general, check out the resources below. Also, you can also check out our DTF Printing page, where we have even more resources and projects.
- How to Press a DTF Transfer in 4 Easy Steps!
- Iron On Project Ideas with DTF Transfers
- DTF Materials [What Does it Work On?]
- What is DTF Printing? How Does it Work?
- Your DTF Printing Beginner’s Guide
Can I Make This Project Smaller?
Absolutely! You can make this project any size that you want.
With that being said, the only thing you will want to keep in mind is how many photos you want to display and the size of your DTF Transfer.
Did You Use Regular Size Clothespins For This Project?
No, I used small-size clothespins.
Can I Use Wood Glue For This Project?
Yes, you can. However, keep in mind that if you use wood glue to attach your clothespins, you will have to wait for them to completely dry before you display your photos.
5 More Photo Projects
Did you love learning how to make this clothespin picture frame and are looking for other photo crafts? Then check out the project below!
- How to Make a Photo Lantern
- How to Make an Envelope Liner with Photos
- DIY Photo Mason Jar That is Easy to Make
- Lighted Photo Frame For Your Snapshots
- How to Make a Banner with Photos