

If you want to make custom shirts and are trying to figure out the best option, I’m here to help. Let's chat about Cricut vs DTF to compare how long it takes and the cost difference to make the same shirt using each process.
There are a lot of variables when comparing Cricut vs DTF, and I’m going to show you the full processes to hopefully answer any questions you might have.
If you’re new to DTF (Direct to Film) and want to learn more about the printing process, make sure to check out my What is DTF tutorial.
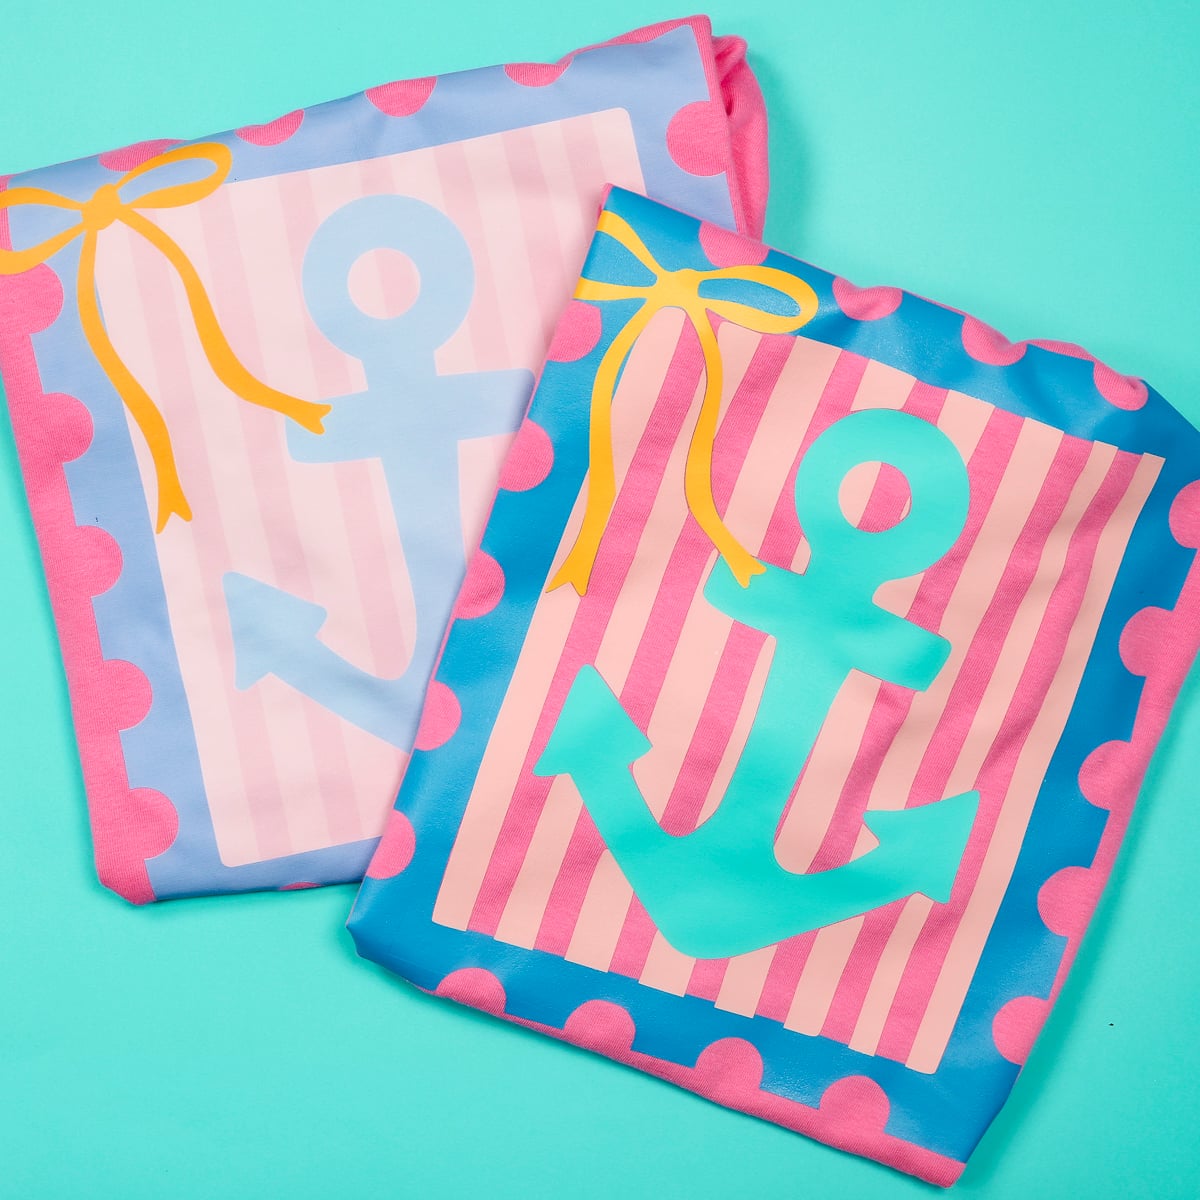
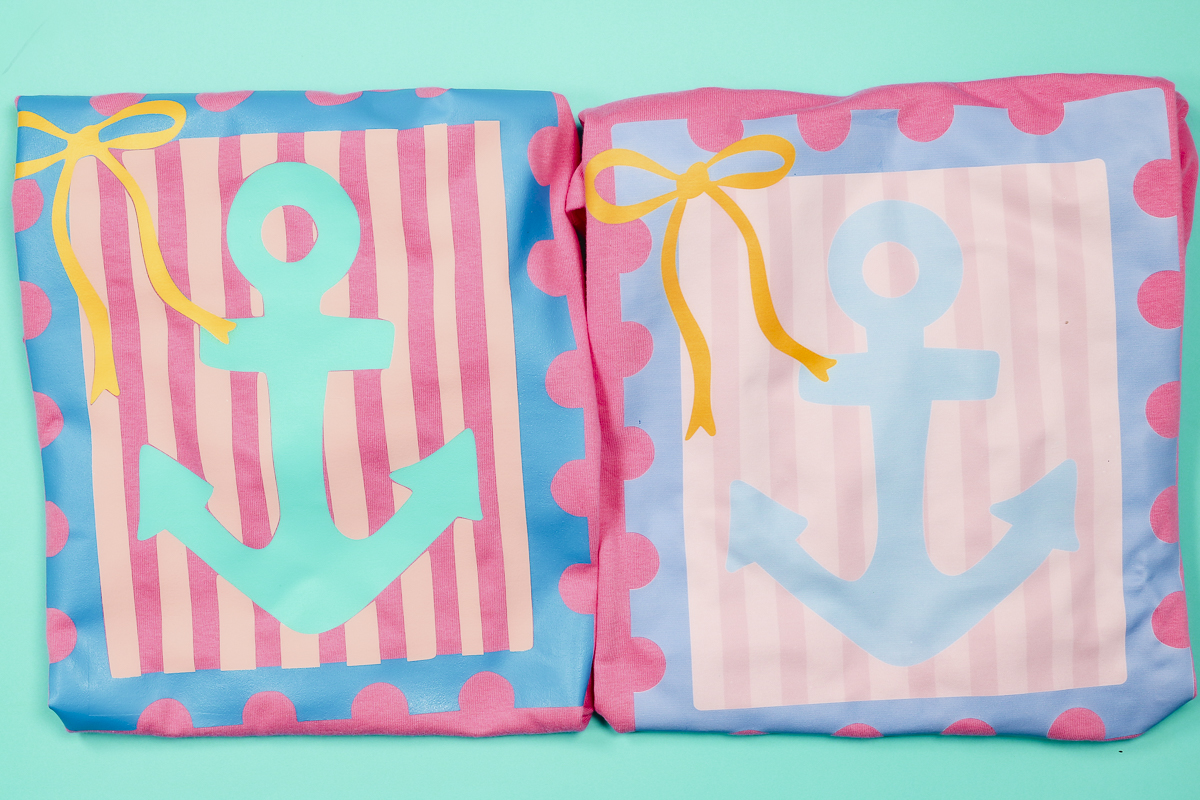
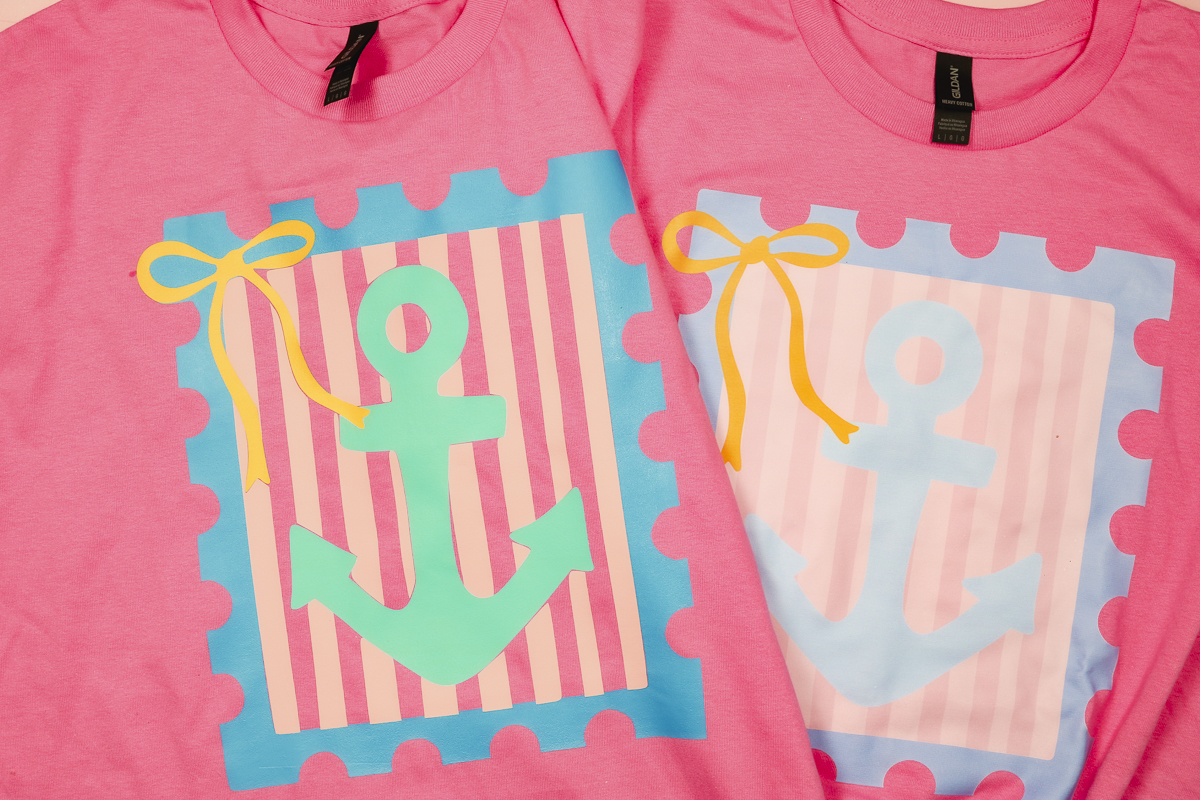
I do want to mention that these shirts won’t be exactly the same. I am using the same design for both shirts, but the final shirts will look different because of HTV color limitations. The actual design is the colors of the shirt made with DTF.
Also, you can create amazing projects with both the Cricut and DTF prints. If you own a Cricut, you’re not doing anything wrong, but there may come a time when upgrading to DTF prints or owning your own DTF printer is the right next step.
Cricut vs DTF – What Are They?
First, let’s talk a little bit about both Cricut and DTF.
What is a Cricut?
A Cricut machine is an electronic cutting machine that can cut images/designs out of materials like cardstock, adhesive vinyl, HTV (heat transfer vinyl), and many more.
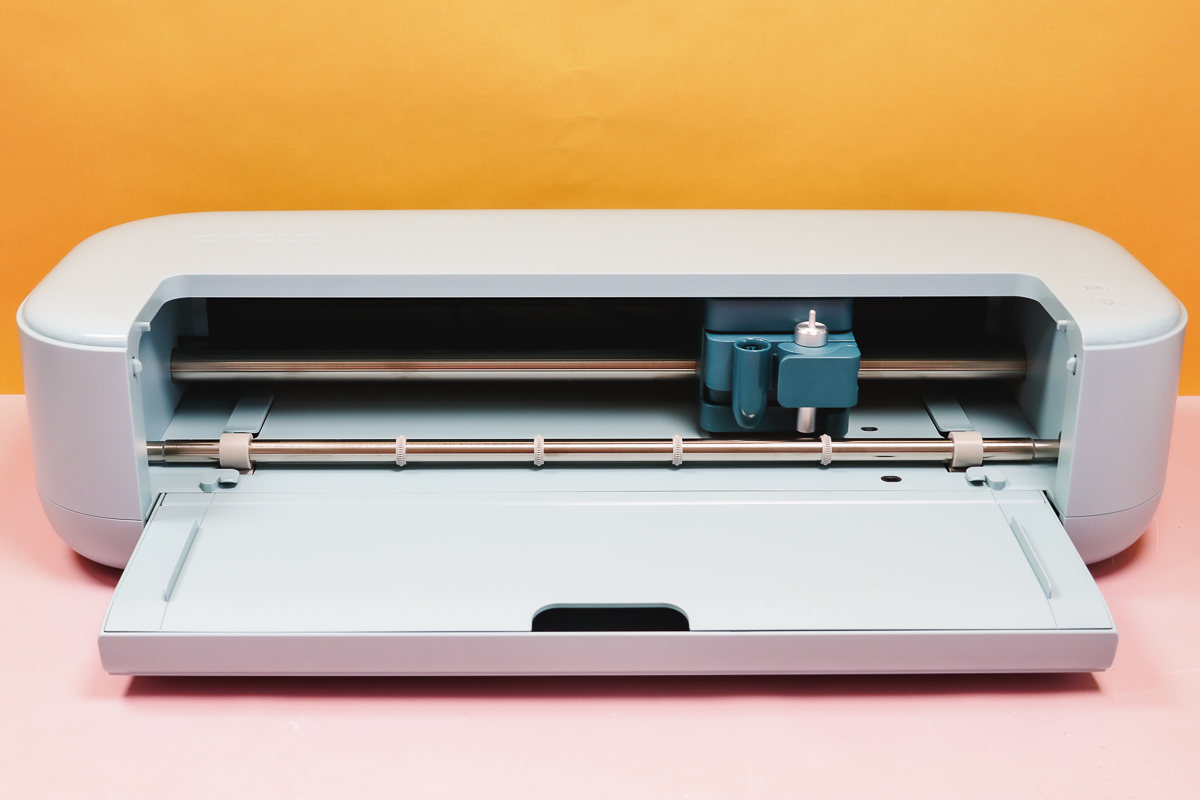
There have been many different versions over the years, and the current options are the Joy, Joy Xtra, Explore, Maker, and Venture machines. All of these machines can cut many materials; the Maker machines have additional tools that allow you to cut some thin woods, thin acrylic, and even fabric without a backing material.
Many people purchase a Cricut machine because they want to create custom shirts, and a lot of people want to create a small business making shirts using their Cricut machine.
There is no Cricut machine that is a printer. When you hear print then cut in regards to Cricut, that is the process of printing a design from a printer and moving that print over to the Cricut machine, and having the Cricut cut it out.
What is DTF?
DTF stands for Direct to Film. A DTF print is an image or design that is printed from a special printer onto a special film. While the ink is still wet, an adhesive powder is applied and then cured in an oven.
In the past few years, DTF prints have become very popular for small business owners, and companies are coming out with smaller printers aimed at people who fit that category.
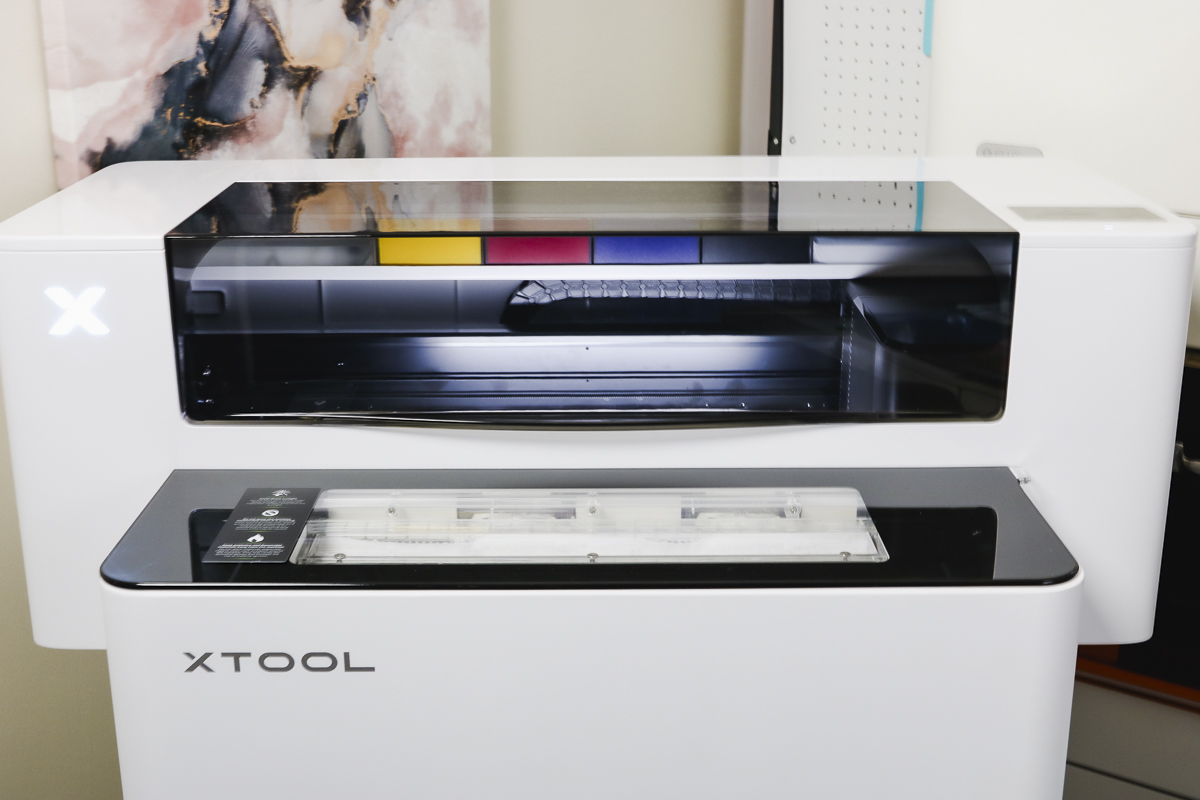
DTF prints can be full color, and unlike sublimation, the inks are opaque. There is white ink, so you can put it on any color shirt and it doesn’t require a specific fabric type. As long as the fabric can withstand the required heat, you can put DTF on it.
How are they similar?
Neither process requires you to use a certain type or color of fabric. Both have an adhesive layer and sit on the fabric, rather than becoming part of it like sublimation. You need heat to activate the adhesive on both, so it will stick to the fabric.
How are they different?
The biggest difference is that one is a cutting machine and the other is a print. This single thing impacts a lot of the process, including the type of designs you can/should use, what type of file works best, and what projects you can make.
We’ll cover more about all of this while we make our shirts. For today’s example, we’re making shirts, so I am going to focus on that process, not necessarily everything else you can do with these machines/processes.
How to Make a Shirt with Cricut vs DTF
For this comparison, I am going to time the entire shirt-making process for both Cricut and DTF. This will include uploading the design, making any required changes, printing/cutting, pressing, etc.
I’ll also briefly go through the cost comparison and the options available for both.
I want to note that I wanted the designs for both DTF and Cricut to be as similar as possible. I am using the same design, but I feel like I was limited in my options because some designs would have had too many cuts and required too many layers of HTV to make it a fair comparison.
With DTF, you can use a full-color design, and it will still only be the one layer. With HTV, you need to cut out a new layer for every color you want to use.
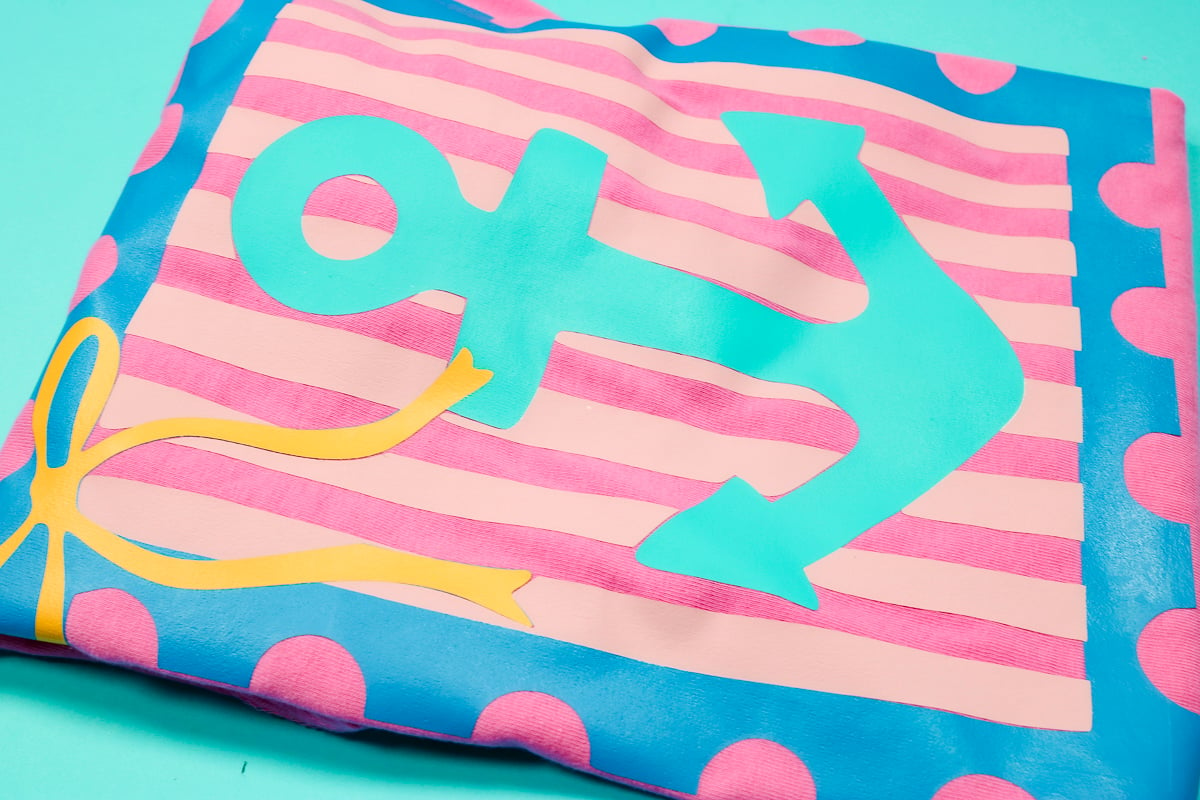
The design I’m using today has a total of 4 layers of HTV.
When it comes to the timing process, I am preheating my press while doing other things so that time isn’t added on, as anyone can preheat while doing other things. The only time I’m going to pause the timer is when I am making camera adjustments for the filming process.
Make a Shirt with Cricut and HTV
First, I want to say it took me a while to find a design that would work for this experiment. I wanted something that was cute, simple enough to be made out of HTV with the Cricut, and would also look good as a DTF print.
Step 1. Create Design in Cricut Design Space
The first thing I am going to do is upload the design into Cricut Design Space.
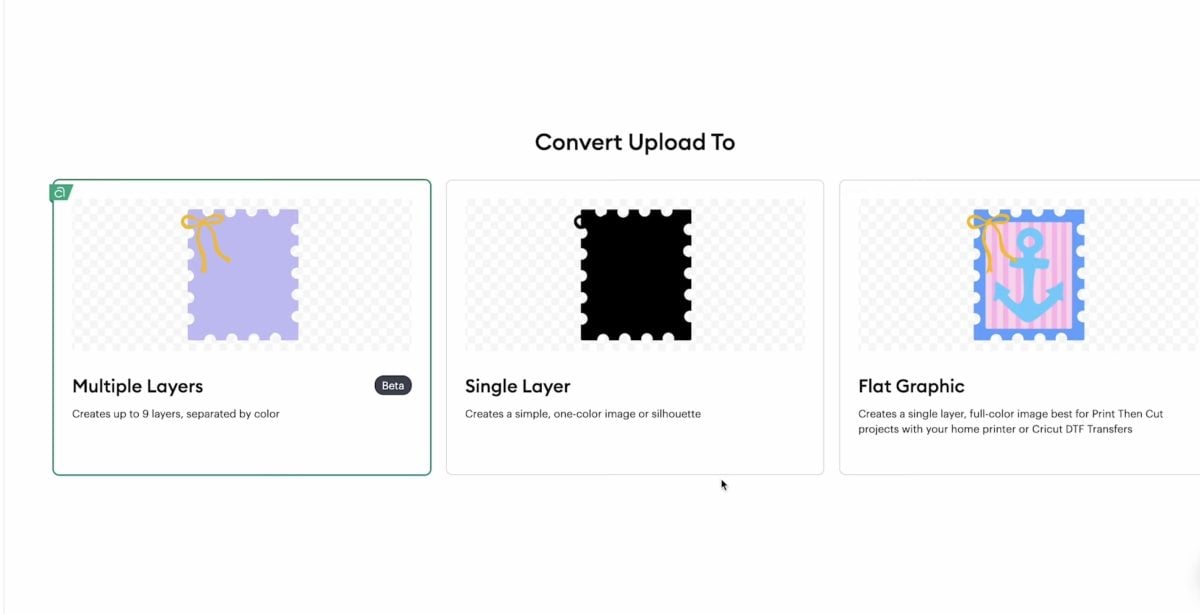
Click Upload, find the file on your computer, and upload it. For this design, I am using the Multiple Layers option in Design Space. This is only available for Cricut Access subscribers, so the process might take you longer if you don’t have Cricut Access.
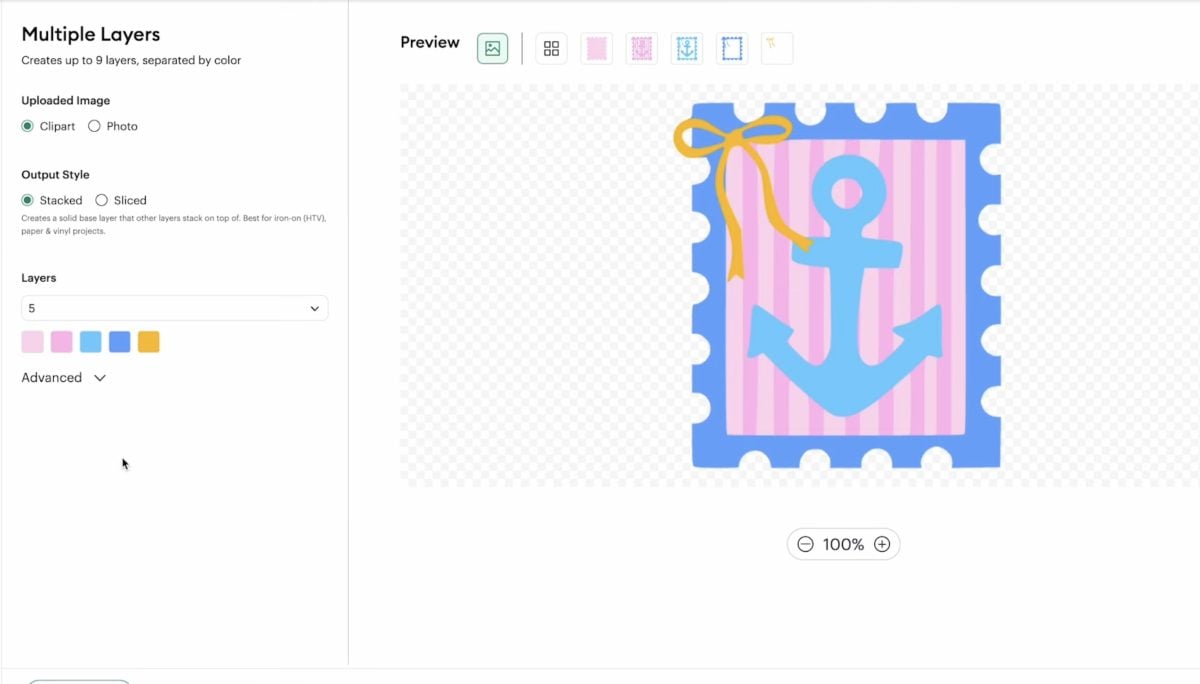
Once I had it uploaded, I did some additional editing using the Contour and Slice tools to try to reduce having 4 layers of HTV on top of each other. Something to note: the multiple layers feature in Design Space is a great jumping-off point, but I wouldn’t count on it to be perfect.
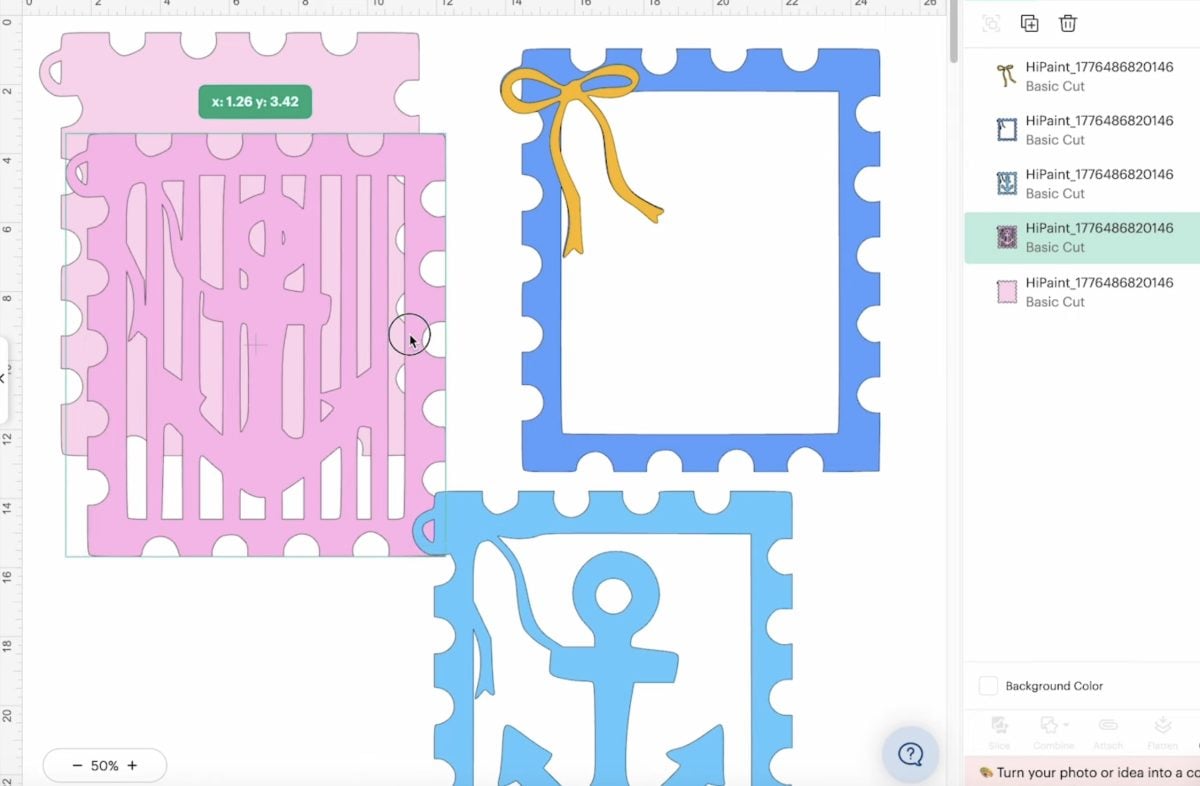
To help reduce layers, I’m going to use the pink of the shirt in place of the bright pink in the design. I like to reduce layering whenever possible. So if I can use the shirt as a color and/or use the slice tool to keep from placing HTV on top of HTV, I’m going to do it.
This isn’t the quickest process bt it is possible to create designs with multiple colors using Cricut Design Space and HTV.
Step 2. Cut Out the HTV
With the design set up the way I want it, I’m ready to send it to be cut out. Don’t forget to mirror your design on each layer.
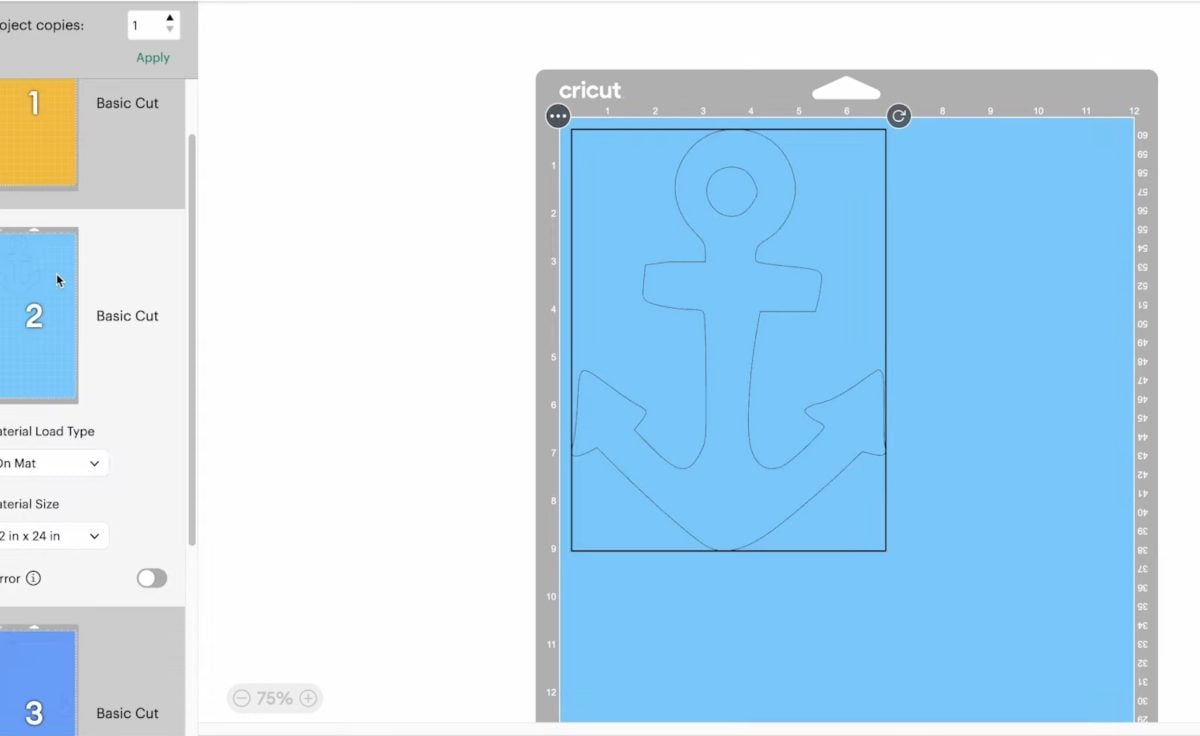
In Design Space, each color will be separated on a different mat. I am using an Explore 5 today, but you can cut HTV with any Cricut machine.
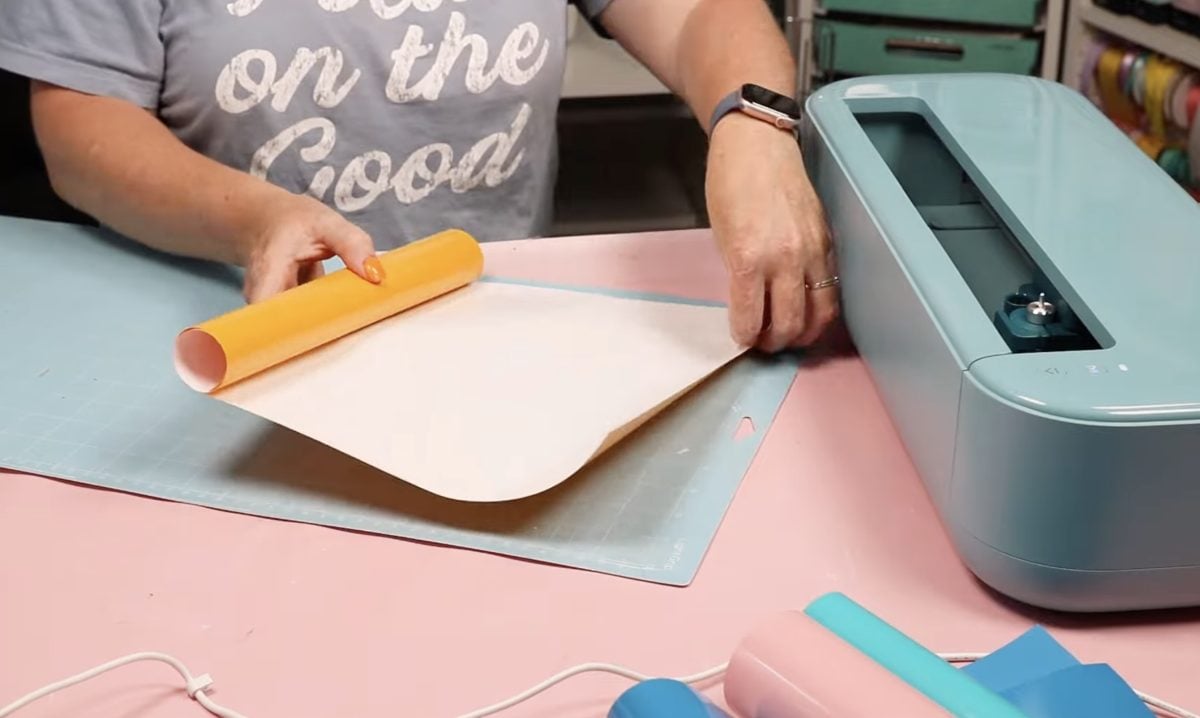
Place the HTV shiny side down on the mat and load it into your machine. Select the correct material and press play to cut the HTV.
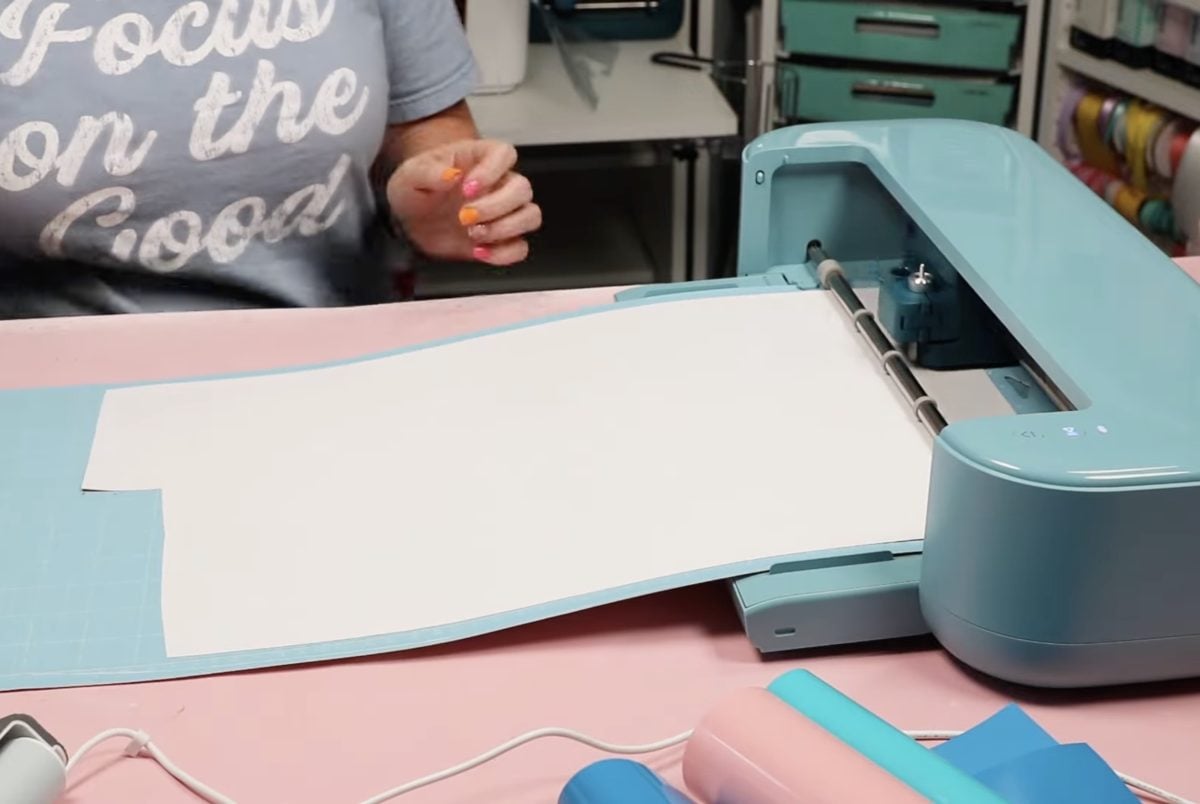
Repeat this process for each color.
Timing note – the Explore 4 and 5 machines cut faster than previous machines, even on a mat. If you own an earlier Explore machine, the cutting time may be longer.
Step 3. Weed Out the Excess Material
With all the HTV cut out, we can weed away the excess. I started weeding one of the colors while the other colors were being cut and was able to get it almost completely weeded.
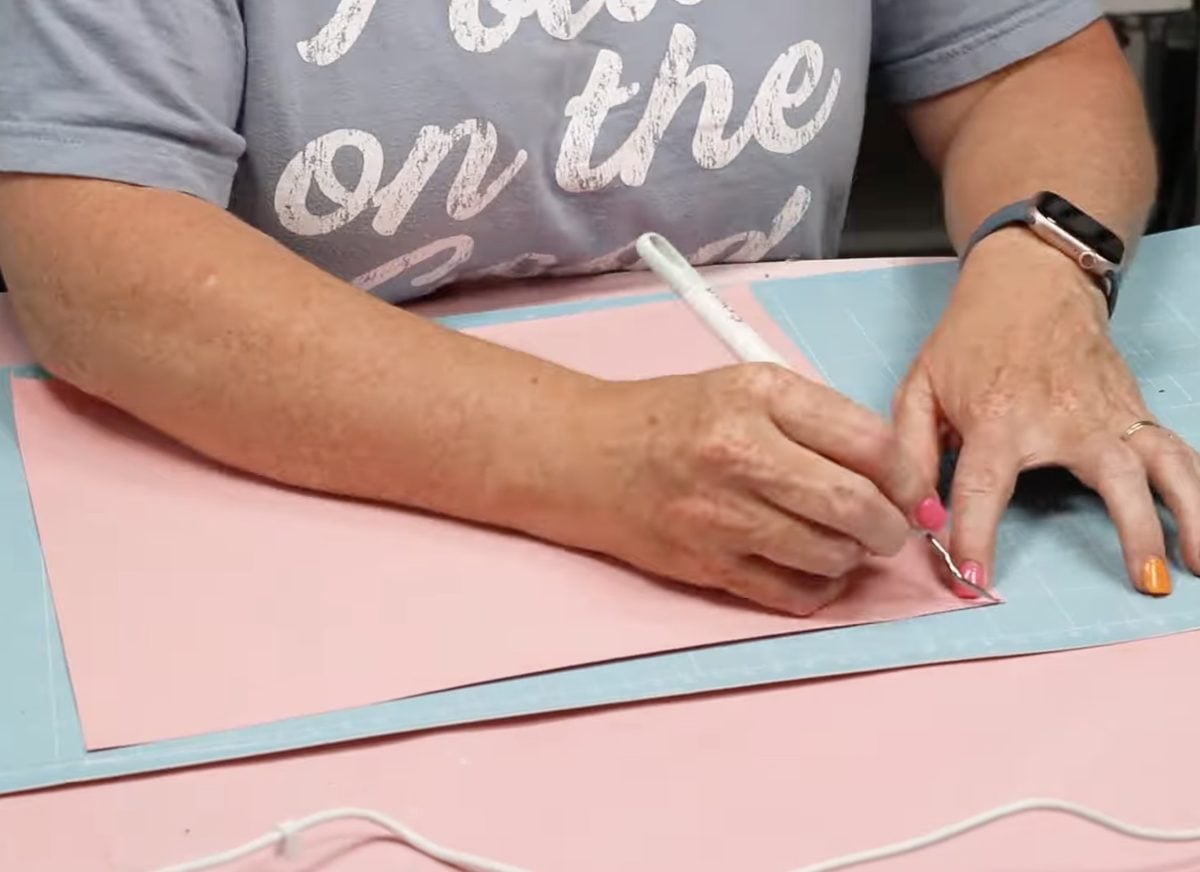
Weed away all of the HTV you don’t want pressed on the shirt. Don’t forget to remove materials from inside the design, including letters. Take your time so you don’t weed the wrong area.
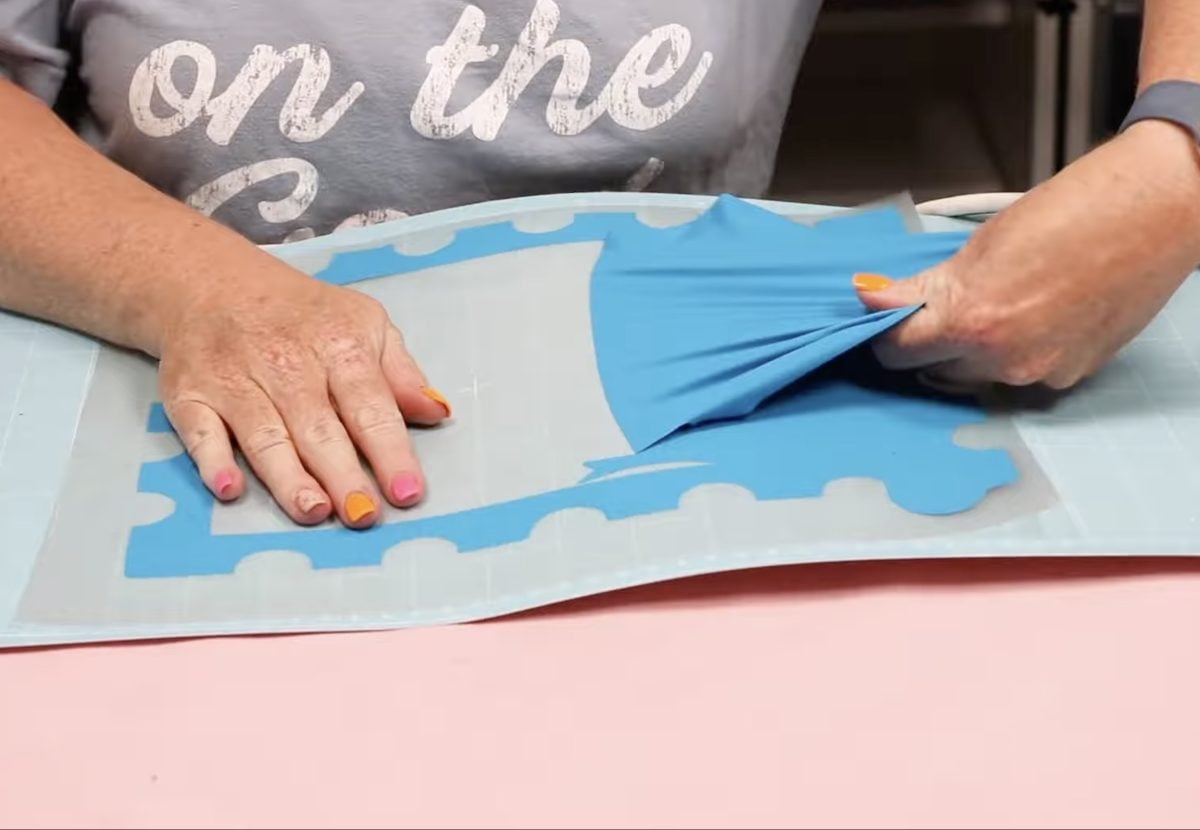
My design is pretty easy to weed. If you use a more intricate design or more layers, your time may be longer than mine.
Step 4. Press the HTV onto the Shirt
With everything weeded, we’re ready to start the pressing process. I am using the Cricut EasyPress. I preheated the design while I was weeding. If you have a different heat press, you can use that as well.
I always pre-press my blanks to remove any moisture that may be in them.
Place the first color in the correct location and press. My design is larger than my press, so I have to press it in multiple parts. For the largest color, I had to press 4 times to press each section.
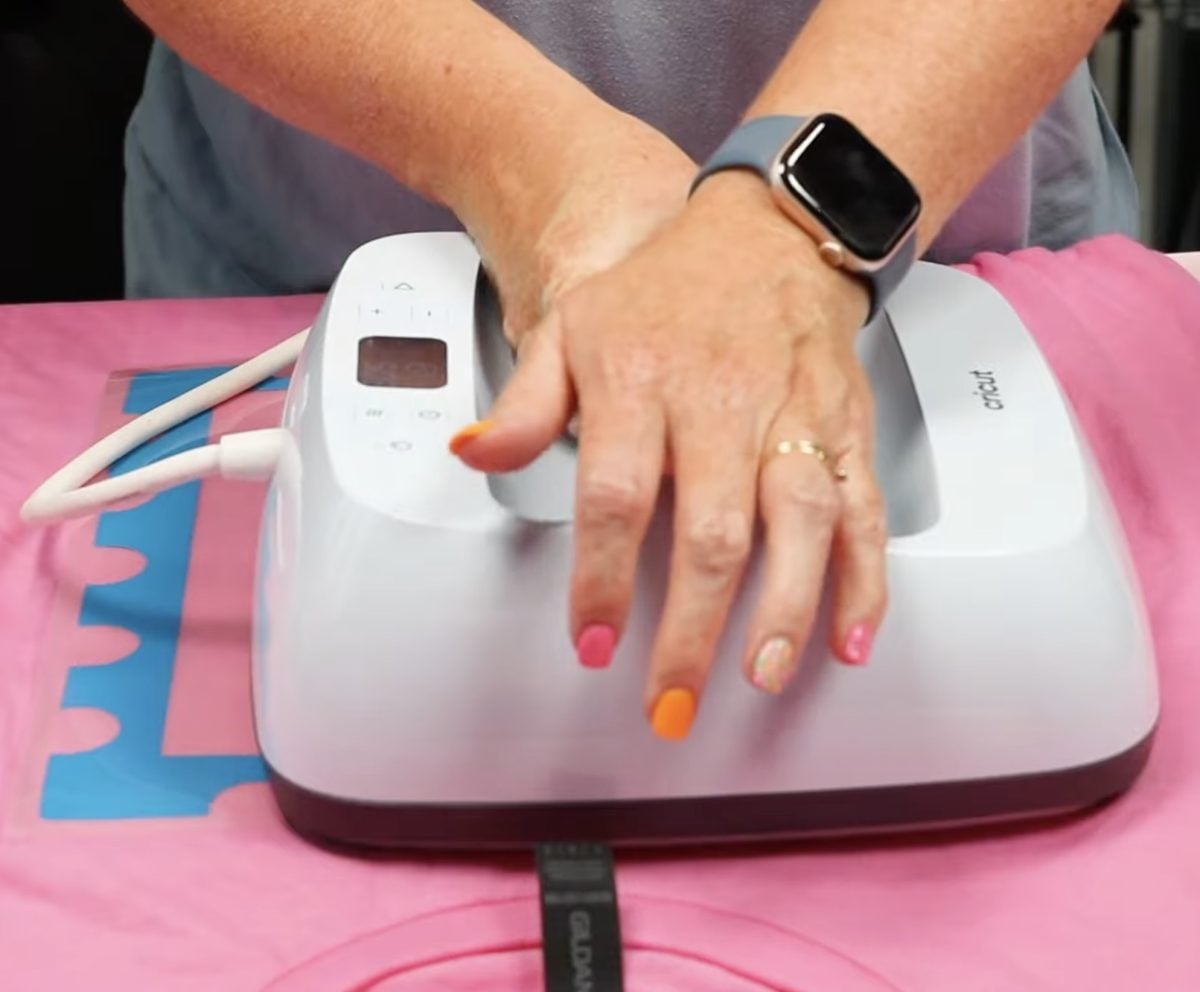
Remove the carrier sheet and locate the second layer. I find locating HTV layers frustrating. Sometimes things expand or shrink, making it hard to get it located perfectly. I have been known to cut the carrier sheet to make it easier to move things to the right location.
Repeat this process for each layer.
Step 5. Post Press for Best Results
Once everything is pressed and the carrier sheets are removed, I like to do a post-press. Cover the design with a protective paper and press the entire thing one more time. This really helps the adhesive stick to the fibers of the fabric, helping it last longer.
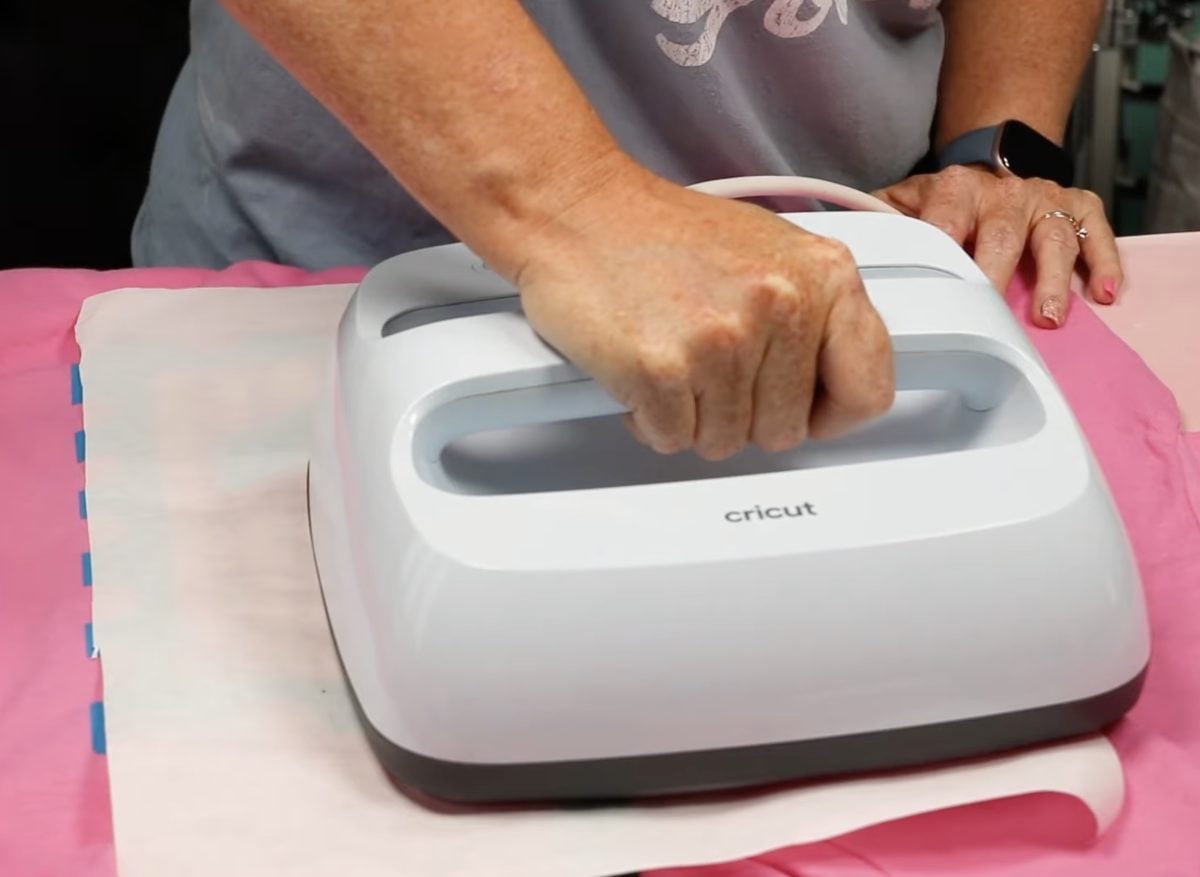
After the post, press your shirt is done. I always recommend waiting at least 24 hours before washing to give the adhesive time to really bond to the fabric.
Cricut + HTV Timing Results
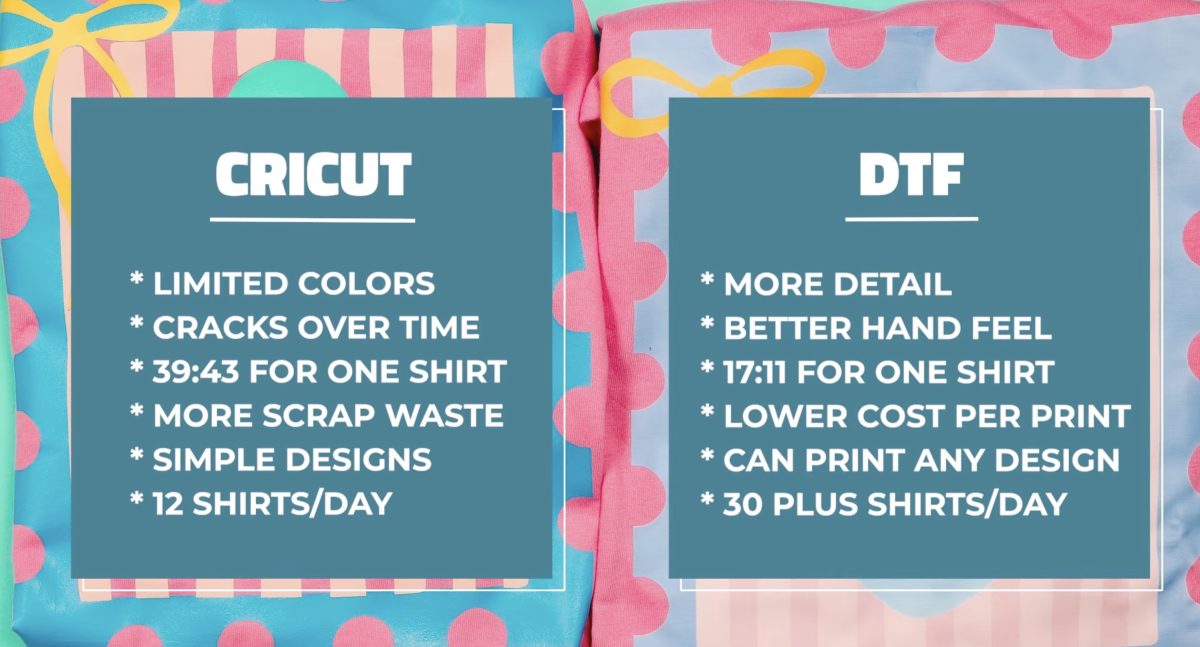
In the end, it took me 39 minutes and 43 seconds to make one shirt using HTV and a Cricut machine.
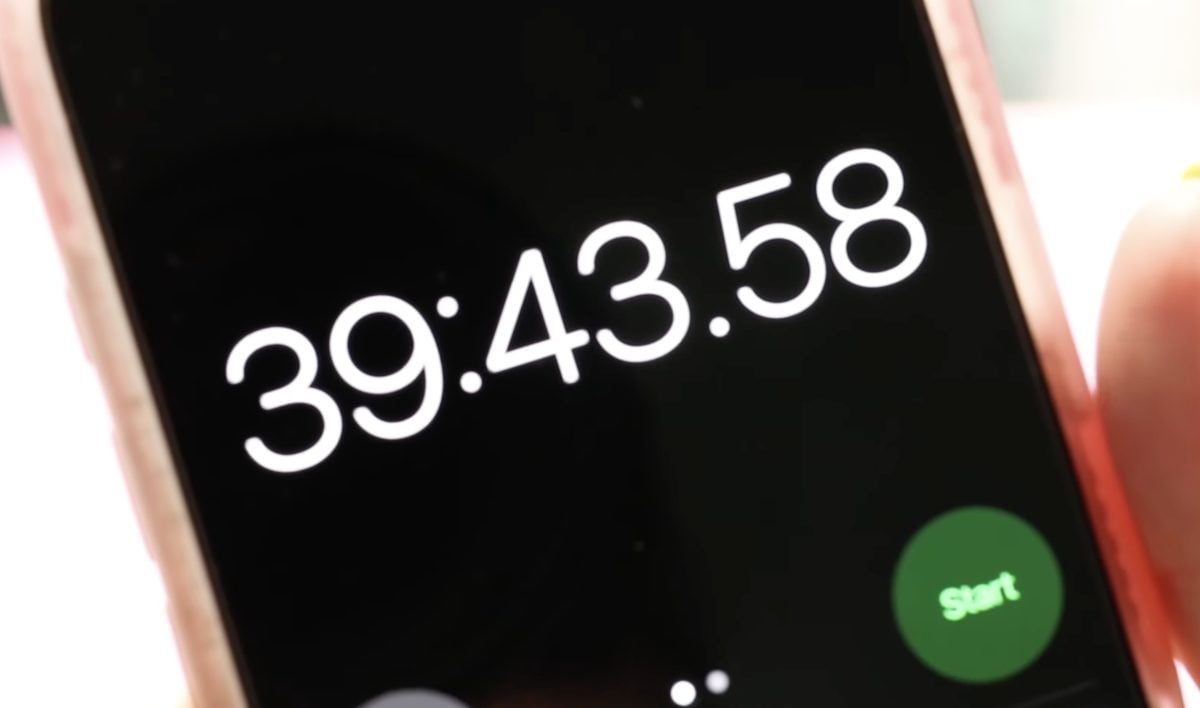
Your timing will be less if your design has fewer layers, is smaller so it can be pressed in fewer steps, has a design that is already set up for layering, etc.
If you’re making one shirt, under 40 minutes isn’t awful, but if you were trying to do this for a business, that could be very frustrating.
While making multiple copies of the same shirt will reduce the designing portion, you will have to cut and weed each layer every time when using HTV.
Pros of Using a Cricut Machine to Make T-shirts
Let’s talk about the pros of using a Cricut machine and HTV to make custom shirts.
- First, it is very beginner-friendly. I feel like both the Cricut machine and Design Space are beginner-friendly. Even if you have no design experience, the program walks you through the steps.
- Compared to other machines, a Cricut has a low entry-point cost. HTV is also inexpensive. You can press HTV easily with a handheld press like the EasyPress, so you can be making shirts in no time.
- HTV can be easily added to most fabrics, and it’s opaque, so you don’t have to worry about the color of the shirt showing through the HTV.
- I think a Cricut machine is great for making projects for gifts, shirts for events, shirts for milestones, and those one-off situations. You can make a shirt pretty quickly, especially if it is one layer/color.
Cons for Using a Cricut to Make Shirts
Some of the cons include the following:
- This process can be time-consuming, especially for a layered design. If you want multiple colors, you have to layer, and you are limited to designs that can be separated easily.
- The colors you can use are also limited. You can’t easily get shadows and depth using HTV. Each color will be that solid color.
- When applied and washed correctly, HTV can last through multiple washes, but it is still toward the bottom as far as longevity compared to other heat-activated transfers.
- I also don’t love the way HTV wears. As the adhesive fails, the HTV can peel and/or crack, and it doesn’t look good. It doesn’t look vintage; as it fades, it just starts to look like an old, junky shirt.
Make a Shirt with DTF
Now we’re ready to make a shirt using a DTF print. I am using the xTool Apparel printer to see how long it will take to make one shirt. I am using the same design I used for the Cricut shirt. Because this is a print vs layered vinyl, the colors will be different.
IMPORTANT: The instructions I’m giving are for a DTF printer with an adhesive shaker and oven included. I don’t recommend the DTF hacks that are floating around, as DTF safety is very important to me.
Step 1. Create the Design
Open the software and resize the design. I am making this design 11 inches, just like I did the Cricut shirt.
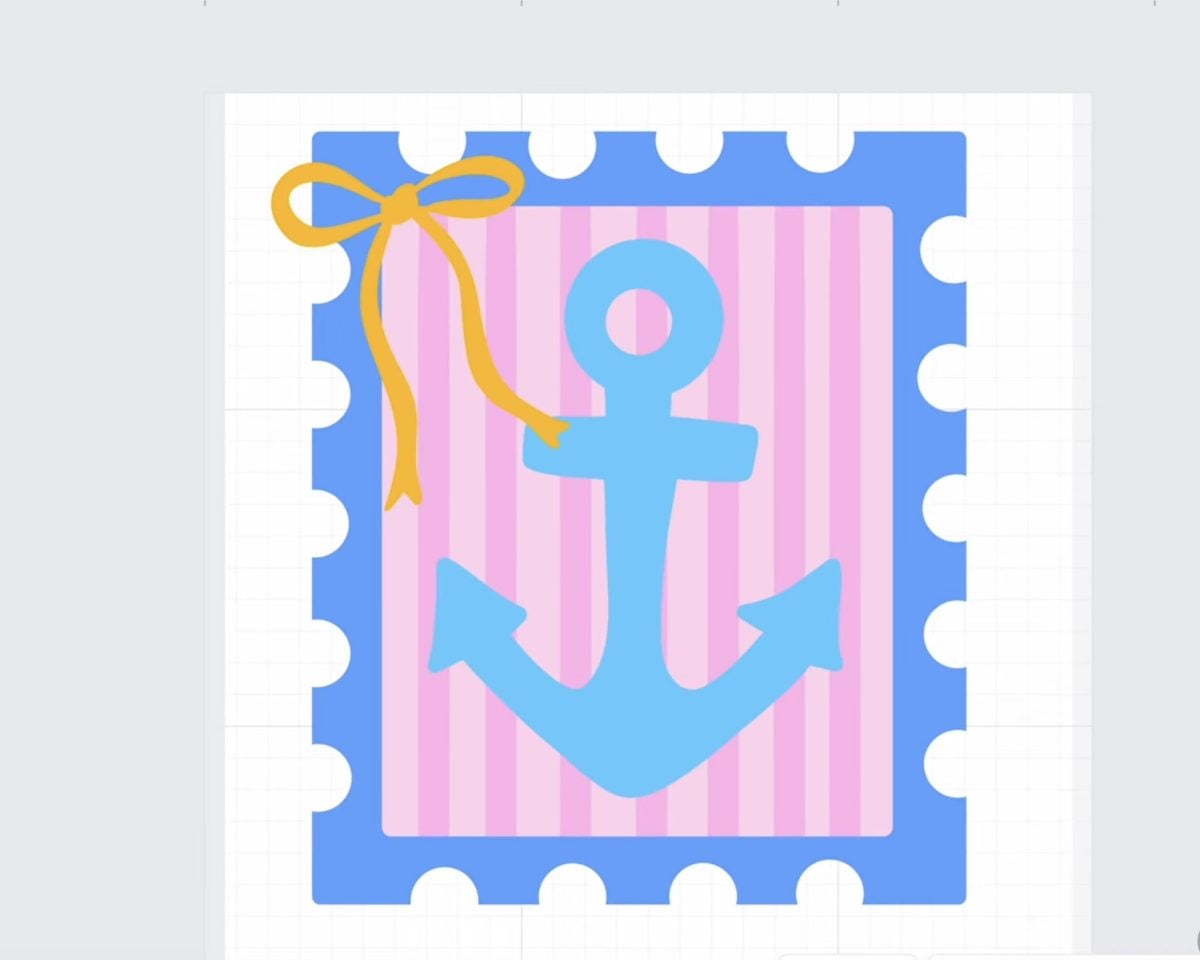
Because DTF is a printing process, it can print in full color. I don’t have to separate colors, but I can knock out colors if I want to. For instance, if I wanted the bright pink of the shirt to show through, I could remove that color from the design.
I am using the design exactly as I uploaded it, other than resizing it to fit my shirt.
Step 2. Print the Design
On the screen, it says this design will take about 3 minutes to print. This time is only for the printing process; it doesn’t include the powdering or curing process.
With the xTool Apparel printer, it will first print the color layer and then add white on top.
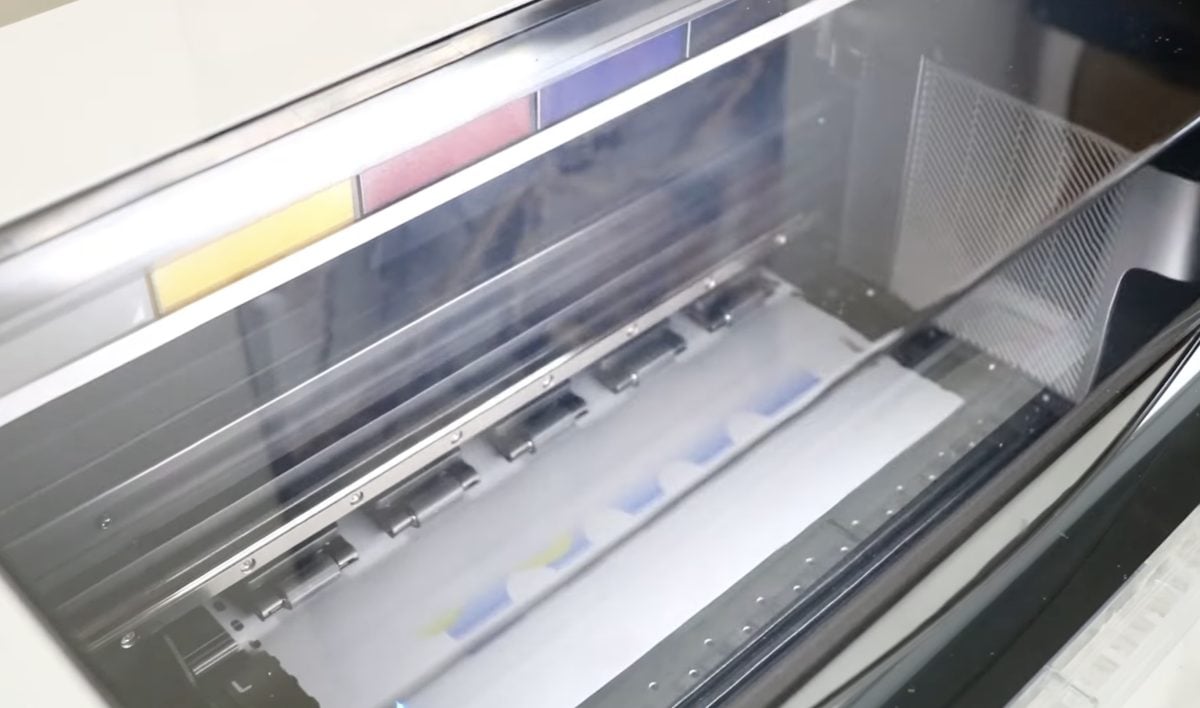
Next, it will move through the printer to be automatically powdered. The machine will add the adhesive powder and shake off the excess. With the powder applied, it will move to the oven, and the powder will be cured.
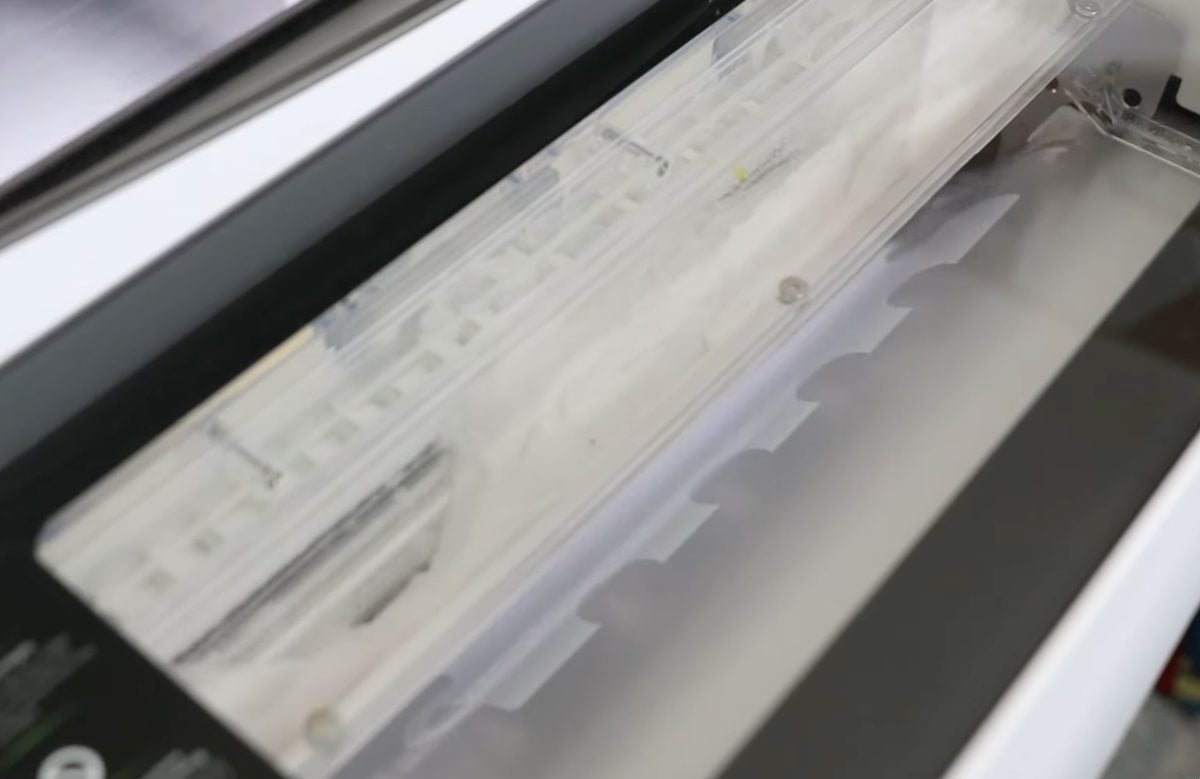
When the DTF print comes out of the printer, it is completely done and ready to press.
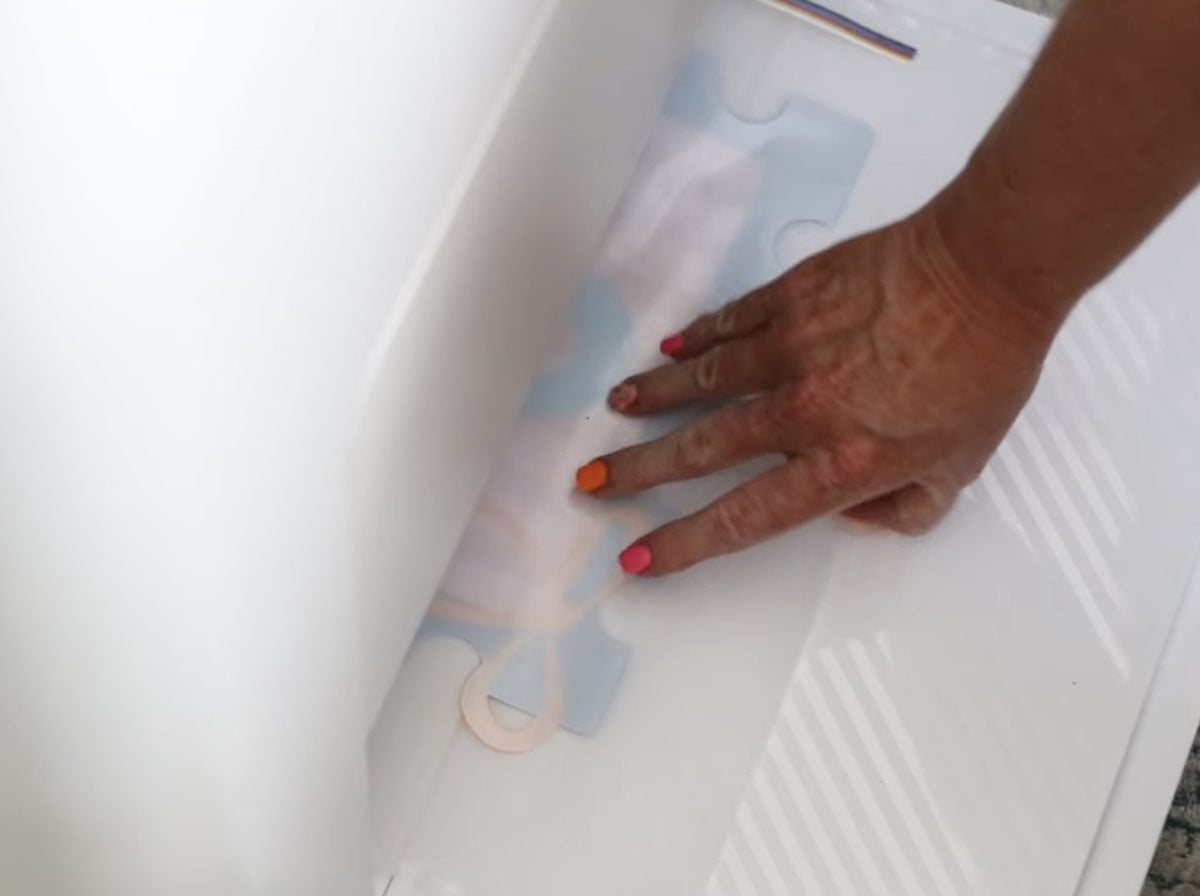
Step 3. Press the DTF Print onto the Shirt
For this shirt, I am using the xTool Wonder Press. I preheated it to the right temperature while the printer was printing, so it’s ready to go.
First, preheat the shirt to remove any wrinkles and moisture.
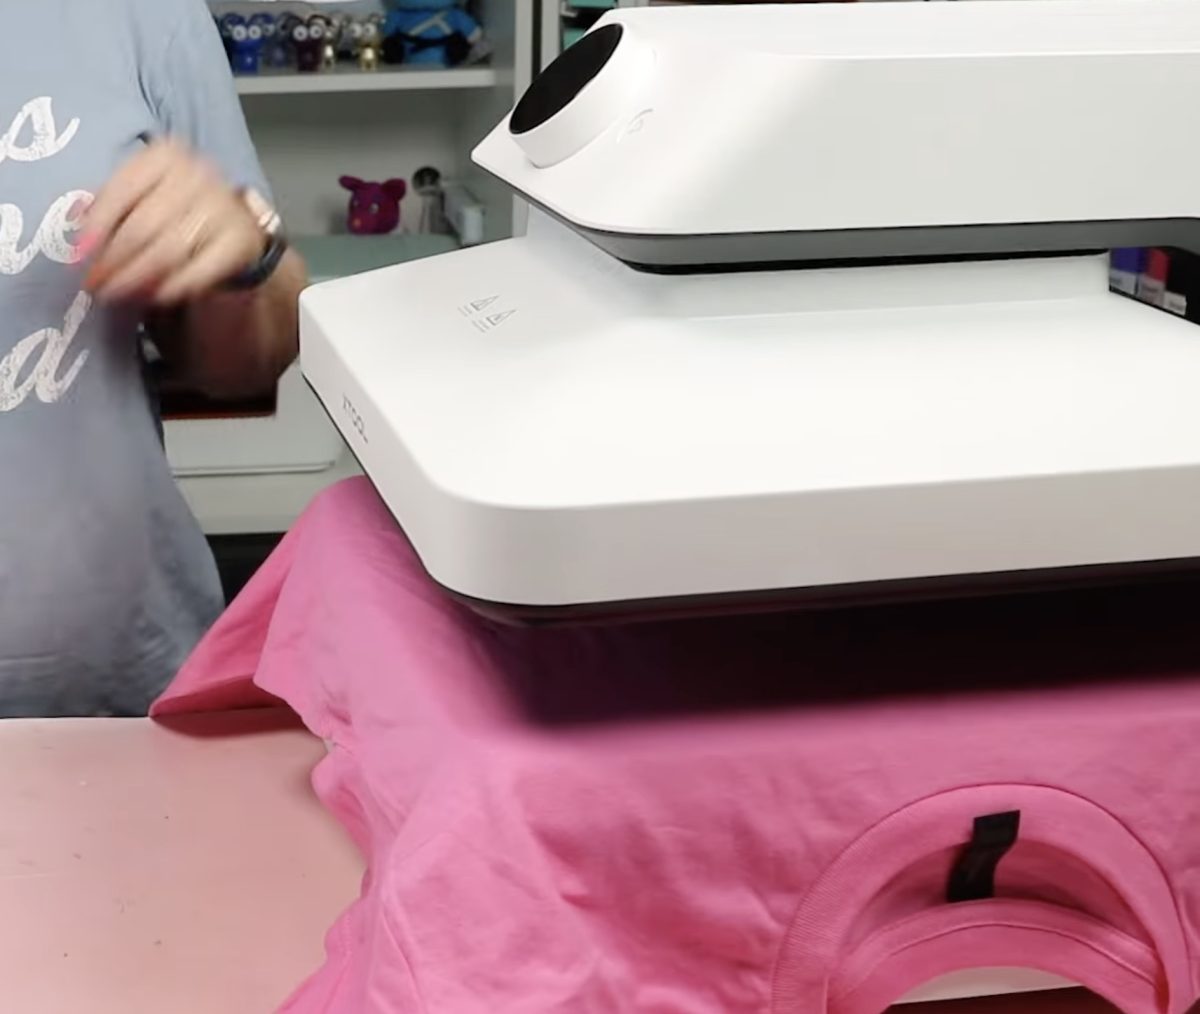
Locate the DTF print on the shirt; if needed, secure it in place with heat-resistant tape. Follow the instructions for your DTF print. If needed, cover with protective paper and press for the full time. Prints from my printer press in just 10 seconds.
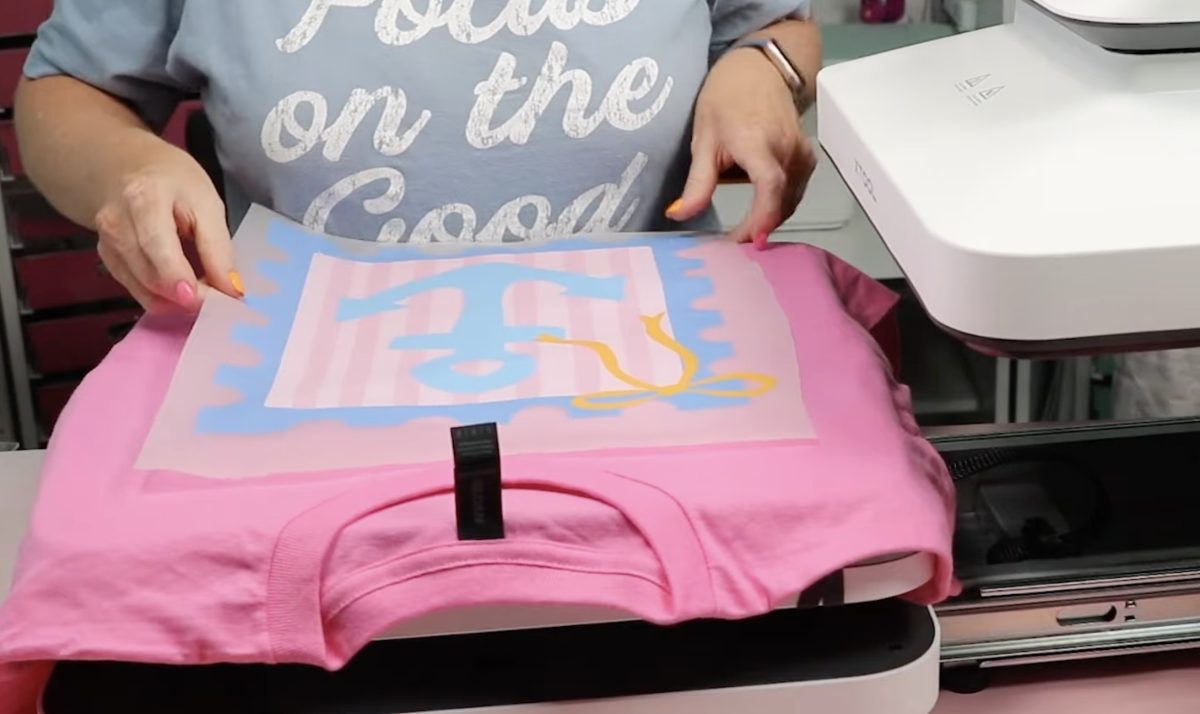
I use a DTF cooling block to cool down the design a little bit, then pull back the carrier sheet.
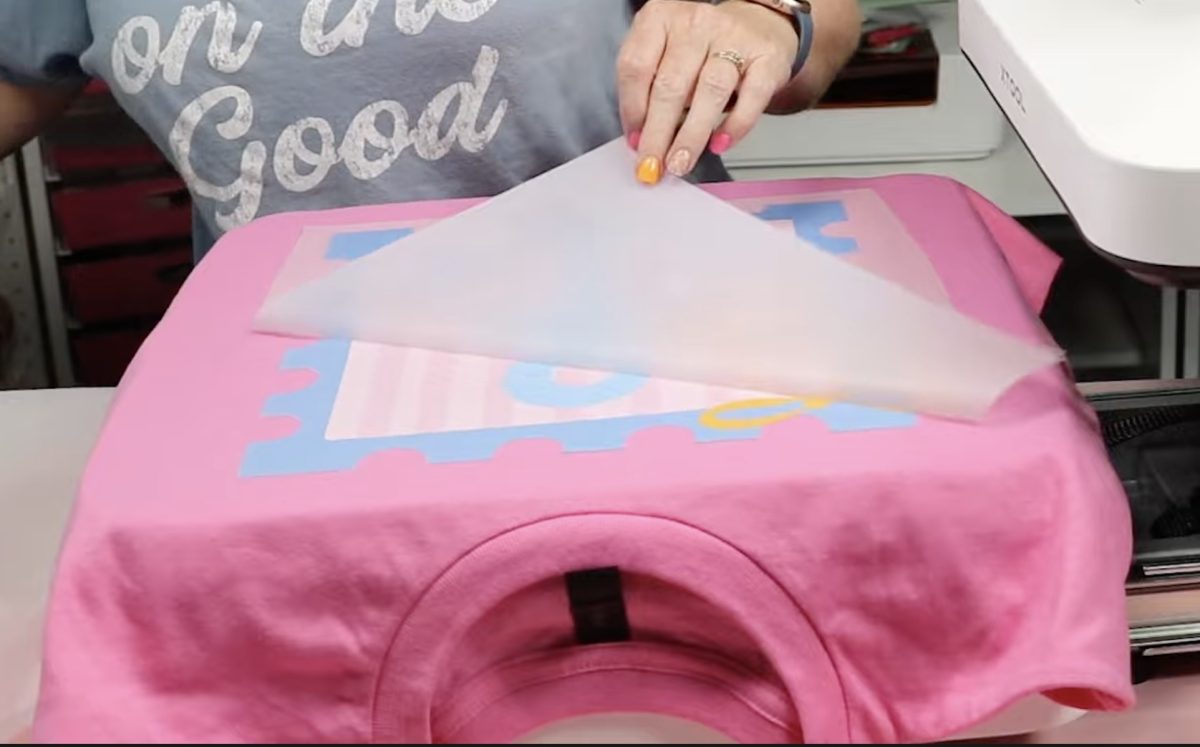
Step 4. Post Press for Longevity
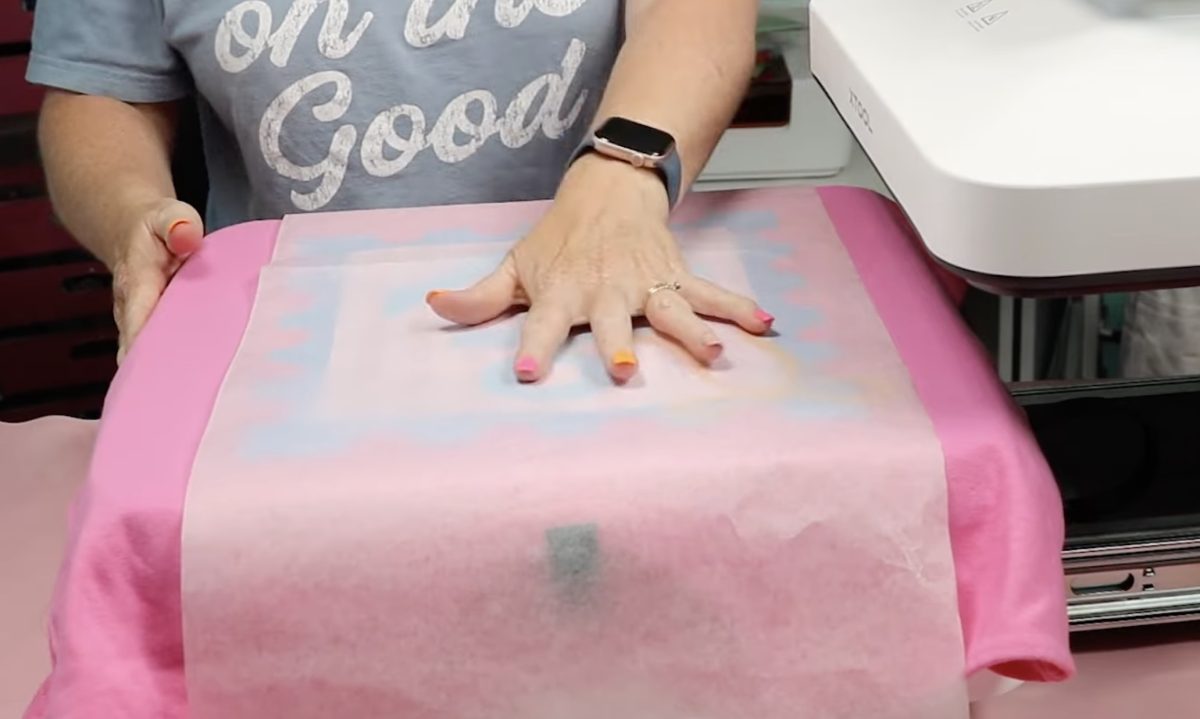
Cover the design with protective paper and press again. The post-press is 10 seconds, and when it’s finished, the shirt is completely done and ready to wear. Again, I recommend waiting at least 24 hours before washing.
xTool Apparel Printer DTF Timing Results
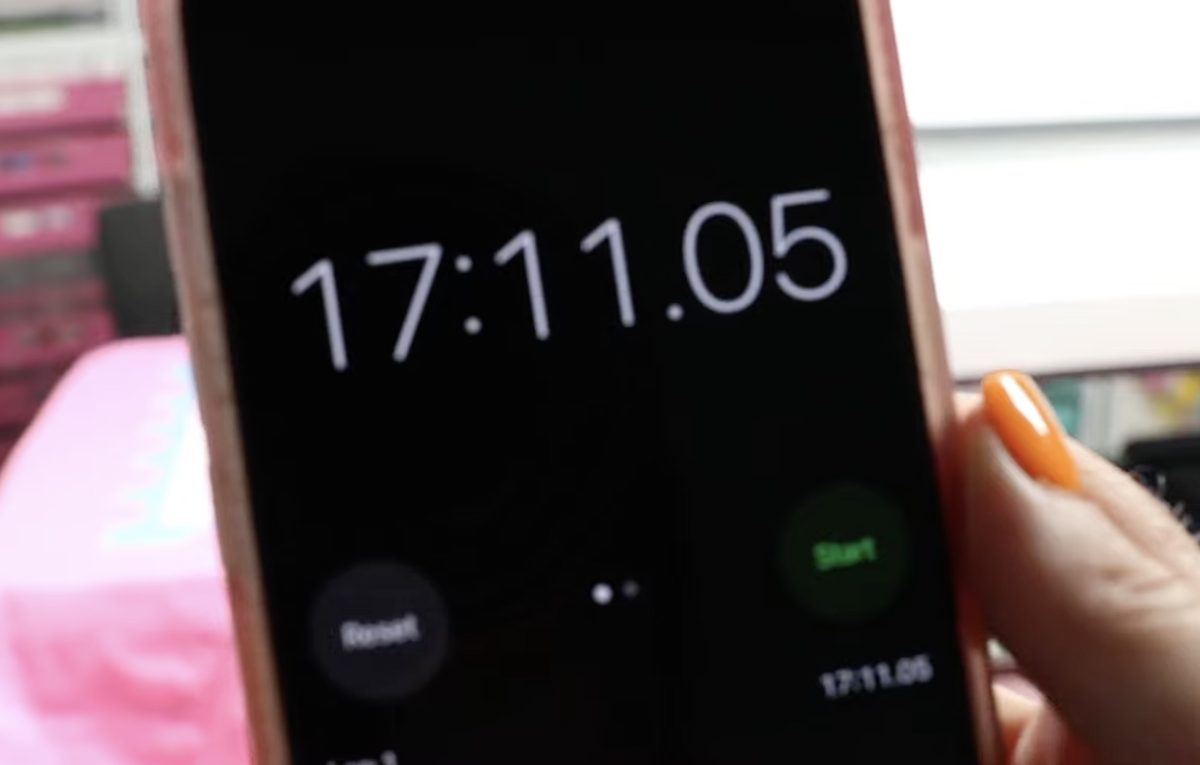
With the post press complete, I stopped the timer, and the total time was 17 minutes and 11 seconds. That is less than half the time it took to make a shirt using the Cricut and HTV.
I did want to note that if you’re making multiple shirts, you don't have to wait between prints. You can print several different prints at the same time, one after another.
My timing is for making one shirt. With the printer doing the powder and curing it, it can keep printing while I’m pressing, and I can make one shirt after another.
Pros for Making Shirts with DTF
Pros for making t-shirts with DTF prints include the following:
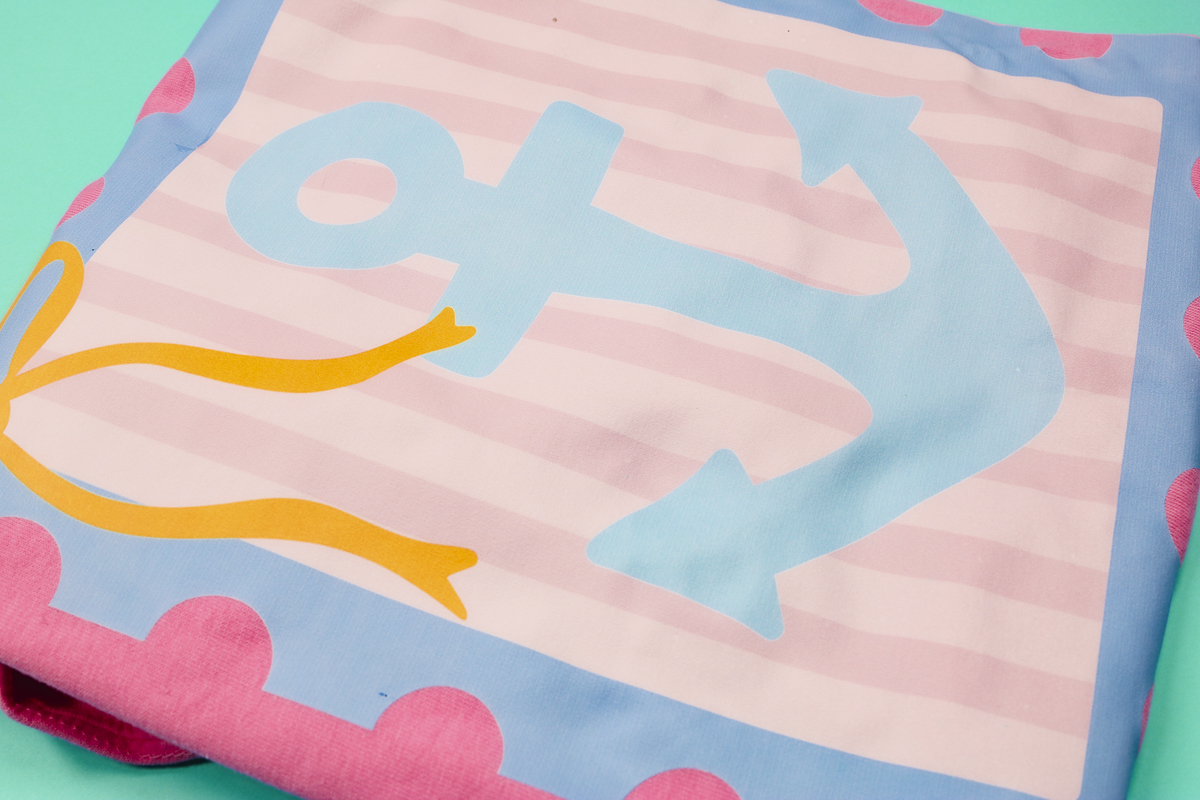
- A faster workflow, full-color designs, not having to weed away material, and more freedom with design types.
- One of my favorite types of designs to use with DTF is distressed designs. It’s hard to get a realistic distressed look with HTV, but with DTF it looks natural and doesn’t require any weeding.
- I can print photos, full-color logos, designs with variations in colors, etc. The sky is the limit.
- DTF also presses very consistently. I haven’t had an issue with it sticking. Like HTV, if a fabric can withstand the heat of the press, you can probably apply DTF to it.
- DTF print is opaque and can print white. That means, even on dark shirts, the design will be bright and pop off the fabric.
- DTF designs last wash after wash, and as they wear, they still look good. They don’t peel or crack; they fade a little and just wear away after many, many washes.
Cons for Making Custom DTF T-shirts
The biggest con is going to be the startup cost of the printer, shaker, and oven setup. There is also more maintenance for a DTF printer than for a Cricut machine with HTV.
I’m not sure I can come up with any other cons. I’ve been really happy with all the shirts I’ve made using DTF prints.
Cricut vs DTF Finished Custom Shirt Comparison
Both HTV and DTF have a heat-activated adhesive layer, and they sit on top of the fabric.
HTV vs DTF Hand Feel
Hand Feel is the way the material feels on the shirt. Does it feel soft and flexible like it’s part of the shirt, or does it feel stiff, plasticky, and heavy?
The hand feel results for HTV can vary depending on the type of HTV you’re using, how big the design is, how many layers you have, and how it was applied.
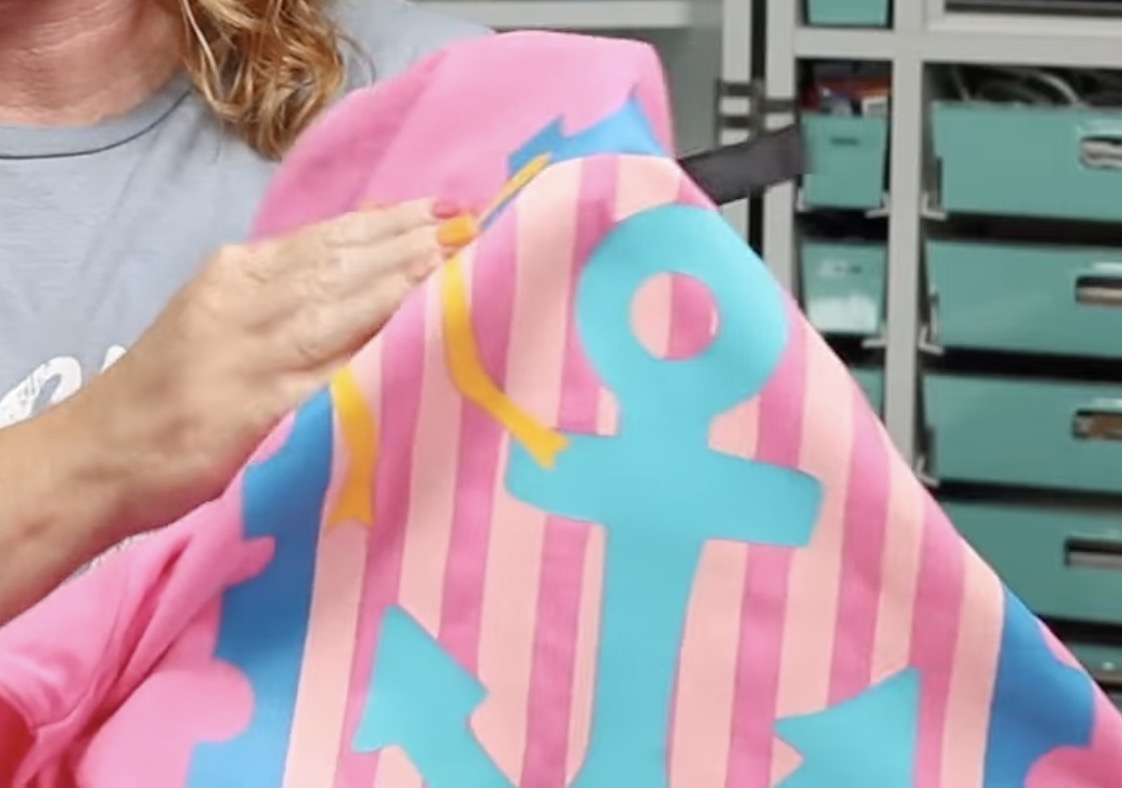
All types of HTV are going to have a layer of vinyl and a layer of adhesive. Specialty materials like glitter, flock, puff, etc all have a heavier handfeel than a basic HTV.
DTF is ink with a powder adhesive applied directly to it while it’s wet, so it is a bit thinner than HTV. There are specialty DTF materials, and those may have a heavier handfeel than a normal DTF print.
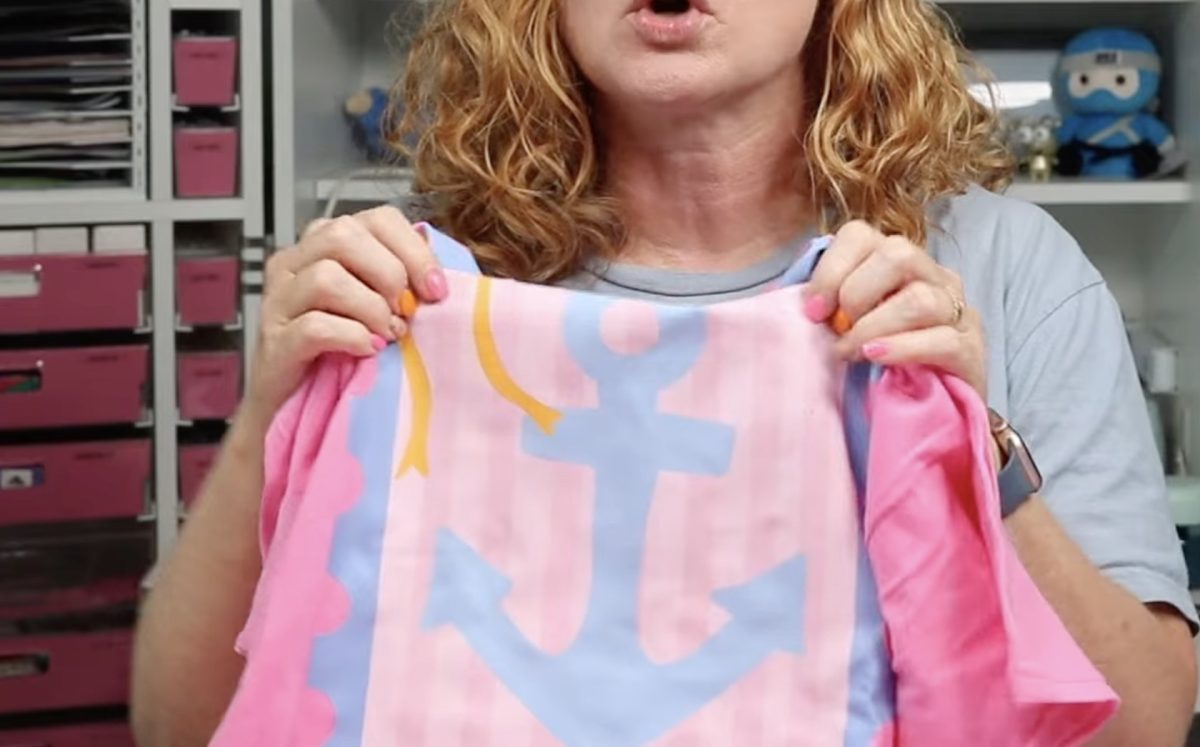
Remember, in both cases, the more material you lay down as one solid design, the less flexibility and movement you’re going to get. You can reduce the heaviness/stiff feeling by using the color of the blank as one of the colors. This gives breaks in the design, making it more flexible.
When comparing DTF and HTV side by side, the feel of DTF is much softer, and I feel like it gets even softer the more you wash it. HTV tends to feel a little more plasticky, and that doesn’t go away with washing. It’s especially noticeable with large designs and multiple layers.
Cricut vs DTF Custom Shirt Winner
By now, I think you can see that there is a clear winner when comparing the Cricut and DTF shirts side by side. With DTF, you’re not limited on color; you can print and press full-color designs. With a Cricut, your color will be limited by the color of the HTV you can get, and you’re limited in the designs you can use.
Both materials are very vibrant; you’re just more limited with the Cricut.
It took over twice as long to make the shirt using a Cricut and HTV as it did to make a shirt using DTF. While additional shirts using the same design would take less time for both processes, with the Cricut, you’re always going to have to cut out the material and weed away the excess. So while the design time will decrease, the overall process won’t decrease that much.
Cost of Cricut vs DTF
One more thing to note is that once you purchase the DTF printer, the cost per print is very low, much less expensive than multiple rolls of HTV. Yes, the printer, shaker, and oven are more expensive than a Cricut machine. But when you figure in the cost of supplies and the time it takes to make each shirt, the cost per shirt is much less for DTF.
How Many Shirts Can You Make in a Day?
If I were to use the timing from today and repeat the process for 8 hours, I could make about 30 custom DTF shirts. In that same timeframe, I could only make about 12 Cricut shirts.
I actually think I could get more DTF shirts because I wouldn’t do the whole process for one shirt at a time. The ideal process would be to do the designing and then send the prints to the printer, so once I get that first print, I can start pressing and keep pressing because the printer doesn’t need me to do anything once the print is sent to the printer.
Which Process is Best for You?
If you love crafting, love weeding, and are only looking to make shirts occasionally, a Cricut is probably the best option for you. Are you a small business owner who makes shirts that have a one-color design that is easy to weed? A combination of Cricut and HTV may work very well for you.
If you have been using a Cricut and can’t keep up with the orders you’re receiving, it may be time to look at a DTF printer. If you don’t like being limited in your designs and want the ability to print full-color images, DTF is what you’re looking for.
I have been really happy with the xTool Apparel printer with the shaker and oven. It would be great for someone who wants to start or grow an apparel business.
Are You Ready to Start Making Custom Shirts?
To sum it up, if you want to make a shirt every once in a while, the Cricut is fantastic. You can make a lot of really great shirts with a Cricut machine.
If you want to start a business or want to make a living from your home, the xTool Apparel printer is something you should look at.
Another thing to note: you don’t have to go directly from a Cricut to purchasing a DTF printer. You can purchase DTF prints at Ninja Transfers and press them yourself. This is a great way to test the process and see if you like the way the designs feel after they’re pressed.
I’ve only talked about making shirts. If your small business includes a variety of blanks, not just shirts, make sure you research what the limitations are for each machine to ensure it will be able to do what you need it to do.
I hope I’ve answered any questions you have about Cricut vs DTF. If you have any additional questions, leave them in the comments, and I’ll be happy to answer them for you.
New to Cricut?

Sign up for our email list to download the Beginner's Guide to Cricut Design Space for FREE today!
Sign up to get the guide emailed to you!










