
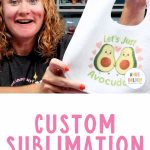
I'm very excited to share this project with you! I've wanted to make sublimation baby bibs for years, but I couldn't find a quality bib that would work with sublimation. If you have a baby shower coming up or a new baby to celebrate, you're going to love this project.
I finally found the right bib blank and can't wait to show you how easy custom bibs are to make. Curious what else you can make with sublimation? I have a whole post all about sublimation blanks you should check out.
There are a lot of sublimation bibs on the market, but many of them are very thin and more of a decoration than a functioning bib. If you don't use the sublimation bibs I have linked below, make sure to check the reviews to ensure you get a quality blank.
You can watch me make these sublimation baby bibs by pressing play on the video below.
How to Make Sublimation Baby Bibs
If you've made sublimation projects in the past, these baby bibs will be very easy for you. If you're new to sublimation, you're going to love how easy these bibs are to make. They are definitely a beginner-friendly project.
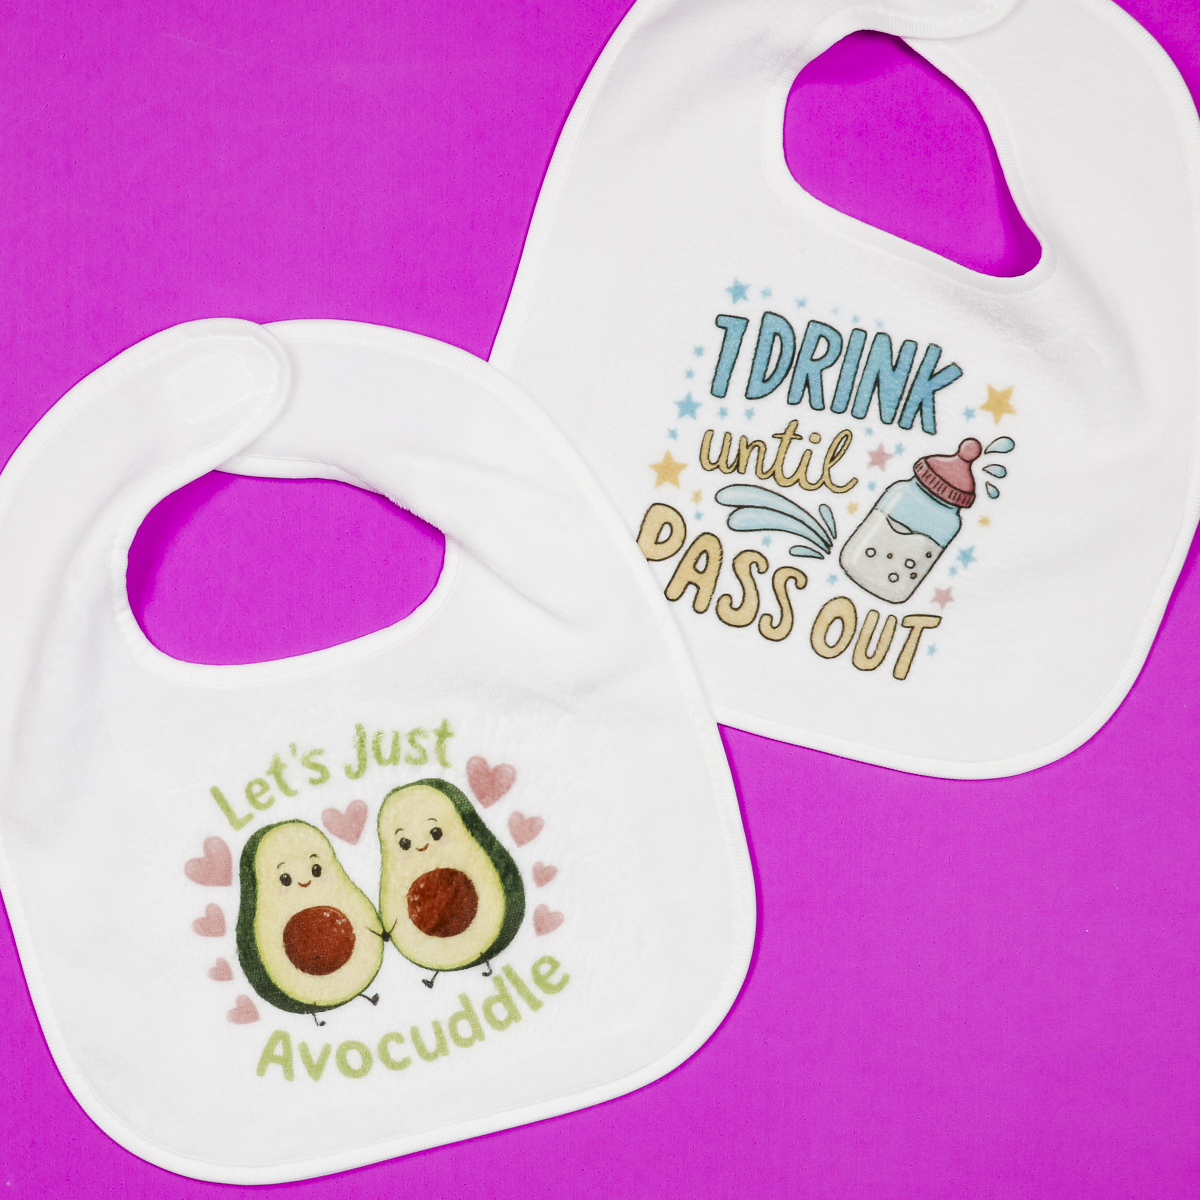
I love these bibs. They are from Johnson Plastics Plus, and they feel great. The front is smooth and can be sublimated, but the back is a nice terrycloth material, which makes it a nice, useful bib.
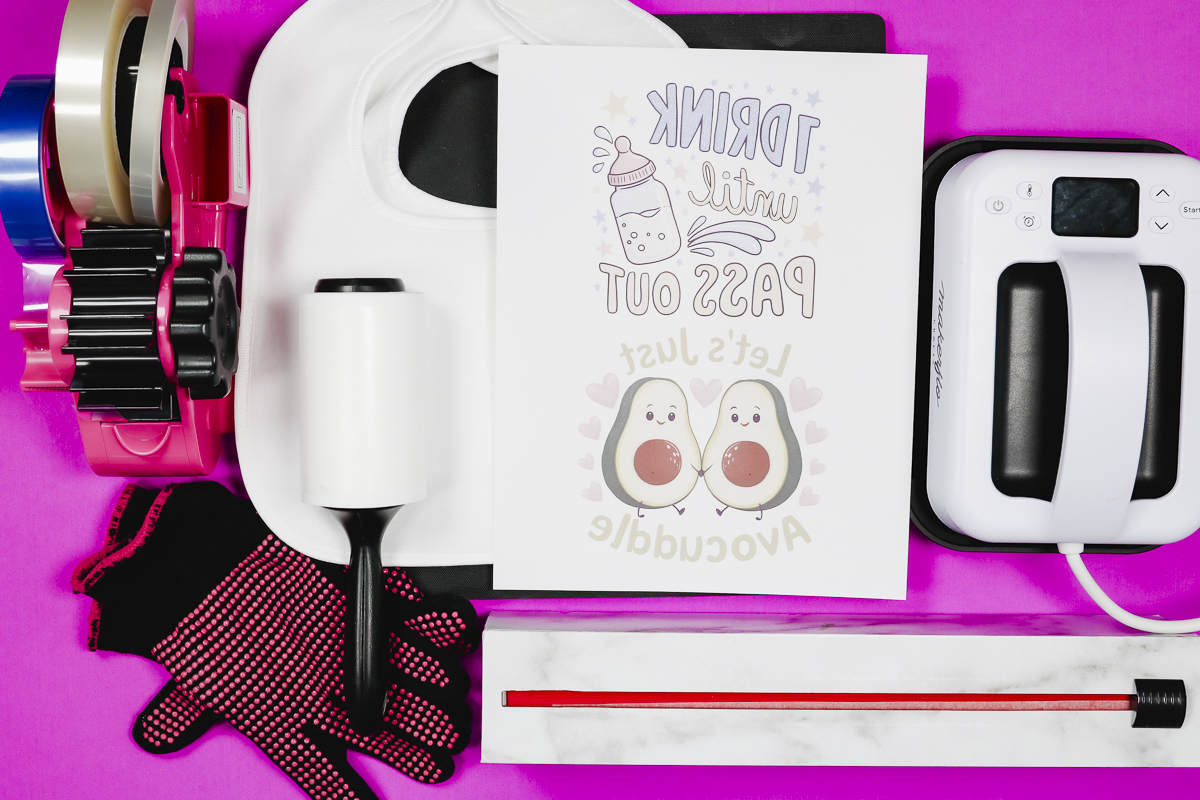
Supplies Used
- Design Used (NOTE: I have a Creative Fabrica Subscription with Creative Fabrica Studio that I am using for resizing and printing these designs.)
- Sublimation Baby Bibs
- MakerFlo Heat Press
- Heat-Resistant Mat
- Brother Sublimation Printer
- Sublimation Paper
- Lint Roller
- Heat-Resistant Tape
- Heat-Resistant Gloves
- Tape Dispenser
- Protective Paper
- Paper Dispenser
Remember, for sublimation projects, you need a sublimation print that is sublimation ink on sublimation paper from a sublimation printer. You cannot make this project with a regular printer.
Step 1. Create Design
I am using Creative Fabrica Studio to create my design. I downloaded the design from Creative Fabrica and created the canvas the same size as my sublimation paper, which is 8.5 by 11 inches.
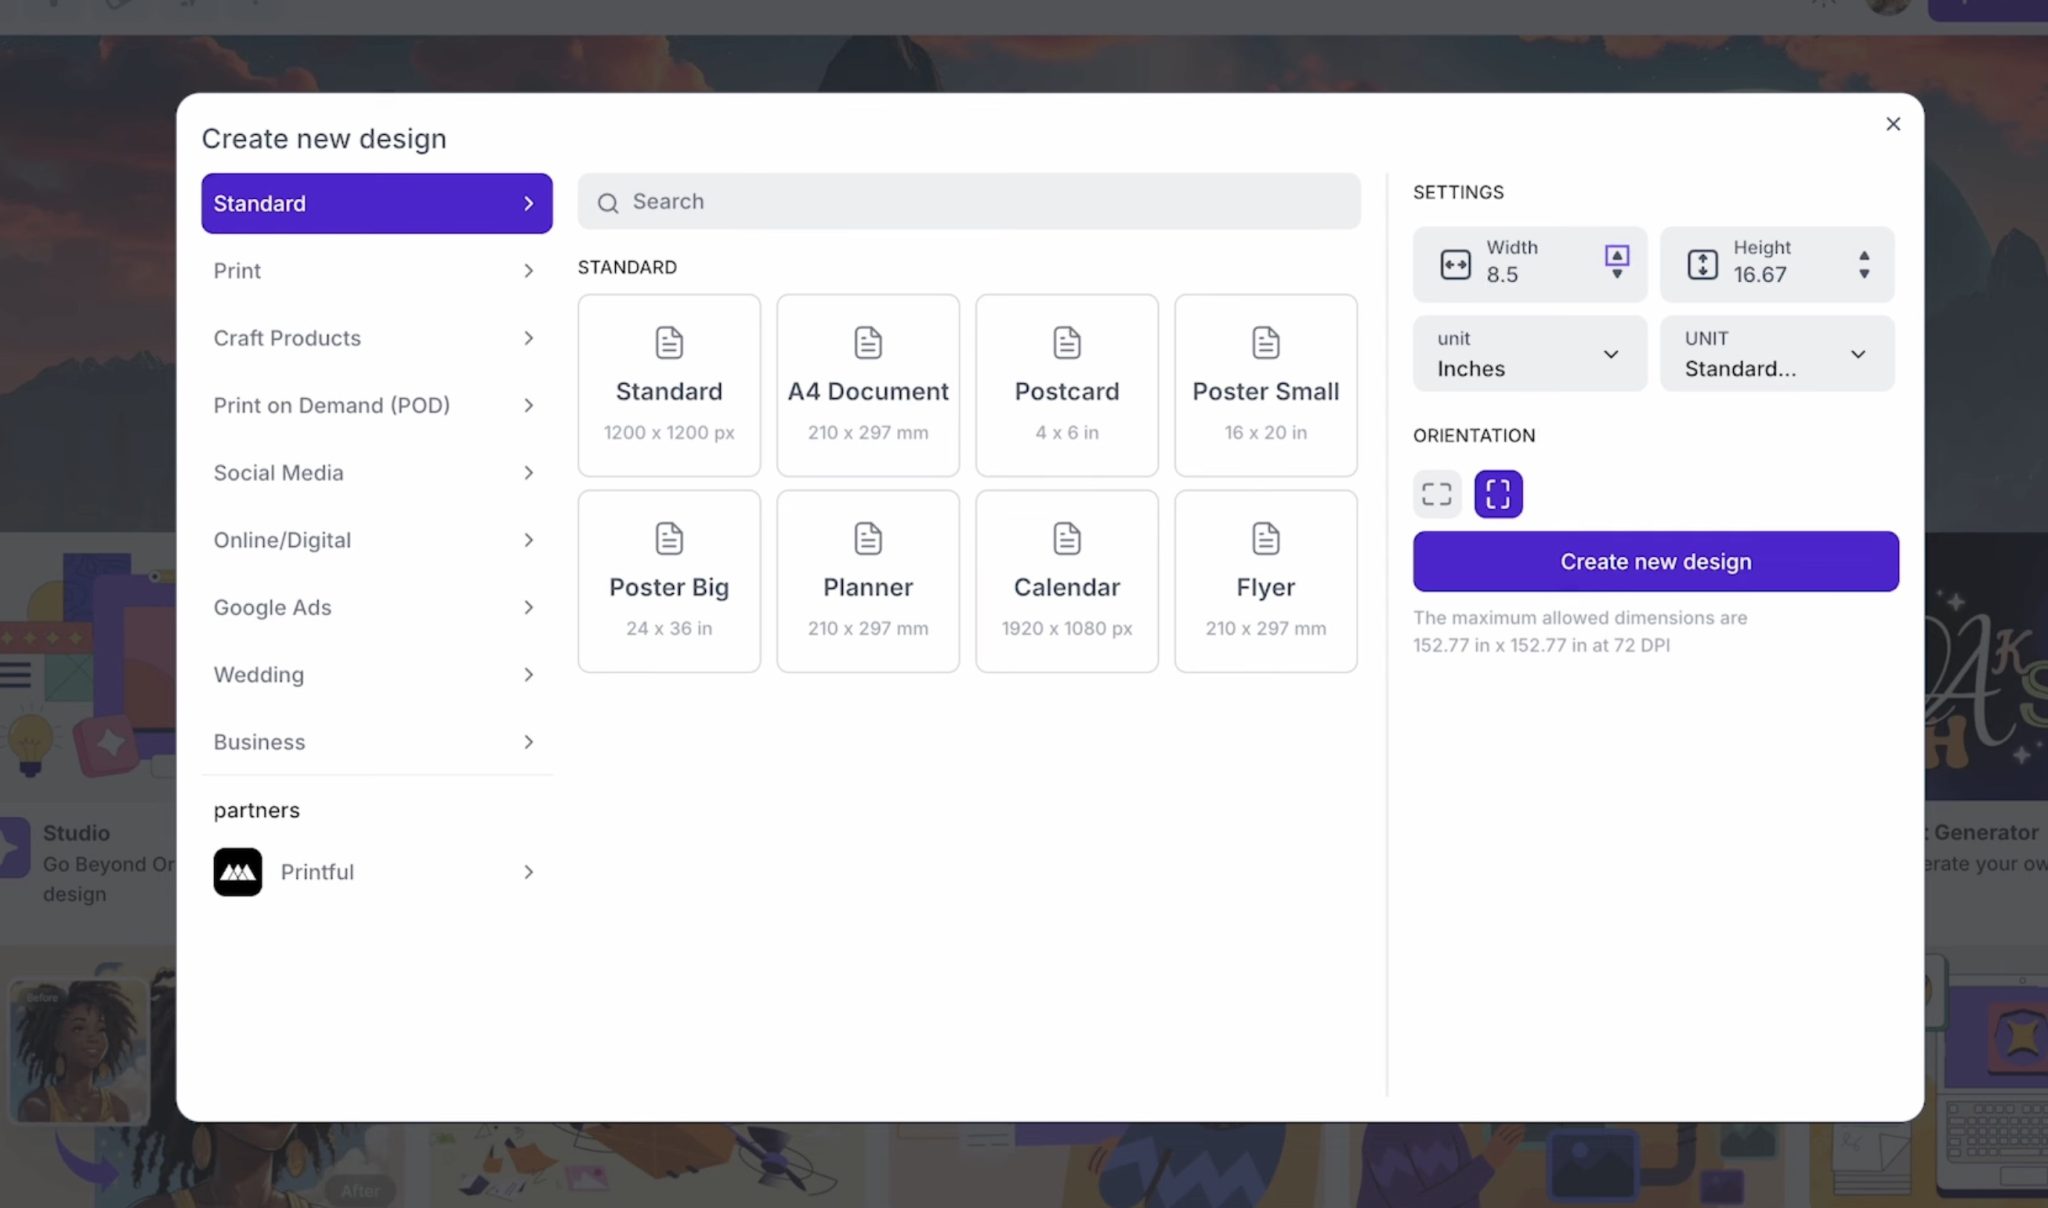
Click Create New Design to start your project. I am uploading my own design, but you can also use Creative Fabrica Studio to find designs within the platform.
Click Upload, find the design on your computer, and then click it to add it to the canvas.
With the designs on your canvas, resize them to fit your bib. You can click the design and drag it from the corners to resize it.
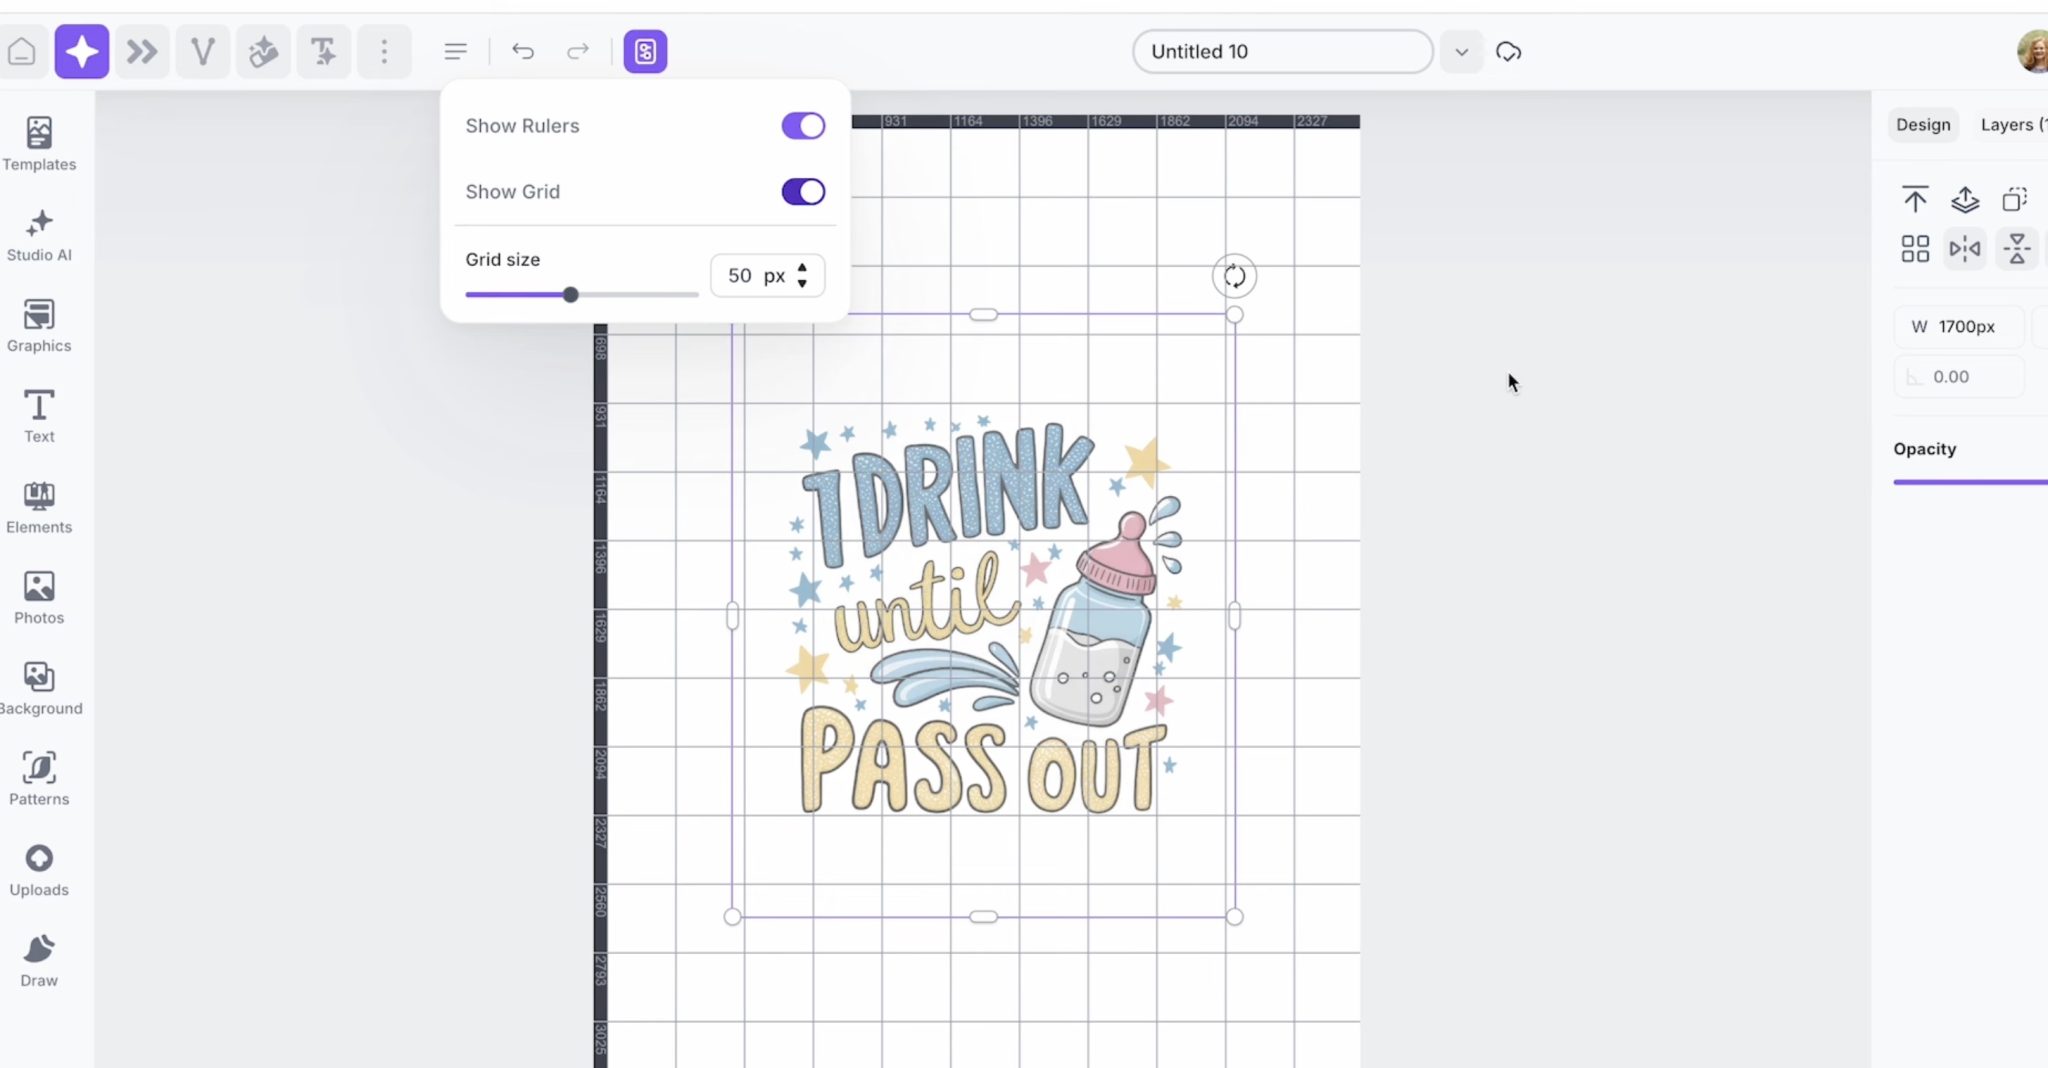
Note: the sizing within Creative Fabrica Studio is in pixels. You will need to convert that to inches to ensure it's the right size for your sublimation baby bib.
I repeated this process for both of my designs.
Next, you can rename the file and then click Share and Download. I like to download as a PDF file, but you can also remove the background and save it as a PNG file.
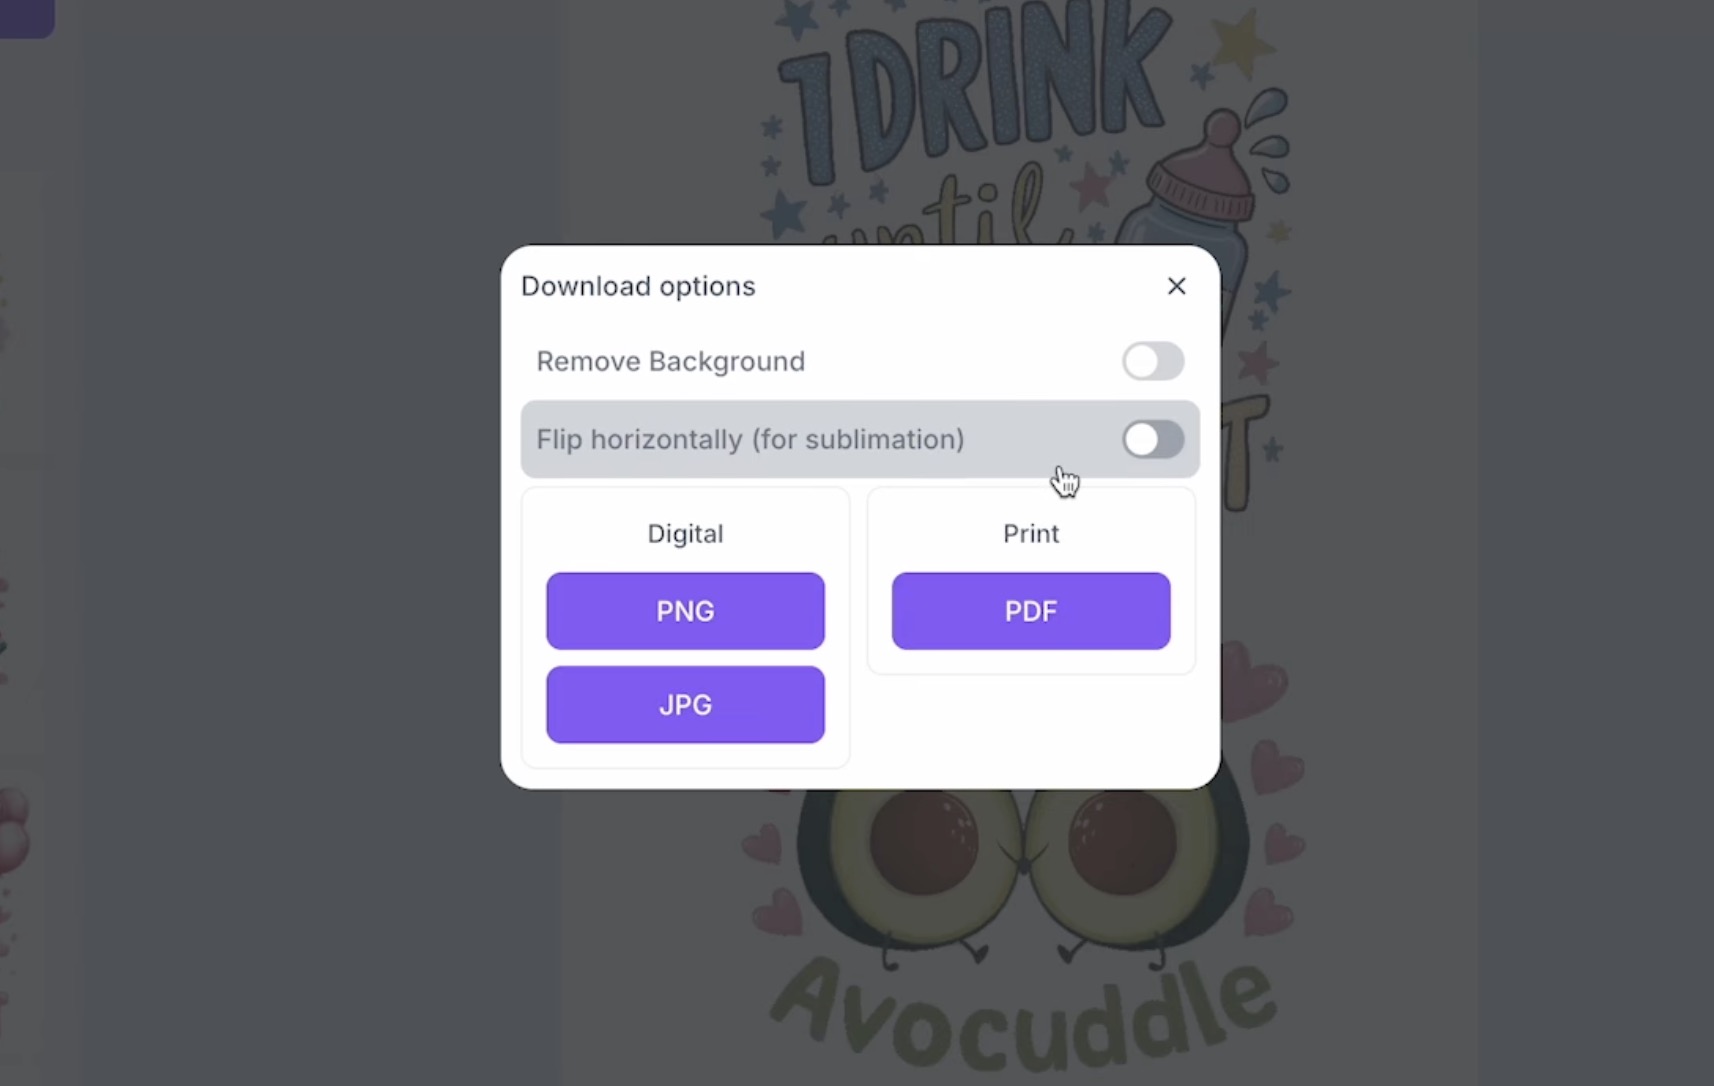
Your design needs to be mirrored before printing. You can do that in Creative Fabrica Studio or in your printer settings.
You can use other programs to resize and print your designs as well.
Step 2. Prepare the Sublimation Baby Bibs
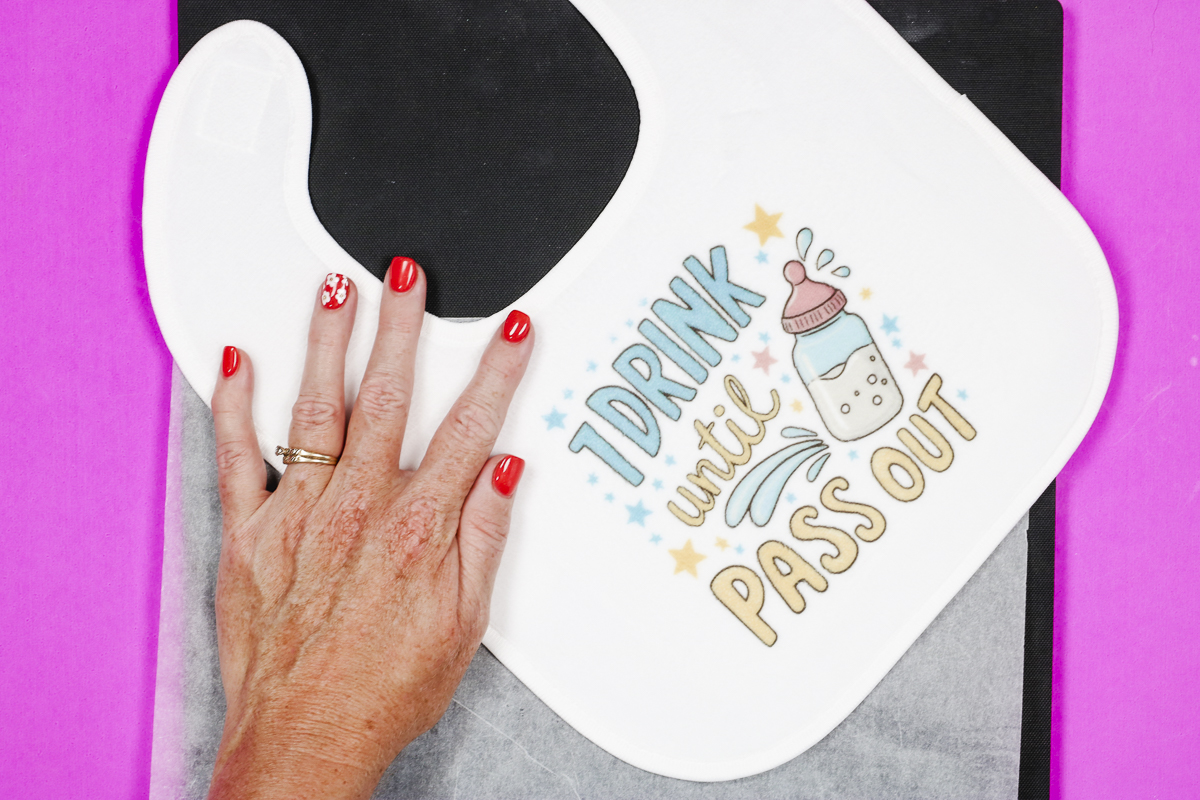
I really wanted a sublimation baby bib that was high-quality. The two sides of this bib are very different, and only one can be sublimated (the smoother side). Make sure you know which side of the bib is the sublimation side before you begin.
Use a lint roller to clean off any debris and then smooth all the fibers in one direction to get the best results.
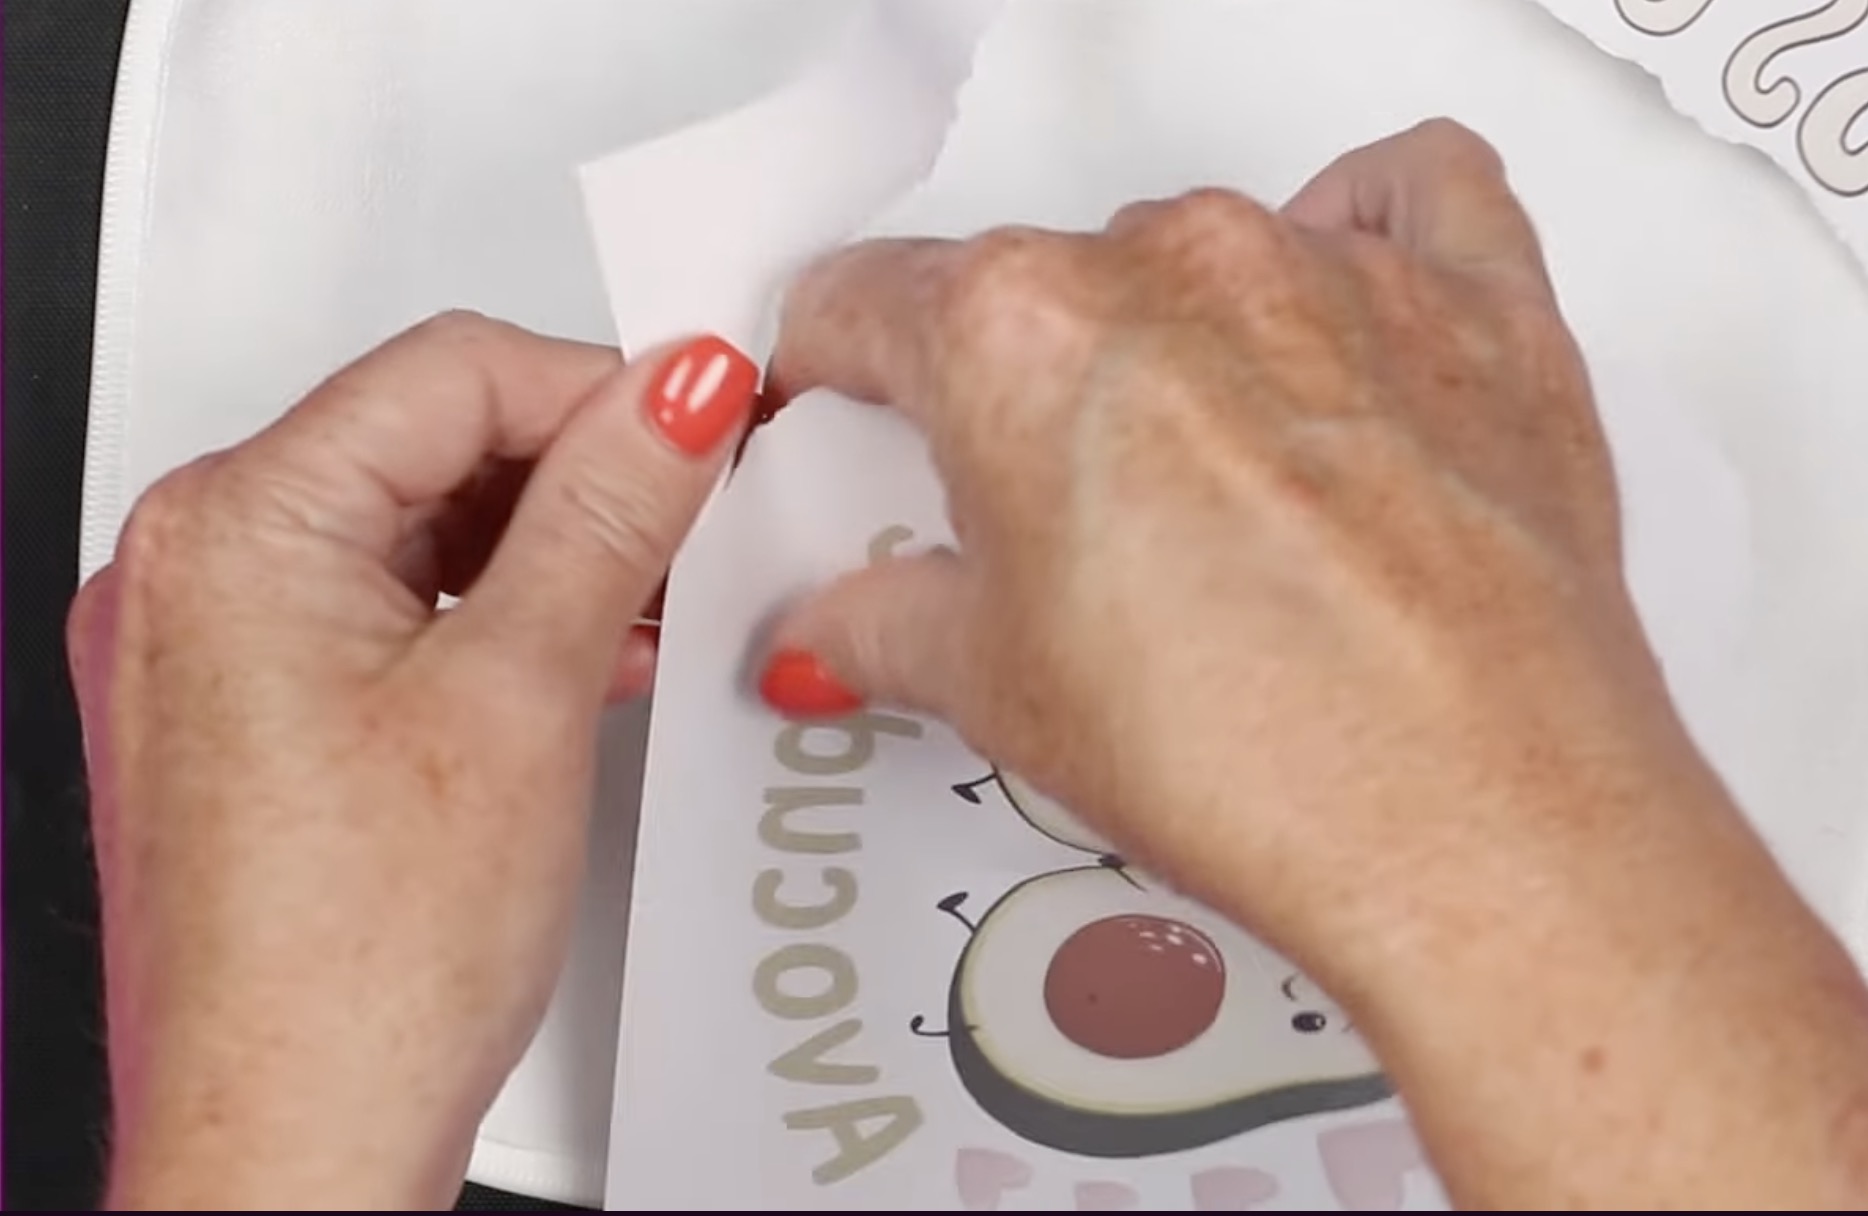
To minimize marks from the sublimation paper, tear around the sublimation print. We may still need to use the mini press to remove marks, but this will help.
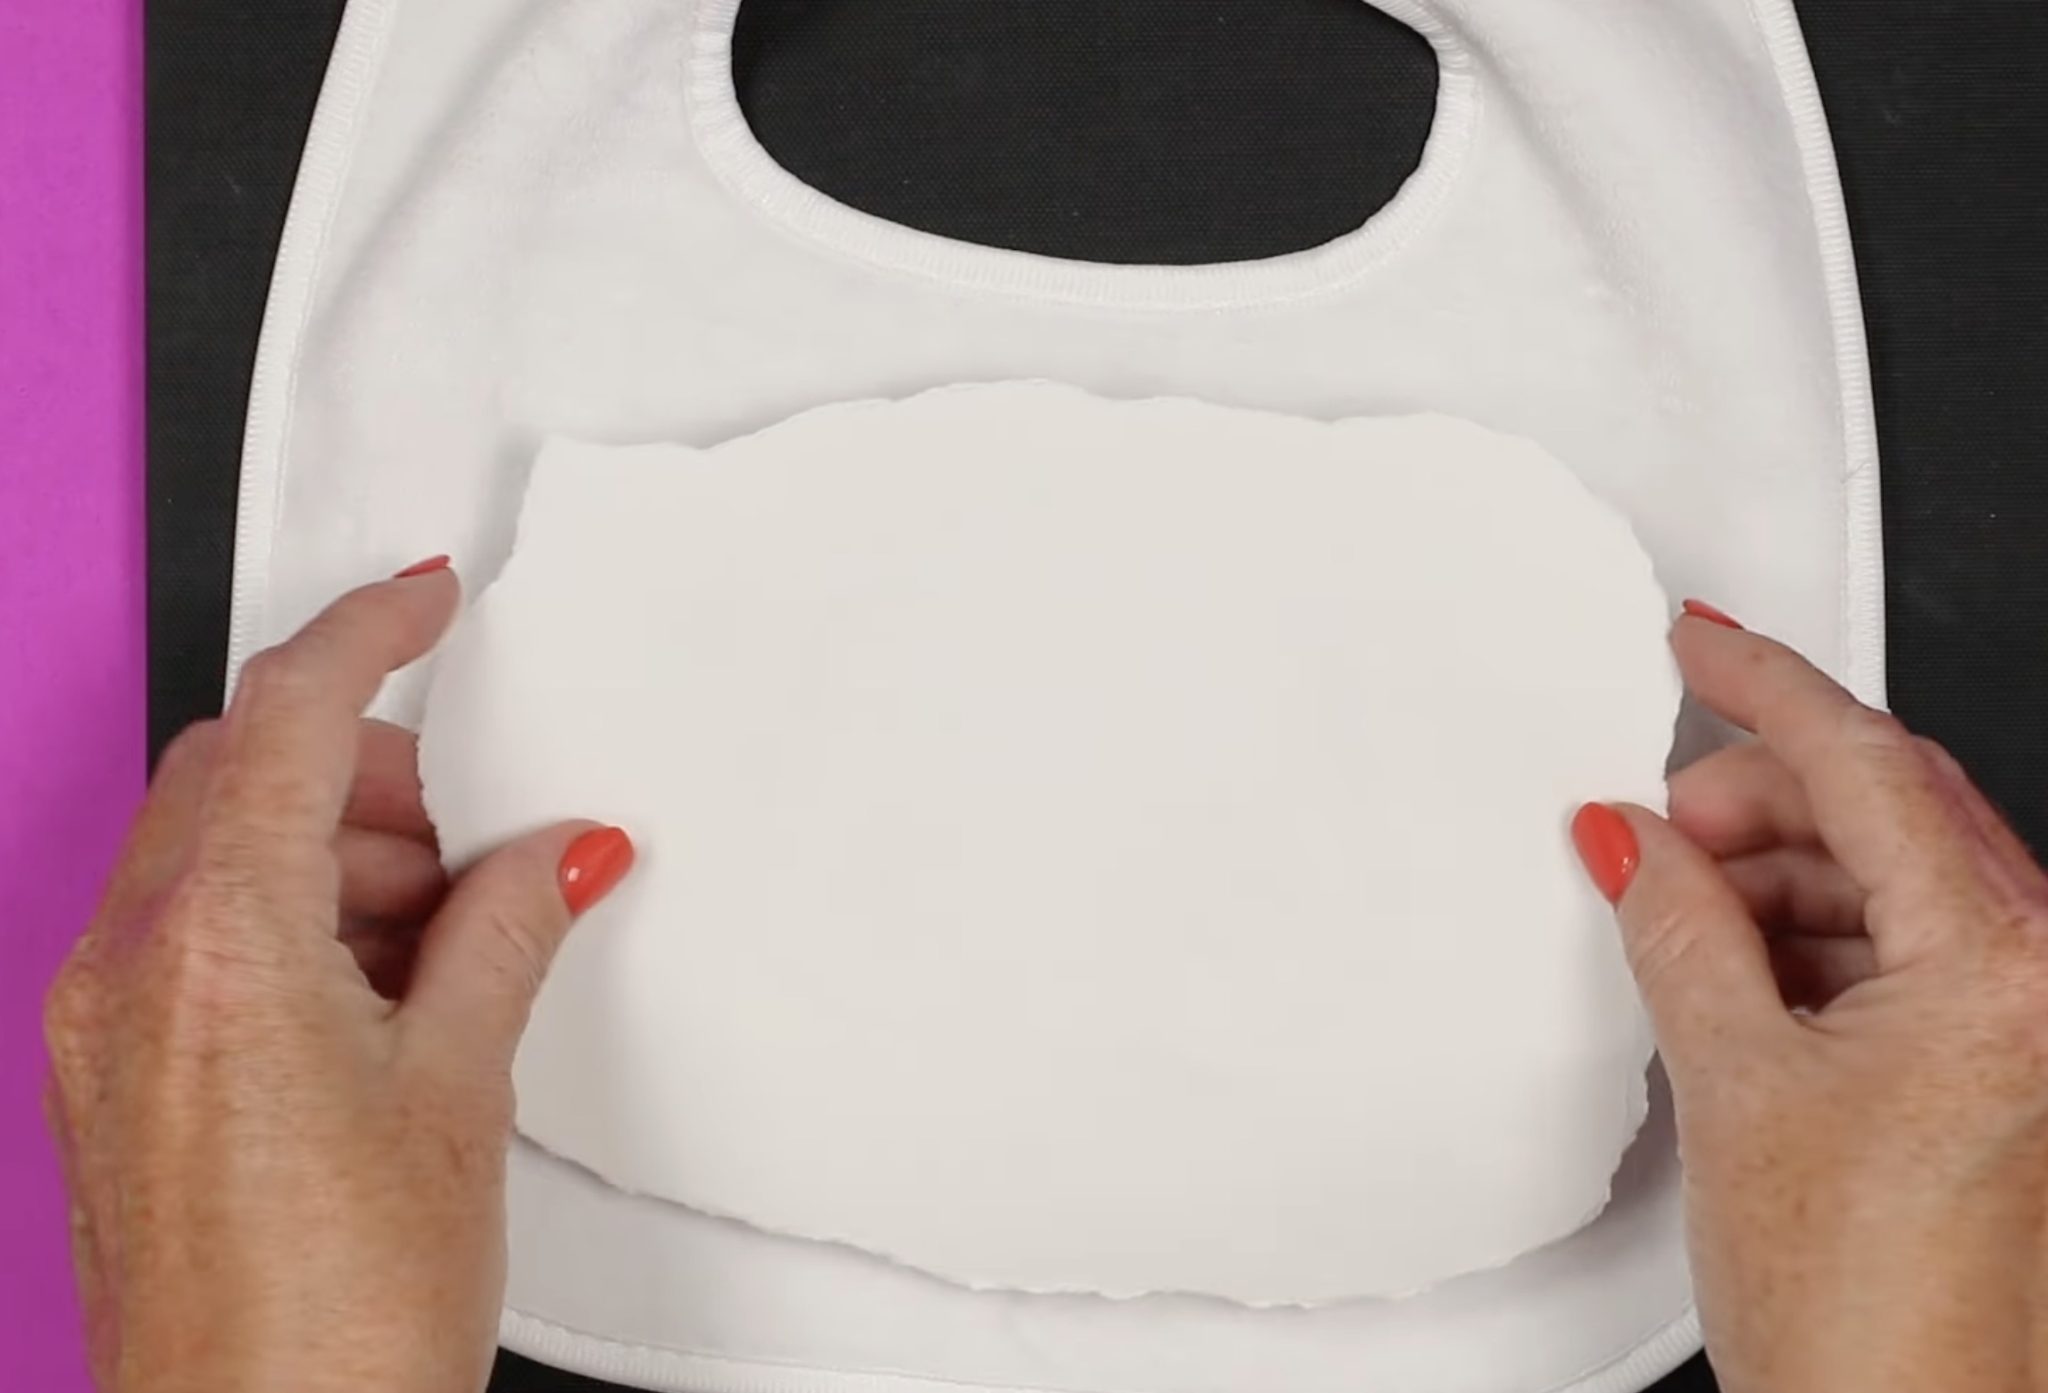
Preheat the bib to remove any moisture, and then place the print design side down on the bib and hold it in place with a couple of pieces of heat-resistant tape.
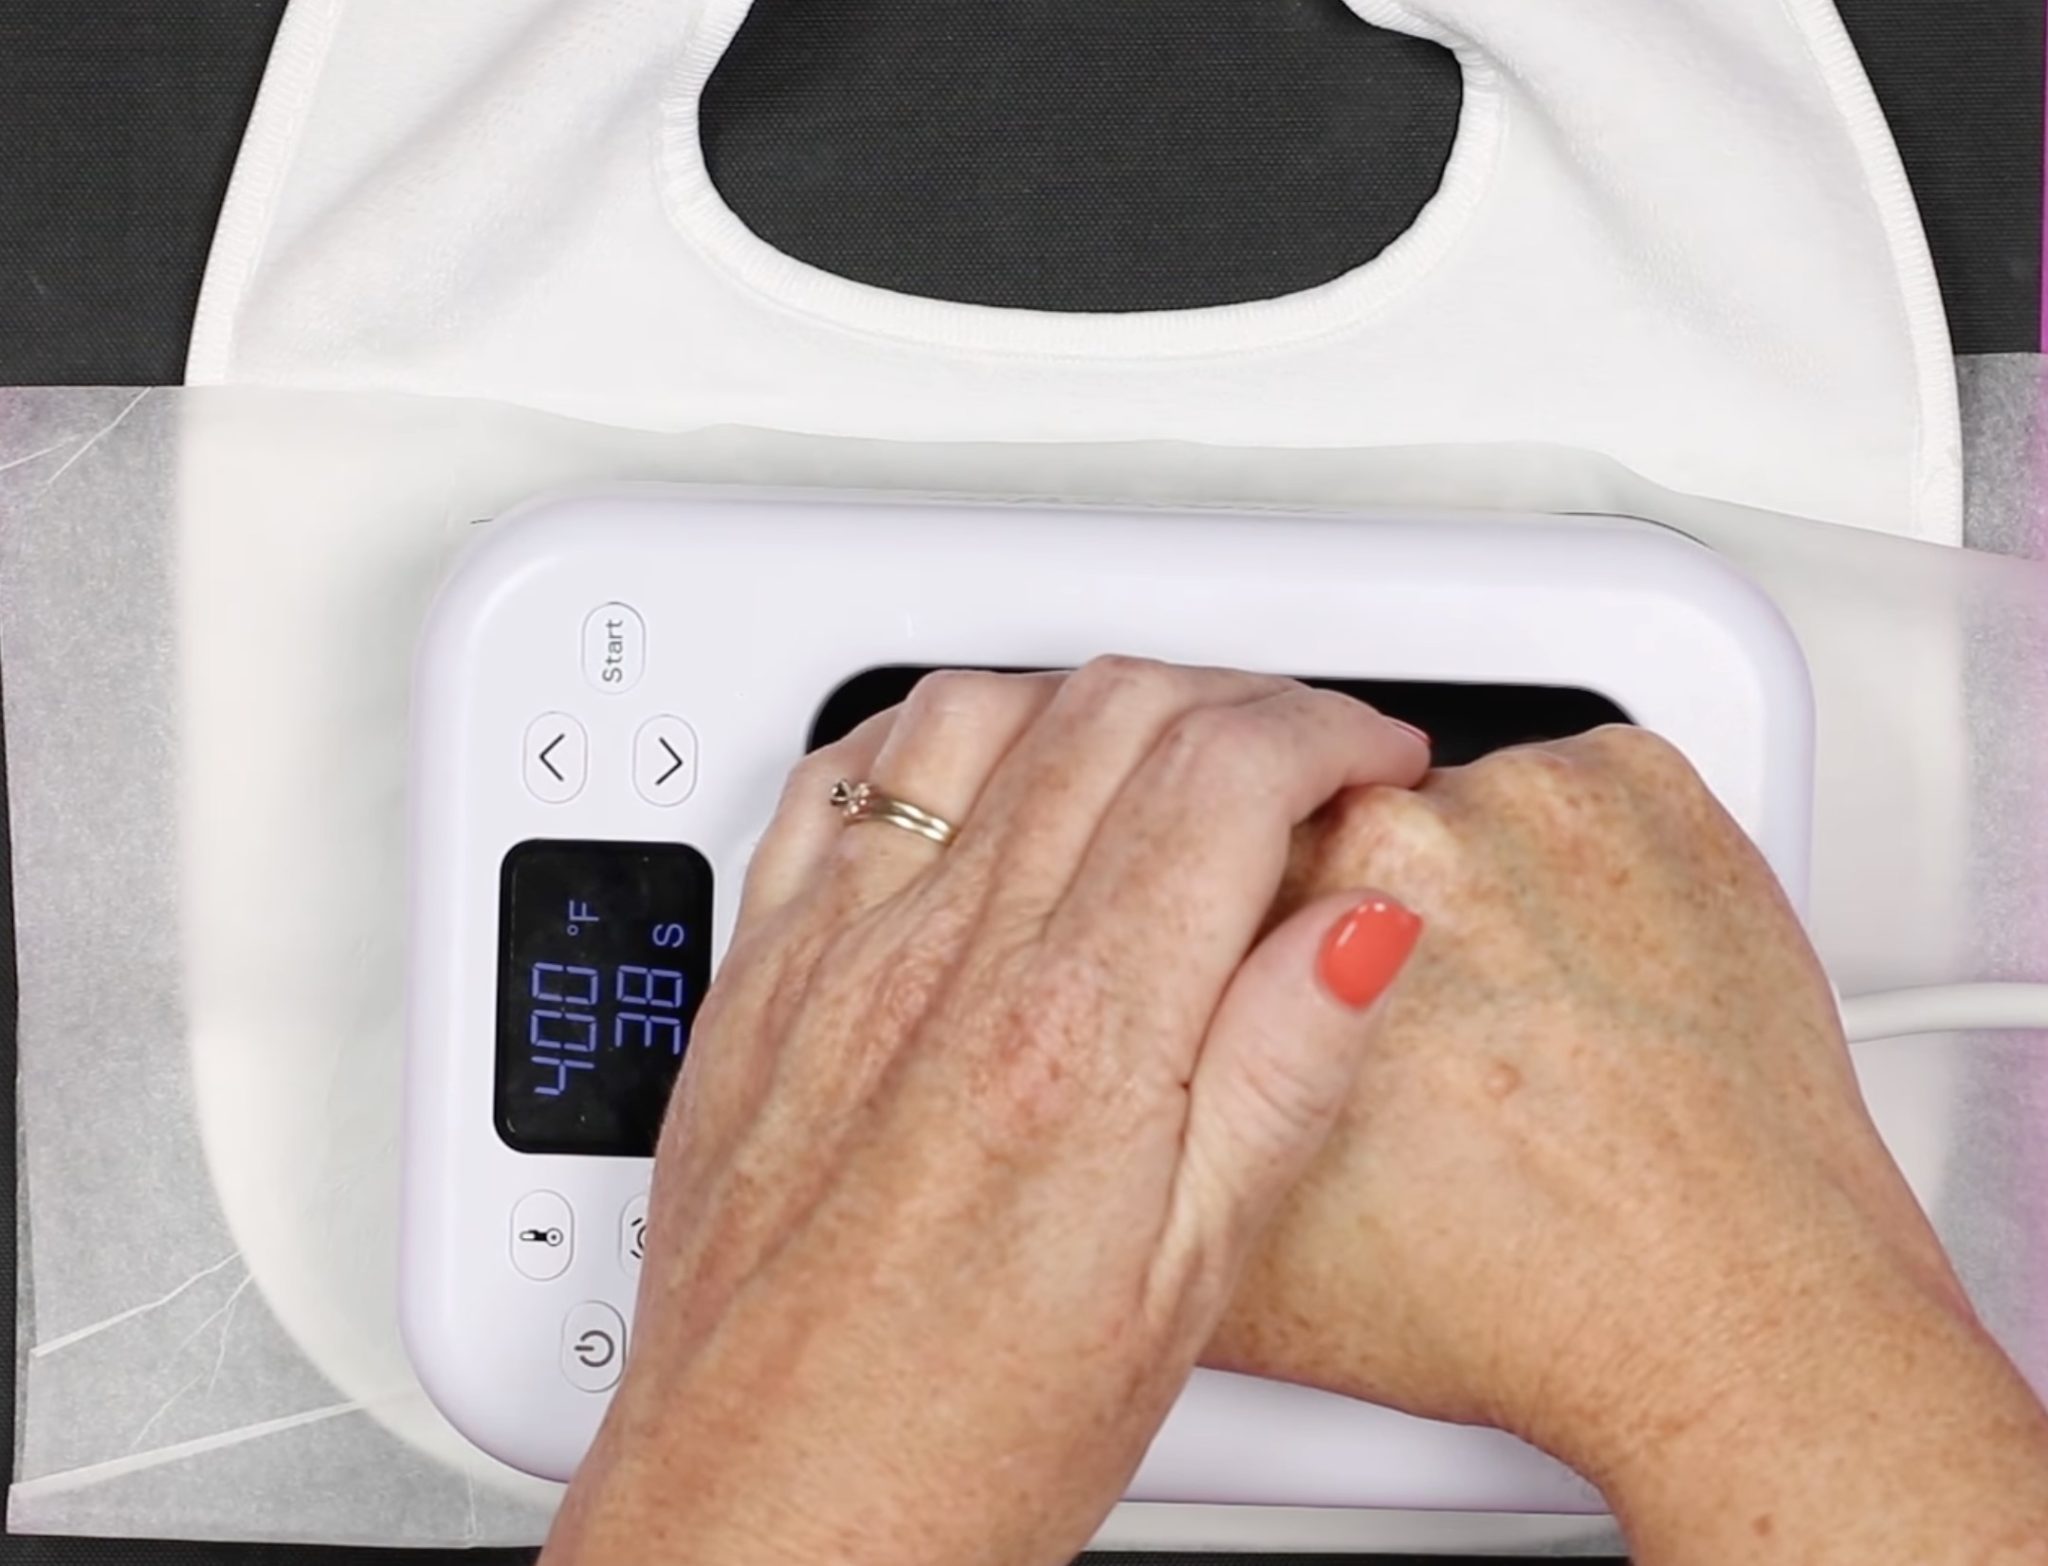
Step 3. Press Sublimation Design
Preheat your heat press to 400 degrees and set the timer to 50 seconds.
Place a sheet of protective paper below the bib and on top, and then press.

If you're using a handheld press, apply medium pressure the whole time. If you're using a traditional press, adjust the pressure to apply medium pressure.
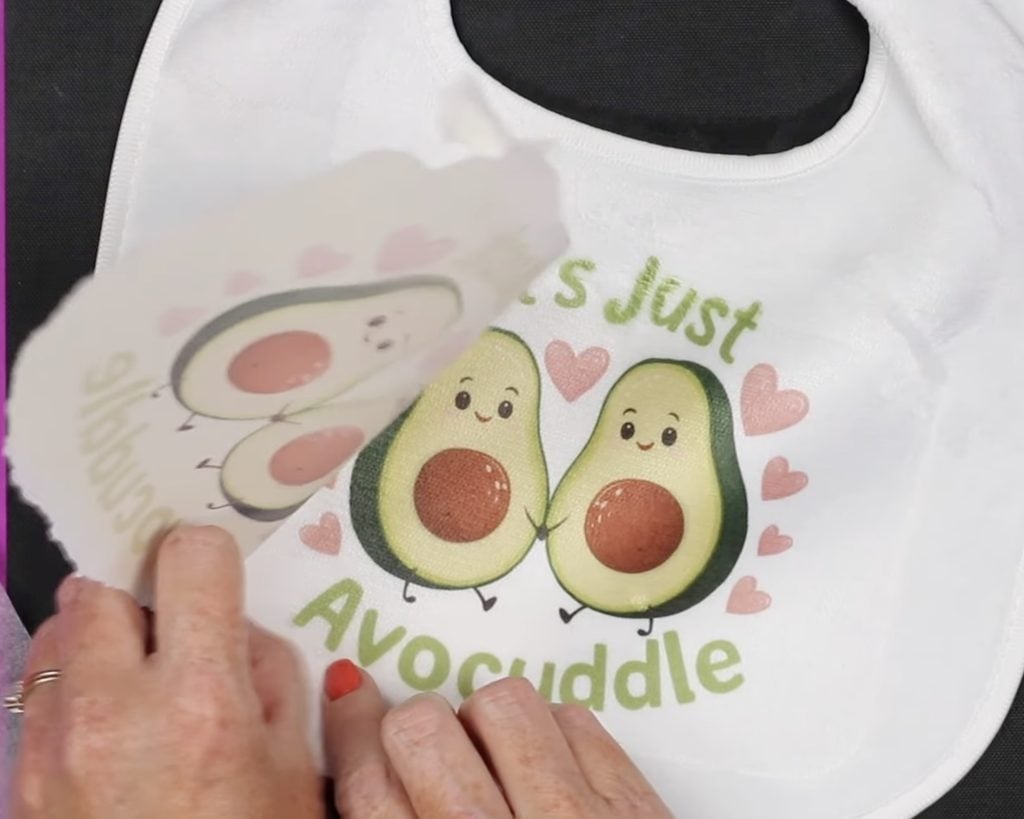
When the time is up, remove the heat and the protective paper. Lift one edge of the design and do a peek test.
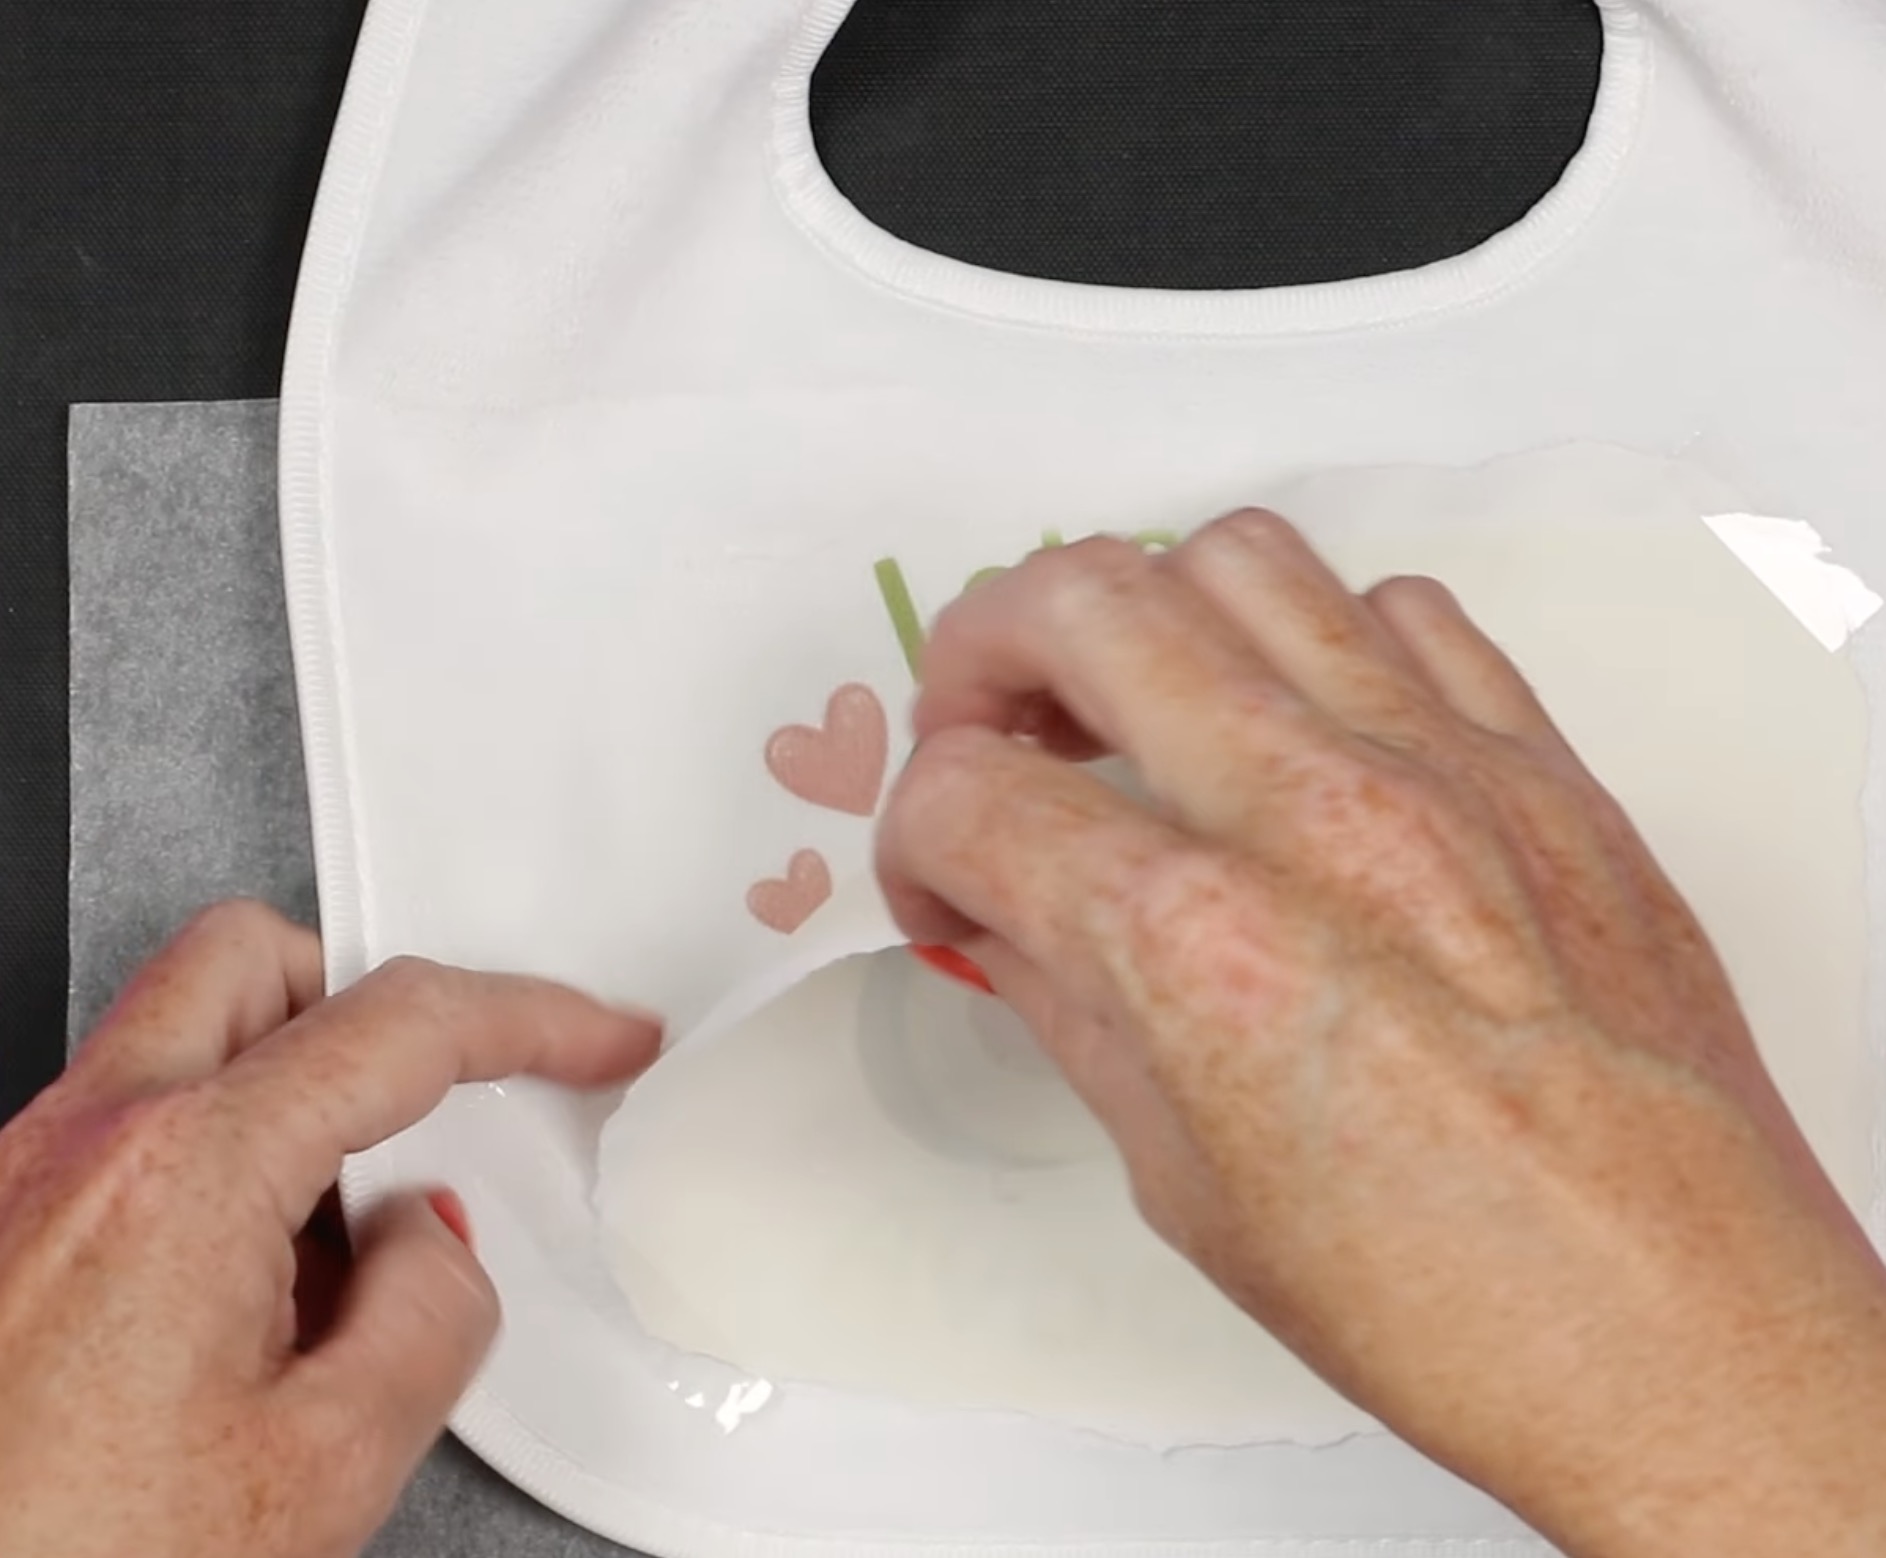
If it has transferred all the way, remove the whole print.
If you see any press marks, you can rub your fingers over the surface, and that may remove those marks.
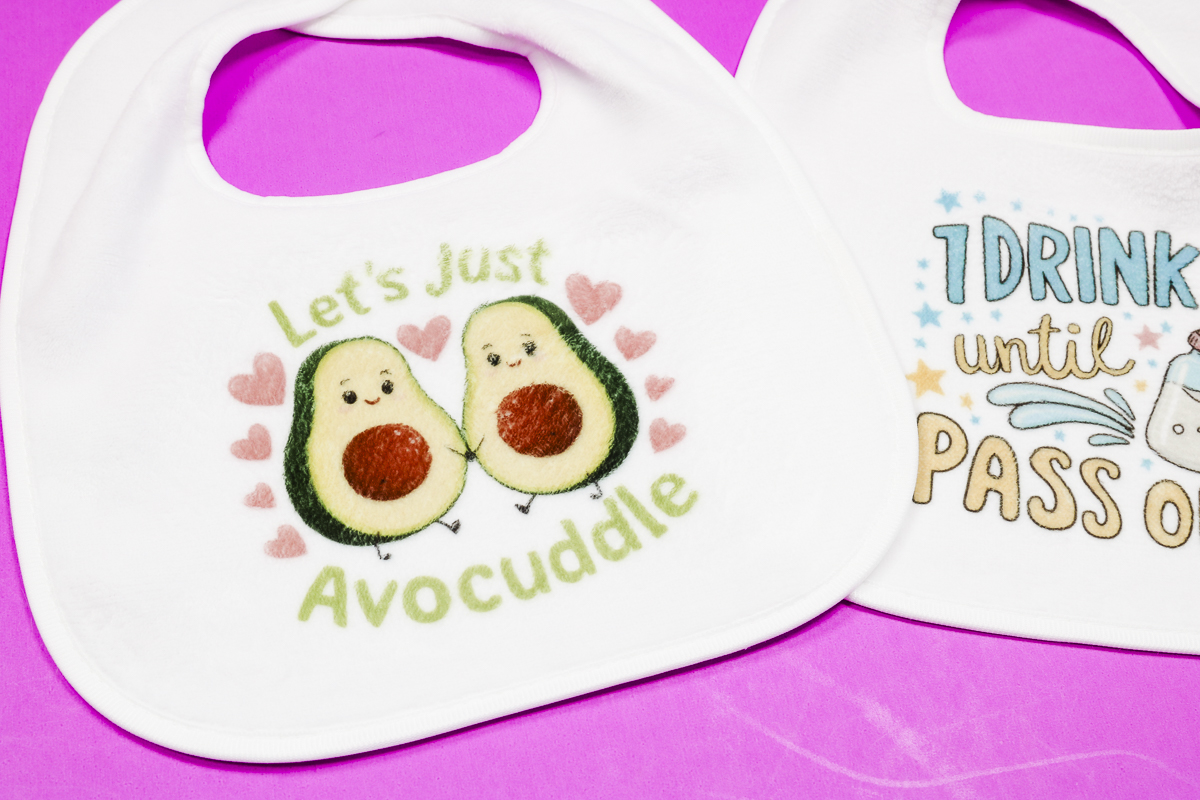
When the fabric is all smoothed in one direction, you'll see the design is gorgeous. When the fibers are going in different directions, the image isn't as perfect.
Optional: Remove Press Marks
If you still see press marks, you can remove them by using a mini press. Go over the press marks in a circular motion, and they will go away.
If you don't have a mini press, you can use a regular iron or another small handheld press.
Are You Ready to Make Sublimation Baby Bibs?
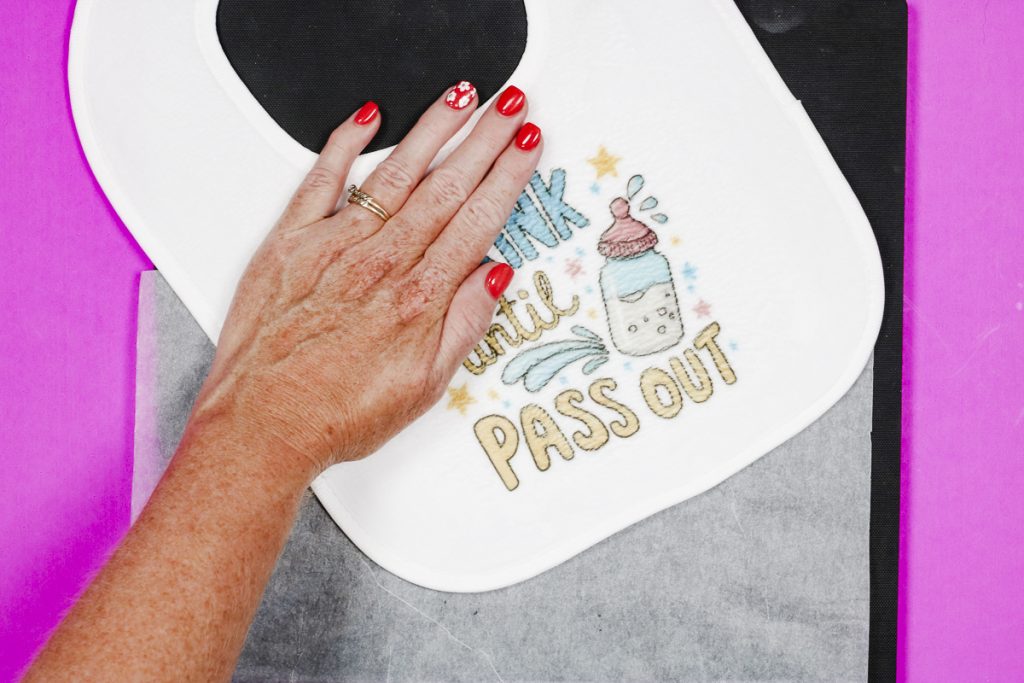
I'm so glad I finally found a sublimation bib that is made of quality materials. These baby bibs turned out so cute, and they were easy to make in just minutes.
Sublimation is a great option for baby bibs because it isn't going anywhere. Once the print is applied, it's there forever, which is perfect for something that is going to be washed over and over again.
I can't wait to see what designs you choose for your bibs. Remember, you can get the designs I used today at the link above in the supplies.
I hope I've answered any questions you have about making sublimation baby bibs. If you have any additional questions, leave them in the comments, and I'll be happy to answer them for you.


