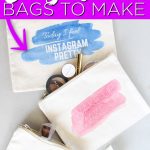
T-shirt transfer paper and printable vinyl is a quick and easy way to add beautiful images to many different products. Check out this tutorial for creating a DIY cosmetic bags. The entire process takes only minutes!
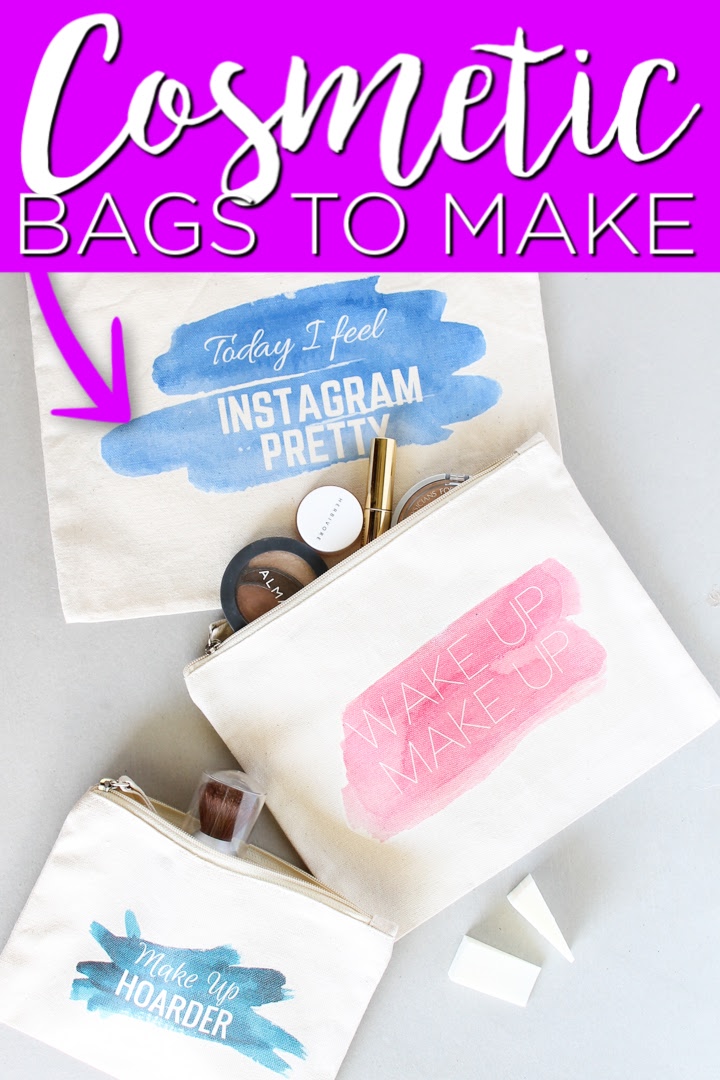
I have three printables to share with you all today so you can use them to make your own DIY cosmetic bag. With just a few very simple supplies, you can have a cute custom DIY makeup bag of your very own!
Today, I'm working with T-shirt transfers. Using T-shirt transfer paper is an easy way to transfer an image to another surface. It's an enjoyable process!
It may sound like you can only transfer images to t-shirts, but don't let the name fool you. You can also easily use T-shirt transfers to add images onto aprons, pillowcases, tablecloths, hard surfaces such as wood, and even cotton bags such as canvas.
Note: This post was originally published in March of 2020 was sponsored by Fairfield World as part of Craft Week to highlight some amazing crafts from craft bloggers far and wide. As part of the same series, you can also check out my tulip wreath, painted handle cutting boards, writable labels with the Cricut Joy, and my DIY magnolia garland!
Supplies Needed
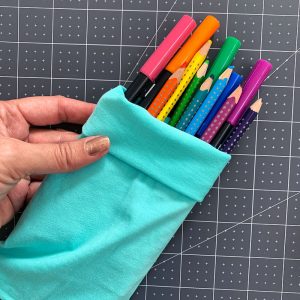
- Zipper pouches
- T-shirt transfers
- Iron or Heat Press
- Printer
- Scissors
- Printable designs (download below)
- Cricut Machine (optional)
Printable Designs For Your DIY Makeup Bags
First, you will need to download our free designs. To do that, subscribe to our newsletter in the box below and the files will be sent to your email. The files will be sent as a single zip file so you will need to unzip it in order to access and print.
Please note that these files are for personal use only. You can email me if you have any issues with the download or would like to inquire about a commercial license.
DIY Cosmetic Bags Tutorial
Now that you have your files and supplies, you can start to make your DIY cosmetic bags. We have a video if you want just to watch how to make them!
How To Make Cosmetic Bags
Can't watch the video or would rather print the instructions? You can follow along with these instructions or grab the printable recipe card at the bottom of this post.
Step 1
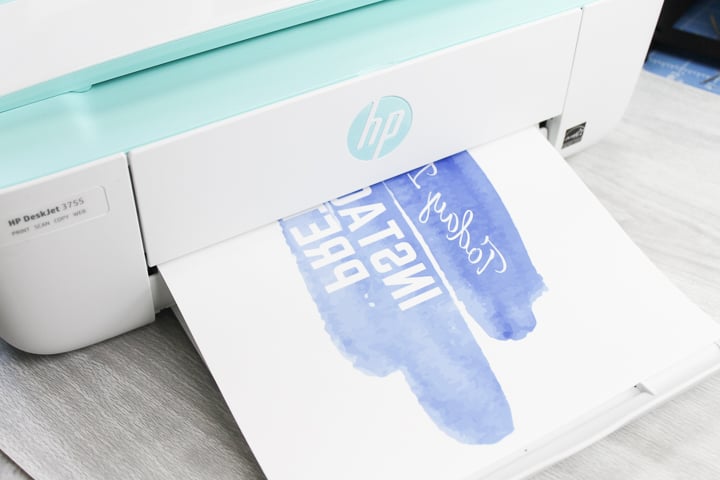
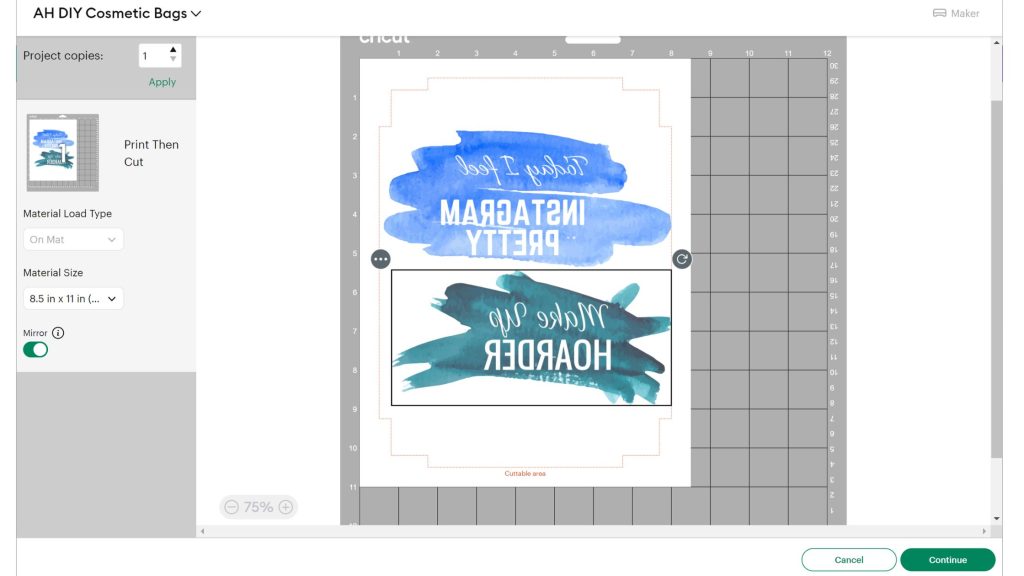
Grab your free design downloads mentioned above. Then, print your designs onto the t-shirt transfer material. Don't forget to mirror your design before printing!
You can print these as a PDF or upload them into Cricut Design Space and use the Print Then Cut feature.
Using print then cut will eliminate needing to cut around your design with scissors.
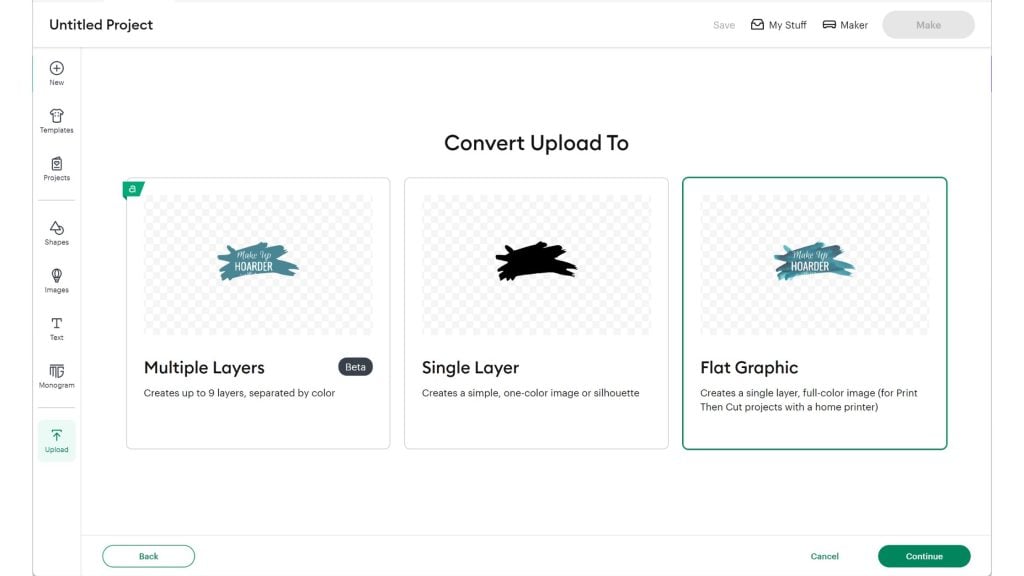
Just size the designs and then you can print and then cut – just be sure to mirror your designs!
Step 2
Use a pair of scissors to trim around the transfer as close to the design as possible. If using Print then Cut, your Cricut will cut around the design for you.
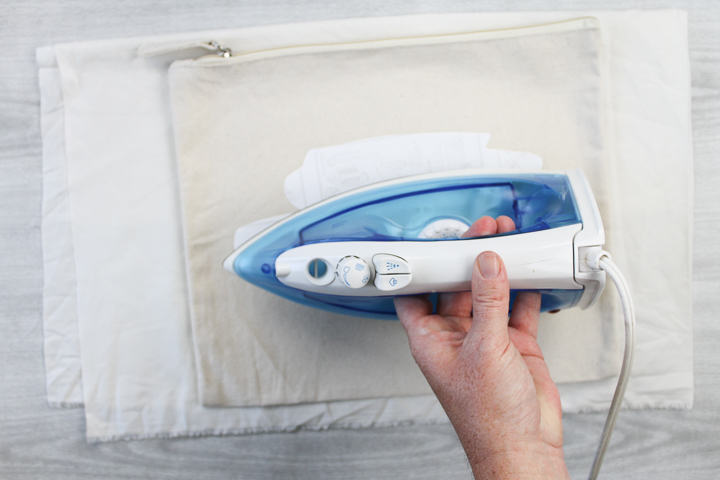
Step 3
Heat the iron or heat press to add the design down onto the makeup bag. Make sure to do this on top of a folded towel or another padding to protect your work surface, if needed.
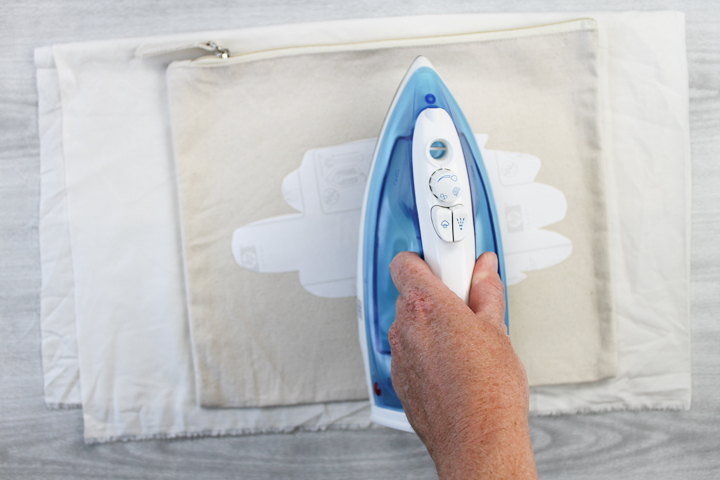
Step 4
Follow all instructions that come with your t-shirt transfer material so that you use the correct time, temperature, and technique when ironing or pressing.
Step 5
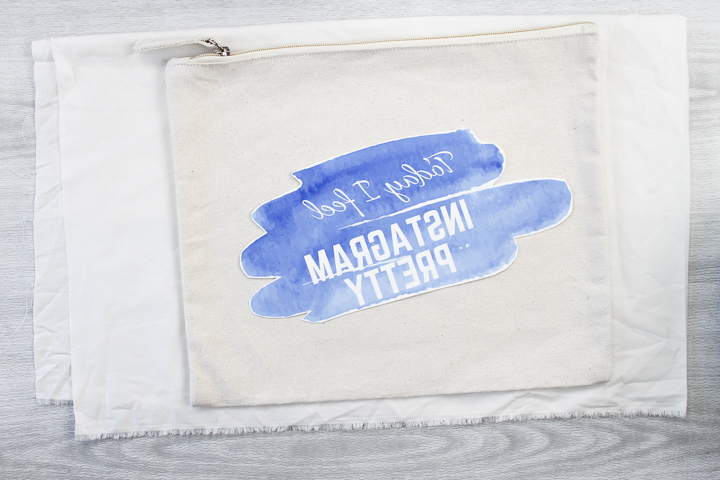
Then, simply peel back the liner to reveal the design left on your DIY cosmetic bags.
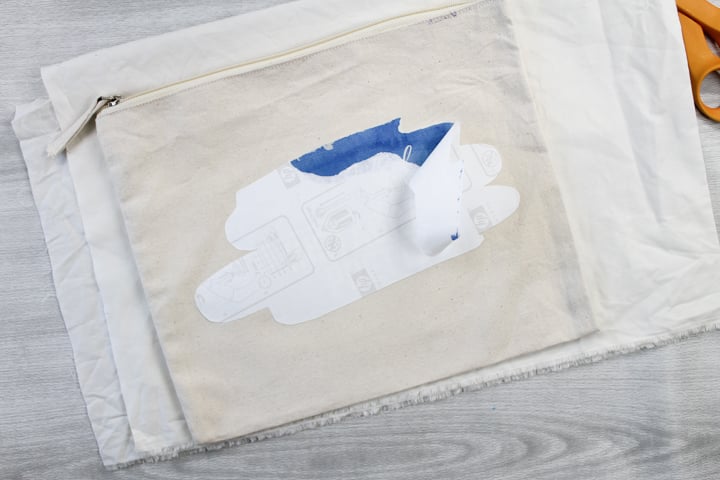
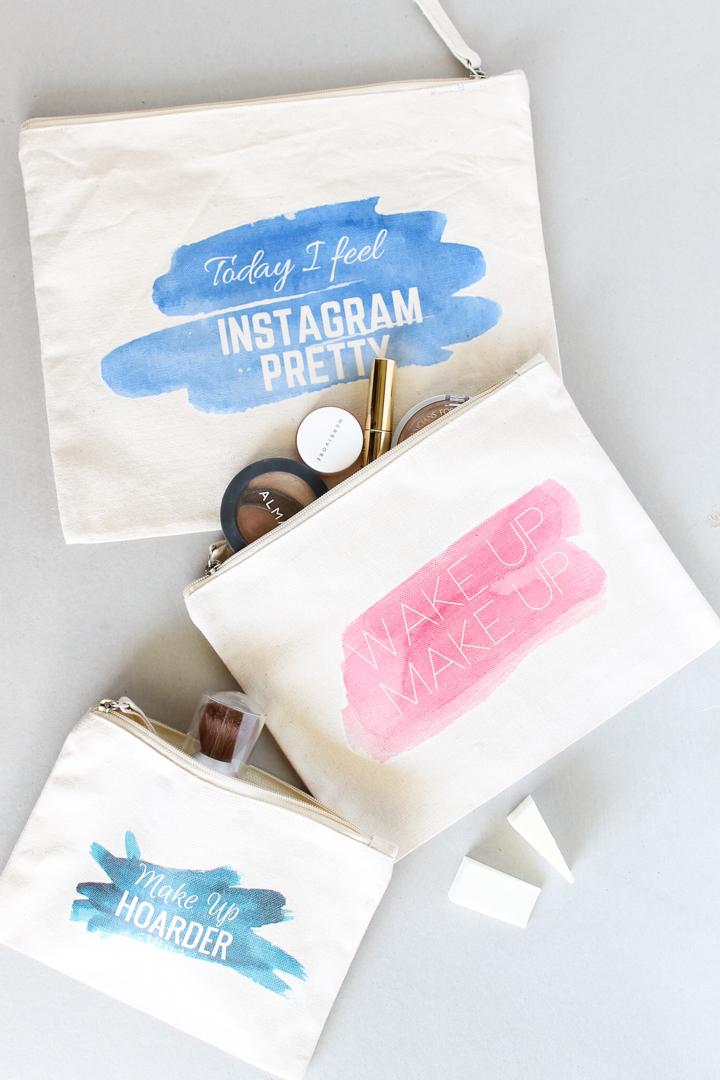
Follow the same process to make as many makeup bags as you want!
Completed DIY Cosmetic Bags
This easy method for making DIY cosmetic bags is perfect for those that want a quick and easy DIY project that looks amazing when done. But, you can use the same method to create many different types of projects.
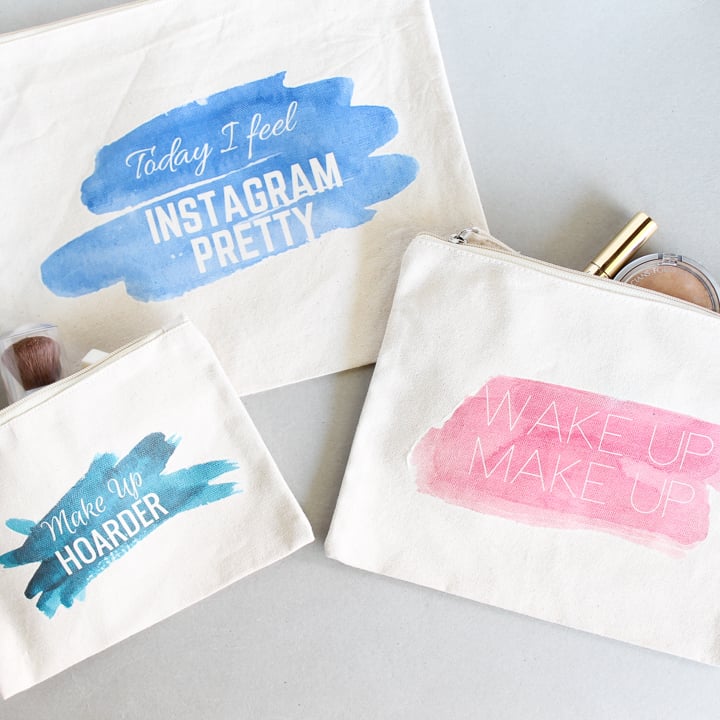
These bags would also make great gifts! So, pick up a few canvas zipper pouches and download our designs to make your own.
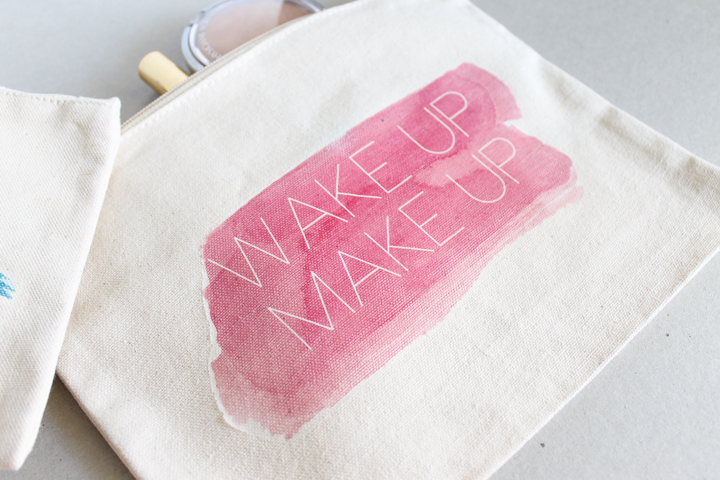
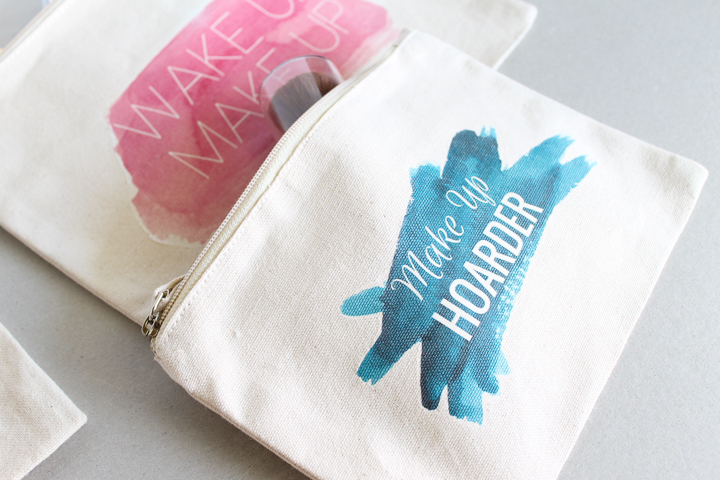
I am not sure which is my favorite. From “wake up make up” to “make up hoarder,” we have cute designs that are perfect for your cosmetics.
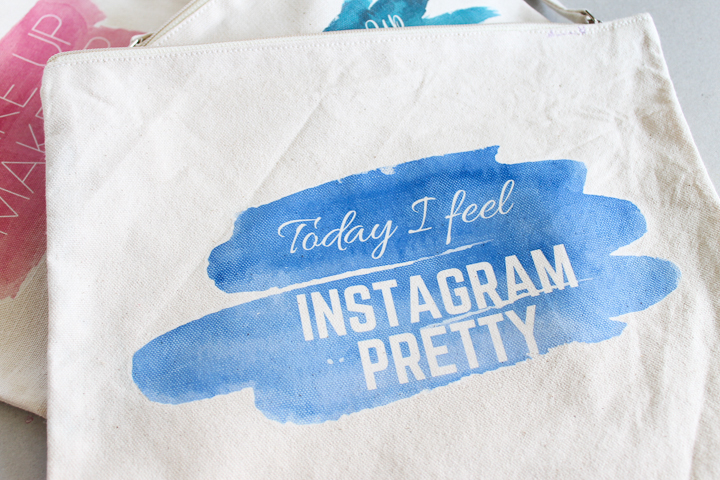
I do really love the Instagram pretty version too! Shouldn't we all feel Instagram pretty every single day?
I hope you'll love these DIY cosmetic bags! Save one for yourself and give another as a gift to a close friend or family member who will appreciate it!
More Heat Transfer Tutorials and Projects
Love this DIY makeup bags project? Here are some more ideas using both heat transfer paper and heat transfer vinyl create many different crafting possibilities! Here are a few reader favorite ideas:
- Sublimation on Cotton: 2 Ways to Add Your Designs
- What is Sublimation Printing?
- How to Use Heat Transfer Vinyl (or Iron-on Vinyl)
- How to Use Flocked HTV on Your Crafts
- T Shirt Vinyl: Using the Cricut EasyPress To Make Shirts
Projects From Fellow Crafters
Want even more craft ideas for National Craft Month? Try the links below as well!