
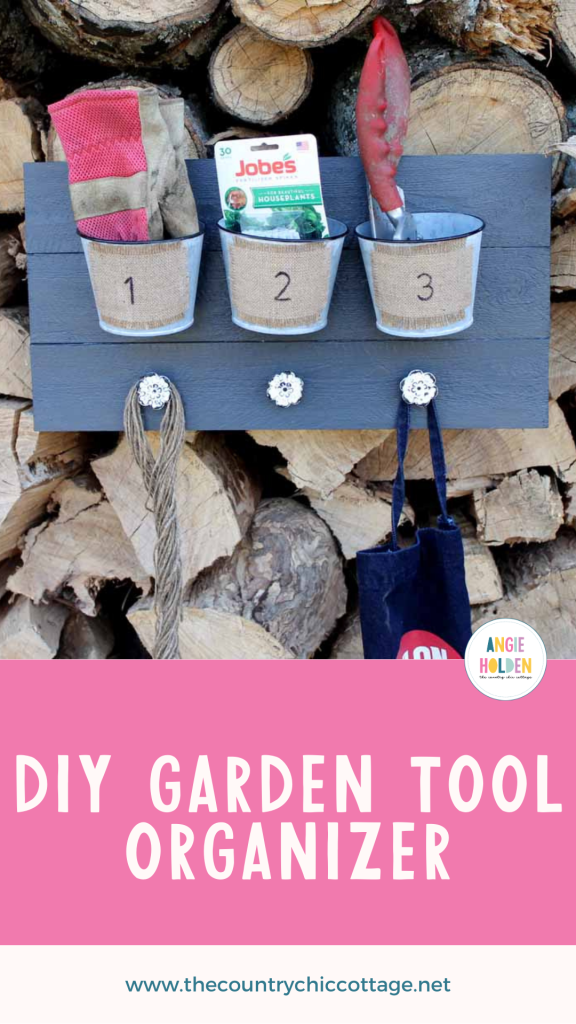
Learn how to make your very own DIY garden tool organizer! You can store all of your favorite heavy-duty metal digging tools with this easy tool storage rack. This garden tool organizer wall mount is perfect for your outdoor shed or workshop, where you store all of your garden and lawn tools.
Don't have yard tools to store? Use this garden tool holder for other things such as keys, bathroom supplies, laundry room supplies, the garage, and more! For more organization ideas, read all about 100 clever solutions for organizing your home!
How To Make DIY Garden Tool Organizer
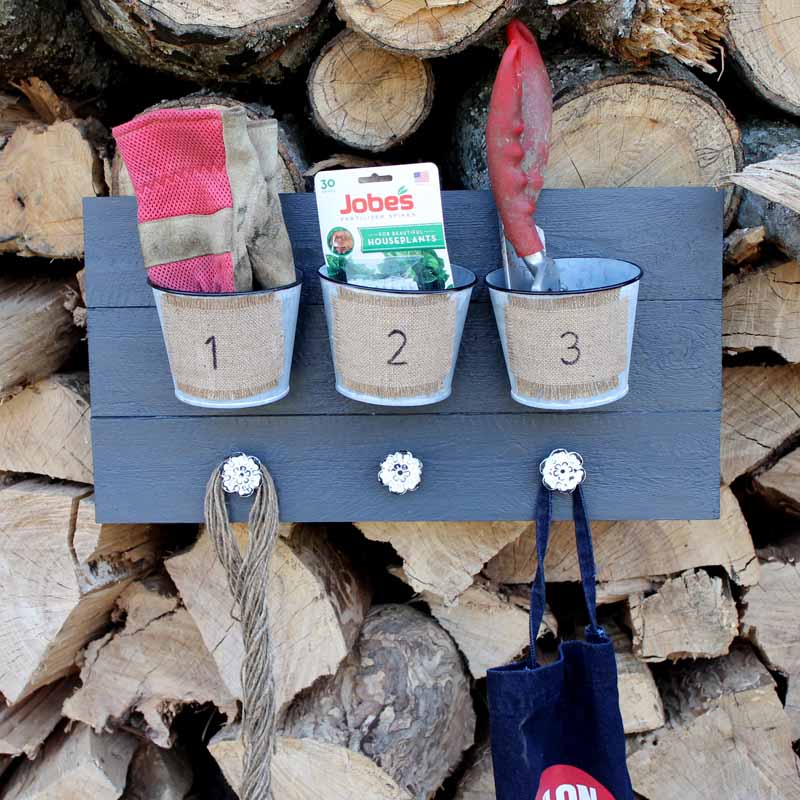
Don't you love this heavy-duty garden tool organizer? This easy garden tools organizer is perfect for your small gardening supplies, such as your hand shovel, rake, gloves, shears, potting soil, nursery pots, nails, screwdrivers, and more.
Use this yard tool organizer to keep it easy to find your garden tools when you need them! In the Springtime, I spend a lot of time out in the garden, so having this DIY garden tool organizer rack is perfect and a lifesaver!
While you're at it, you can make a whole bunch of fun crafts for your garden. Try this flower pot person from terracotta pots or this hanging herb garden!
Supplies Needed For DIY Garden Tool Organizer
- 20-inch Wood Pallet Sign: Put those old wooden pallets to good use by repurposing them into storage racks! You can sand the old wood down and paint it different colors to spruce it up a bit.
- Chalky Paint: I used the color Relic, but feel free to use any color that suits your desires. There are so many options for this storage rack, so have fun with it!
- Outdoor Varnish: I used light satin varnish for this organizer. The varnish keeps it in good shape and prevents it from getting too weathered if stored outside.
- Galvanized Buckets with Burlap Labels: You will need three small buckets. These buckets can be found at most dollar stores in the gardening or crafts sections. Some other options include online stores or craft stores.
- Decorative Knobs: Three decorative knobs of your choice! I love collecting different knobs for various DIY crafts because they are an easy way to make something older shine.
- Paint Brush: A paint brush is needed to make sure the paint gets evenly spread among the wood! Any size will do, but I like medium.
- Metal Hole Punch
- Drill, Drill Bit, Bolts & Nuts: You will need these to secure everything in place to and to make sure the buckets can store your heavy-duty, hand yard tools.
- Sawtooth Hanger: These tiny little hangers look like mini saws, but they are for hanging items on walls! One side is straight, and the other is jagged. You can find these metal hangers at craft stores near the nails and other hangers.
- Metal Saw
- Number Stencil: I like to number my buckets to remember which garden tools are where. You can use any kind of design or label, though!
- Marker: A Sharpie or other type of paint marker is used to draw the numbers, or whatever it is you're drawing onto the burlap.

Step 1: Paint Wood Sign
Add 3 coats of paint to the wooden sign to start, and allow the layers to dry. I painted all surfaces (front and back) to protect the entire thing from the elements. After the paint has dried, add a few coats of the varnish to all surfaces as well. Allow it to fully dry.

Step 2: Drill Holes
Next, add a hole to the back of each bucket with a metal hole punch like the Crop-a-Dile. Add holes to your pallet sign for the knobs as well.
Measure for location and equal distance, then drill holes all the way through that are large enough for the threaded portion of the knob. After that, add holes above that set for your buckets. These will need to be large enough to accommodate the bolts you are going to use to secure the buckets.

Step 3: Stencil Your Design Or Number Onto The Burlap
Finally, it's time to draw! I decided to add a stencil to the burlap on the buckets as well. I just used a marker and the larger stencil in the package. You can write whatever you would like on the buckets. Get creative!

Step 4: Secure Buckets & Add Knobs To Wood Sign
Use the bolts and nuts to secure the buckets to the top and add the knobs to the bottom of your garden tool organizer. You will also want to add a sawtooth hanger or two to the back to keep it in place on the wall.

Step 5: Trim Excess From Bolts
Use a metal saw to trim any excess from the bolts in the back. The threaded portion of the knobs is long and will stick out too far, so they will need to be trimmed.

Step 6: Hang DIY Garden Tool Organizer
Finally, hang up your DIY garden and yard tool organizer and add the supplies to the buckets!
How To Use This DIY Garden Tool Organizer
Create this garden and yard organizer to store in areas where you need a little more organization in your life. This easy DIY storage tool rack is perfect for gifting, too!
You can make this DIY craft for Father's Day, Mother's Day, Christmas, and birthdays, too! Maybe you could even make this for a grandmother to store in her kitchen!

So, make this fun project to get more organized this spring. You will love the rustic touches and just how they look on your patio or even in your garage. Grab the supplies to make your own DIY garden and yard tools organizer rack today and get to creating!
In need of more ideas? Check out this list of ideas for organizing garden tools!
Tips and Tricks for DIY Garden Tool Organizer
Now that you’ve seen this fun DIY garden tool organizer, are you ready to make your own? Here are a few tips and tricks to ensure your project goes as smoothly as possible!
- Safety First – When working with drills and saws, always remember safety first! Make sure you wear safety goggles, gloves, and are working on a sturdy table.
- Change Up The Colors – For this DIY garden tool organizer, I chose to go with a modern farmhouse style. However, you can make this DIY garden tool organizer in any style or color that you like. You can do this by changing the color of the wood, the buckets, or the look of the knobs.
- Skip The Burlap Buckets: If you don't like the look of the burlap buckets, you can skip them! Instead, you can use plain buckets and add your own piece of fabric or labels. For example, you could use chalkboard tags, vinyl labels, etc.
- Find Decorative Knobs Everywhere – If you are wondering where you can find knobs, you can find them almost everywhere! For example, you can find them online, at home improvement stores, craft stores, big box stores, and even antique stores. The only thing to keep in mind is that you may be limited on your options and price points depending on where you shop.
5 More Storage Ideas
Do you love this DIY garden tool organizer, and are looking for more storage ideas? Then check out the blog posts below!
- Organizing Buttons with Mason Jars
- Cutting Board Storage | Tuesday Tips & Tricks
- Recipe Organizer
- Organize craft paint on a cabinet door
- DIY Closet Organizer


What a great idea! This is so adorable and easy to make. so much better than all those expensive stuff on amazon. I’m definitely going to make this for myself. thanks for sharing this
Hi,
I visit your your site regularly when get a chance. This really a good step by step tutorial. Anyone can make a garden tool organizer easily with a very cheap cost.
Thank you for share.