


Glass etching with a Cricut machine is surprisingly easy, but many people feel intimidated by the idea and often skip it. Today, we'll explore how to etch glass using your Cricut to create stencils for the etching process. There are countless fantastic projects you can create with this technique, so be sure to stock up on glass blanks, as you'll need them!
Also, if you already know how to etch glass with your Cricut, but want to learn how to color the etching as well, check out our How to Color Glass Etching in Minutes blog post!
Cricut Glass Etching Video Tutorial
You can actually watch the entire process in the video below. I explain everything you need to do, along with tips and tricks for success.
Can't watch the video or missed some of the steps? I also have the entire process below!
Cricut Glass Etching
Etching glass with your Cricut has never been easier!
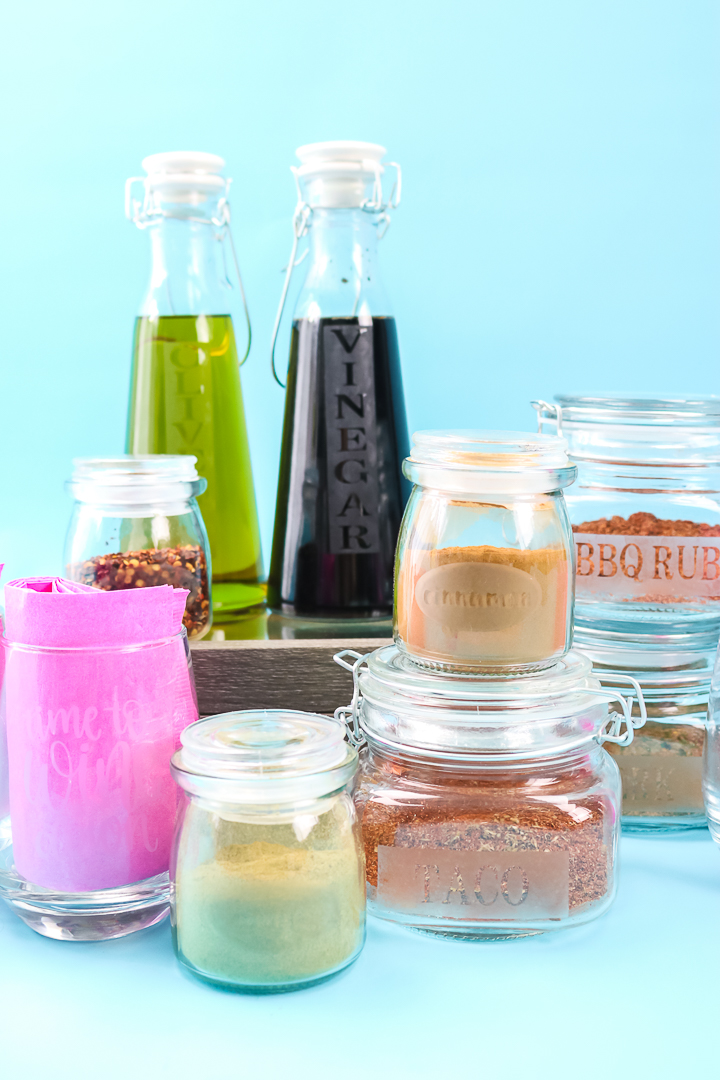
Today I will be making some vinegar and olive oil bottles, but you could make items for your kitchen, bathroom, or even your craft room! If you are looking for more ideas, scroll down to the bottom of this post, where I share wine glasses, spice jars, and more!
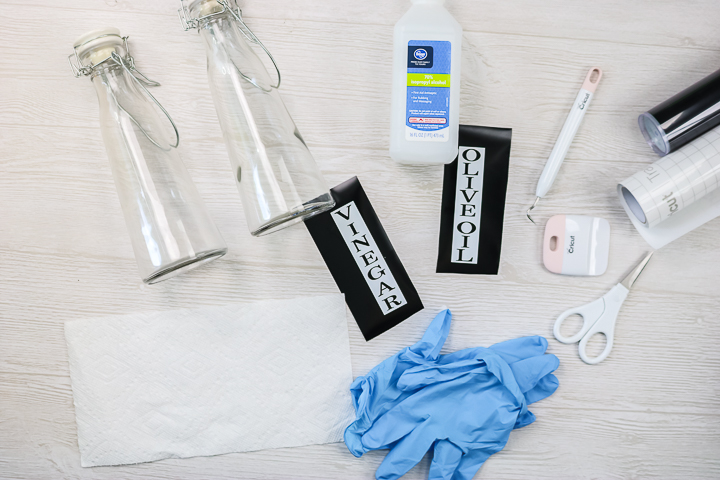
Supplies Needed For Cricut Glass Etching
- Armour Etch glass etching cream
- Cricut Permanent Vinyl (be sure to get the permanent version) (this is used for masking so the color does not matter)
- Cricut machine (any will work for this)
- Transfer tape
- Gloves
- Rubbing alcohol
- Glass surfaces (all of the ones shown are from Michaels)
- Weeding tools
- Scraper
- Paintbrush
- Scissors
- Water
- Cut file (you can get the designs I made here)
- Masking tape
How To Etch Glass With A Cricut
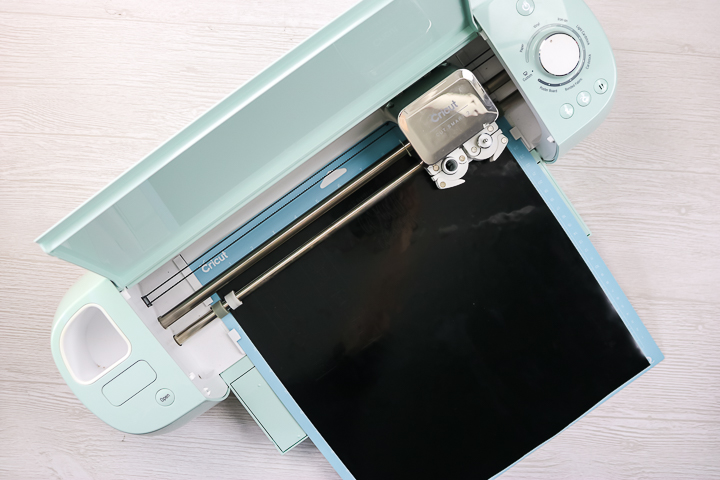
Step 1: Cut Your Design From Vinyl
Cut your vinyl to size with scissors to fit onto a Cricut mat. Lay this piece face up on the mat. Cut your design using the vinyl setting. You can see more about working with vinyl on your Cricut here.
Step 2: Remove The Vinyl Where The Etching Cream Will Go
Then you are going to do almost the opposite of what you would normally do. So normally, you would remove everything and then apply a vinyl label. But in this case, we want to remove everywhere where we want the etching cream to go. In this case, I removed the box around my letters and left the letters inside. The letters will be clear, and the box will be etched. You also want to be sure to remove things like the centers of the letters.
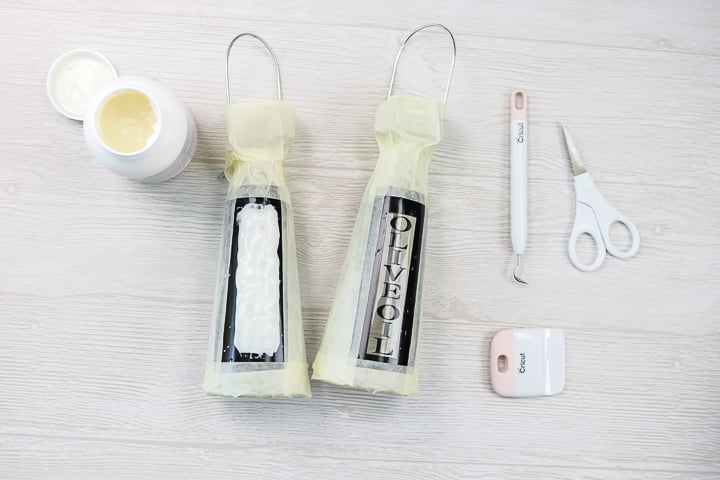
Step 3: Add Vinyl To Glass Bottles
Now it's time to put the masks on the bottles. I recommend wearing gloves for this portion as well, since the oils on your hands can affect the etching cream.
First, be sure to clean the glass well with rubbing alcohol. Allow to dry completely, and then continue. Apply the vinyl with transfer tape directly to your glass, then use a scraper to remove any bubbles. You should also add some masking tape around the outer edge to prevent etching cream from reaching that portion of the glass.
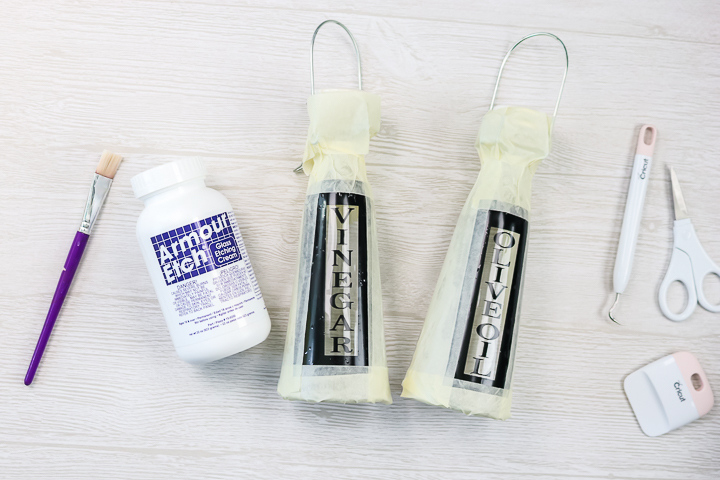
Step 4: Add Armour Etch
Apply the Armour Etch with a paintbrush. Again, wear gloves for this step. You want to dab it on in a thick coat. Be sure to cover the area completely. You also want to brush in all four directions to help ensure that you have pushed the etching cream into all areas.
Step 5: Set Timer And Remove Armour Etch
Then set a timer for 5 minutes and let your project sit. Come back, rinse it off with some water, remove the stencil, and your project is complete!
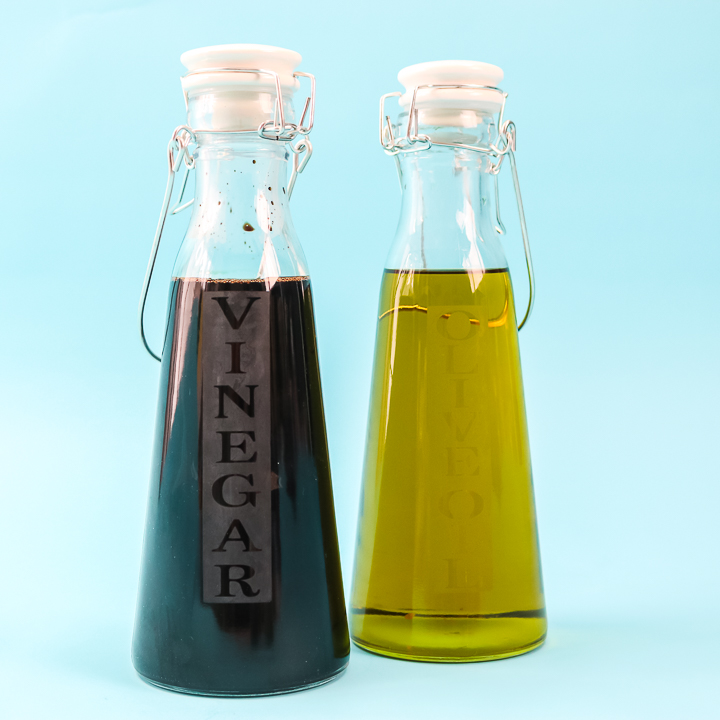
And that is how you etch glass! It is actually a super easy project that takes only a few minutes, and you get to make this amazing decor for your home or as a gift.

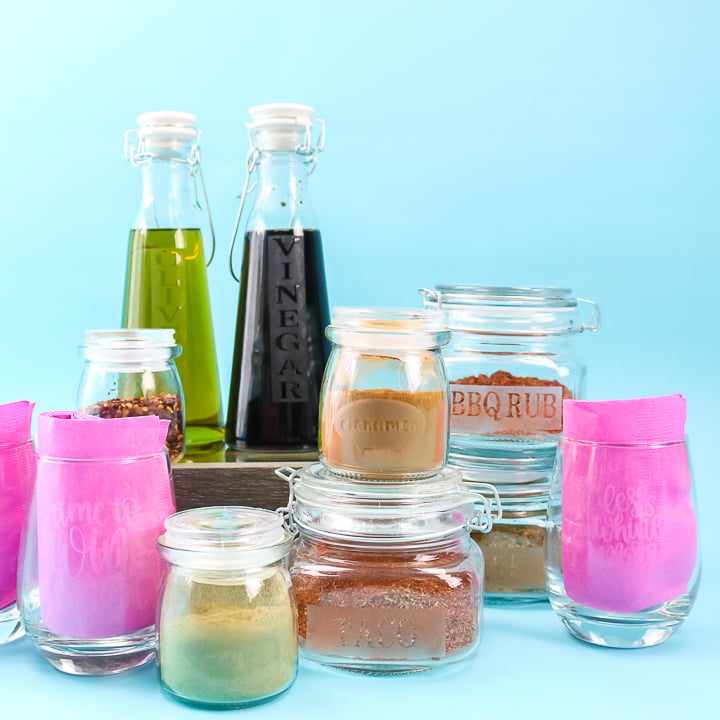
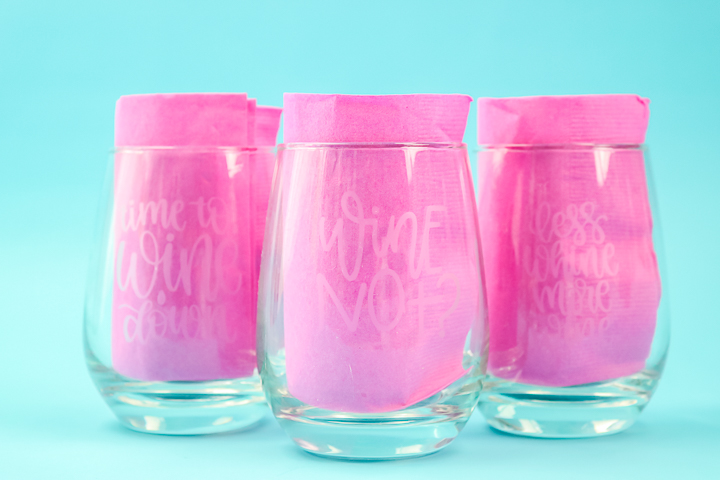
But I could not stop with just the vinegar and olive oil bottles. This is so easy to do that I just kept going. I made several things in a super short time. All of these designs, by the way, are in the cut file linked above. You can pick which you want to make, like these cute wine glasses!
And you might also want to make some spice jars. Actually, I made a couple of different versions. These smaller ones are for individual spices.
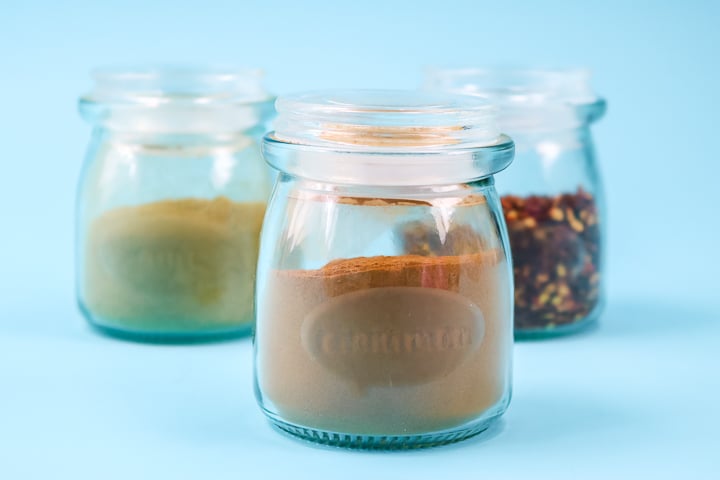
If you're looking for a more permanent solution for your spice jars, this is definitely it. Then I made some larger mason jars for my spice rubs and spice seasoning mixes. These would also be great, even larger, for your kitchen counter canisters.

So, just about any glass that you can think of, you can actually etch it with permanent designs. Then you can make something simply amazing for your home or as a gift!
I hope you will grab your Cricut and try some glass etching. You are going to love what you can create!
FAQs About Cricut Glass Etching
Here are answers to some of the most frequently asked questions I receive about Cricut Glass Etching. If your question isn’t listed, feel free to drop it in the comments and I’ll be happy to help!
What Type Of Glass Do I Need For This Project?
When making this project, I recommend using a soft glass. This is because a harder glass (like a Pyrex dish) might not etch correctly.
You can always test your glass by adding a small amount of etching cream to the bottom of it (where no one will notice) and checking whether it's etched correctly.
Can I Use Removable Vinyl For This Project?
No, you need to use Permanent Vinyl for this project to come out correctly. This is because Removable Vinyl will not create a strong enough seal around the edges of the design you are etching.
Why Are You Wearing Gloves While Working With The Vinyl?
The oils from your hands can actually make the etching cream not work very well. Because of that, I use gloves to make sure I don't get any of those oils on the vinyl or glass.
Why Did You Let Your Etching Cream Sit And Not Move It Around Constantly For The Time Allotted?
I usually don't stir again, but I have seen people stir at about the midway point, around 2 1/2 minutes. But I don't stir constantly.
Can You Tell Me Why My Etching Sometimes Has Lighter Spots?
I would try pushing it around more to make sure you get all of the air bubbles out. Then maybe let it sit longer than the bottle recommends.
Did You Do The Wine Glasses The Same, Or Did You Remove The Letters And Then Etch?
I removed the letters on that one. In any case, remove what you WANT TO BE etched.
Can I Use This Technique On Other Projects?
Yes, you can! This technique would work on all types of glass surfaces. For example, glass plates, wine bottles, vases, and more!
Do You Have Any Other Quick Tips For Etching Glass?
Absolutely! To ensure your project turns out successfully, I would use the following items when etching your glass.
- Clean your glass with rubbing alcohol, not glass cleaner.
- Shake the Armour Etch bottle before using it
- Use a paintbrush (not a foam brush) when applying the etching cream to your project
- Smooth your stencil down to ensure a tight seal between it and the glass. – This is because you don't want any etching cream to go under your design.
5 More Cricut Crafts
Do you love this Cricut glass etching, and want more Cricut crafts? Then check out the projects below!


you are amazing! simple and so easy to understand! thank you
Thanks for sharing this great tutorial I will be trying this method
Can you do the same process on picture frame glass? The video was well presented. Thank you again for your awesome tutorials!
Of course! That will definitely work!