
There are several ways to convert a photo to an SVG. In fact, there are several websites online that are made to do just that. But which is better? Which should you use? How do you use them? I am here to answer all of those questions and so much more. Follow along below and you will be making SVG files from your pictures to use on your Cricut machine.
Websites to Convert a Photo to an SVG
All of the following websites will allow you to convert a photo to an SVG file. Some of these are better than others depending on your picture. I am going to walk through each of these in a video so you can see the differences.
- Inkscape – This is free software that you can download for making SVG files.
- PicSVG
- Vector Magic
- IMG Vector
- Cricut Design Space – Yes, you can just use Design Space to convert your images. If you have a Cricut Access subscription, they have a really fascinating tool to convert your image into layers!
Most of these websites are free to use and they all offer up a different result. It really depends on the look you are going for when it comes to your project.
How to Convert a Picture to an SVG
On each of these websites, you will need to upload your picture then use the tools to convert it to an SVG file. You can watch me use each of the programs in the video below to get an idea as to which you want to use for your project.
You may also need to remove the background from your image and you can do that here. If you need to convert a PNG to a JPG, you can use this website. If you have a paid subscription to Canva, you can remove backgrounds there as well.
Making a Project with Your SVG File
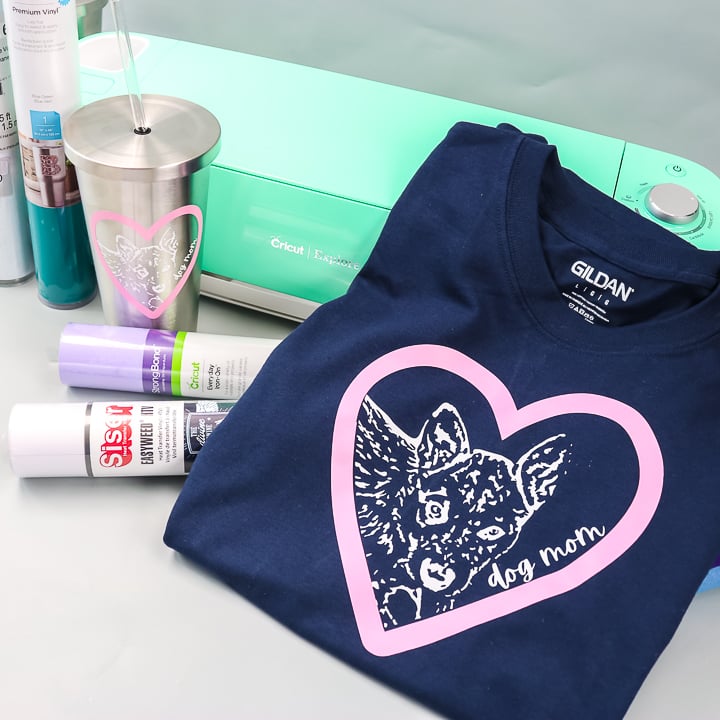
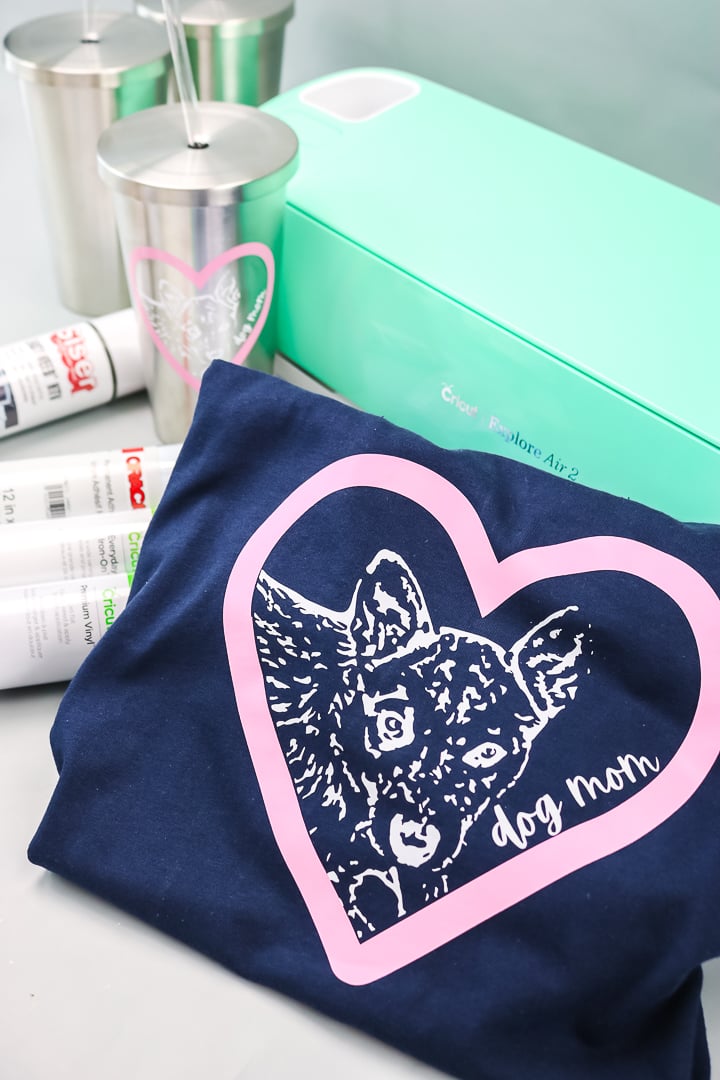
Once you have your picture converted, upload it to your Cricut machine, and make a project. I actually have a couple of projects that I made and am showing you how to make two of them below.
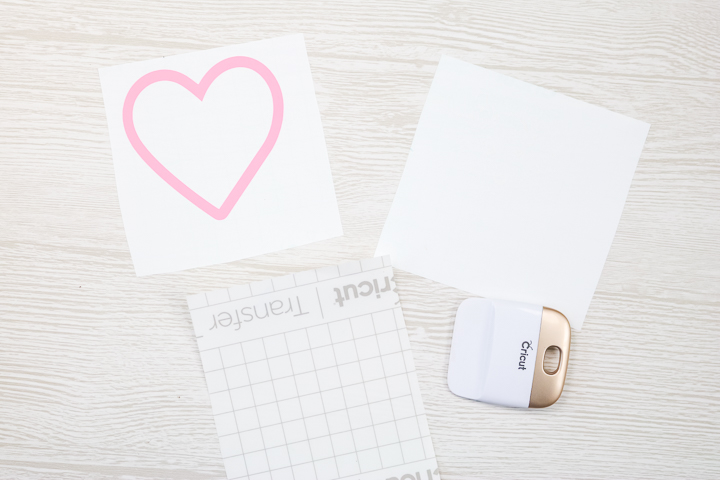
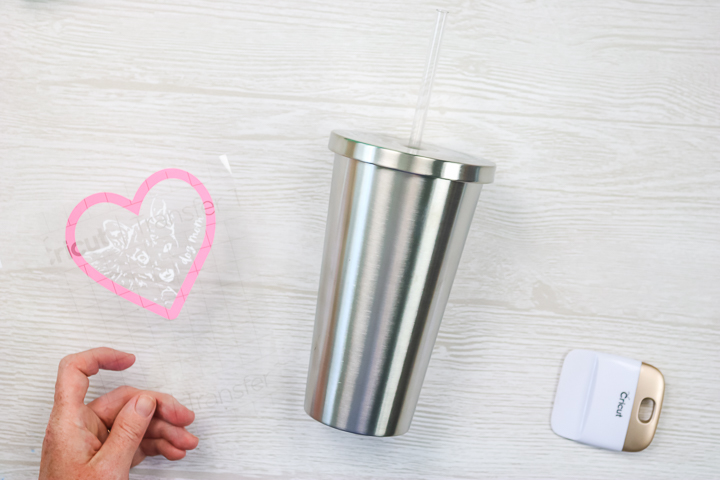
Supplies Needed
For the cup:
- Stainless Tumbler
- Permanent vinyl in the colors of your choice
- Transfer tape
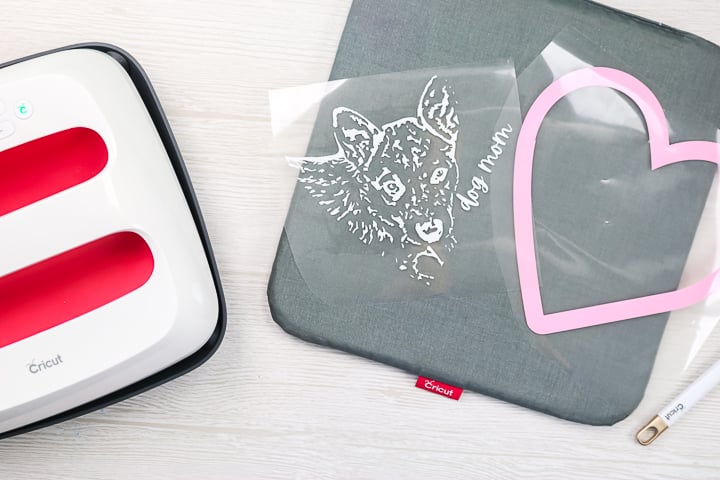
For the shirt:
- Shirt
- Heat transfer vinyl in the colors of your choice
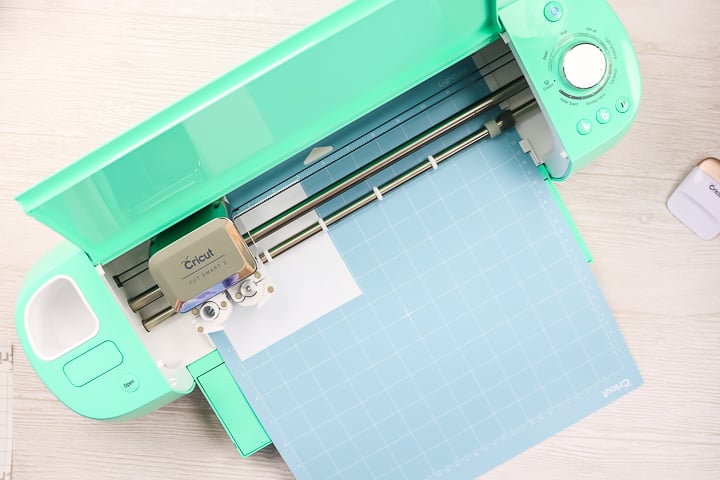
Step 1
Cut the material for either (or both) projects on your Cricut machine. See the video for how I designed my project with a heart around it and text. For vinyl, cut with the material good side up. For heat transfer vinyl, cut with the material good side down and mirror before cutting.
Step 2
For the vinyl to add to a cup, weed away all of the excess vinyl with your weeding tools.
Step 3
Then add all of your colors to one sheet of transfer tape. You can see more about the basics of working with vinyl here.
Step 4
Adhere the vinyl to the tumbler and burnish it down well. Then remove the transfer tape to reveal your design.

Step 5
For the shirt, weed away all of the excess from your heat transfer vinyl using the weeding tools.
Step 6
Then add your colors one at a time to the shirt surface. Be sure to follow the instructions for the brand of heat transfer vinyl you are using for both time and temperature. Remove the carrier sheet for the first color.

Step 7
Add additional colors to your design. Just be sure your first color is covered when pressing your second (or third).
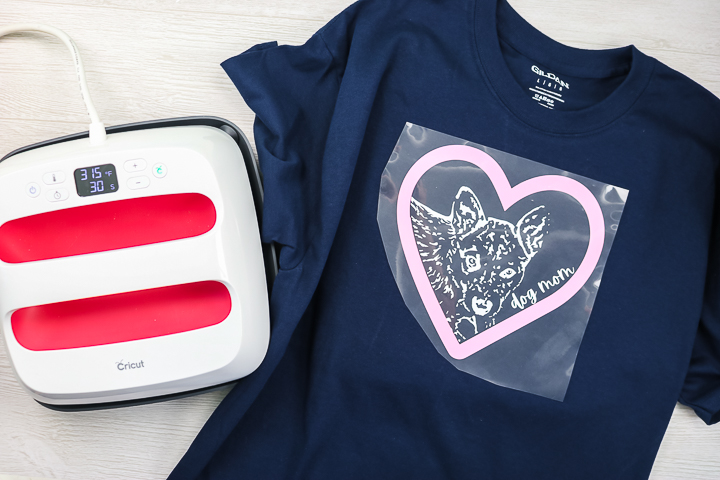
Step 8
Remove the carrier sheet from the heat transfer vinyl and your shirt is complete.
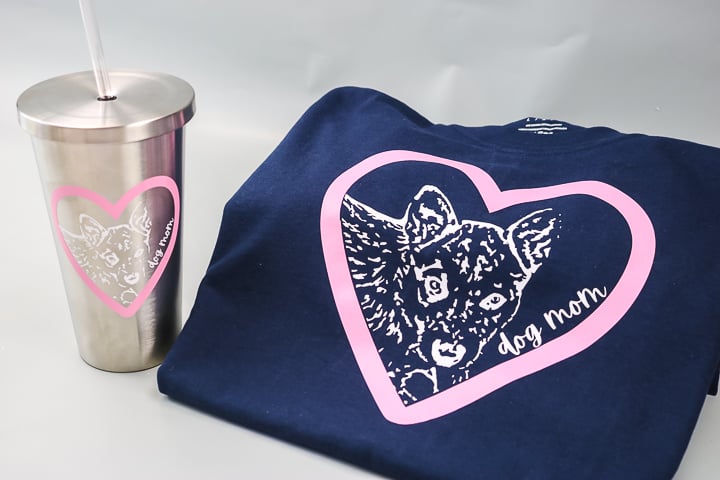
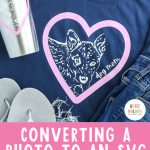
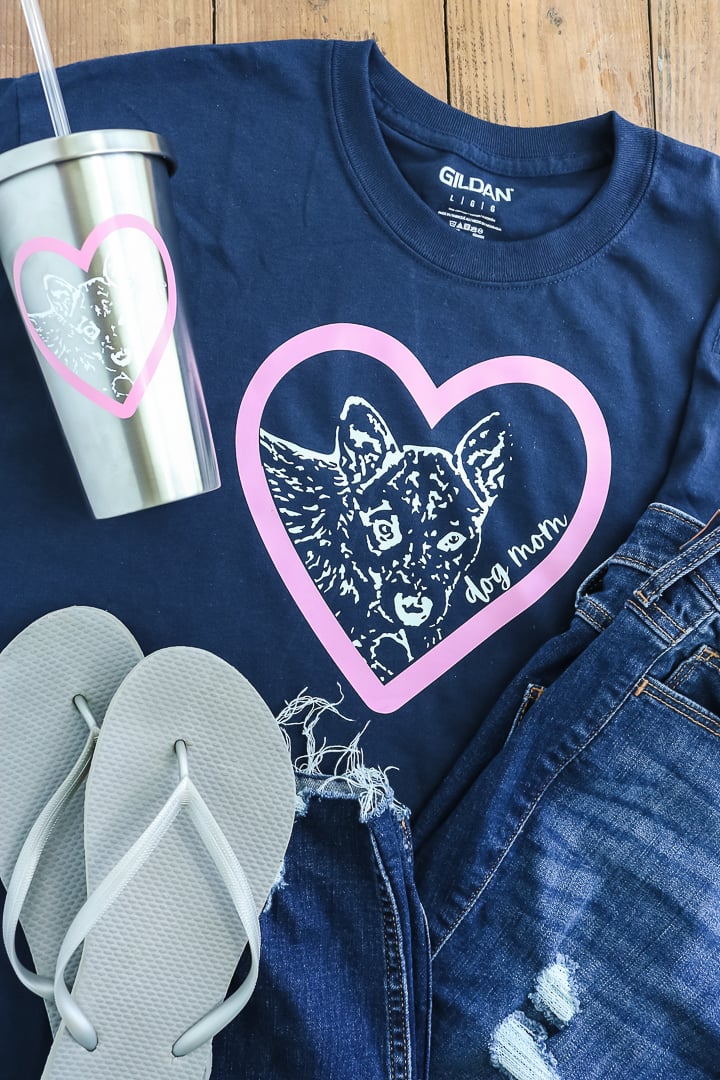
You can now convert a photo into an SVG file to make these projects. I love the way both of them turned out.
This is a fun way to use your Cricut machine to make all sorts of personalized projects. Convert any picture into an SVG cut file to make any project that you can dream up.
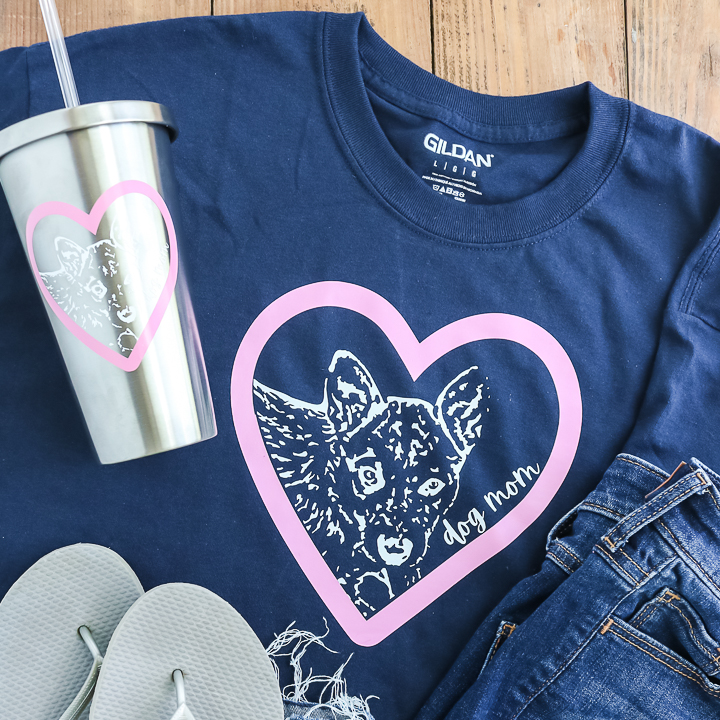
I chose a picture of my dog but you can definitely change this up to be pictures of your kids or even a landscape image. The websites are free so give them a try with any picture on your camera roll. You might just make an amazing cut file that you will want to put on all of the things!
For me, this technique opens up so many possibilities for project ideas. Making custom projects like these is a great way to make a gift that will put a smile on anyone's face. So, get started converting a photo into an SVG for your next Cricut project.
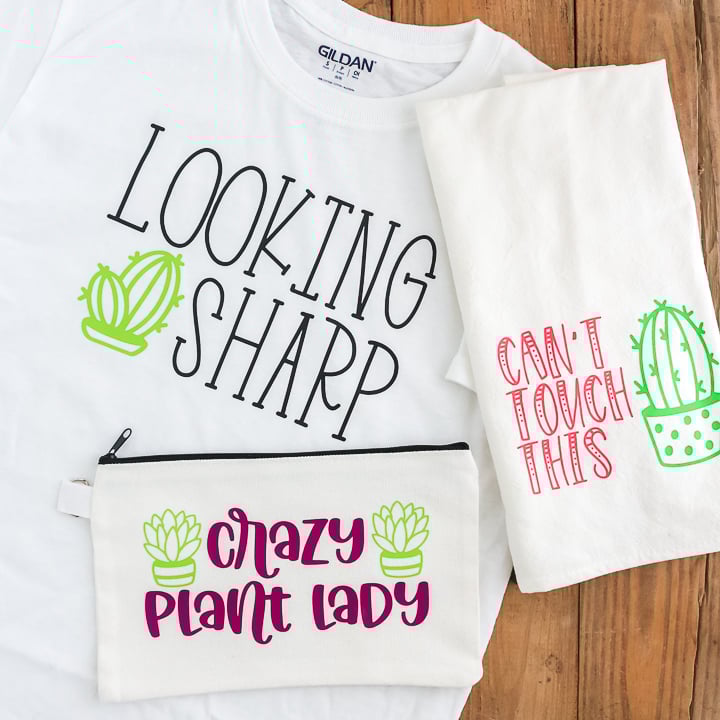
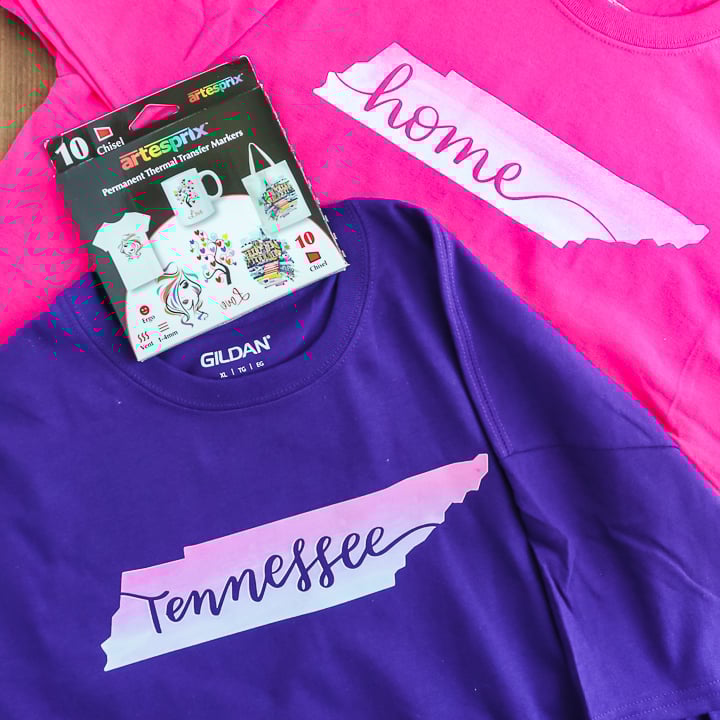
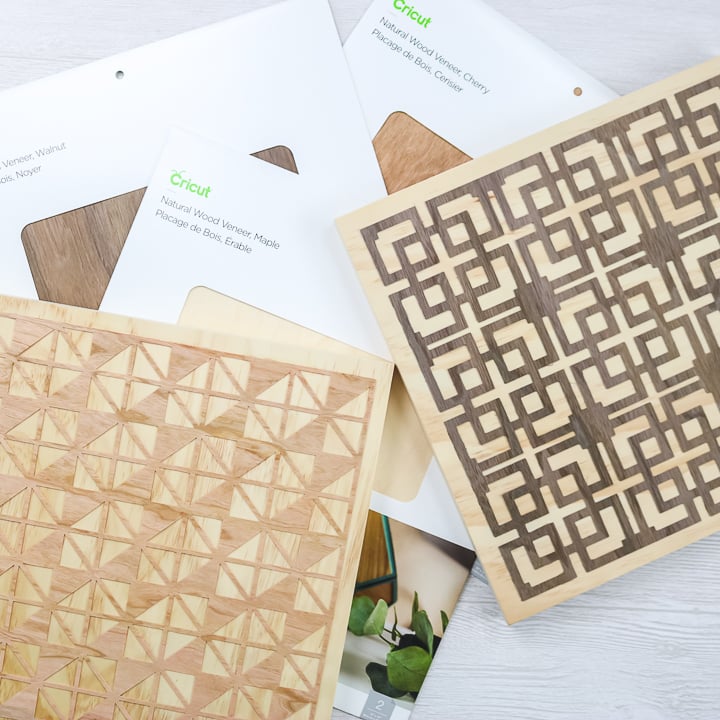
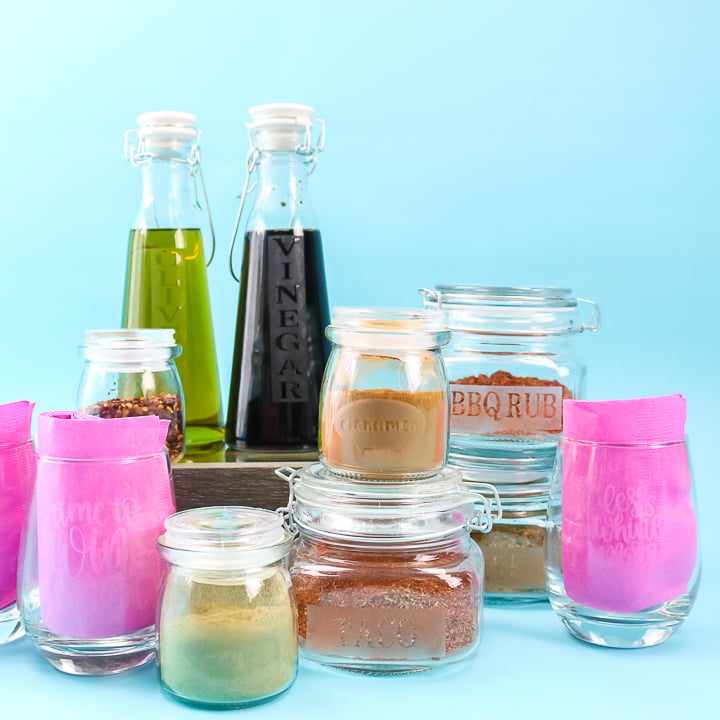
More Project Ideas
Love this idea for making a cut file from a picture and want more? Try the links below as well!

Need Help Organizing Your SVG Files?
Are you overwhelmed with the number of files on your computer? SVG (or digital cut) files can take up a ton of space, and it can be so hard to find exactly what you are looking for. That is where Cut File Clean Up comes in! The Cut File Clean-Up system ends the frustration of organizing your cut files so that you can find what you need and get to the best part of crafting—actually making your project.
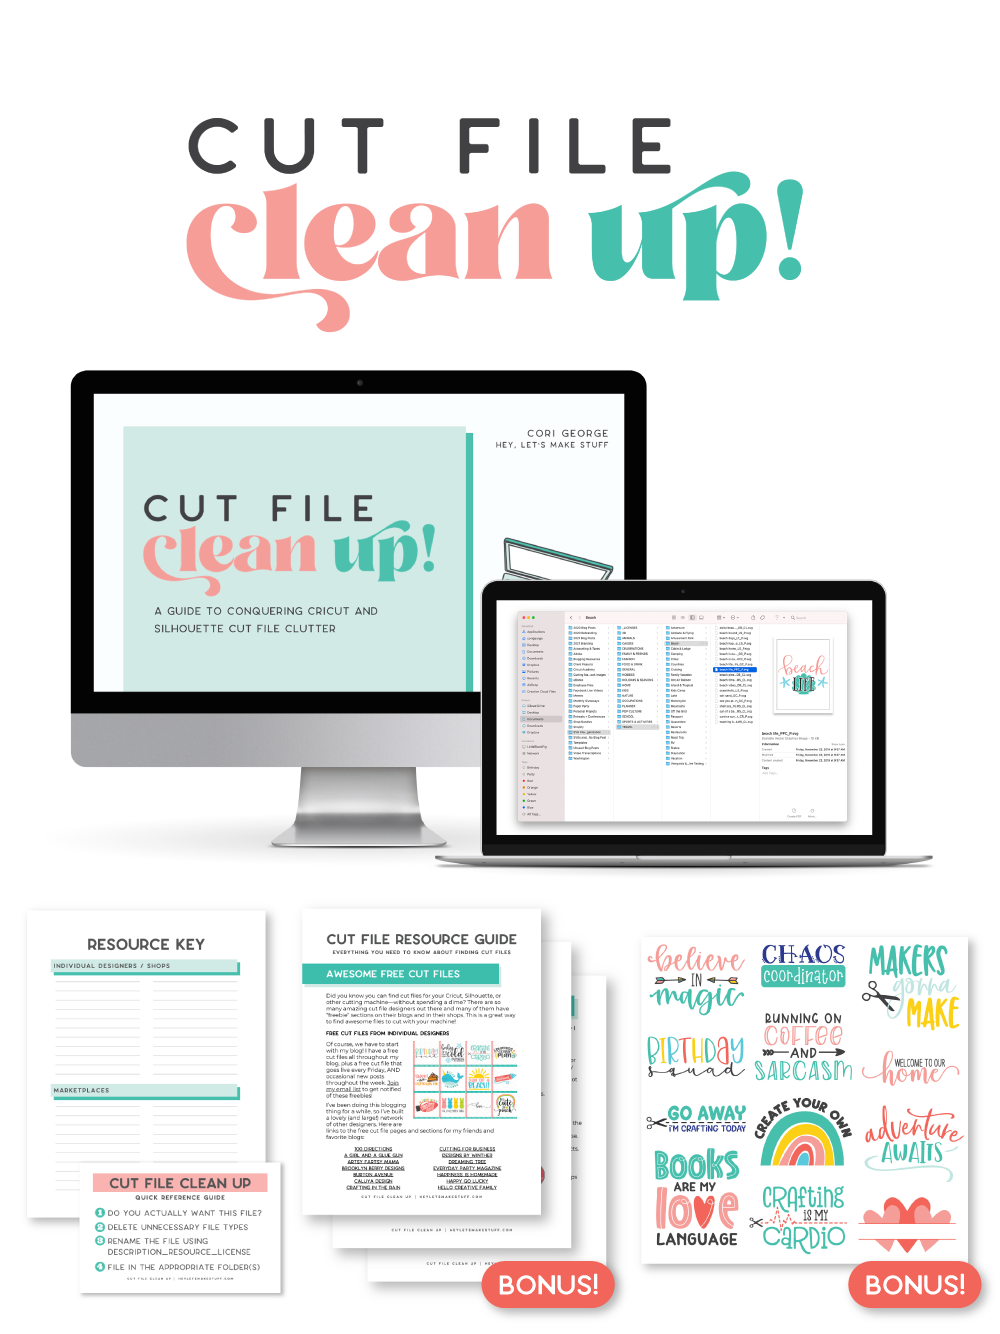
The best part is that you can get it for a deal right now with great bonuses. And yes, those bonuses include even more digital cut files for your crafting. You can't get enough of those, right? Grab it now.


Thanks for so many tips about svg files conversion. I can olnly recommend you adding this svg to png converter to the list of online tools that can be used for this type of conversion. This is my favorite tool that I use all the time. It’s very fast and easy to use. It’s proven to be a reliable source as well as I’ve been using it for a while with no problems.
Thank you so much for this! I learned a lot. 🙂
What to learn everything from you
Thanks for the great tutorial. I always wondered how to do that. Now I can have some fun with photos and use my Cricut Maker to do the job.
I’m so glad you found it helpful!
Thank you so much for doing this! I was so frustrated before this. I did my first photo svg while watching. You are an angel.
I’m so glad it was helpful!
Clear and easy-to-follow instructions! This is a fantastic guide for crafters and DIY enthusiasts.
I’m so glad you found it helpful! 🙂
I really appreciate the practical advice on contrast and prep before tracing; it makes the output so much better. Prepping the photo first is a pro move that many tutorials skip.
I’m so glad you found it helpful 🙂
I loved this walkthrough — super clear and beginner-friendly! Converting photos to SVGs used to feel intimidating, but guides like this make a huge difference.
Thanks again for the detailed tutorial! It really opens up so many fun Cricut project ideas.
I’m so glad you found it helpful!!
there’s a lot of talk about single line cutting and single line drawing but its not easy to achieve. I am trying to make a drawing from a photo via the SVG route but as soon as I convert the SVG to a drawing in the Cricut it makes double lines. I know you can edit the second line out using “contour”, but this takes a long time to edit larger drawings. Has anybody got a method to get the cricut to make the single line drawings?
With SVG files the Cricut pens will always follow the same path that the blade would. I have not dove into creating single line art so I cannot walk you through that process but I believe you’d need something that isn’t a SVG file.