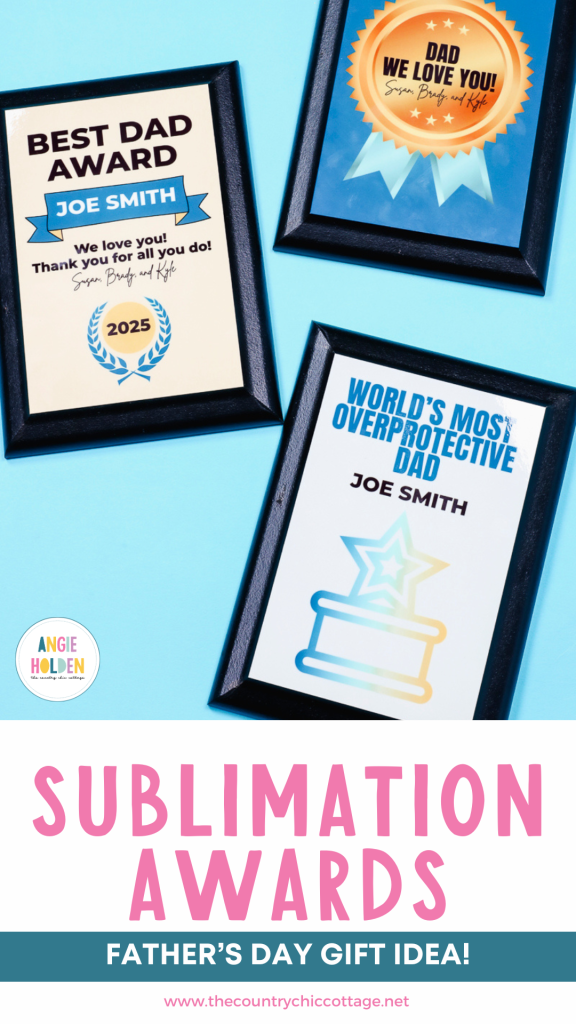
Are you looking for a great Father's Day gift? I'm going to show you how to create sublimation awards perfect for gifting to the dads in your life.
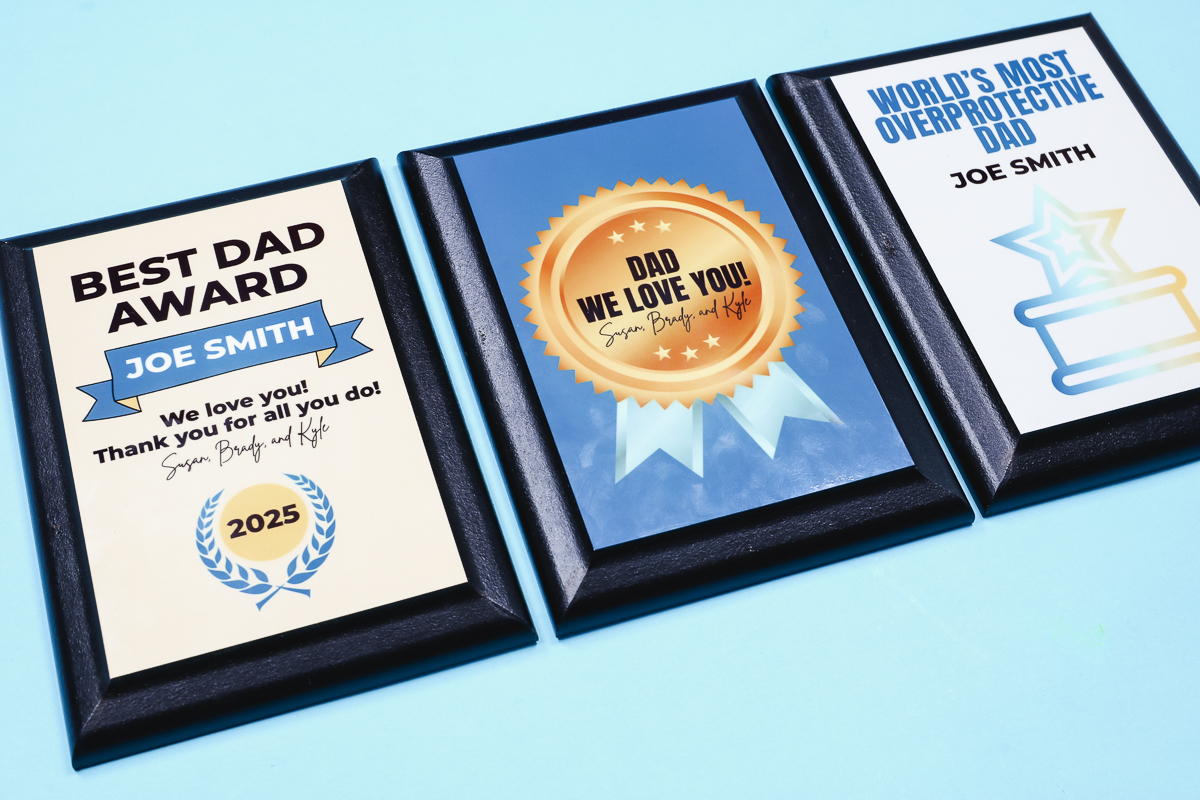
I am sharing three different designs today, and I will show you how to create your own designs in case you want or need a sublimation award for a different event.
If you're trying to decide which sublimation printer is right for you, I love the Brother SP1.
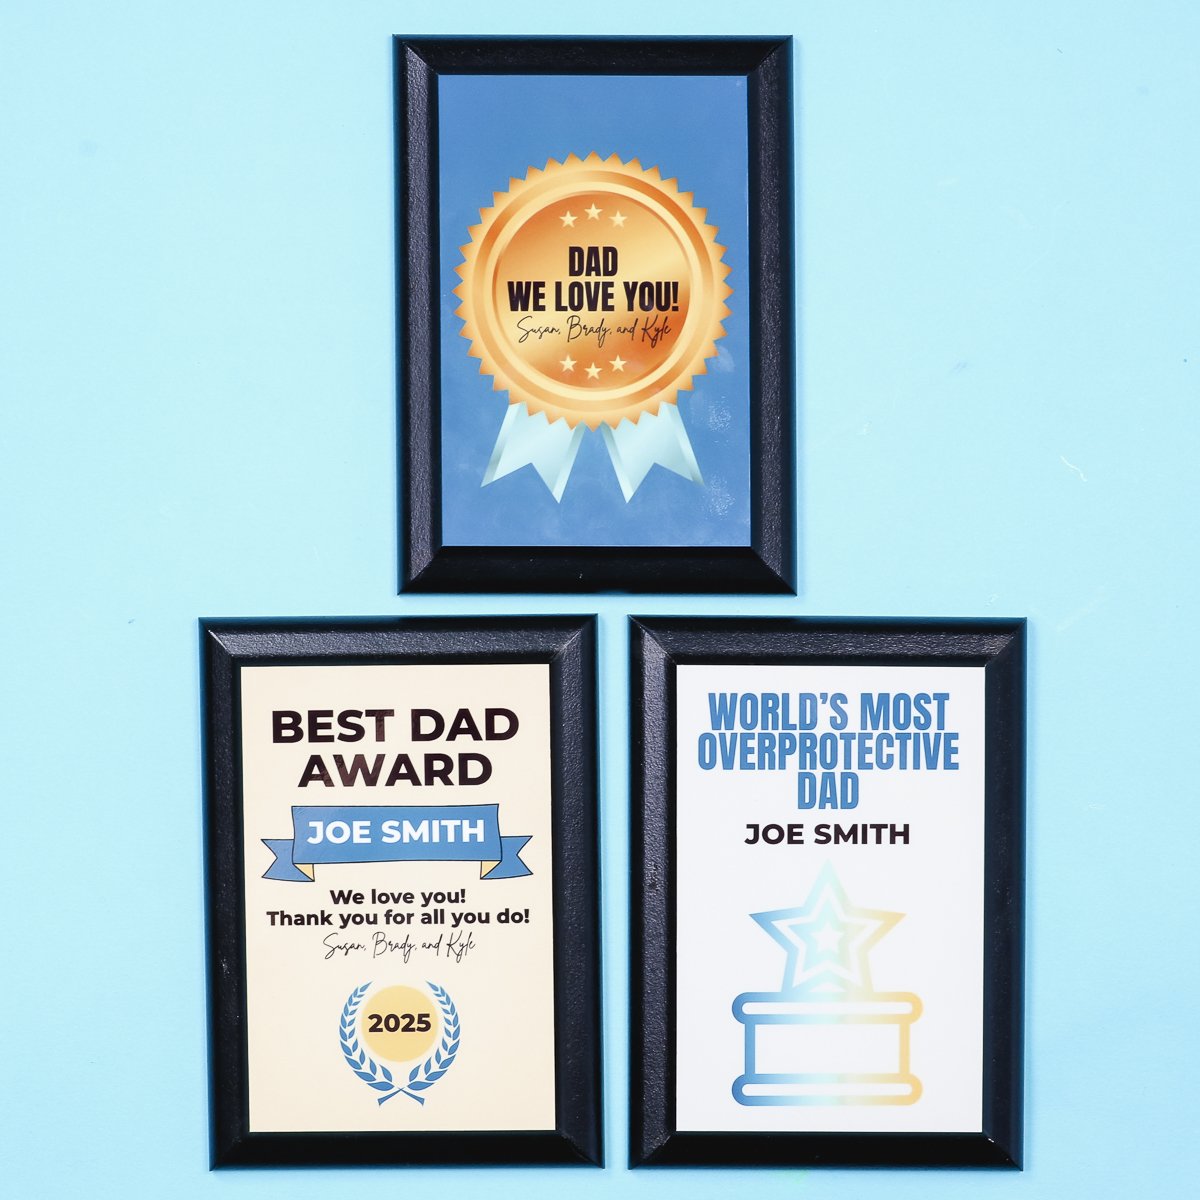
Whether you're looking for a funny or sentimental award, I have an option for you. Click play on the video below to learn how to customize the designs in Canva and how to make your own awards.
How to Make Sublimation Awards
I'm using the small version of the sublimation award plaque. I think it's a great size for a Father's Day gift. There are other sizes available, so if you need a different size or style, you can find more options at the link below.
While I'm making a Father's Day award, you can use this technique to make awards for anything. Sports awards, school awards, the possibilities are endless.
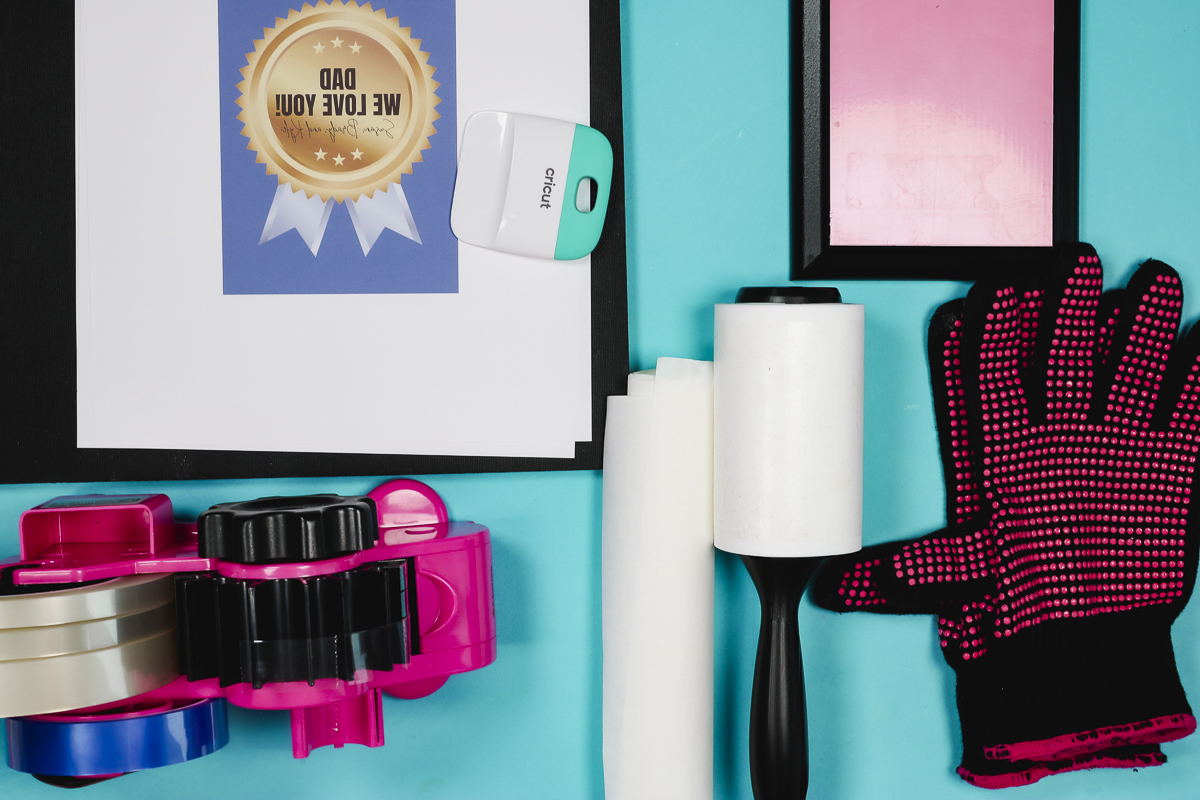
Supplies Used
- Customizable Canva Template
- Sublimation Awards
- Cricut EasyPress
- Heat Resistant Mat
- Brother Sublimation Printer
- Sublimation Paper
- Lint Roller
- Heat Resistant Tape
- Heat Resistant Gloves
- Tape Dispenser
- Protective Paper
- Paper Dispenser
IMPORTANT: You need to make sure that the plaque you use is a sublimation blank. It needs to have a sublimation coating on it. Make sure you're using a sublimation print, which is sublimation ink printed on sublimation paper from a sublimation printer.
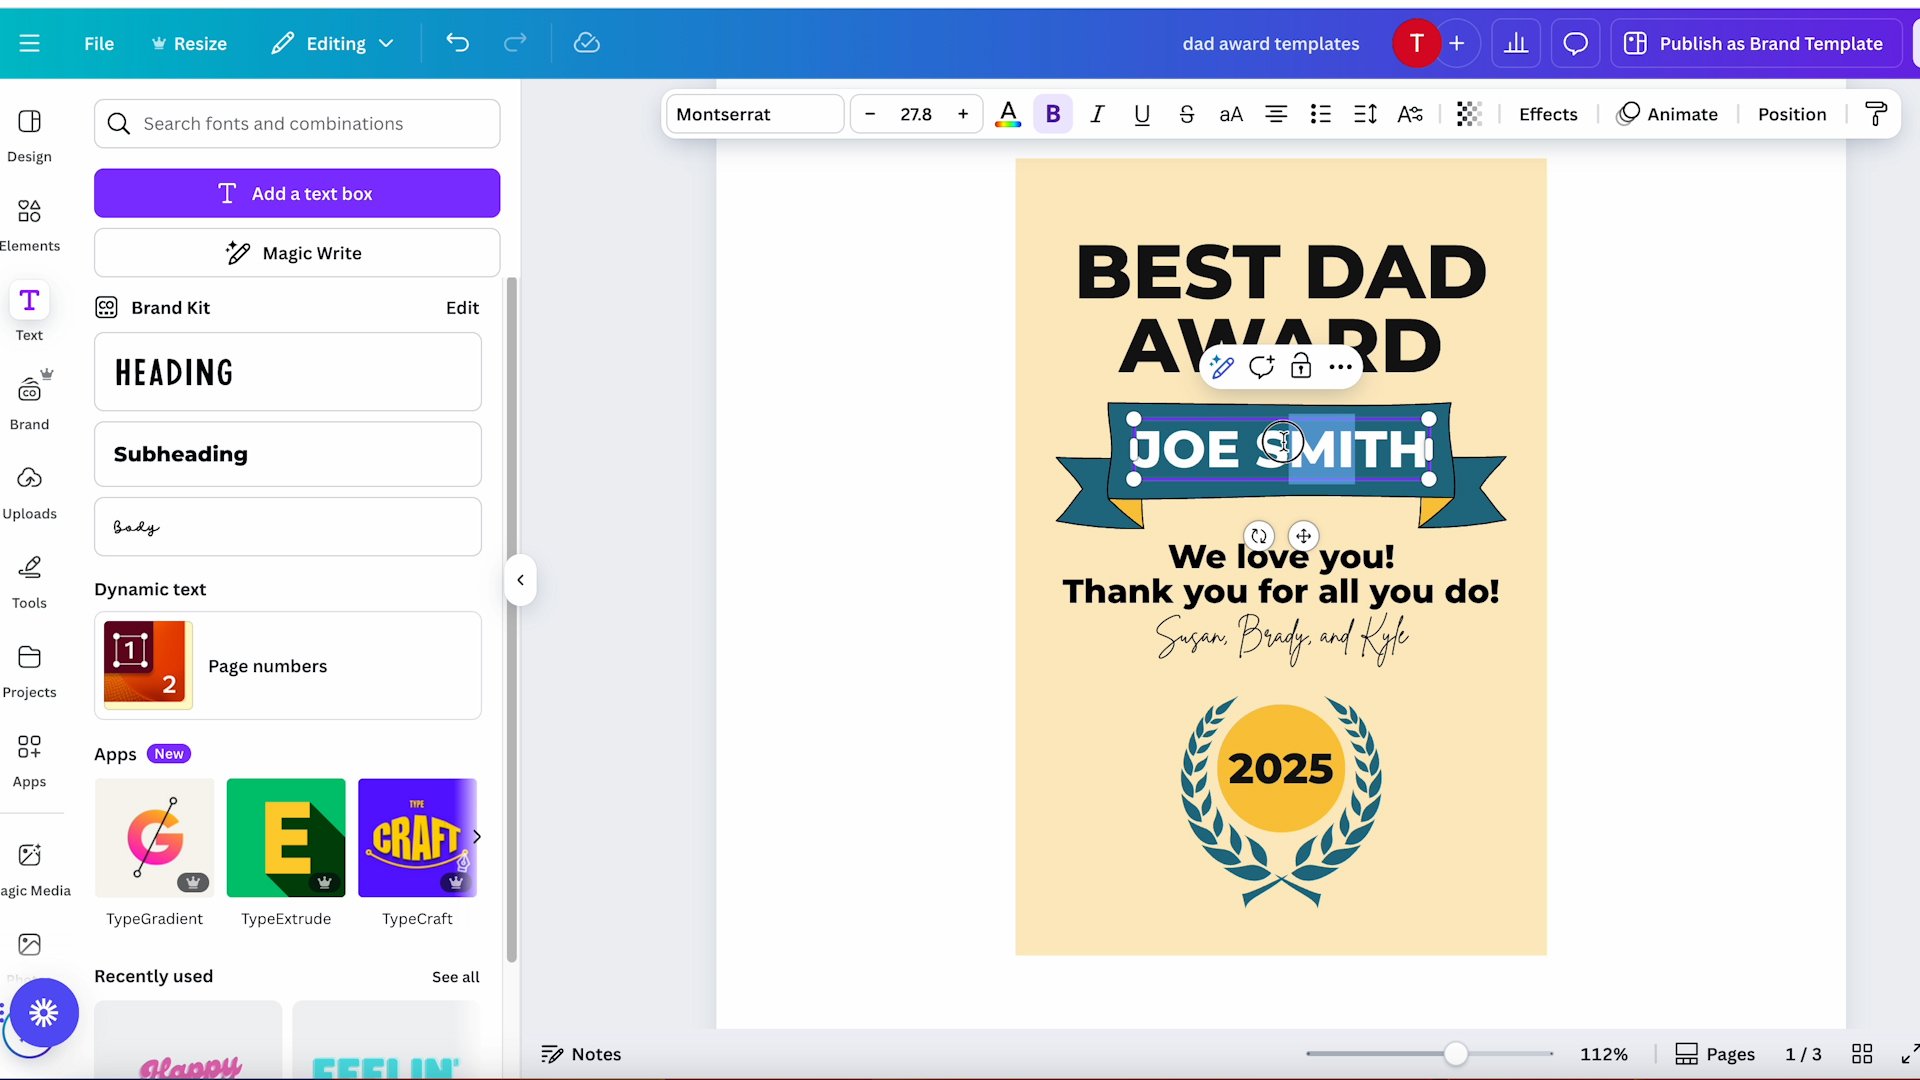
Step 1: Create a Sublimation Award Design in Canva
Click here to access the sublimation award design in Canva.
This template allows you to customize the designs however you would like. You can change colors, adjust the text, change fonts, and even add/remove elements to make it your own.
My designs are set up for the 5″ by 7″ sublimation awards. The design itself is about 4″ by 6″ to fit within the size of this award. The background is a little oversized to make sure it covers the entire sublimation surface.
If you purchase a larger award or a differently shaped award, you will need to make adjustments to fit your sublimation blank.
Step 2: Print the Sublimation Design
When you have the design set up how you want it, it's time to print.
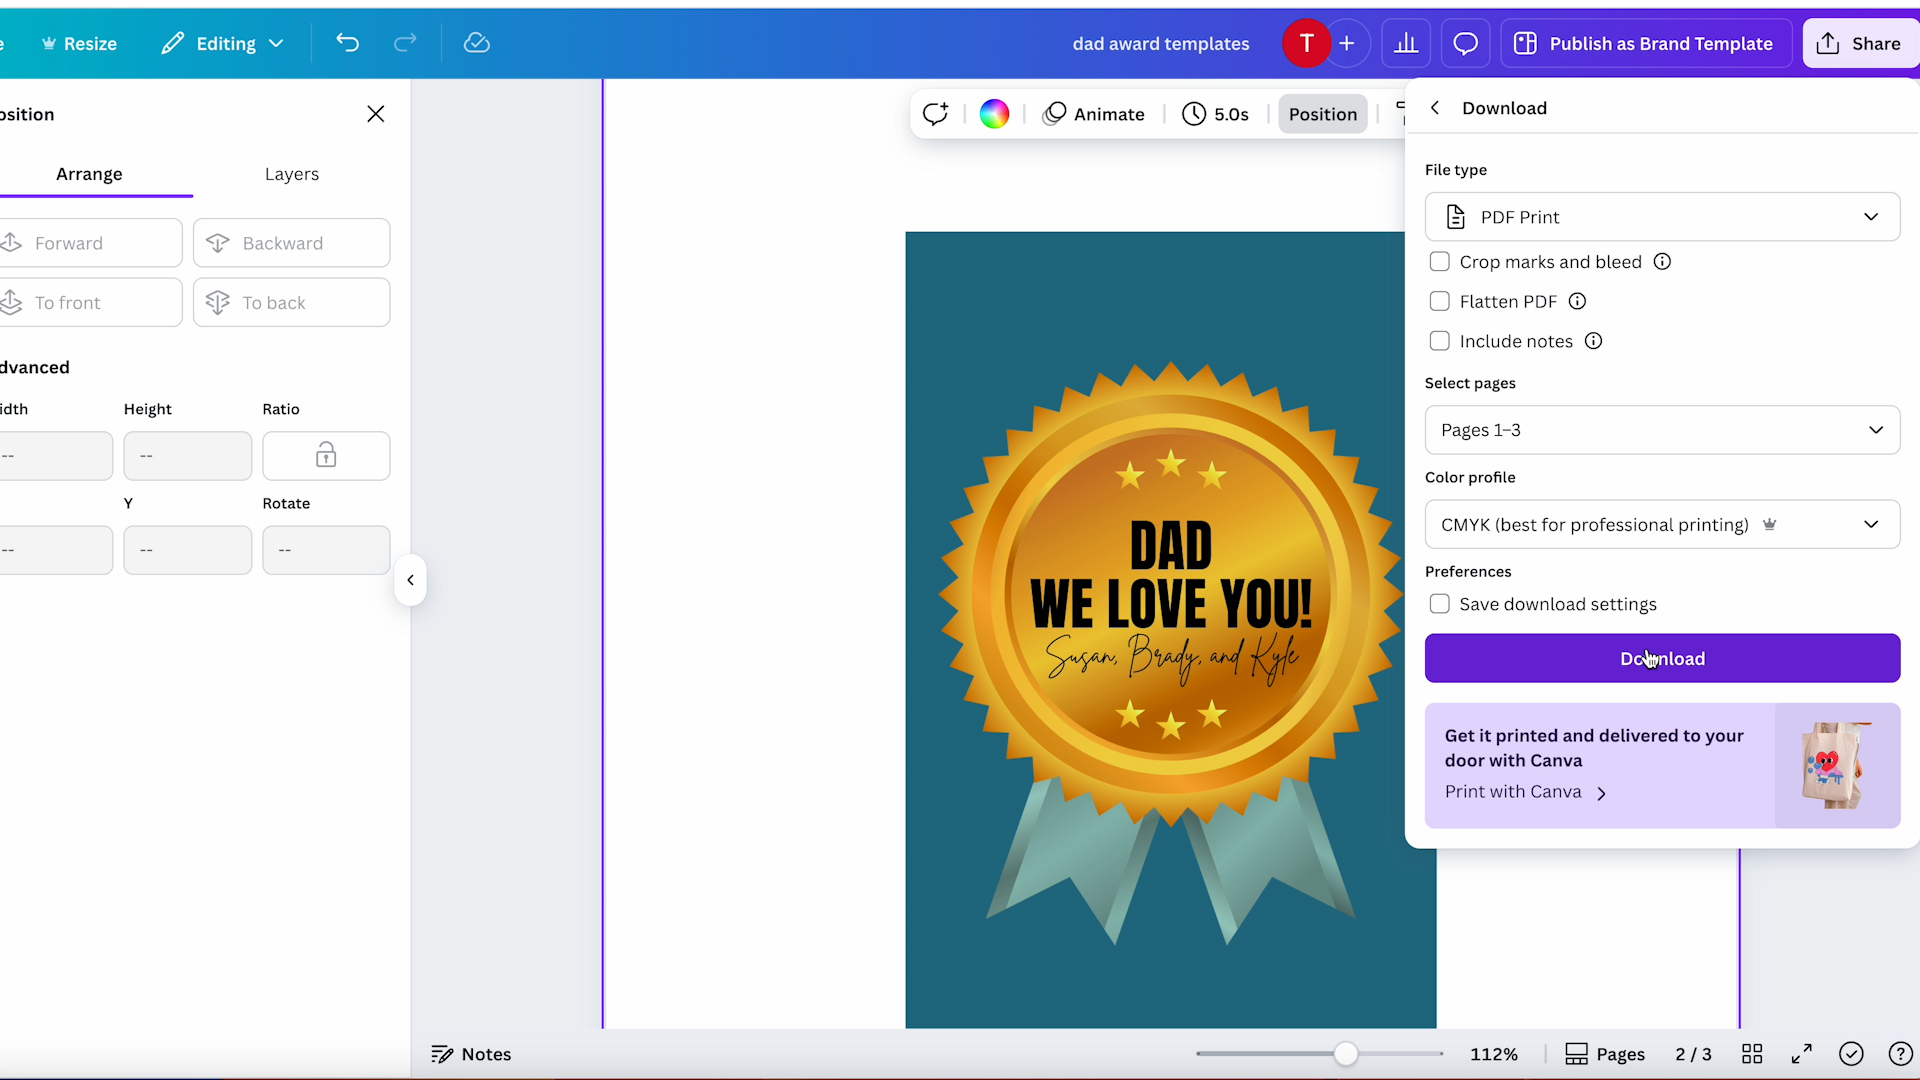
You cannot print directly from Canva. Click Share and then Download. Download as a PDF for Print and then choose CMYK for the best print results.
Open the downloaded file and make sure you have the settings set to print the actual size or at 100% to make sure it prints the right size for your blank.
Mirror the design, then print on your sublimation printer. Now we're ready to prepare the sublimation award.
Step 3: Prepare Sublimation Award
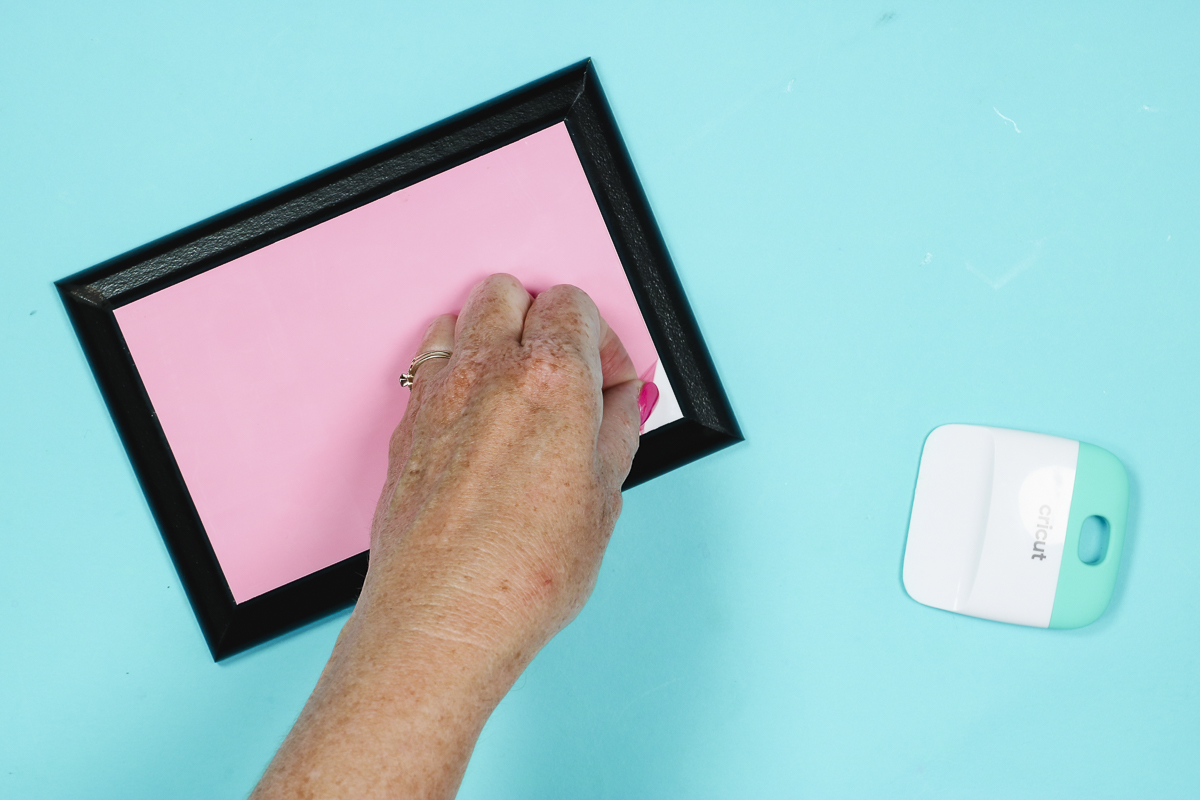
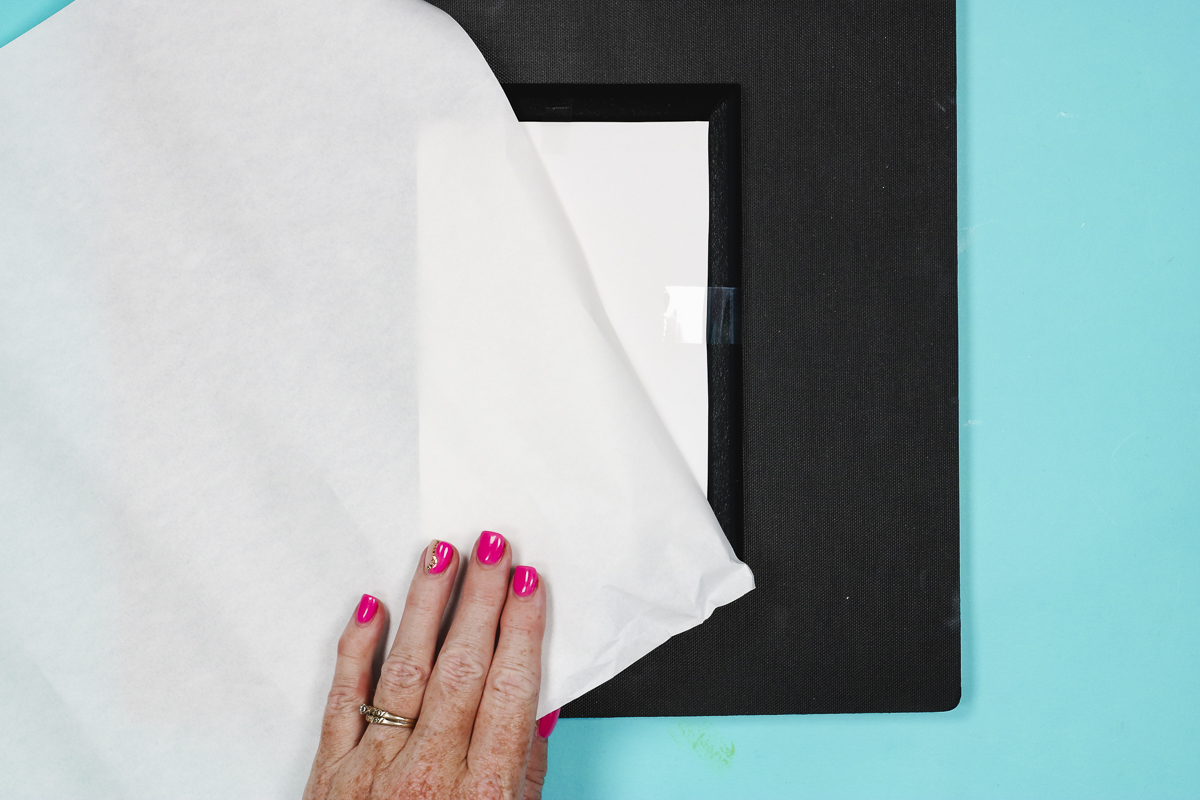
To prepare the sublimation award, first, you need to remove the protective film. I was able to lift the film with my fingernail. If you cannot, use a scraper tool to list the edge.
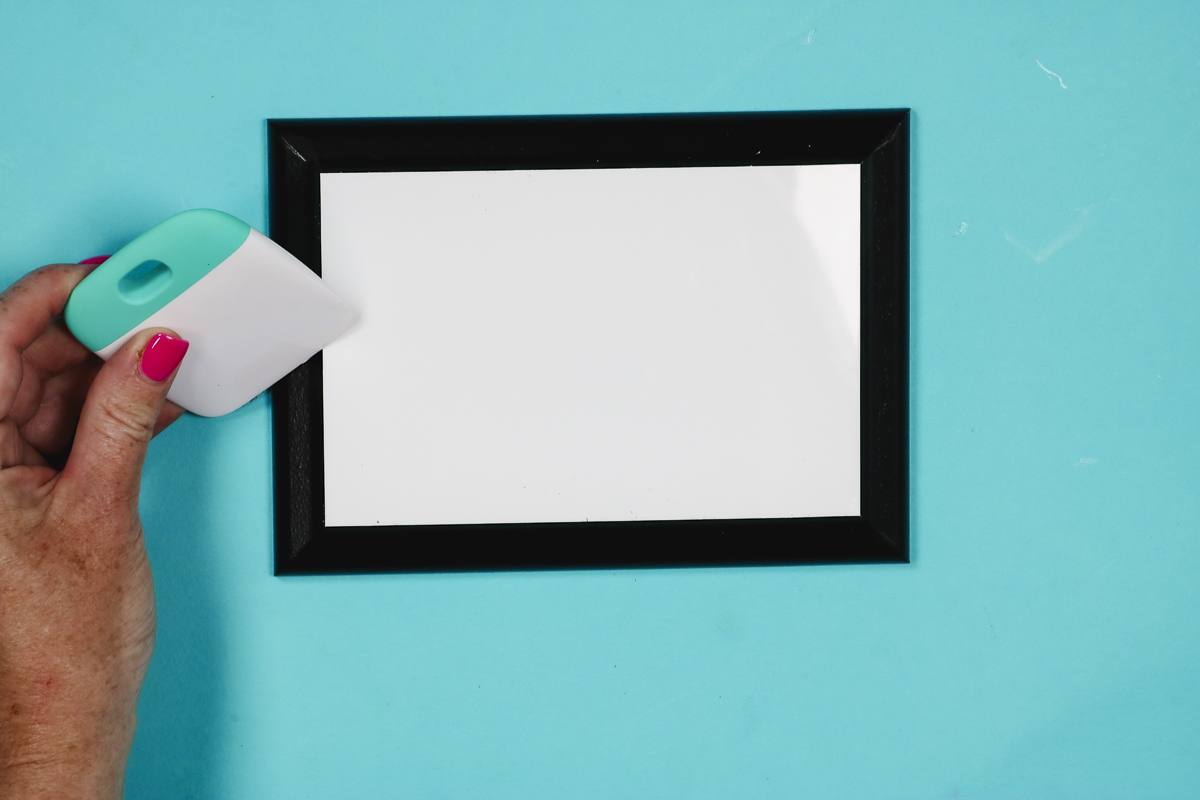
After removing the protective film, I noticed there was some paint along the surface edge.
Use a scraper tool and scrape along the edge to remove the black paint that is on the surface. I went along all 4 sides and made sure all the black paint was off the surface.
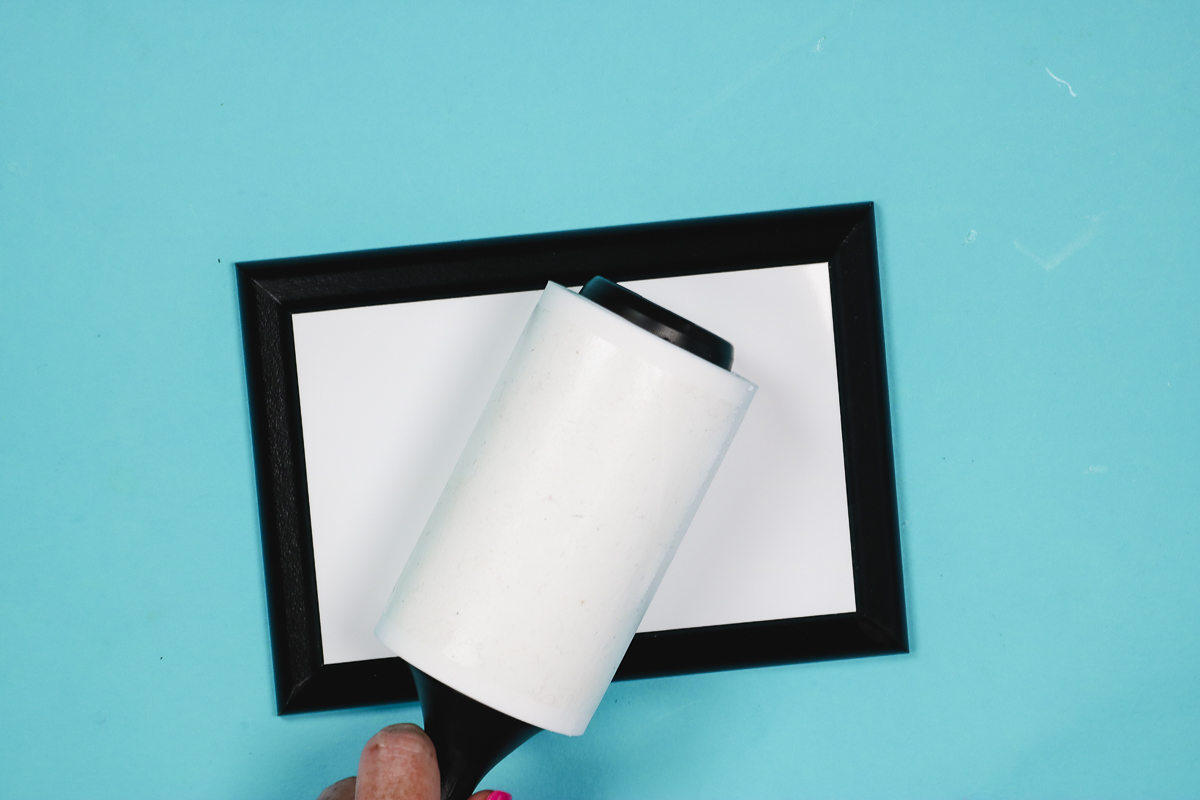
Clean the black paint off the surface with a lint roller.
Step 4: Preheat Sublimation Blank
MDF can hold a lot of moisture, so you want to preheat the surface to make sure there is no moisture in the blank.
Place the award on a heat-resistant mat and cover with protective paper.
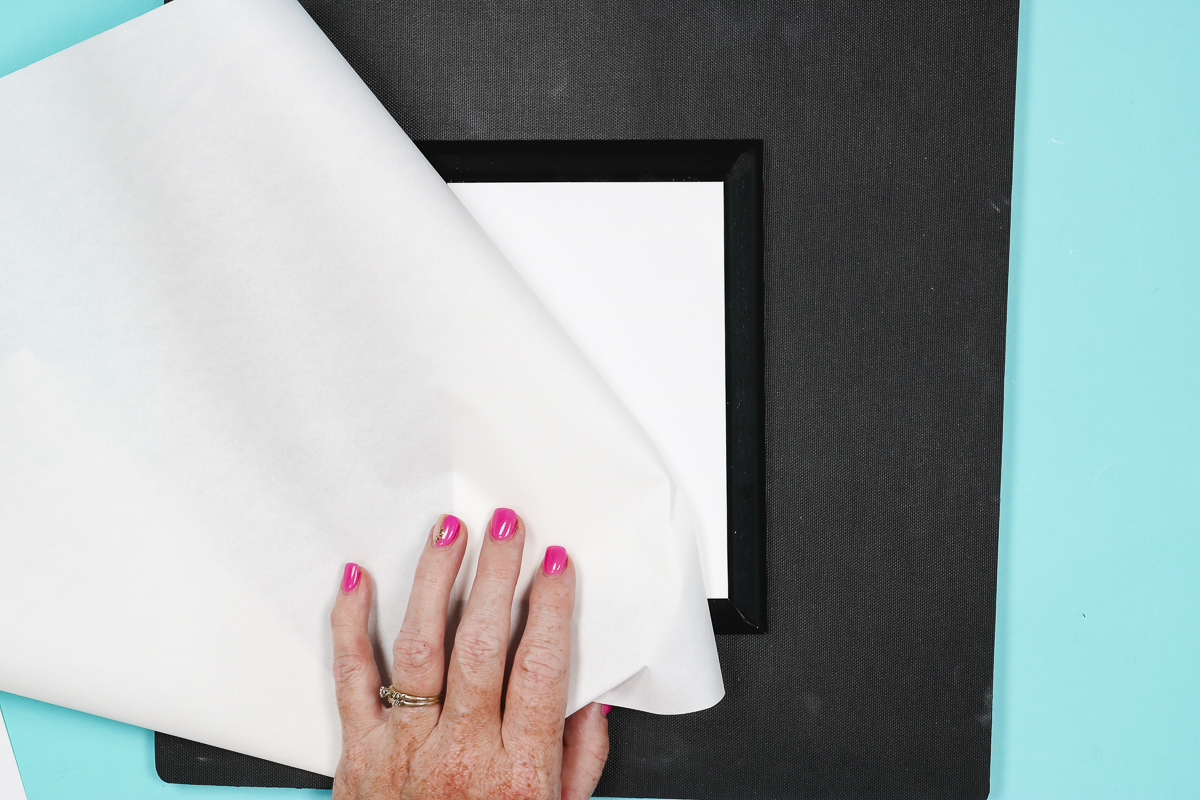
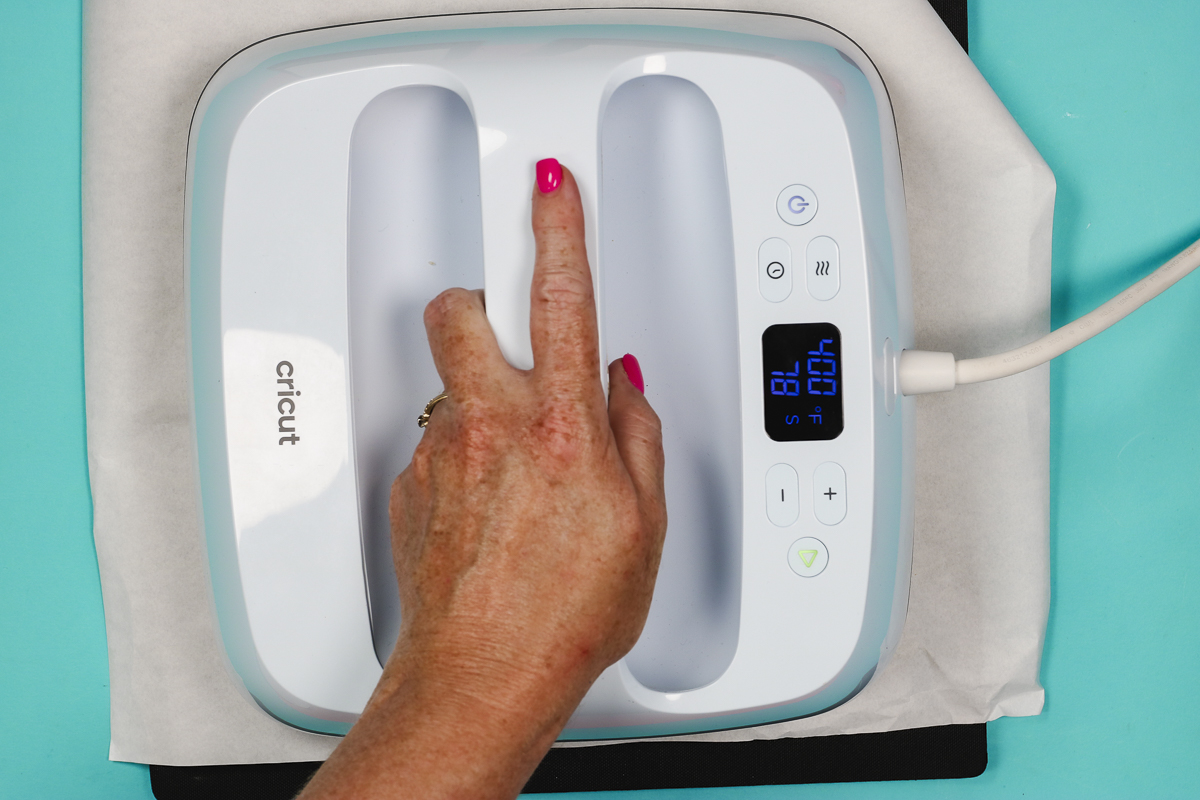
I am using my EasyPress today. Place the press on top and press for about 20 seconds.
You can do this step while the EasyPress is preheating. You may need to repeat this process multiple times.
If you see moisture coming out, make sure you press again. I noticed the edge of the award was wet, so I repeated the process until there was no longer moisture along the edge.
If you have issues sublimating these blanks, it is likely due to moisture.
Allow the award to cool completely before adding the sublimation print to prevent the design from transferring before it's located correctly.
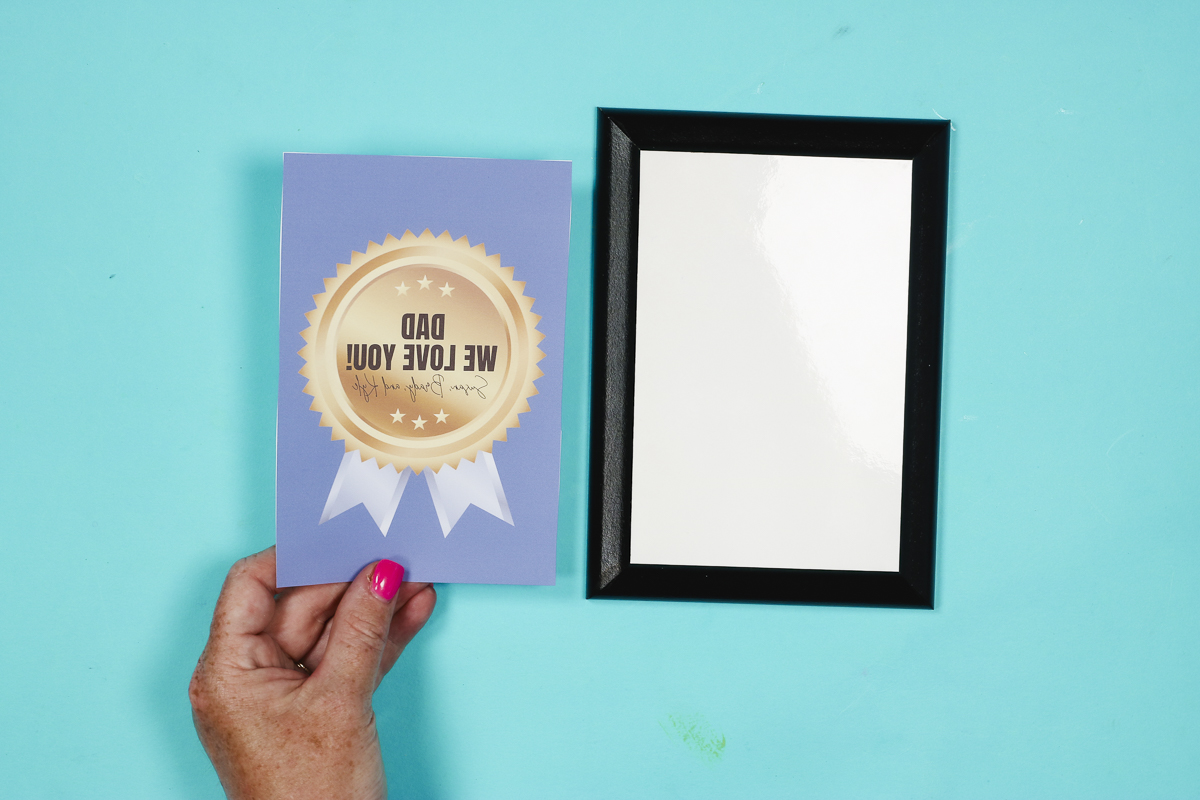
Step 5: Locate Sublimation Print on Award Blank
Now that the blank is cool, we can locate the print.
I found it easier to locate the design by trimming away excess paper.
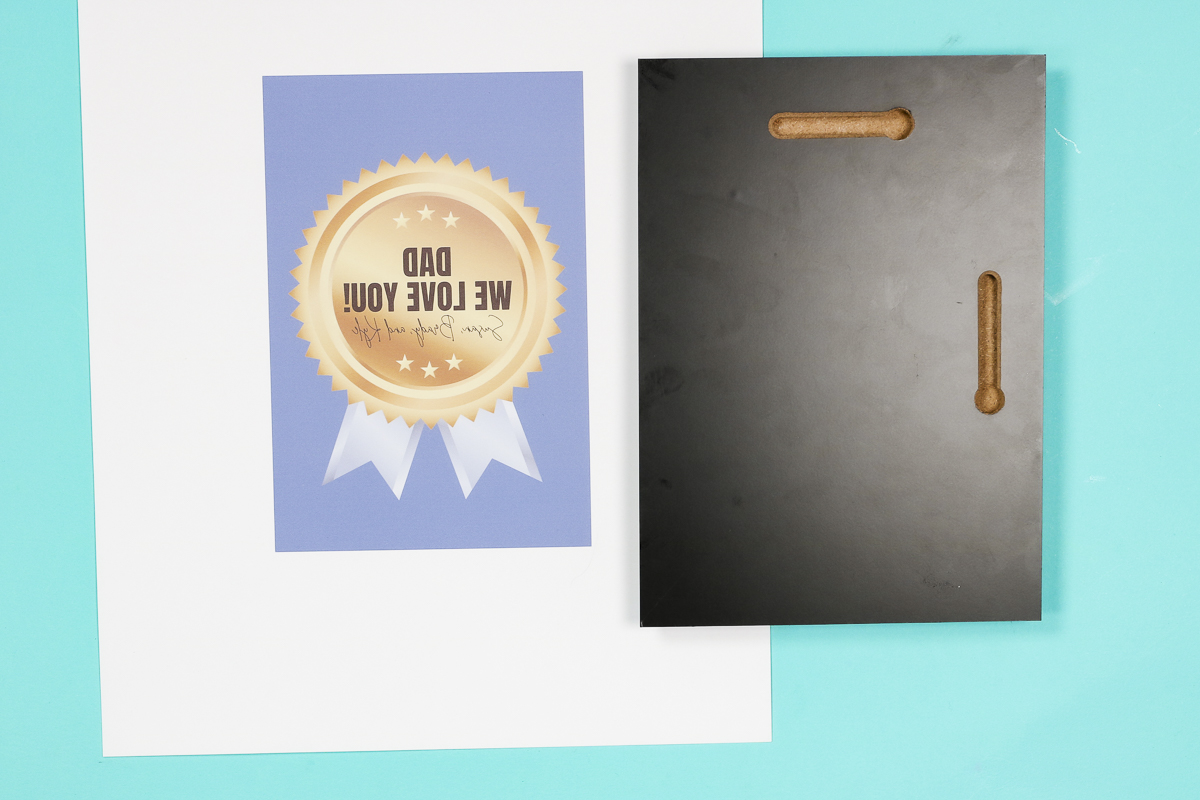
There are hanging holes on the back of the award. Make sure you know how you have it oriented before locating the print.
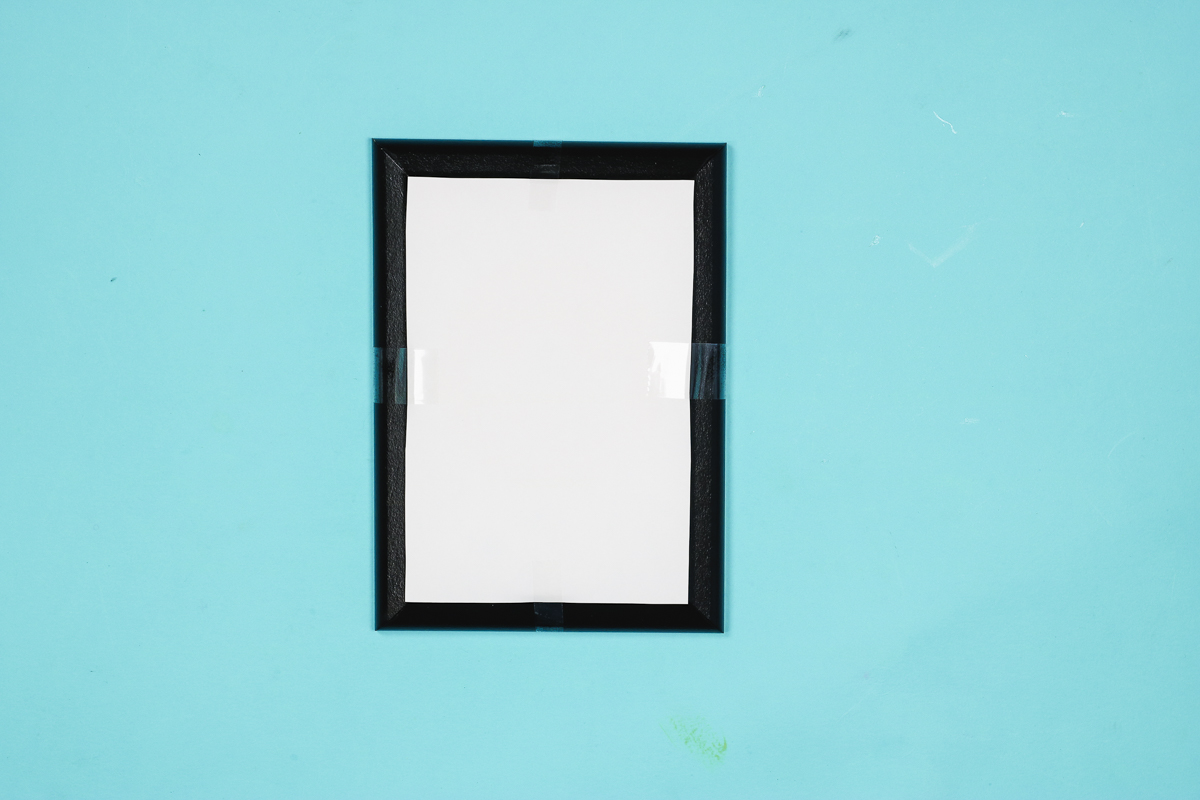
Locate the design where you want it and use heat-resistant tape to hold it in place.
Step 6: Sublimate Father's Day Award
Place the award print side up on a heat-resistant mat.
Cover the print with protective paper and press for 90 seconds at 400 degrees.
These blanks call for medium pressure. If you're using an EasyPress, make sure you press down with firm pressure.
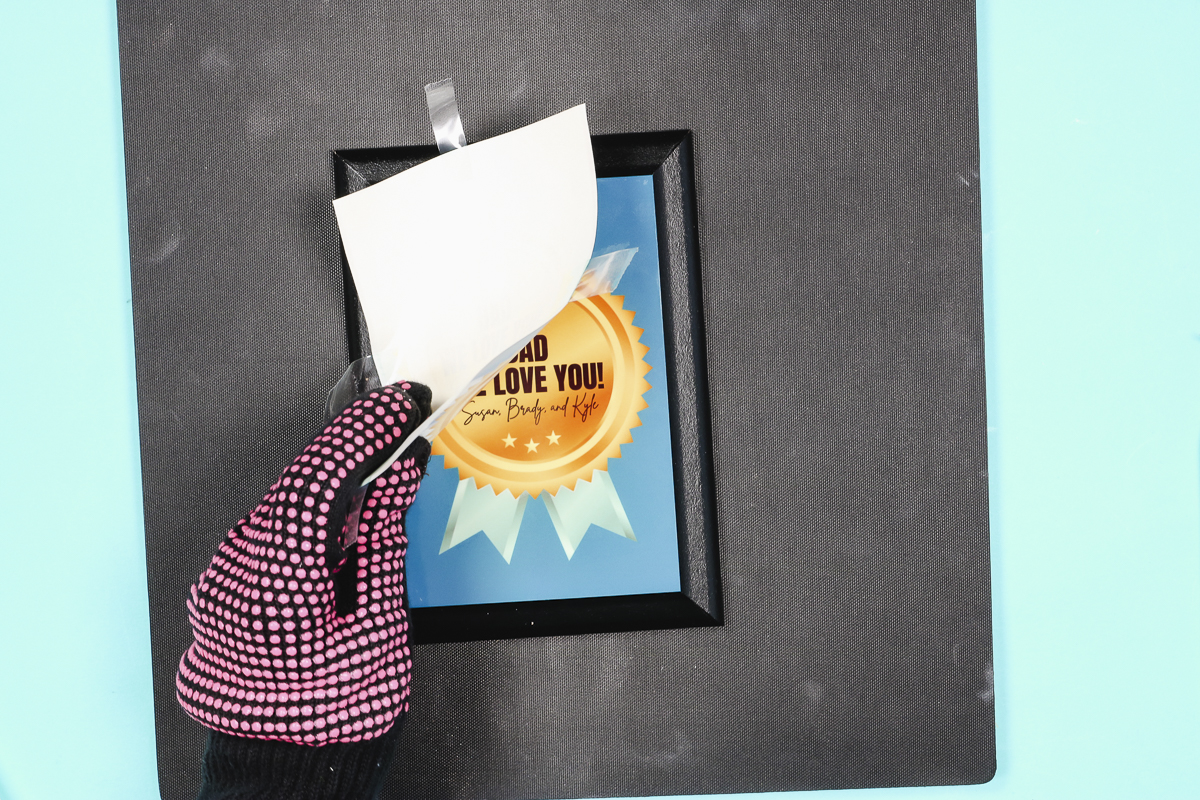
When the time is up, lift the heat press and remove the protective paper.
The surface is going to be hot. Use heat-resistant gloves to check the corners of the print to make sure it transferred before removing the print.
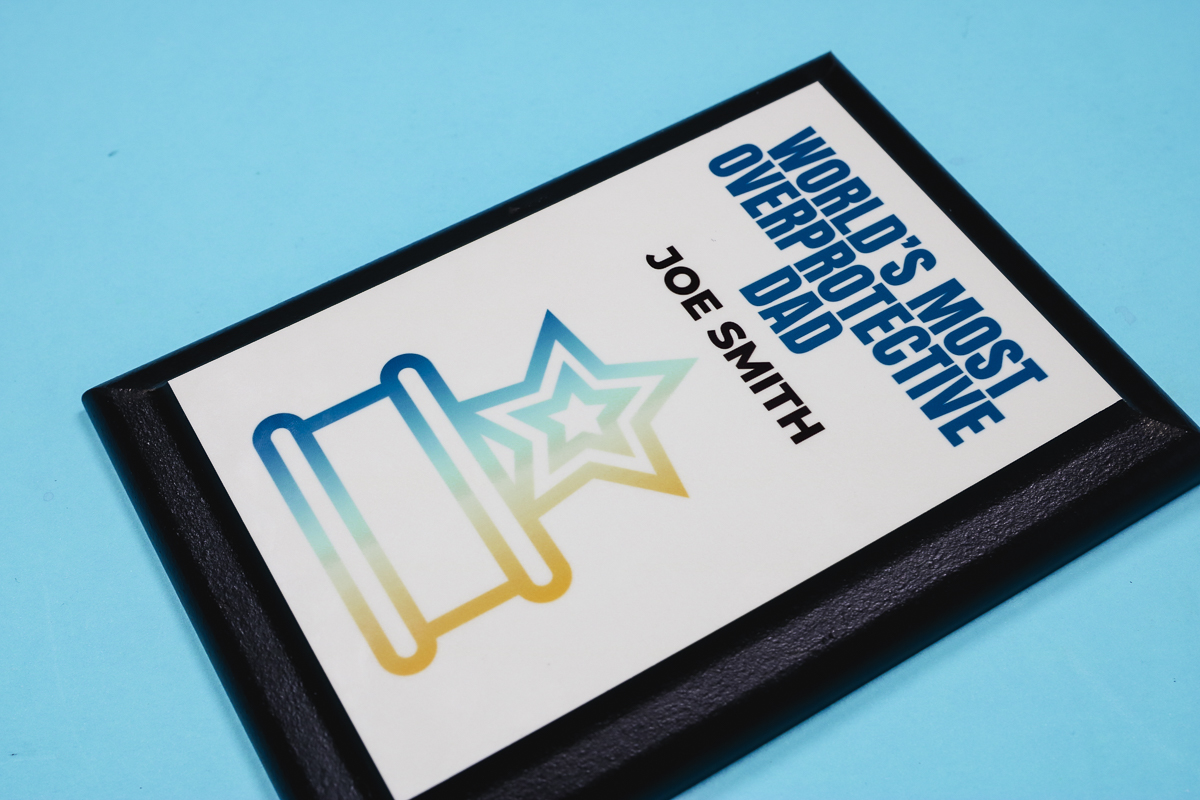
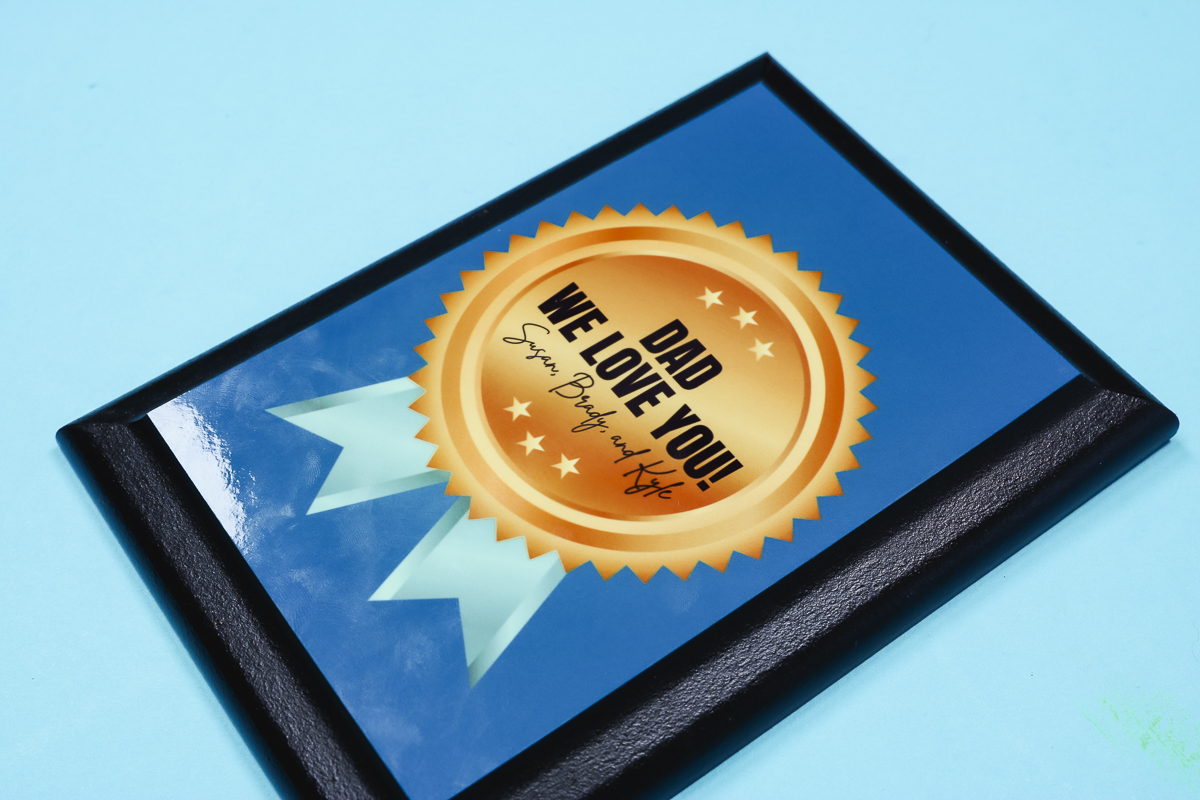
My design transferred beautifully, and now I have an amazing Father's Day gift.
Tips for Sublimation Awards
I love how these awards turned out. They all transferred really well, and the process was pretty easy.
Make sure you're careful when you remove the tape from the sublimation blank. I had a little bit of the black paint lift with the tape. I used a Sharpie to fill in the spot, and it looks great.
They do recommend that you leave the print full size and tape it to the back of the blank. I couldn't locate the design appropriately with that method, so I recommend trimming the print first.
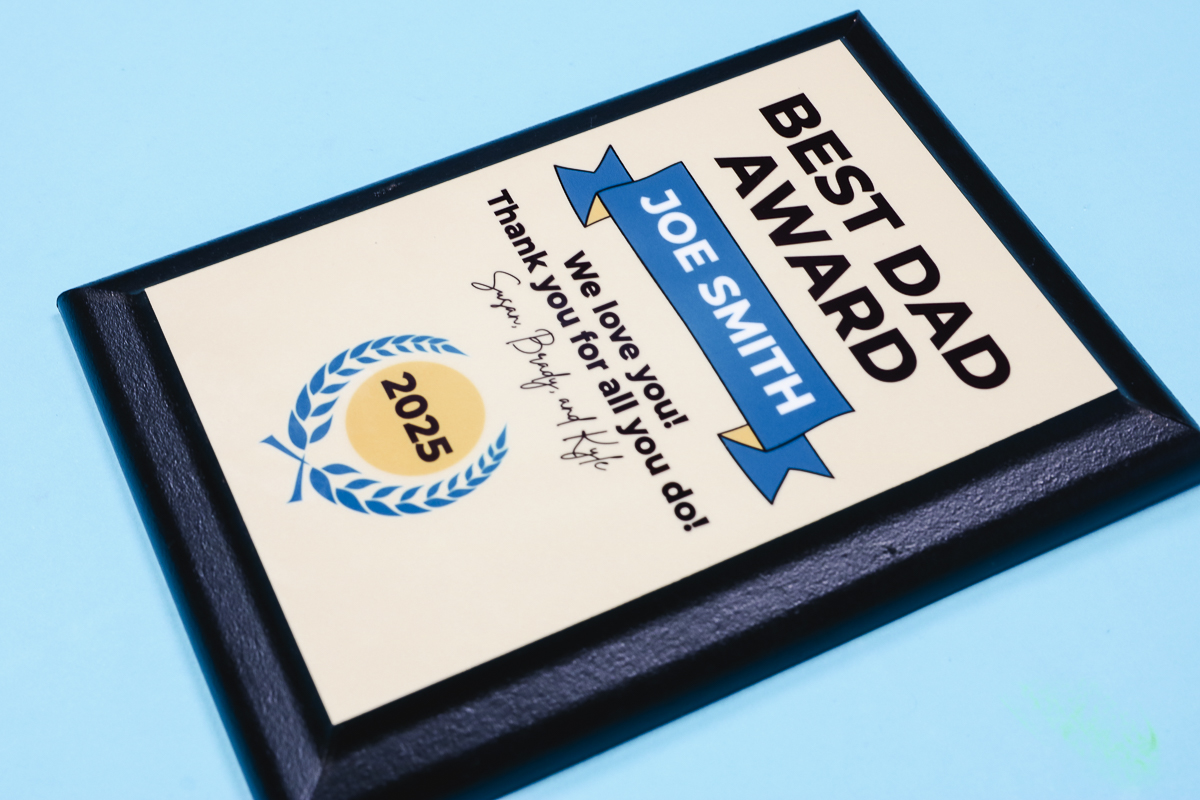
I love how these sublimation awards turned out. They look professional and can easily be customized with whatever message is best for your dad.
Don't limit your thought process. These awards make great gifts and you can use this tutorial to create awards for any event.
I hope I've answered any questions you have about making sublimation awards. If you have any additional questions, leave them in the comments, and I'll be happy to answer them for you.