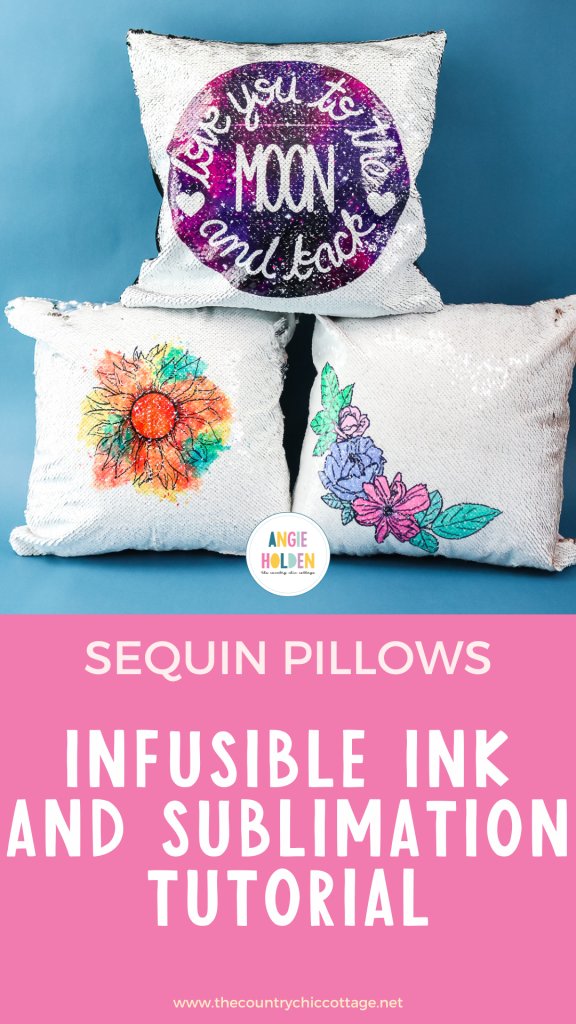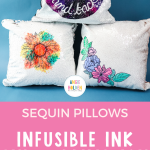
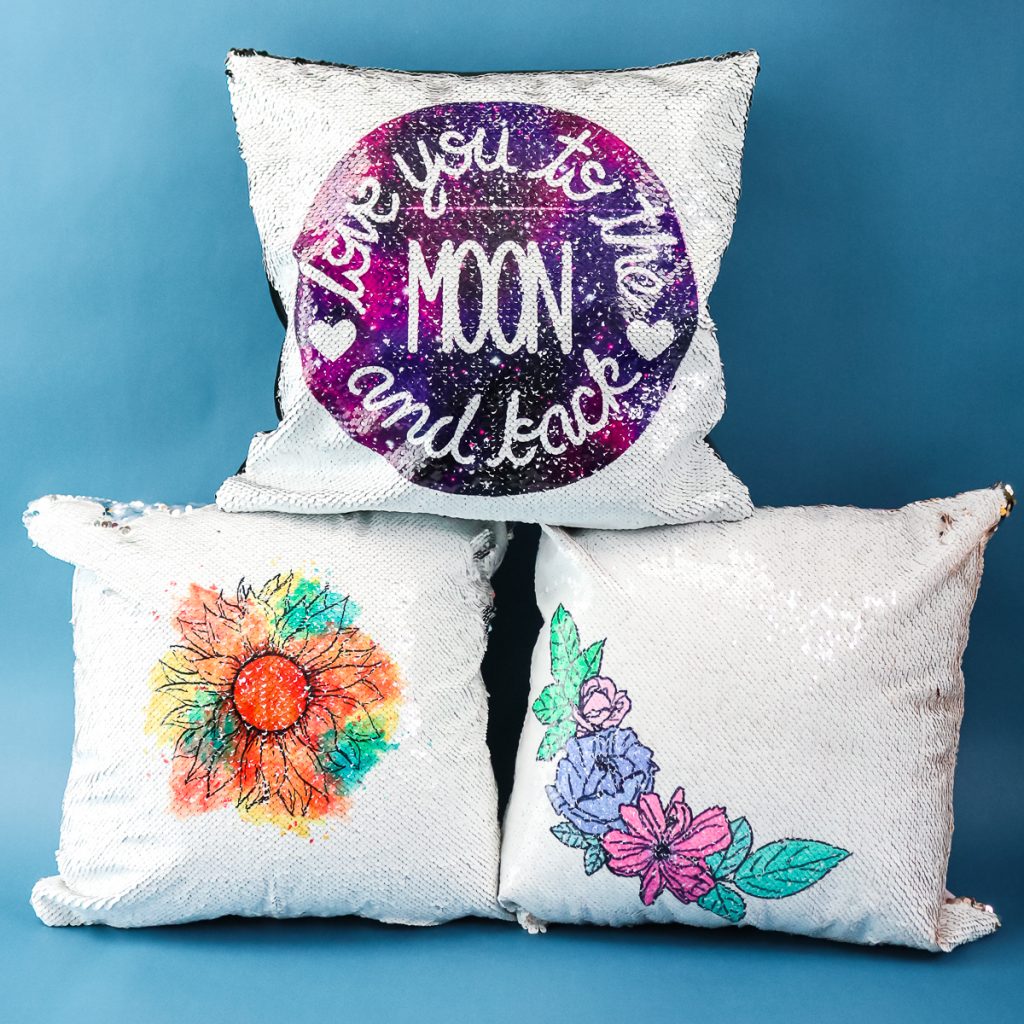
A sublimation sequin pillow is a fun project with a BIG impact! It is perfect for those who want to make a unique pillow for their home using either sublimation or Infusible Ink. Plus, it's an easy project that will look amazing on your bed or even in your living room. Ready to get started? Grab your supplies and keep reading for three ways to personalize a sequin pillow cover.
Sublimation Sequin Pillow Video Tutorial
I am actually going to do this in three different ways. I am making one with sublimation markers from Artesprix, one with a sublimation print, and a final version with Infusible Ink transfer sheets. You can watch me make all three in the video below.
Can't watch the video or missed some of the steps? You can also follow along with the details below.
How To Make Sublimation Sequin Pillow
As I mentioned before, I will show you three methods for creating a sublimation sequin pillow! If you know which method you would prefer to use, you can skip down to that portion of the tutorial below. However, if you want to learn about all three methods, keep reading because I talk about each one in-depth!
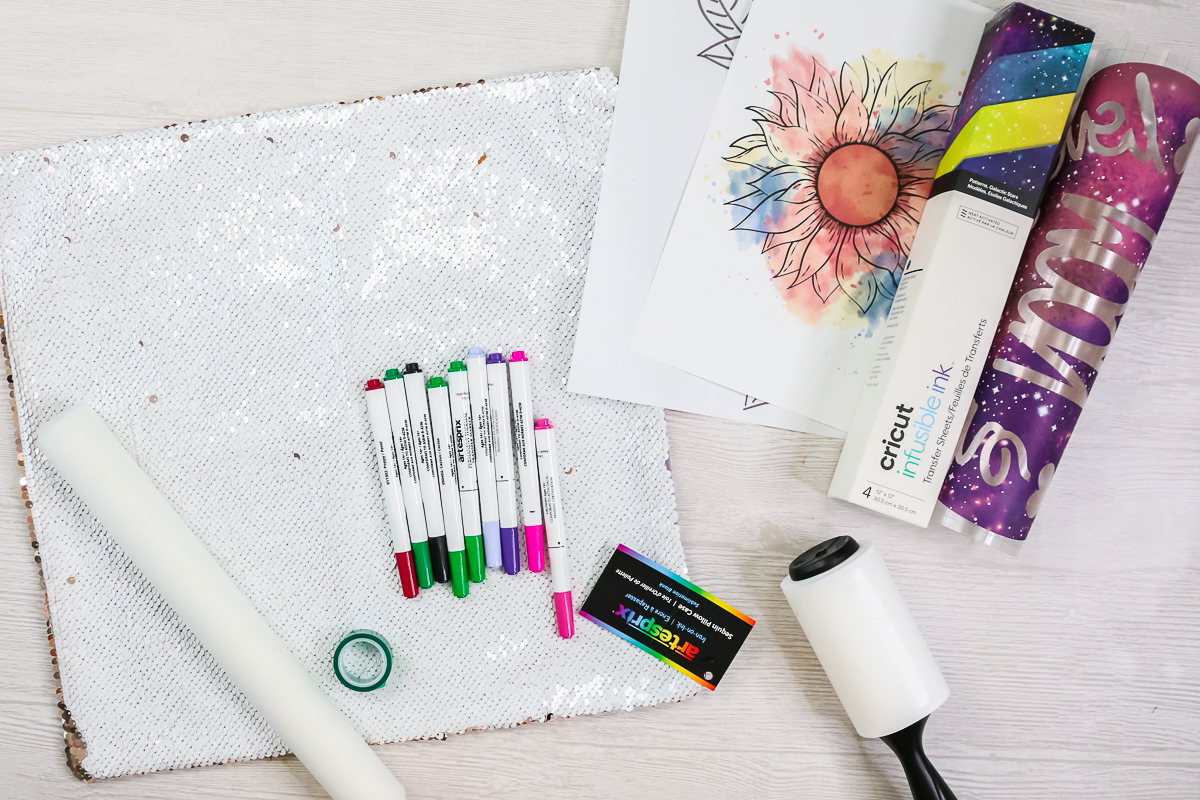
Supplies Needed For Sublimation Sequin Pillow
Please note that the Artesprix pillow covers are only available for a limited time. I am giving you another alternative below if those are sold out.
- Sequin pillow covers (if those are sold out, try these) (NOTE: You will want to make sure that the pillow cover you choose is made for sublimation!)
- Protective paper
- Heat-resistant tape
- Artesprix markers
- Copy paper (only for the sublimation marker version)
- Lint Roller
- Sublimation printer (you can see which I use here) (only for the sublimation print version)
- Sublimation ink (only for the sublimation print version)
- Infusible Ink Transfer Sheet (only for the Infusible Ink version)
- Sublimation paper (only for the sublimation print version)
- Cricut machine (only for the Infusible Ink or sublimation marker version)
- Floral design
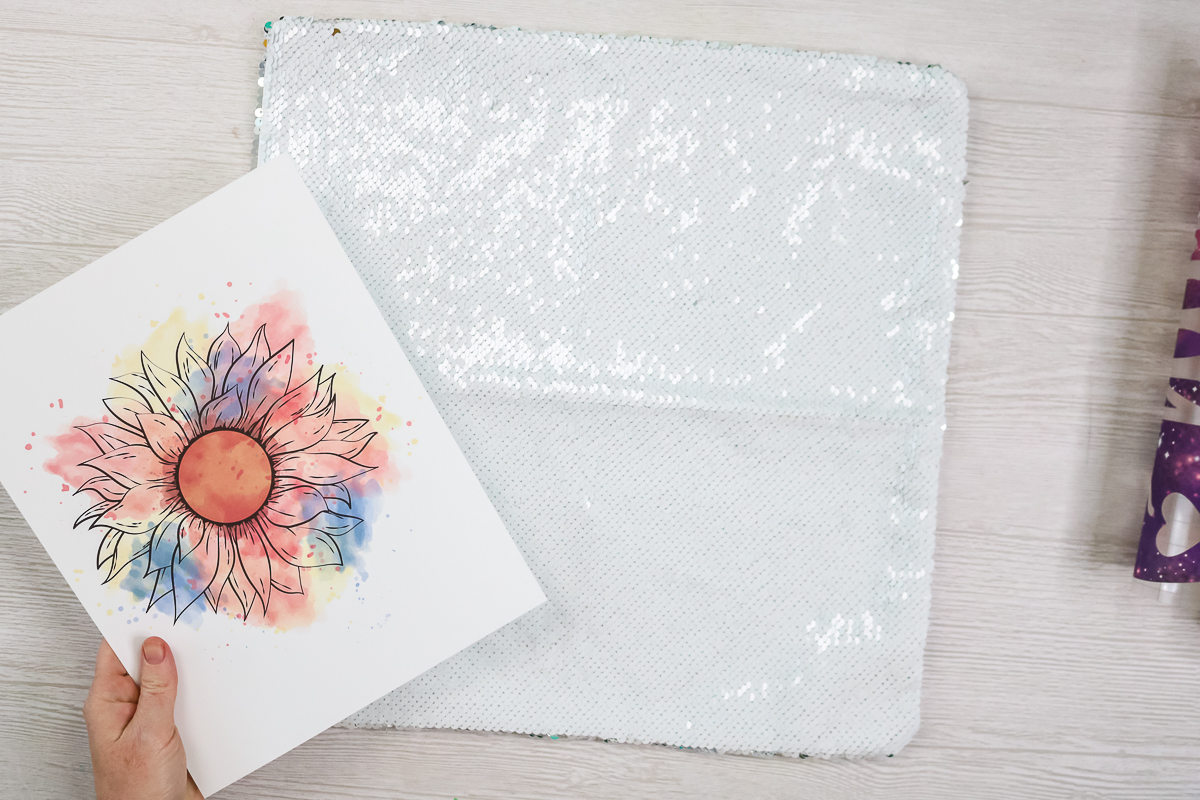
- Sunflower design
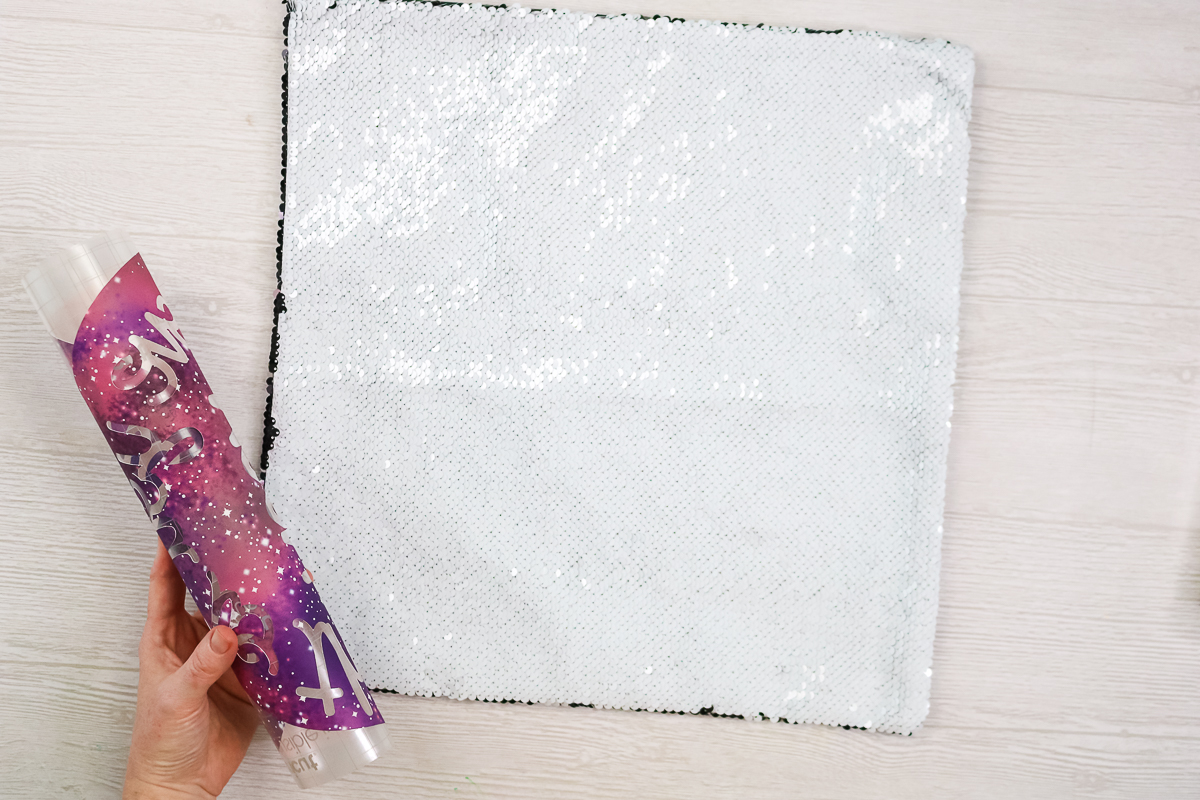
- Moon and back design
- Heat Press or EasyPress
Preparing Your Pillow
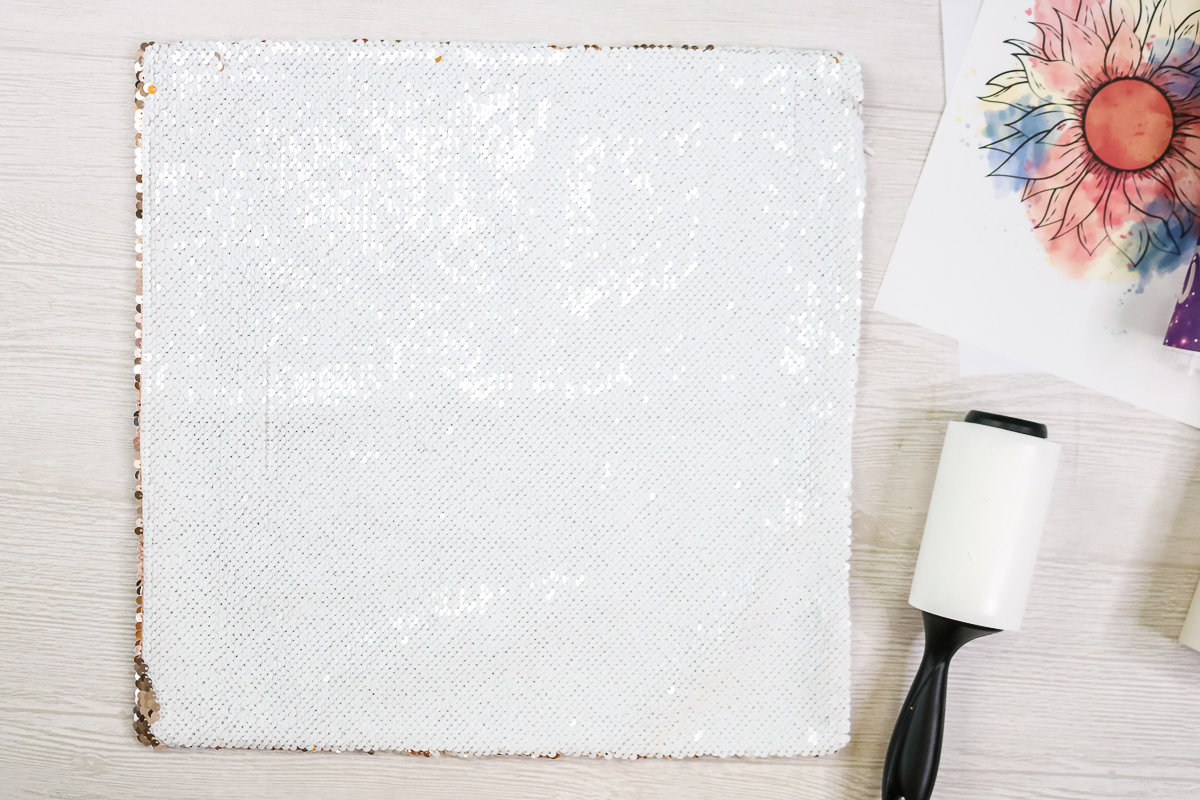
Remove the pillow cover from the packaging and cut off the tag. Carefully turn all of the sequins so that the white side is up. Use a lint roller to clean off any debris from the sequins. Be sure to run it in one direction with the sequins so they do not flip back over.
Making Your Design
Now you will want to prepare your design. You can do that in a few different ways, depending on what you have available.
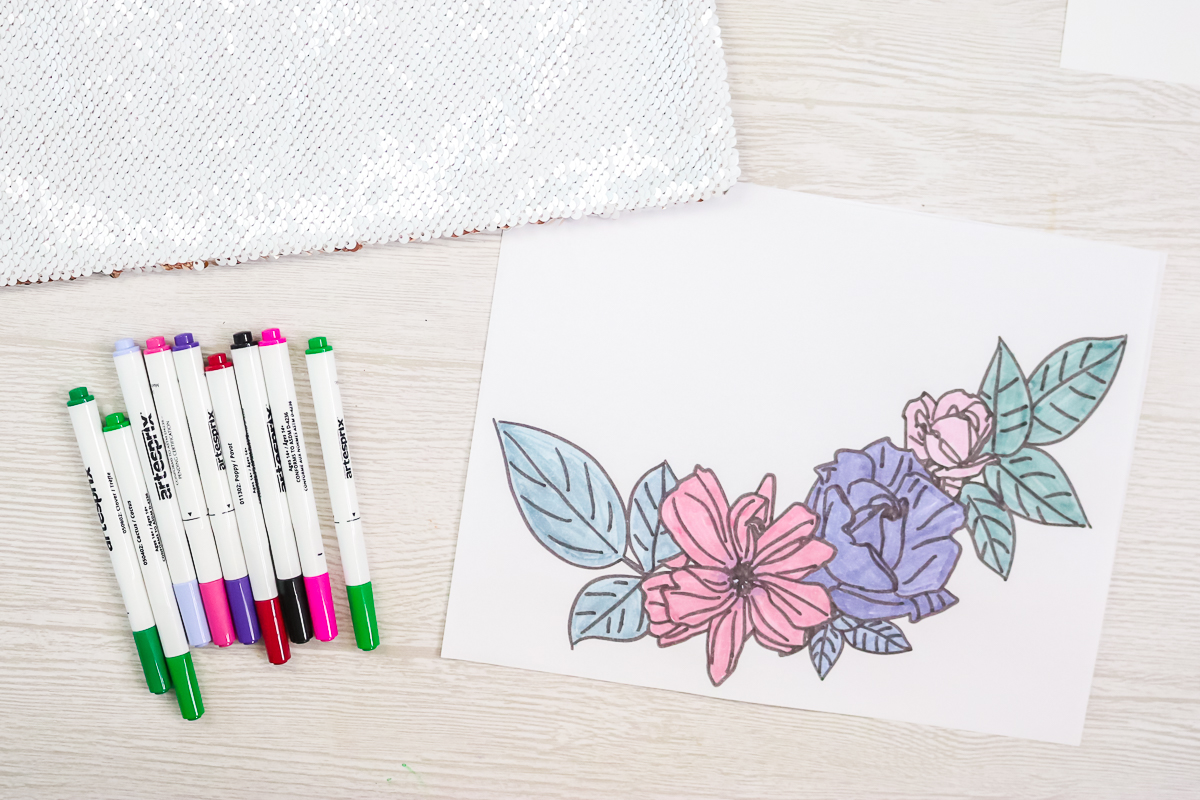
Option 1: Making A Design With Artesprix Markers
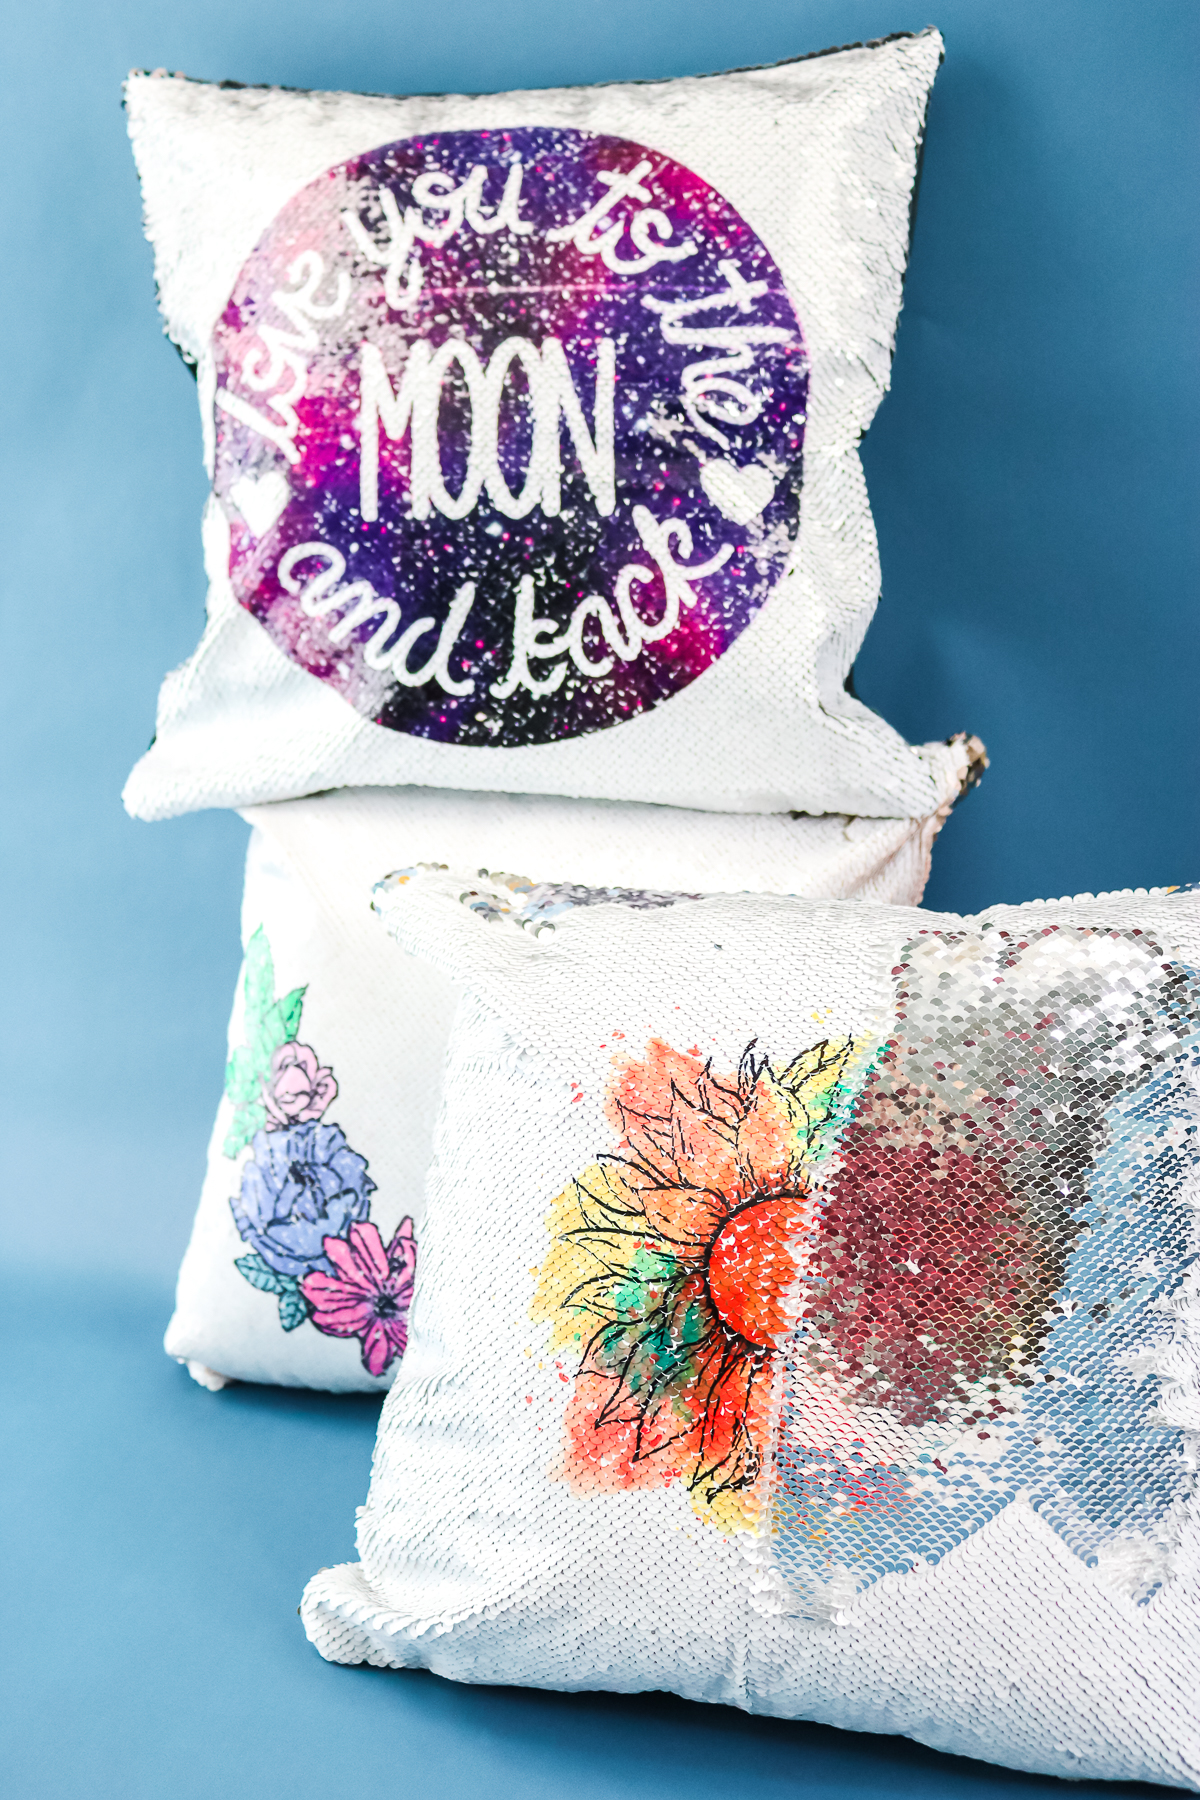
You can draw and color a design with Artesprix sublimation markers. You can use this trick to add the markers to your Explore or Maker, or they will just fit in the Joy. Then use that to draw an outline you can color in. You can also freehand this if you're comfortable with that.
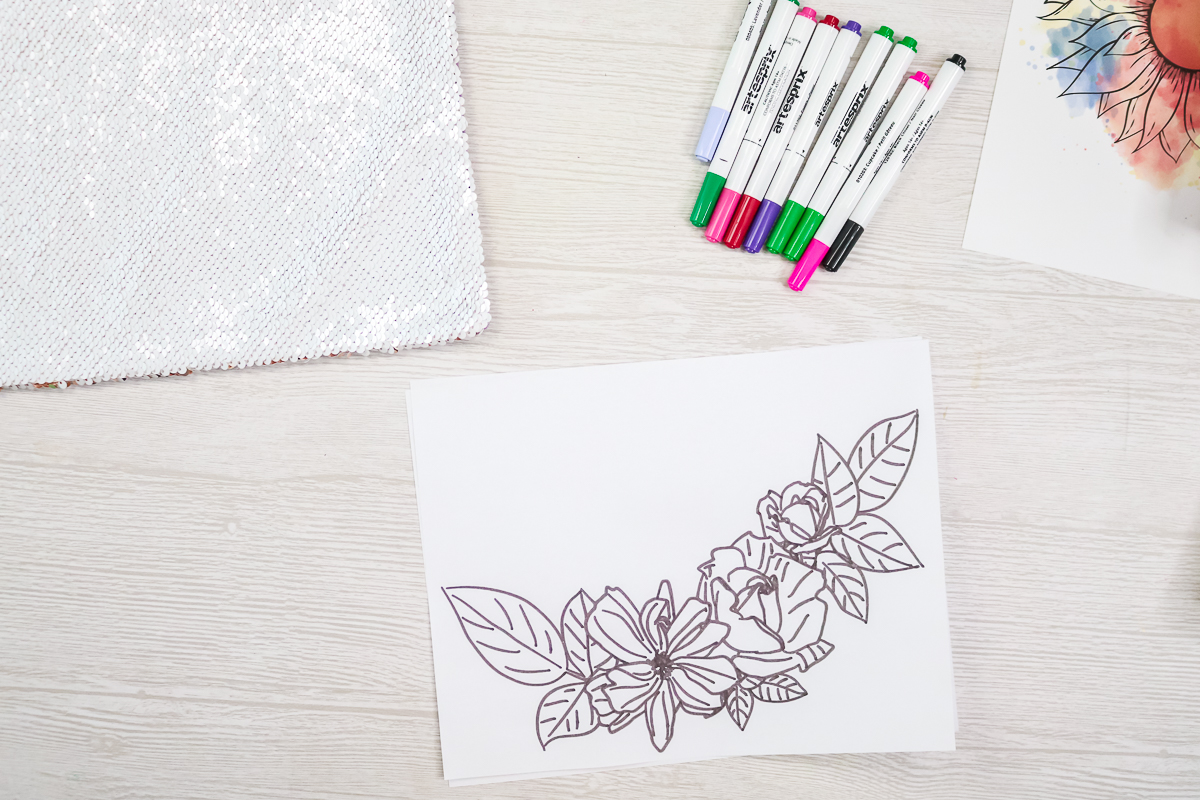
Remember that your design will be mirrored when pressing. You can color in your design like a coloring book page at this point, using any colors of the Artestprix Markers you like.
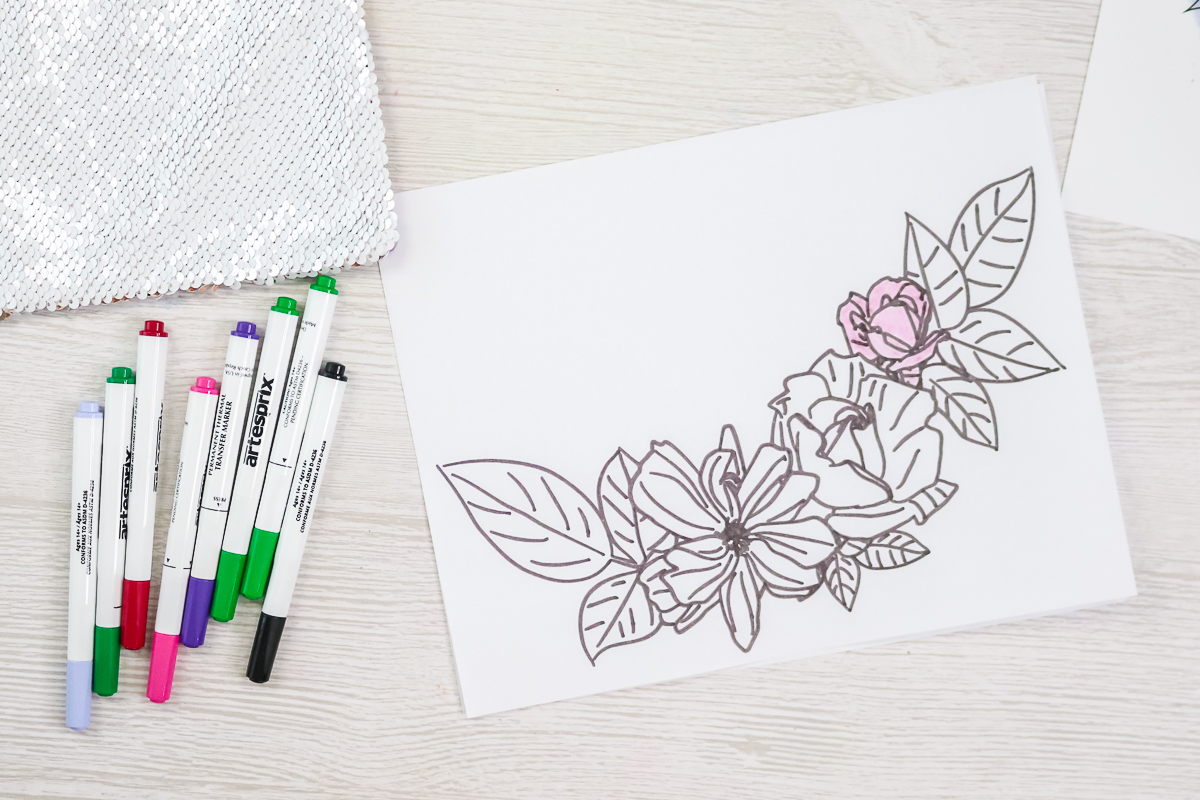
You can use regular copy paper, and draw or write anything that you would like! Remember, the colors may look dull until pressed. Just be sure to mirror all text or any design where direction is critical.
Option 2: Printing A Design With A Sublimation Printer
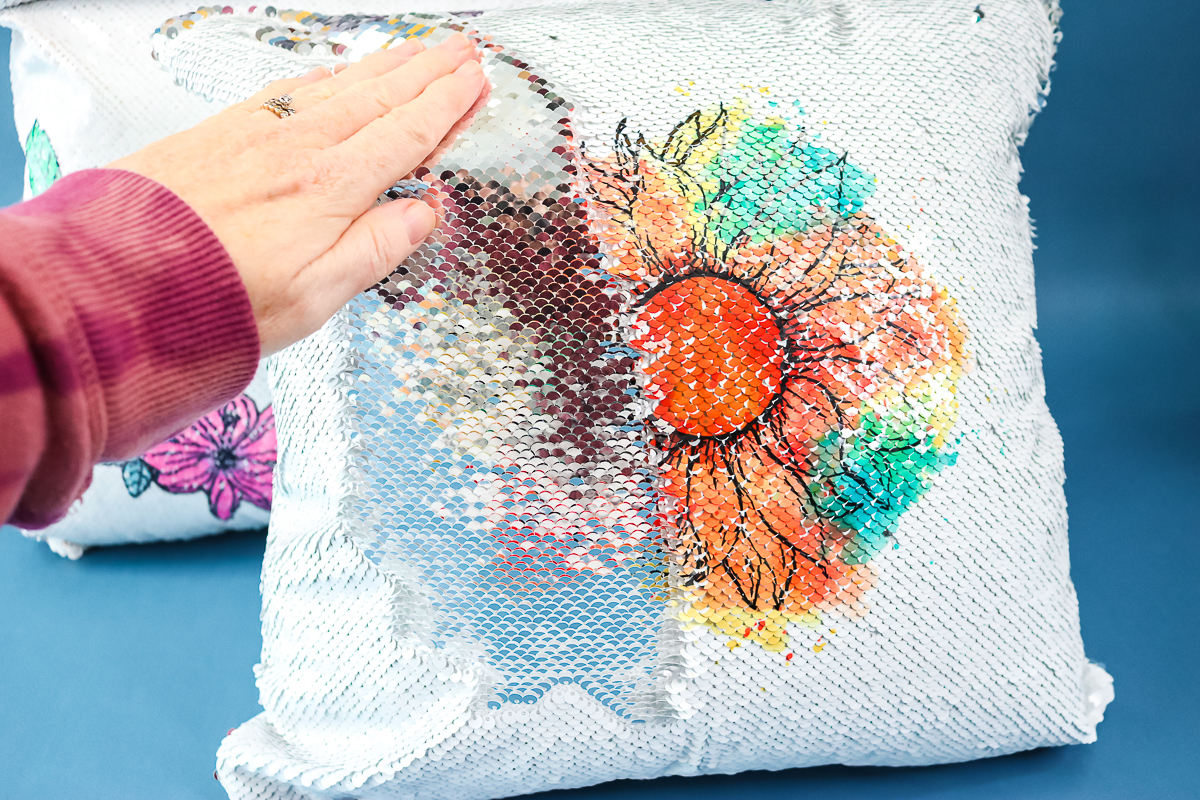
You can also use sublimation ink in a sublimation printer to print any image. I used my converted Epson printer to print a sunflower design for one pillow. Again, you will want to make sure this is mirrored when printing and print on sublimation paper. Always mirror when sublimating on sequins.
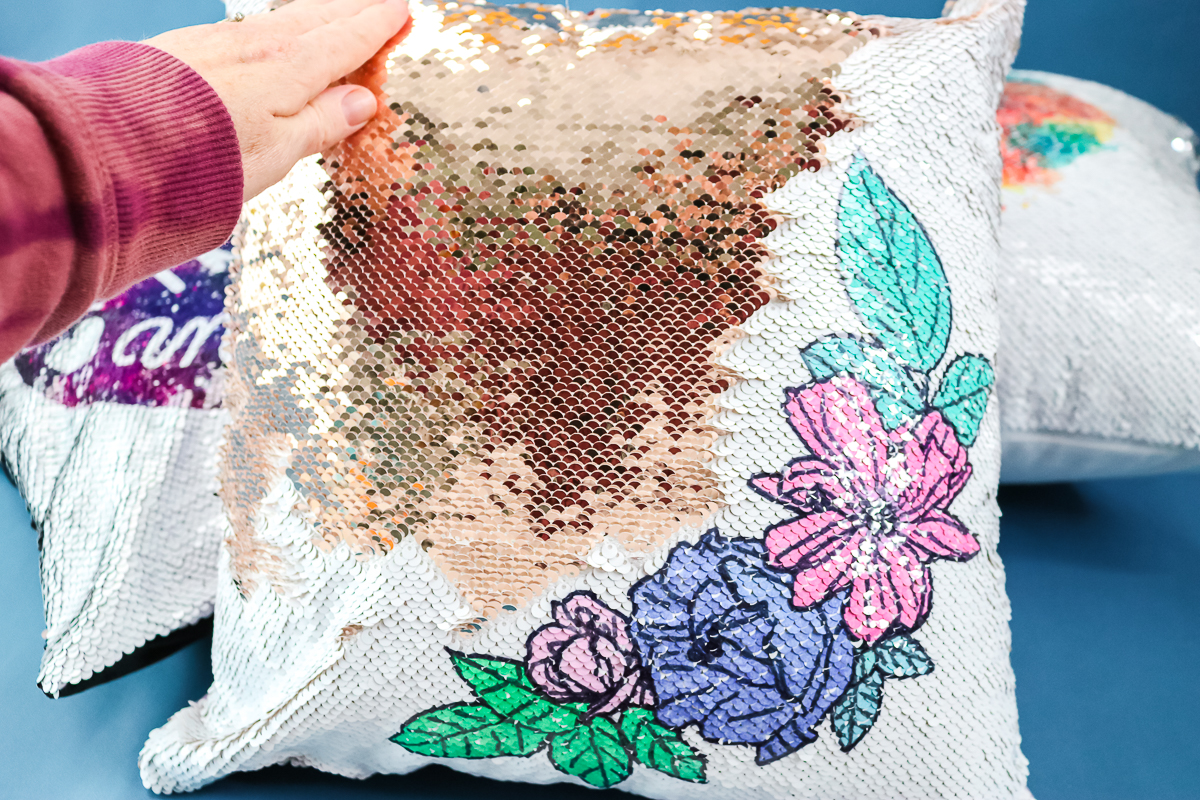
Option 3: Cutting Infusible Ink With A Cricut Machine
You can also use these sequin pillow covers with Infusible Ink transfer sheets. Just cut your design from your sheet with a Cricut machine. Again, you will want to mirror before cutting and follow all directions on my Infusible Ink guide here. The sheets I had were really curled, but I did find a way to make those work, so keep reading to see my tricks!
Pressing Your Sequin Pillow Covers
Now that you have your designs, it is time to sublimate on your sequins.
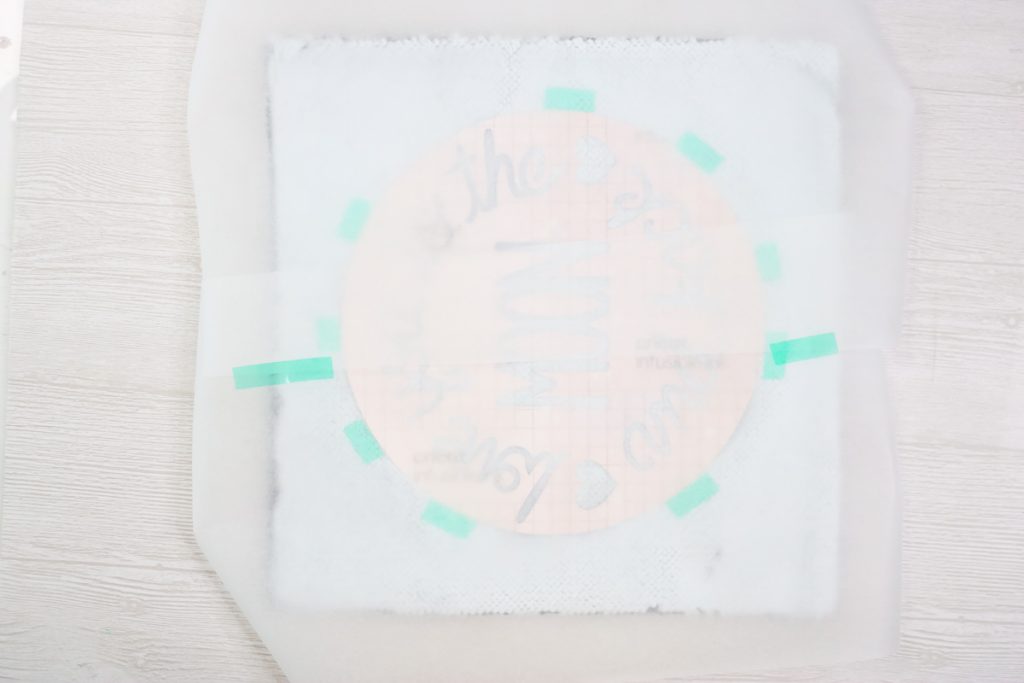
Step 1: Secure Design In Place
First, you will need to secure your design in place so it doesn't move when pressing. There is a trick to doing that on sequins. If you can avoid it, try not to add tape to the sequins themselves as you do risk pulling them off. For both the sublimation markers and print, I was able to secure the design to two pieces of protective paper first.
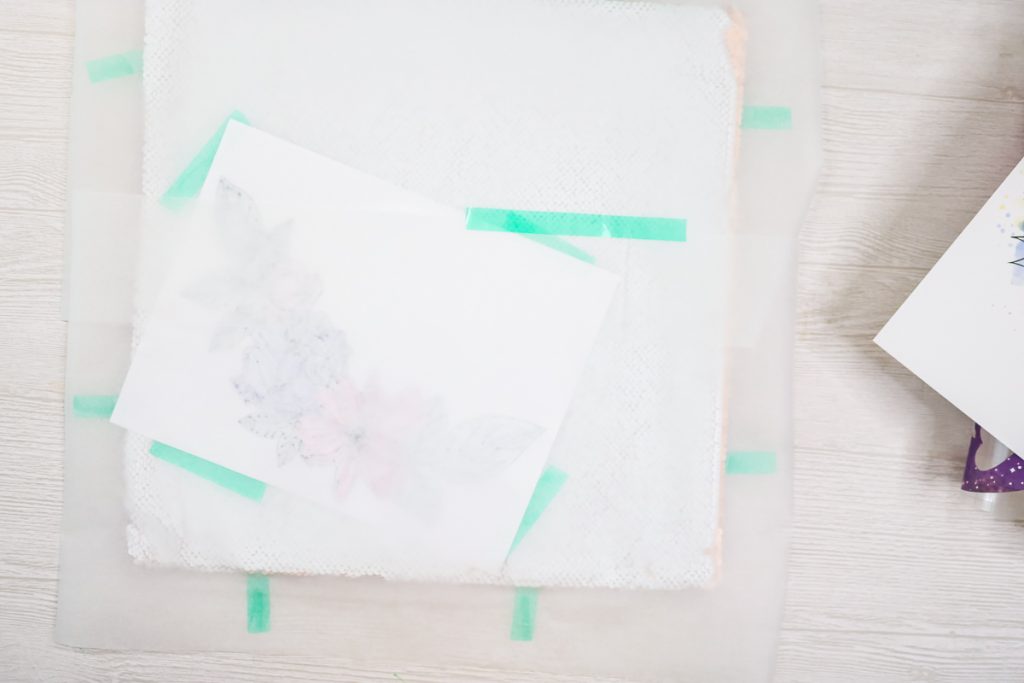
Step 2: Add Protective Paper
Then I put that design side down on the sequins and taped the protective paper to the BACK of the sequin pillow cover so that my tape didn't touch any sequins.
NOTE: Orient your design so the zipper on the pillow cover is down when in use.
The Infusible Ink sheet was way too curled to work with that same method, so I carefully taped it to the sequins using as little tape as possible. Once again, I covered the entire thing with the protective paper. I would use the protective paper over the whole pillow to protect your press and the exposed sequins.
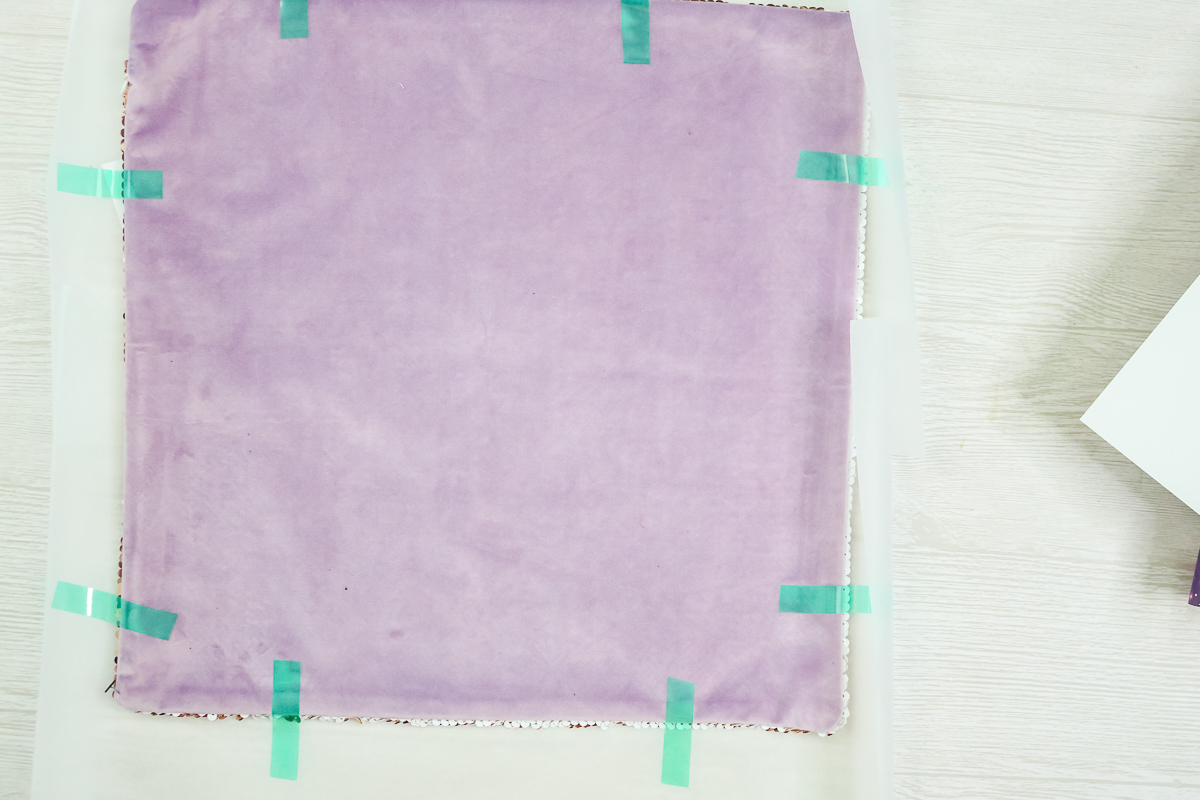
Step 3: Press Design
Now you are ready to press! Be sure to set the time and temperature on your press and allow it to heat up. Then try to press the design all at once if your press is large enough. For the Infusible Ink design, I did press twice with no issue.
NOTE: Be sure to protect the bottom of your press with some protective paper, just in case.
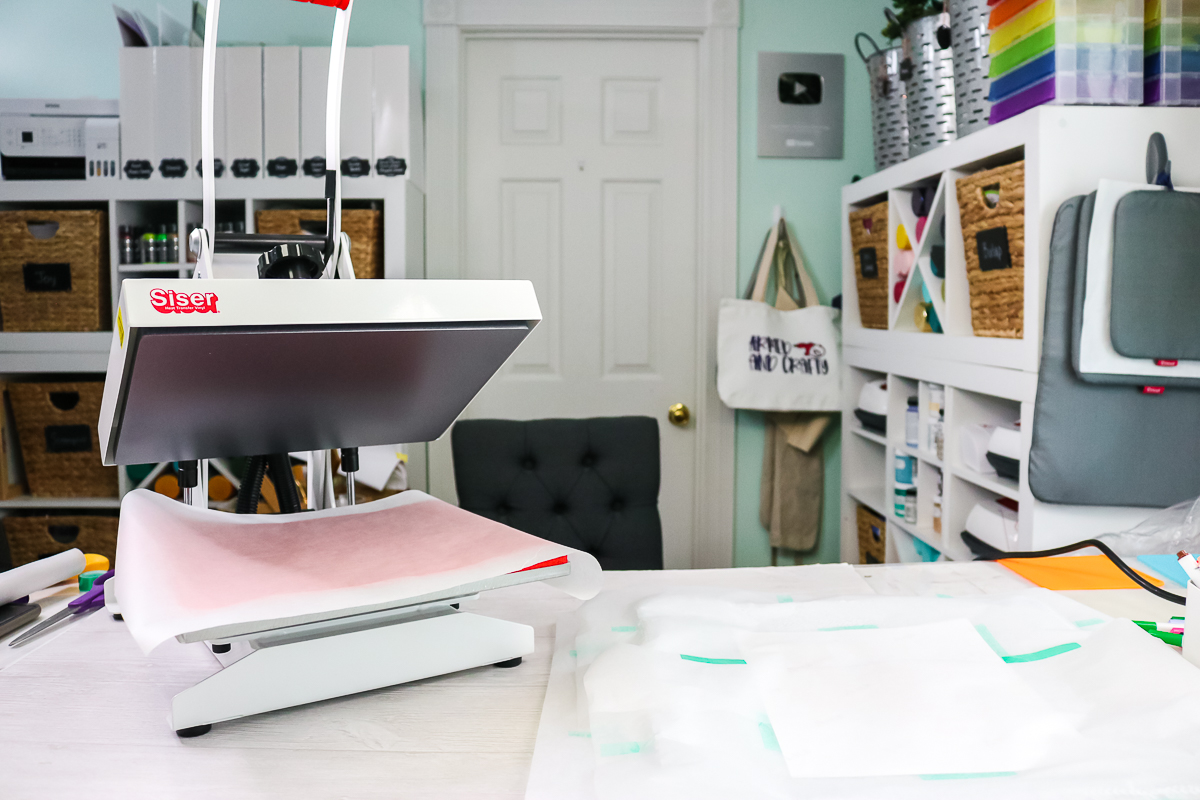
Be sure to check with the manufacturer's instructions for time and temperature. I used my heat press, as it does require heavy pressure. I think you might be okay with an EasyPress, but I would press as hard as you can. Once pressed, remove from the heat press and peel back your design. I like to wear heat-resistant gloves so I can peel them right away.
You can make as many of these cute pillows as you would like. Once you see how easy the process is, you will want to make them again and again!
Care And Use Instructions For Sublimation Sequin Pillow
Once your design is on your pillow, it is permanent. Follow all care instructions that are with your blank. I added a pillow form to the inside of each of my pillows, but they can be removed easily through the bottom zipper for washing.
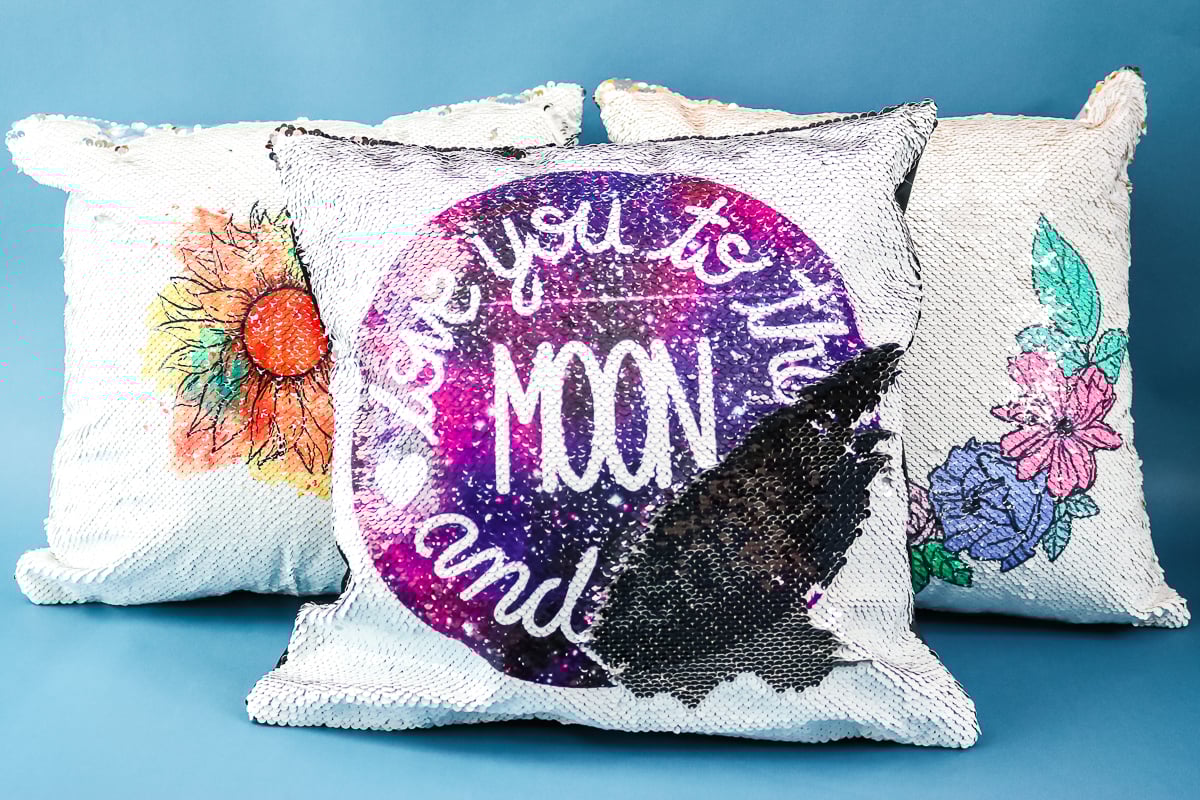
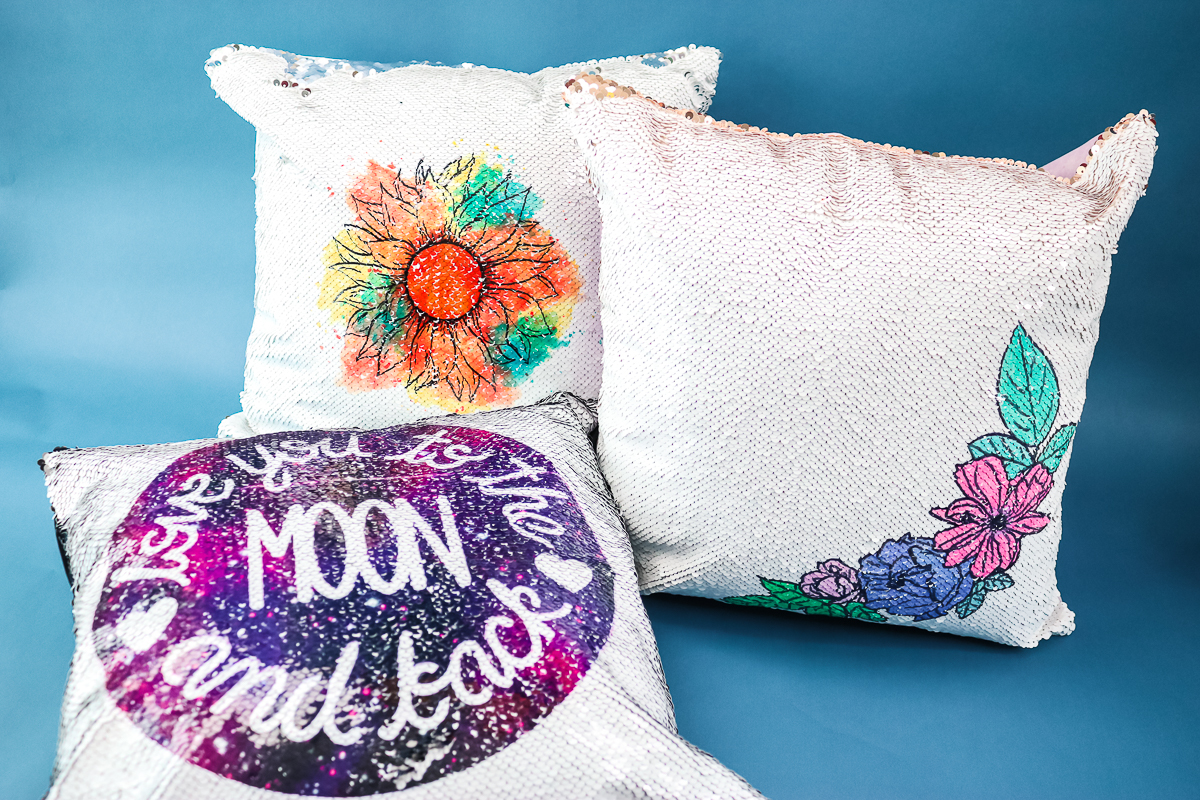
The pillows that I am using actually come in three colors. The one shown above has a black backing and black sequins. The pillow below has silver sequins with a white backing.
And, finally, there is a rose gold version with a purple backing. You may have heard these called mermaid pillows, and they are simply mesmerizing. and fun to play with. Flip your sequins to hide or reveal your design as many times as you would like!
These are also the perfect addition to a kids' room or a great gift for a teen or pre-teen on your list. Sublimation on sequins is an easy project and will look amazing in any room!
So, will you be giving sublimation on sequins a try in your home? Grab your sublimation pillow covers and start making cute pillows that the entire family will love!
FAQs About Sublimation Sequin Pillow
Here are answers to some of the most frequently asked questions I receive about creating a sublimation sequin pillow. If your question isn’t listed, feel free to drop it in the comments, and I’ll be happy to help!
Can You Use Any Sequin Type Fabric Or Does It Have To Be A Special Type?
You should look for blanks specifically labeled for sublimation. I want to ensure you don't waste money on other blanks that might not work!
How Did You Cut That Size For The ”I Love You To The Moon And Back” In Cricut Design Space?
I think I cut it at around 11.4 inches. You just want it to be less than 11 1/2 inches.
What Kind Of Paper Did You Use For The Infusible Ink Markers?
Just regular copy paper!
I Wonder If You Could Flip The Sequins And Do Another Design On That Side?
Both sides would need to be able to accept the sublimation coating.
I've Not Used Infusible Ink But Could You Roll The Design The Other Way To Flatten Before Pressing?
I tried, and it was still way curly! I just gave up, but this way ended up working!
Can You Use A Heat Press 2?
The issue with using an EasyPress is that these require quite a bit of pressure. I haven't tried it myself. You can definitely experiment, but I can't guarantee results.
Is There A Difference Between Protection Paper And Butcher Paper Or Parchment?
There are differences in all of them, yes. I use protective paper that is made for sublimation, as that is my preference. Butcher paper is a good substitute. Parchment paper is not meant for sublimation, and I don't recommend it.
6 More Sublimation & Infusible Ink Crafts
Did you love this sublimation sequin pillow, and are looking for more sublimation and infusible ink crafts? Then check out the projects below!
- How to Use a Sublimation Stamp Pad
- Grocery List Board with a Free Kitchen SVG
- Infusible Ink Coasters with Constellations
- Pet Sublimation Blanks for Dogs and Cats
- How to Make an Infusible Ink Blanket
- DIY Makeup Bag Using Cricut Infusible Ink