
Are you ready to learn how to add sun protection to sublimation projects? Let's chat about UV-resistant sprays to help protect your sublimation designs from fading in the sun.
While sublimation is permanent on the surface, it can fade in the sun, so you'll want to add protection to projects that get sun exposure.
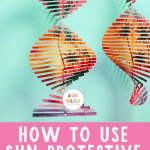
To show you how to add sun protection to your sublimation project, we're going to make a helix wind spinner. Click play on the video below to watch me make the project from start to finish.
Why Do You Need Sun Protection on Sublimation Projects?
First of all, you do not need to add sun protection to every sublimation project you make. This process is for projects that will be outside for an extended period of time in the sun.
Think about things like wind spinners, wind chimes, garden flags, and porch signs. Those types of projects are put outside and typically left there for the season. Adding a protective layer will help keep your prints vibrant longer.
I do want to note that UV protective sprays are not magic. I can't promise it will make your project last forever, but it will help protect your sublimation print, which will make it last longer.
What Sun Protection Should You Use?
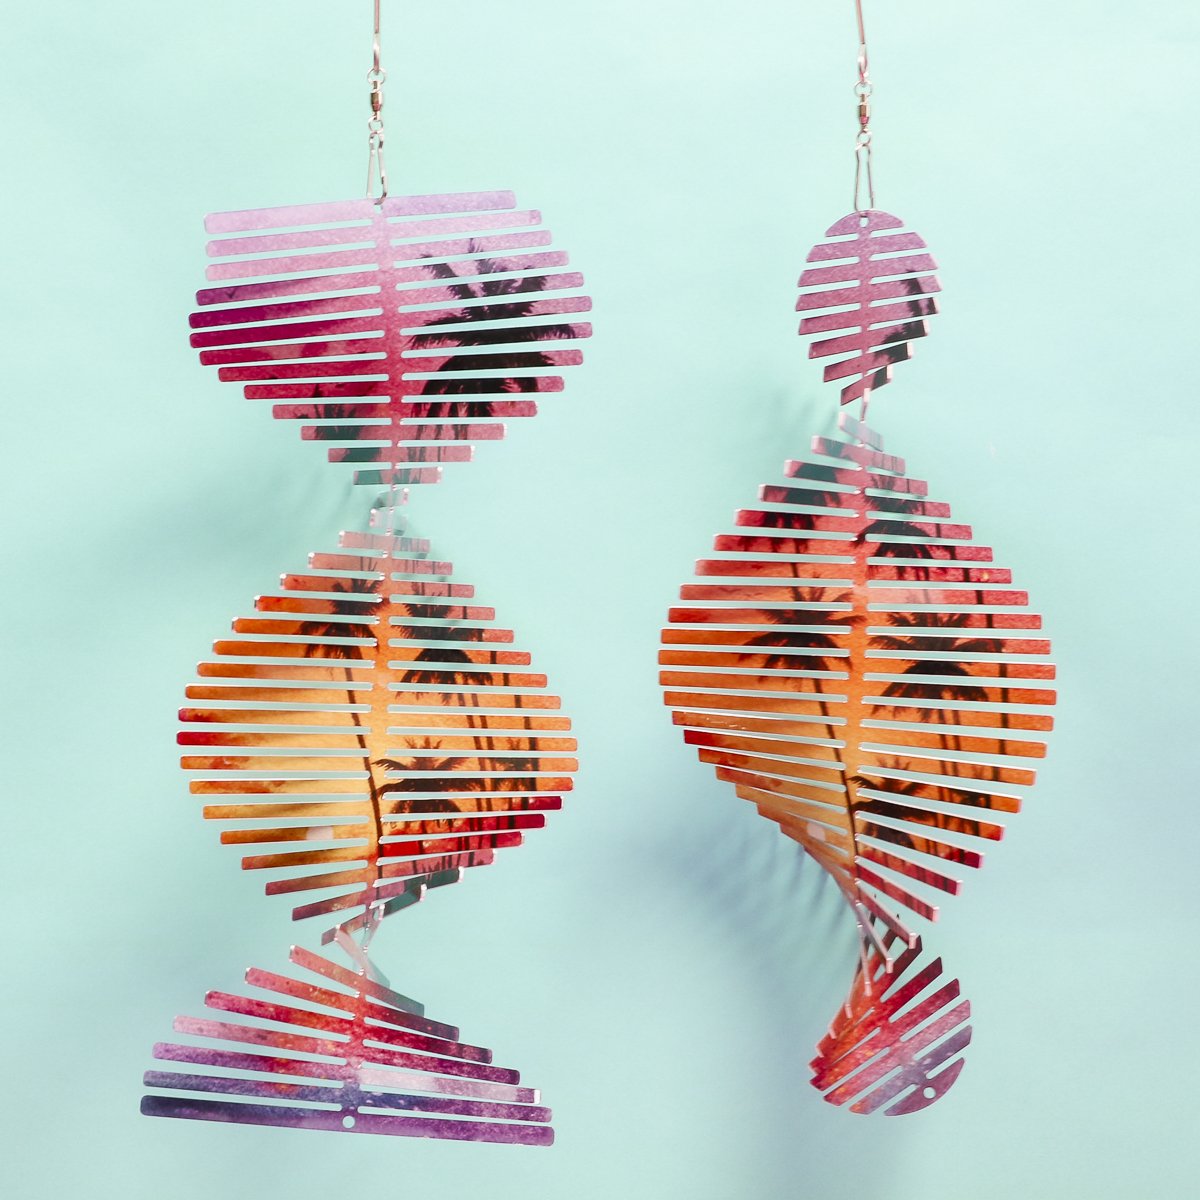
There is a wide variety of UV-resistant sprays on the market. There are options for hard surfaces and soft surfaces. Make sure you use the type best for your surface.
Today, I am using a matte spray for hard surfaces. There are also gloss options if you prefer that look.
How to Use Sun Protection Spray
Let's make a helix wind spinner to demonstrate how to use the spray to protect your sublimation crafts.
If you've made a sublimation wind spinner before, the process is similar. I love that these are very different from regular wind spinners. They look really cool and are an easy project to make.
NOTE: Follow the directions for the sun protection you choose. You may need to reapply from time to time for the longest-lasting results.
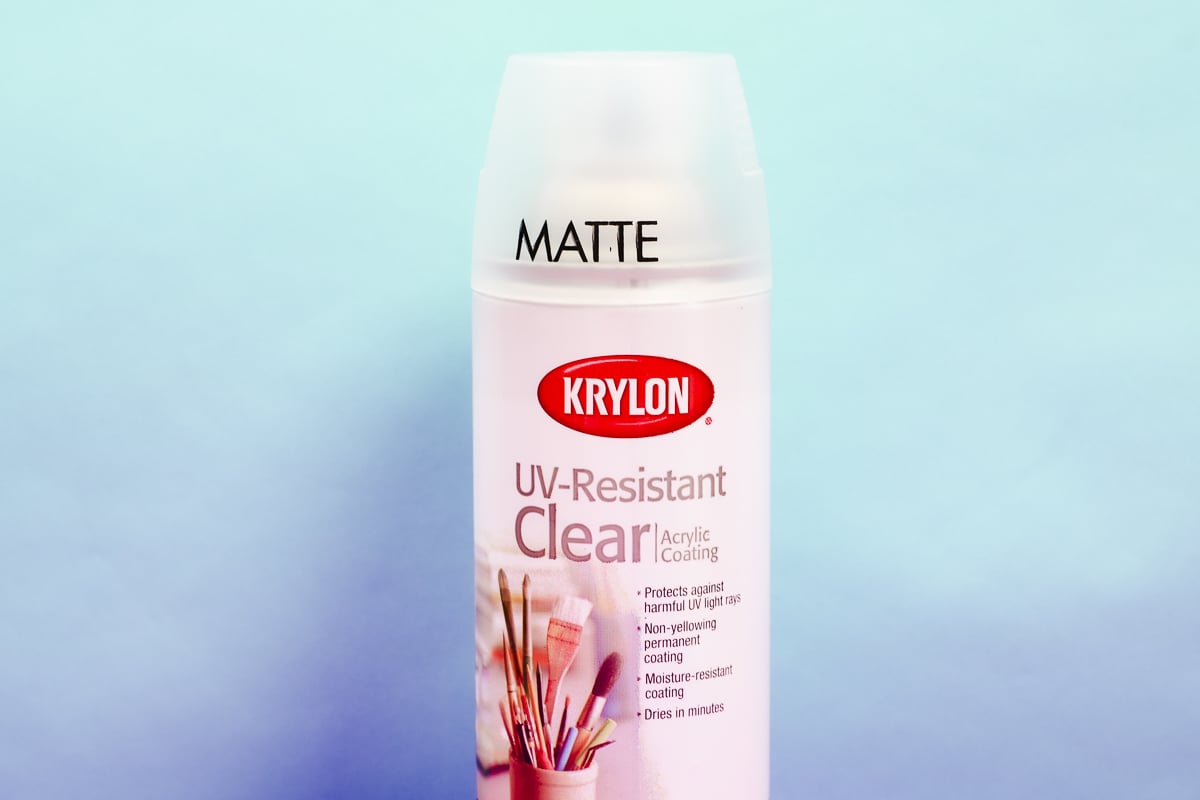
Supplies Used
- Free Sublimation Design
- Sublimation Spray (options include Matte, Gloss, and Fabric)
- Rectangle Helix or Oval Helix
- Autopress
- Heat Resistant Mat
- Brother Sublimation Printer
- Sublimation Paper (NOTE: To make these projects, you'll need 8 1/2 by 14-inch sublimation paper. The blanks are too long for 8 1/2 by 11-inch paper.)
- Lint Roller
- Heat Resistant Tape
- Heat-resistant Gloves
- Tape Dispenser
- Protective Paper
- Paper Dispenser
Step 1: Create Design in Canva
I am using Canva for my design today. Create a custom-sized canvas to match the paper size 8 1/2 by 14.
Click Uploads, Upload File, and upload the image that is on your computer.
Click on the image to add it to the canvas and resize as needed. I am making mine slightly oversized at just over 11 inches tall and over 5 inches wide.
Center the design on the canvas and click Share.
Step 2: Print Sublimation Design
You cannot print directly from Canva. Choose PDF for Print and CMYK and click Download.
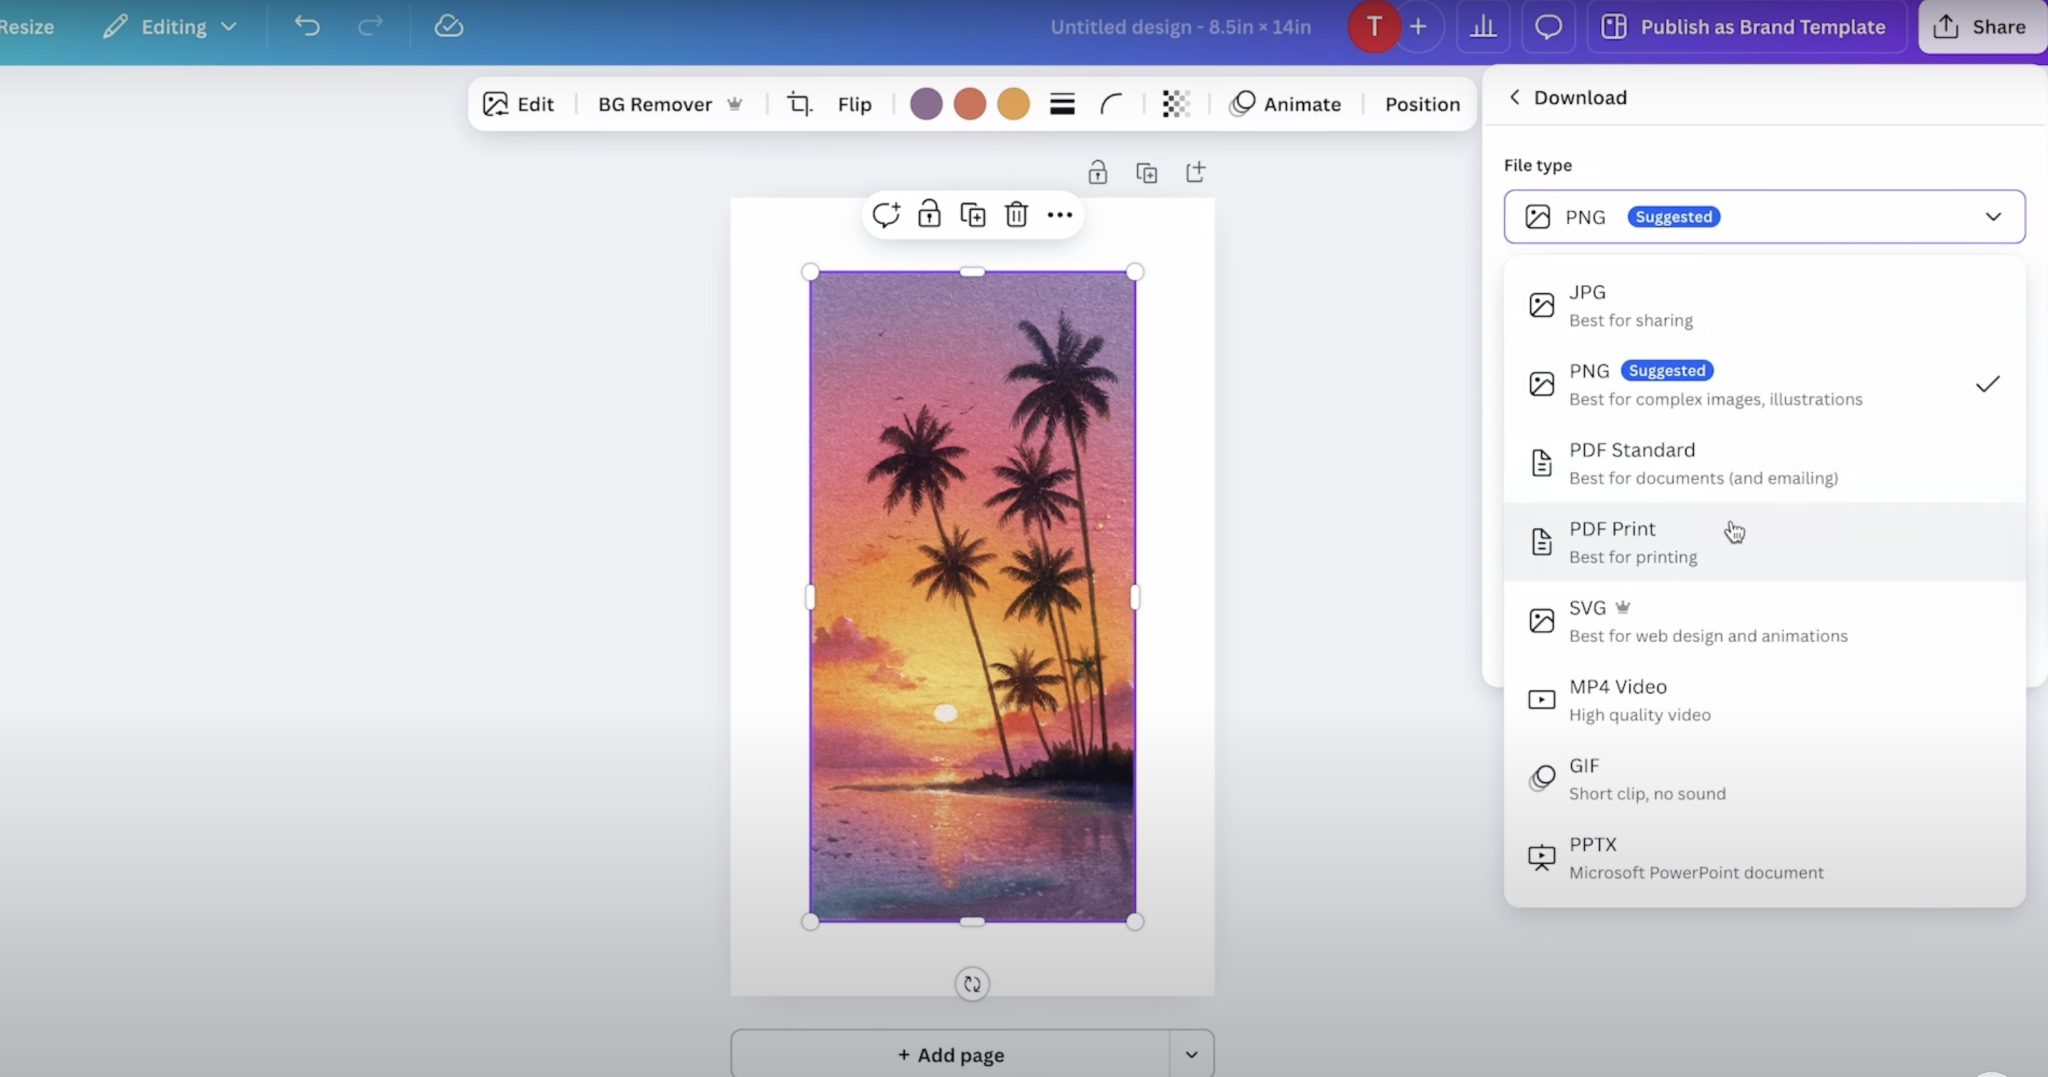
Open the file, mirror the design, and print to your sublimation printer.
You need to print sublimation ink on sublimation paper.
Step 3: Prepare Sublimation Wind Spinner
Remove the wind spinner from the wrapping. If you've had it out of the wrapping for any length of time, lint roll it to remove any dust or other debris.

Step 4: Locate Print on Wind Spinner
Both sides of the wind spinner can be sublimated. I am adding designs to both sides of my wind spinner.
Trim one print, removing all of the white. Locate the wind spinner on the print and trim away, leaving only a little excess.
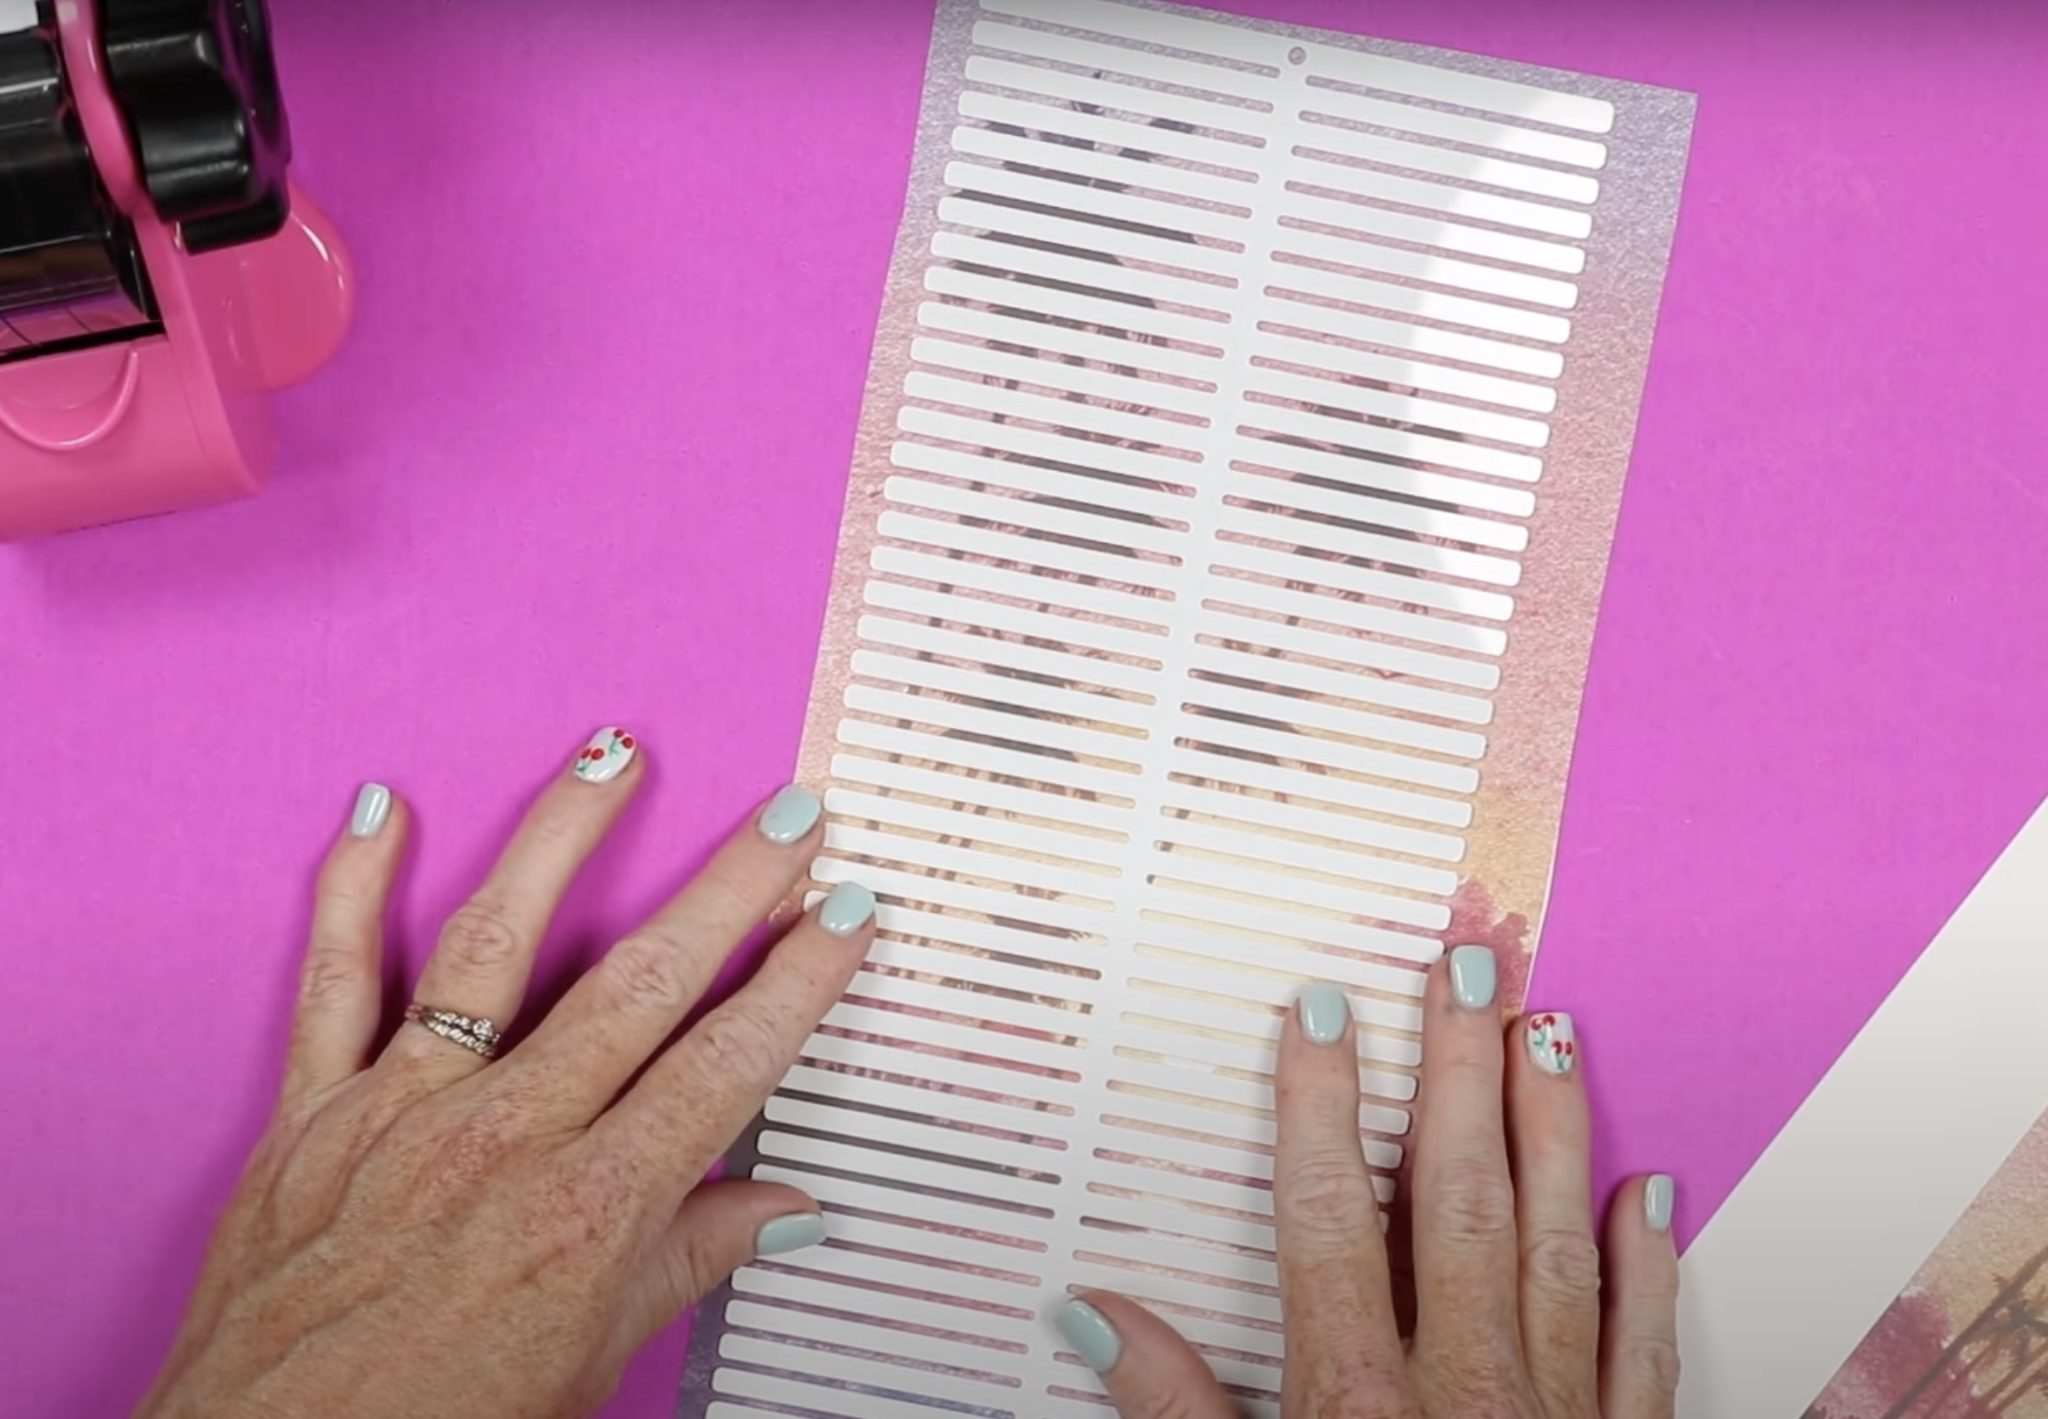
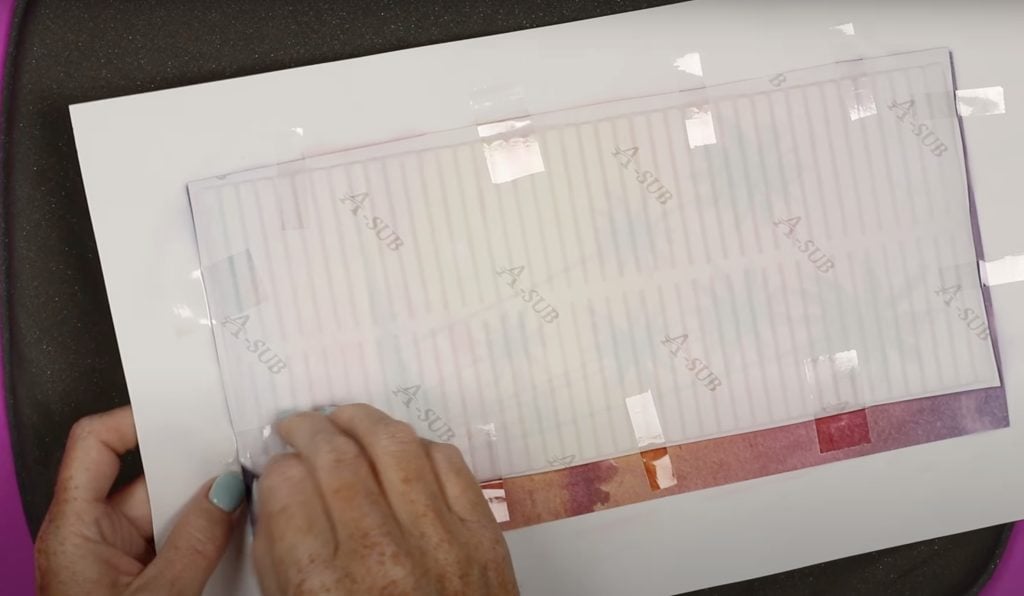
Locate the wind spinner on the print that hasn't been trimmed. Place the trimmed print on the top and sandwich the wind spinner between the two prints.
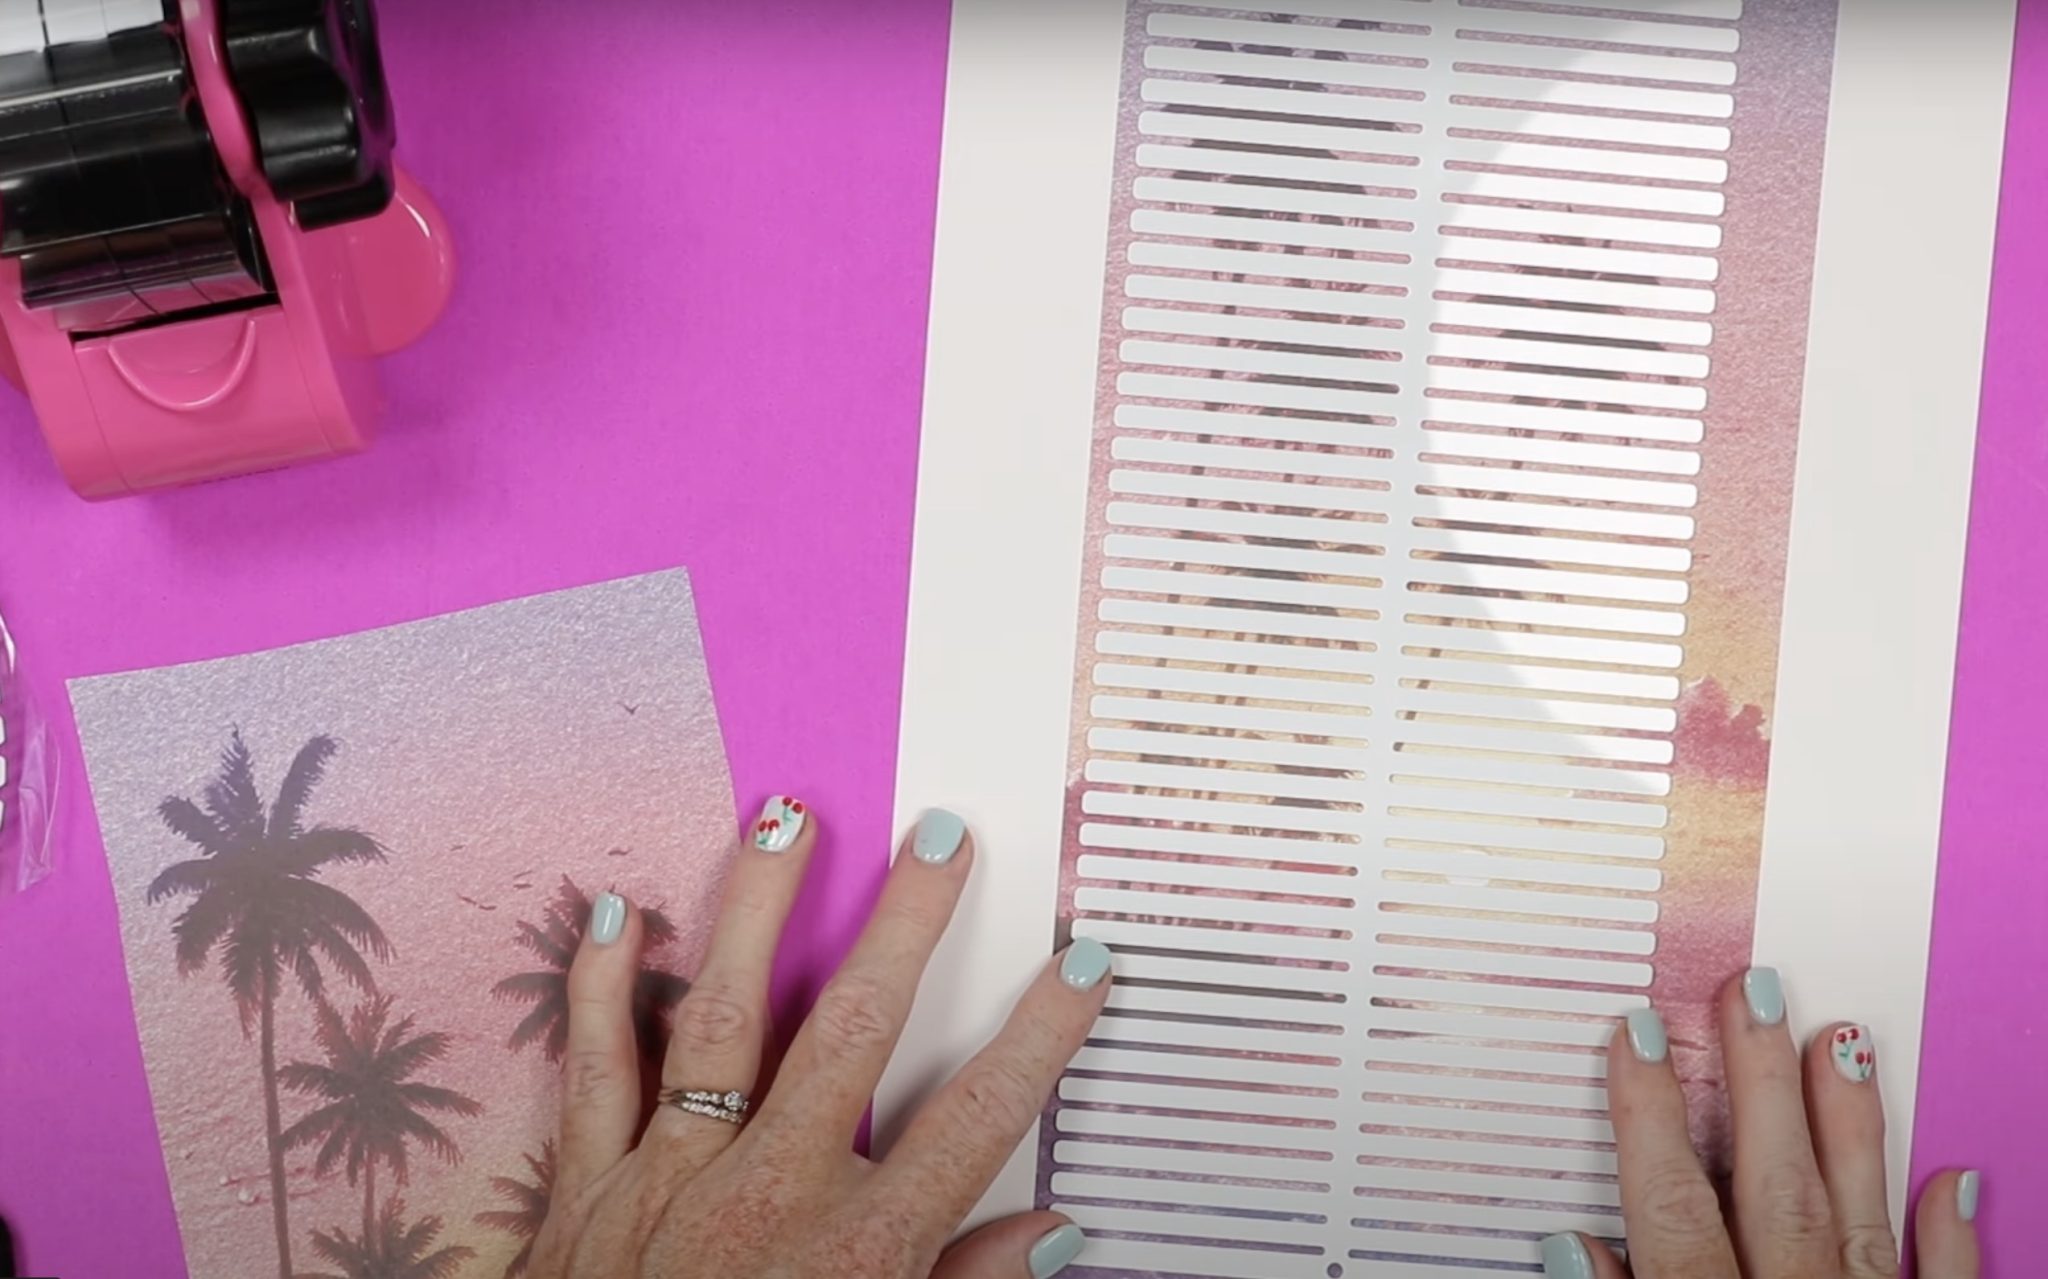
Use heat-resistant tape to secure the wind spinner between the prints. Make sure everything is secure; we don't want anything to move when we flip it all over.
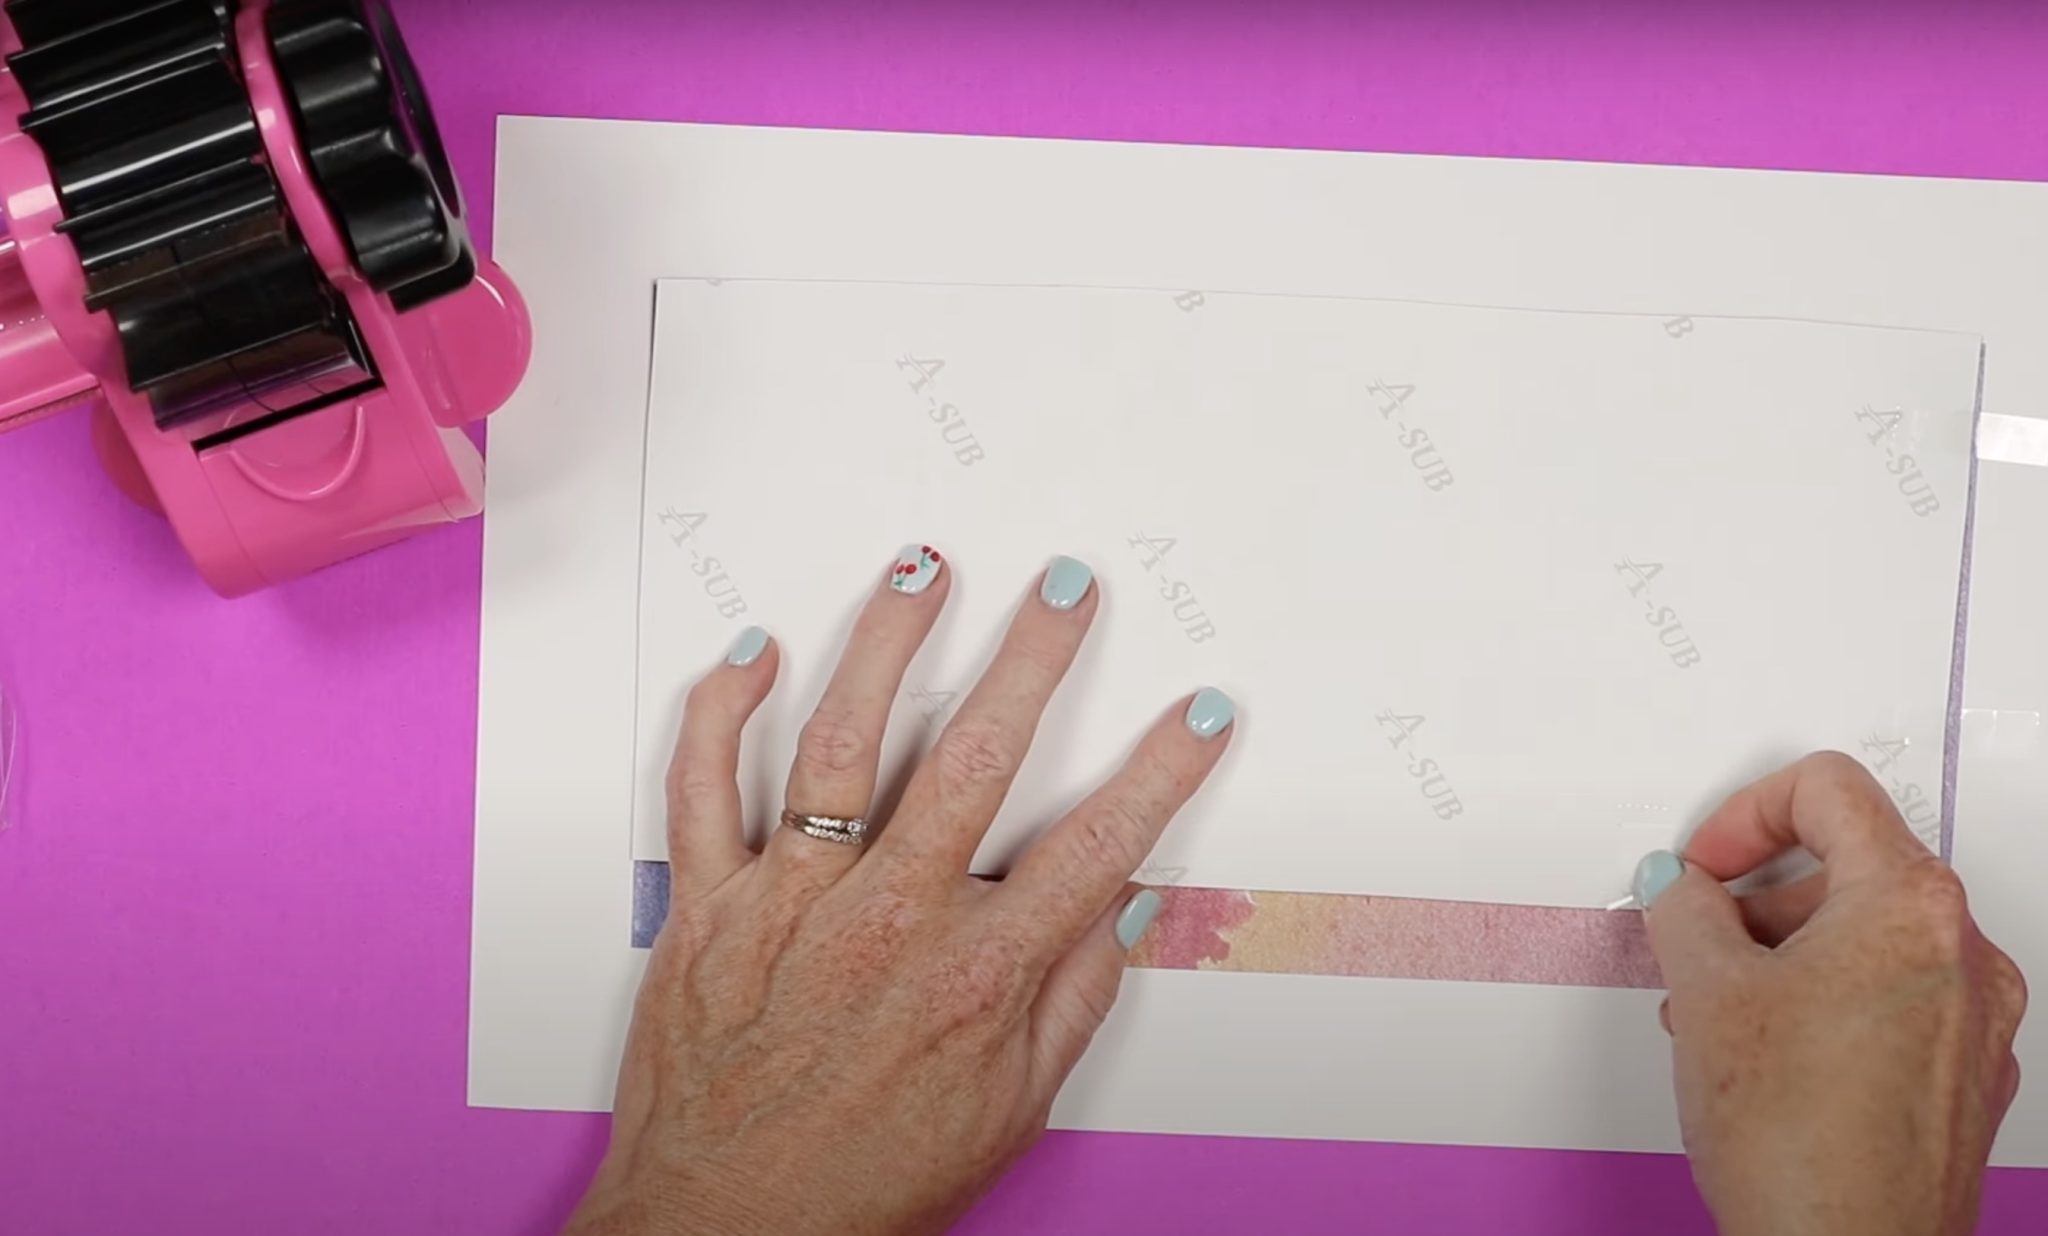
Step 5: Press Sublimation Wind Spinner
Add protective paper to the top and the bottom of the sublimation sandwich and press at 385 degrees for 60 seconds.
You can use any heat press for this project. I am using a Cricut Autopress. I removed the mat that comes with the Autopress and placed a firmer mat on the bottom.
Press for 60 seconds and then gently flip the whole thing over and press again for 60 seconds.
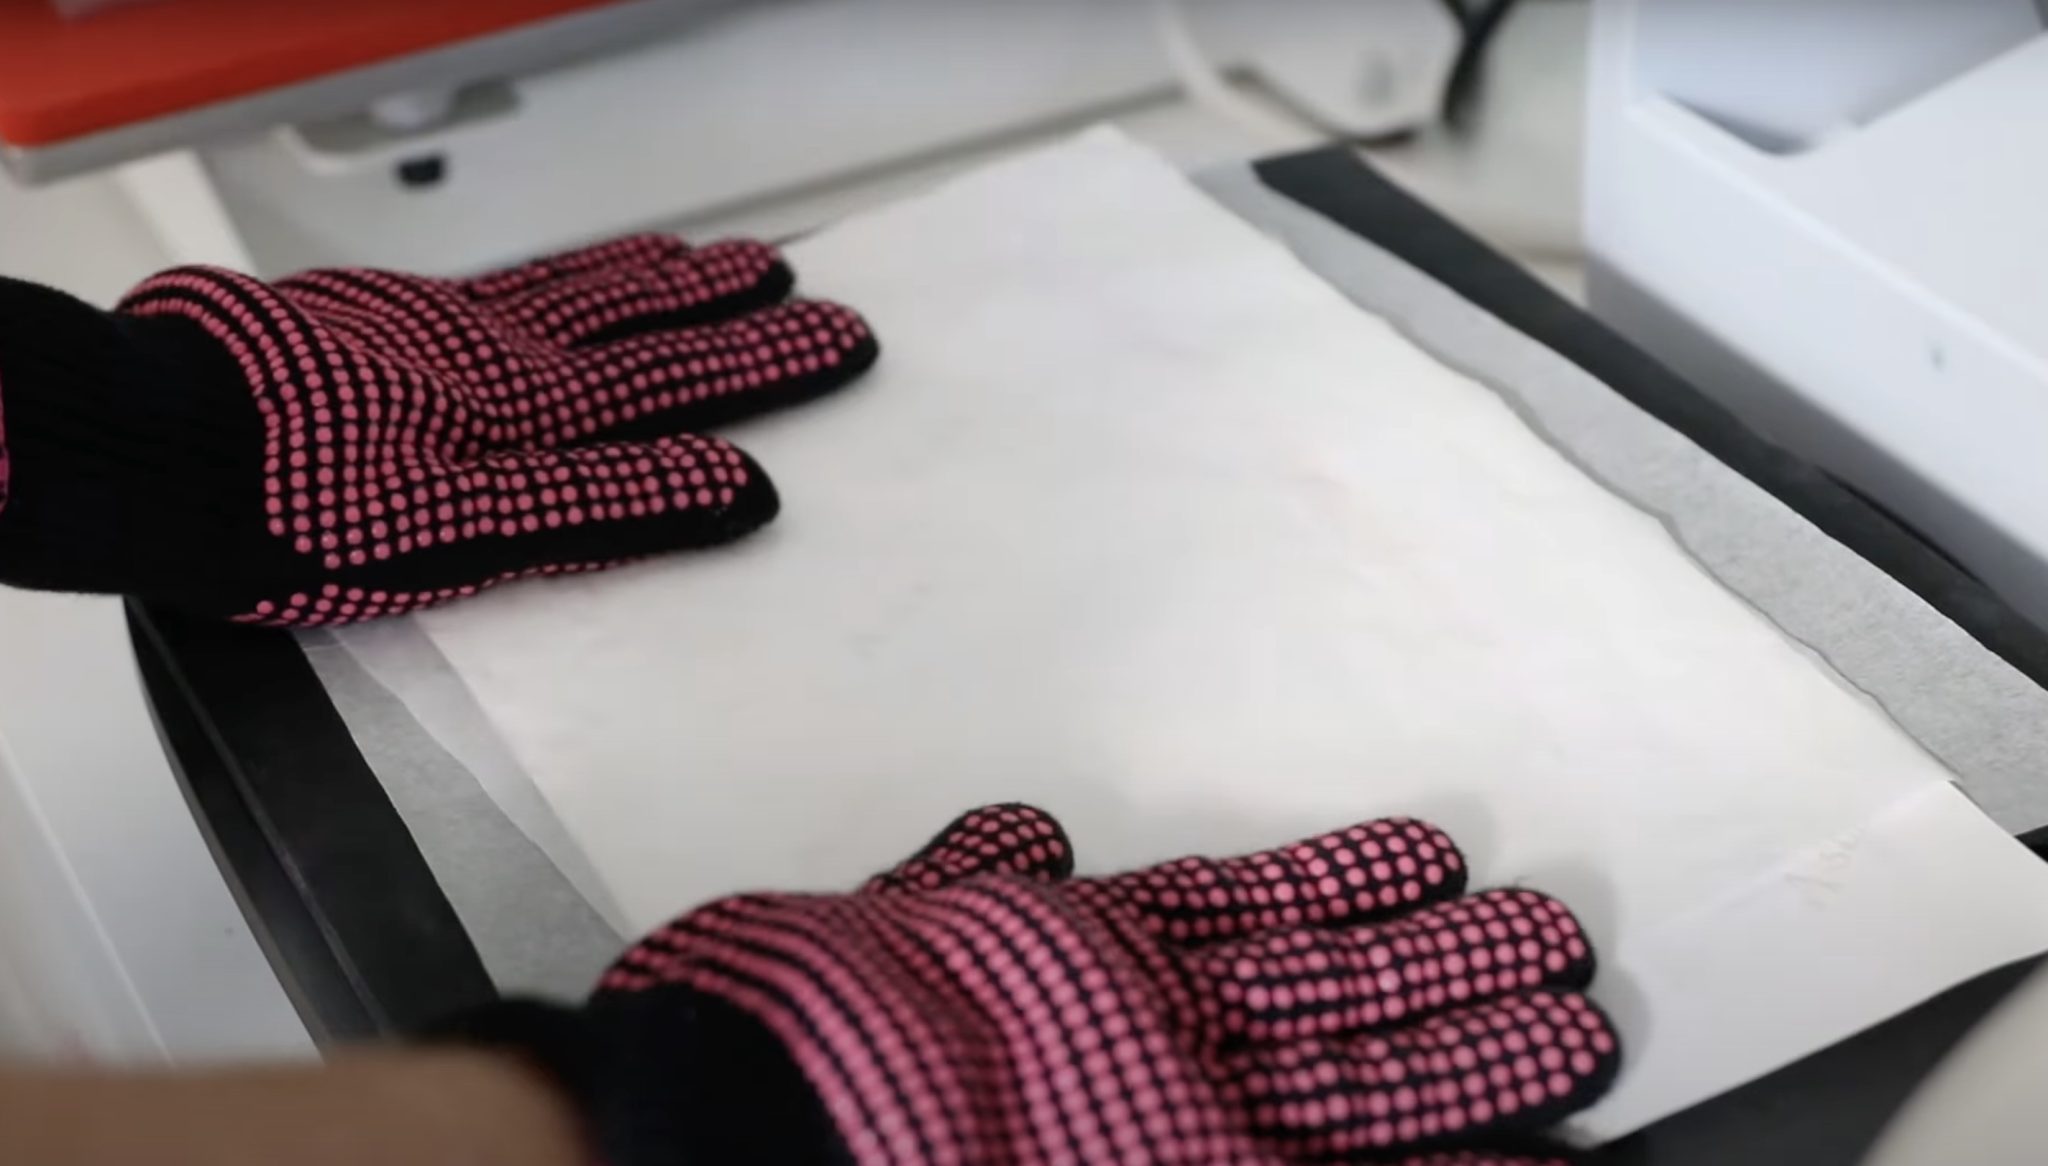
When the time is up, remove everything from the press and place it on a heat-resistant mat. It will be very hot, so protect your fingers.
Step 6: Reveal Finished Sublimated Wind Spinner
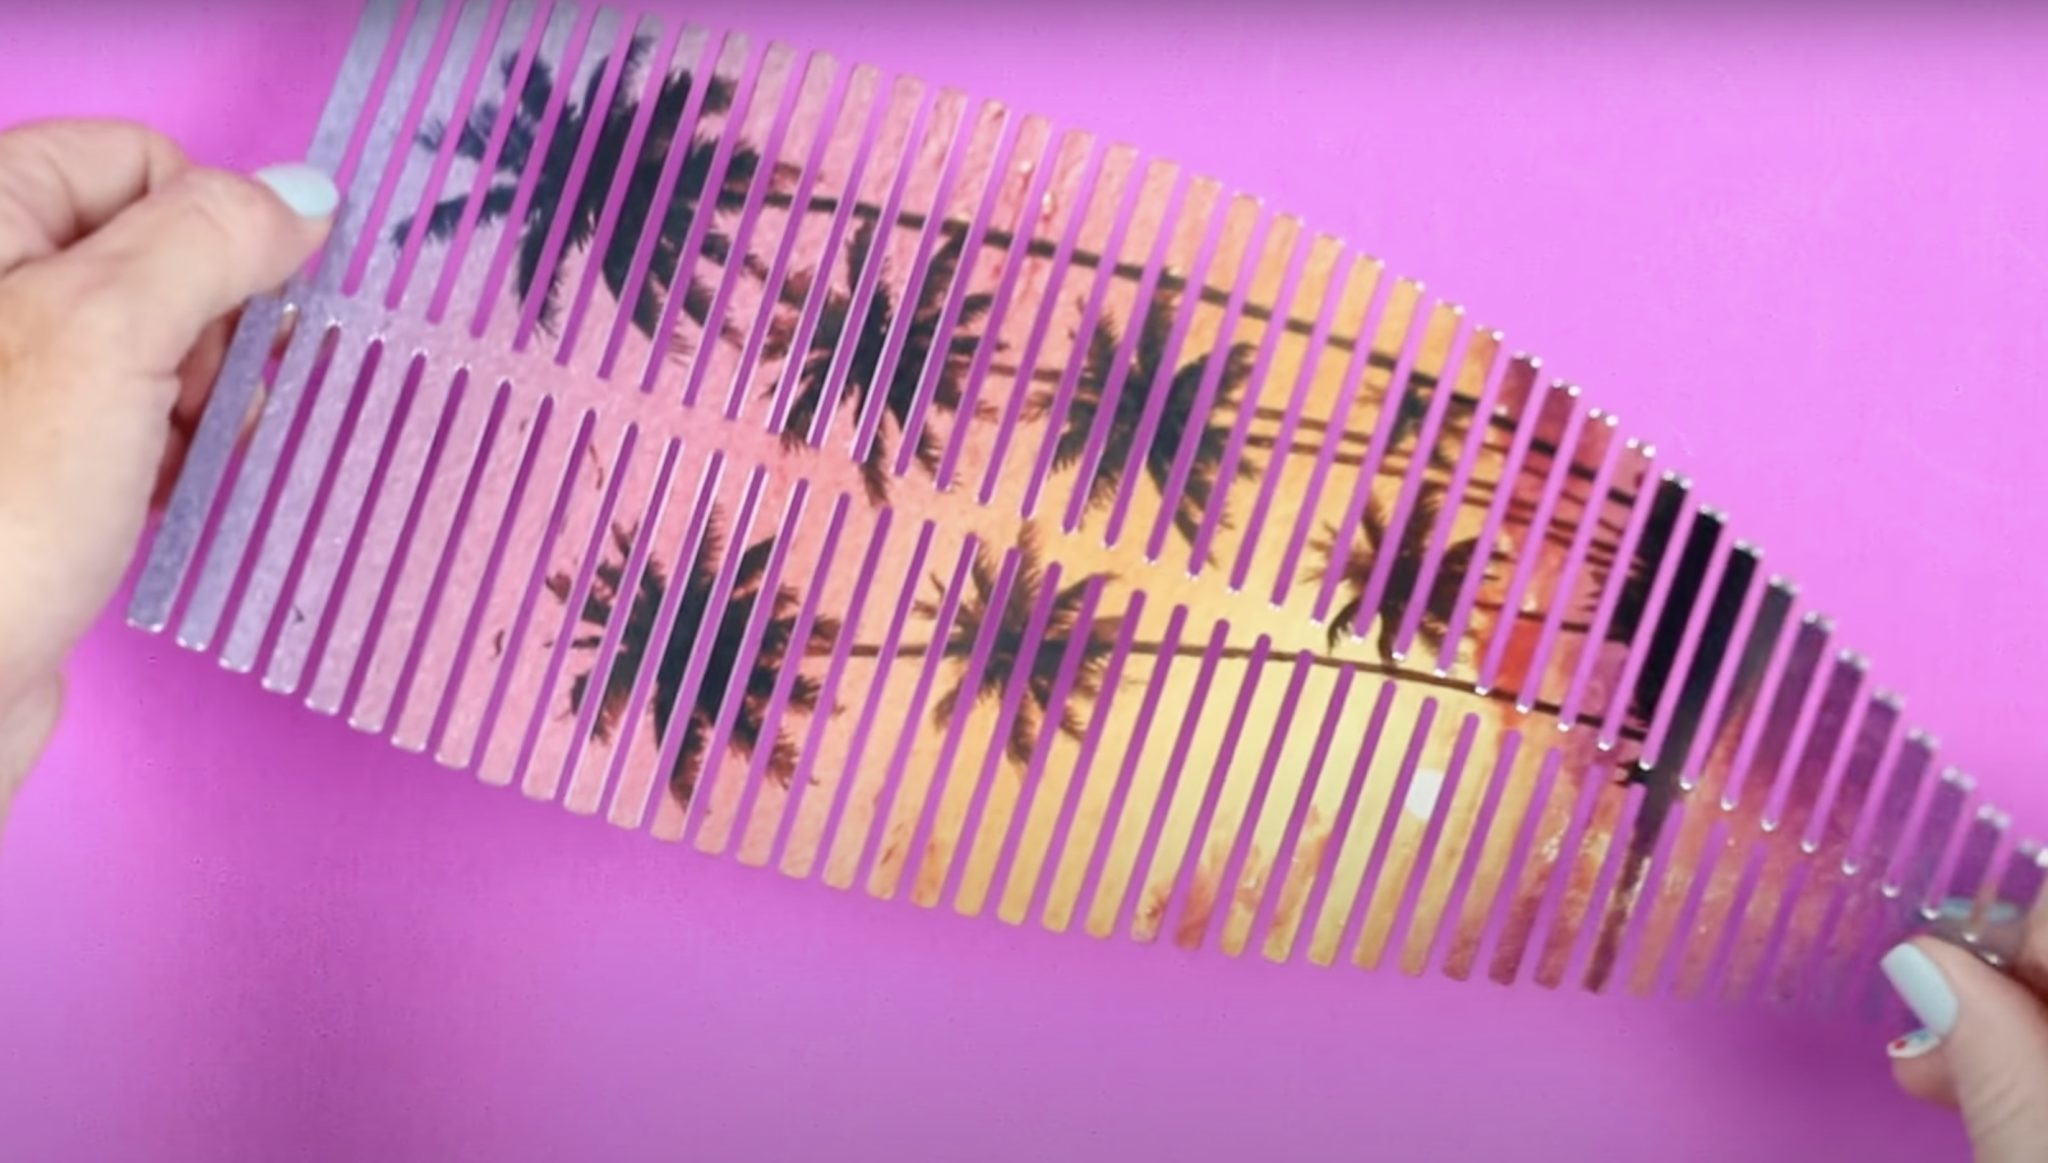
Remove the protective paper and the sublimation prints from both sides.
These turned out beautiful, they pressed really easily, and I love that you can use any press to make them.
Step 7: Add Sun Protection to Sublimation Wind Spinner
Once the sublimation is added, we can add the sun protection. I am following the directions for the UV-resistant spray I am using.
Shake the can for at least two minutes and apply multiple thin coats over the surface, holding the can 10-12 inches away.
I am doing three to four coats, allowing each coat to dry at least 10-15 minutes before applying the next coat. You can handle the project after two hours, but I would wait at least 72 hours before using the wind spinner.
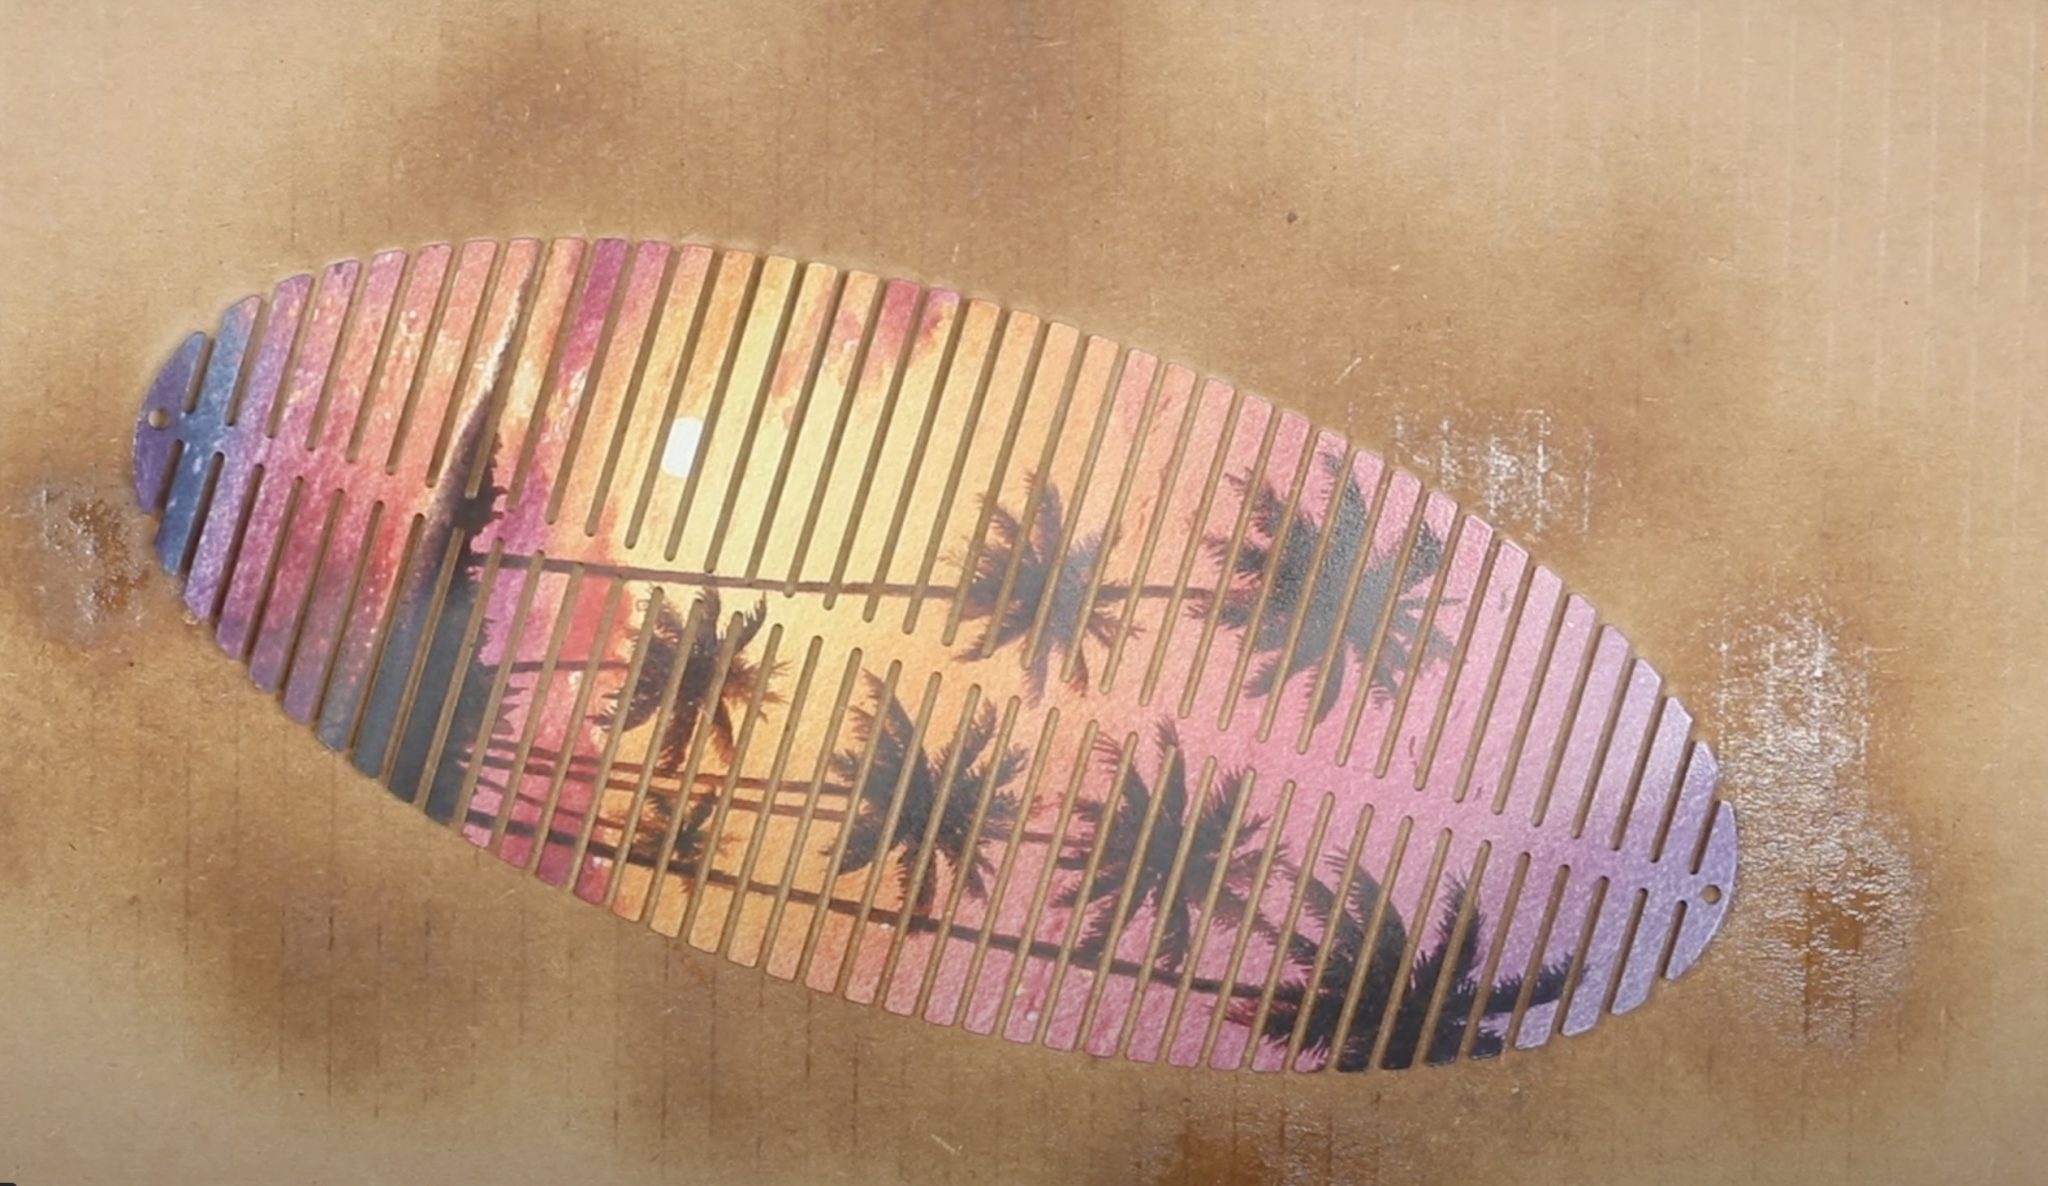
Apply the spray outdoors or in a well-ventilated area. Protect the surface the wind spinner is lying on. I have mine placed inside a cardboard box.
The spray you choose may alter the finished look of your project.
The wind spinner itself is glossy; it will still be glossy when you add the sublimation. If you add a matte spray, it will change the appearance, and the surface will be less glossy.
Make sure to consider what results your sun protection may give you after it is applied.
Step 8: Assemble Wind Spinner
After the sun protection has dried and cured, you're ready to assemble.
To assemble this type of wind spinner, you'll want to hold each end and twist them in opposite directions.
I found this easy to do, and you can twist it as little or as much as you want to get the look you're going for.
When you're done twisting, your wind spinner is ready to hang. Each wind spinner comes with a spinner hook and has a hole at the top and the bottom, so you can hang multiple together if you want to.
Now, we're ready to hang our helix wind spinner outdoors, where we can watch it spin in the wind.
When to Add Sun Protection to Sublimation Blanks
This project is just one example of adding sun protection to sublimation projects. I always recommend adding a UV-resistant spray to sublimation projects I am placing outdoors, even if it's in indirect sunlight.

This will help lengthen the life of your outdoor sublimation projects.
Sublimation is permanent once you put it on a sublimation blank and doesn't generally need any type of sealer. The job of the UV-protection isn't to make the sublimation permanent, it's to help block the UV rays. If you have had issues with your projects fading in the sun, this may help!
If you have any questions about adding sun protection to sublimation projects, leave them in the comments, and I'll be happy to answer them for you.
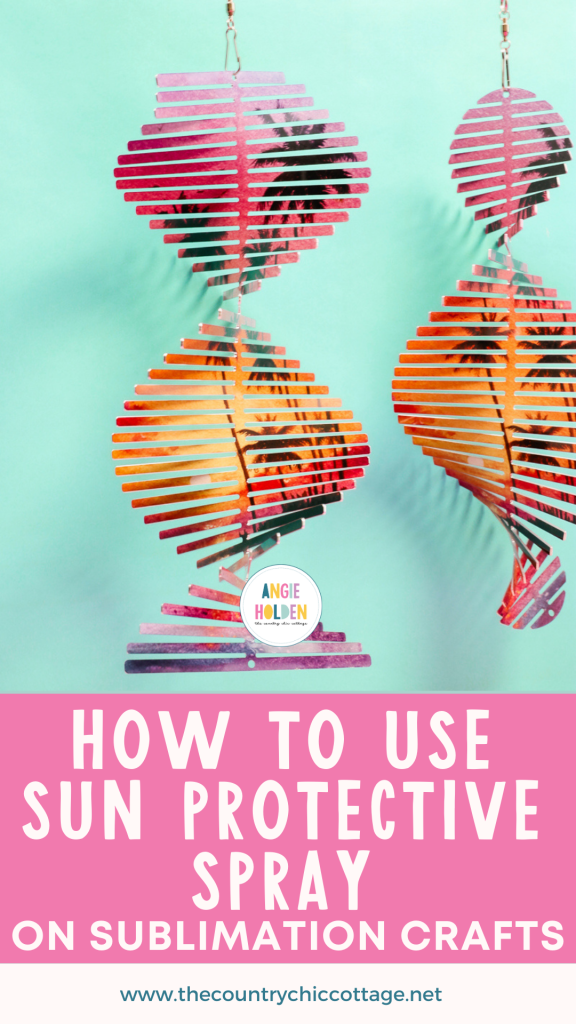


I love the idea of making a wind spinner. In the example that you show to begin with the spinner is rectangular in shape. Yet, the end example is oval. Did you cut the original sample? If so, how was it cut?
I used two different blanks. One is a rectangle and one is an oval. There are photos of both in the tutorial 🙂