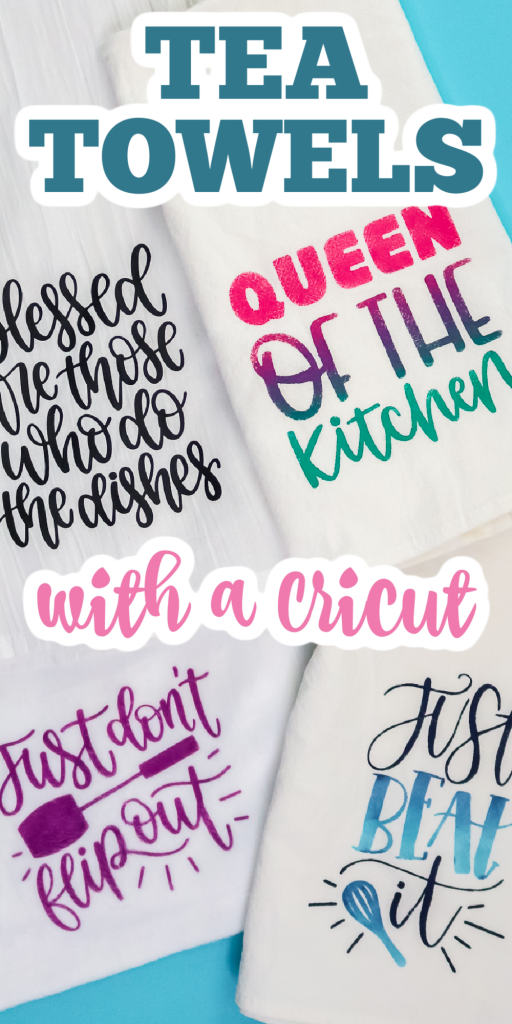
Today, we’re going to make Cricut tea towels in four different ways. Did you know there were that many ways to do fabric projects with your Cricut machine? Well, there are! I’m going to use my Cricut Explore today, but any Cricut machine will work with all four of these methods for making fabric projects. So, what are we going to use? We’re going to use iron-on, which you might think of when you think of fabric projects. Then we’re going to use Infusible Ink with the polyester tea towel. Want to make a stencil? I have an option to use vinyl as well as freezer paper for stenciling. Each of these methods is super easy and it opens up a wide range of options, whether you’re making tea towels, shirts, or any other fabric project.
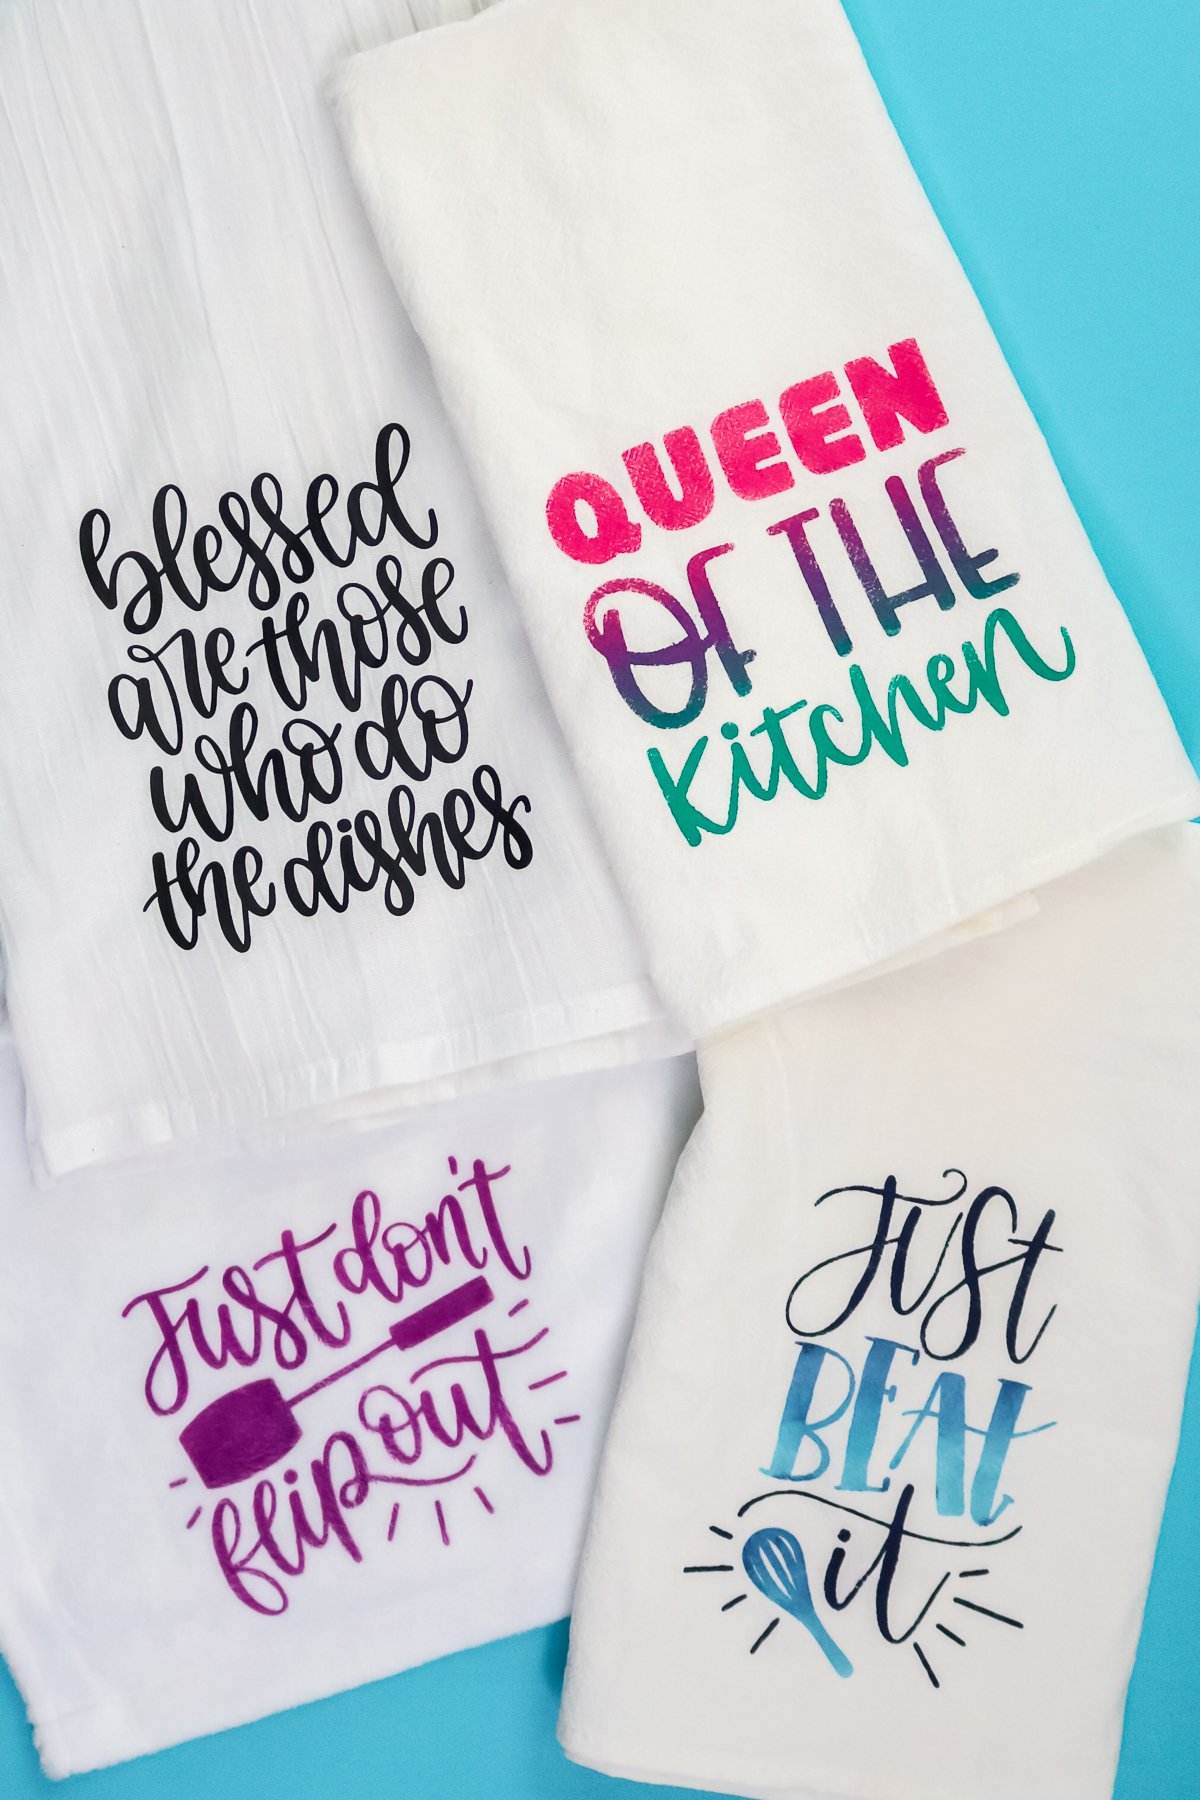
Cricut Tea Towels
You can actually watch me make all four versions of this towel in the video below. Just click play!
Can’t watch the video or missed some of the steps? You can also follow along below!
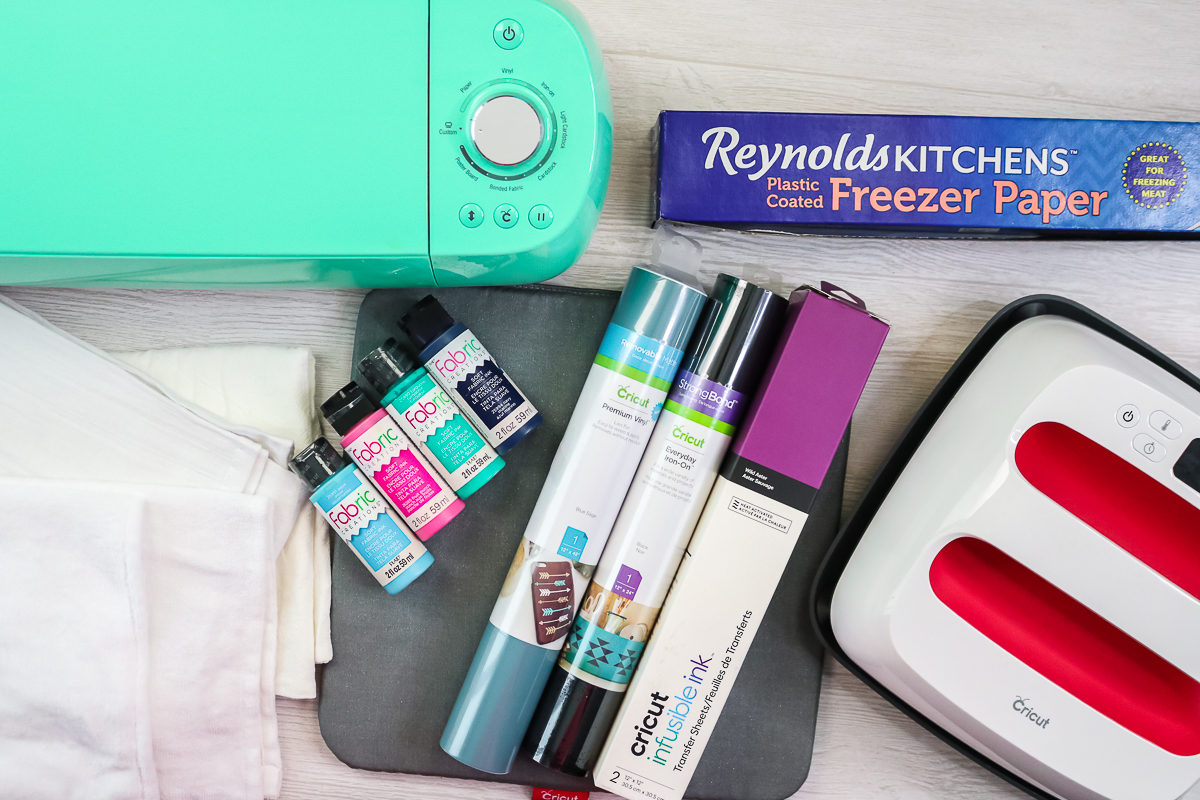
Supplies Needed
- Iron on
- Vinyl (removable or permanent will work for this project)
- Infusible Ink
- Freezer Paper
- Cricut Machine
- EasyPress
- EasyPress mat
- Fabric paint
- Paintbrushes
- Weeding tools
- Tweezers
- Tea Towels (My current favorite are these from Walmart but you can also try these. For Infusible Ink, you will need polyester towels like these.)
Design Considerations
I am using designs from Cricut Design Space. Click “images” and search for “kitchen”. Click on designs you want to use and click “insert”. Here are a few considerations for designs depending on the method you are using to make your Cricut tea towels:
- For HTV, you can really choose any design you would like as long as it will cut out of the HTV and you can weed it. NOTE: mirror the design before you cut. You can see more about HTV basics here.
- When using vinyl as a stencil, I do use transfer tape to move the design to the towel. This means it doesn’t really matter what design you use as long as you can cut and weed it. You can see more about working with vinyl here.
- For Infusible Ink, I do recommend wider lines. I would not use something with a thin font. I would use something with a thicker font. See how to use Infusible Ink the right way here.
- For freezer paper, you will have to place each and every small item separately. I like to choose a design where there’s not a lot of little small pieces, such as middles of letters. When you’re using freezer paper, you might not want to go with something super complicated. I have an entire post on freezer paper stenciling here if you need help.
Cutting Materials
Let’s take a look at cutting each of these materials for our project.
HTV
Put the material shiny-side down onto the mat and be sure to mirror the design. I am using the everyday iron-on material setting.
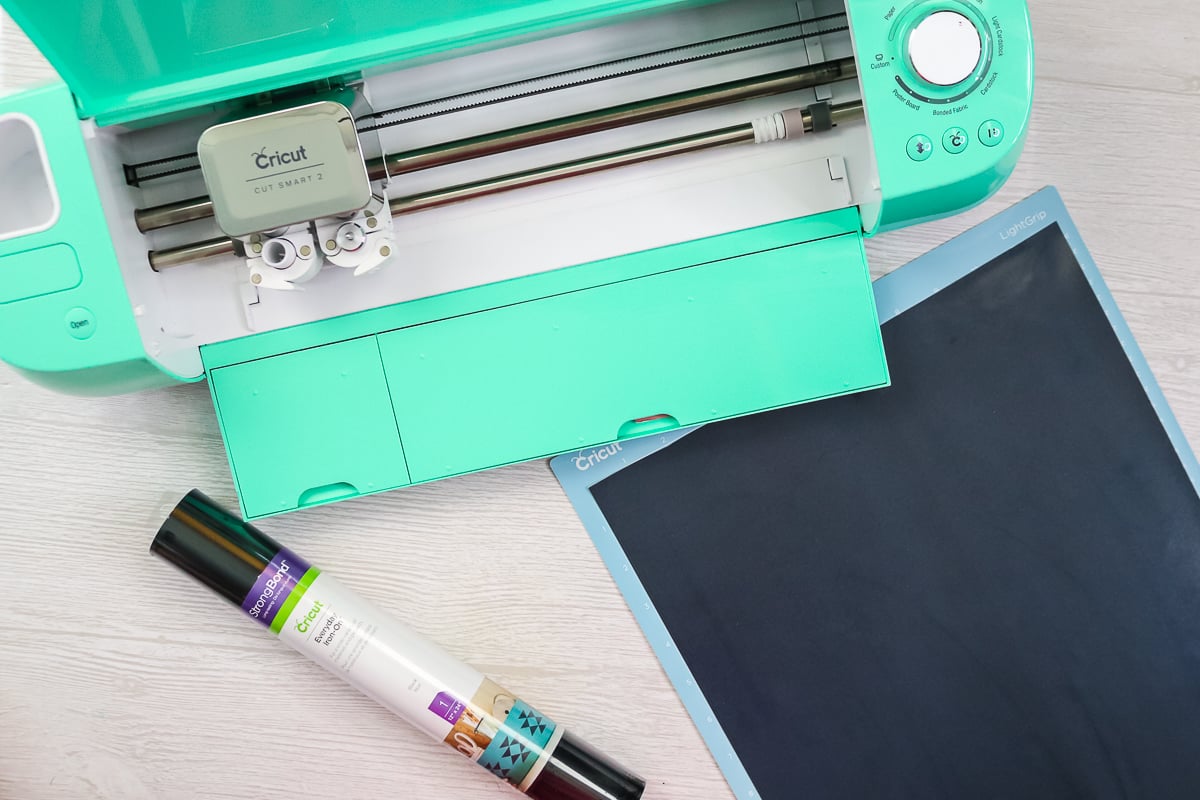
Then just load the mat and start the cut.
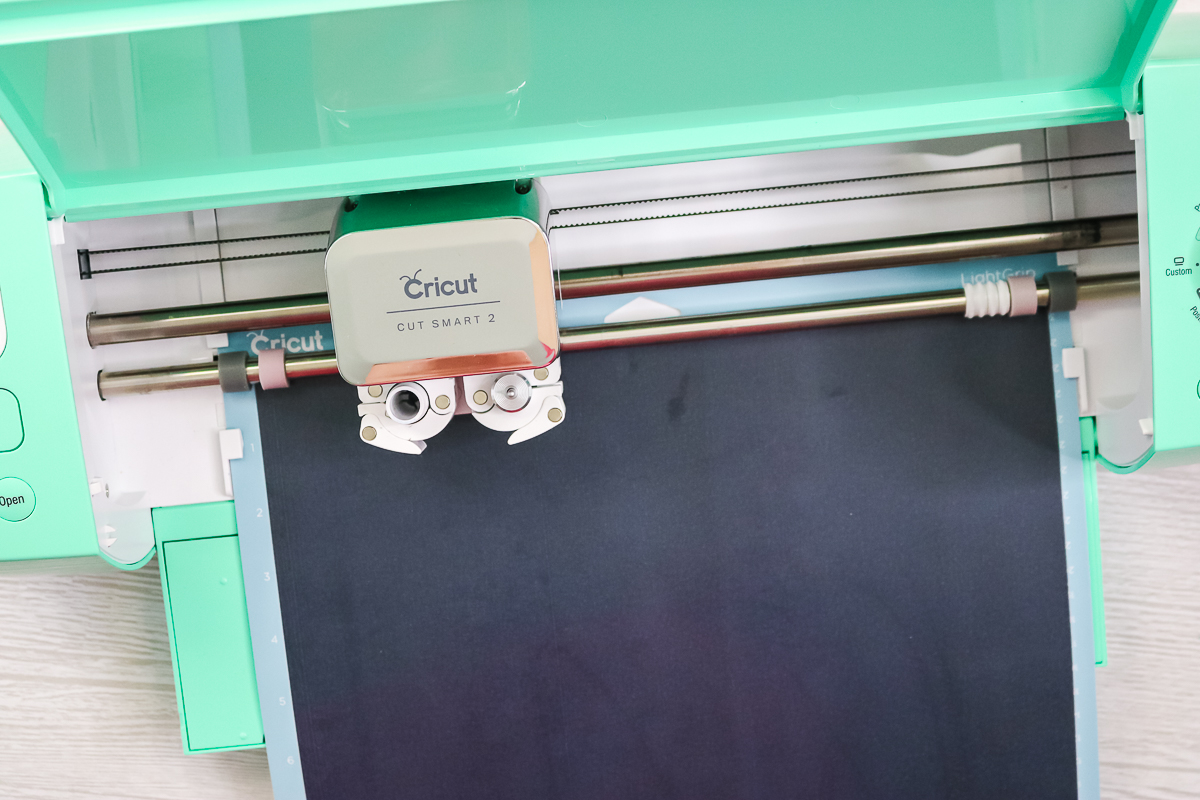
Vinyl
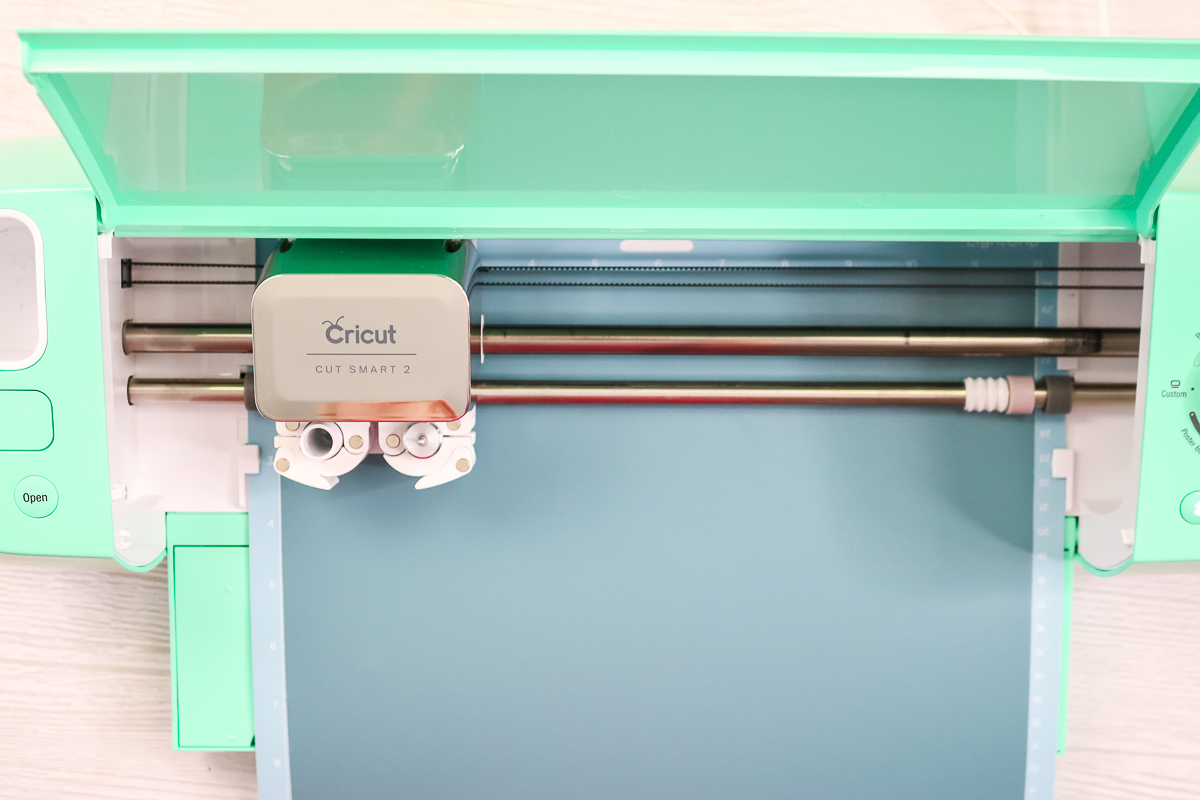
Place the vinyl liner side down on your mat. Pick the vinyl material setting.
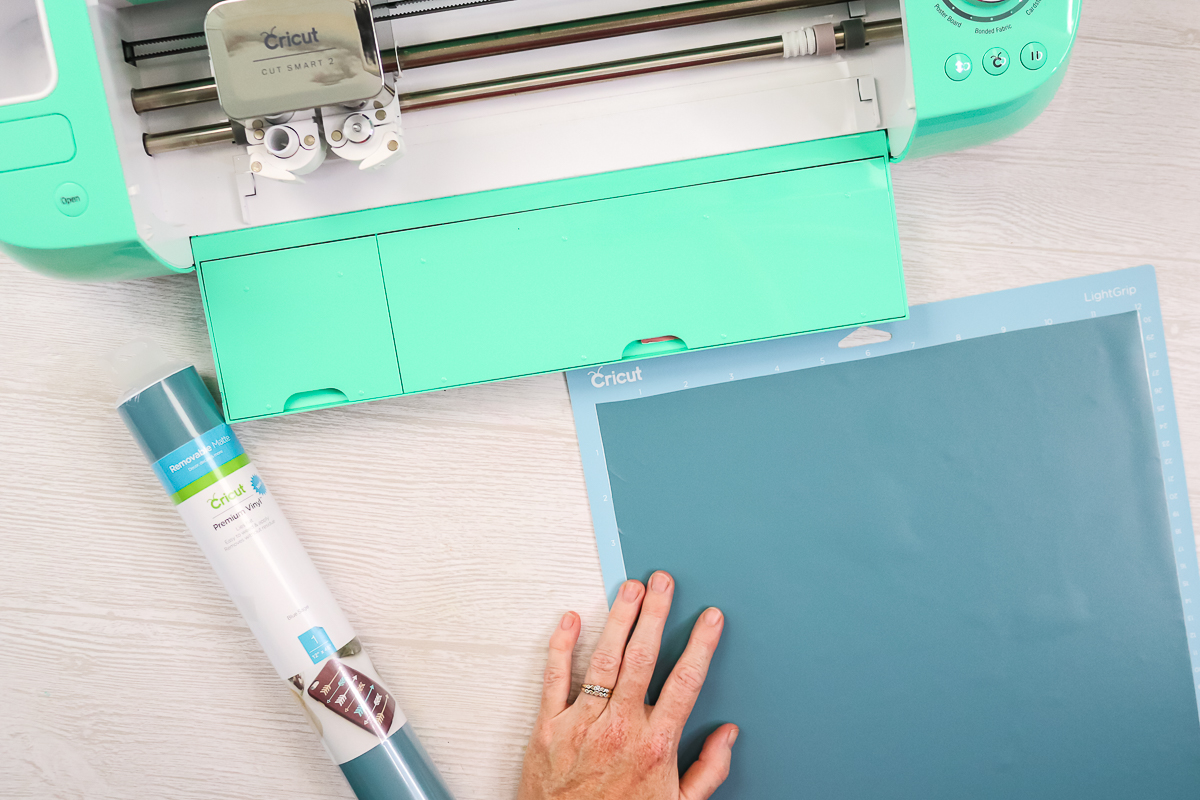
Then just load the mat and press “go” to cut.
Infusible Ink
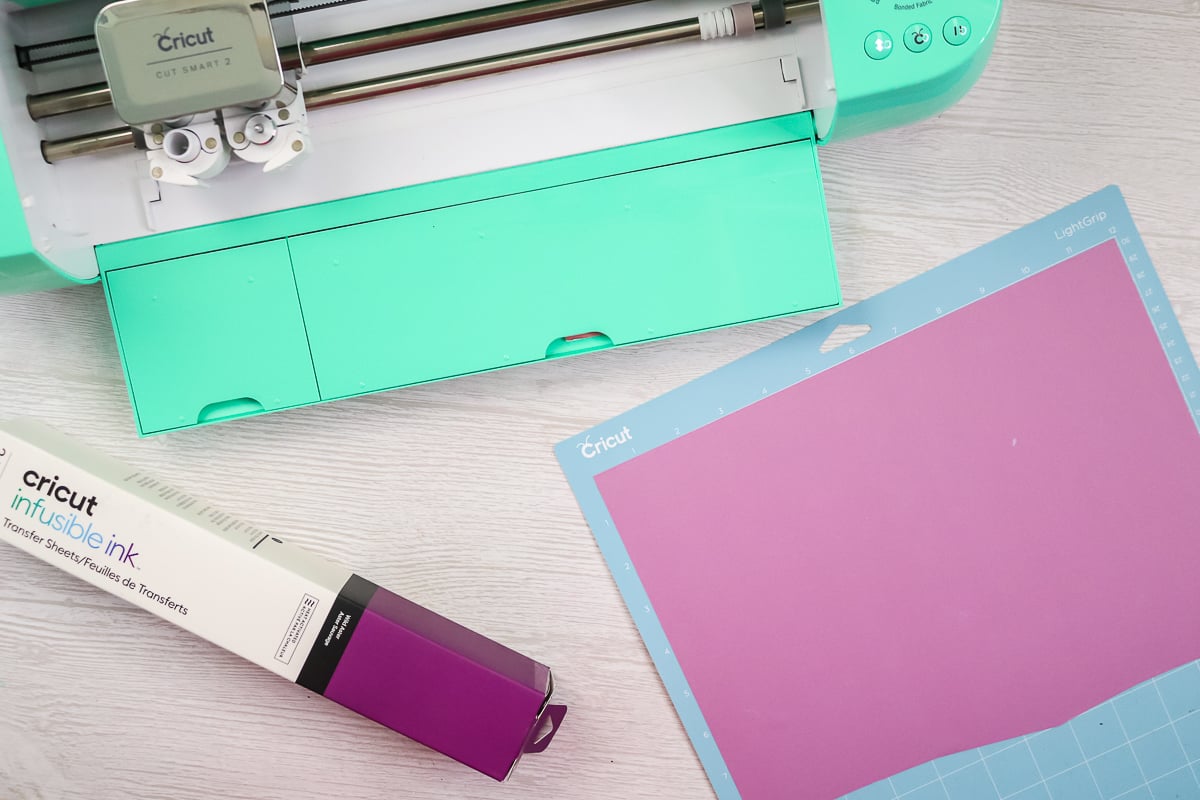
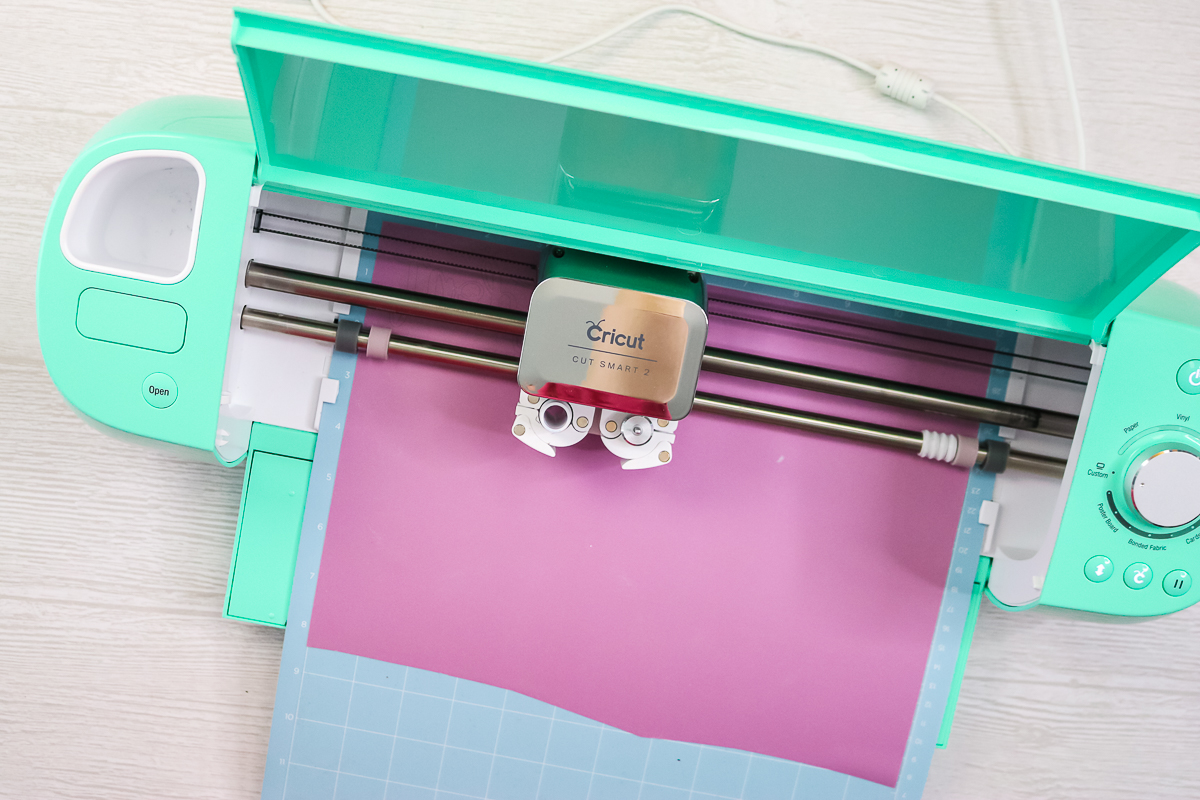
For Infusible Ink, you’ll want to place your sheet ink-side up on your mat. That means that the liner-side is down on the mat. With Infusible Ink, make sure it’s pressed down really well. You’ll want to pick “Infusible Ink transfer sheet” in Cricut Design Space as your material. Then, just feed in your mat and press “go” to start.
Before I eject Infusible Ink from the machine, I always check to make sure my cuts are through. To do that, just pull it up just a little bit and make sure that you can see the liner. If it is not cut through, click “go” to cut again. Once cut completely, eject the mat.
Freezer Paper
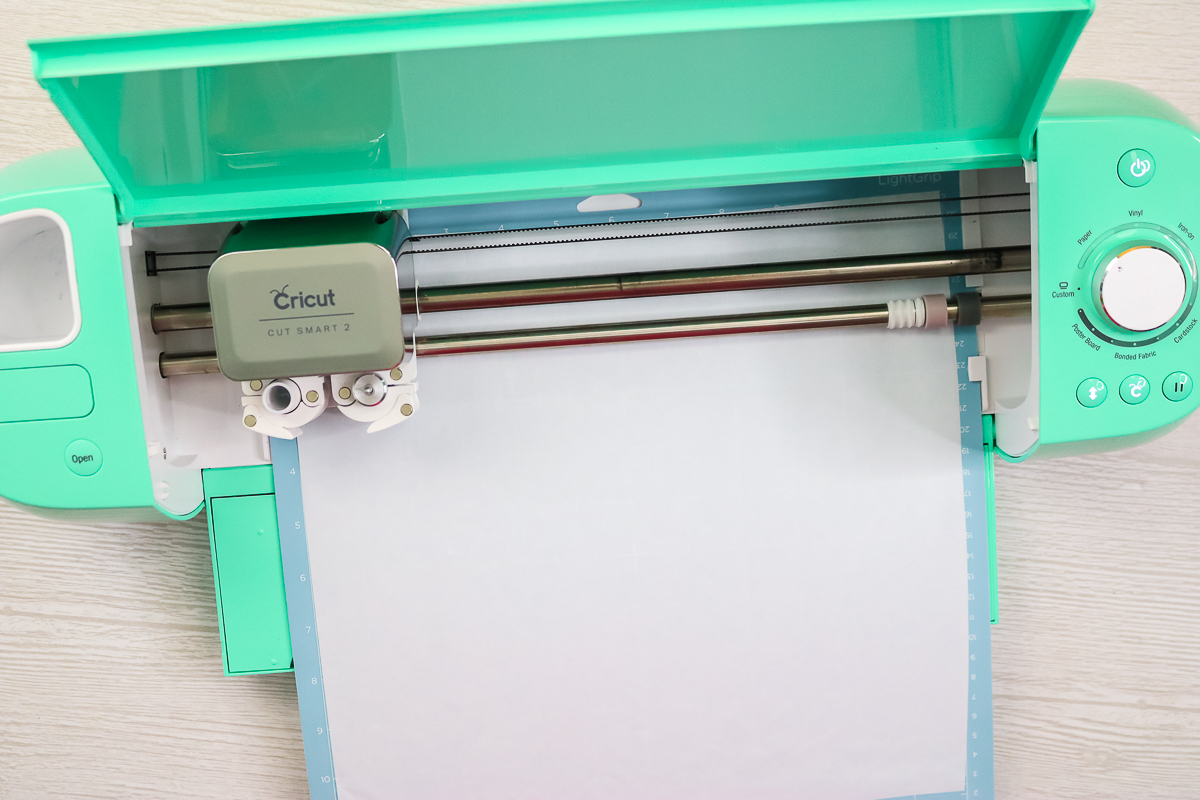
With freezer paper, you want to place it shiny side down onto the mat. You also DO NOT want to mirror before cutting. I just used a paper setting for my Explore because this is similar to a really thin copy paper and will cut about the same.
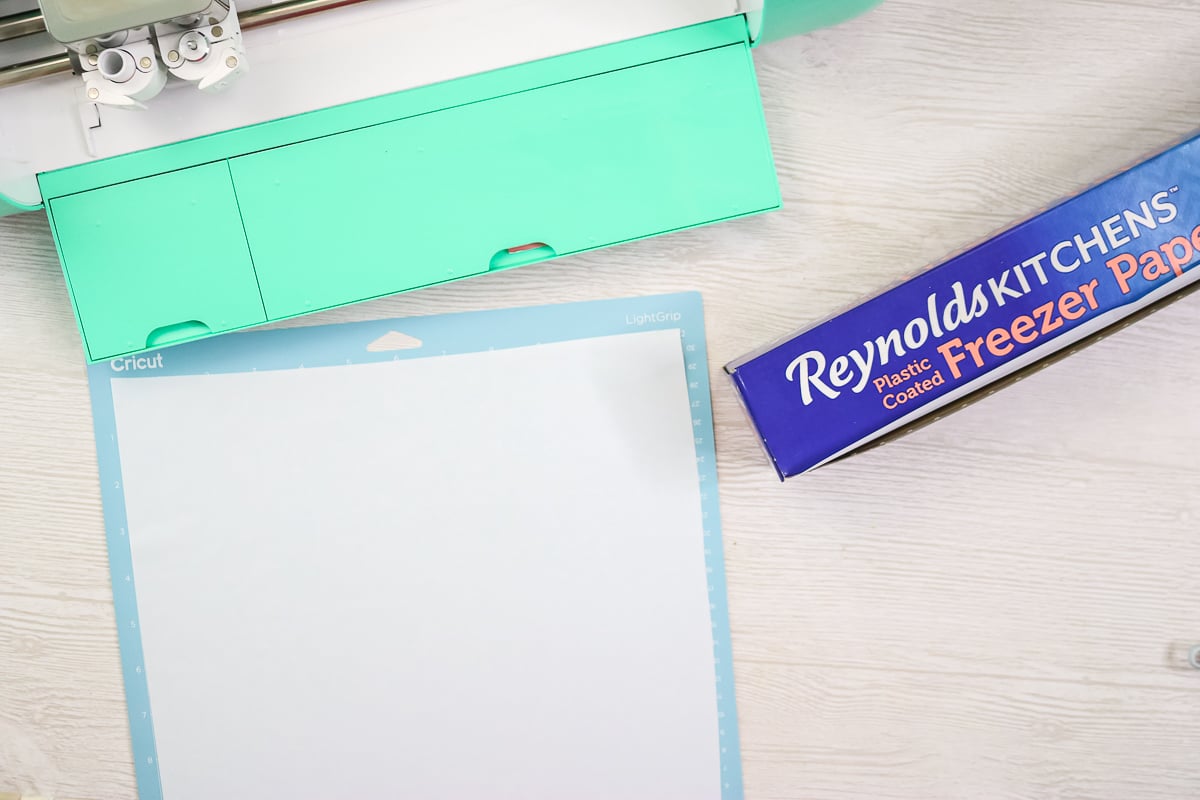
Load the mat and hit “go” to cut your design.
How to Make Tea Towels with a Cricut
Now that you have all of your materials cut, it is time to look at making each version of the towel.
HTV
Weed your iron-on before starting. Use weeding tools and remove everything you don’t want to be pressed onto your tea towel. That’s everything around the outside, as well as things like the centers of any letters.
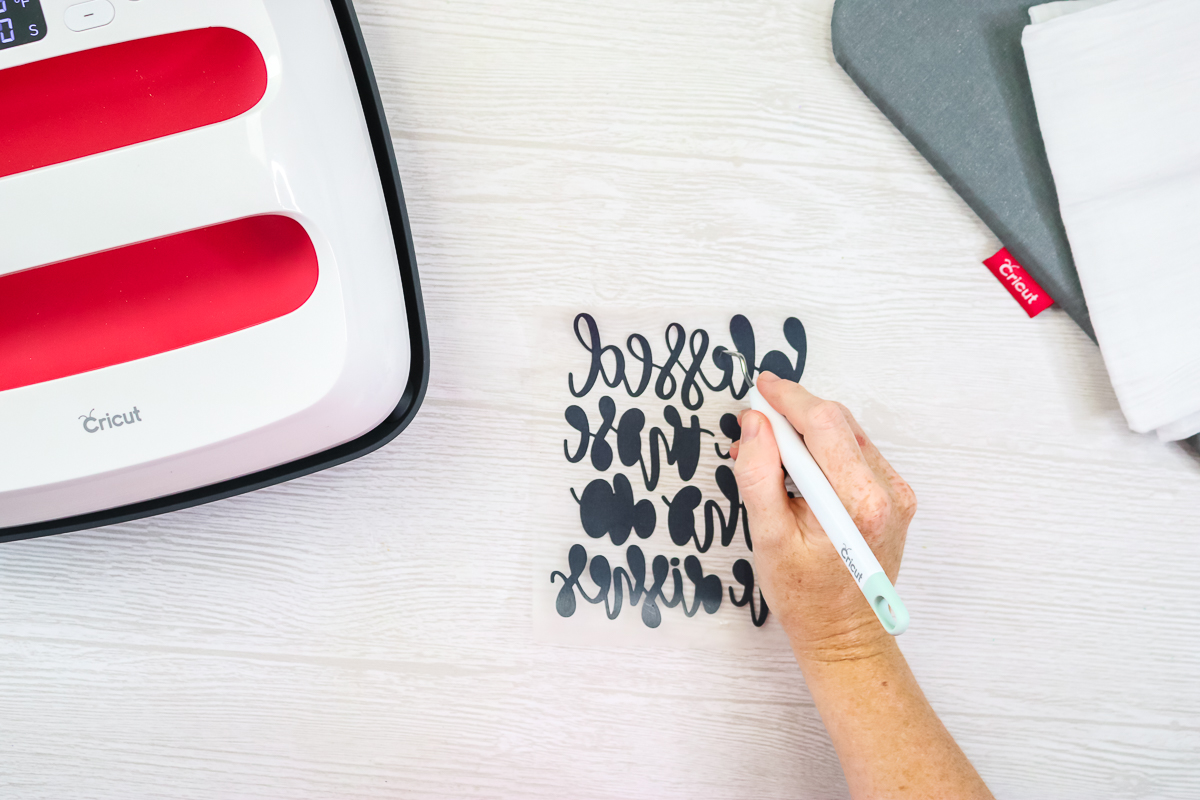
Preheat the material first to remove any wrinkles and moisture. Put the design into the location where you want it to be. Set the time and temperature on the EasyPress to match the brand of HTV you are using.
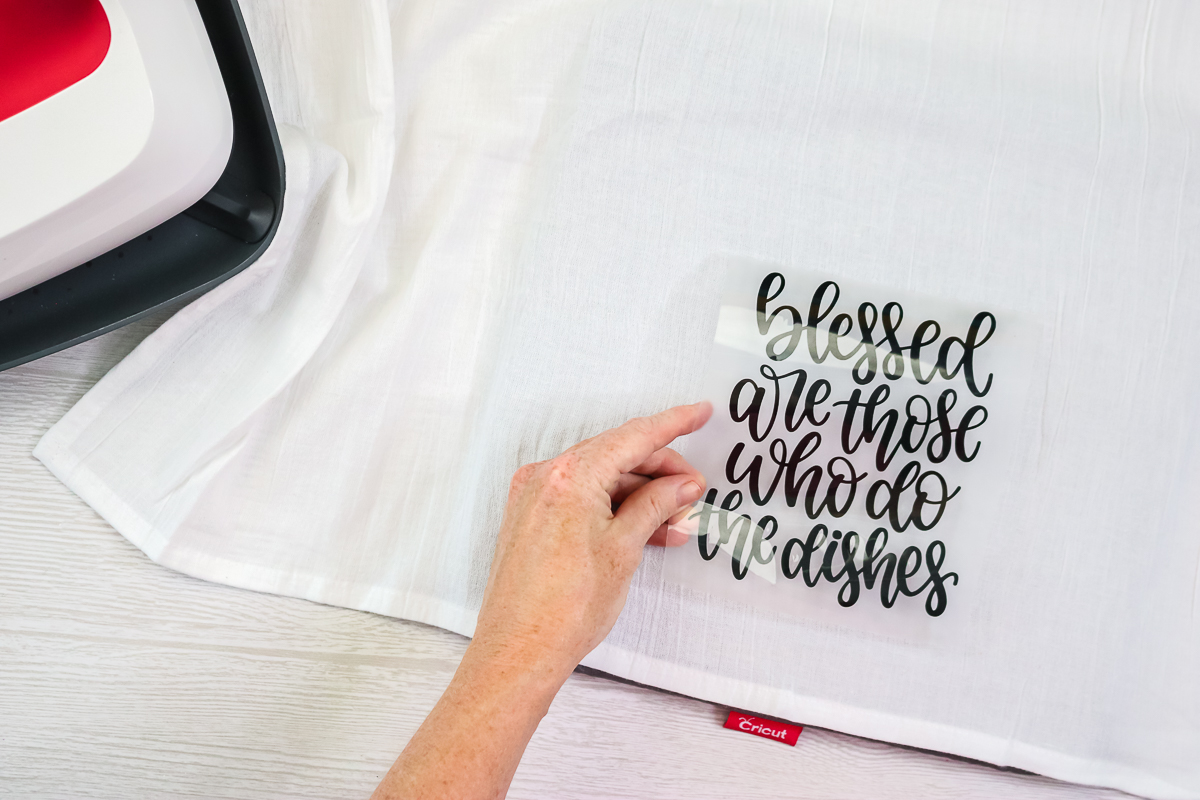
Then press according to the instructions for your HTV. For Cricut iron-on, you’ll want to flip your project over and press from the back for about half the time.
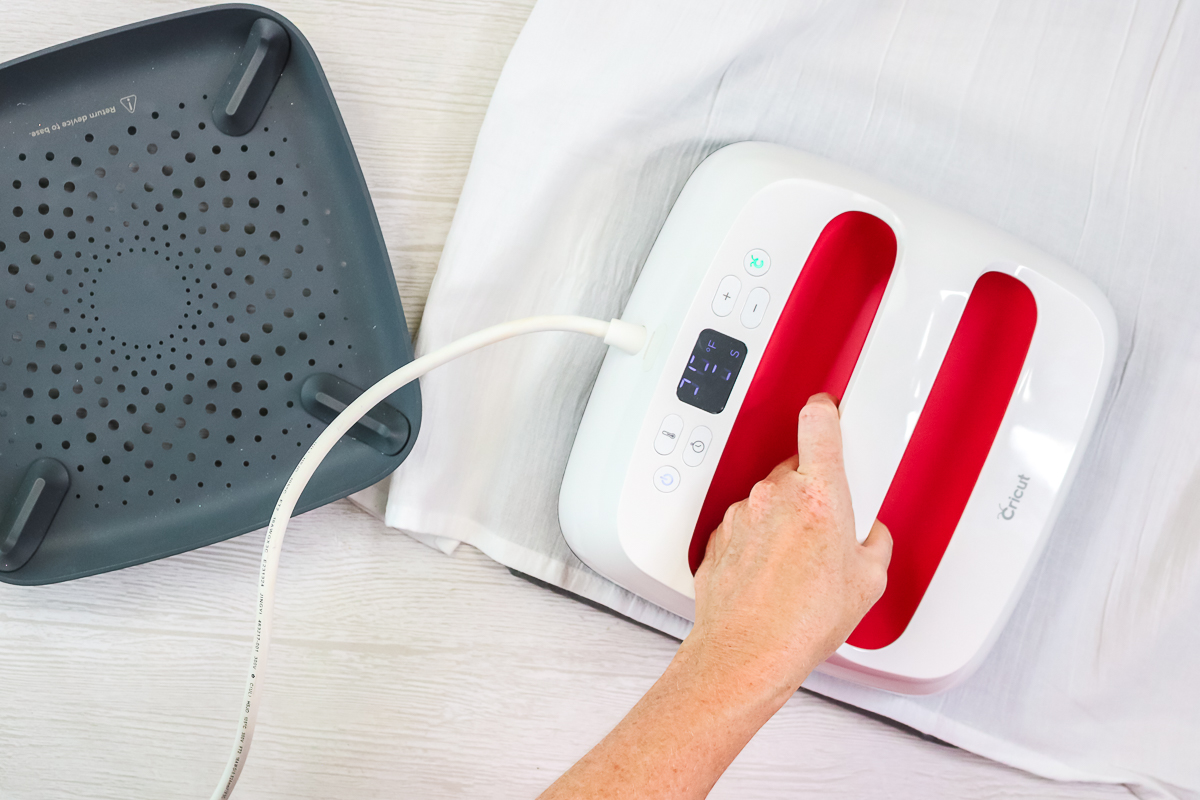
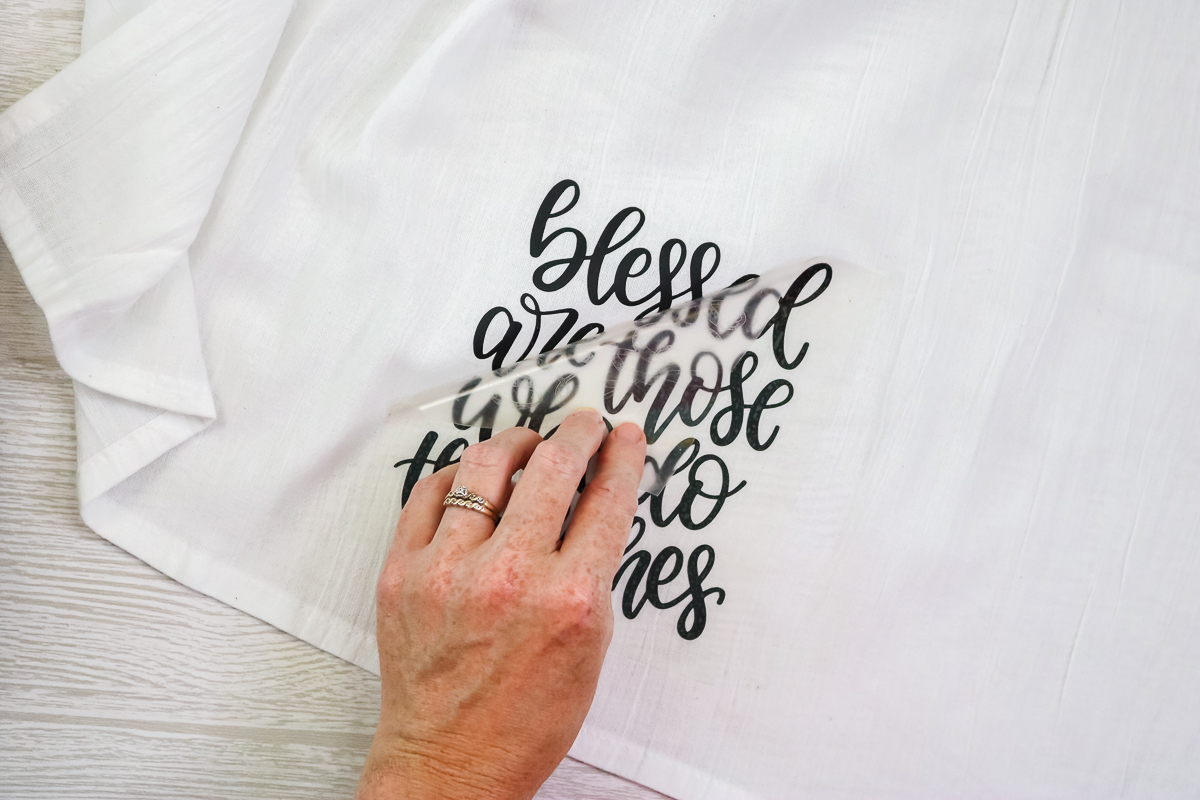
Then you may want to allow it to cool completely before removing the carrier sheet. Please follow the instructions for your brand of HTV. Peel back the carrier sheet. As you peel, make sure that your iron-on is stuck. If it’s not, replace the carrier sheet and repress it for a second time.
Infusible Ink
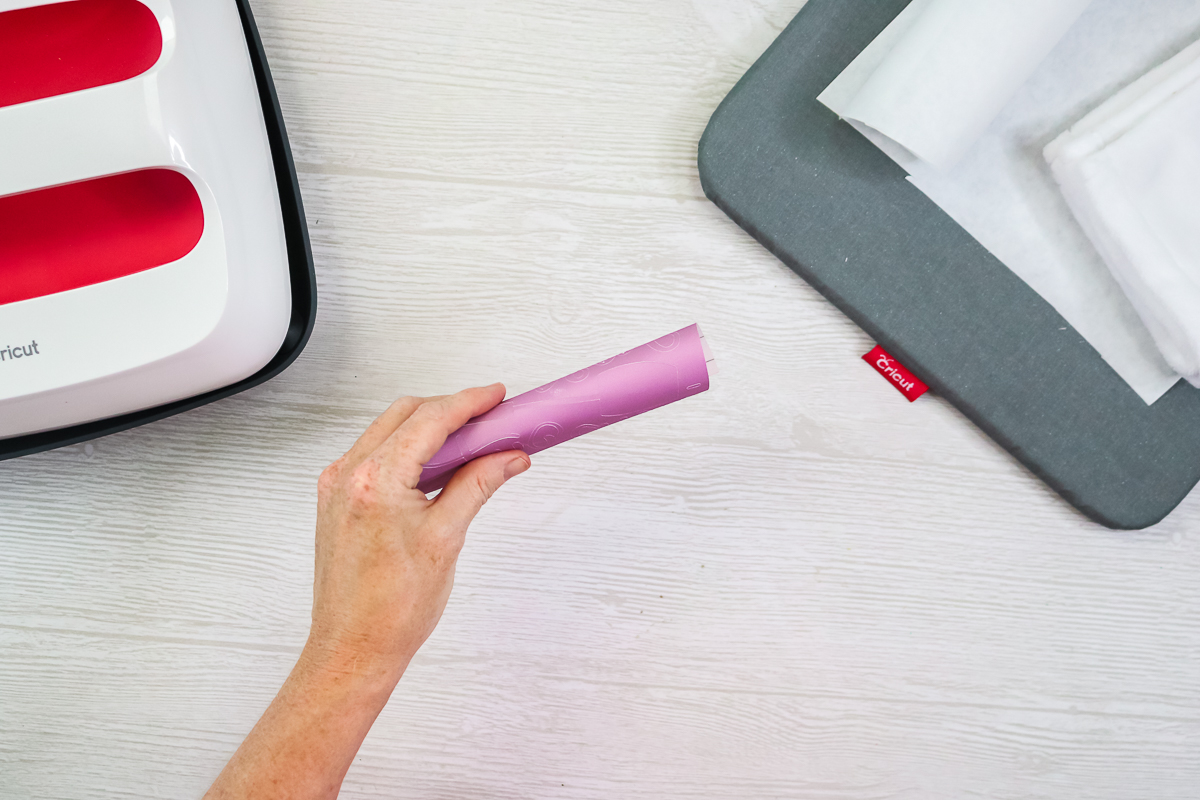
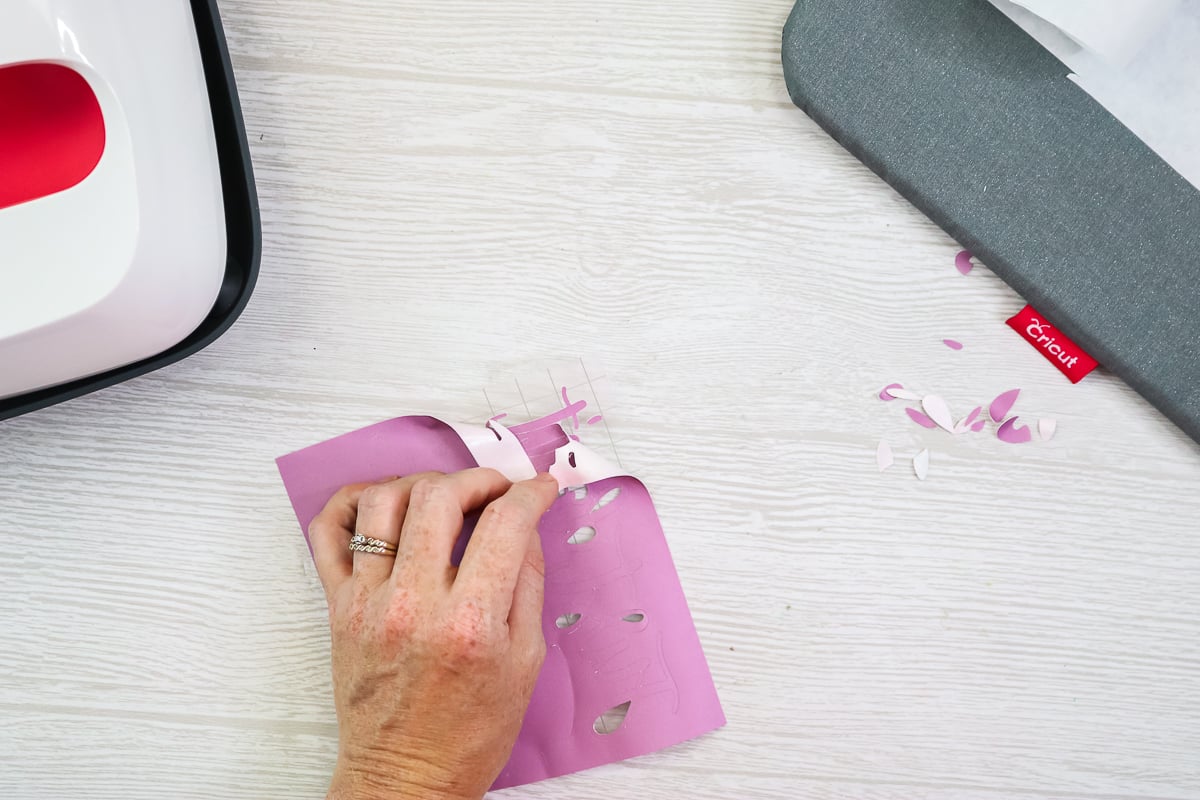
To weed Infusible Ink, you’ll want to crack your design by bending it in both directions to open up those cut lines.
Then remove the inside pieces and the entire outside. Just like we did with the iron-on, all of the inside pieces of the letters, as well as everything outside will need to be removed from the Infusible Ink. NOTE: Infusible ink does need to be weeded slowly. You should not use weeding tools with Infusible Ink, but I will use something like a pair of tweezers for super small pieces.
To press, add some butcher paper onto the EasyPress mat. You’ll want to be sure to protect it. NOTE: Your towel MUST BE polyester for this product to work correctly.
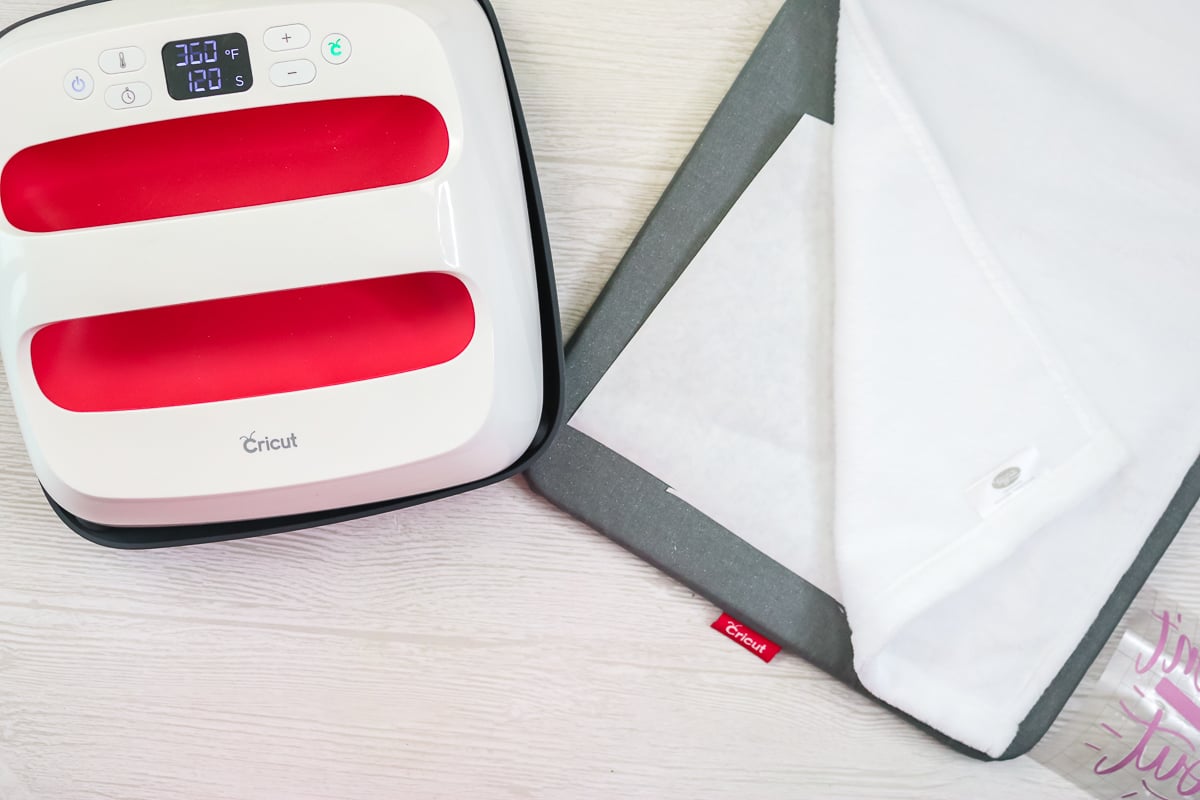
Remove any lint from the towel with a lint roller. Add the Infusible Ink in the correct location. Cover with additional butcher paper then press for the full time and temperature. I used the instructions for shirts on the Cricut Heat Guide.
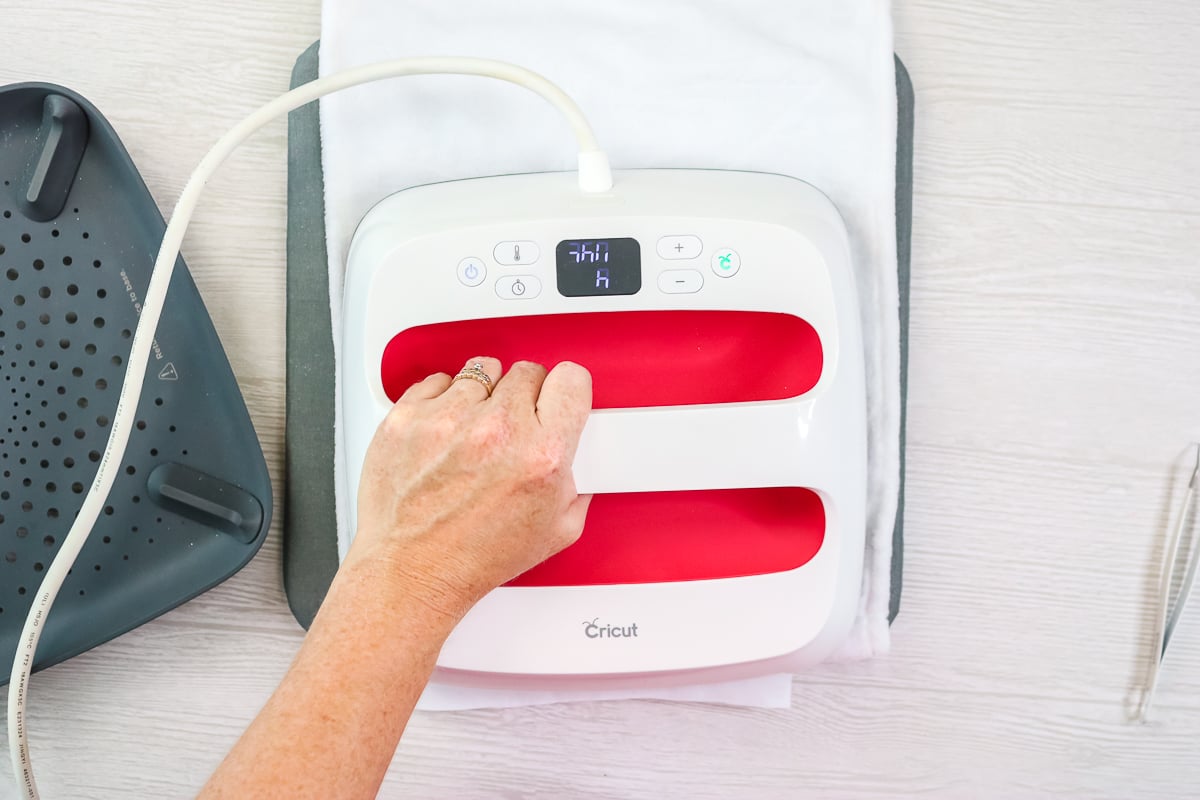
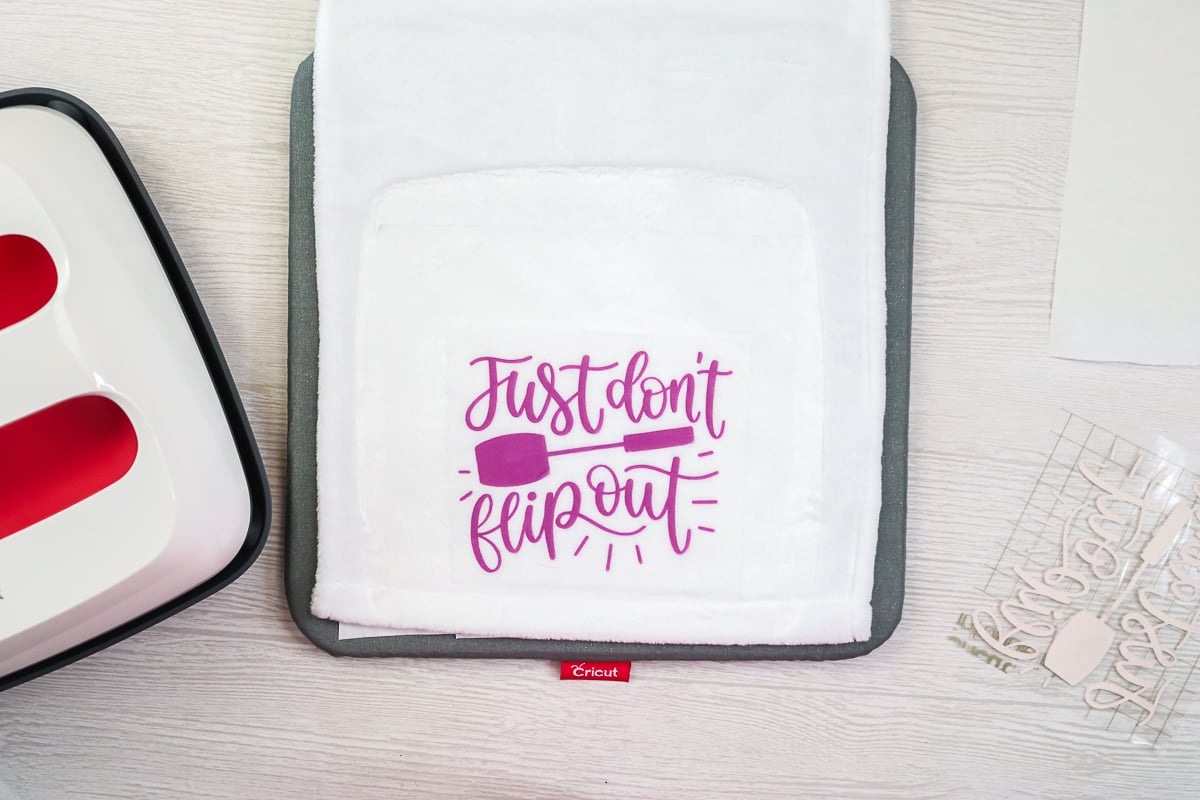
Once it’s done, remove the EasyPress, butcher paper, and Infusible Ink sheet. You may notice some press lines. You can press from the back to remove some of those. If you do press it from the back, be sure that you have the butcher paper underneath just in case you reactivate some of the ink.
Stenciling with Freezer Paper
I pull the outside of the stencil right off of the mat and add it to my tea towel. Do not worry about the inside of the letters at this point.
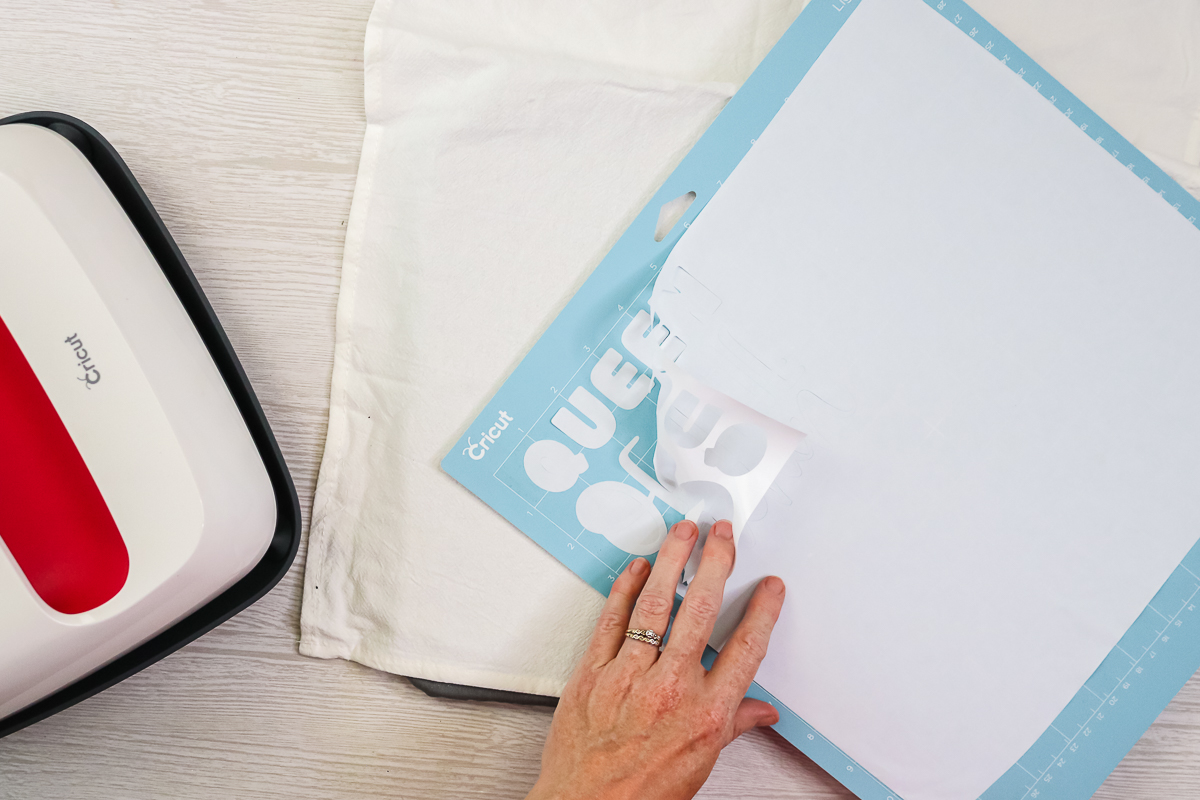
Pre-press the tea towel to remove any wrinkles. Then, locate the design onto the towel. Remember this is shiny side DOWN!
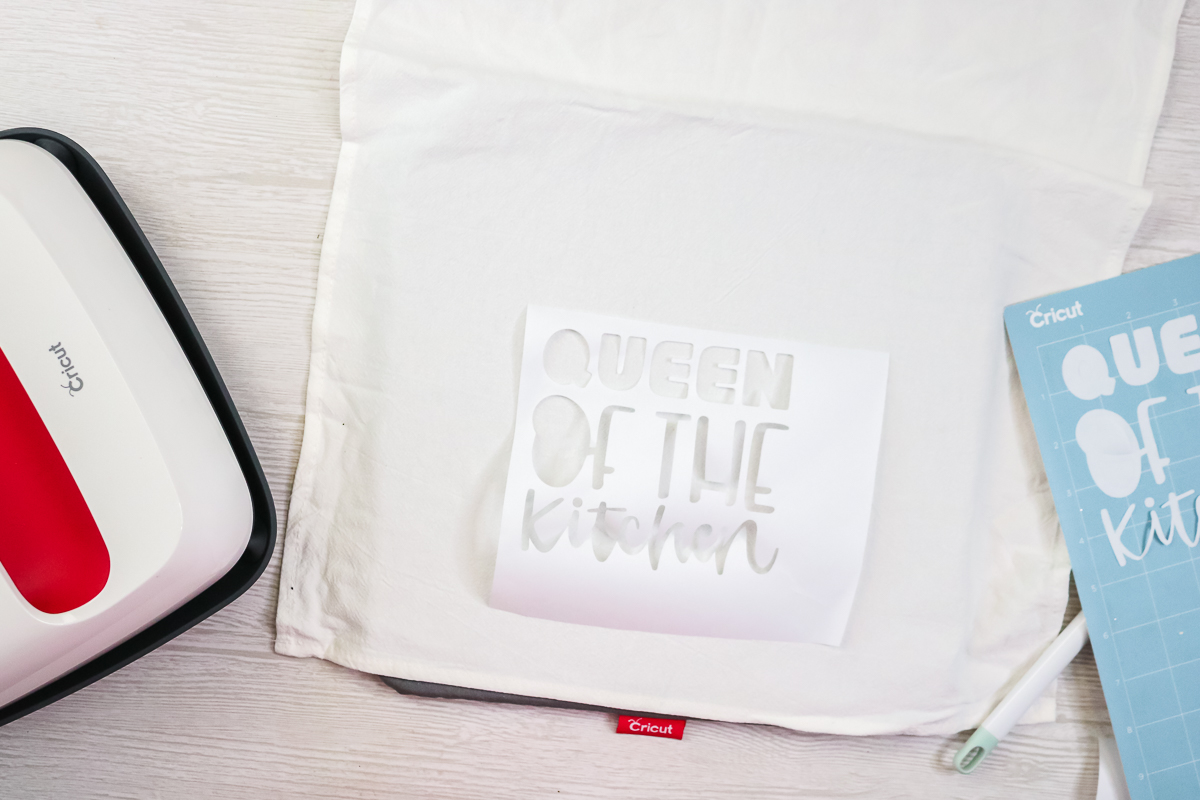
Quickly press it with your EasyPress for about 3 seconds. Then start peeling off the centers of those letters and putting them into place on your towel.
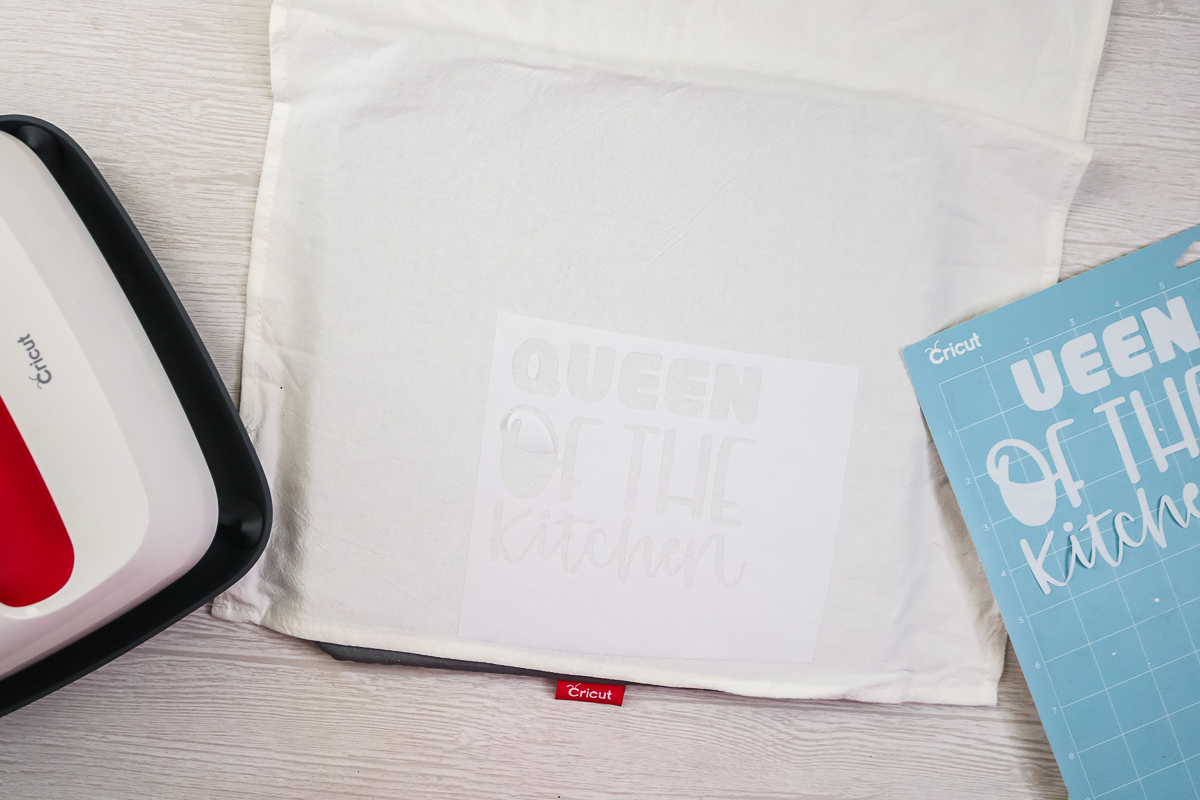
Once those are in place, press with the EasyPress once more for about 3 seconds. You can add painter’s tape around the outside edge especially if your openings are close to the outside.
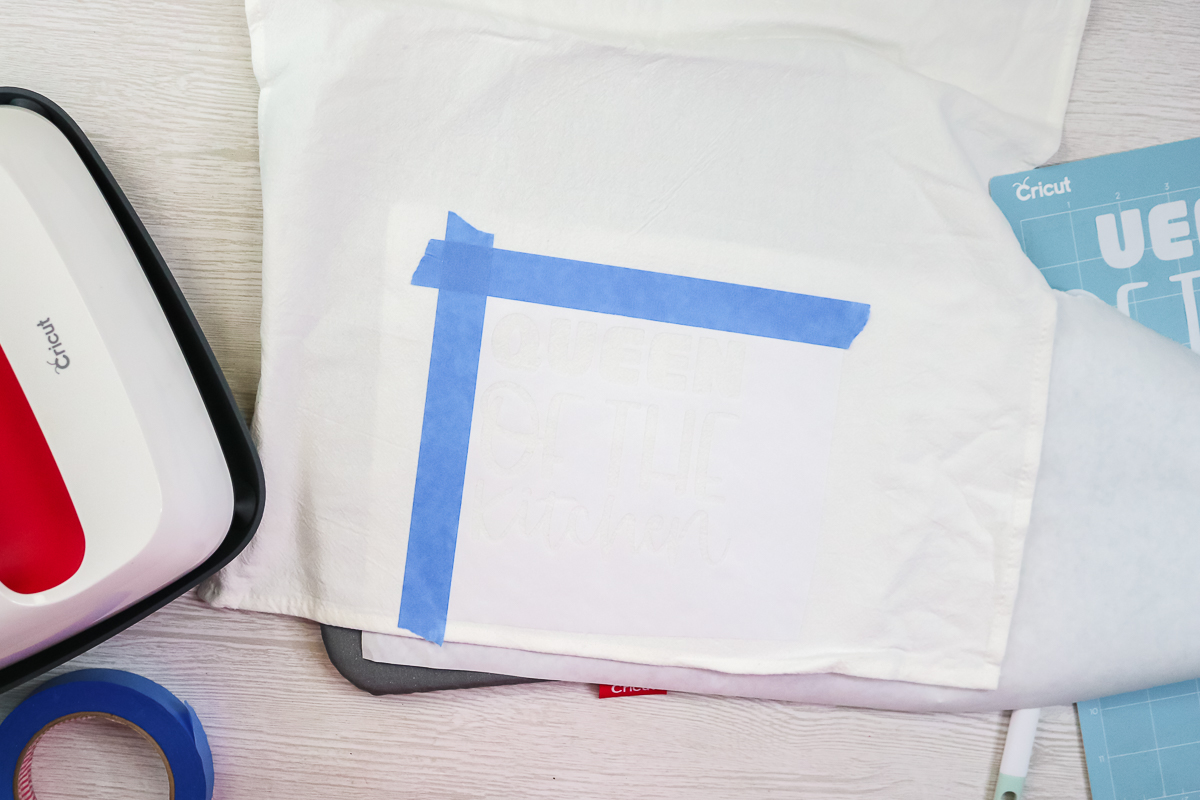
Put something under your towel to protect your work surface. I am using fabric paint for this project so it lasts a long time.
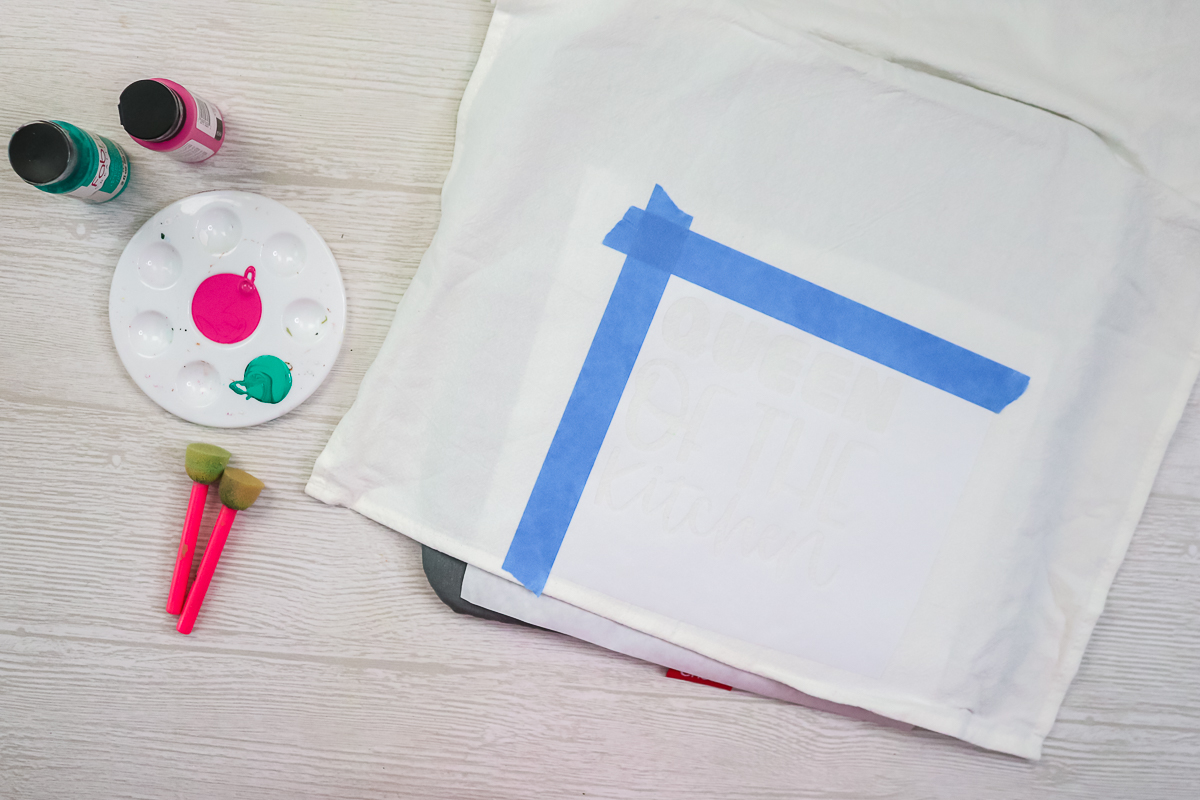
I am using two colors of fabric paint so that I can blend the colors and make something unique. Start at the top with the first color and slowly change the second as you move down the stencil.
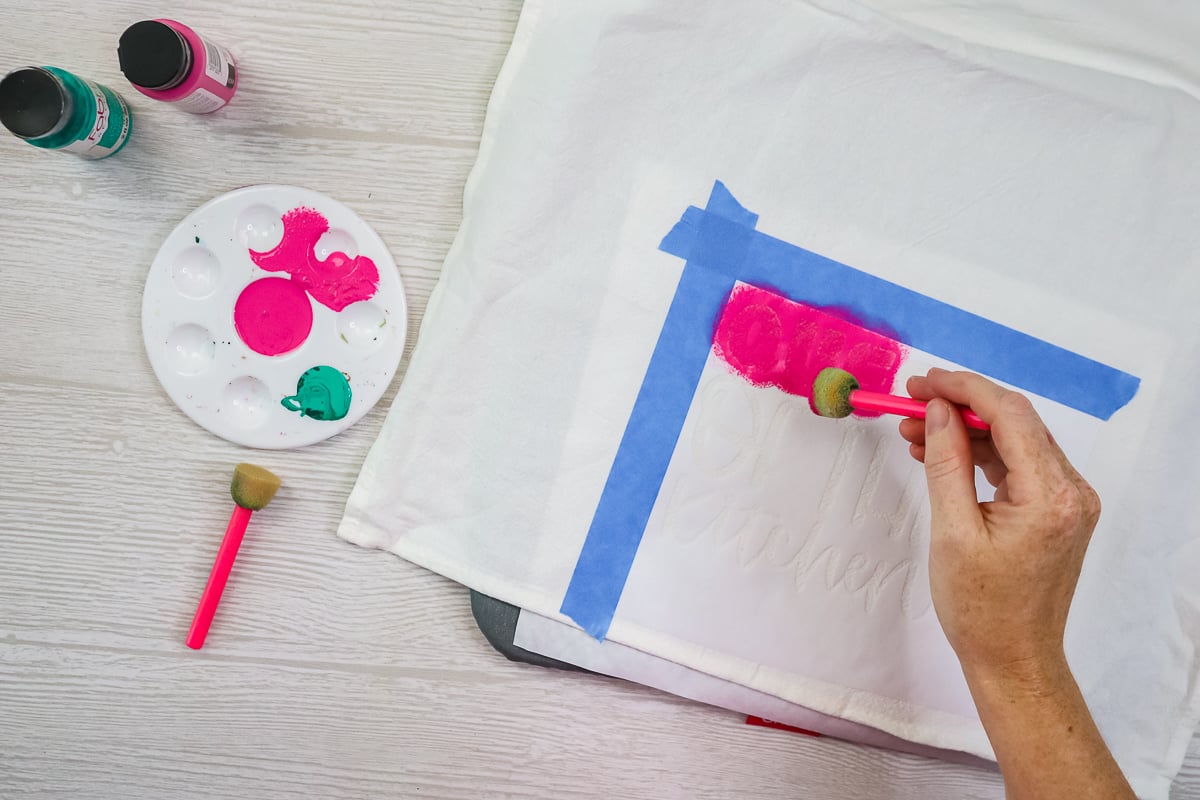
Blend the two colors of paint as you go. While the paint is still wet, carefully remove the stencil from the tea towel.
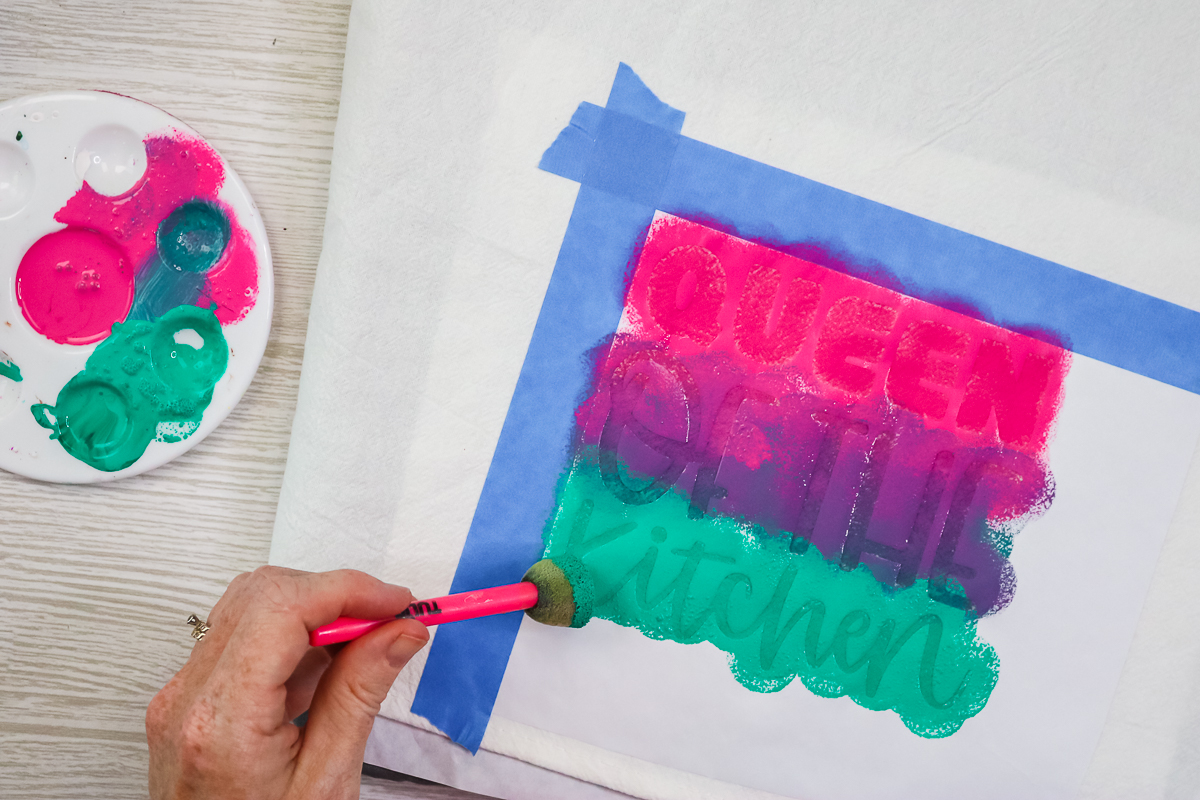
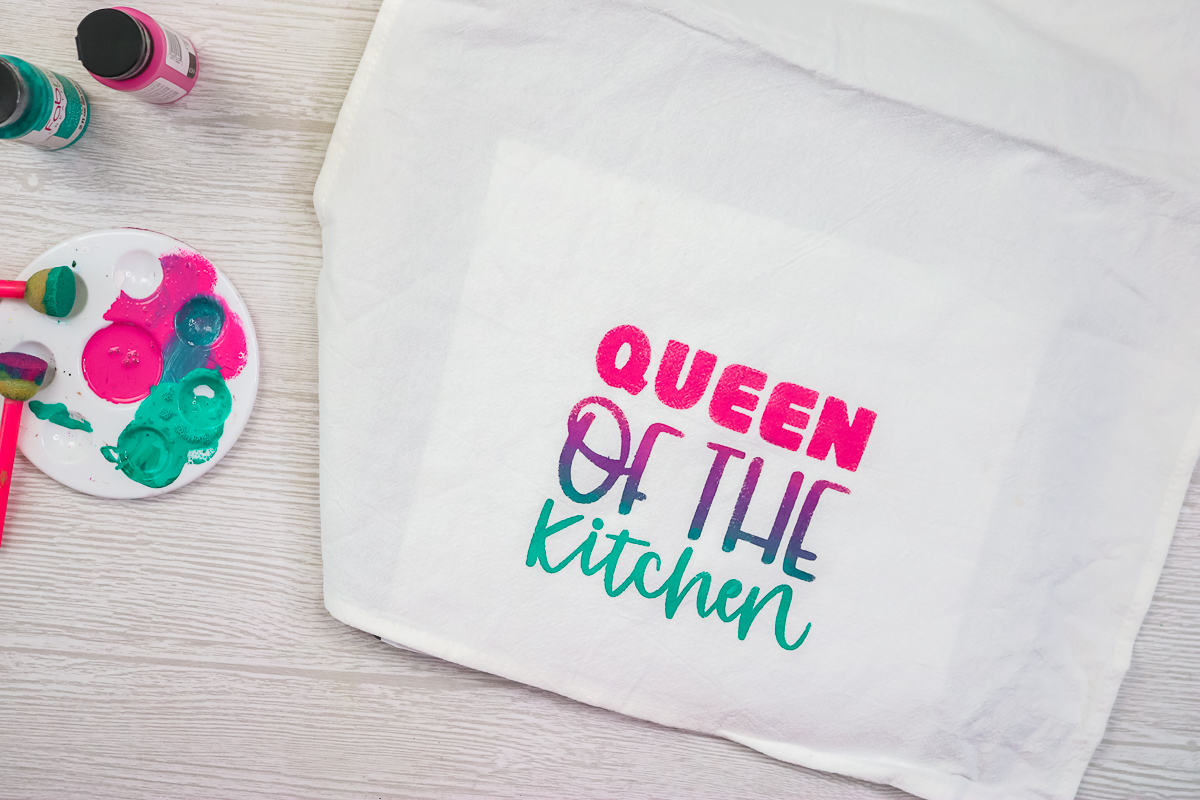
Lift away the tape and the freezer paper. The material will just lift right off of the towel. Be careful not to get any paint on your towel from the stencil. You may need to pick up the centers of the letters with tweezers. Then you’ll want to follow all directions on your bottles of fabric paint. Some fabric paint requires that you heat set it after it dries.
Stenciling with Vinyl
Now it’s time for the vinyl stencil. You will want to remove everything from the center. Remember, we’re using this as a stencil, so we want everything that we need to paint to be removed. We’ll want to leave the centers of the letters and remove the outside pieces.
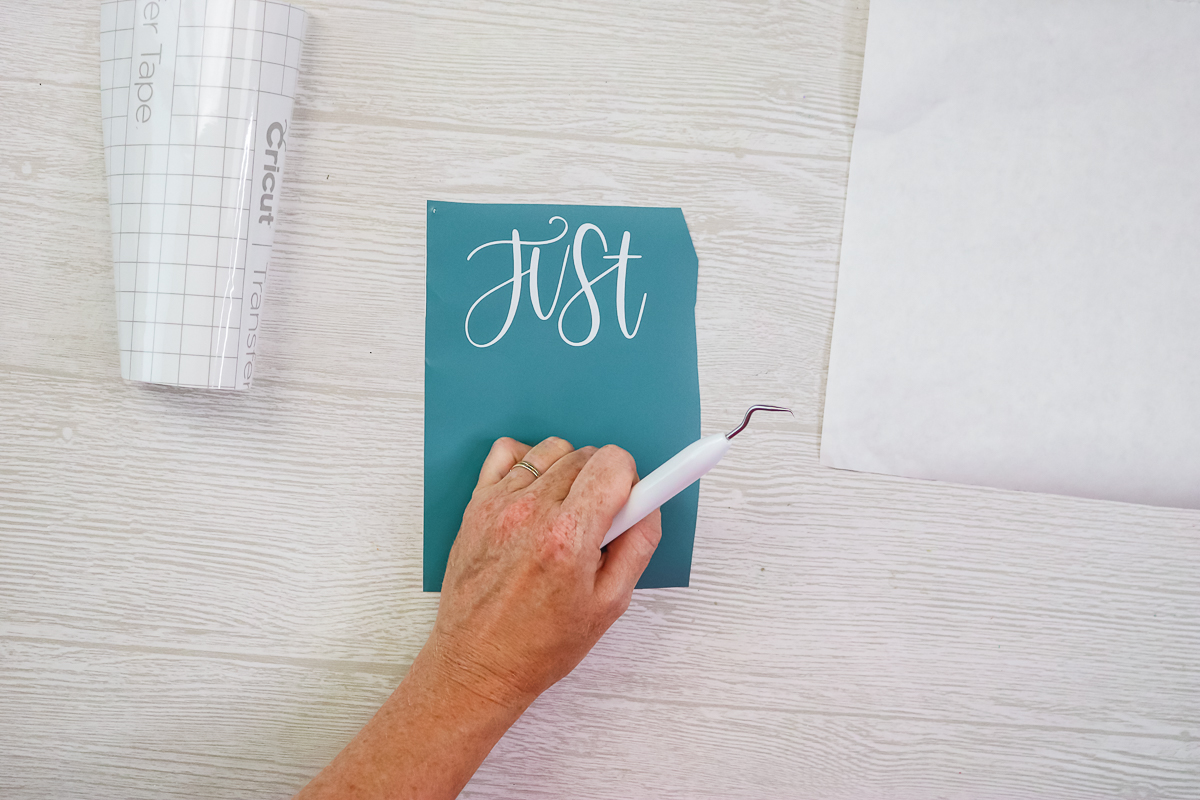
Now that my design has been weeded, I’m just going to use some transfer tape and move everything to my tea towel. If you had a super simple design, you could just go ahead and lift it off the backing paper and then put that right onto your fabric. For more complicated designs with small pieces, I just like to put it on some transfer tape first to make sure I get everything onto my surface and in location.
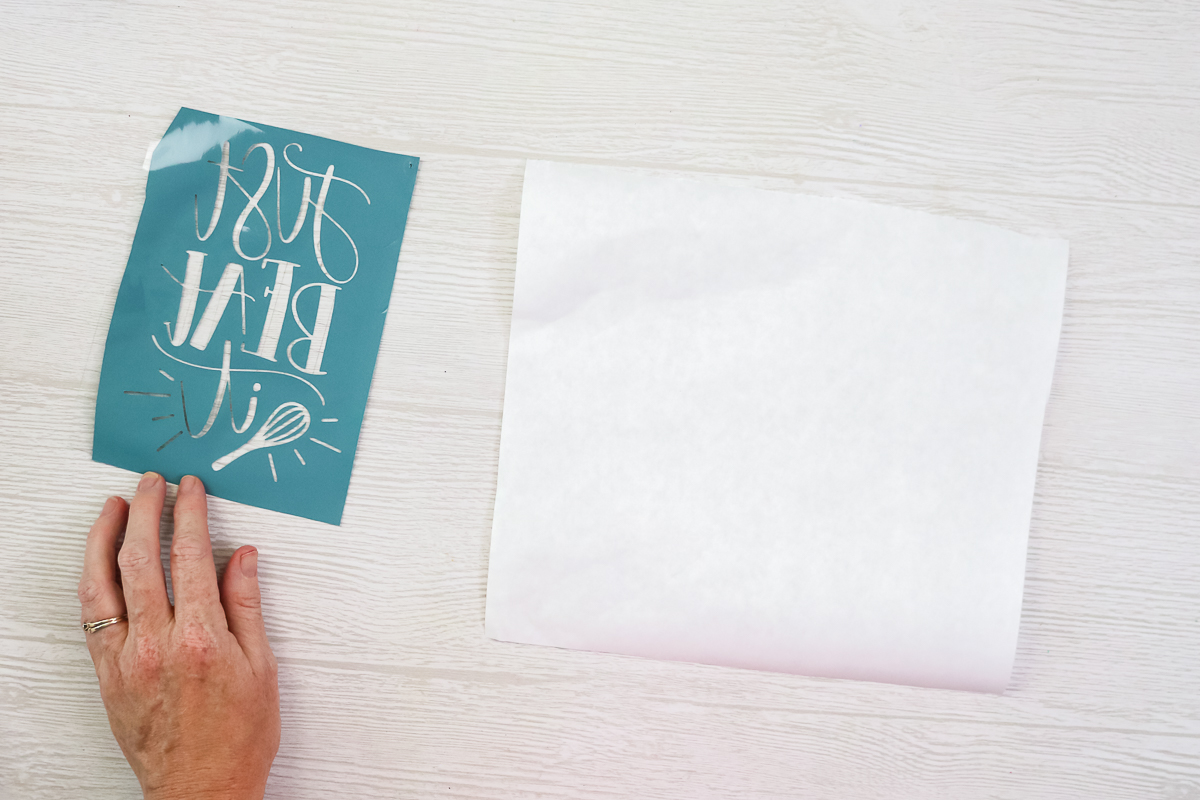
Put a scrap piece of paper on your table then put the tea towel on top of that. Locate the vinyl into position and press it down. Then, peel back your transfer tape.
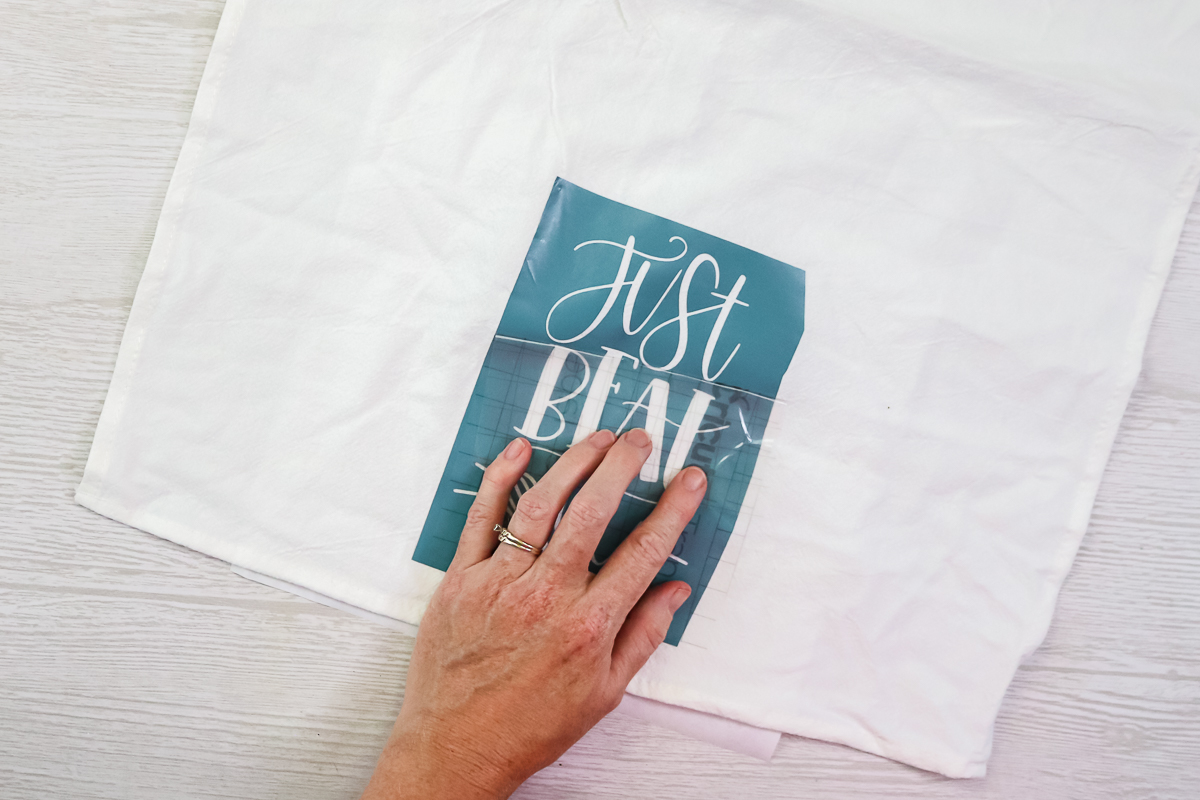
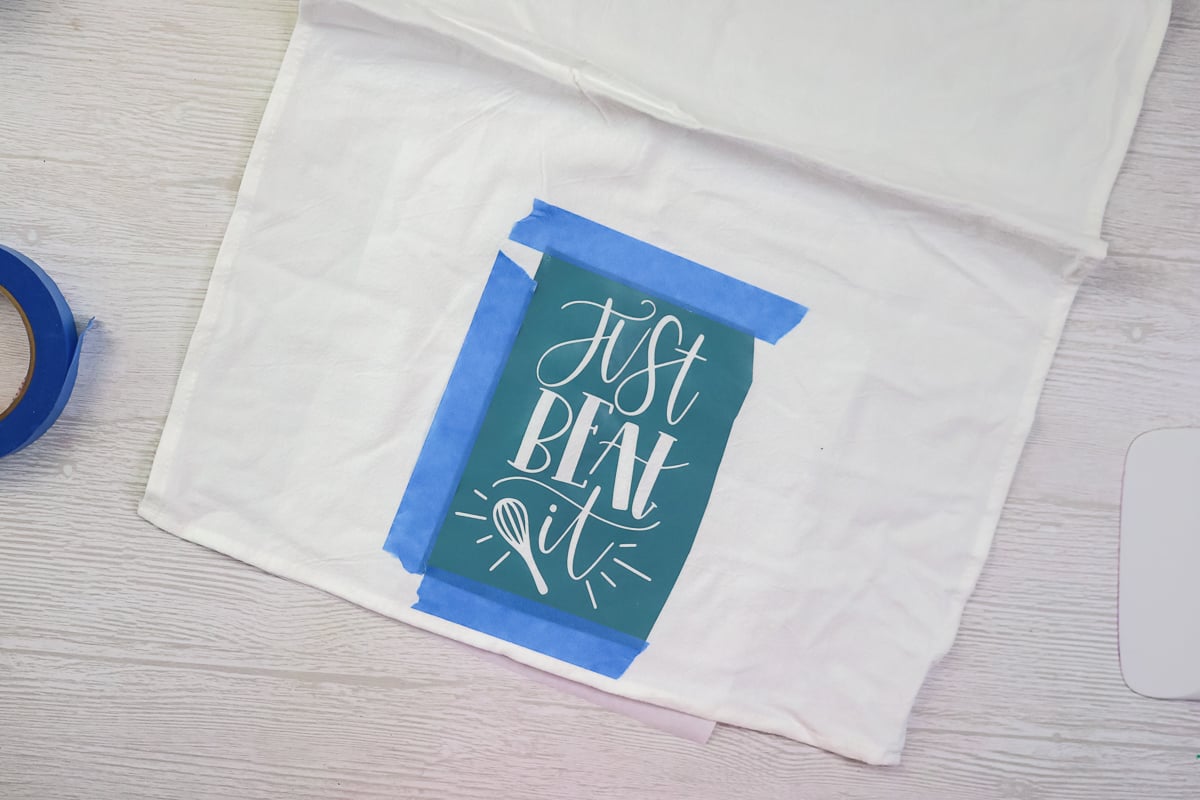
Once again, you can put tape around this. If I’m super nervous about how close my design is to the edge, I would just add a little bit of tape just to give myself some extra space when painting.
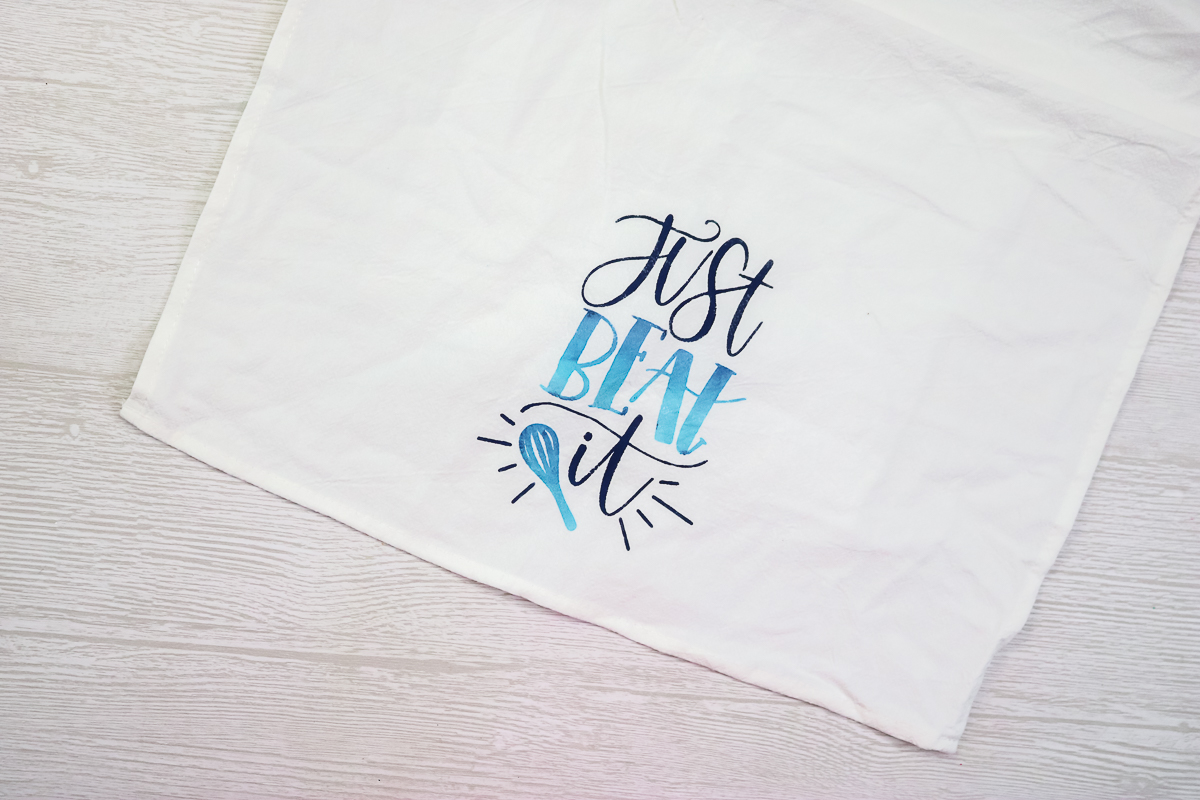
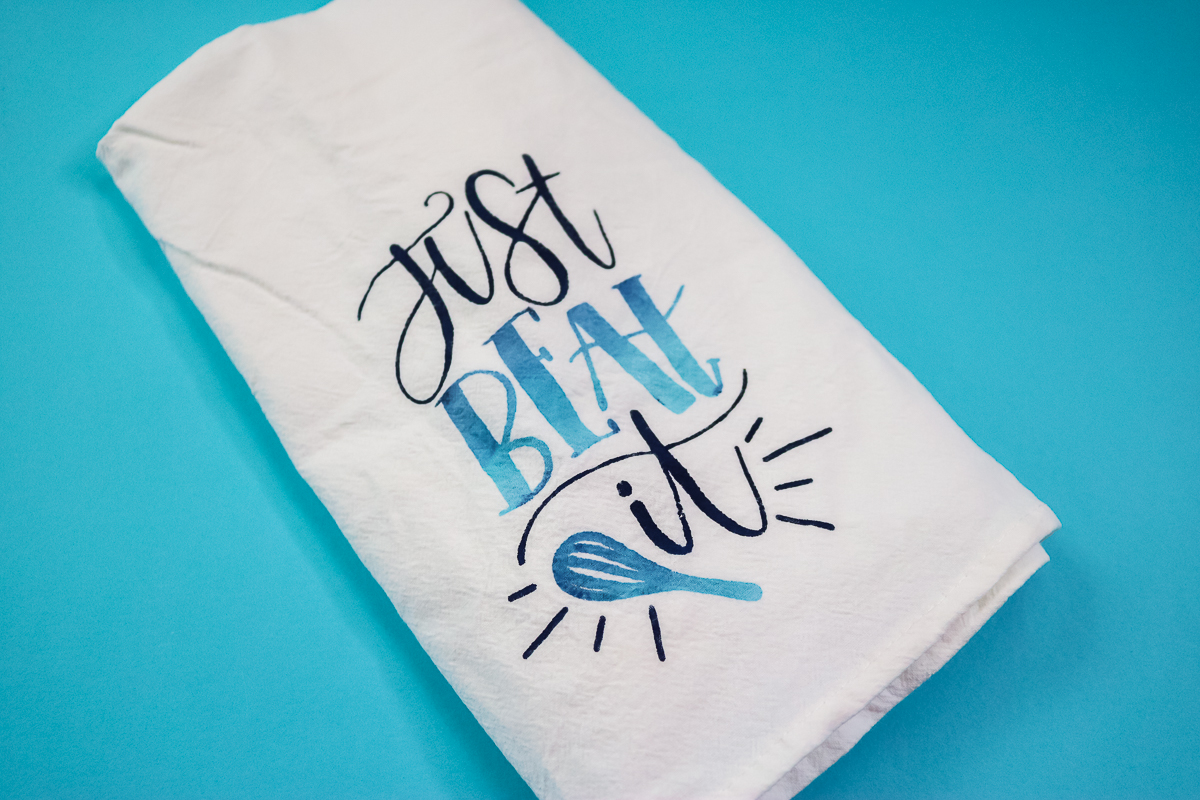
With this one, I did some words in only the dark blue and then the word “beat” and whisk, I did a combination of the two colors I had.
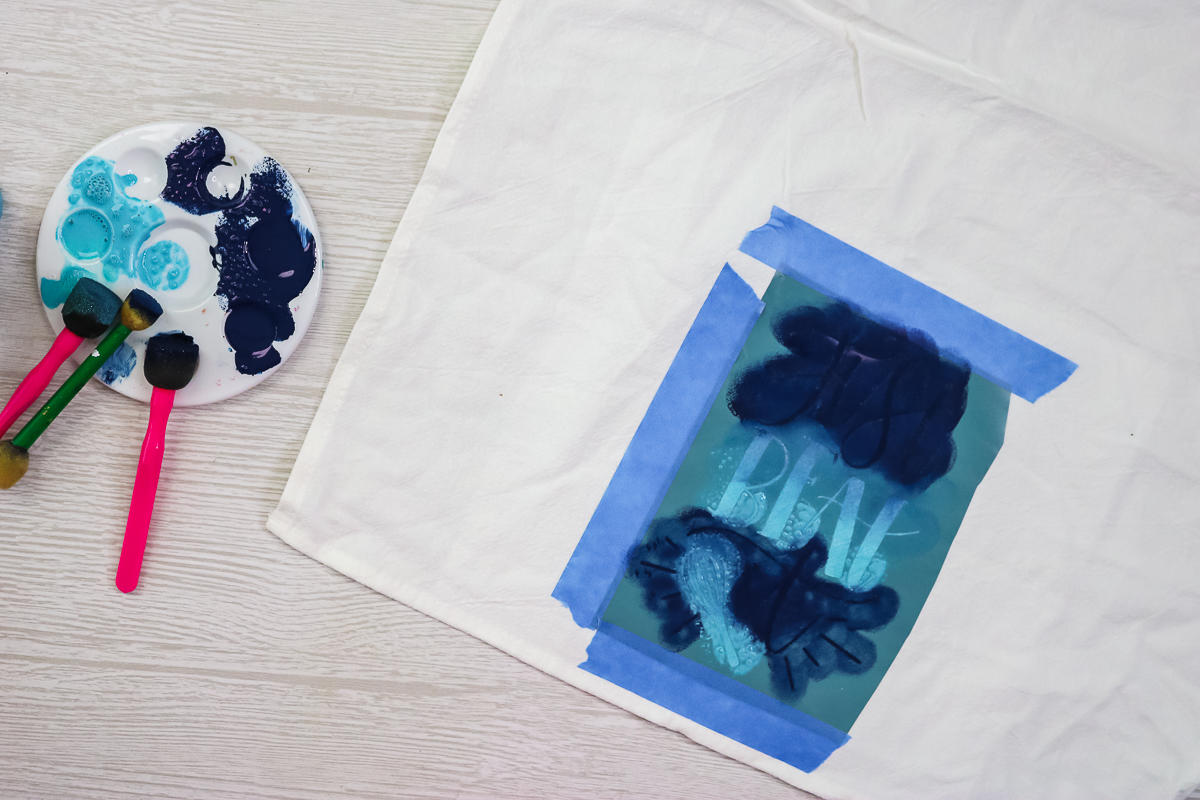
Once you are done painting, just peel off the vinyl carefully. Be careful to not get any of the paint anywhere else on the towel.
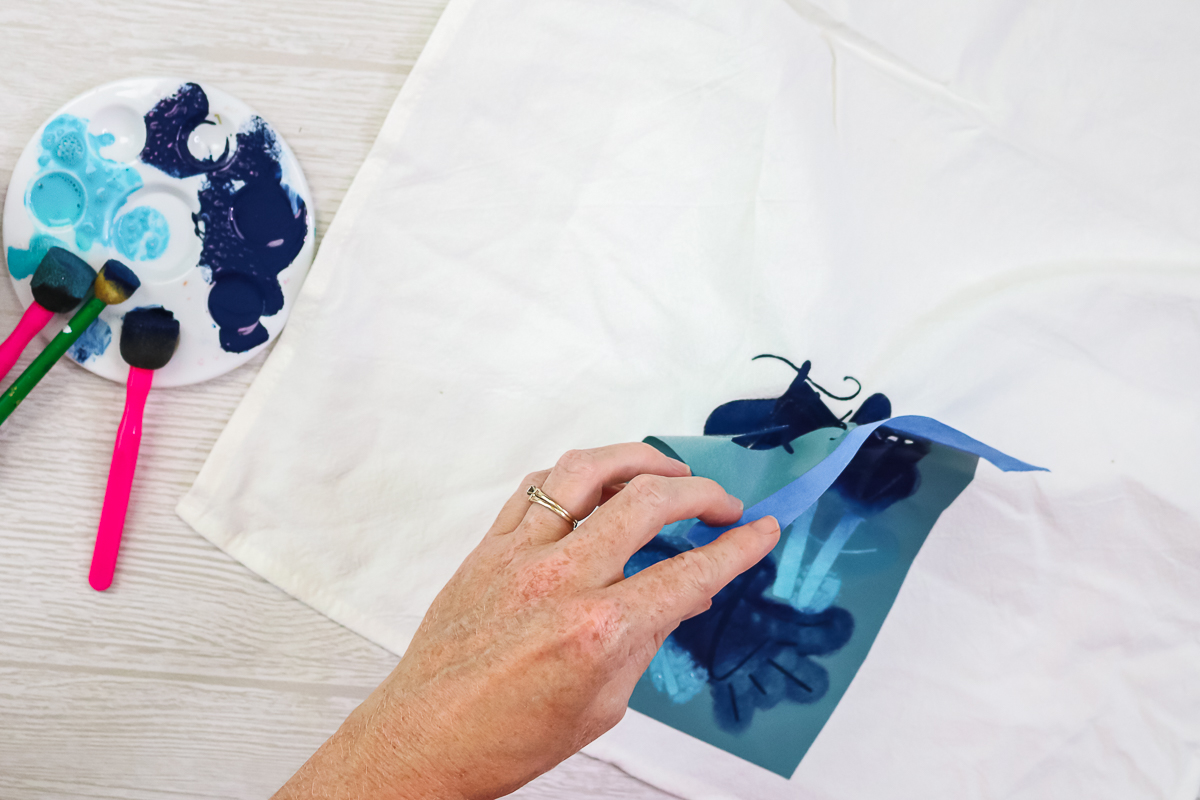
Again, the centers of the letters probably won’t come up and you can use a pair of tweezers. Remember you’ll want to follow all directions on your fabric paint. It may require that you allow this to dry and then heat set it.
What is the Best Way to Make Cricut Kitchen Towels?
All that’s left to do is for you to pick your favorite method for making tea towels or making any other fabric craft. I hope you see that there’s a wide range of options and they’re all simple to do. So, how do you choose? Here are a few considerations:
- Reference the design section above. If you have a design in mind, you could work backwards. For instance, a really complicated design may work best with iron-on.
- What material are you going to put it on? Polyester tea towel or polyester shirt? You might want to choose Infusible Ink because it lasts a really long time. If you are using a cotton surface, any of the other methods will work.
- If you want to do an ombre effect or blend colors, stenciling is definitely the way to go. However, which of these stenciling methods is best? If you have a super complicated design in mind, stenciling with fabric paint and a vinyl stencil might be the way to go for you. If the design is simple, try the freezer paper method instead.
Keep in mind the final look you want, the design you’re going to use, and the material you’re going to put it on. Then, pick one of these four methods to work for your tea towels or any other fabric project.
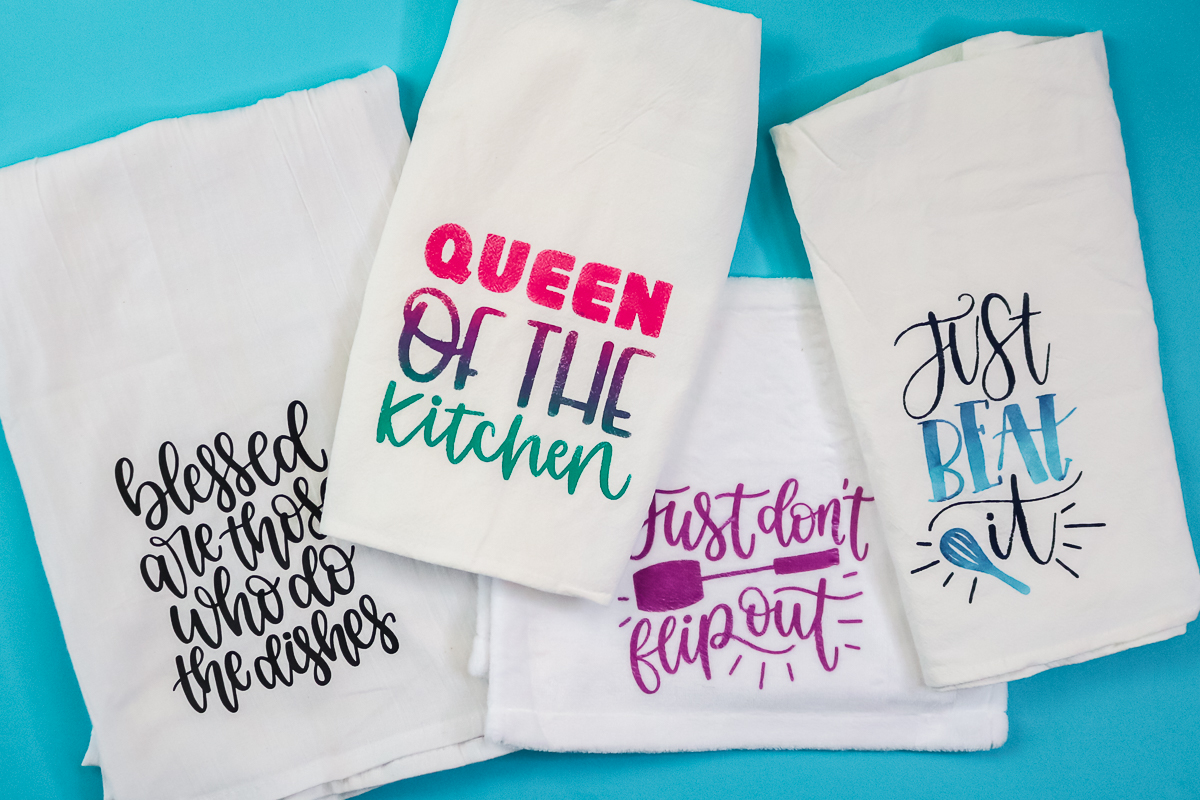
All that is really left to do is to pick a design and make some Cricut tea towels of you very own. Which of these designs did you like best?
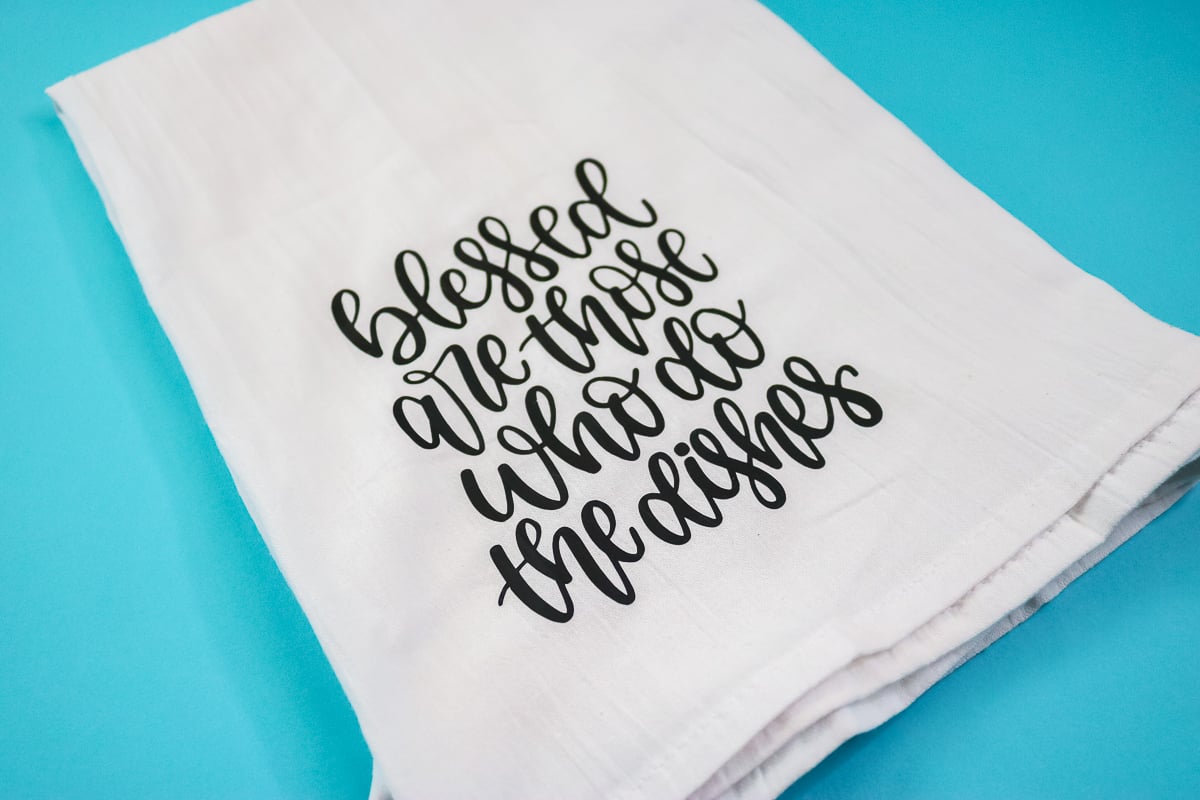
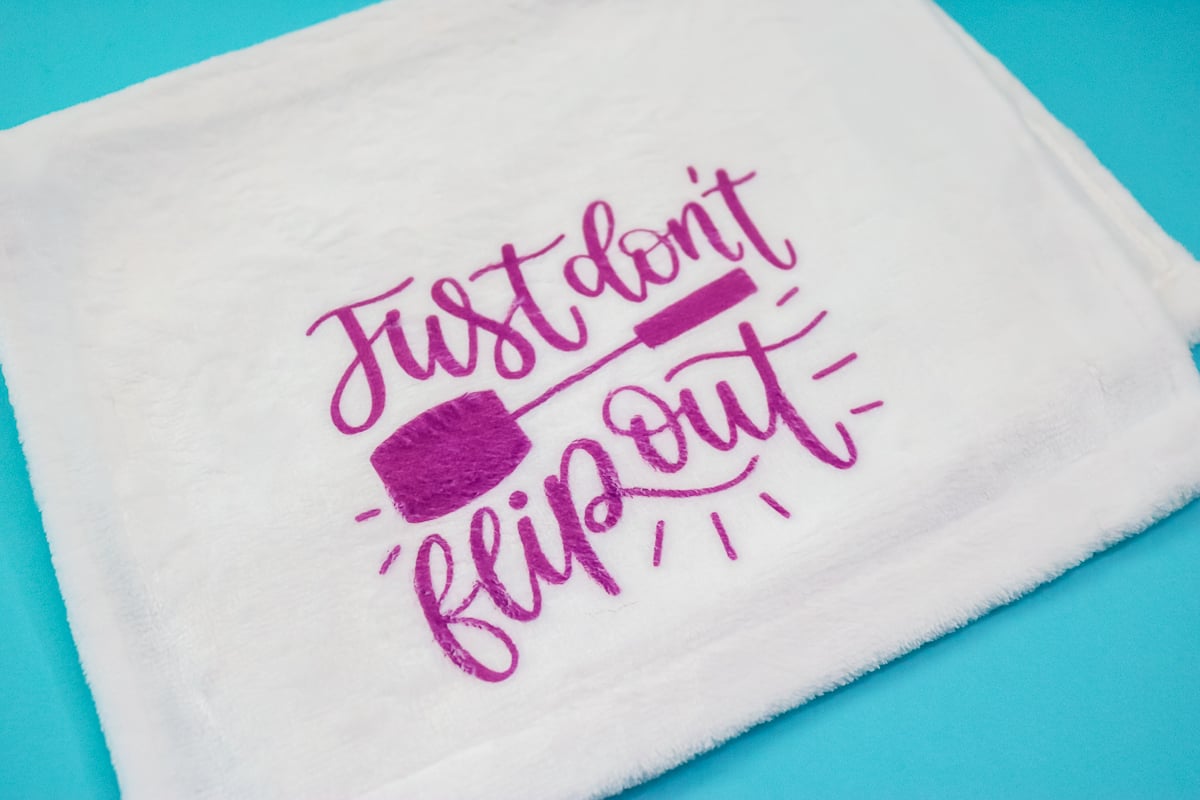
I am drawn to the classic designs the most, however, some of the other towels in this post really turned out great.
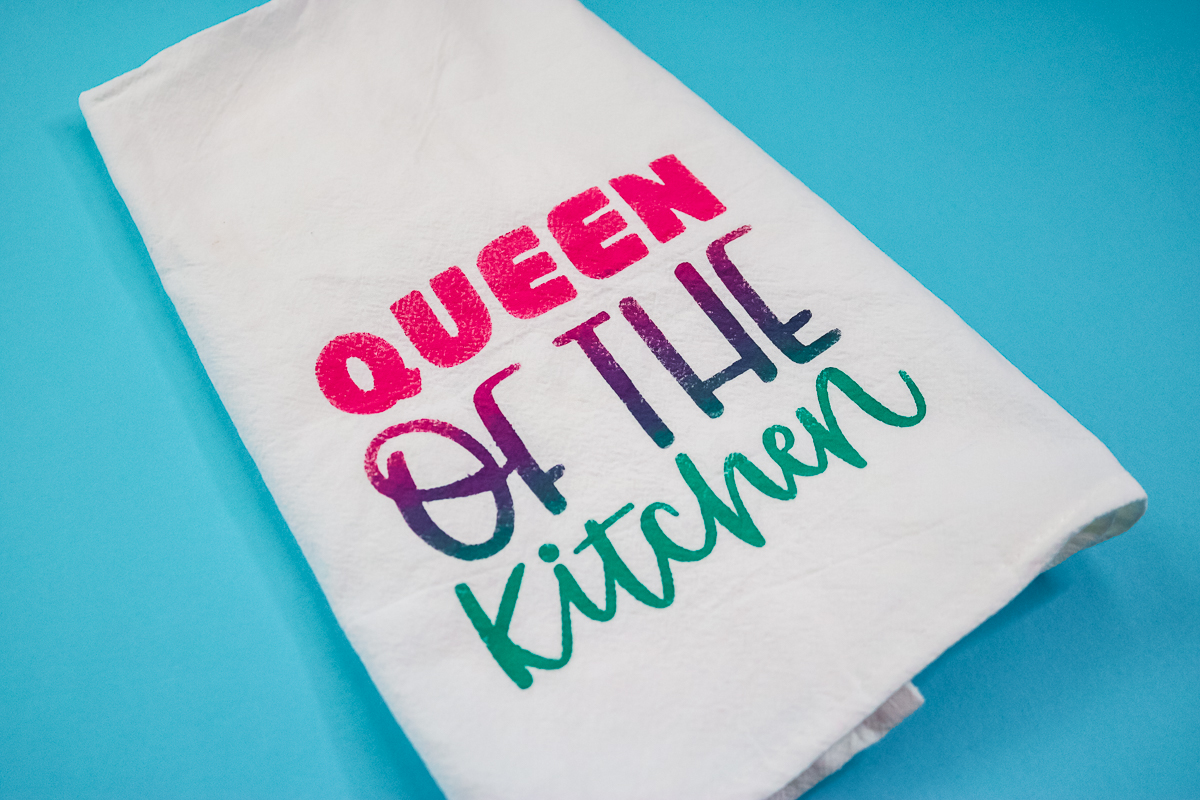
I am really in love with the stenciled versions as they are so easy to make and you can really make any design you would like.
So, if you need me, I will be dreaming up more flour sack towels that I can make with paint and stencils.
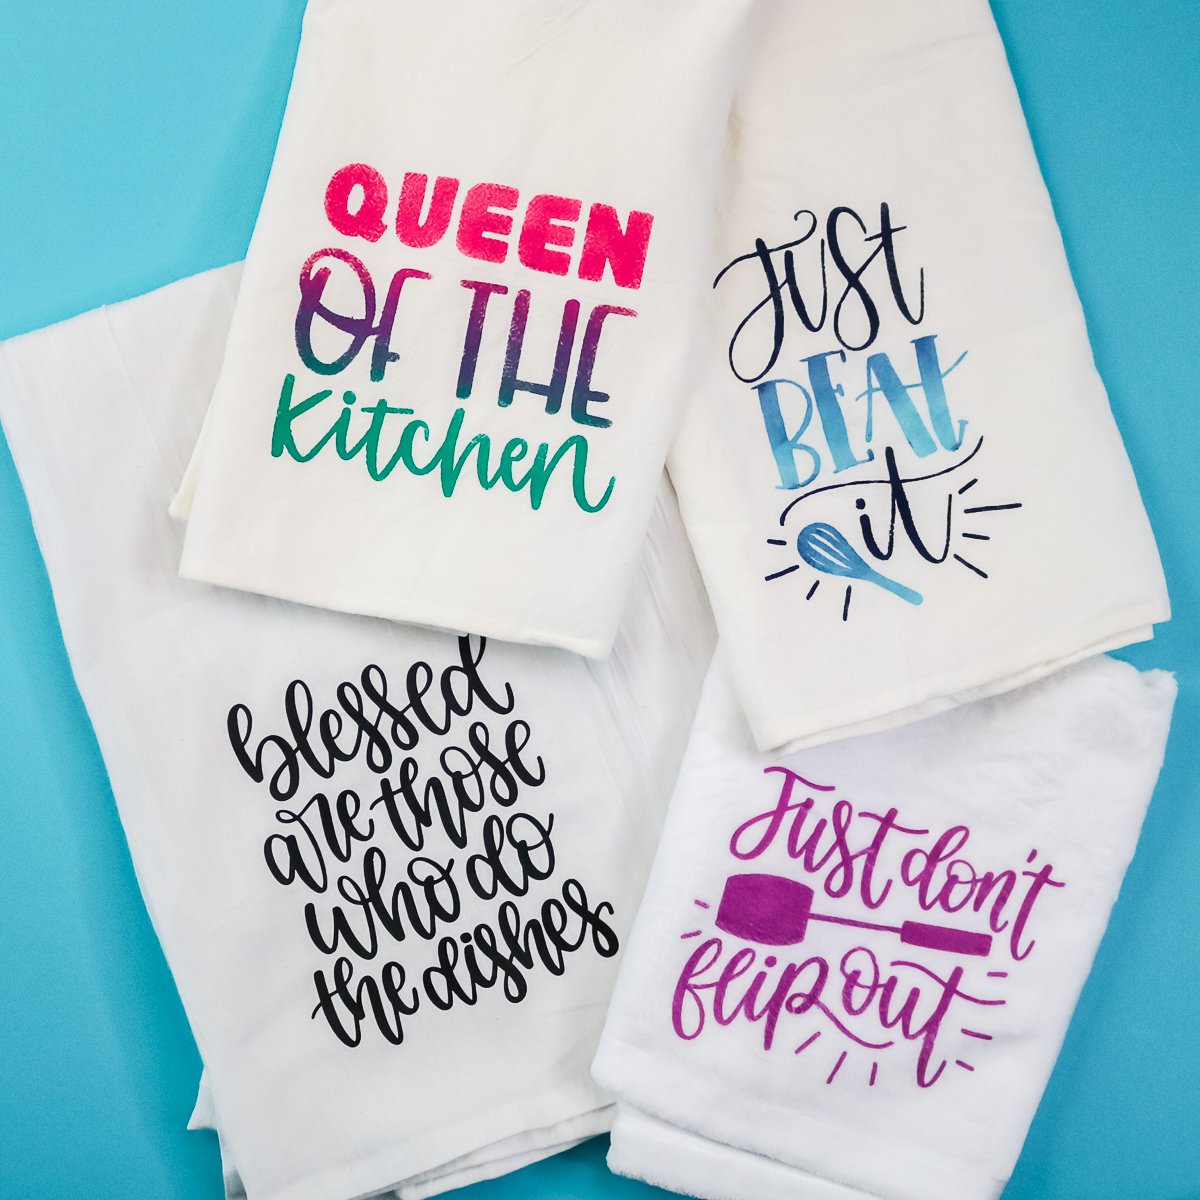
Pick your favorite method and use it on tea towels or any fabric project that you have in mind. Rememer these same methods will work on shirts and so much more.
So, what are you waiting for? Grab your supplies and make some Cricut tea towels. I think you will love the way they turn out.
5 More Kitchen Towel Crafts
Do you love these Cricut tea towels and are looking for more kitchen towel crafts? Then check out the projects below!
- Free Kitchen Towel SVG File Plus More Kitchen Designs
- Tea Towel Printing Made Easy with Chalk Couture
- The Ultimate Guide to Sublimation Kitchen Towels
- Easy DIY Mason Jar Tea Towel
- Painted Towels with Amy of Mod Podge Rocks


Can the towels made with HTV be put into the washing machine on cold and then hung to dry? I am assuming they can’t go in the dryer.
You can wash tea towels with HTV in the washer and as long as it’s applied properly it can be dried in the dryer on low heat 🙂