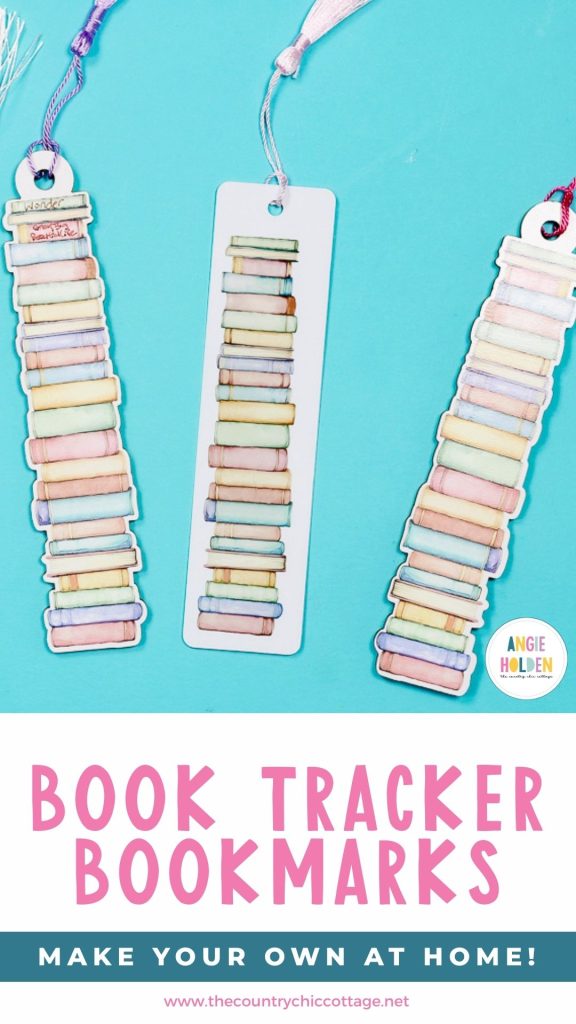
I am so excited to show you how to make book tracker bookmarks! If you love to read and are looking for a way to keep track of the books you've read, you're going to love this project.
I am going to show you two different ways to make these bookmarks, but there are even more ways you can make them, and I'll share those ideas as well.
If you're trying to decide which laser is right for you, my free Laser-Ready course can help.
You can watch me make these bookmarks using lasers and sublimation by pressing play on the video below. You could also make these using heavy cardstock and your Cricut or even printable vinyl.
How to Make Book Tracker Bookmarks
For one option, I am going to make bookmark blanks using my WeCreat laser and my xTool laser. Then I'm going to print directly onto the bookmarks with my eufyMake printer.
Then for another option, I'm going to use a metal sublimation bookmark and a sublimation print.
This will give you a few different options to try, but you can definitely use this design to create bookmarks in other ways.
Supplies Used
IMPORTANT: You will not need all of these supplies for every bookmark. The supplies you need will be determined by the type of bookmark you're going to make.
Laser/Print Bookmark Supplies
Sublimation Bookmark Supplies
- Sublimation Bookmark Blanks
- Cricut EasyPress
- Heat Resistant Mat
- Brother Sublimation Printer
- Sublimation Paper
- Lint Roller
- Heat Resistant Tape
- Heat-resistant Gloves
- Tape Dispenser
- Protective Paper
- Paper Dispenser
Laser Cut and UV Printed Book Tracker Bookmarks
For a nice sturdy bookmark, I am using TruFlat laser plywood in white.
I do recommend doing a test cut with this material if you haven't used it before, to ensure you know how many passes are needed to cut all the way through.
Step 1. Create Design in WeCreat
Open the WeCreat software and click New Project. Click File and Import, and find the file on your computer.
For this project, I am going to set the design to a specific height of six inches. This will make it easier to size the print exactly.
With the size set, I am going to add an offset around the outside edge.
I like the offset to have rounded corners, and I set my offset to 0.05 and then clicked Confirm.
With the offset created, I can delete the image because I am using my laser to cut the blank, not the design.
In order to be able to add a tassel to the top, I am going to add two circles to the top of the design. The first circle is 0.75 inches, and the middle circle is 0.25 inches.
You can adjust the size of the circles if you want. Center the smaller circle on the larger circle, and then select them both and move them where you want them on the top of the bookmark design.
With it located where you want it, select the larger circle and the outline of the bookmark, and merge both of those pieces.
Now you should have 2 layers, the outline layer and the inside circle. Select both of those layers and group them, and you're ready to cut. If you're making more than one bookmark, duplicate the design as needed.
Step 2. Cut Out Bookmark Blank
Add the wood to the laser and with the lid open, click Refresh in the software. This will show you the inside of the laser on the screen, and you can move the design around.
Next, you can auto-measure the material, and that will give you the exact thickness of the material.
Select the wood you're using. I ended up needing five passes to cut through the TruFlat plywood.
When changing the line type to Cut, I did 5 passes and turned the speed down to 4. If this is new material for you, do a test cut first.
Close the lid, click Start in the software, and then click Send to send the cut to the laser. Press the button on the front of the laser to begin the cut.
When the laser is done, lift the lid and remove the bookmark from the laser.
Any marks on the material wipe off this material easily. You don't need to mask it before cutting.
OPTIONAL: Instructions for Using an xTool Laser
To create the same design in xTool, the process is very similar. If you have the xTool M1 Ultra, you can cut and print right in the laser. I am not doing that process today, I am just cutting out the wood.
Click Upload and find the file on your computer to upload it. Again, I am resizing the design to six inches tall.
Click Offset. I made mine a rounded offset, and you can play with the offset amount. Mine is set to 0.05.
I am not printing within the xTool M1 Ultra, so I can delete the print from the canvas.
Add the circles like we did before. I'm doing .75 and .25 again and located them on the offset.
Select the outside circle and the offset, and click Unite.
Next, select the inner circle and outline layer and group them.
If you're making more than one bookmark, duplicate the design.
When you're ready to cut, you can auto-measure the material and select your cut settings.
Locate the design on the wood and cut it out. If you need help locating the design, my xTool tutorial is a great resource.
When the laser is done cutting, open the lid and remove the bookmark.
Step 3. Create Design in eufyMake Software
I am using the eufyMake printer for these bookmarks. This printer allows me to print directly on the blanks I cut with a laser.
Open the eufyMake software and click Upload. Find the file on the computer and open it.
Next, we're going to rotate the design and resize it. As you recall above, when we created the offset for the bookmark blanks, we set the size of the design at exactly 6 inches. This gives me the exact size to use for the printing process.
In the eufyMake software, I have the design sized to 6 inches tall. Because I am printing on a white surface, I am going to choose CMYK for the Ink Mode because I do not need to print white.
I am using the mini flatbed, so I have ensured that it is what is selected in the software.
Add the bookmark to the machine and click Snapshot. This will show you the bookmark in the software, which allows you to perfectly align the design on the blank.
Now, I can make any adjustments needed, including rotating to fit the design on the bookmark exactly.
The Snapshot also measures the height of the blank, so those settings are automatically added to the software.
Step 4. Print Design
With the design sized and located, click Print. Select Wood for the material and then click Start Printing.
The eufyMake prints directly on the blank and is dry when it comes out of the printer. When the printer is done, the bookmark is complete.
OPTIONAL: Make the Bookmark Double-sided
If you read a lot of books like I do, you may want a double-sided book tracker bookmark. With the eufyMake, you can print on both sides of the bookmark.
To do this, you simply need to mirror the design. I selected the image and then right-clicked and flipped the image. Depending on the image and location, you may need to flip vertically or horizontally. For this design, I flipped it horizontally.
With the image flipped, we can locate the design on the blank like we did last time and print again.
When the printer is done, we have a complete double-sided bookmark.
Sublimation Book Tracker Bookmark
For my sublimation bookmark, I am using a metal sublimation bookmark blank.
Before I begin my design, I need to measure the bookmark. Measure the length and the width of your blank so you can create the design the same size.
Step 1. Create Sublimation Design
I like to use Canva because it is easy to make adjustments to designs within this program.
Open Canva and create a custom design that is the size of your sublimation paper. My paper is 8.5 by 11 inches, so I have my canvas set to that size.
Click Upload and find the design on your computer. Open the design and add it to the canvas. I like to remove any extra white area around the design so it can be sized to fit the bookmark blank.
With the design sized correctly, you can duplicate it as many times as you want, and we're ready to print.
Step 2. Print Sublimation Design
You cannot print directly from Canva. Click Share and then Download. I like to download as a PDF for Print, and I choose CMYK as the print type.
Click Download, and that will save the design to your device.
Print to your sublimation printer, making sure that you use sublimation paper and sublimation ink.
Step 3. Locate Sublimation Print on Bookmark
My bookmarks are a sublimation blank. This means they have a sublimation coating on them.
Remove any protective coating on the bookmark before locating the design.
Trim the design and locate the print on the bookmark blank.
Secure the print with heat-resistant tape.
Step 4. Press the Sublimation Print onto the Bookmark Blank
Place protective paper on a heat-resistant mat and place the bookmark on the protective paper with the sublimation print facing up. Cover the print with protective paper and press.
I am using a Cricut EasyPress today and have it set to 400 degrees for 60 seconds.
When the time is up, remove the protective paper and the sublimation print.
With the sublimation print removed, the bookmark is complete and ready for any additional embellishments you'd like to add.
How to Finish Book Tracker Bookmarks
To finish these book tracker bookmarks, you can add a tassel or ribbon to the hole at the top. I've even seen people add charms to their bookmarks.
To track your books, use a fine-line Sharpie to write the book titles on the bookmark books.
Whether you have a laser machine and an eufyMake printer or the xTool M1 Ultra that can cut and print on plywood, you can create a custom bookmark that has the shape of the books.
More Options for Making Book Tracker Bookmarks
If you don't have the eufyMake printer or the xTool M1 Ultra, you can do a print-then-cut on printable vinyl and add that to the laser-cut bookmark.
You can also laser-cut a sublimatable material and sublimate the design on it, giving you a similar look.
Another option would be to Print-Then-Cut onto a heavy cardstock and create a bookmark that way.
Regardless of what method you use, you should make a book tracker bookmark! Whether you want to track what you're reading this summer or all year long, this is a fun project that is also a keepsake.
I hope I've answered any questions you have about making book tracker bookmarks. If you have any additional questions, leave them in the comments, and I'll be happy to answer them for you.
Frequently Asked Questions
Do I need a laser to make these bookmarks?
No, you can use this design to create book tracker bookmarks in a variety of different ways.
Do I need the eufyMake printer to make these bookmarks?
No, I show you how to use sublimation, but you can also use Print Then Cut with your Cricut machine.
Can I write on the bookmarks?
Yes, I used a fine-line Sharpie to write book titles on the books in the design.
Can I make these with my Cricut?
Yes, you can use your Cricut in a variety of ways. You can do a Print Then Cut on heavy cardstock, you can also Print Then Cut on printable vinyl, and add that to a laser-cut material.