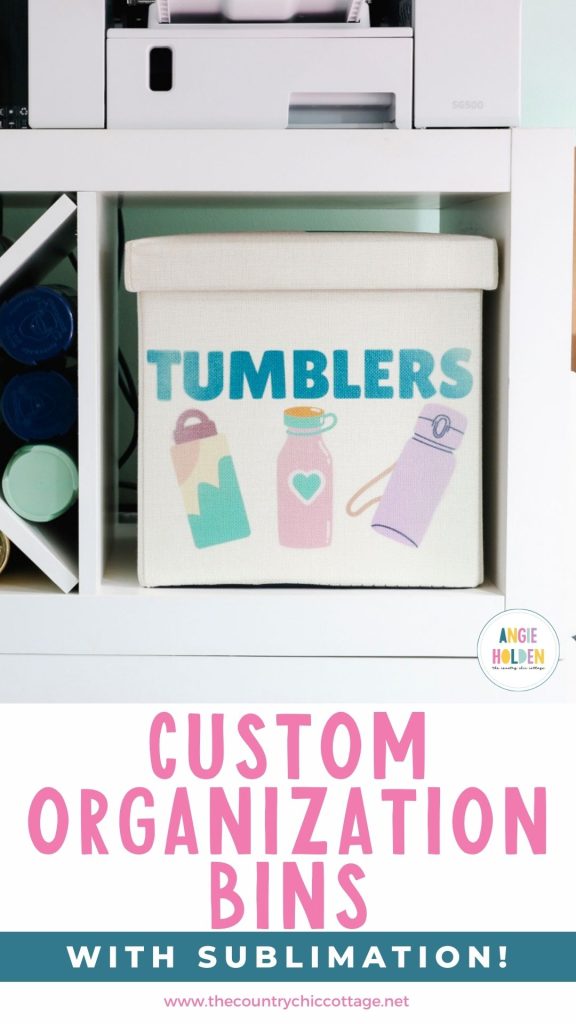
If you're working on organizing your home, I have a project you're going to love. These sublimation organization bins are high-quality, sturdy, and fit in cube shelves.
One of my favorite things about these bins is that they can be sublimated on multiple sides and the top.
If you're new to sublimation, my Sublimation Beginner's Guide is a great starting place.
If you want to make these sublimation organization bins, make sure you watch the full video below or read this full tutorial, because there are some things I learned that will help you get a successful transfer of your sublimation design.
What are Sublimation Organization Bins?
These sublimation organization bins are storage bins that can be sublimated on two sides and the top.
They are light in color and have a high polyester count, making them perfect for sublimation transfers. These bins fold completely flat, making them easier to sublimate.
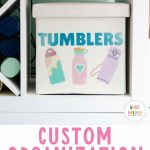
You can get these sublimation bins in two different sizes. I am using the smaller size because it fits in my cube shelves. If you want to use them in your cube shelves, make sure to measure the opening to see if they will fit.
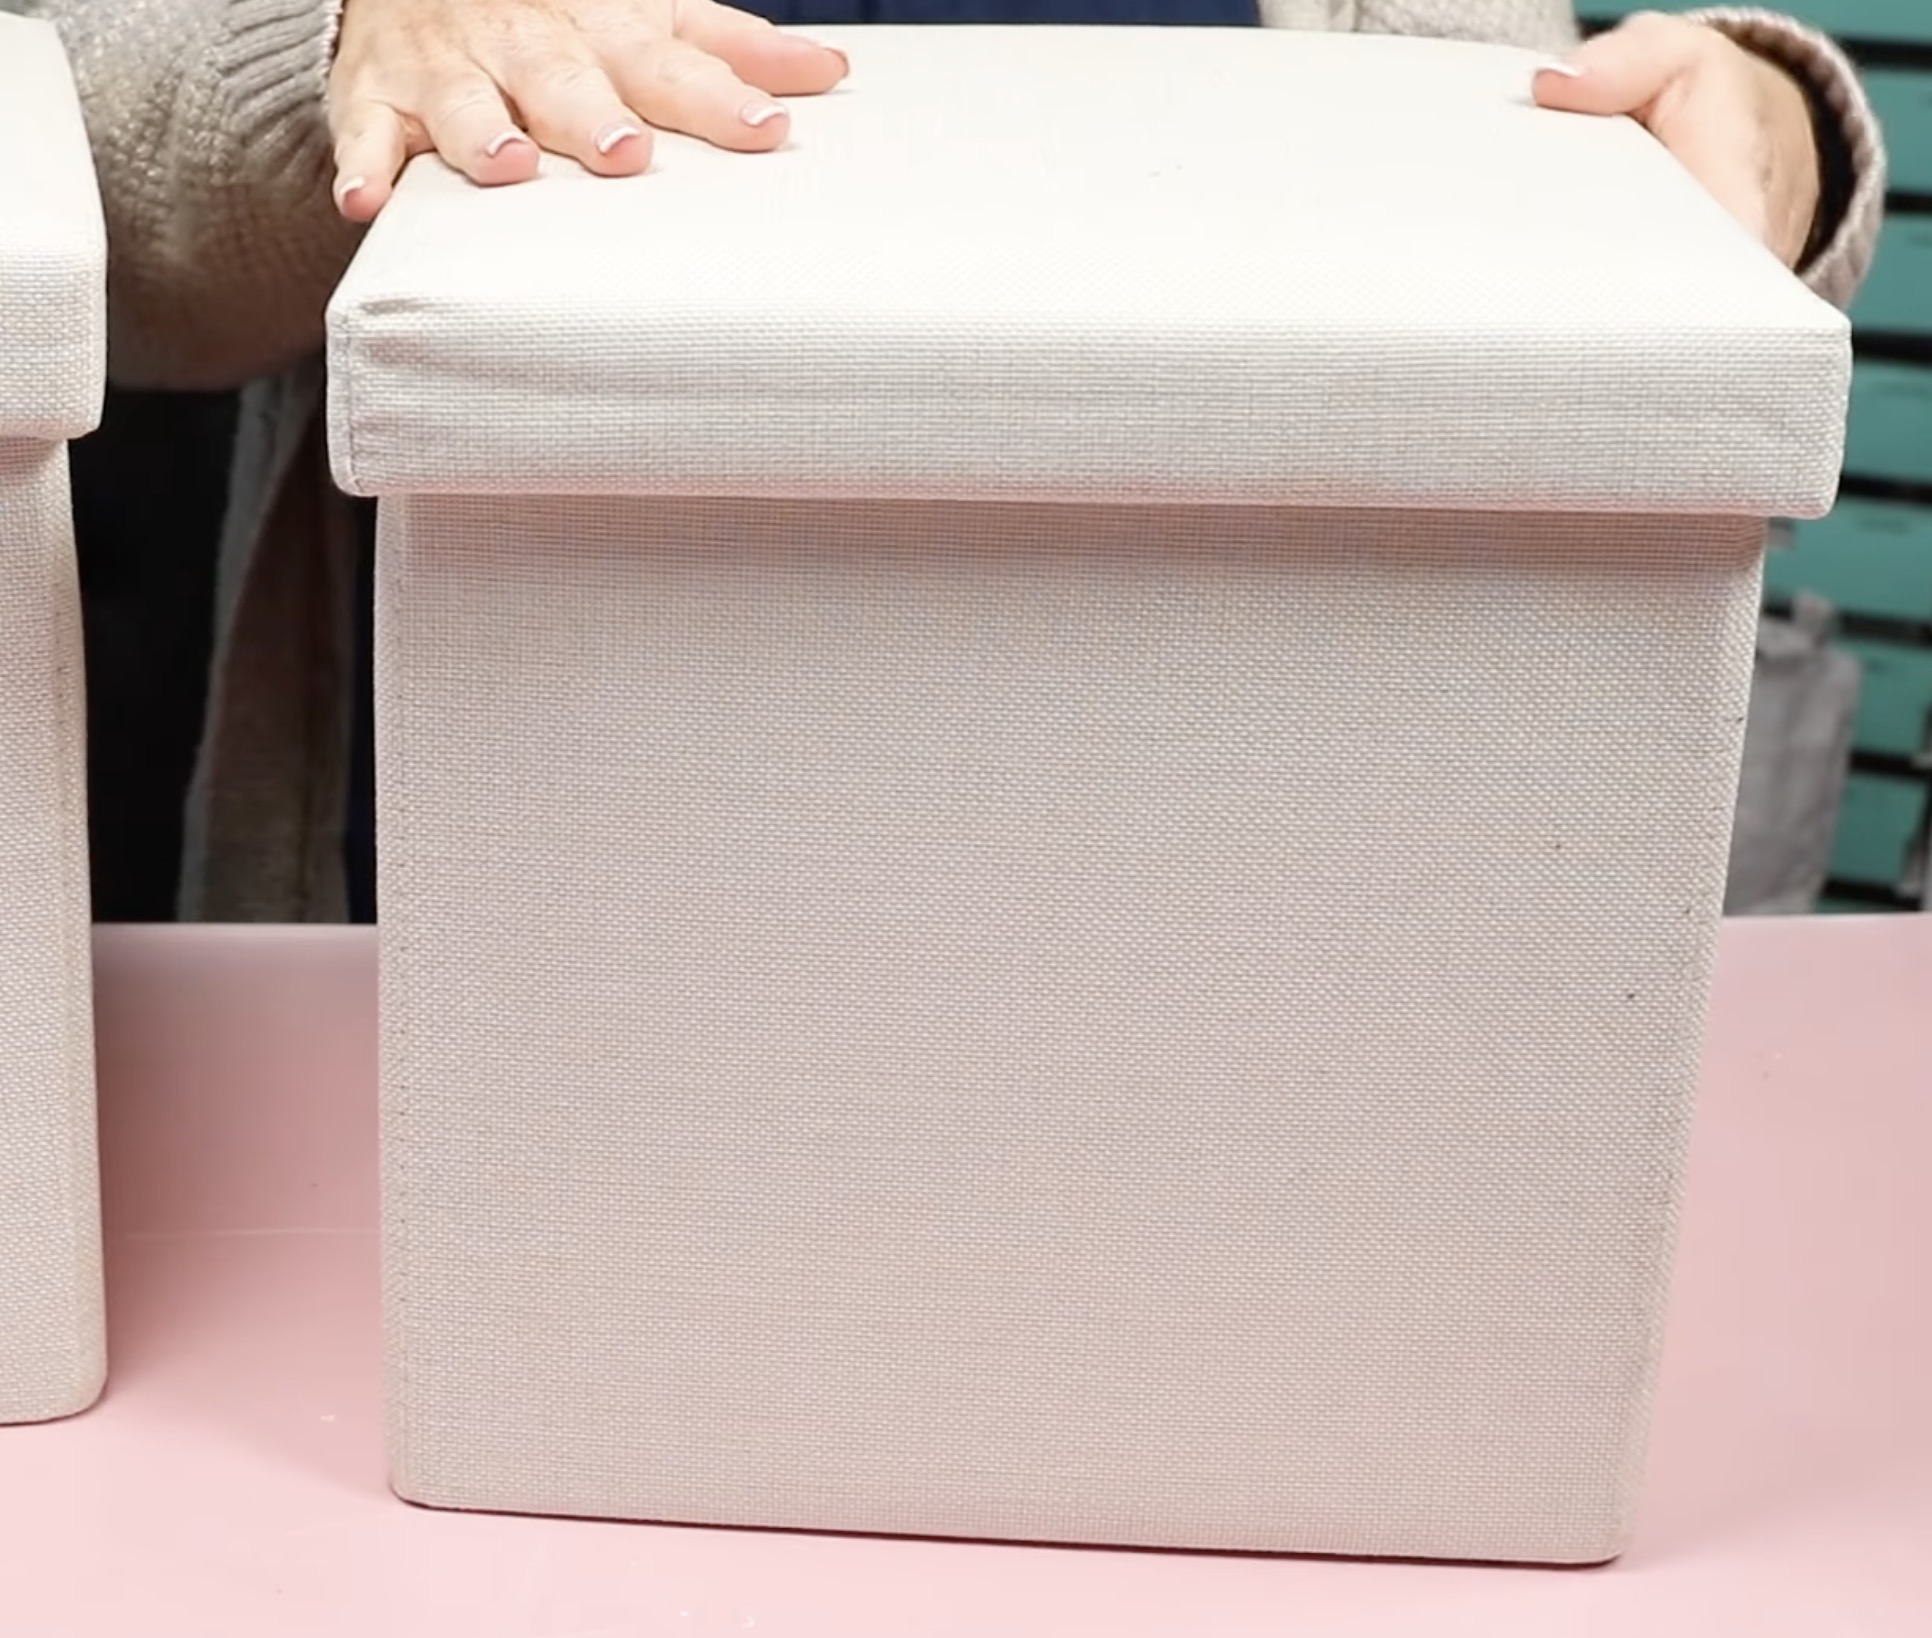
I really like that these hide everything inside and that they have a lid, which helps prevent dust from settling on everything inside.
These bins are Subli-Linen, and they are made to hold up to high heat. They are not bright white, but colors show up beautifully on this material.
Close Up of Sublimation Bin
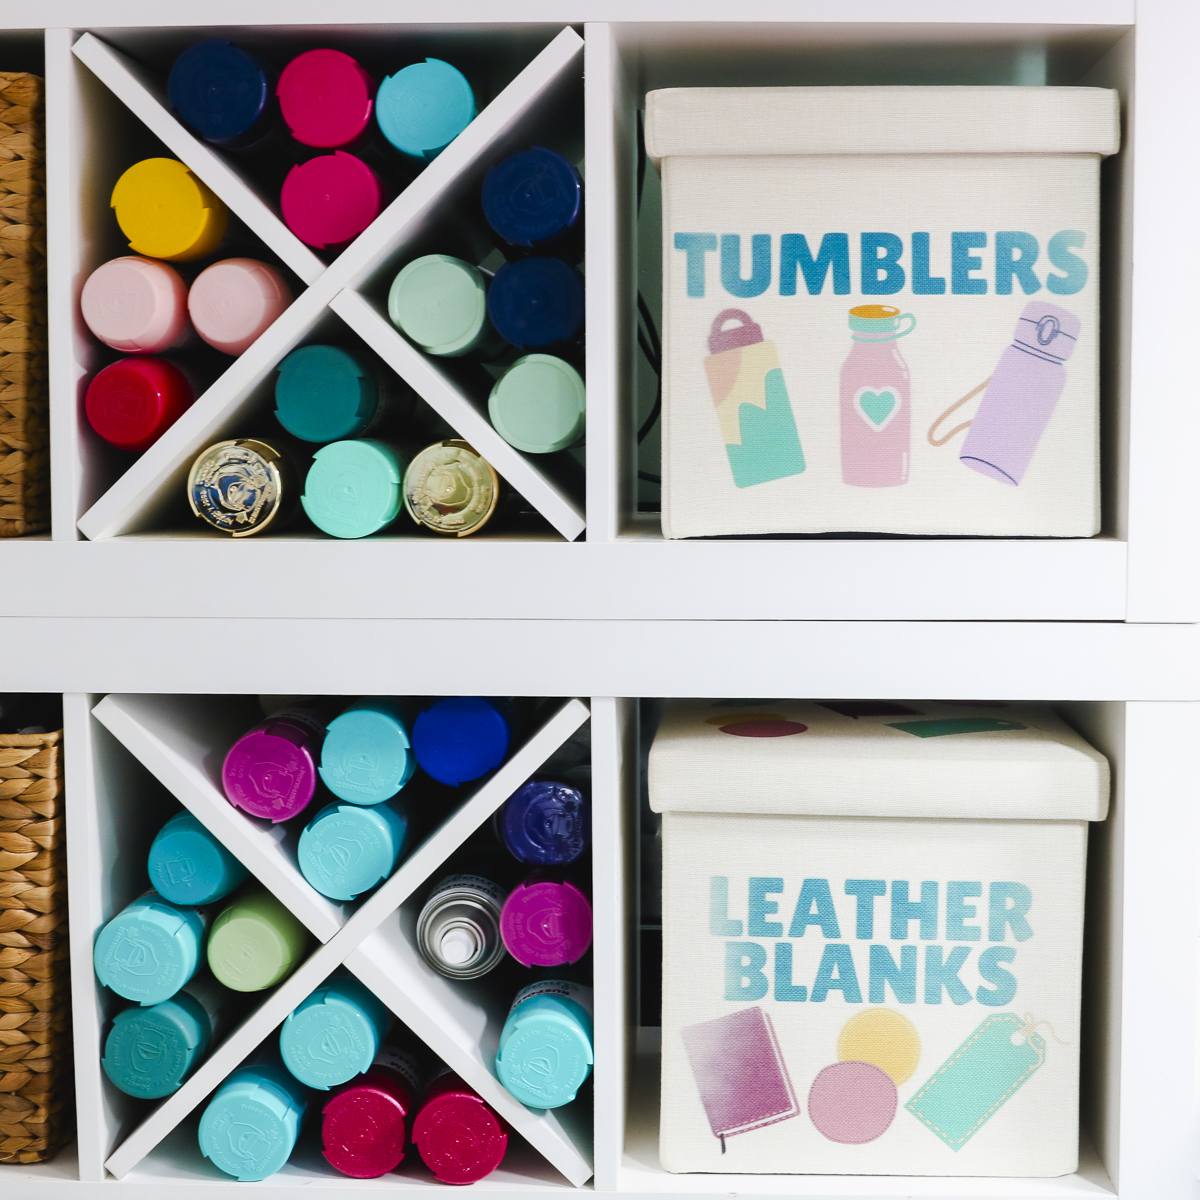
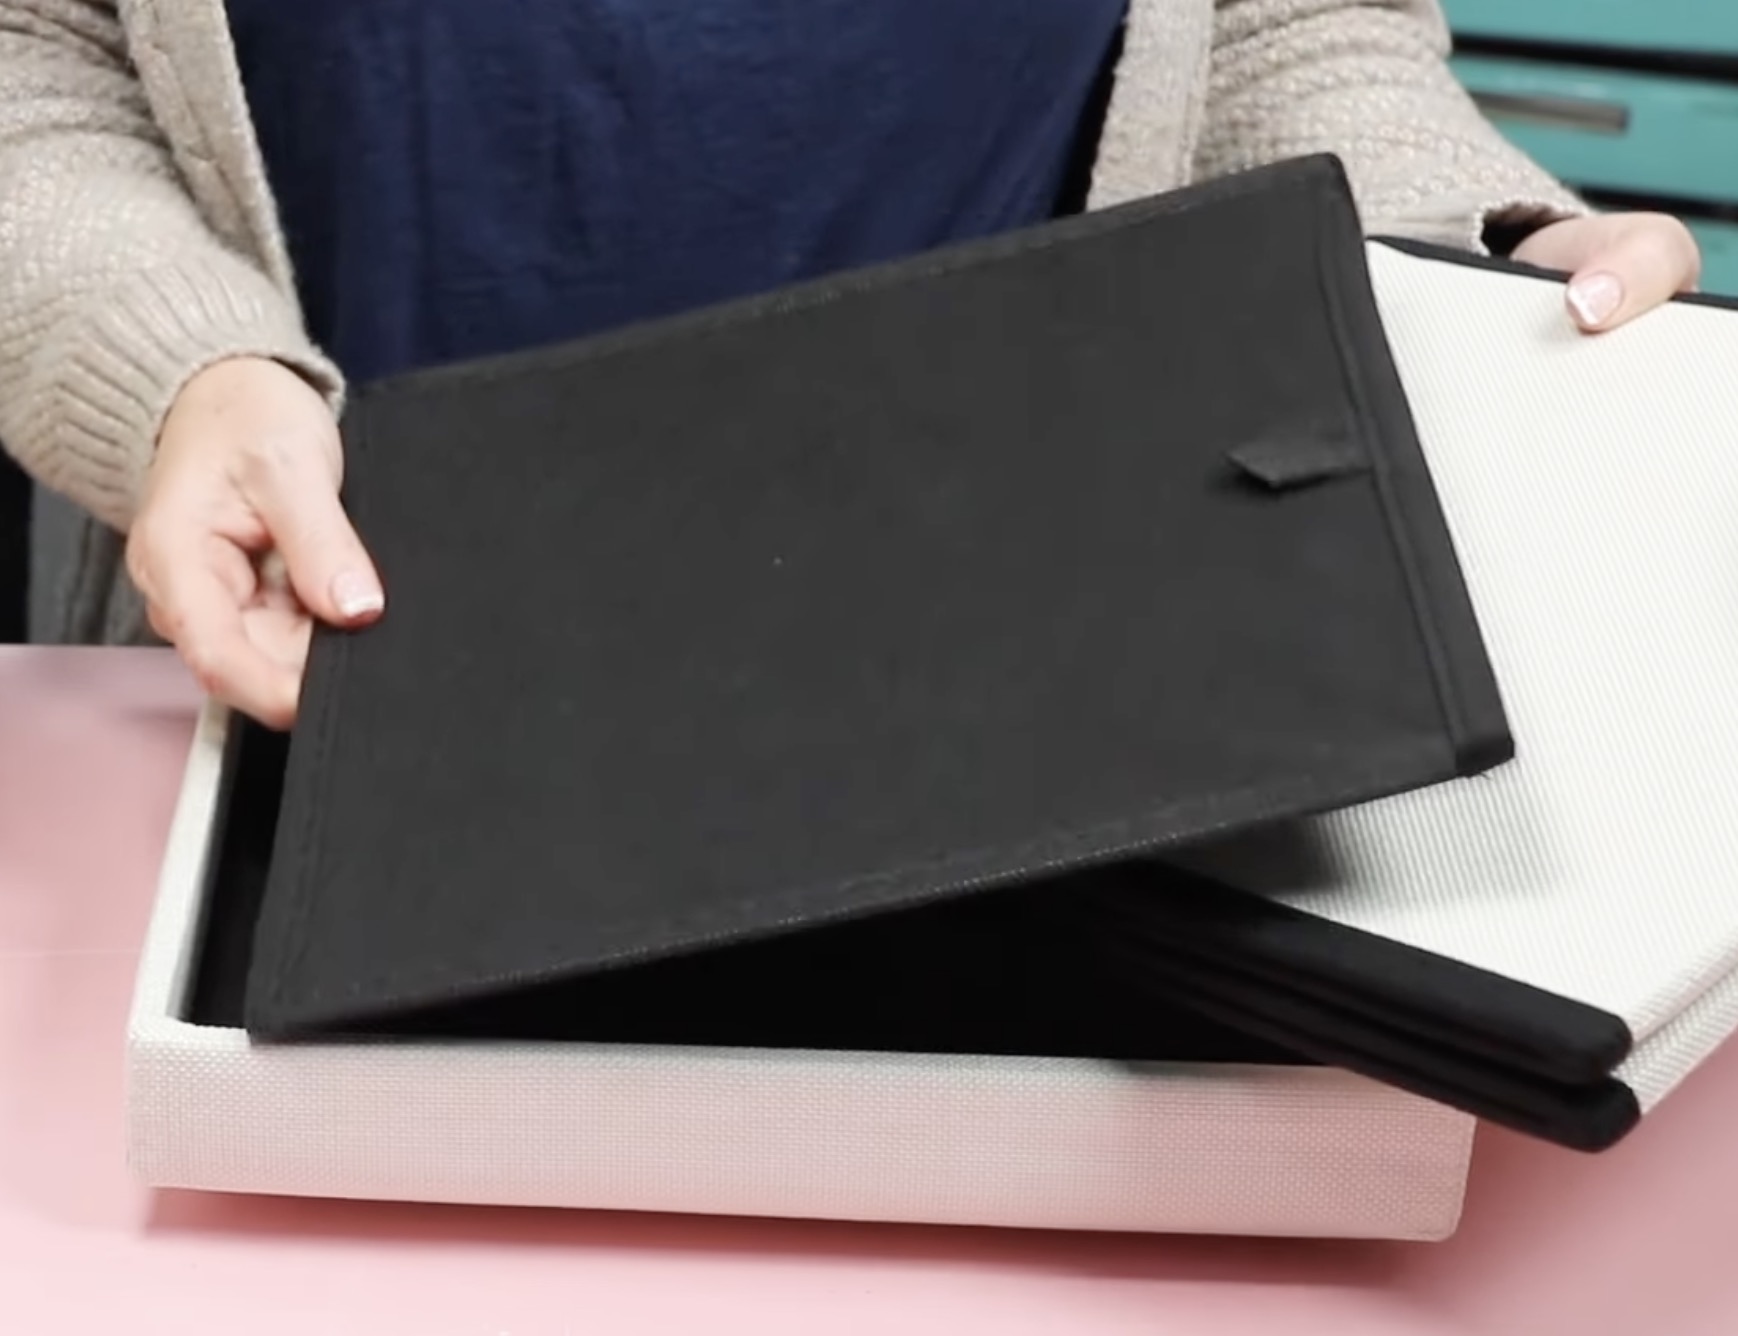
When you get the sublimation organization bins, you will see that it comes packaged all together and flat like this.
When you open the package, the bin portion is folded flat and sits inside the lid.
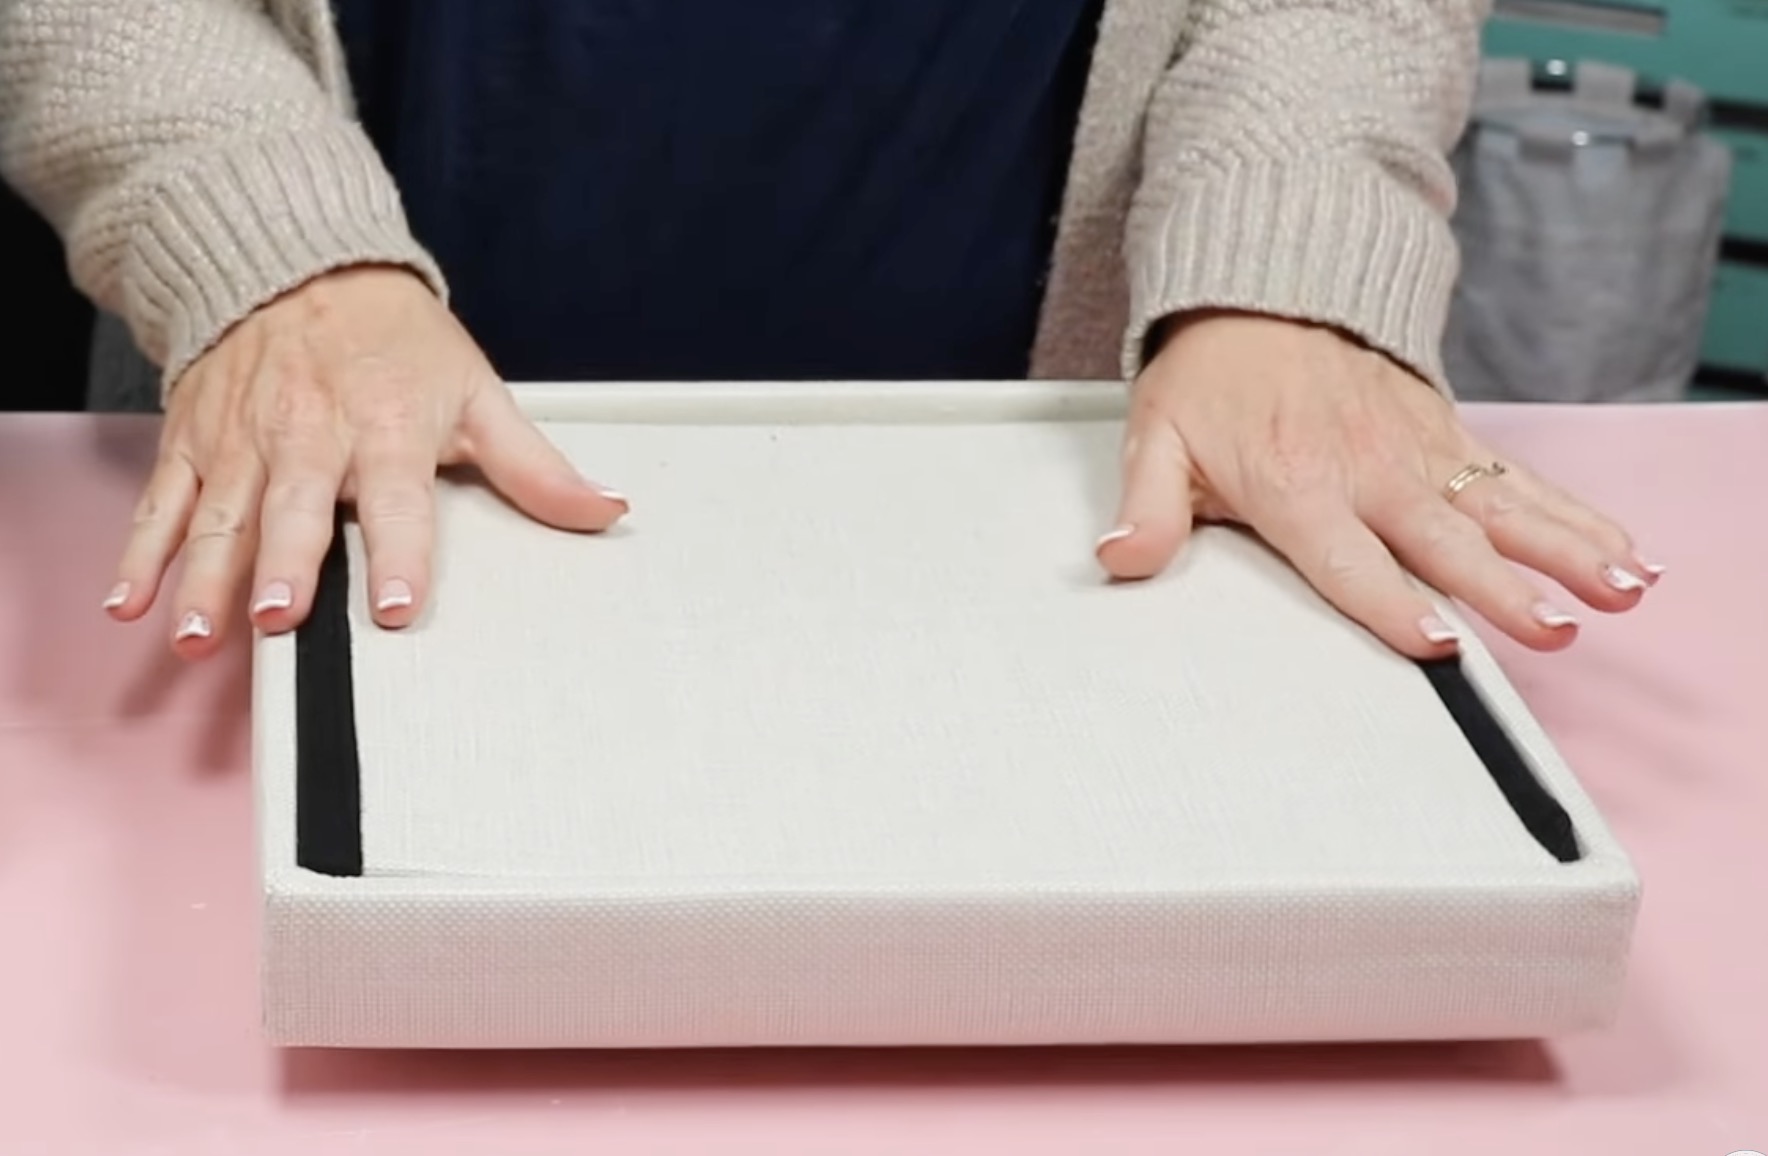
Lift out the bin and place it to the side.

Under the bin, you'll find a flat black piece. This goes inside the bin when it's set up. Set it aside.
The lid to the sublimation organization bin is all one piece. It is solid, and you can sublimate the top of the lid.
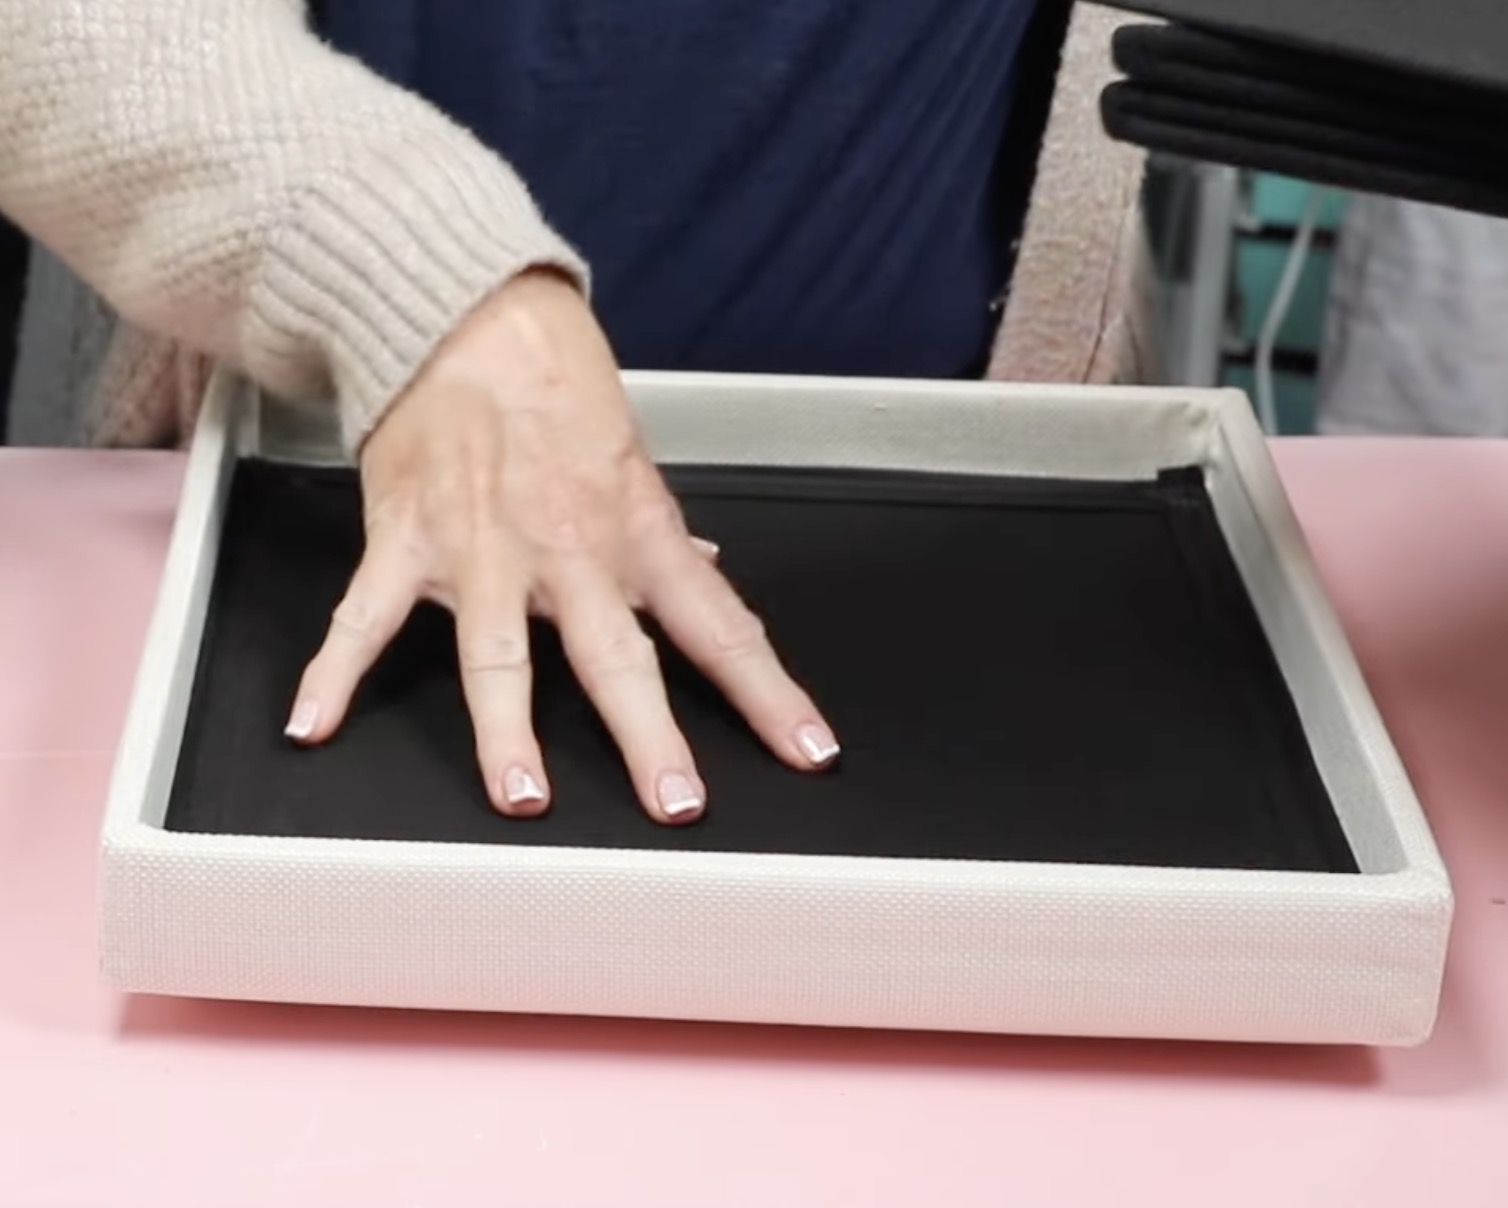
Set the lid to the side, and then you can open up the bin. Place the black piece inside the box and push it to the bottom. The lid will fit on top, completing the setup.
The bin can be sublimated on the top of the lid, and on the base, you can sublimate the front and the back. The reason they specify the front, back, and top of the lid is that you need to press the bin when it's flat. You can't fold it flat and have the sides exposed.

Technically, you could also sublimate the sides because it is all made of the same material. If you wanted to try adding text or designs, you could try using a small press.
I am not going to attempt that today because my bins will be inside the cube shelf, and the sides won't be seen.
How to Sublimate Sublimation Organization Bins
Now that we've looked at the sublimation organization bin, let's look at how to sublimate them.
I am using these organization bins in my craft room. If you want to use the same designs, I have included a link to the Canva template below.
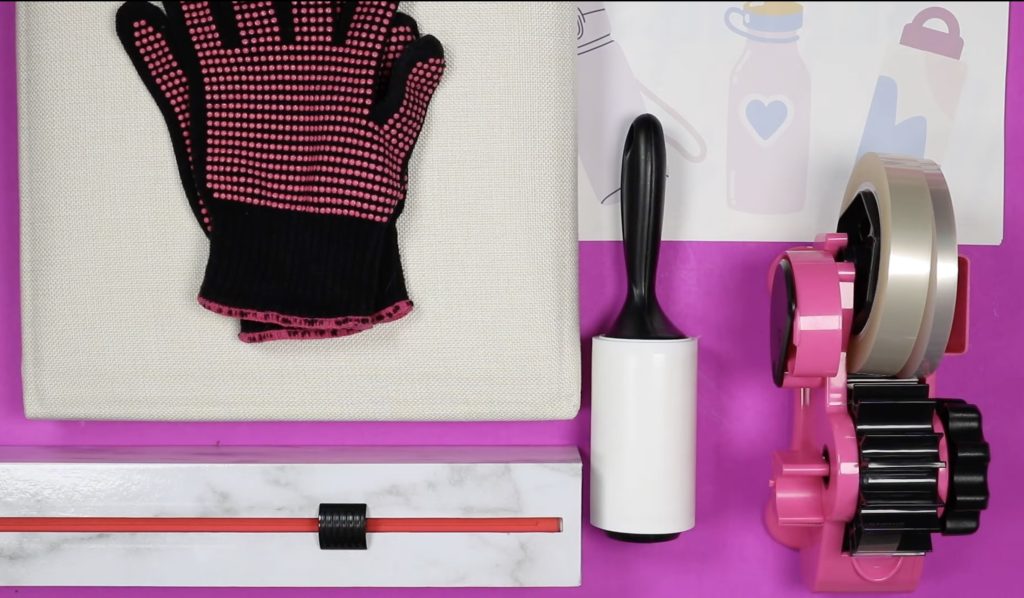
Supplies Used
- Free Canva Template
- Sublimation Organization Bins
- Brother Sublimation Printer
- Sublimation Paper
- Lint Roller
- Heat-resistant Gloves
- Protective Paper
- Paper Dispenser
- Heat Press
- Cricut AutoPress
- Cricut EasyPress
- Heat-Resistant Mat
- Heat-Resistant Tape
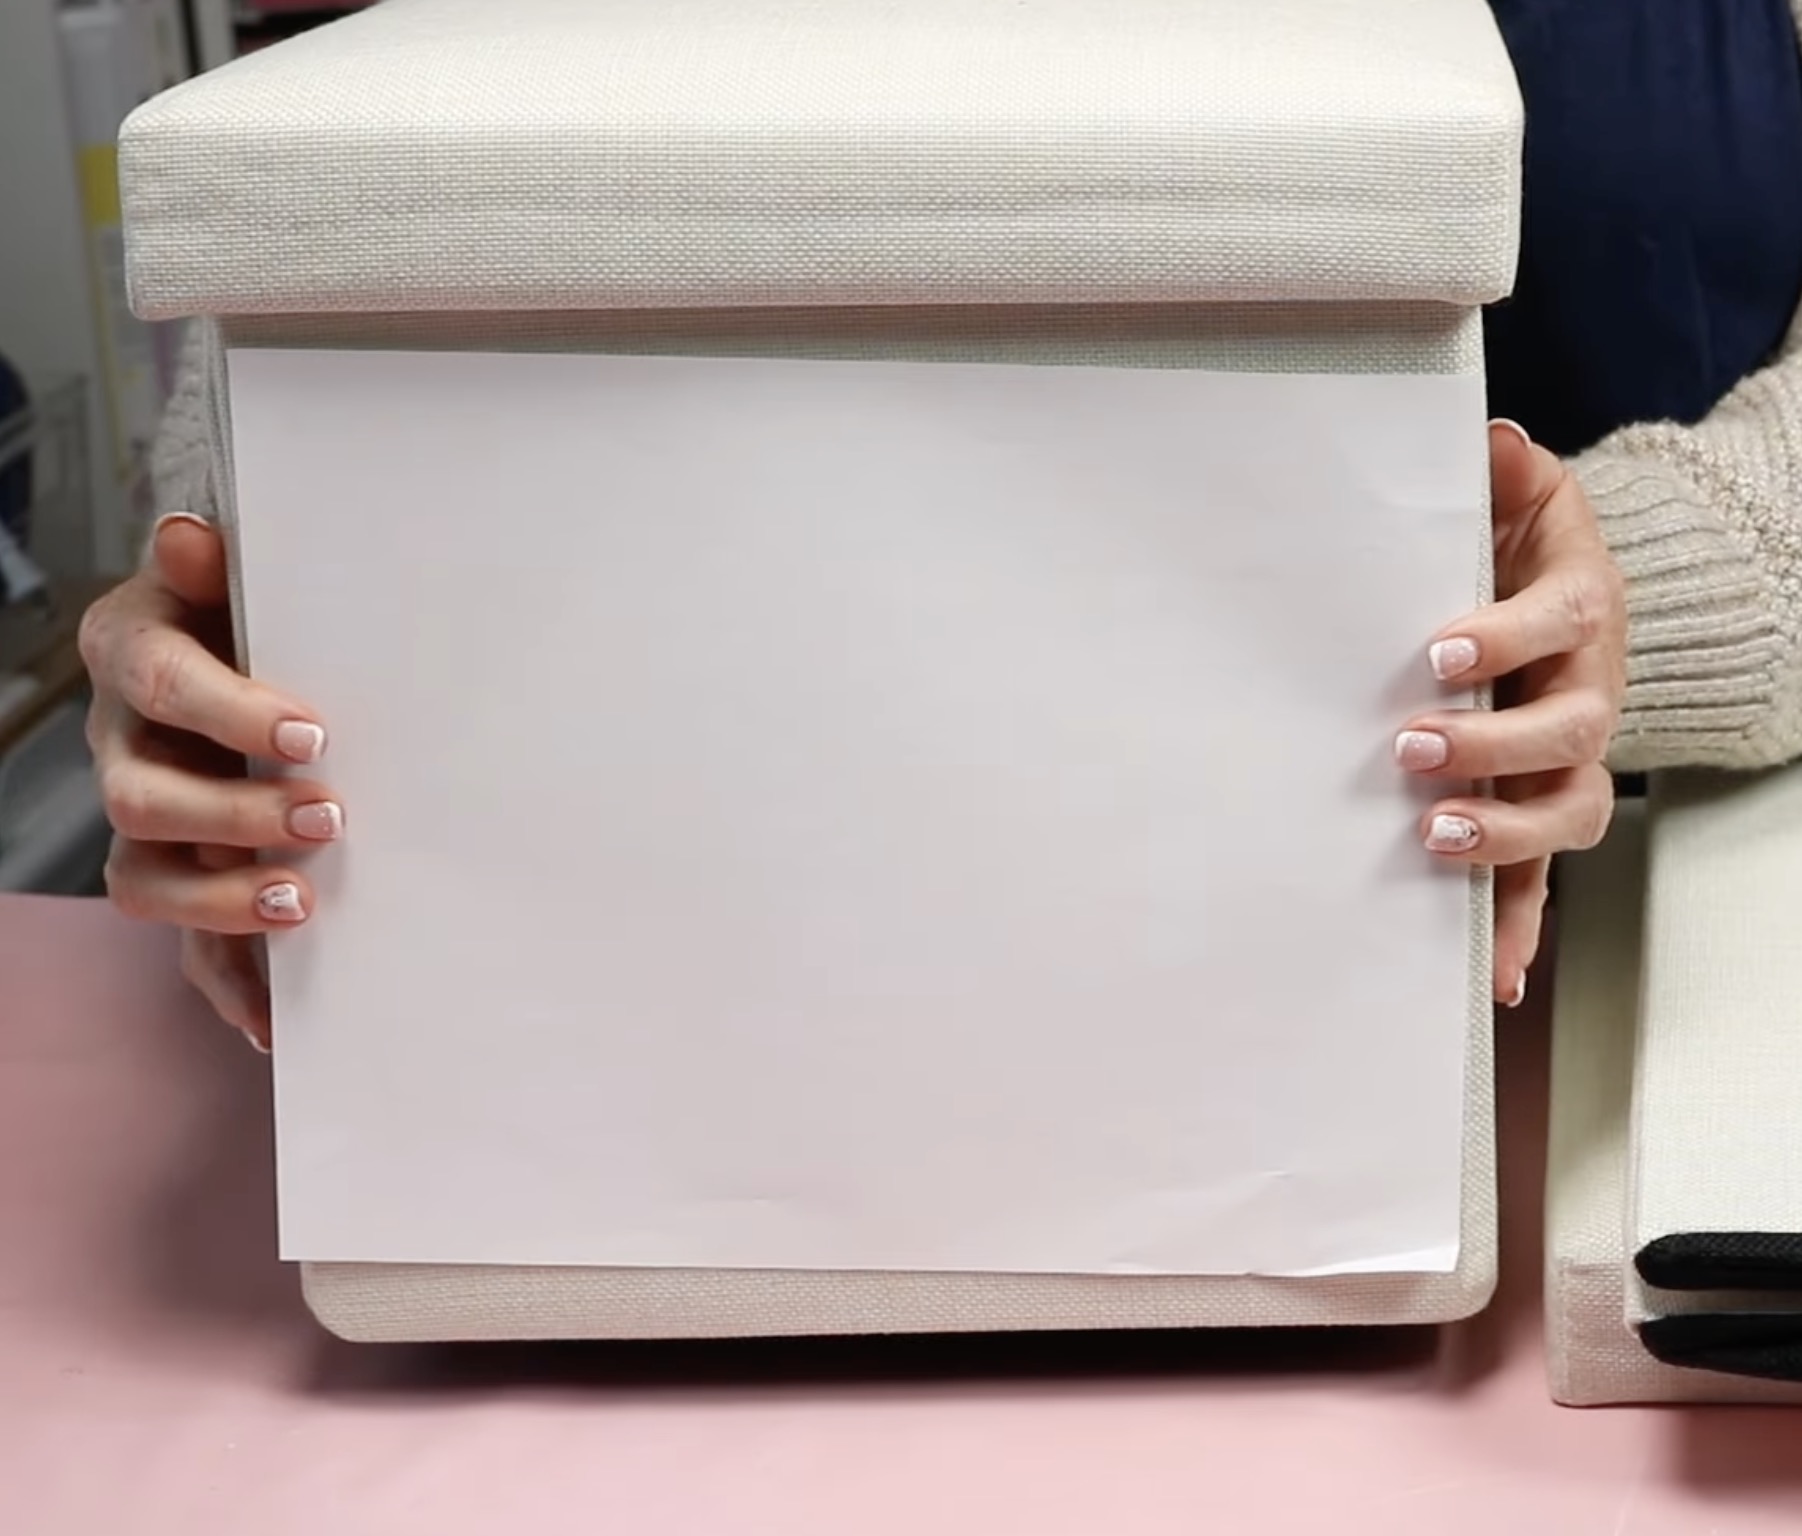
If you are using the organization bin with the lid on it, a regular sublimation printer will work for this project. As you can see, an 8.5 by 11-inch paper covers almost the entire front side.
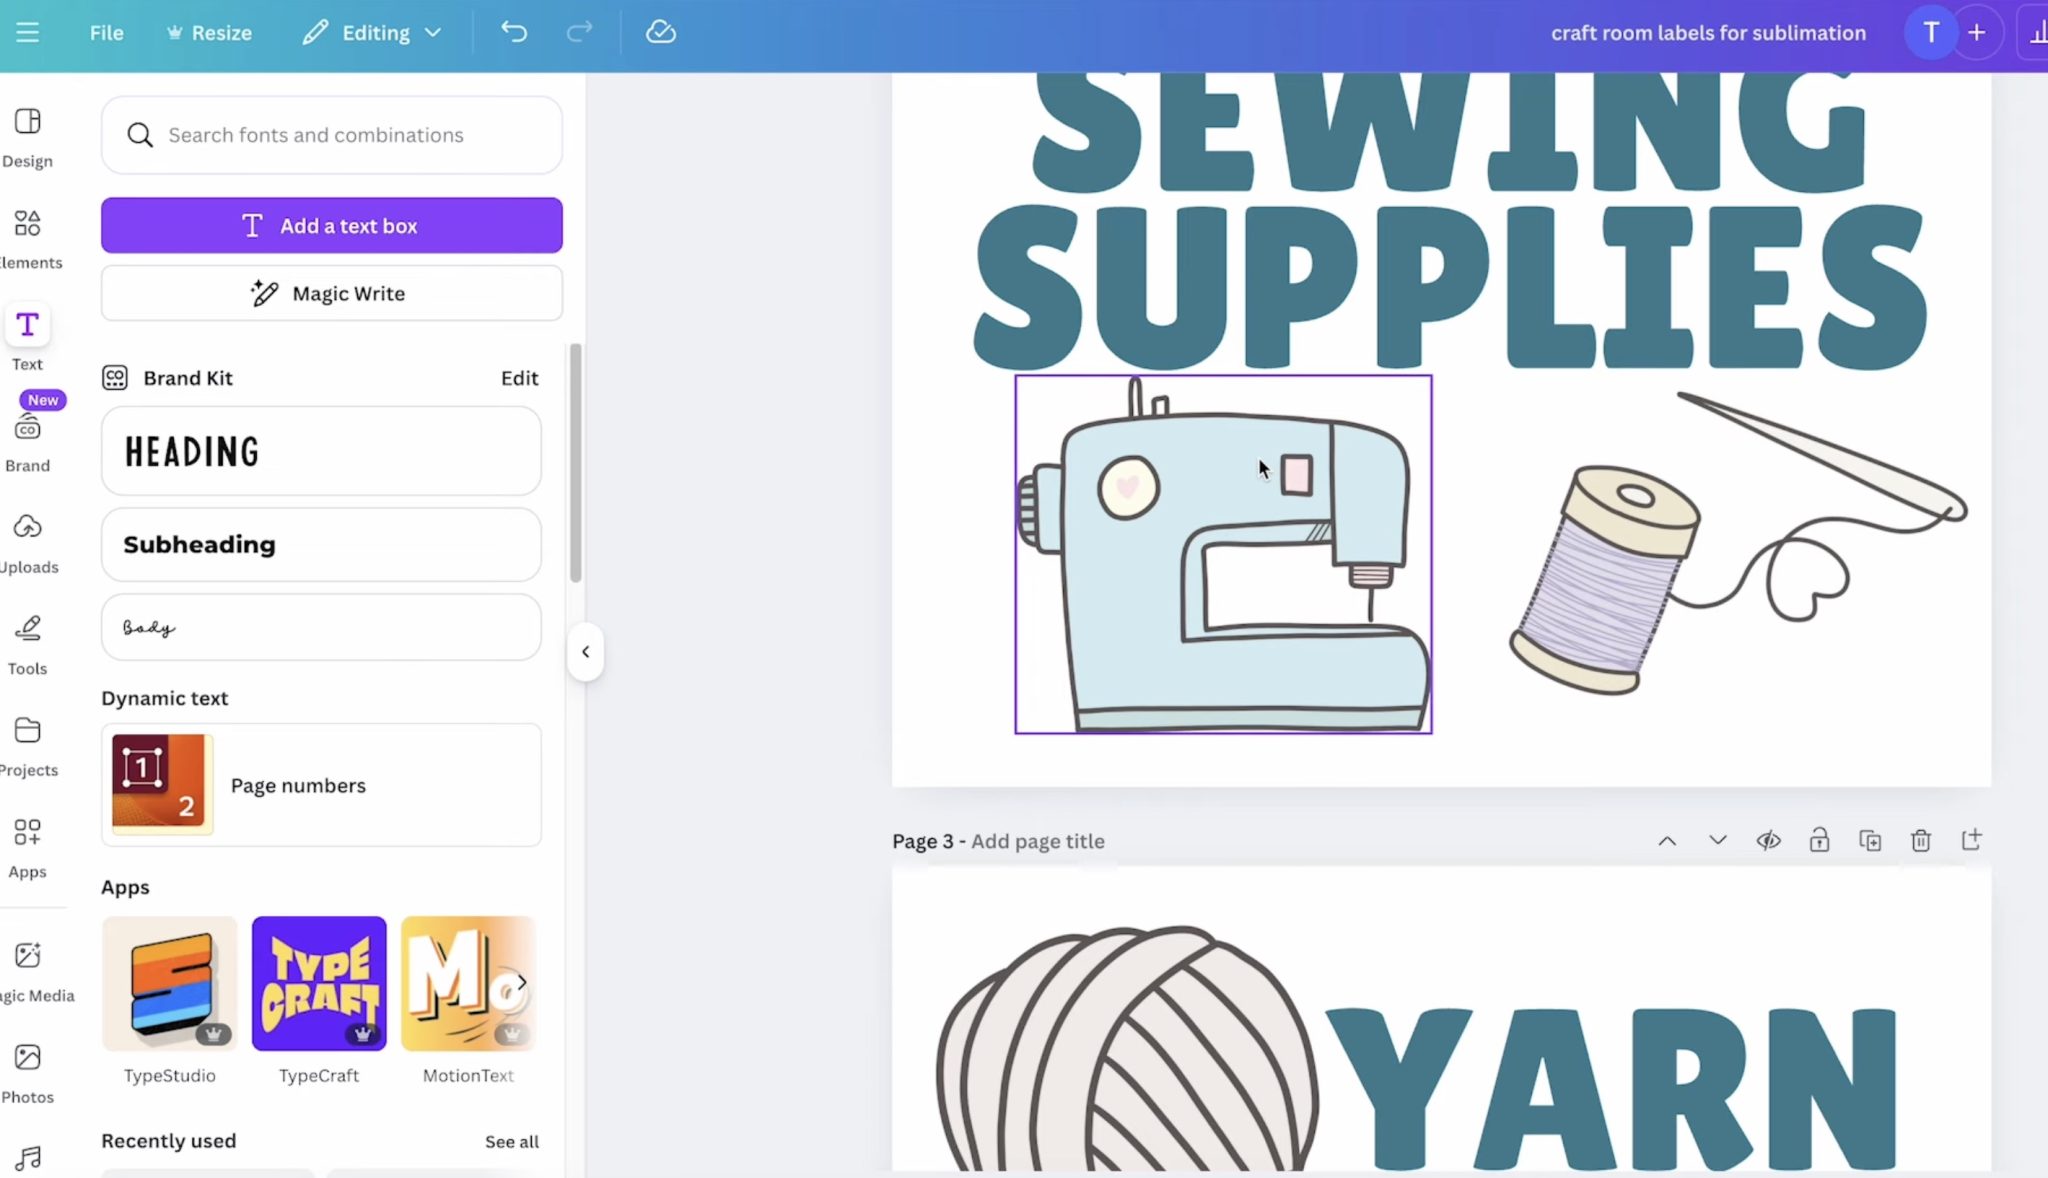
Step 1. Edit Canva Template
When you click on the template link above, it will prompt you to open the template.
I have created multiple pages of designs, all centered around craft room elements. All of the designs are set to print on 8.5 by 11-inch paper.
On each page, you can double-click on the text or the elements and make any changes you want.
The elements I chose can all, also have the colors changed so you can make adjustments to match your craft room decor.
When you click on the text, you can change the words, colors, or font. When you click on the designs, you can either change the colors or click on Elements and look for a design that fits what you're looking for.
I am using these bins for my craft room, but they can be used anywhere in your home. Feel free to use these templates as they are or as a jumping-off point to create what will work for your space.
Step 2. Print Sublimation Print
You cannot print directly from Canva. Click Share and then Download, and choose the best option for your printer. I like to choose PDF for Print and then CMYK.
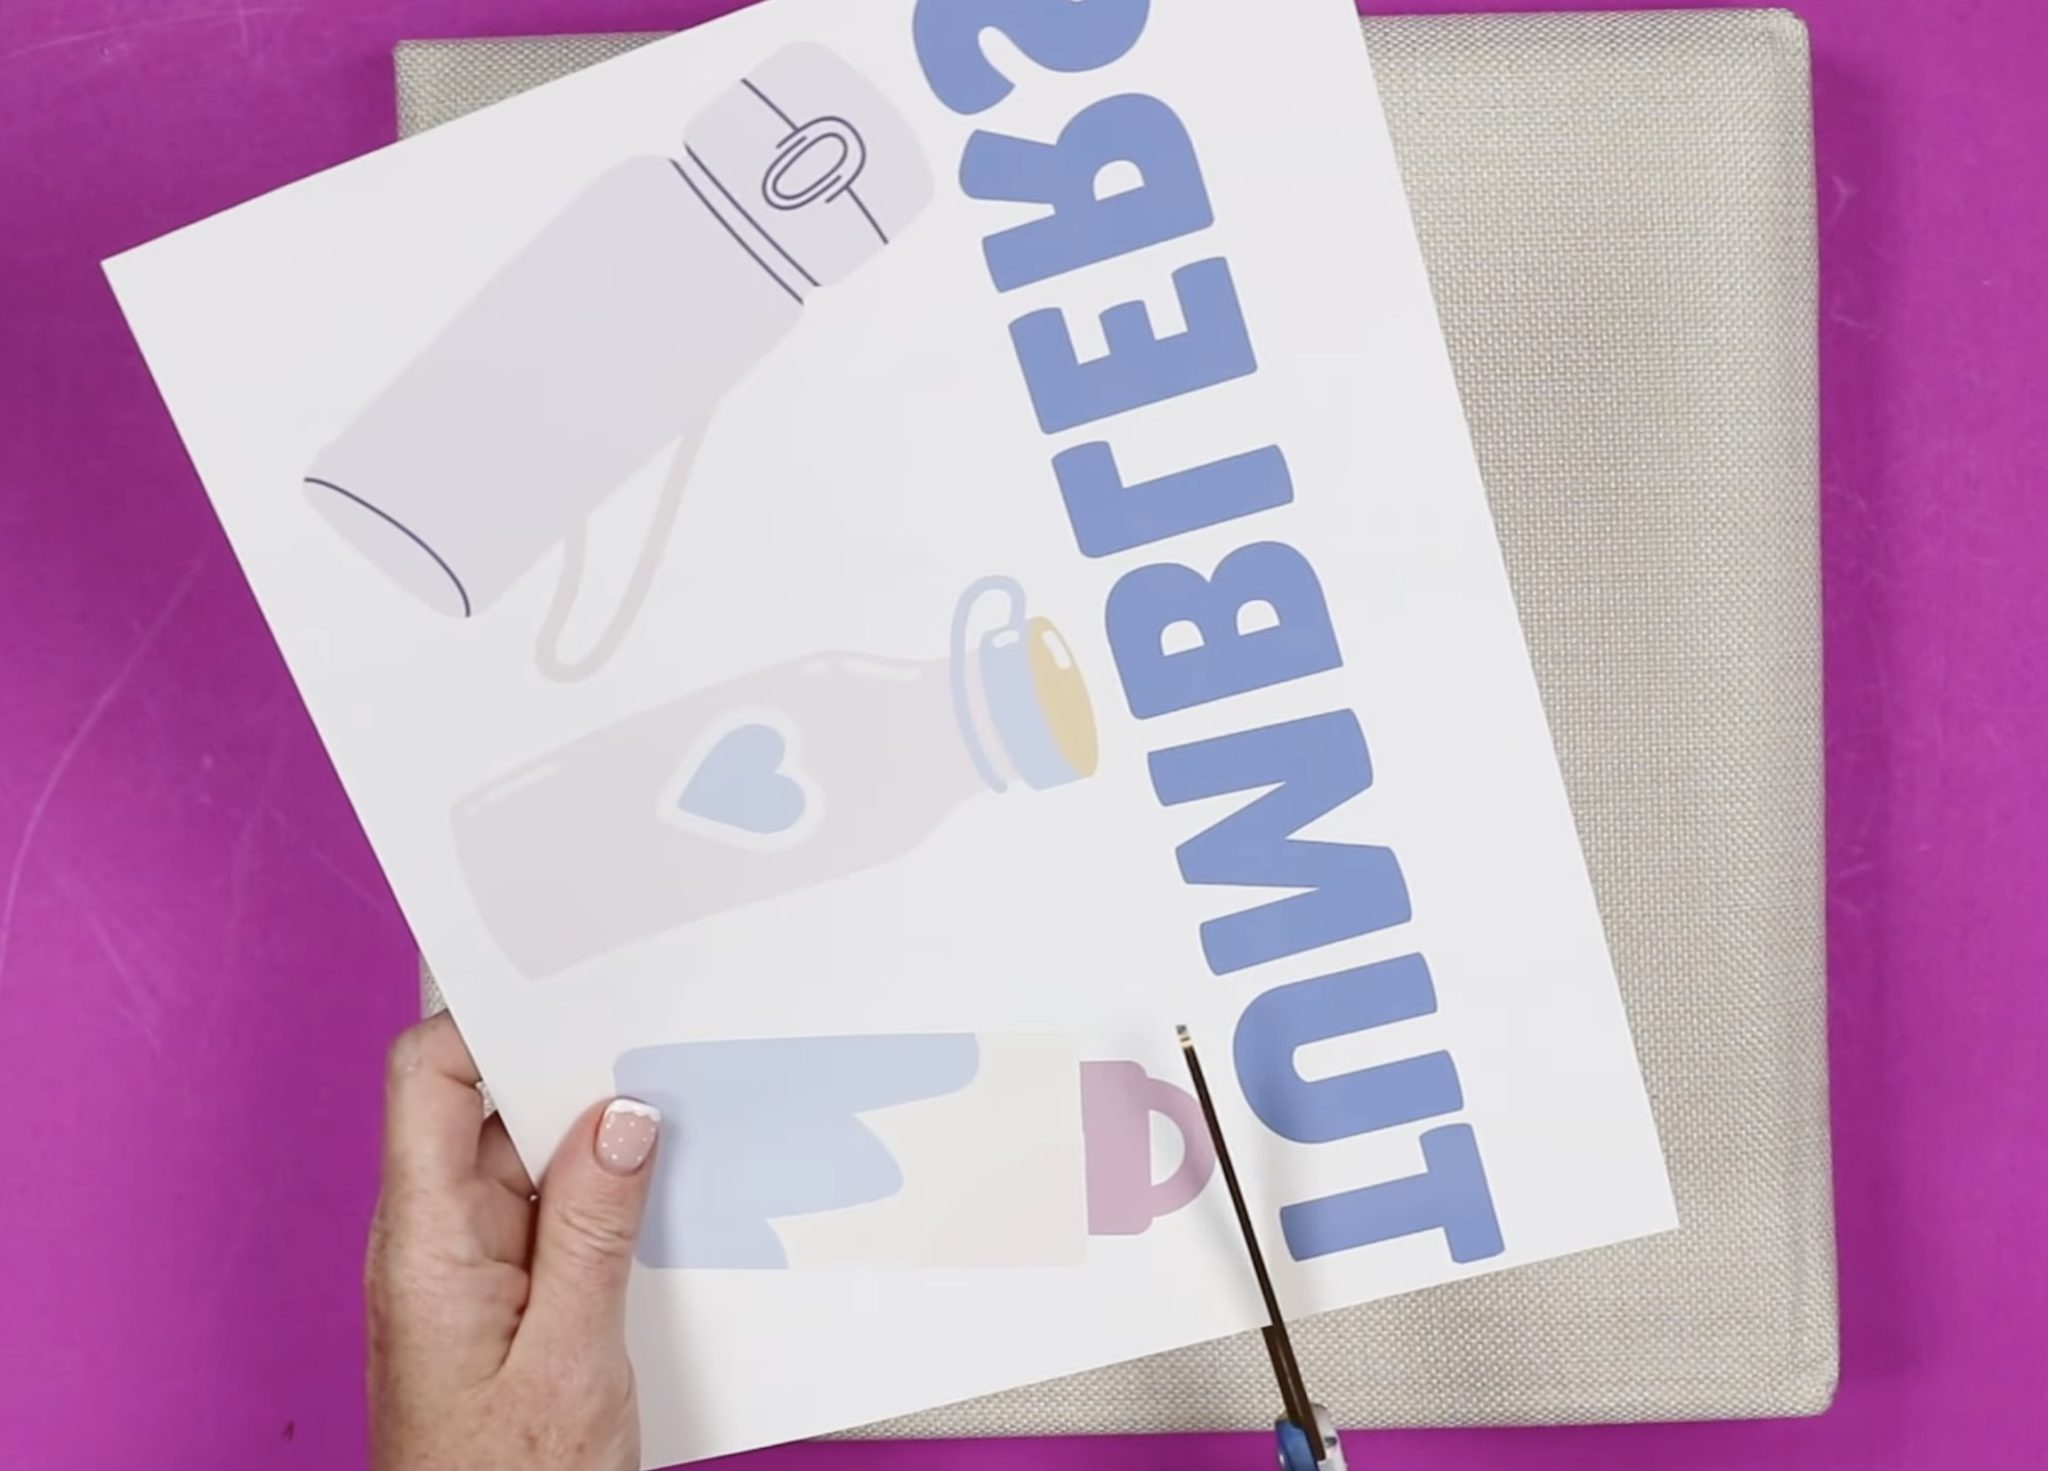
Print the designs on sublimation paper with sublimation ink from a sublimation printer. Don't forget to mirror the design before printing.
Step 3. Locate Sublimation Designs on Sublimation Organization Bins
Before we add the designs to the bin, we want to adjust the heat press so it will apply medium pressure.
I tried to do this with my traditional clamshell heat press and could not get it to open wide enough to actually close on this bin.
If you only own a traditional heat press, I recommend checking that the sublimation organization bins fit inside your press before you add the designs.
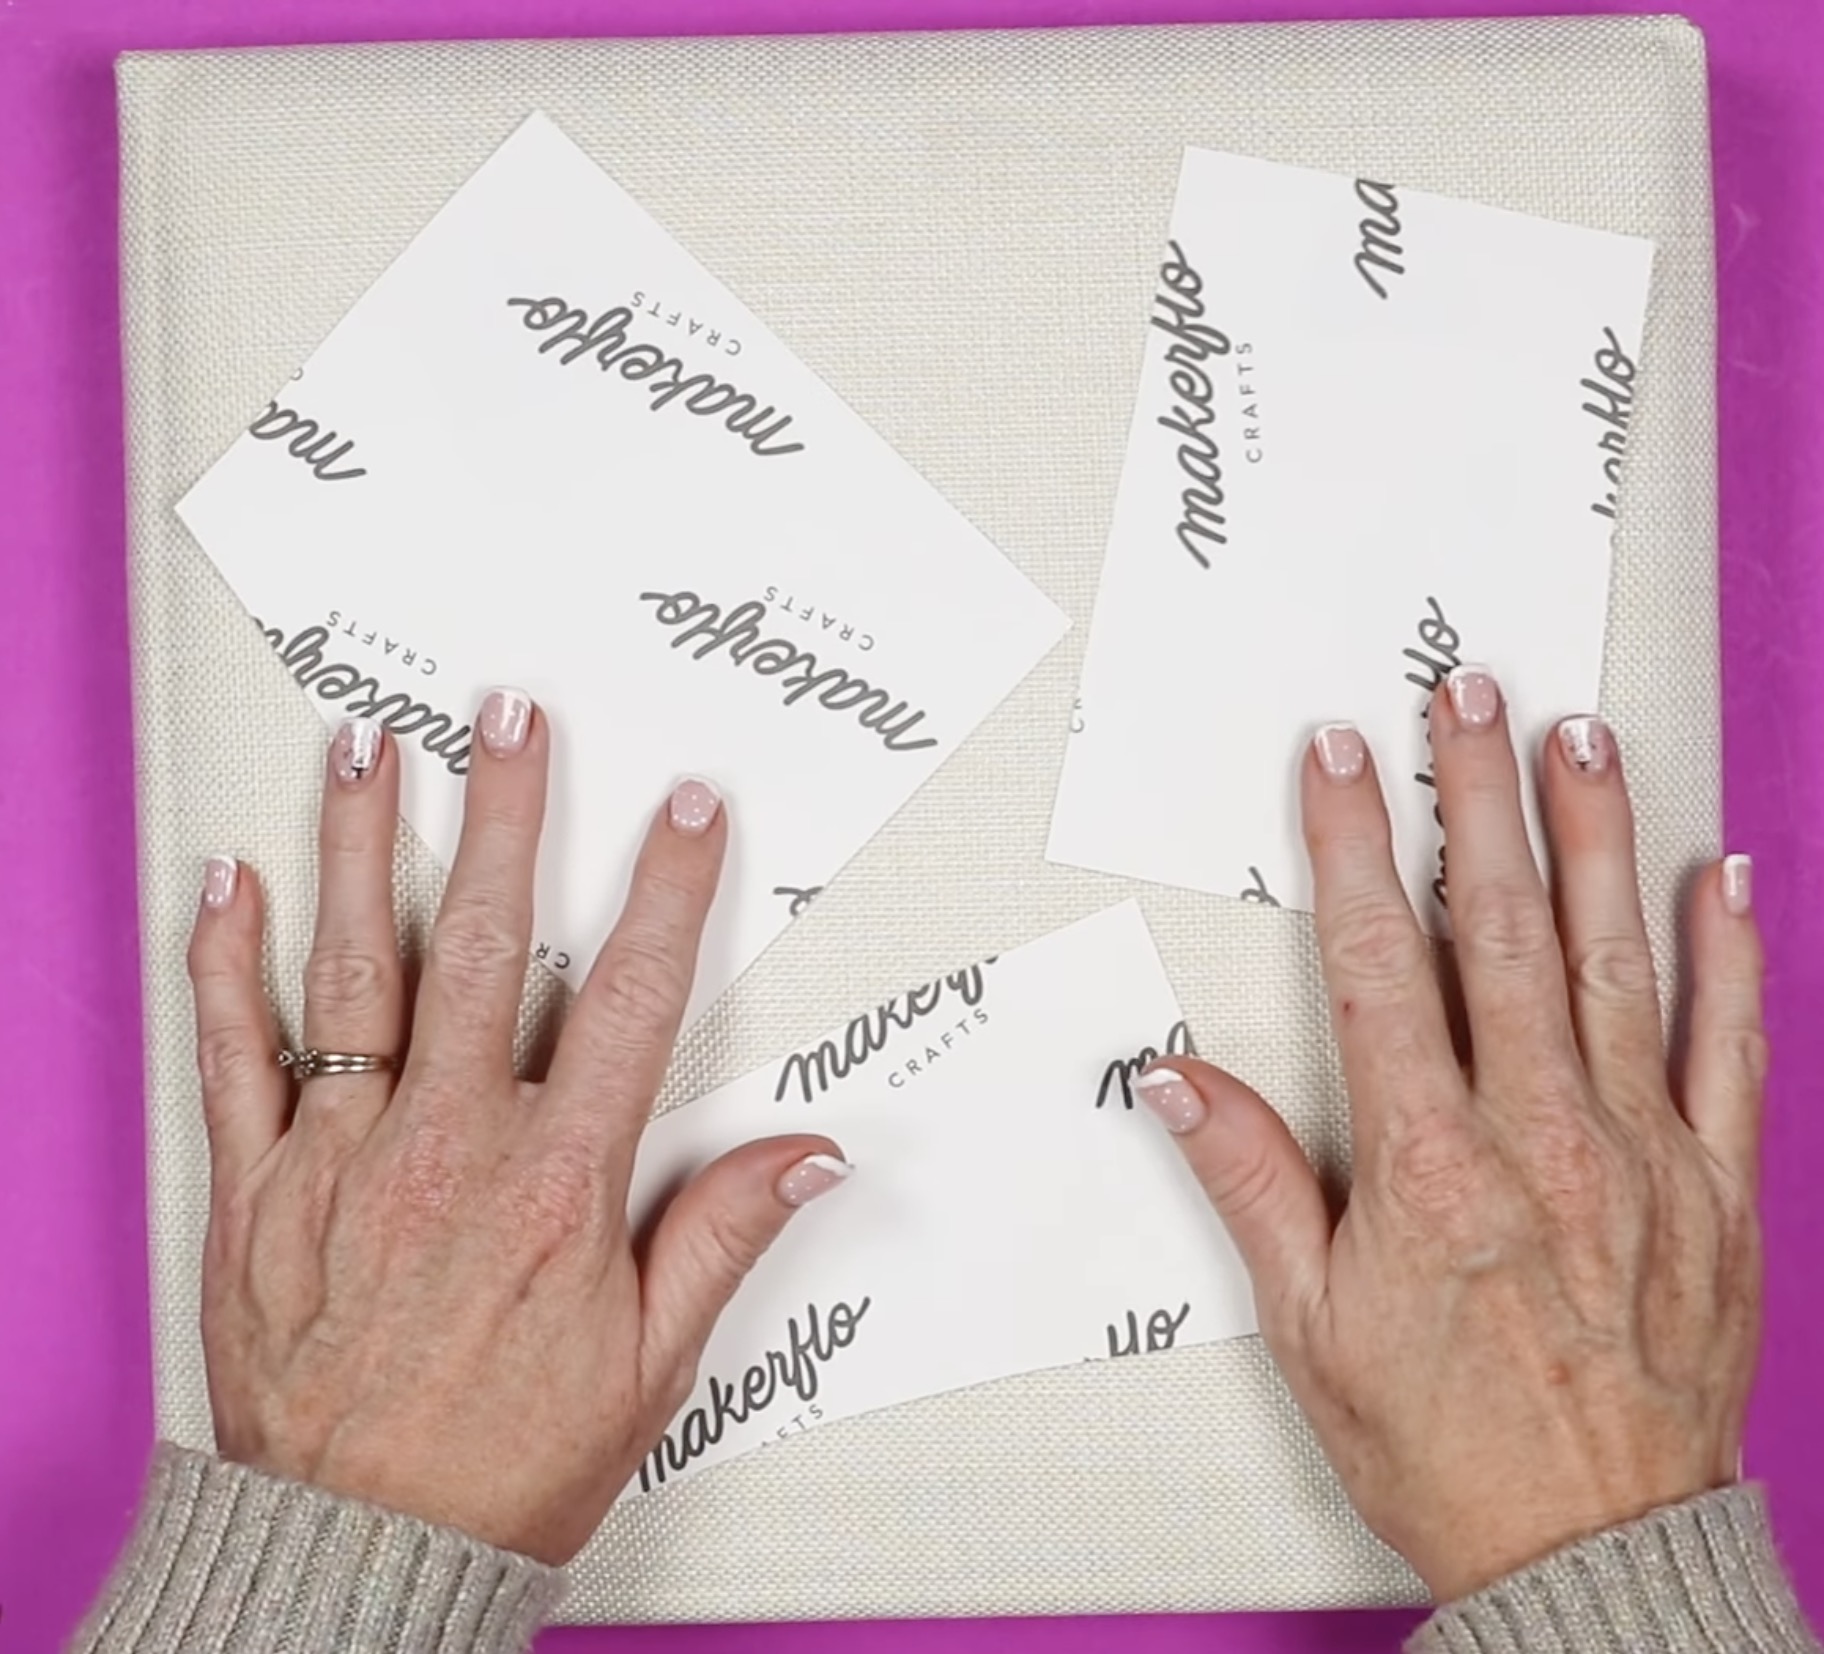
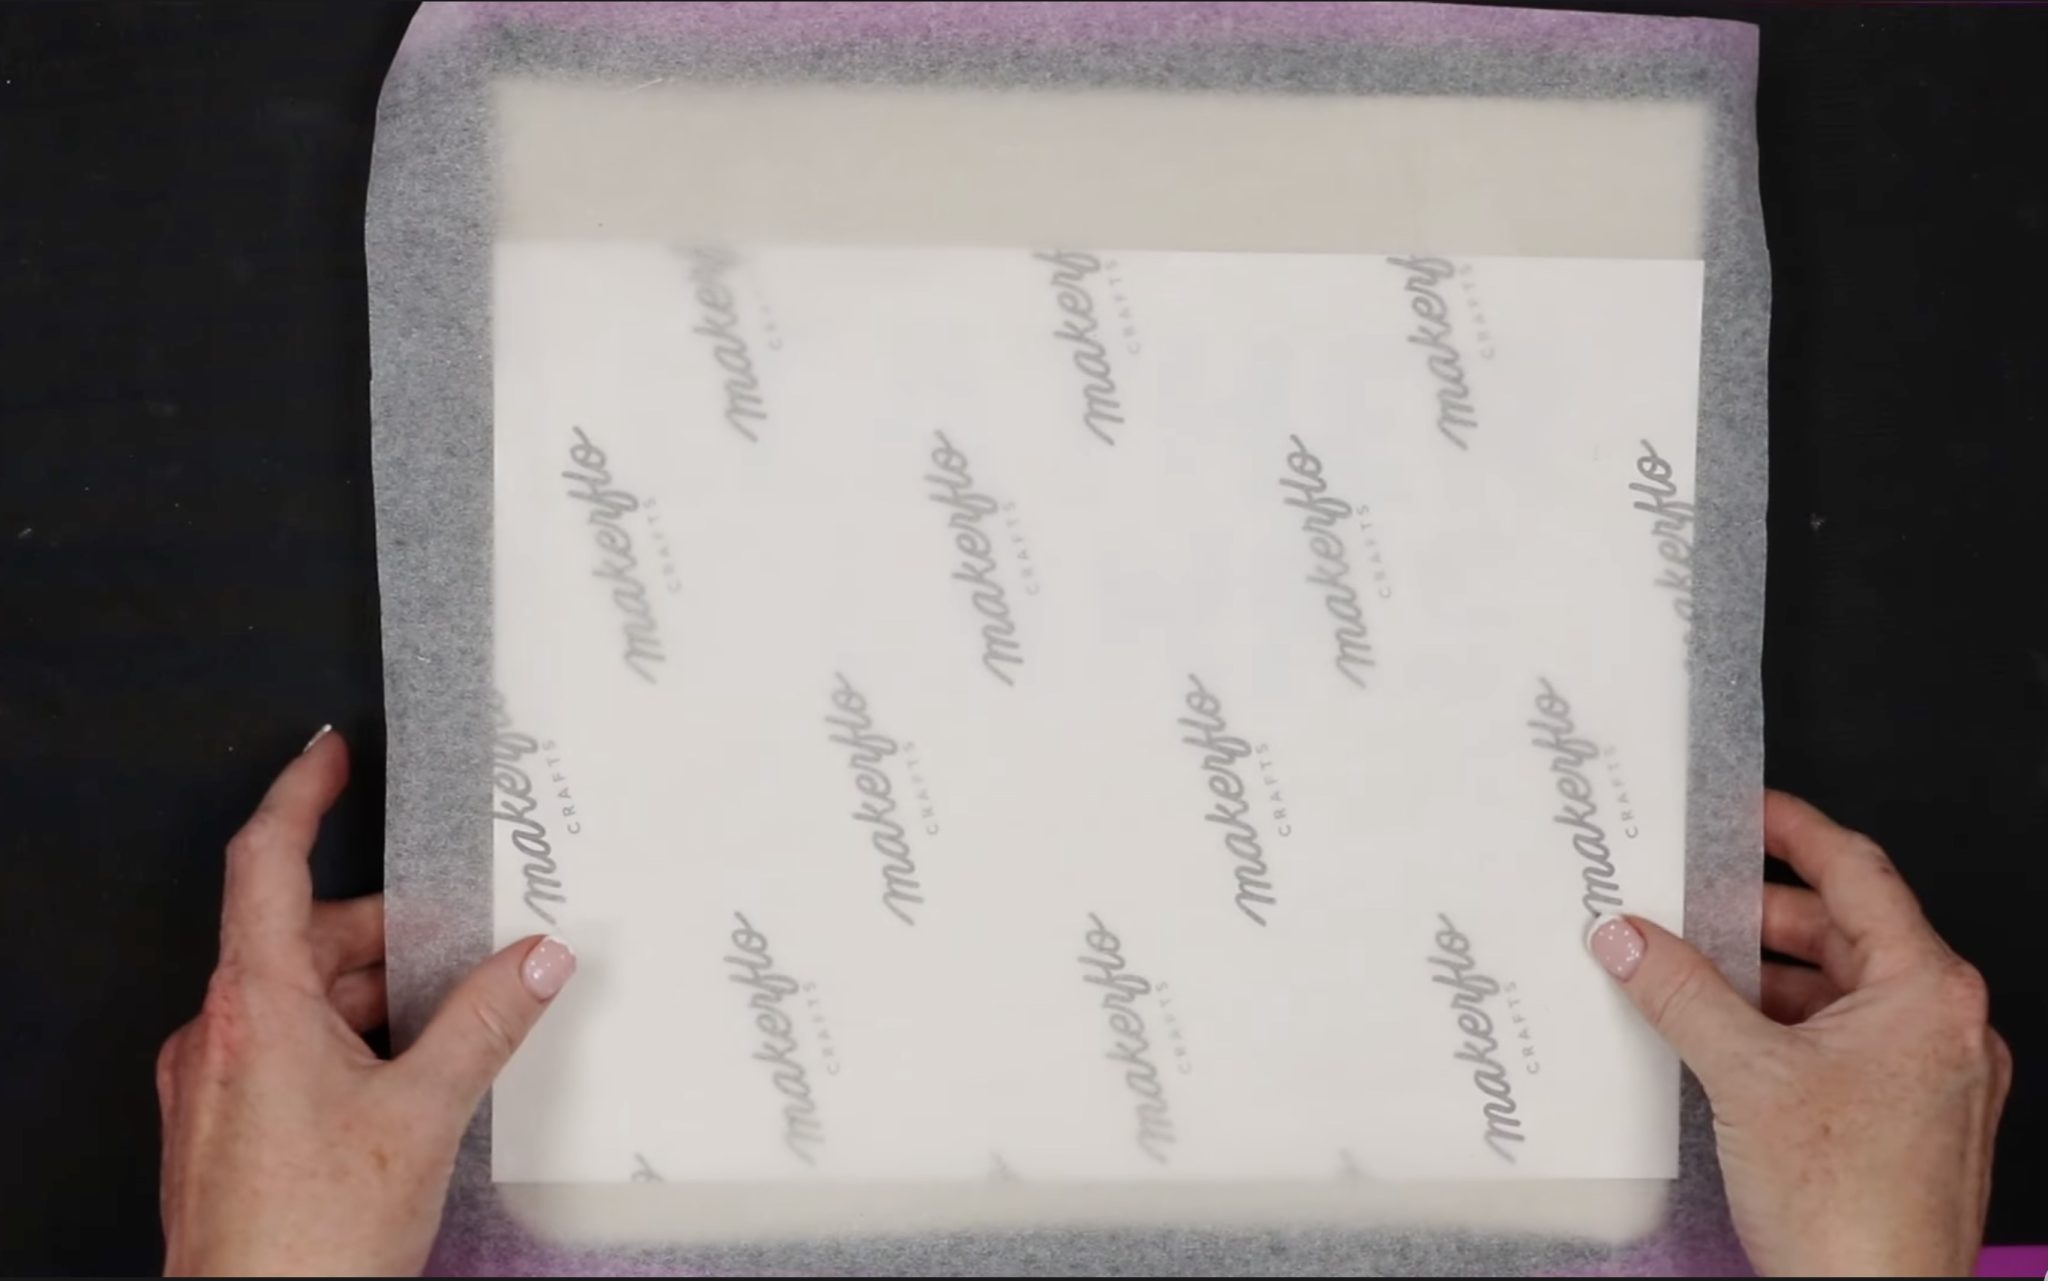
Before applying the print, make sure to clean the blank using a lint roller.
Because I want to add the design to the front of the bin and to the lid, I printed each design twice.
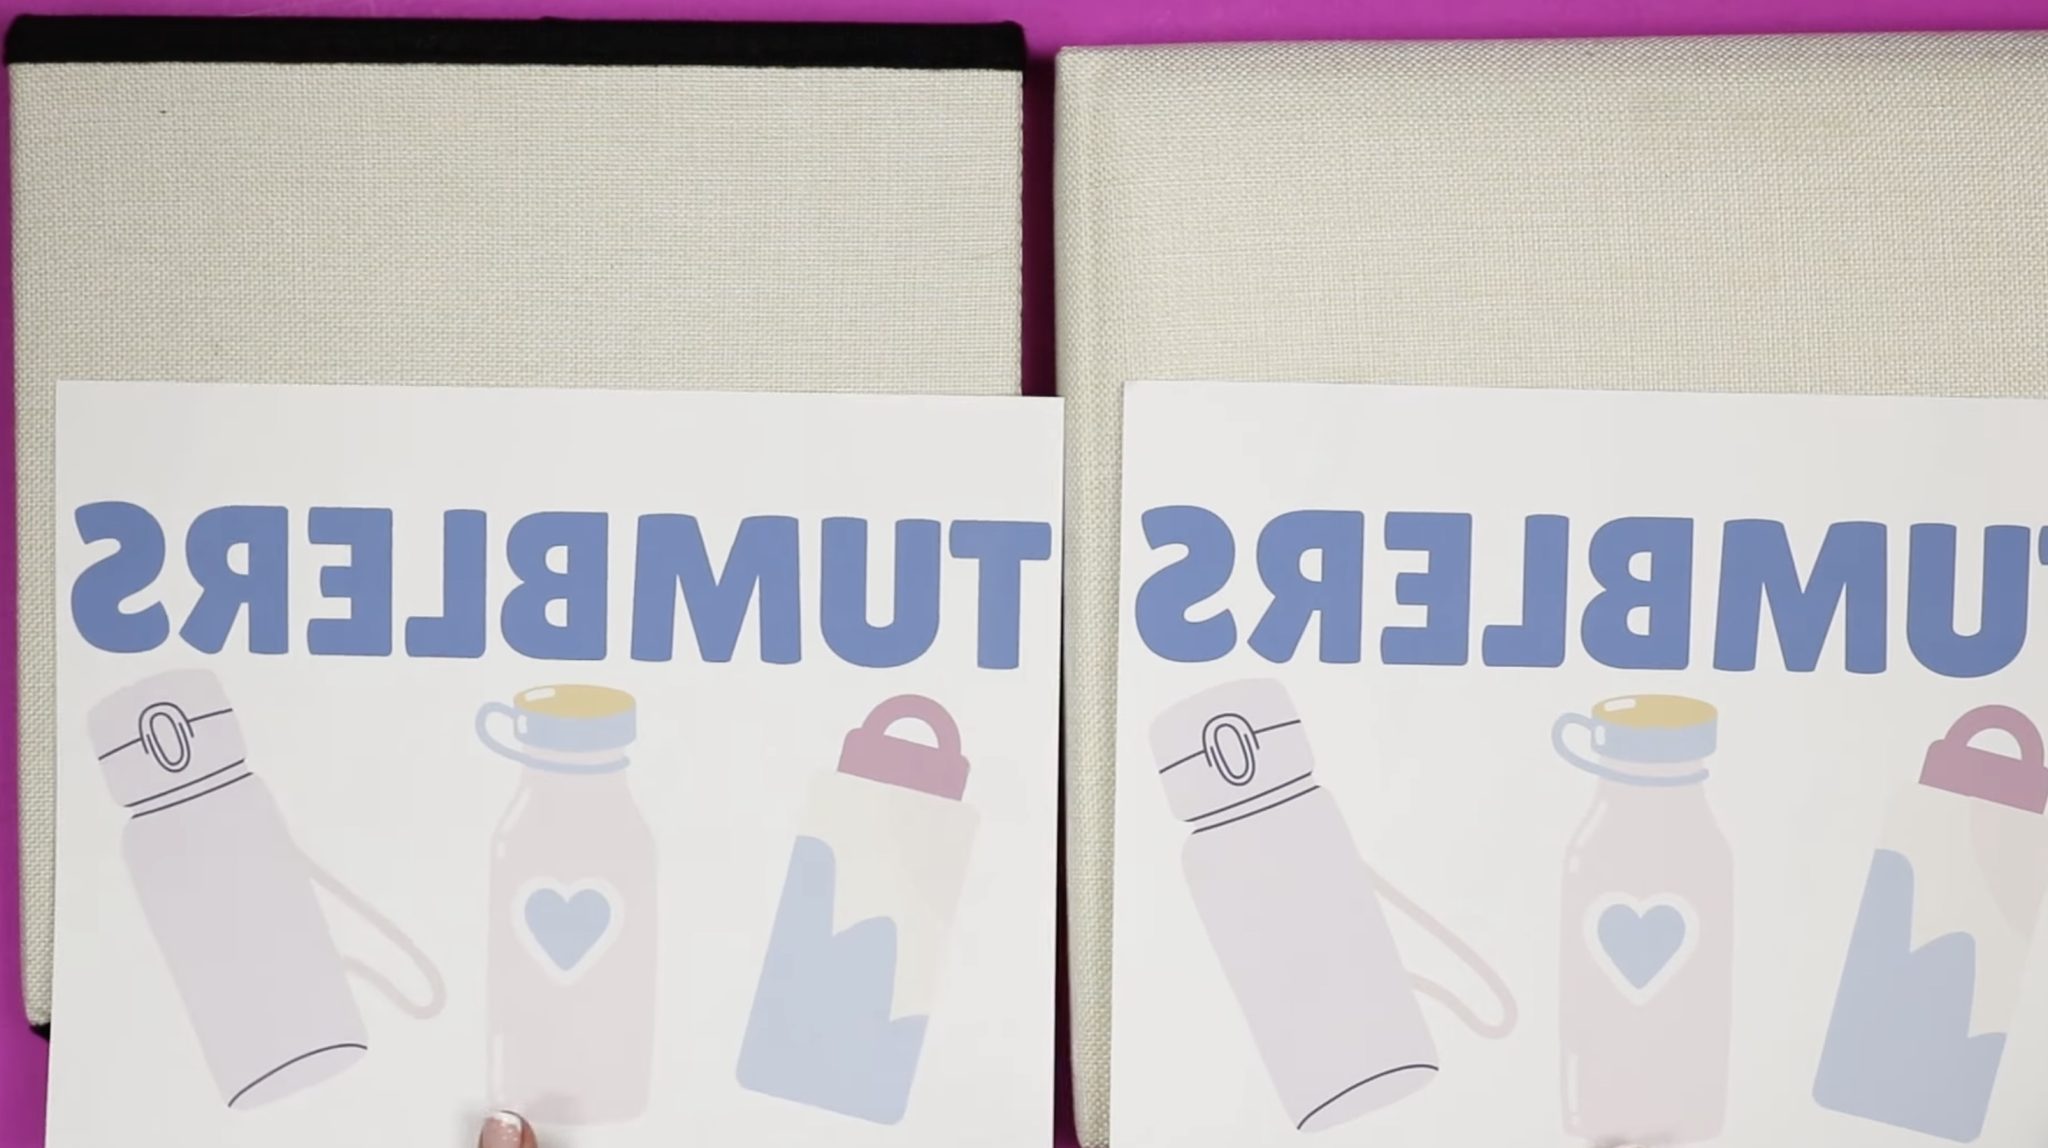
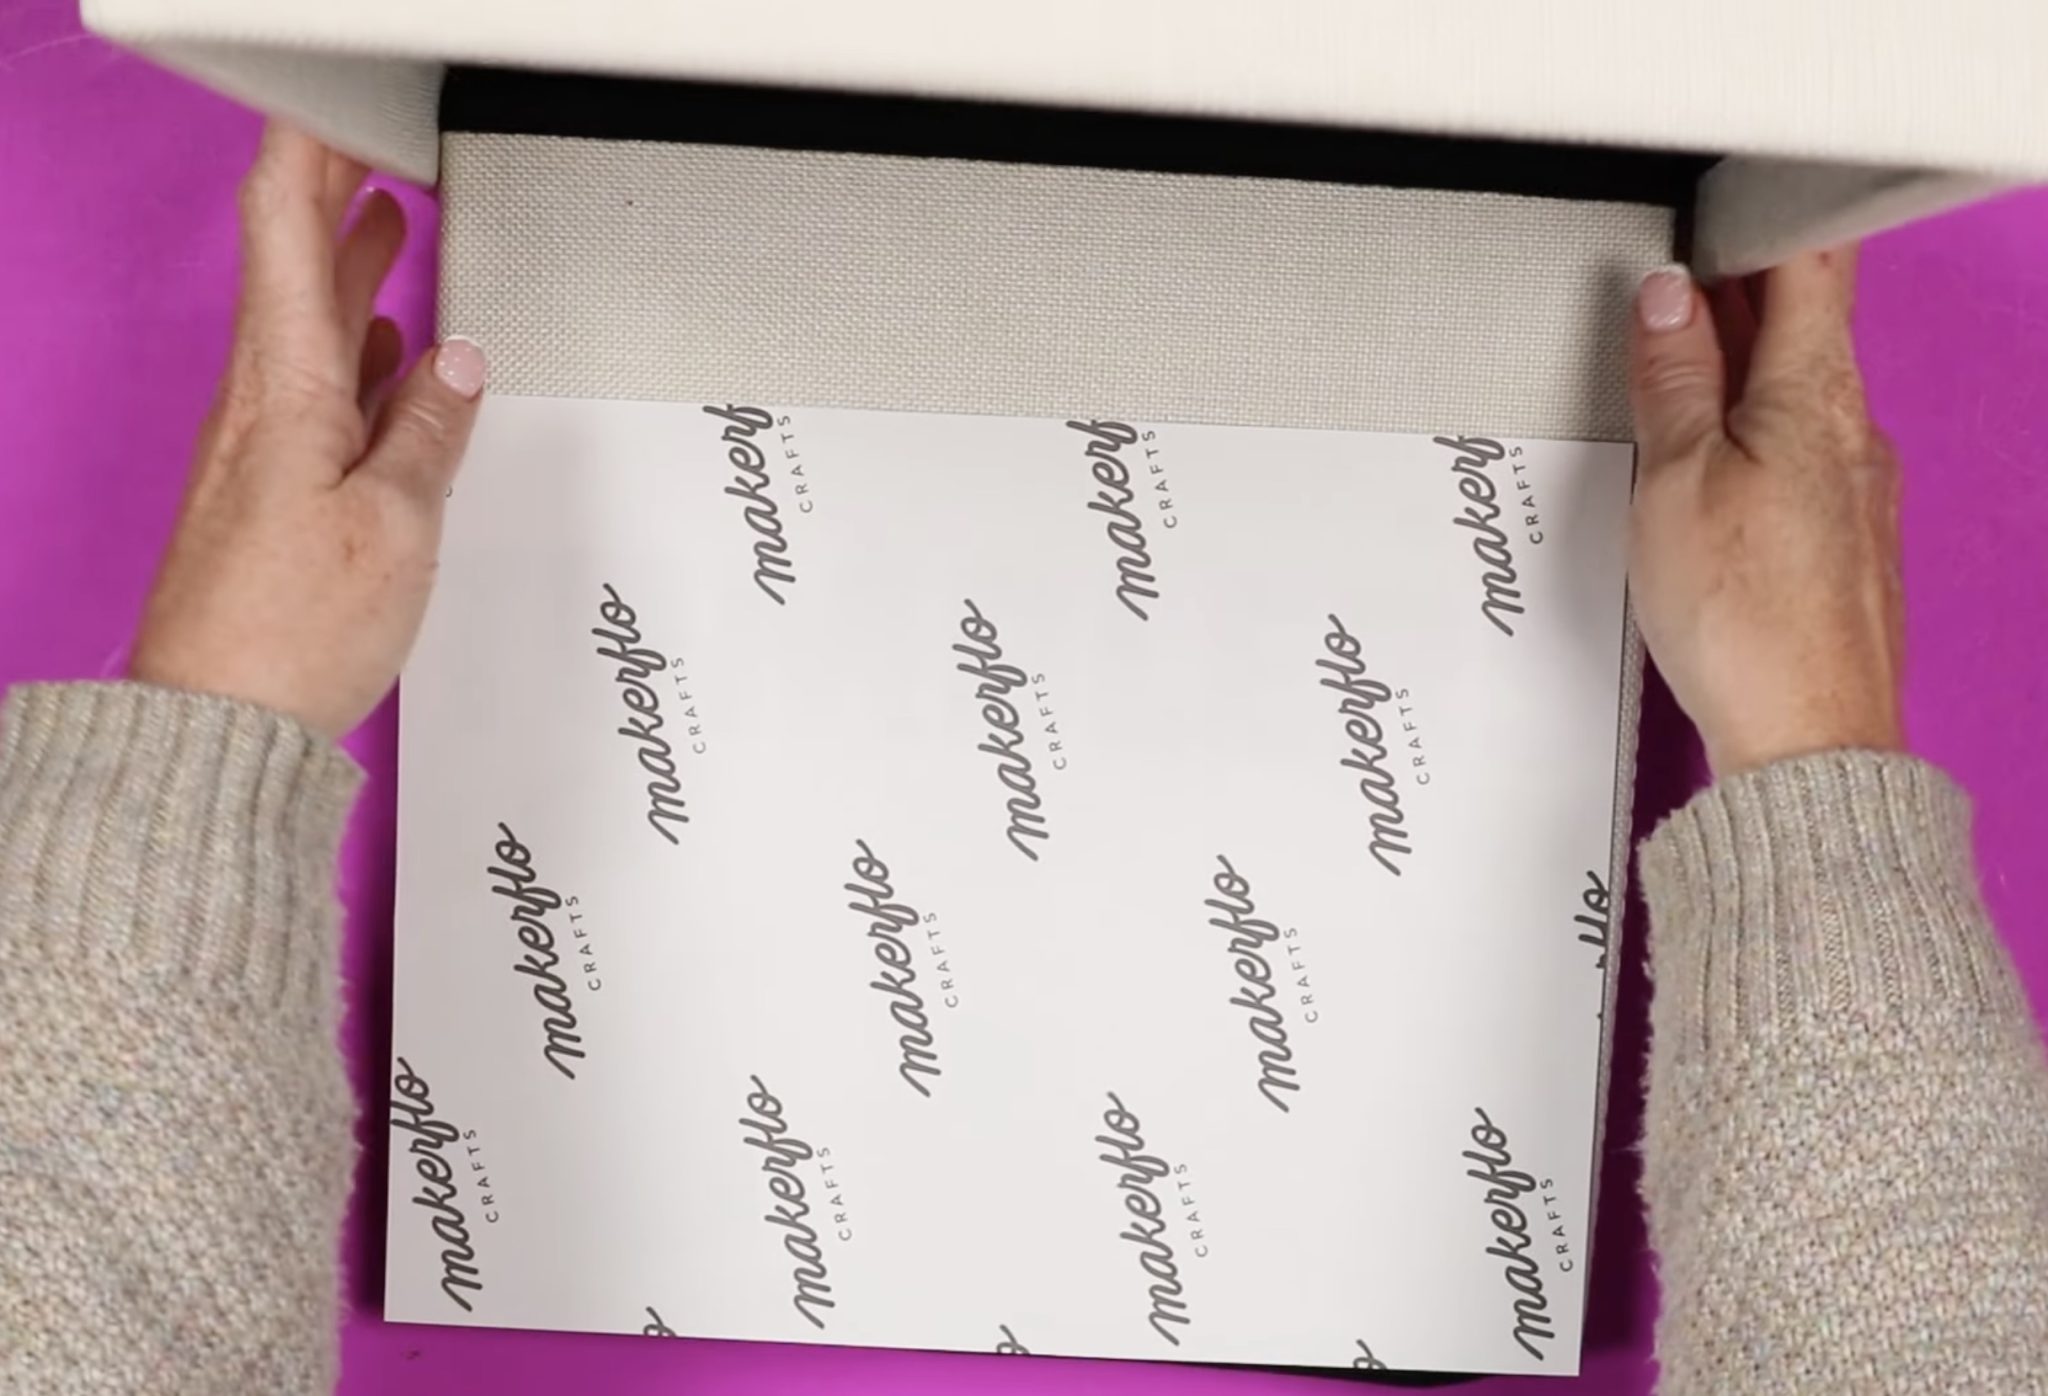
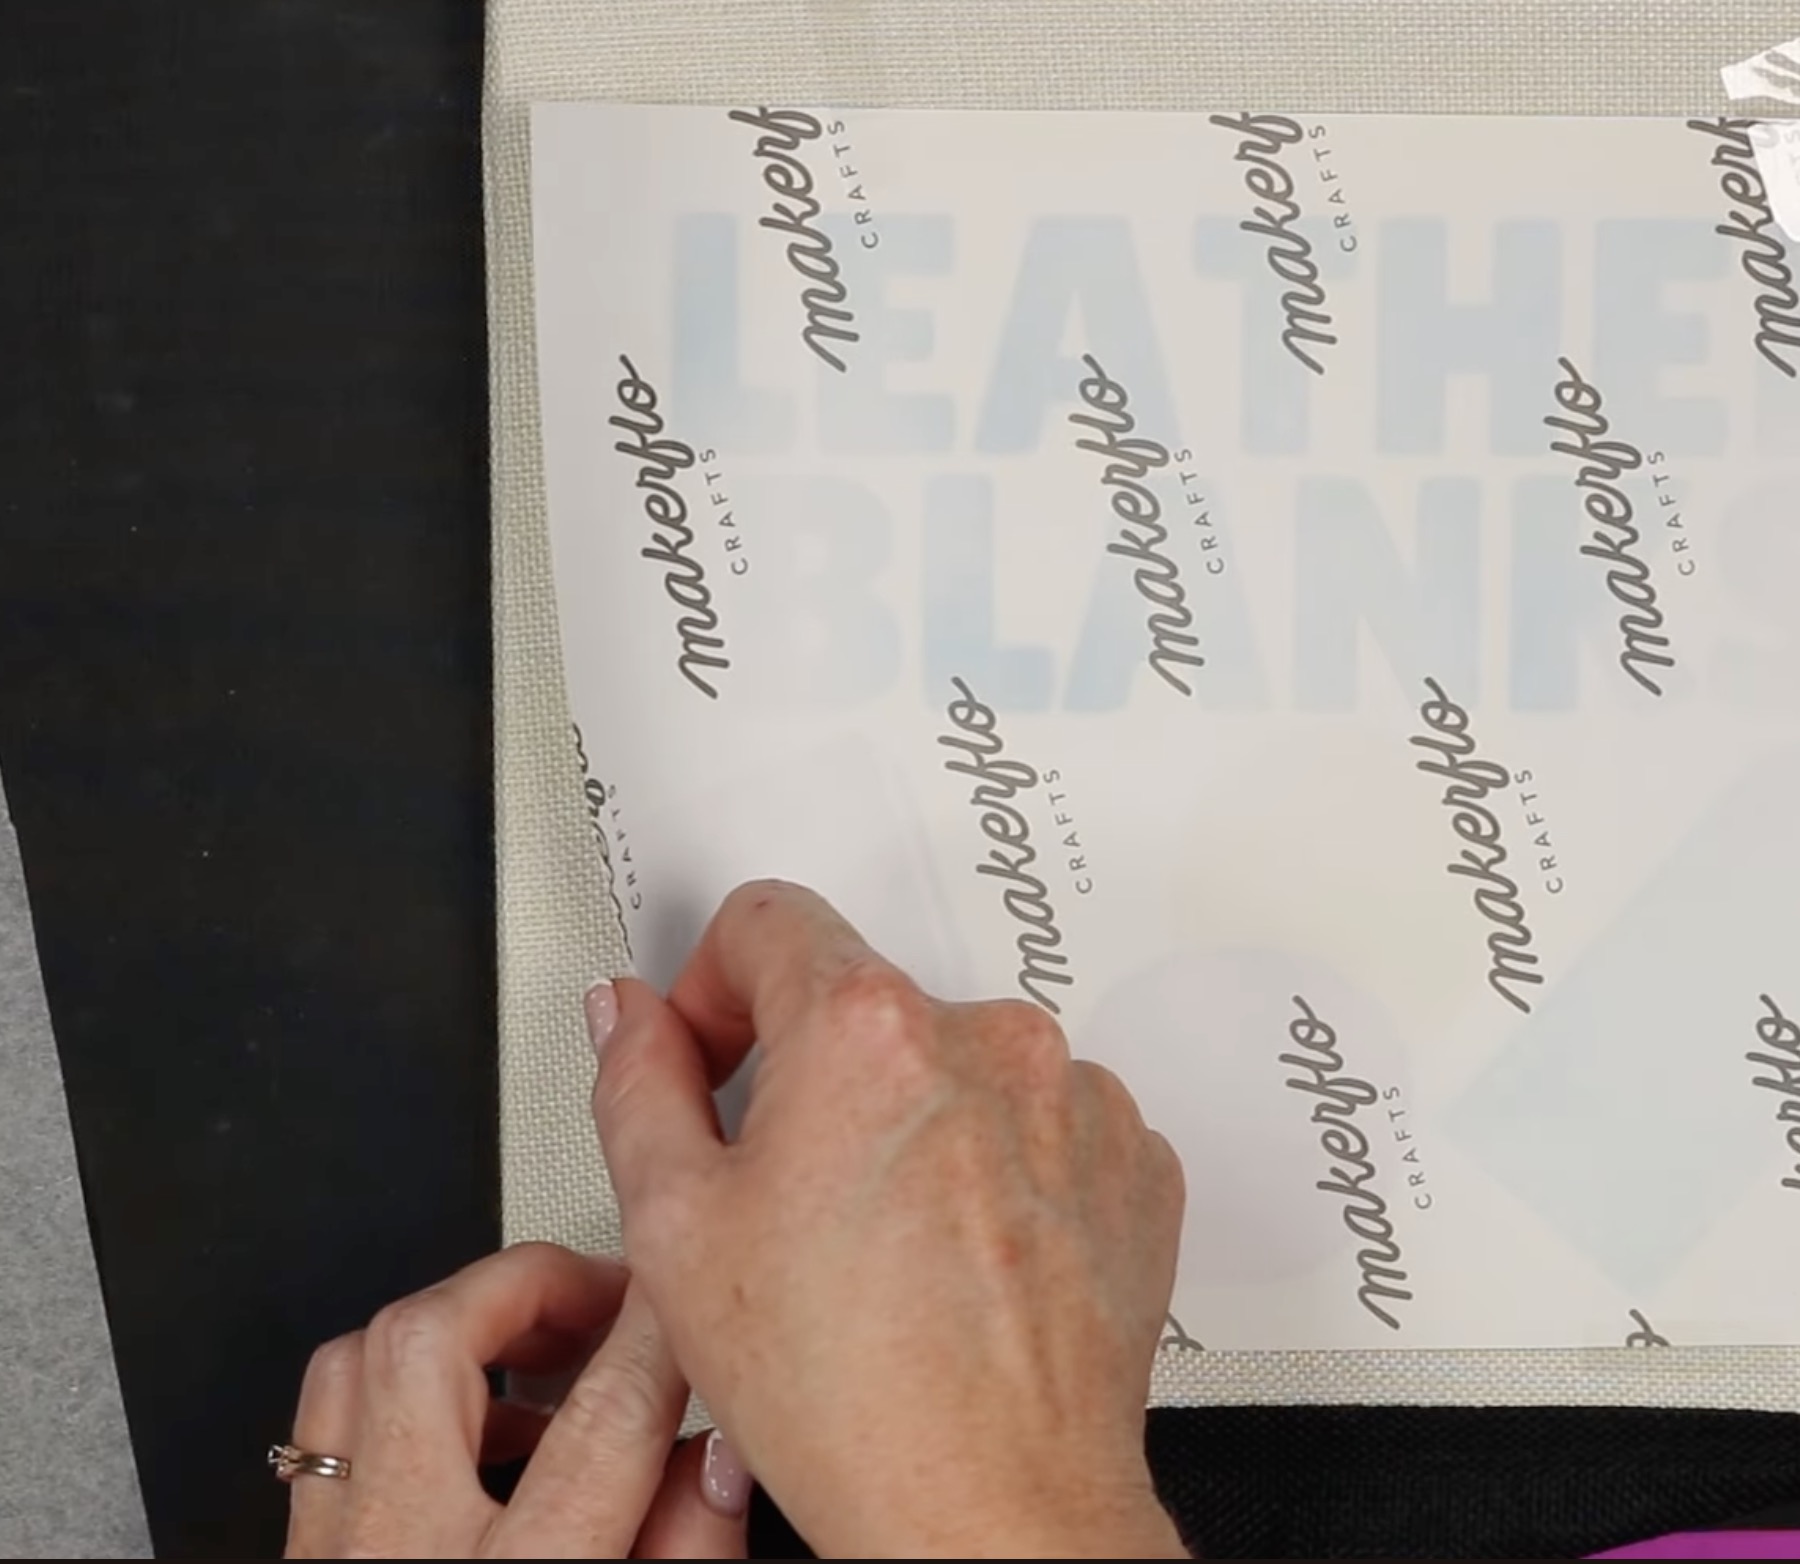
Because my sublimation bin has a lid, I want to make sure my design sits below the bottom edge of the lid.
I placed the top of the bin inside the lid and located the paper below the bottom of edge.
I am using heat-resistant tape to secure the sublimation print in place. Subli-Linen is very forgiving of press marks, so I didn't have any issues using heat tape.
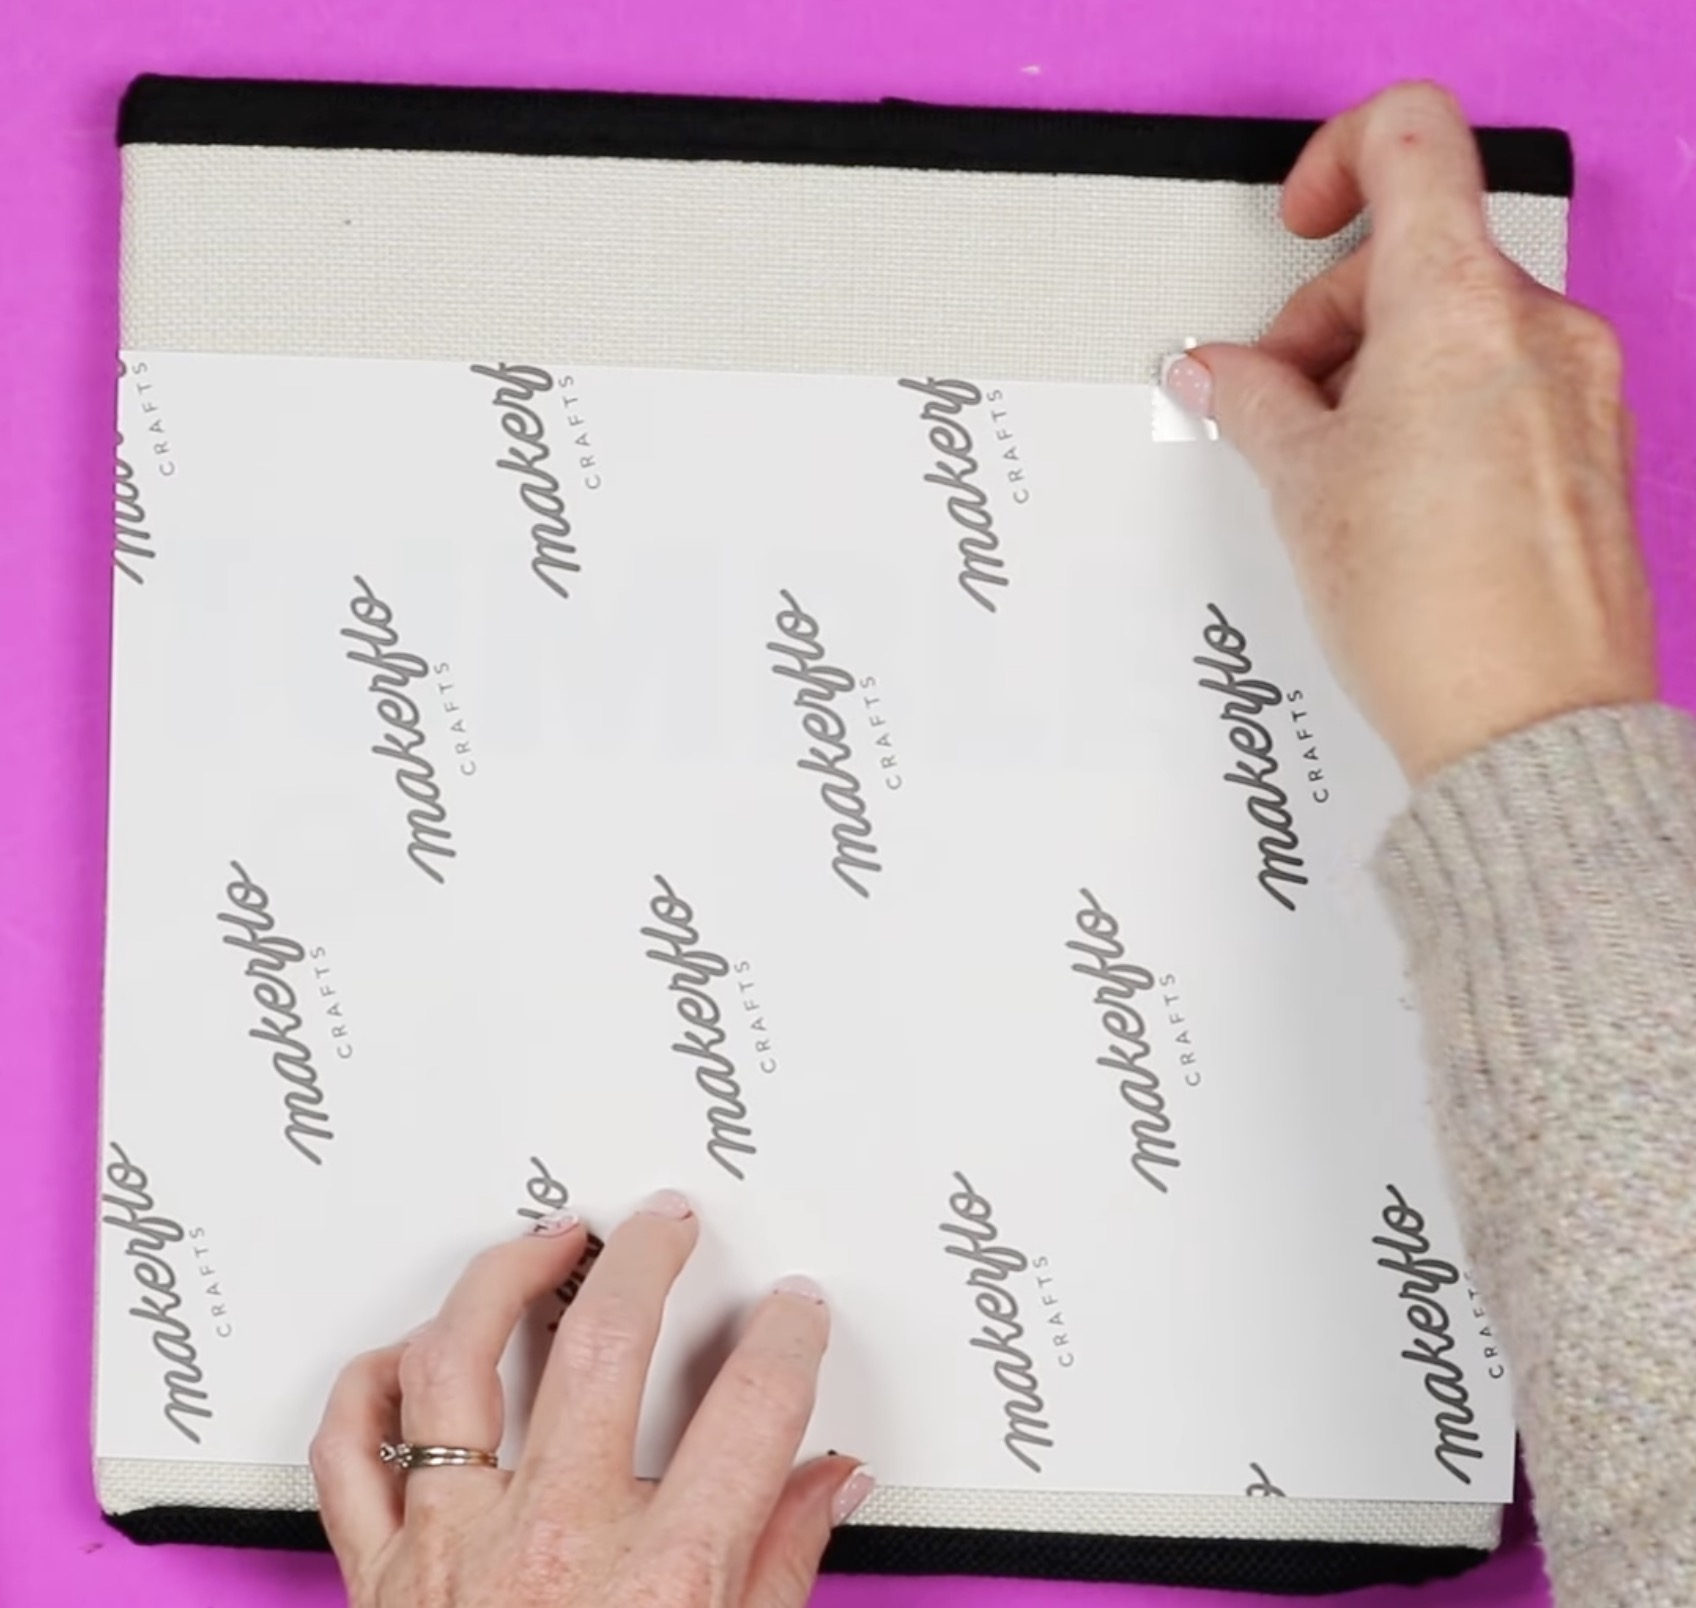
Before pressing, double-check that the print is oriented correctly. Make sure you know which end is the top of the bin.
Step 4. Press Design onto Bin
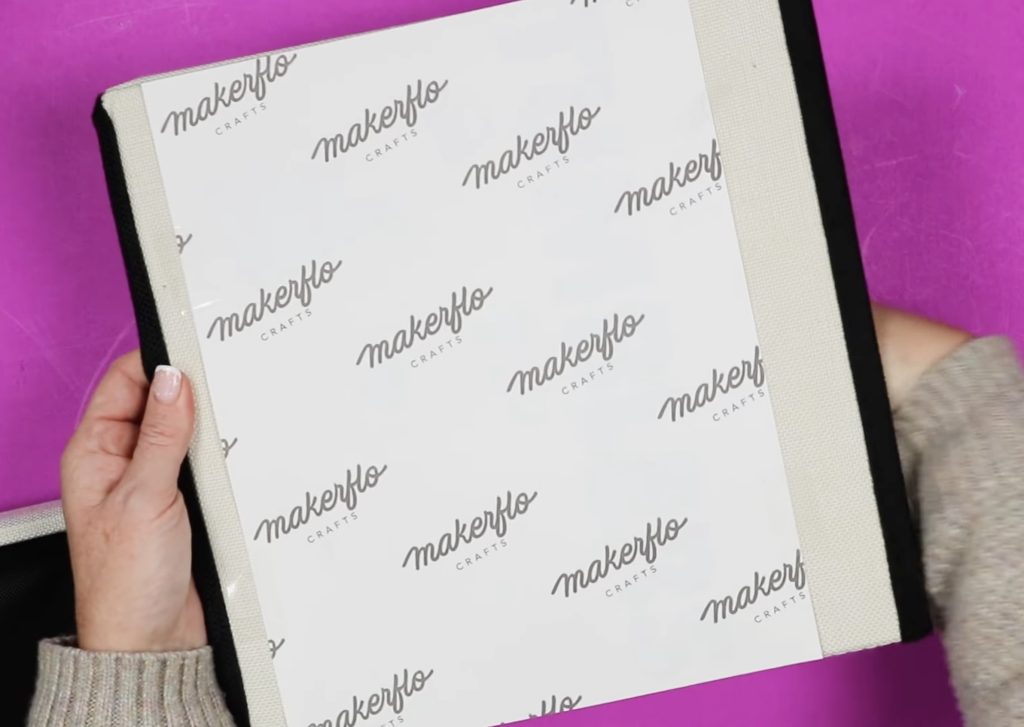
Before we press we're going to add protective paper over the top of the design.
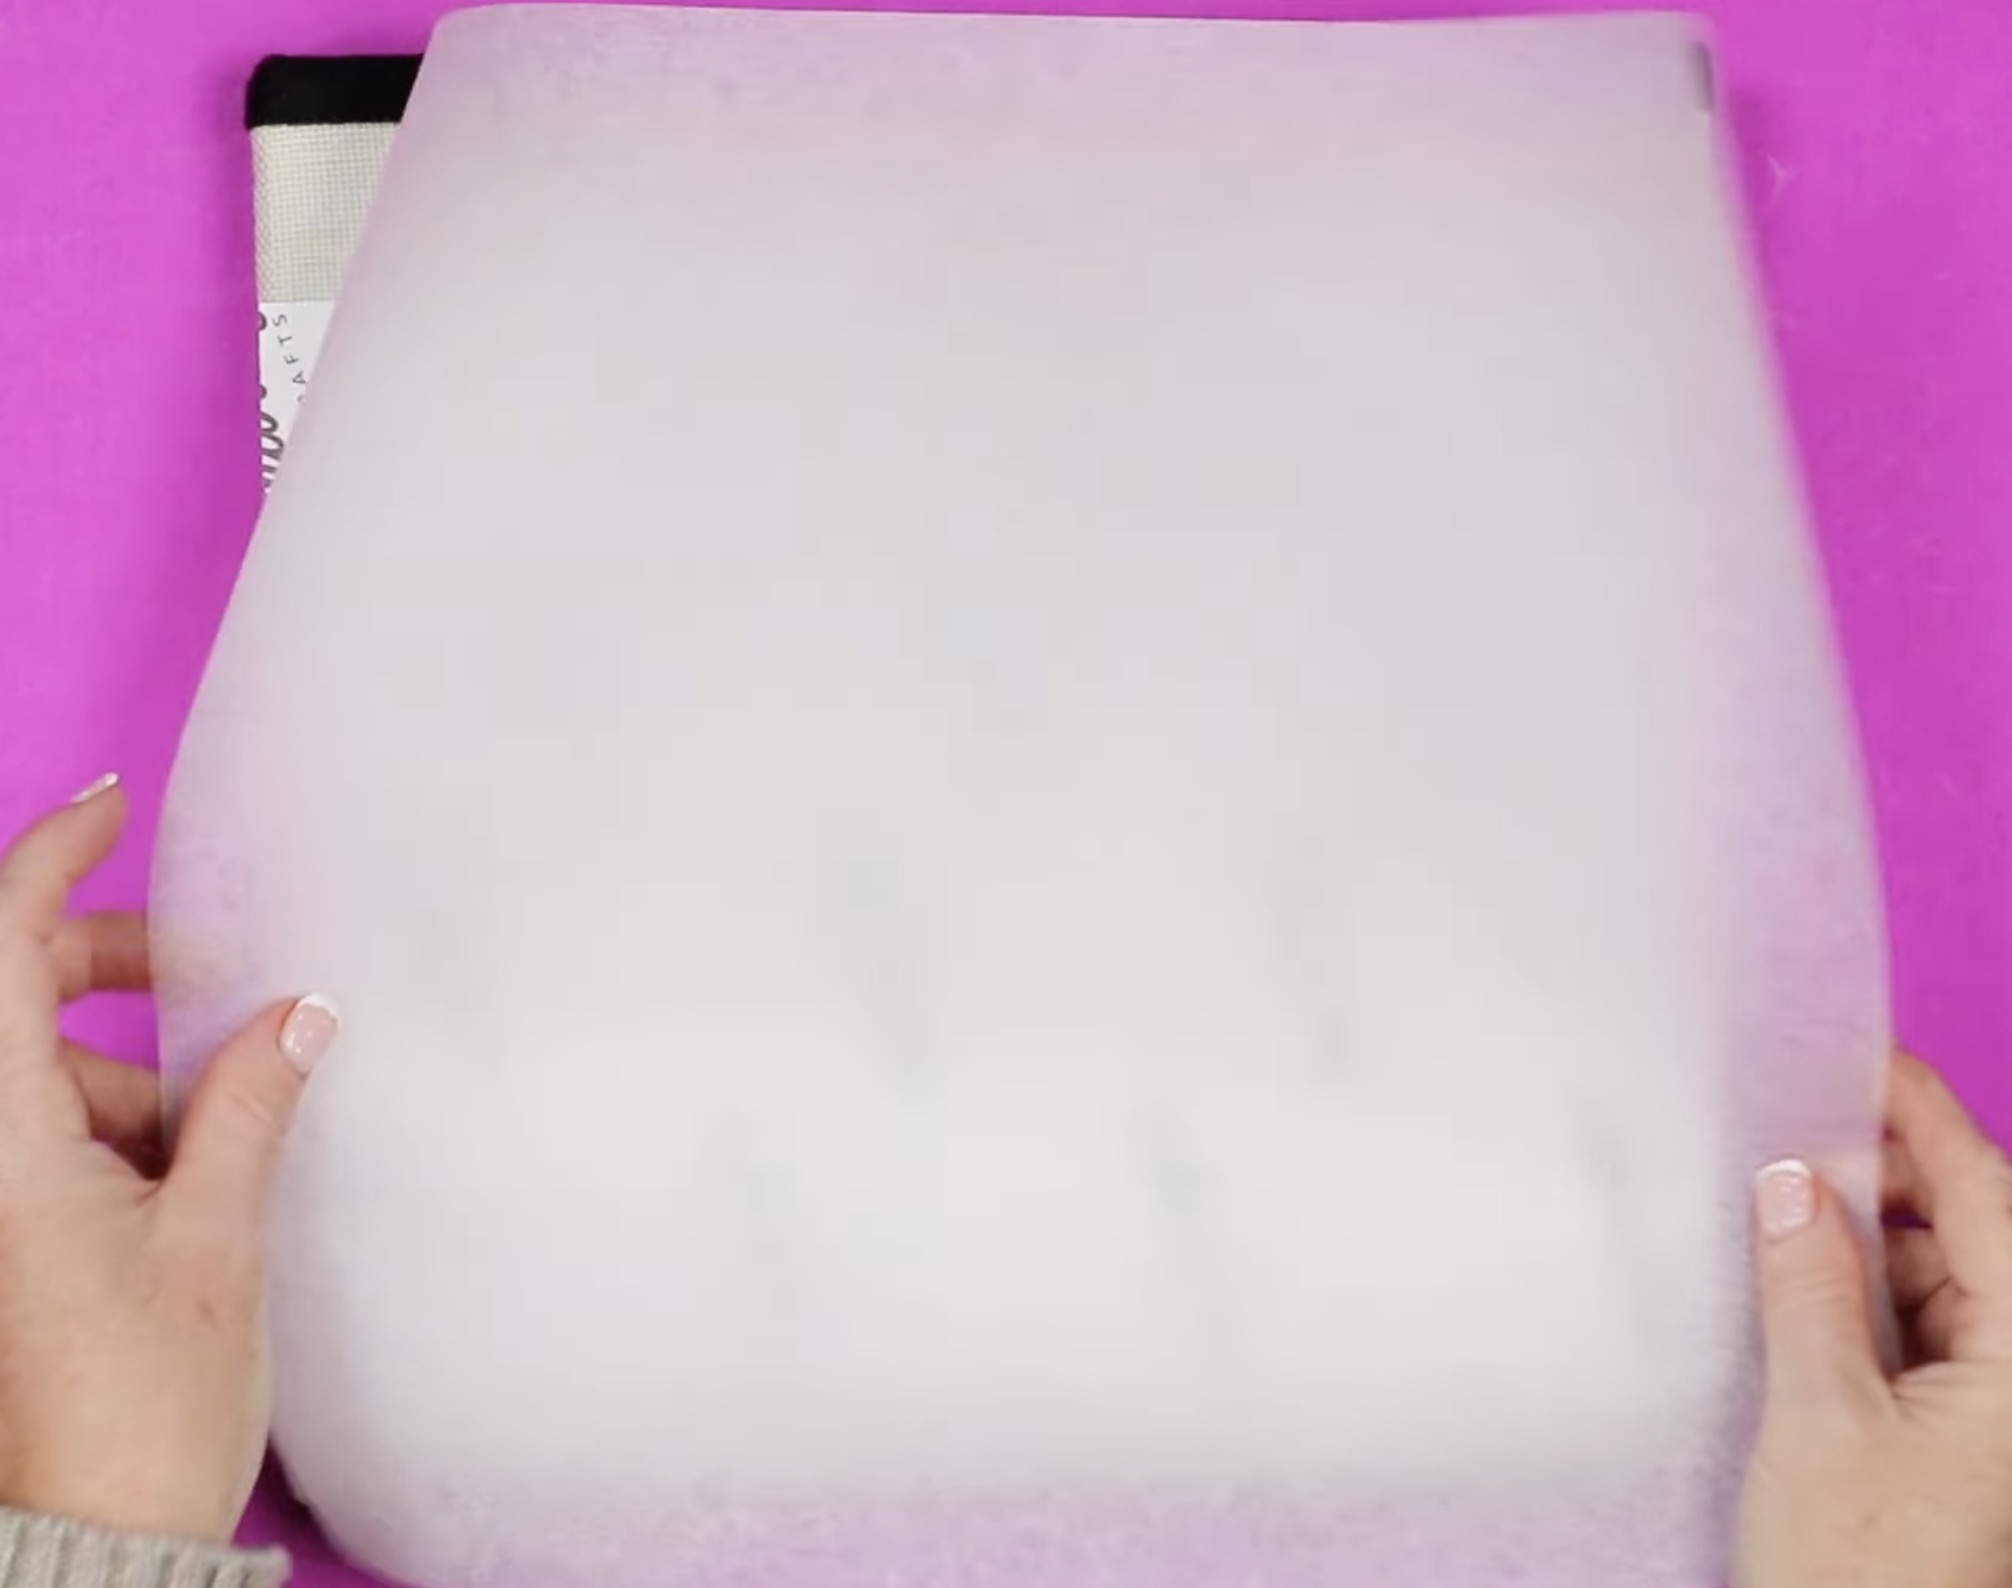
Because the print sits completely on the blank, and the blank is very thick you do not need to add protective paper under the bin.
If you're using a larger-sized paper, make sure to place protective paper under the blank.
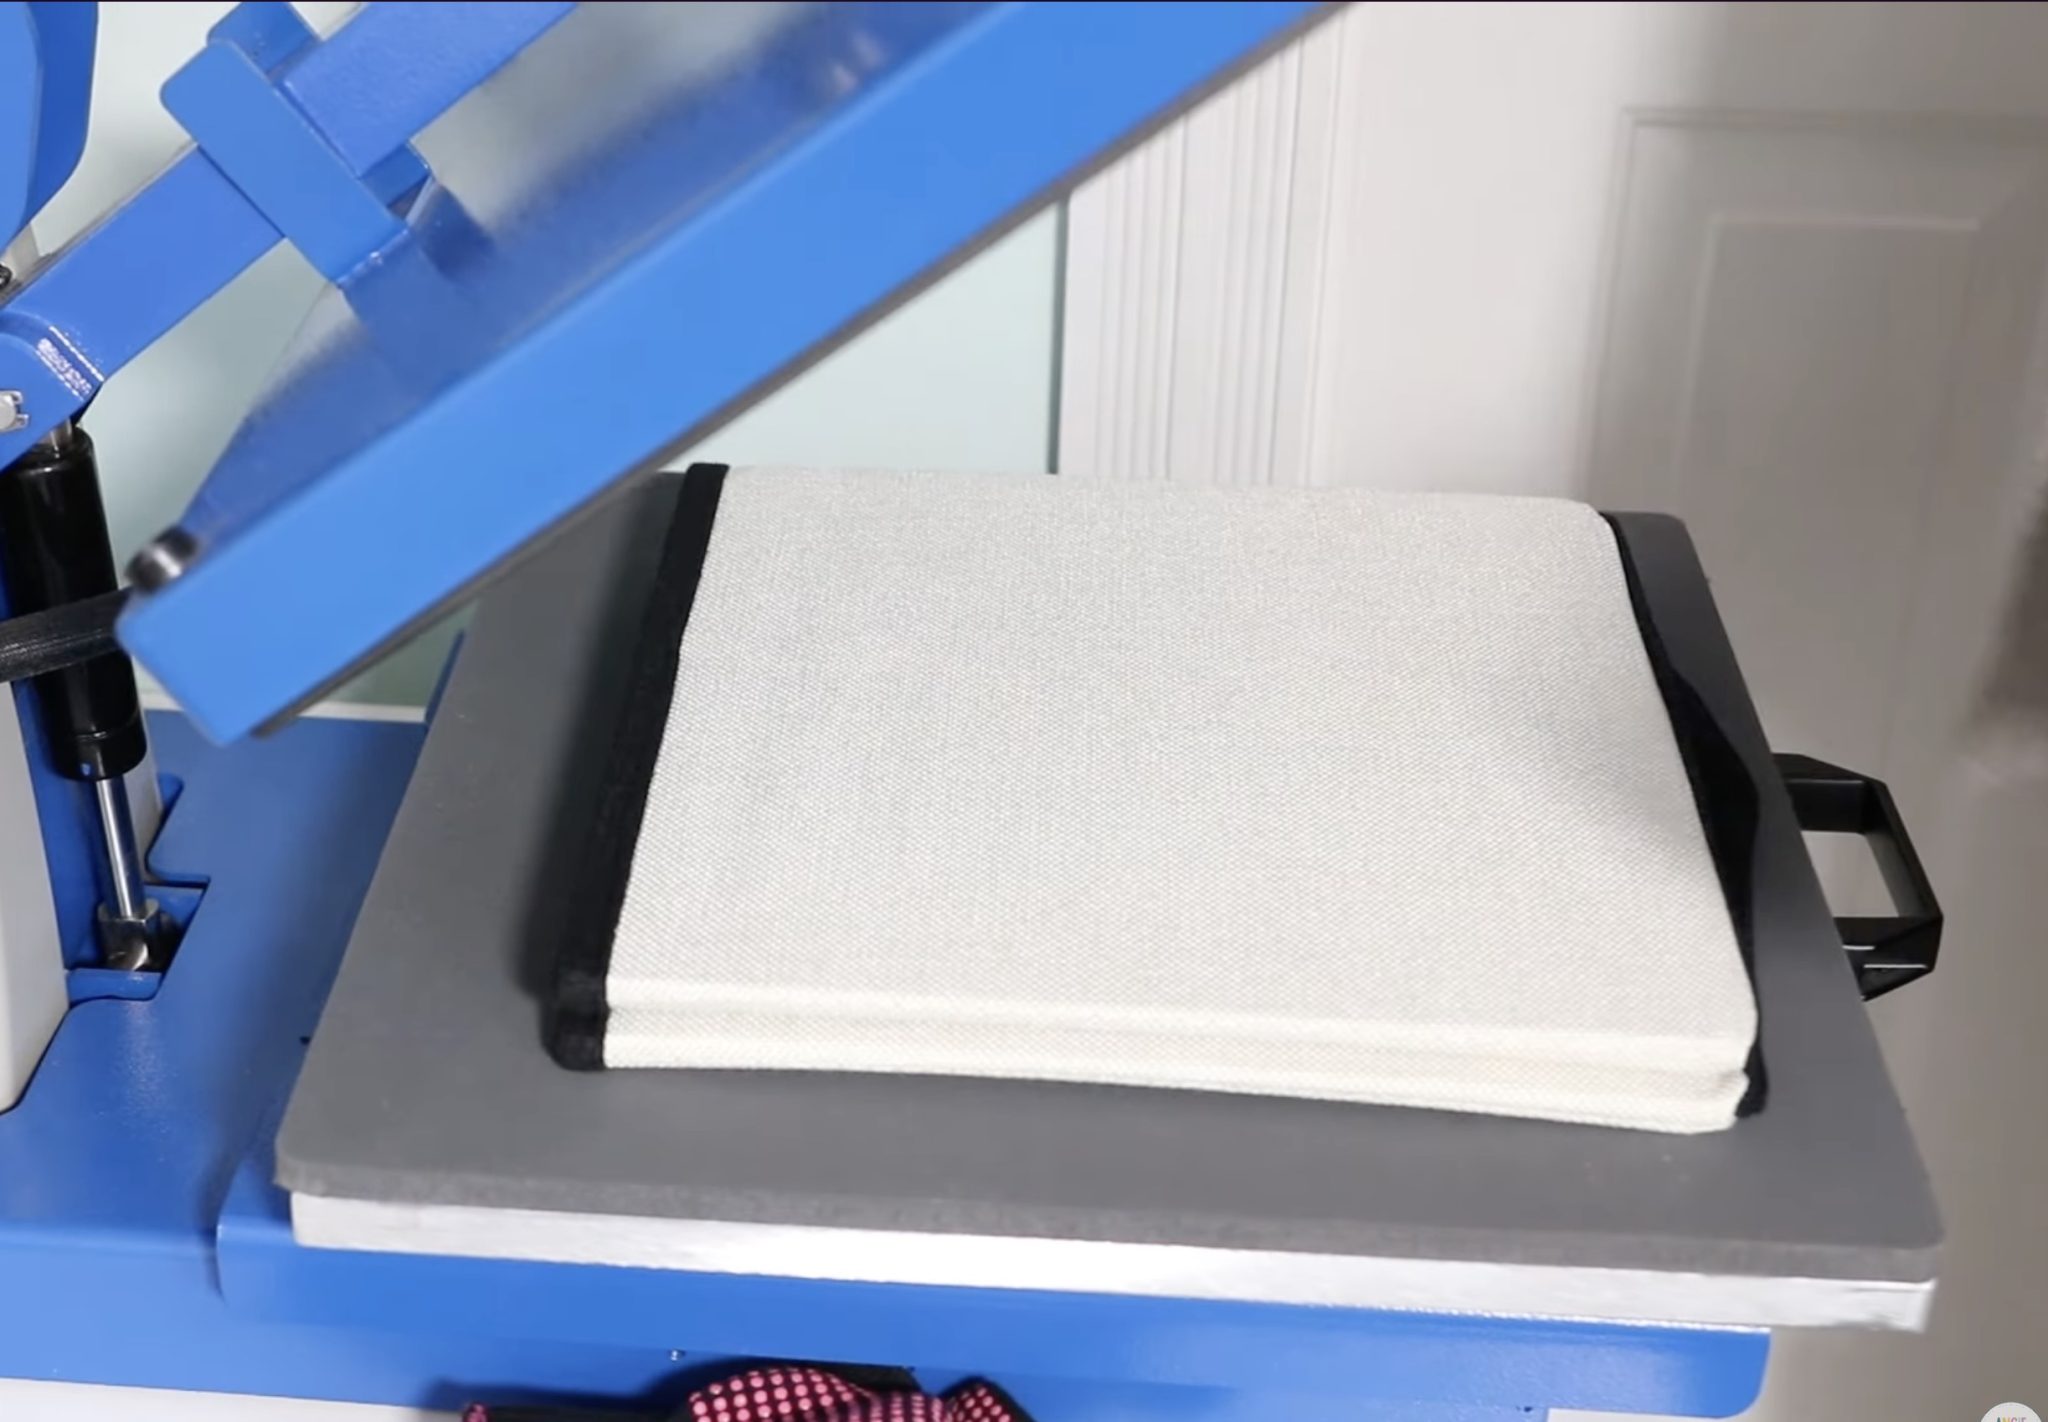
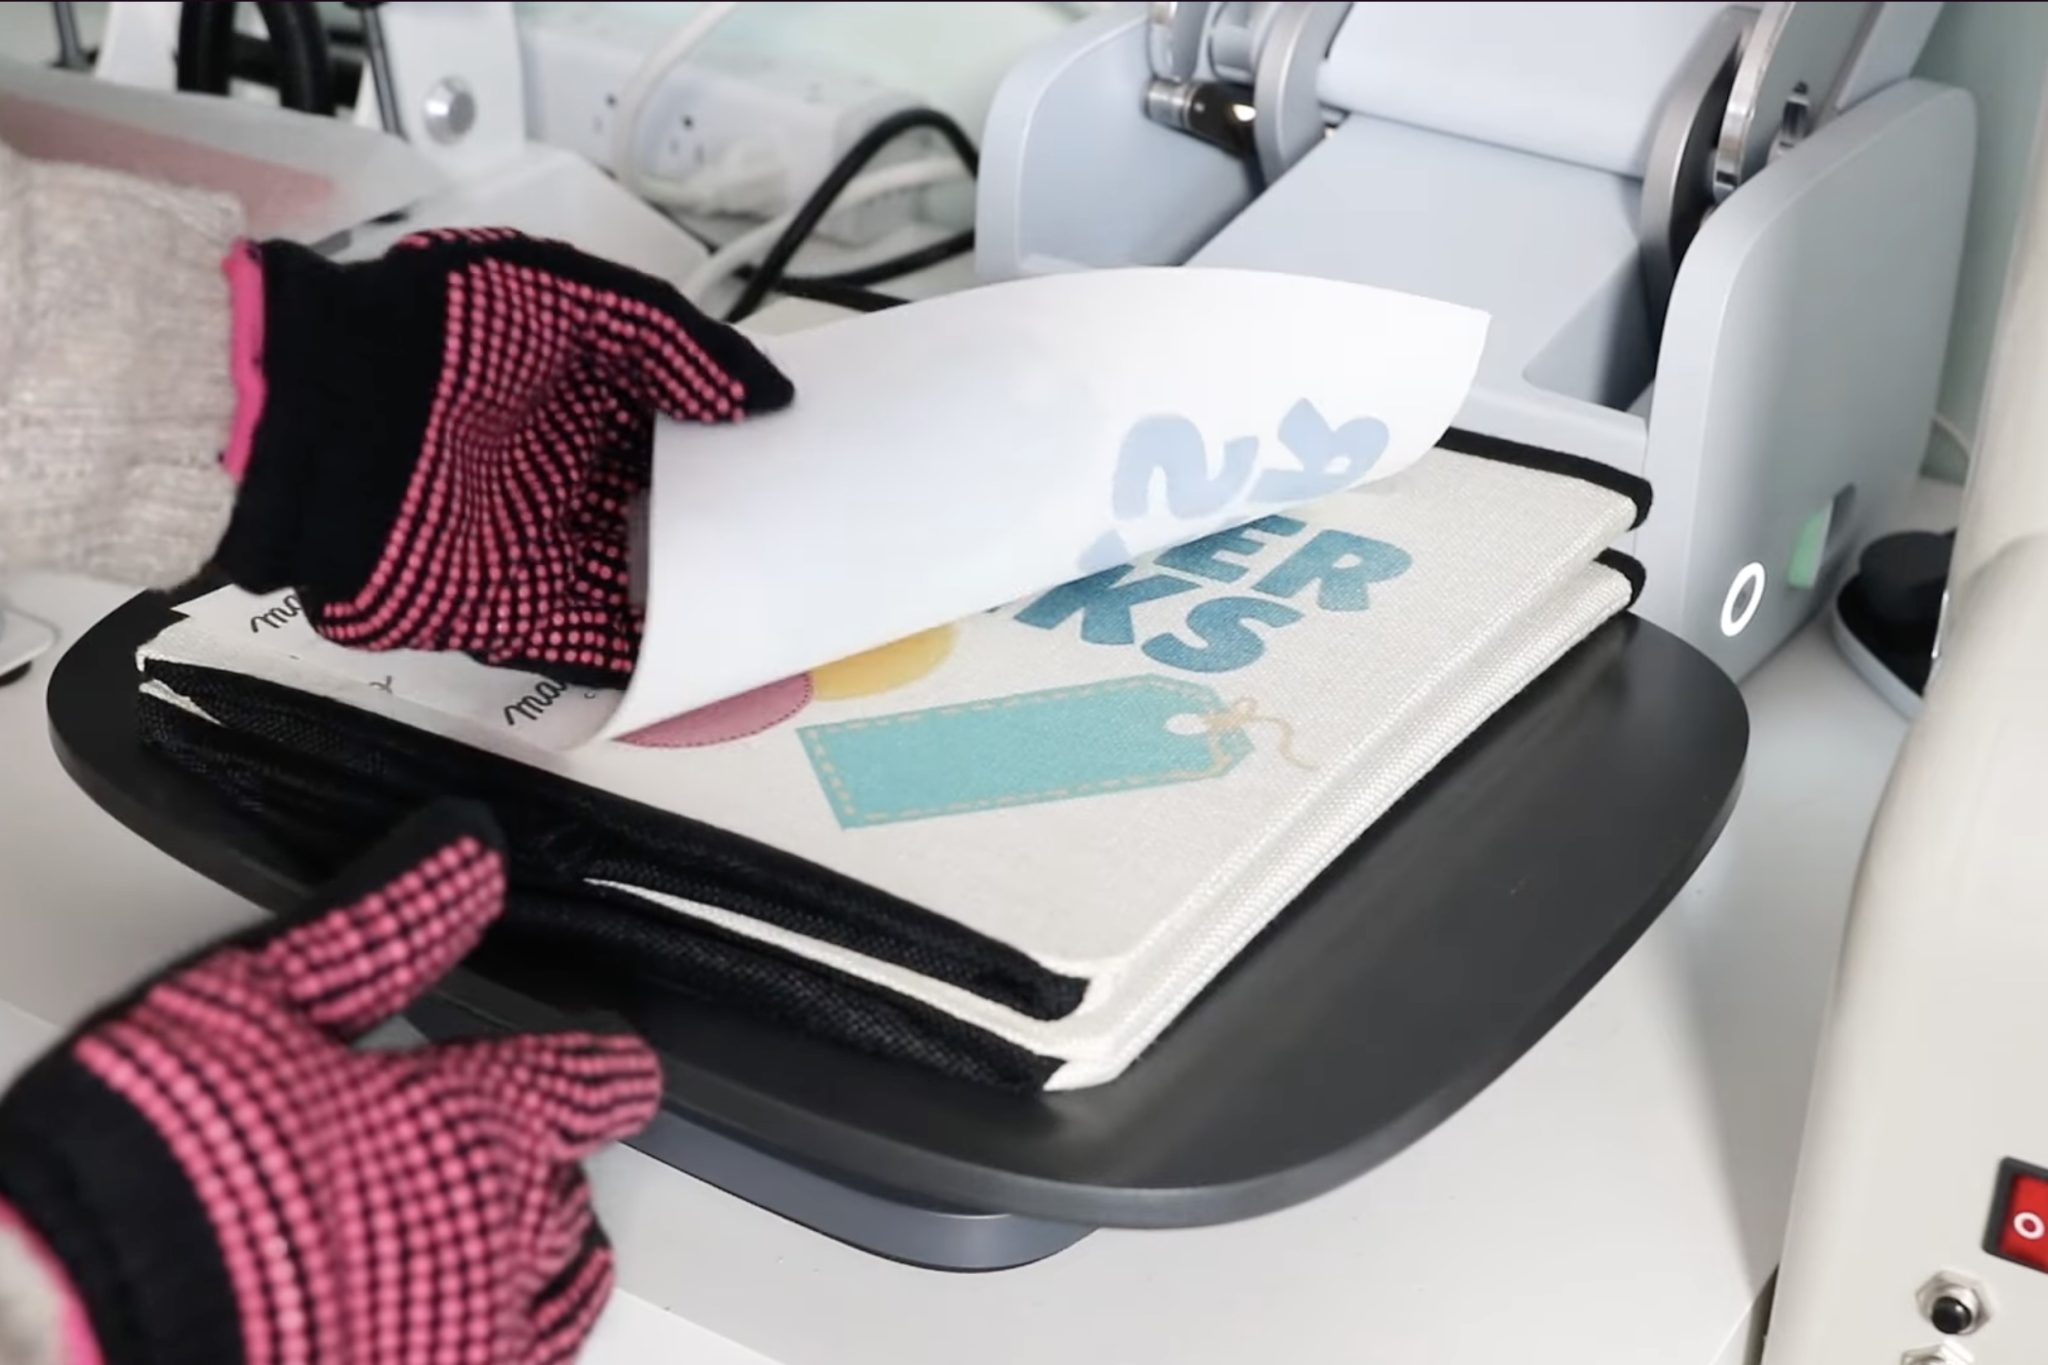
Pressing with Cricut Autopress
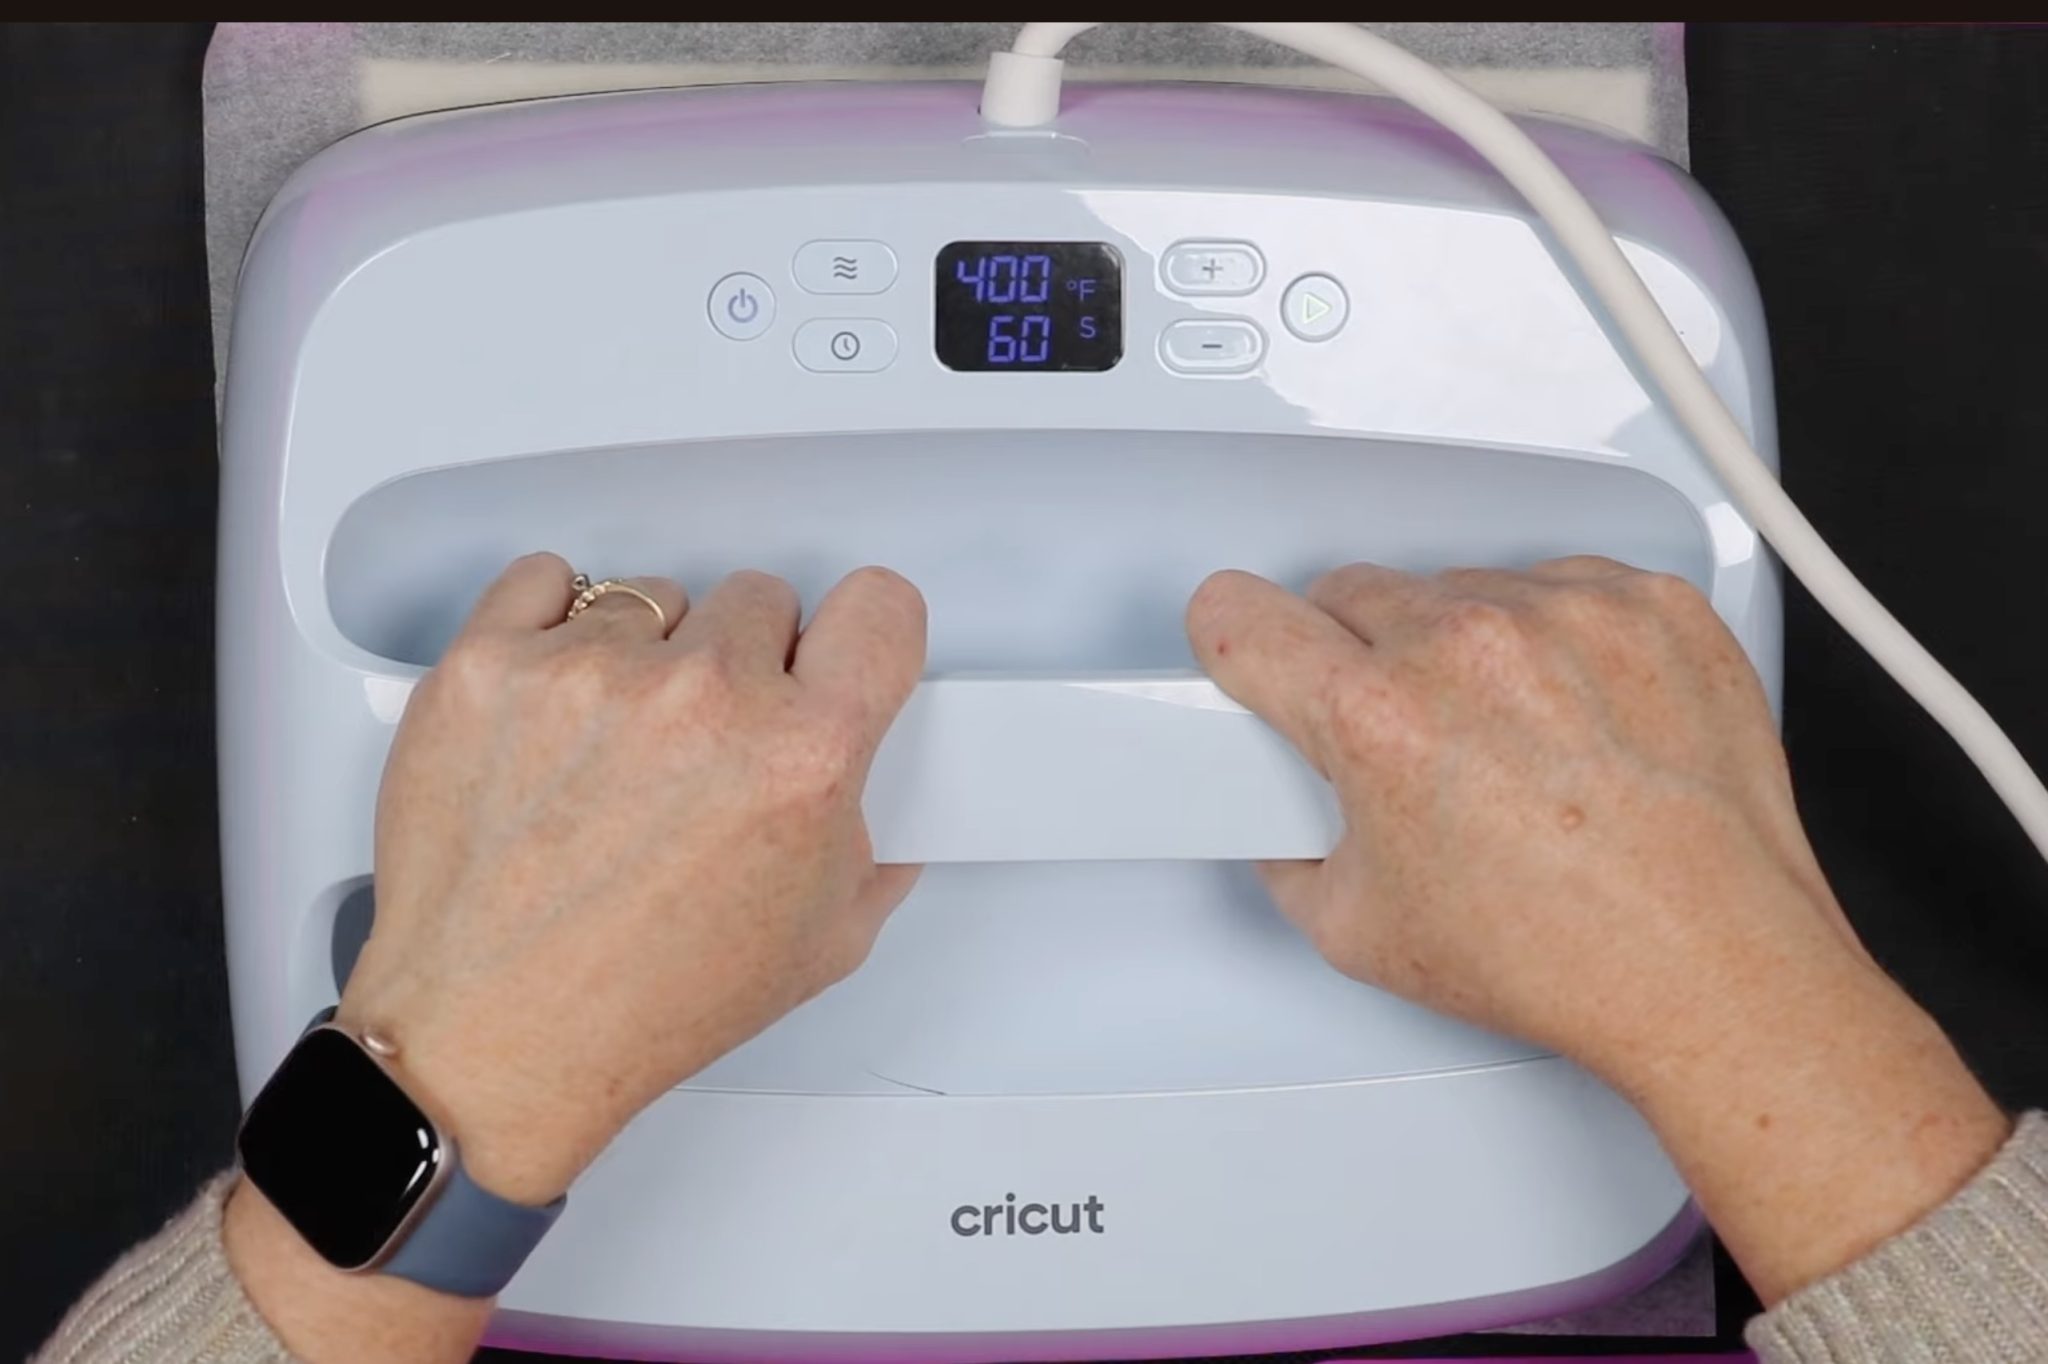
Since the traditional clamshell press didn't work, I am going to use my Cricut Autopress. The Autopress opens and closes like a clamshell, but a few inches before the bottom, it closes flat instead of at an angle.
I set the temperature to 400 degrees and the time to 55 seconds.
That makes the Autopress a good option for this blank.
The Cricut Autopress applies a medium to medium/light pressure, and you cannot adjust it.
I did remove the bottom mat to give it a firmer surface to press against.
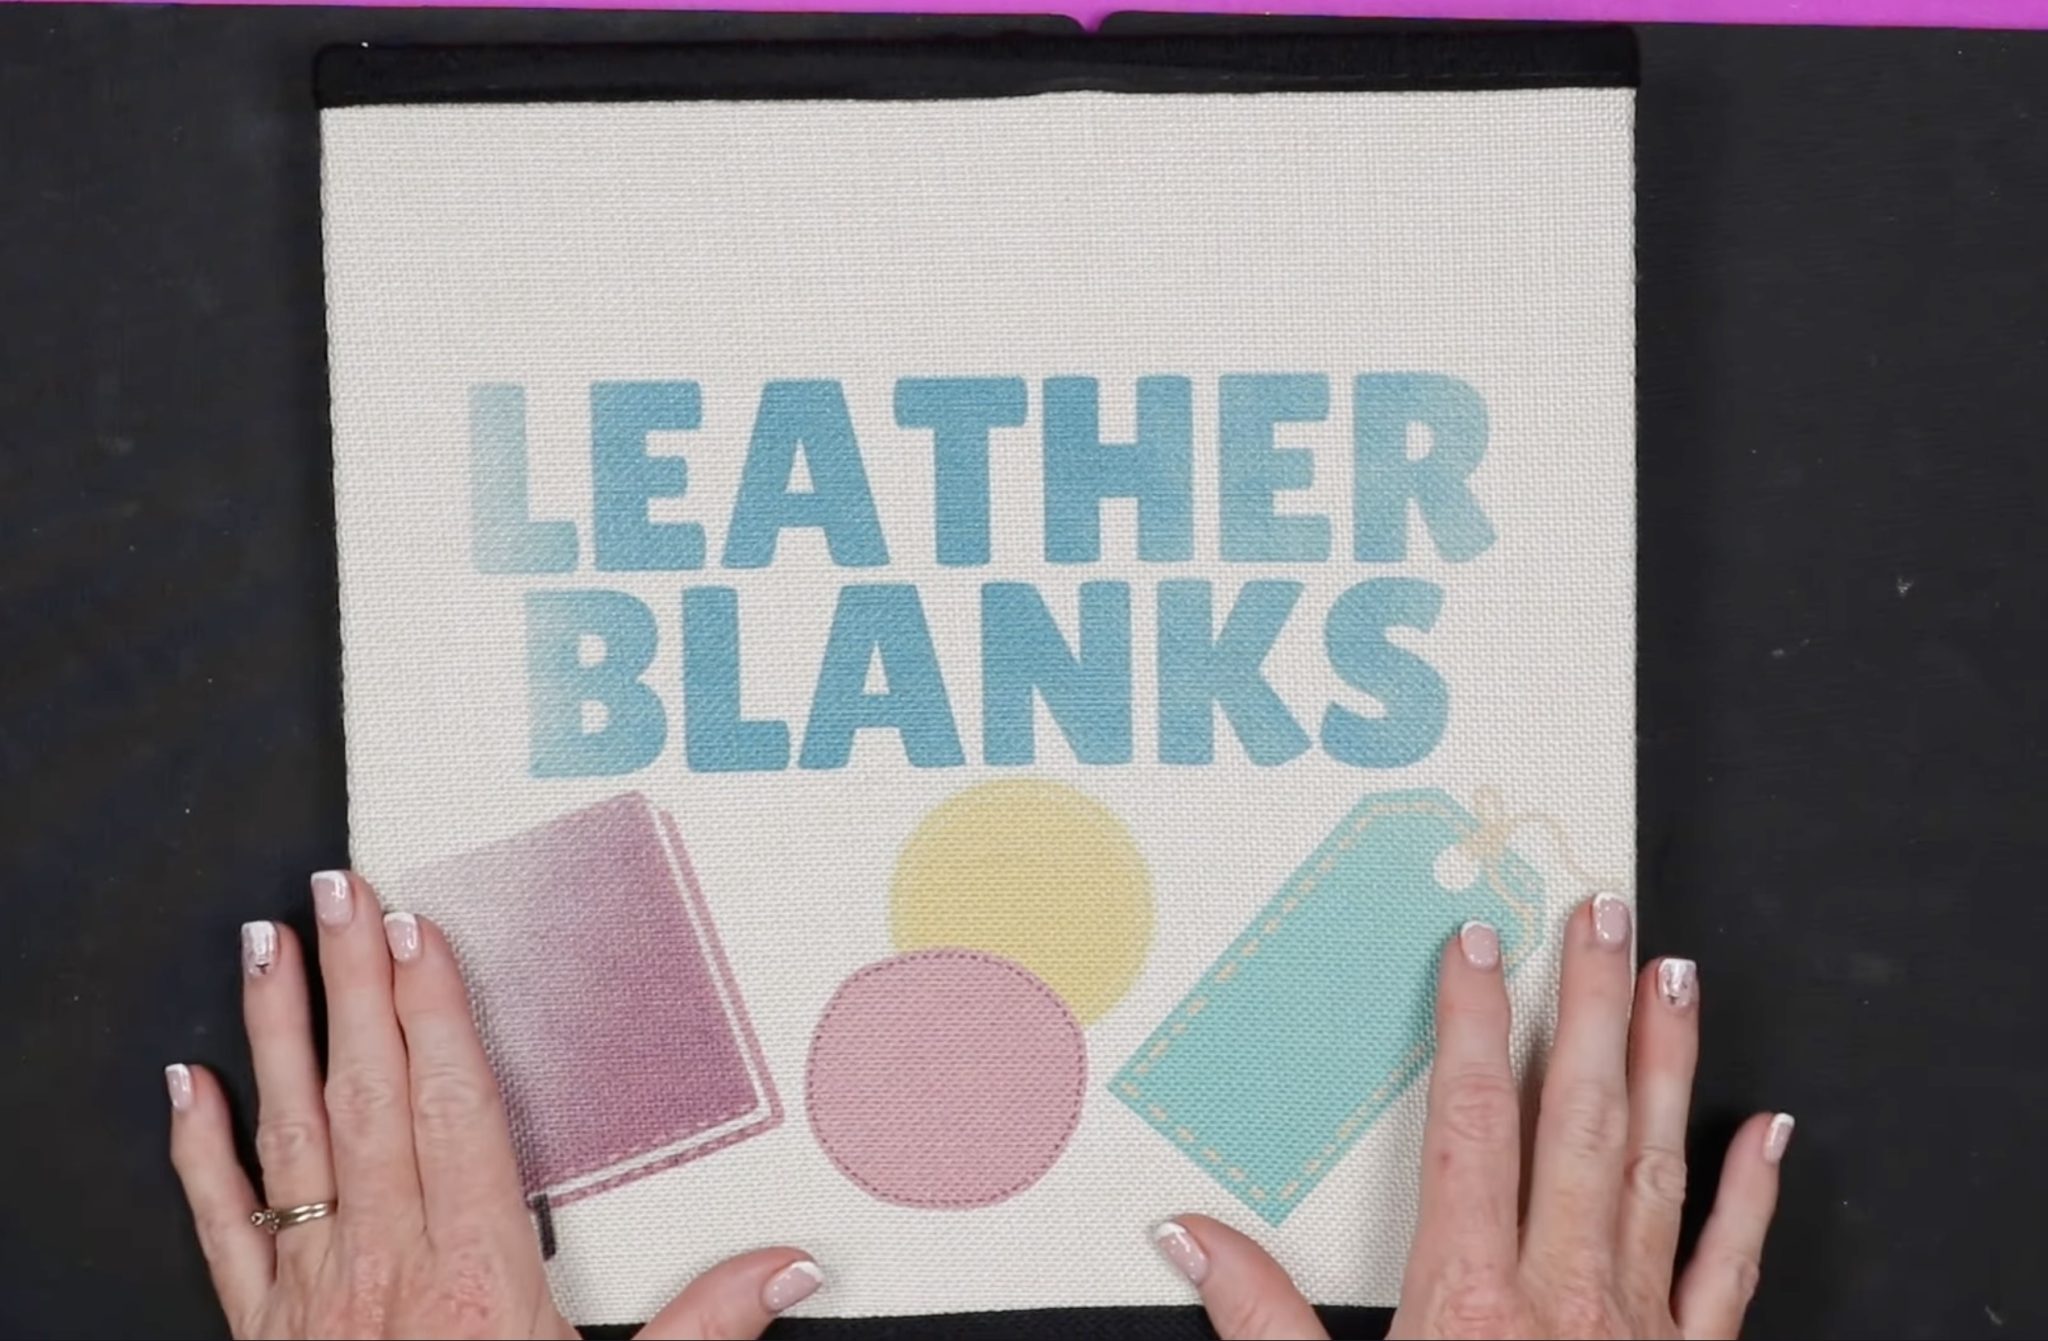
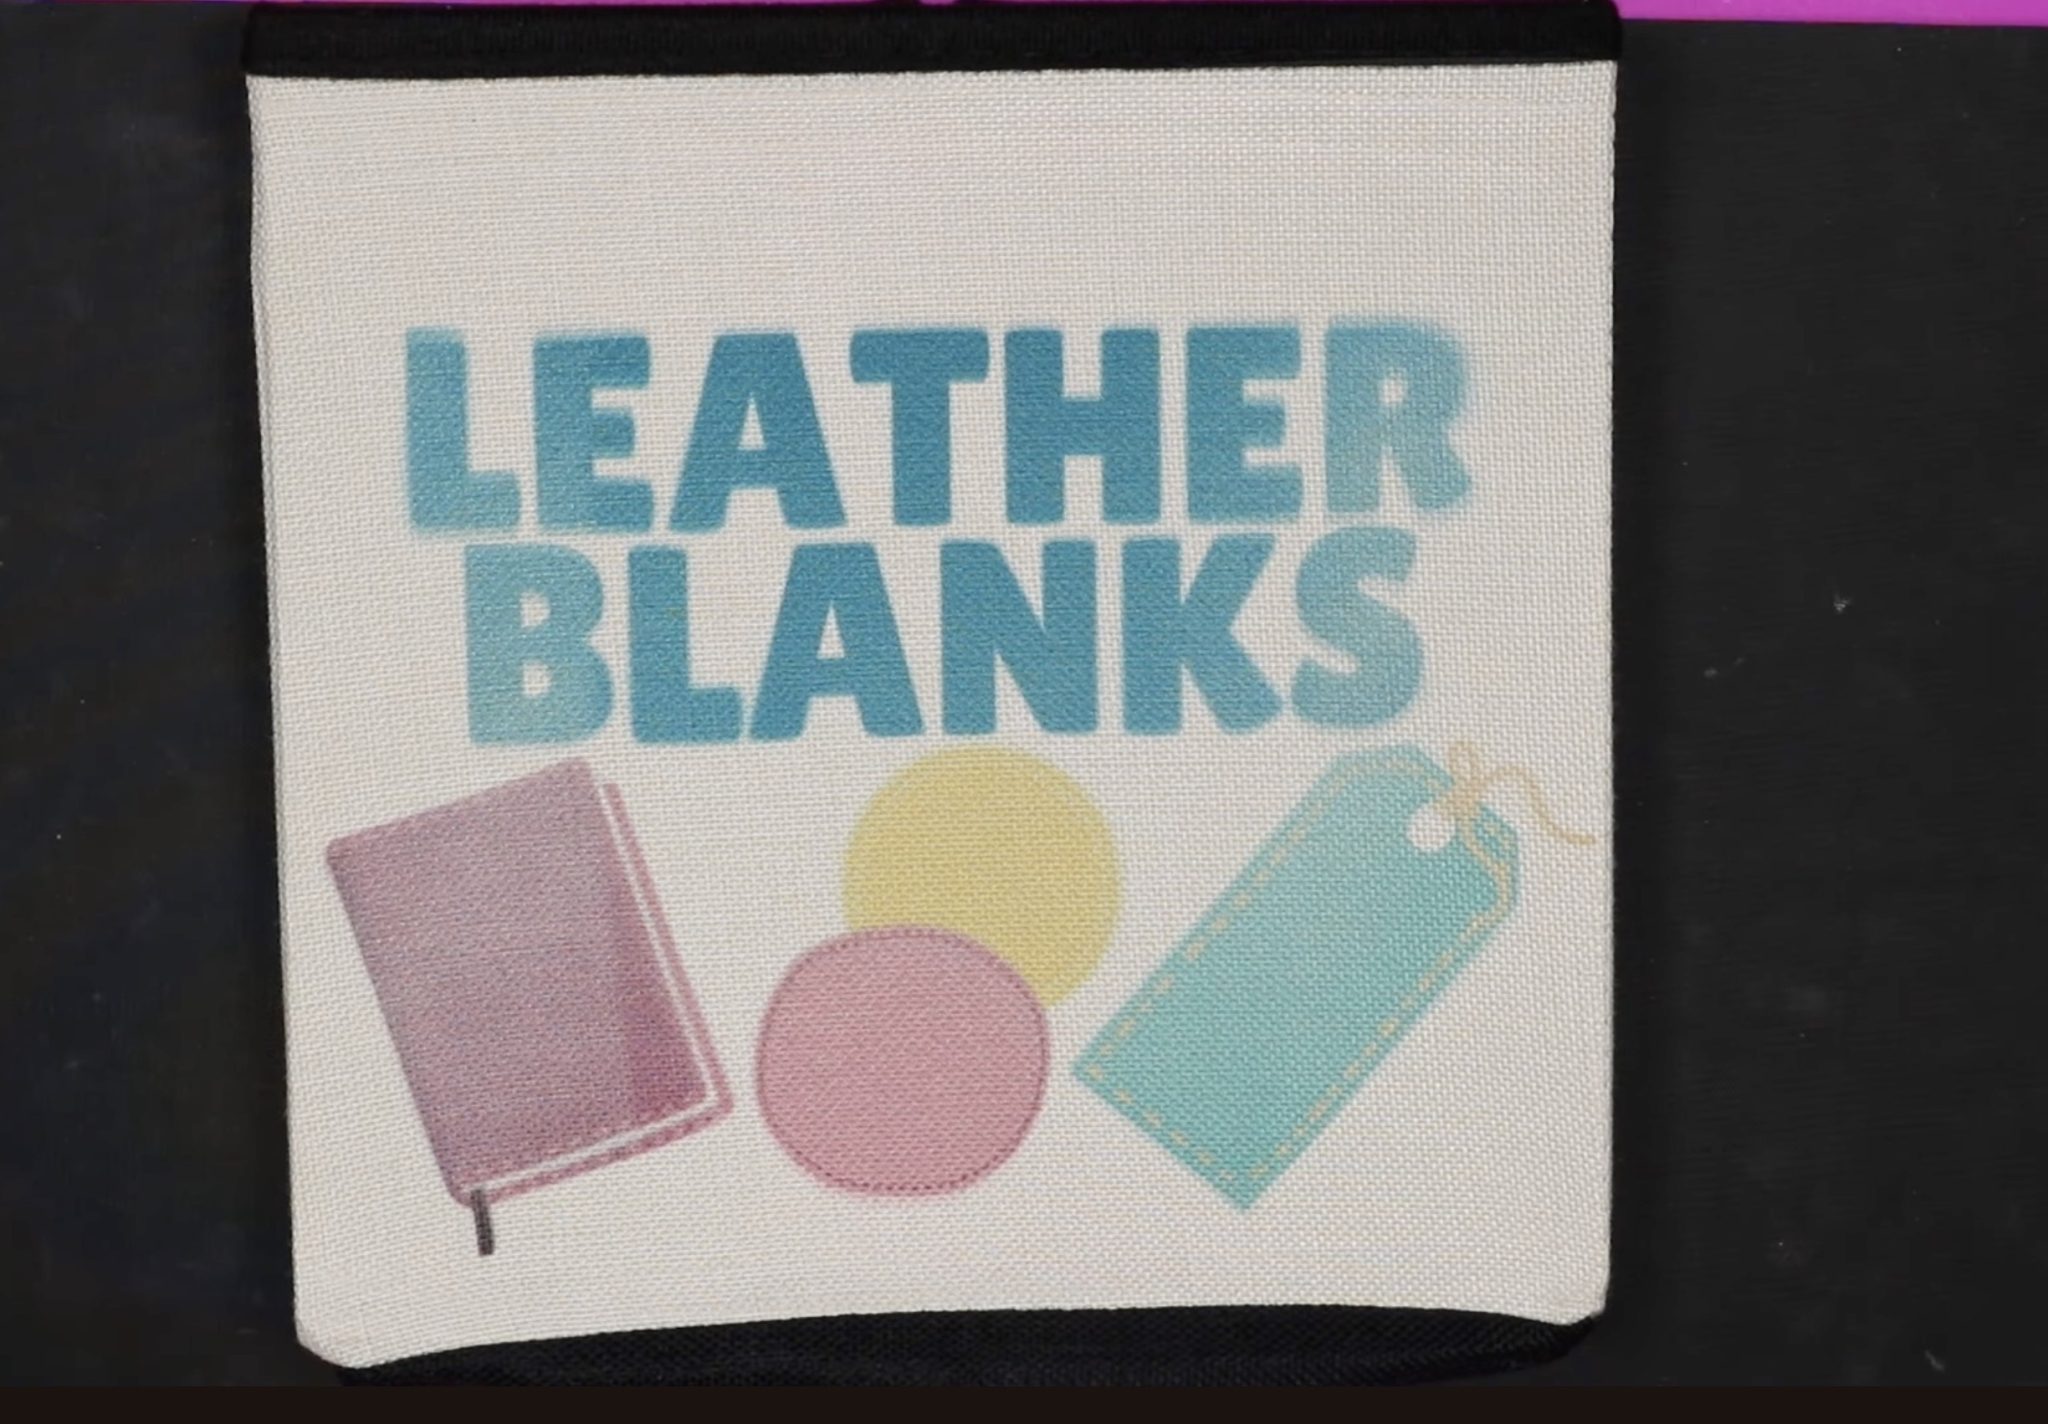
On the leather blanks design I pressed once for the full time.
When the time is up, remove the print.
Here you can see that the middle of the design transferred really well but the sides are definitely faded.
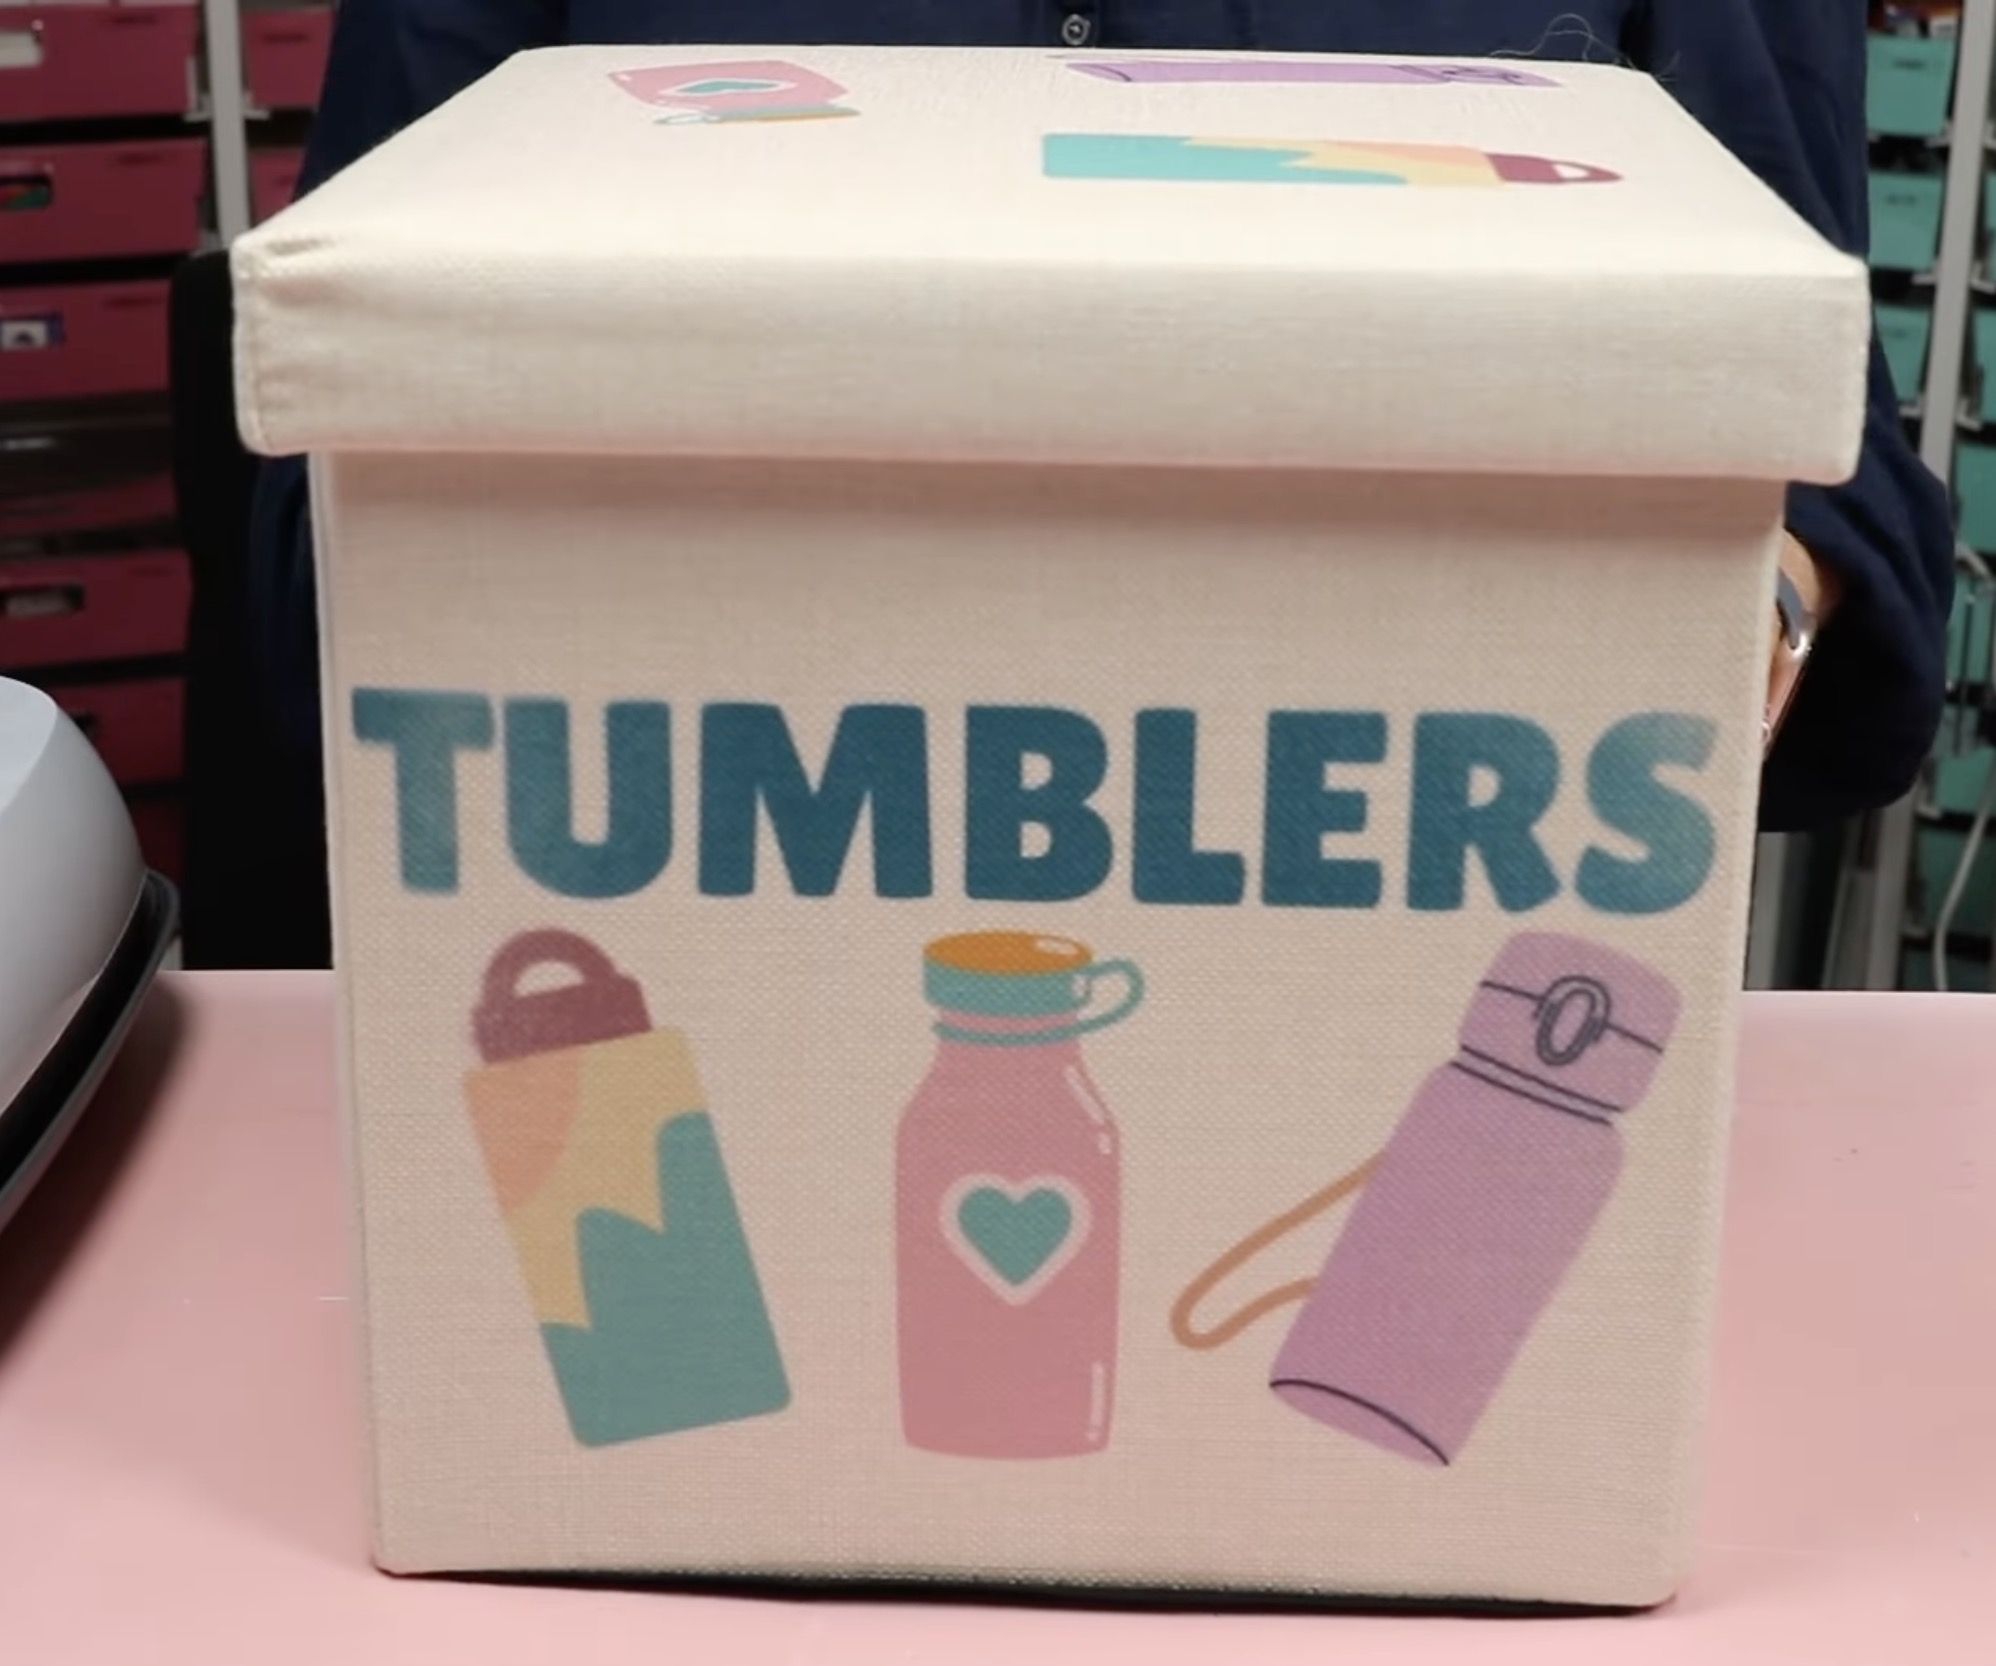
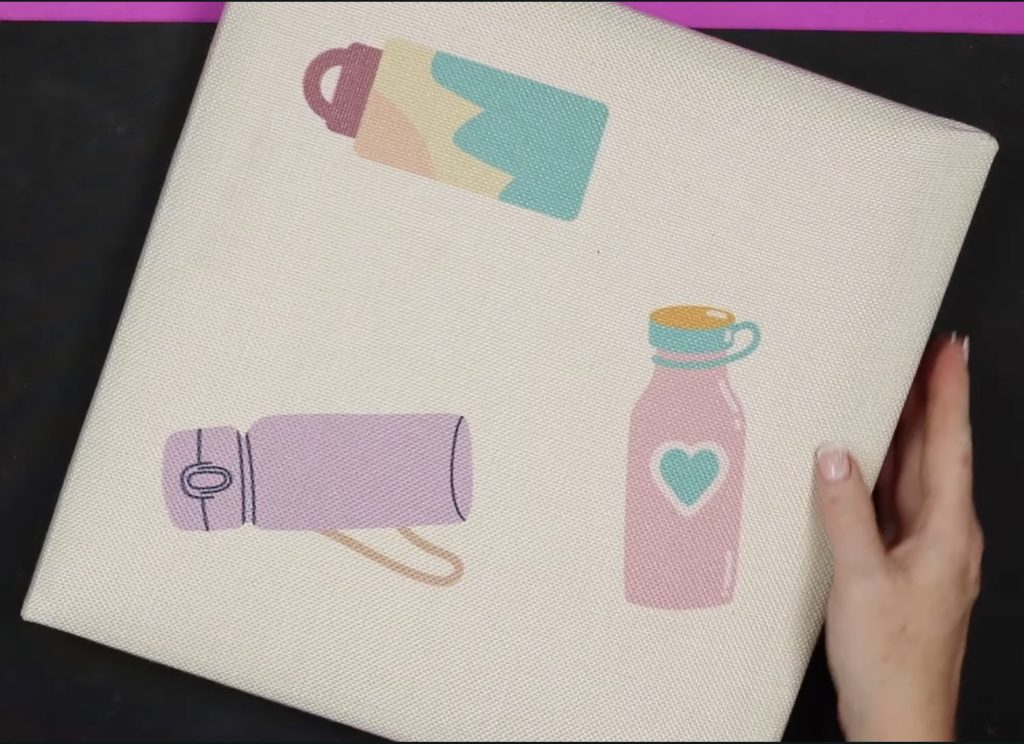
I repeated the process for the tumblers bin, and this time I pressed it once in the middle and then pressed it 3 more times, rotating the bin to try to get more pressure on those sides. On the 2nd press, I rotated it 180 degrees. On the two sides, I placed the bin about halfway in the press and pressed each side a 2nd time.
This one looks better; it is not as faded on the edges, but there is still some fading on each side.
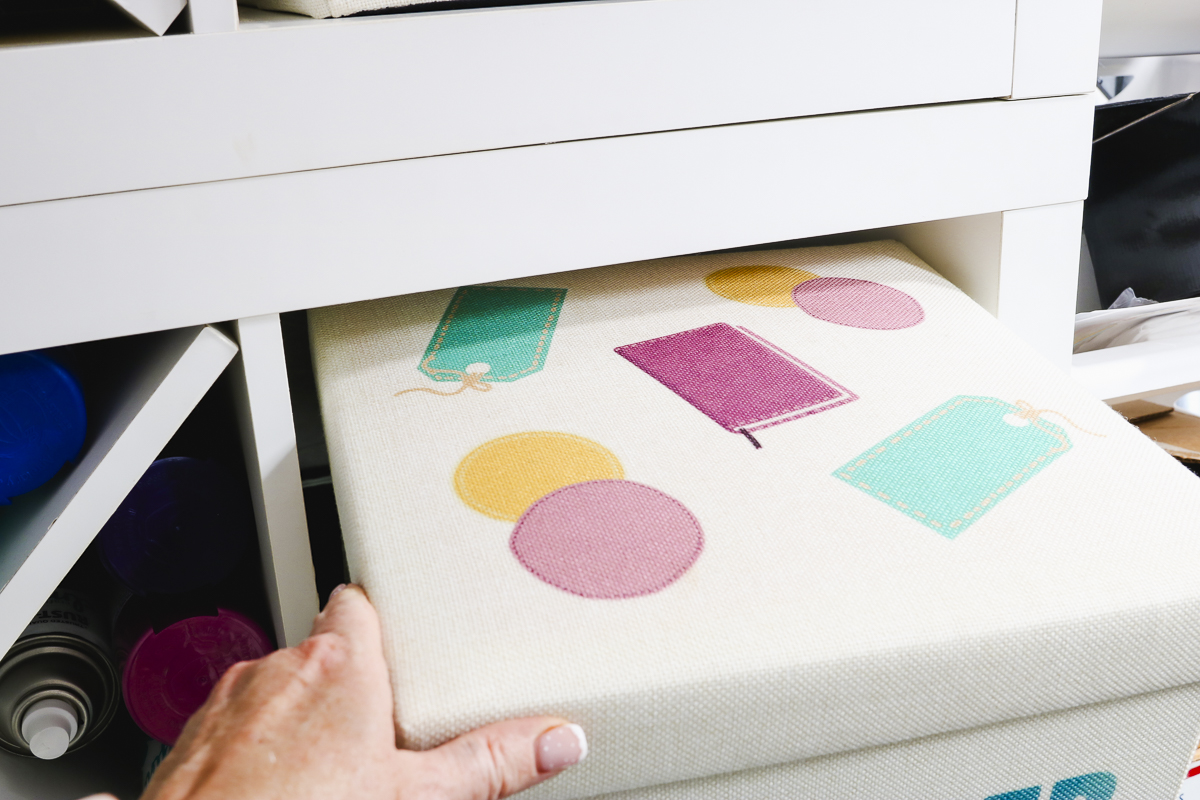
Step 5. Prep the Sublimation Bin Lid and Press
For the lids of my sublimation organization bins, I don't want to apply the exact same design. This time, I trimmed off the word Tumblers.
At this point, I can apply this straight across or put it at an angle.

After looking at the design, I decided to cut it apart and place them across the top.
This allows me to move the designs a little closer to the middle.
Secure the prints with heat-resistant tape, cover with protective paper, and press at 400 degrees for 55 seconds.
When the time is up, remove the protective paper and the sublimation paper.
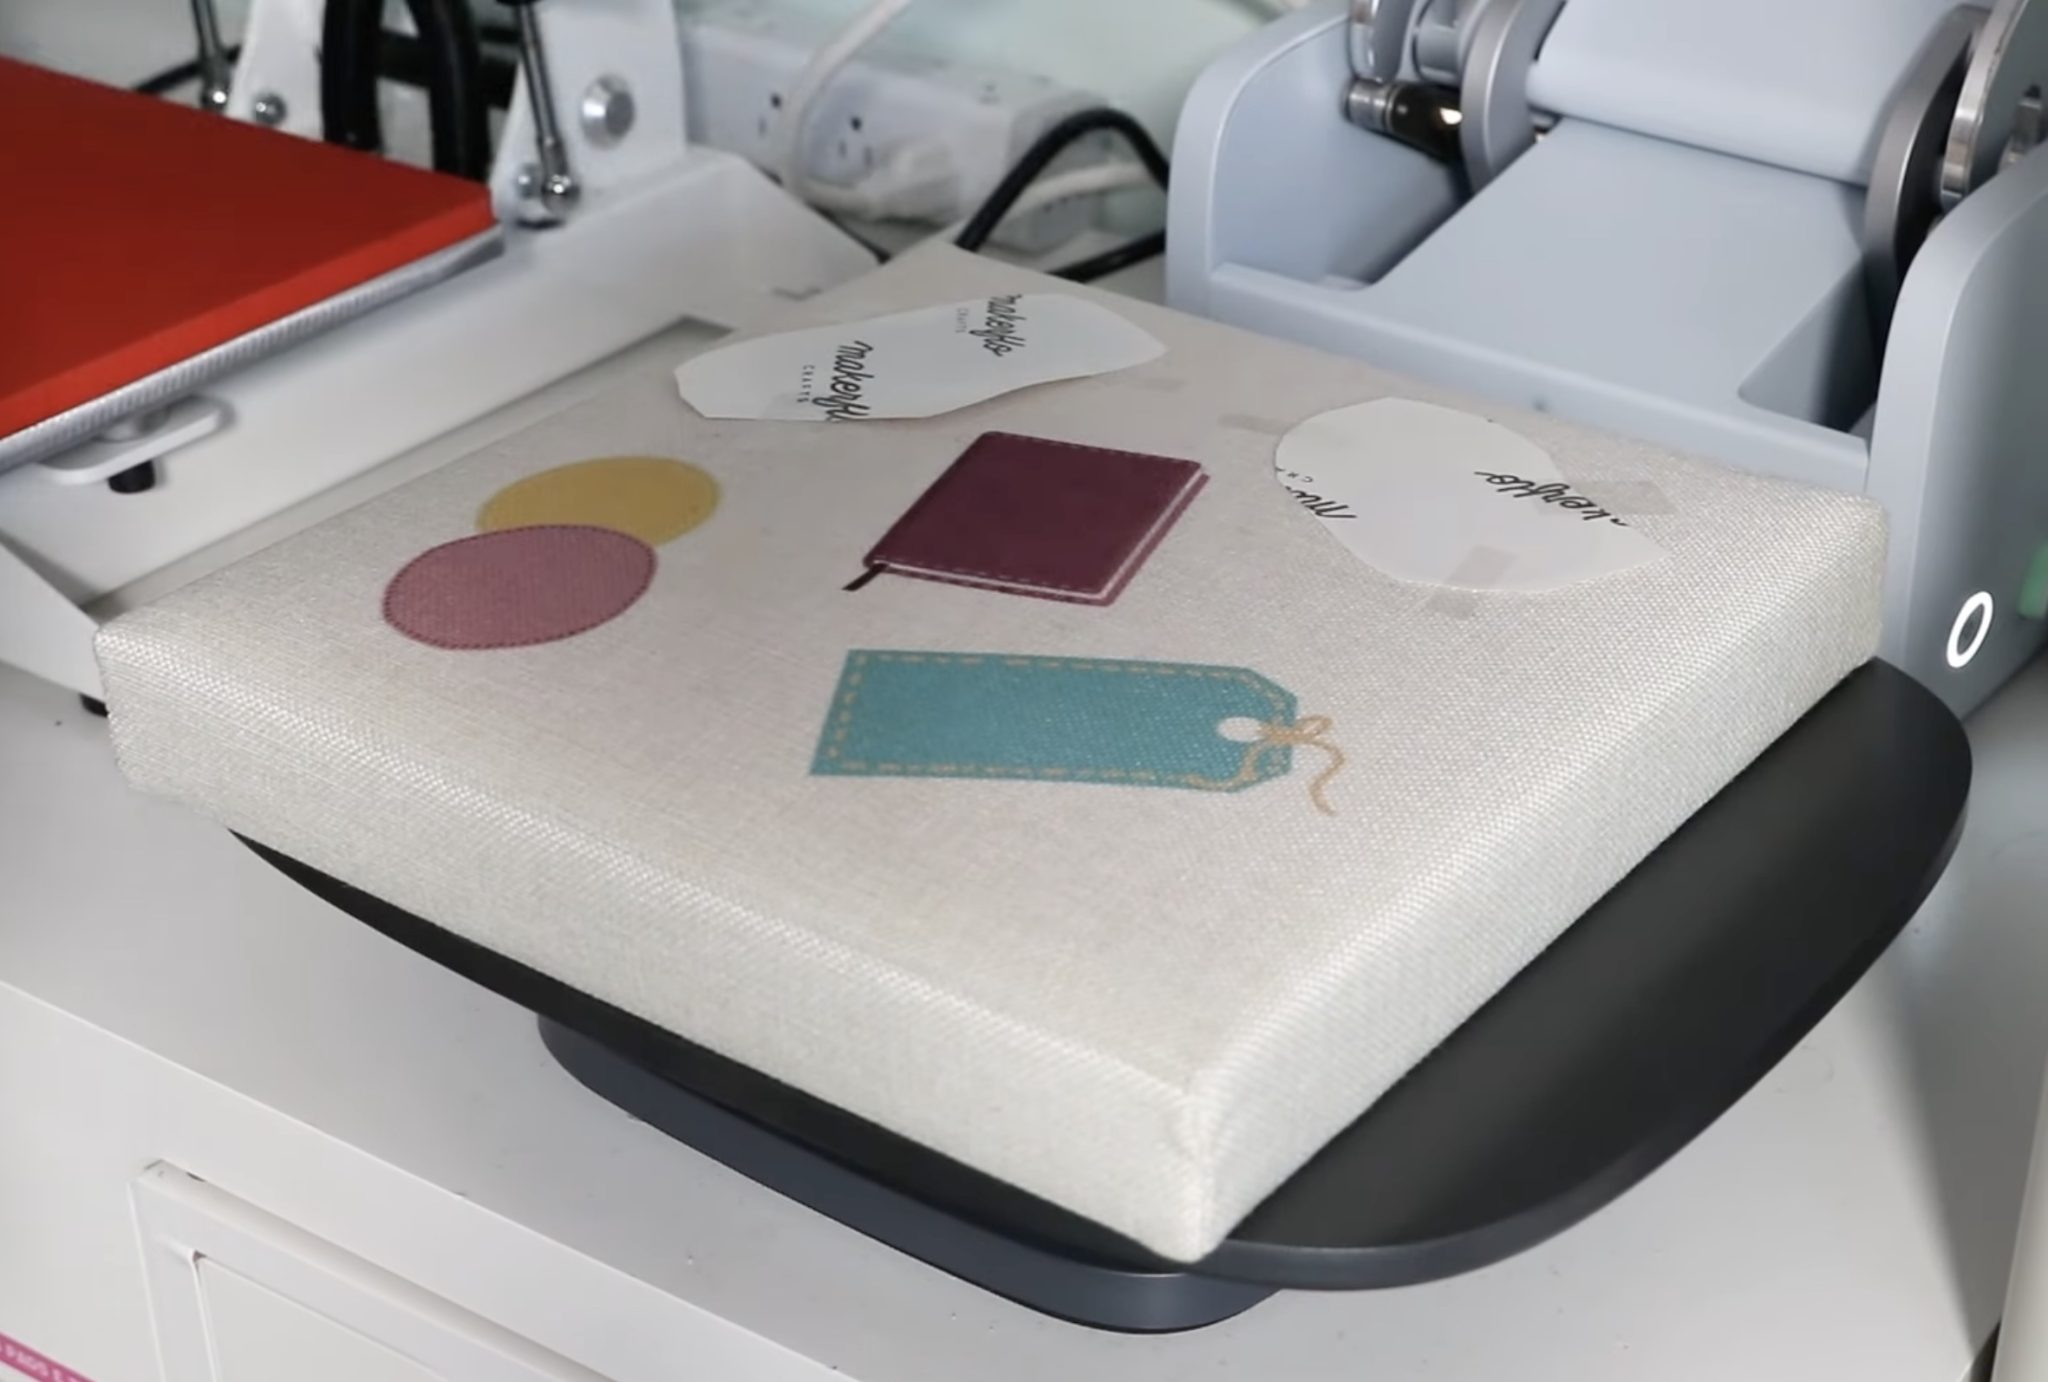
I have to say, when I started this project, I was mostly concerned about pressing the lids. The lids turned out perfect.
The lid is nice and firm, so I didn't have to add anything inside it, and the images transferred beautifully.
OPTIONAL: Pressing with the Cricut EasyPress
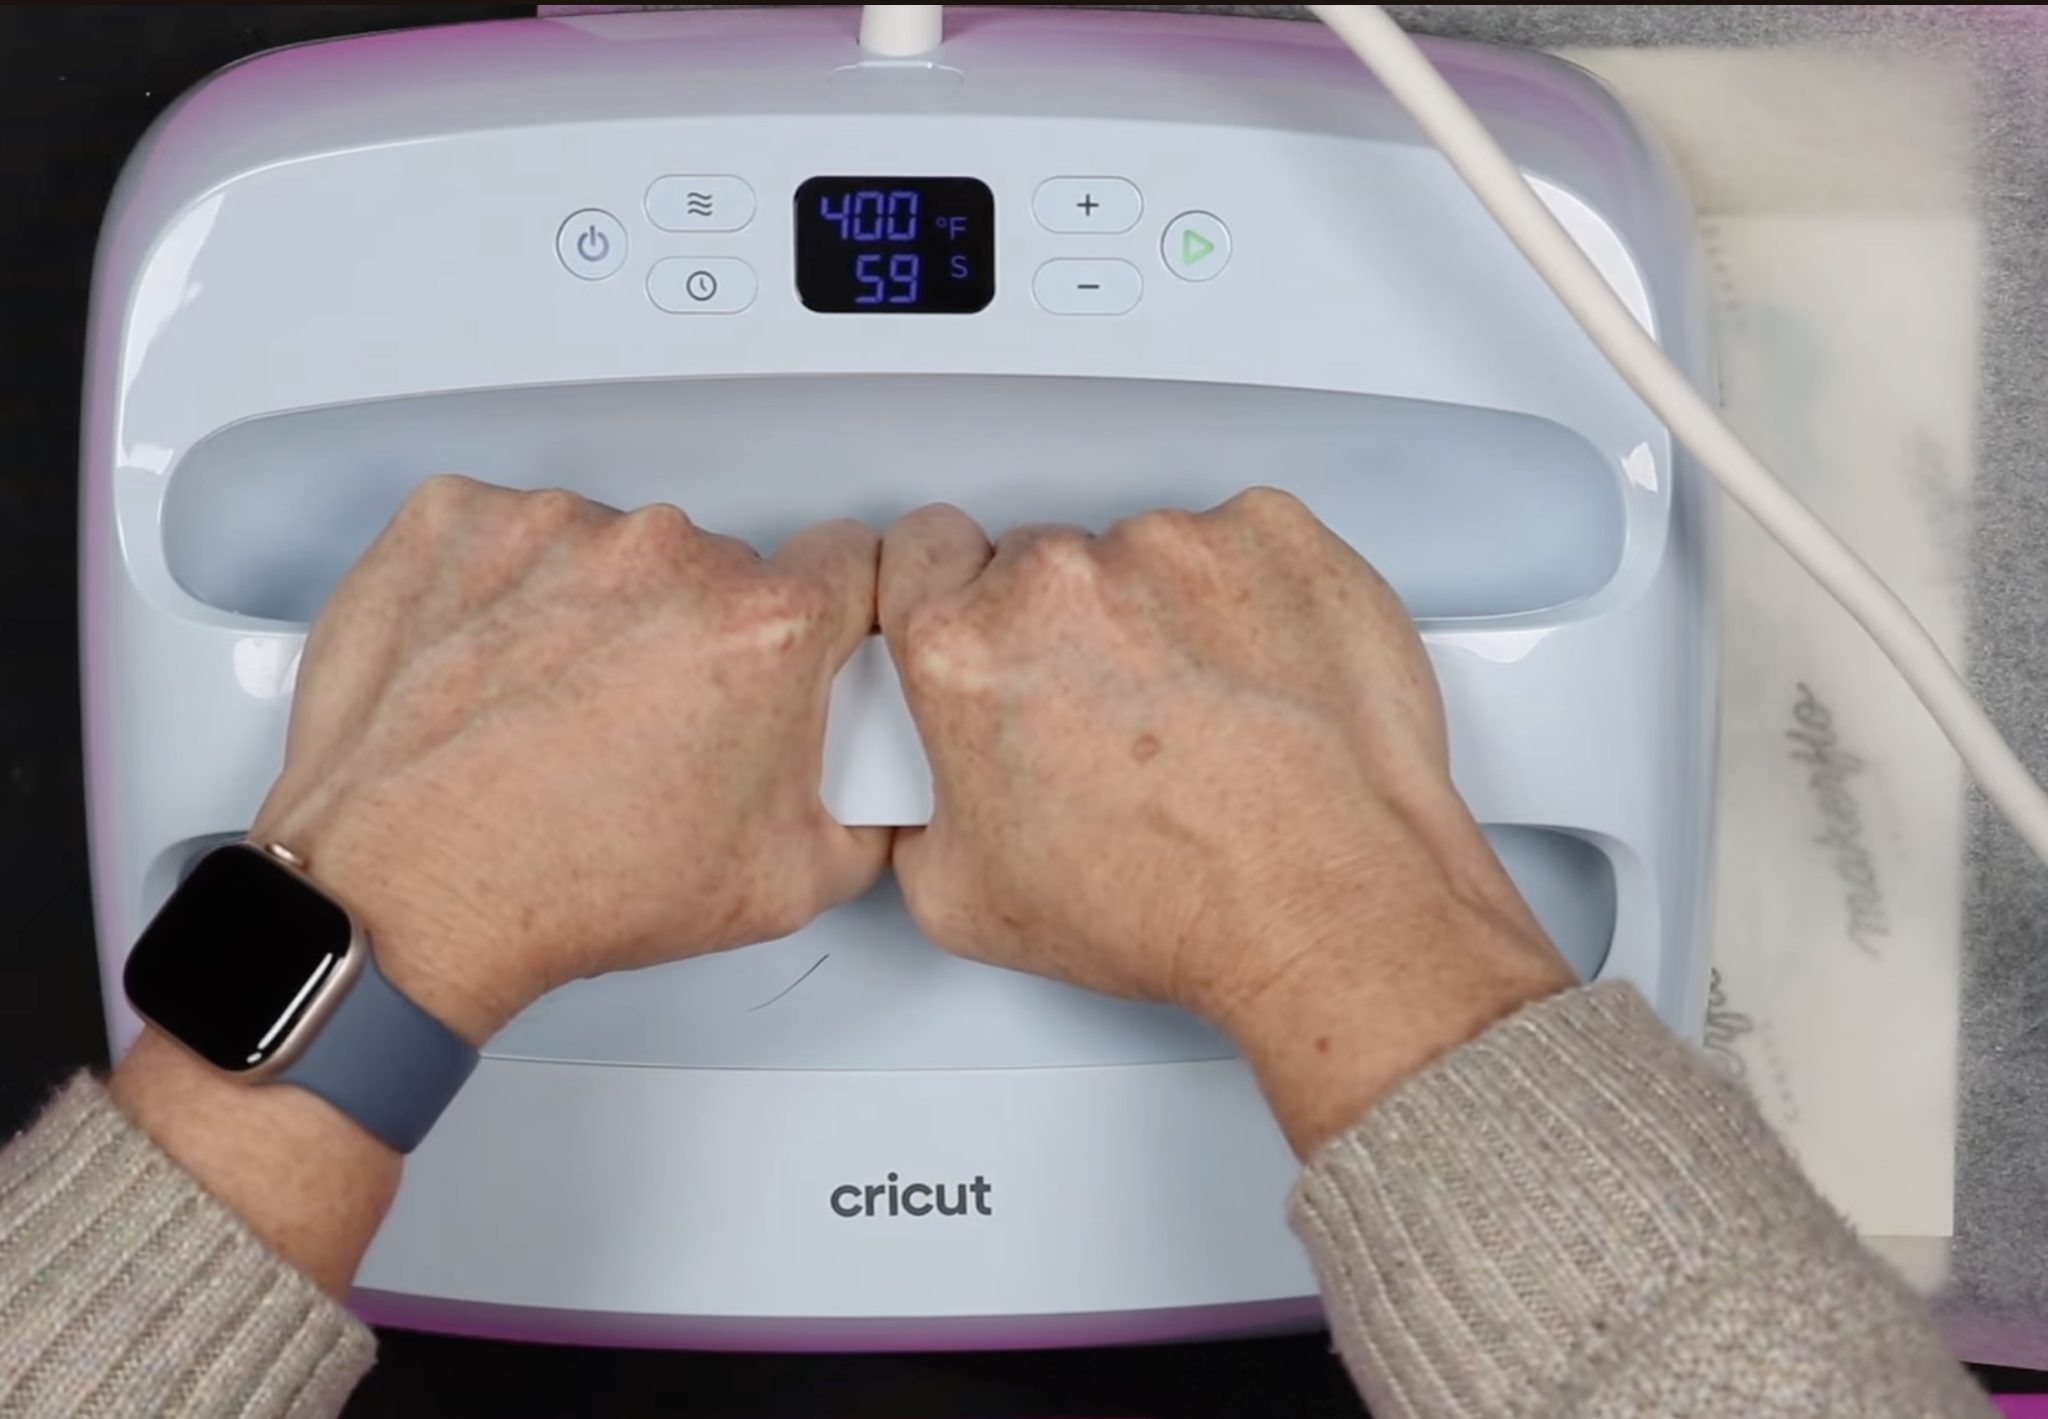
I wanted to see if the EasyPress would do a better job than the Autopress. Because you apply the pressure with an EasyPress, it is usually helpful to add a little extra time. I am pressing at 400 degrees for 60 seconds.
Place the sublimation bin on a heat-resistant mat to protect your surface. I am using these firmer mats from Artisprix instead of the EasyPress Mat.
After you locate your design, secure it in place with heat-resistant tape. Cover the design with protective paper.
I am using the 10 by 12-inch EasyPress. This press covers my entire design and allows me to stay between the top and bottom seams.
If you are using a smaller press and a design this size, you will need to press it in multiple presses. When pressing a single design in multiple presses, you can get fading where the press overlaps. I try to avoid that when possible.
Place the press over the design and apply consistent pressure for the entire 60 seconds.
When the time is up, remove the EasyPress and the protective paper.
Instead of removing the whole print, first, we're going to do a peek test on each side.
Don't lift the whole print; gently lift the edge and look to see if the design has transferred.
Mine did not transfer well on the sides, so I am going to press again and then do a peek test again.
I ended up pressing this blank multiple times with the EasyPress. I added more pressure on the repeat presses and focused on the sides.
My results with the EasyPress after multiple presses are very similar to the results from the AutoPress with one press.
You can see there is some ghosting on the letters. I would have to assume my print moved a little in those areas when I was pressing a second or third time.
There is also still fading on those sides, even though I pressed them multiple times.
Sublimation Organization Bins – Tips and Tricks
Now that I have pressed three sides of these sublimation bins and two lids I have a lot of tips to share that I think will help you get the best results.

- The first thing I would recommend is making your images smaller than mine. No matter what I tried, I did not have much success with the part of the design that was close to the sides.
- Tape your design down really well. This material is very forgiving of press marks, so don't be shy with the tape. If you need to press more than one time you don't want your design to move.
- When using an EasyPress, increase the time and make sure to apply consistent medium to heavy pressure.
- When using the EasyPress, especially try to keep the design right in the middle of the bin. I had to work hard to get the results I did but the center pressed really well every time.
- If you have a traditional clamshell heat press, you'll want to test the blank before you preheat. My traditional press did not open wide enough to fit this blank.
- The Autopress made a ratcheting sound as it closed on the bin and the lid. I left it alone and allowed it to close, and it worked fine. There were no issues.
- I used the Autopress for both lids that I made today. As long as your design fits under the heat plate of your EasyPress, I think an EasyPress would work well. The lids pressed very easily.
- When locating the designs on the bin, don't forget to account for where the lid comes down over the side.
- I did add a design to the lid, if you're putting these in a cube organizer you don't need to do that.
Are you Ready to Make Sublimation Organization Bins?
Even though I had varying results with the print transfer, I really like these bins. They're a great size to hold a lot of blanks or other supplies, and I love that they fit in my cube shelves.
I think this is such a fun way to add some color and personality to your craft space, playroom, or even a regular living space.
These are the only sublimation organization bins I have tried. Subli-Linen is made to withstand high heat without issues.
Other cube shelf bins I've seen are made of a much thinner material. I caution you to be very careful. They may say they are polyester, but that is often the really thin material that can melt under high heat.
If you choose to use those bins, I recommend using a LOT of paper between your heat press and the fabric. This will protect your press from melted fabric if the worst happens.
I really expected the lids to be the most difficult part of this process. I'm happy to report that wasn't the case. Because the lids were so easy, I know this whole process will be easy if you make your design a bit smaller than what I used.
Because the designs transferred perfectly in the middle of the bin, as long as you keep the designs away from the edges you should be good to go.
I hope I've answered any questions you have about making sublimation organization bins. If you have any additional questions, leave them in the comments, and I'll be happy to answer them for you.