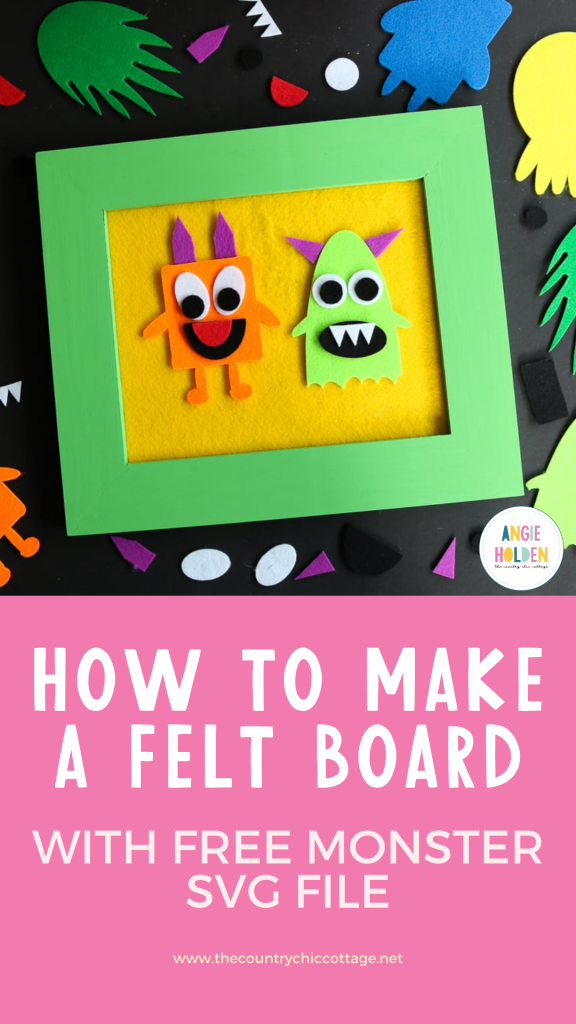
Are you ready to unleash your creativity? Today I'll show you how to create a fun and interactive felt board using your cutting machine and my free monster SVG file! This simple tutorial will guide you through each step of the process. A felt storyboard provides a wonderful outlet for kids to explore their imagination; they can play with the pieces, manipulate them, and craft an ever-evolving story. Let’s dive in and get started on this exciting project!
A felt storyboard is a great way for kids to express their imagination! They can play with it, manipulate it, and tell an ever-changing story as they go.
I'm always looking for creative (screen-free) ways to keep my kids busy and encourage their imagination. My busy book and car play mat, though different, work in a similar way.
Today, I have a free monster SVG file that I'm going to use to make a DIY felt board that your kids will love. Plus, it could even fit inside a DIY Toddler Busy Bag for on-the-go!
Note: If you love activities that keep your kiddos engaged, check out our DIY Farm Play Mat, quiet activity for toddlers, and DIY String Art project ideas!
How To Make A Felt Board
In addition to the felt storyboard tutorial, I will also show you how to make felt storyboard pieces with your Cricut or Silhouette. It really is oh-so-easy! Follow along, and you'll have a unique felt board ready for creating stories in no time!
Supplies Needed To Make Felt Storyboard
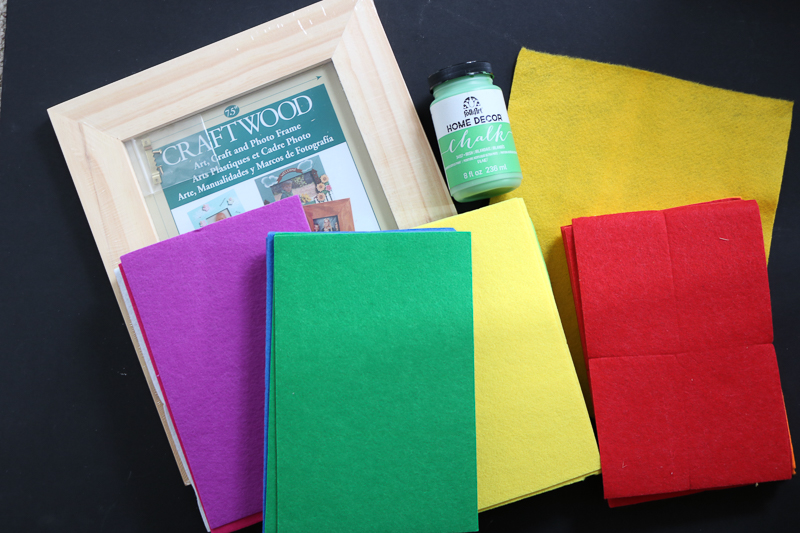
- Unfinished Wood Frame (I used an 8×10 size)
- Assorted Felt Sheets
- Large Felt Sheet (the size of your frame)
- Craft Paint
- Cricut or Silhouette (see which I use and recommend)
- Spray Adhesive
- SVG file (see instructions below for downloading)
How To Make Felt Board
For the first part of this project, we need to make the felt board itself.
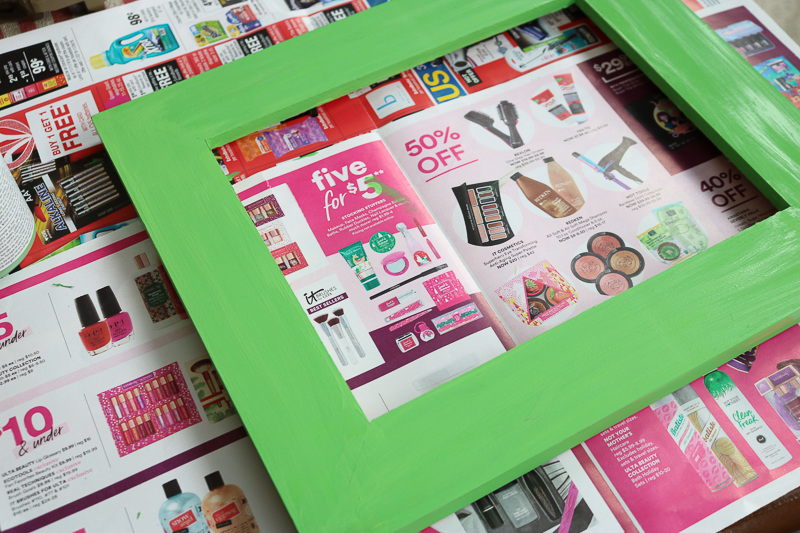
Step 1: Remove Glass From Picture Frame
Remove the glass from your picture frame and discard it safely, or set it aside for use in another project.
Step 2: Paint Wood Frame
Paint the wood frame with the craft paint (and color) of your choice. This may take more than one coat of paint.
Note: Be sure to let the paint dry in between coats and follow all package directions. Also, let your frame dry completely before continuing.
Step 3: Adhere Felt To Frame Insert
Take the insert that goes inside the frame (without the glass) and use spray adhesive to attach a large piece of felt to it. Allow this to dry as well.
Note: Be sure to cut the felt to the size of your insert.
Step 4: Reassemble Frame Pieces
Once your pieces are dry, you can put the insert back into the frame to complete your DIY felt storyboard.
How To Make Felt Storyboard Pieces With Your Cricut
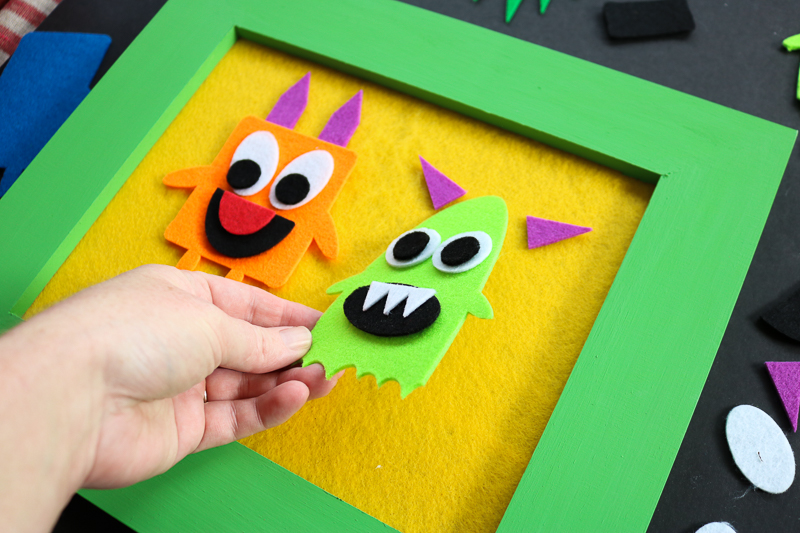
Now we need to create the monsters for our felt board using the felt sheets. You can make these in any color that you like and make as many or as few pieces as you would like!
Start by downloading our free SVG file below!
Grab The Free Monster SVG File
To get the free SVG file for your felt storyboard, just put your name and email in the box below. The file will then be sent to your email inbox for you to download. If you have any issues, please email thecountrychiccottage@yahoo.com, and I'll be happy to help.
Additionally, this file is intended for personal use only, so please refrain from downloading it for commercial purposes or to create items for sale.
Cut Your Pieces
Follow these steps to cut as many felt monsters as you want for story creation!
Step 1: Download SVG File
Download the SVG file that you receive in your email.
Step 2: Upload SVG File
Upload that file to the software for your cutting machine. You can see how to do that for a Cricut by clicking here.
Step 3: Cut Felt Pieces
Cut your pieces from any color of felt sheets. I love my Cricut Maker and the rotary blade for cutting felt, so I used that here.
Use the instructions that come with your machine for cutting felt to get the best results.

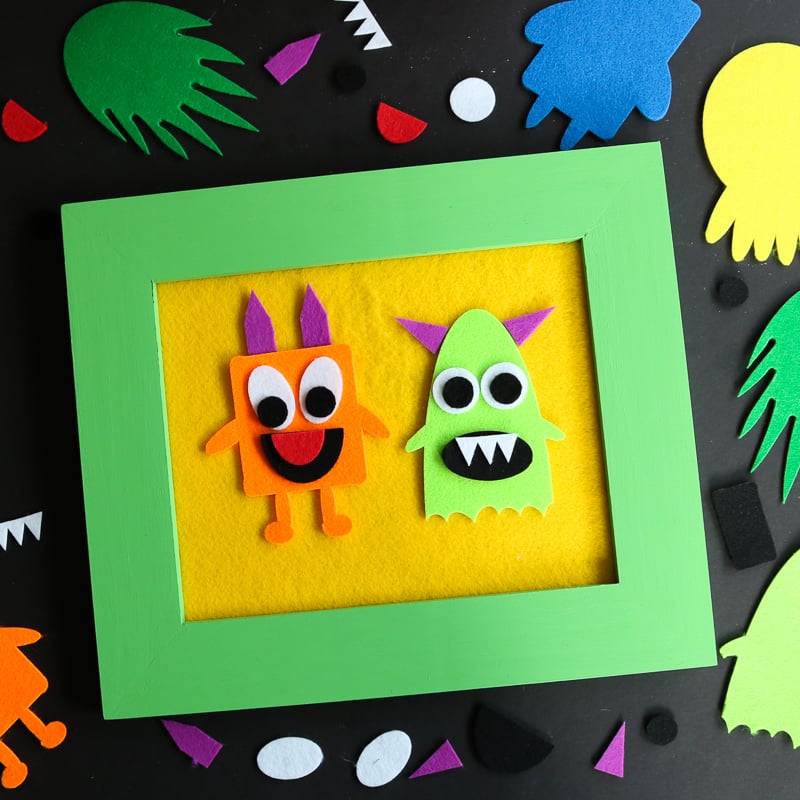
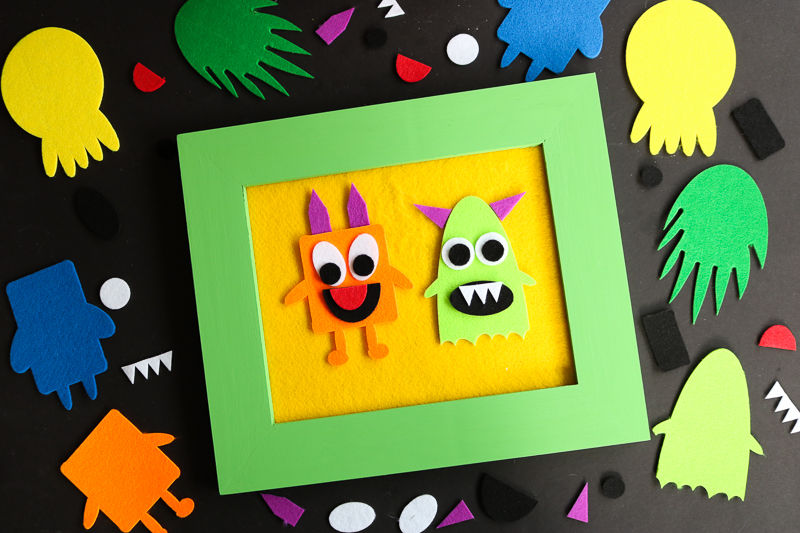
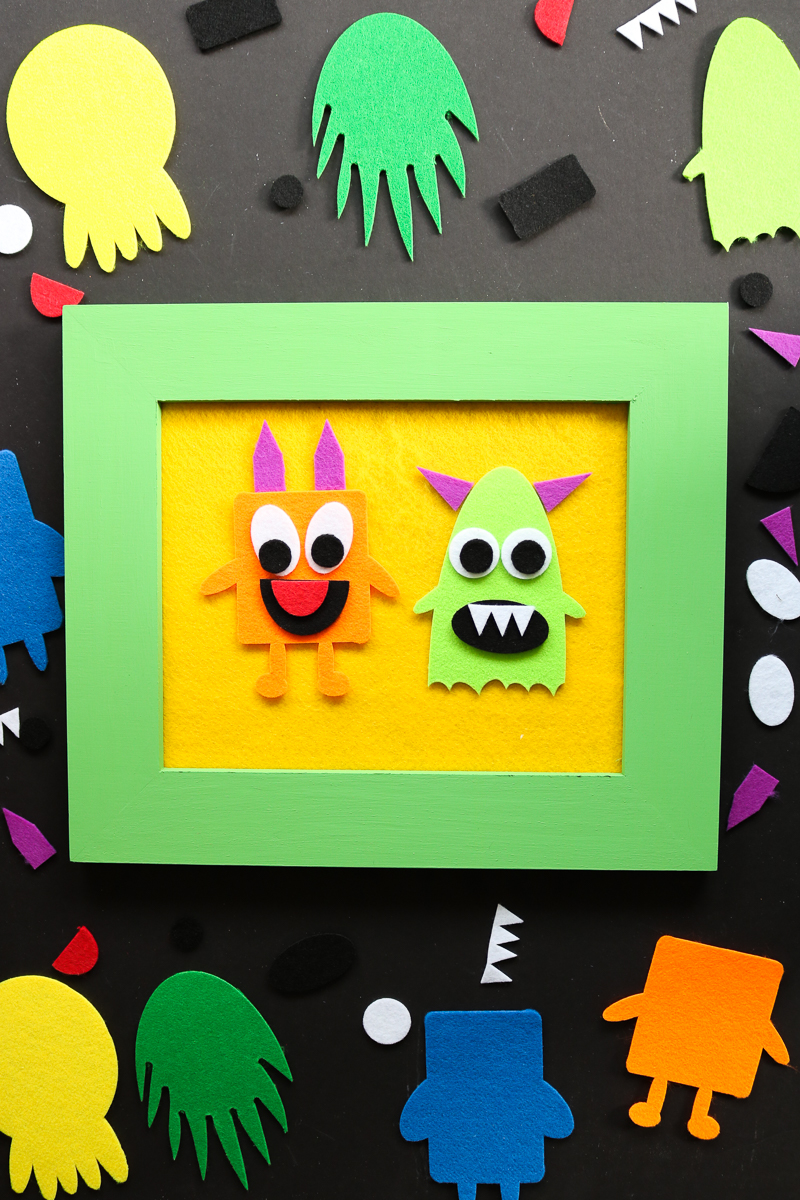
Putting It All Together
Now the only thing left is to put your felt storyboard together with all the pieces.
That's as simple as putting the DIY felt board and all of your felt storyboard pieces in a bag!
How To Play With A Felt Storyboard
You'll notice that the felt pieces will stick right to your board, so the kids can add them and take them away in crazy combinations to make their own monsters. This is an excellent project for imaginative play, especially for preschoolers.
To play with this felt board, your kiddo can add and remove felt pieces to create different monsters as they create a story.
Note: Some of the pieces are small, so ensure your child is over 3 and able to play with them without swallowing them.
Now that you know how to make a felt storyboard, will you make one for your little one? This is one version, but I am sure you can also think of other things to add to a board for some imaginative and fun playtime!
A felt storyboard can make a great gift! You could also hang a large felt board in their room and keep all the pieces there.
This smaller version is more portable, but there is no reason not to have a permanent one as well. They can create different monsters over and over again, as the felt pieces stick together and then come apart easily.
FAQs About How To Make A Felt Board
Here are answers to some of the most frequently asked questions I receive about making this storyboard. If your question isn’t listed, feel free to drop it in the comments and I’ll be happy to help!
Do You Need Velcro For A Monster Felt Board?
No! Felt naturally sticks to itself. It won't have as tight a grip as Velcro would, but that's perfect for a storyboard because it lets kids constantly change the story.
How Do You Make A Large Version?
You need something larger for the base. Instead of a photo frame, you could use a large corkboard. Or you could create a larger stand, almost like an easel. The base doesn't matter as long as your kiddos can play with their stories!
Can I Cut Out More Felt Accessories?
Yes, you can! If you want to add more felt accessories, all you need to do is search Cricut Design Space for simple designs like bows, hats, etc. Once you have your designs, you can cut them out of felt with your Cricut.
How Do You Store The Monster Felt Board?
You can store your monster felt board in a variety of ways, depending on the age of your kids and the storage space you have. Personally, I like storing everything together in a bag!
Y'all enjoy this free monster SVG file, and be sure to use it to create your own felt storyboard. It is sure to be a hit with any little one in your family!
6 More Kids Crafts
Did you love learning how to make a felt board, and want more kids' crafts? Then check out the projects below!
- Dinosaur-Shaped Tag Blanket
- How to Make Felt Play Food for Kids
- Free Printable I-Spy Monster Game for Kids
- Smiling Llama Felt Finger Puppet
- How To Make A Felt Shapes Busy Book Page
- Make Your Own Unicorn FREE Printable Activity
Need Help Organizing Your SVG Files?
Are you overwhelmed with the number of files on your computer? SVG (or digital cut) files can take up a ton of space, and it can be so hard to find exactly what you are looking for. That is where Cut File Clean Up comes in! The Cut File Clean-Up system ends the frustration of organizing your cut files so that you can find what you need and get to the best part of crafting—actually making your project.
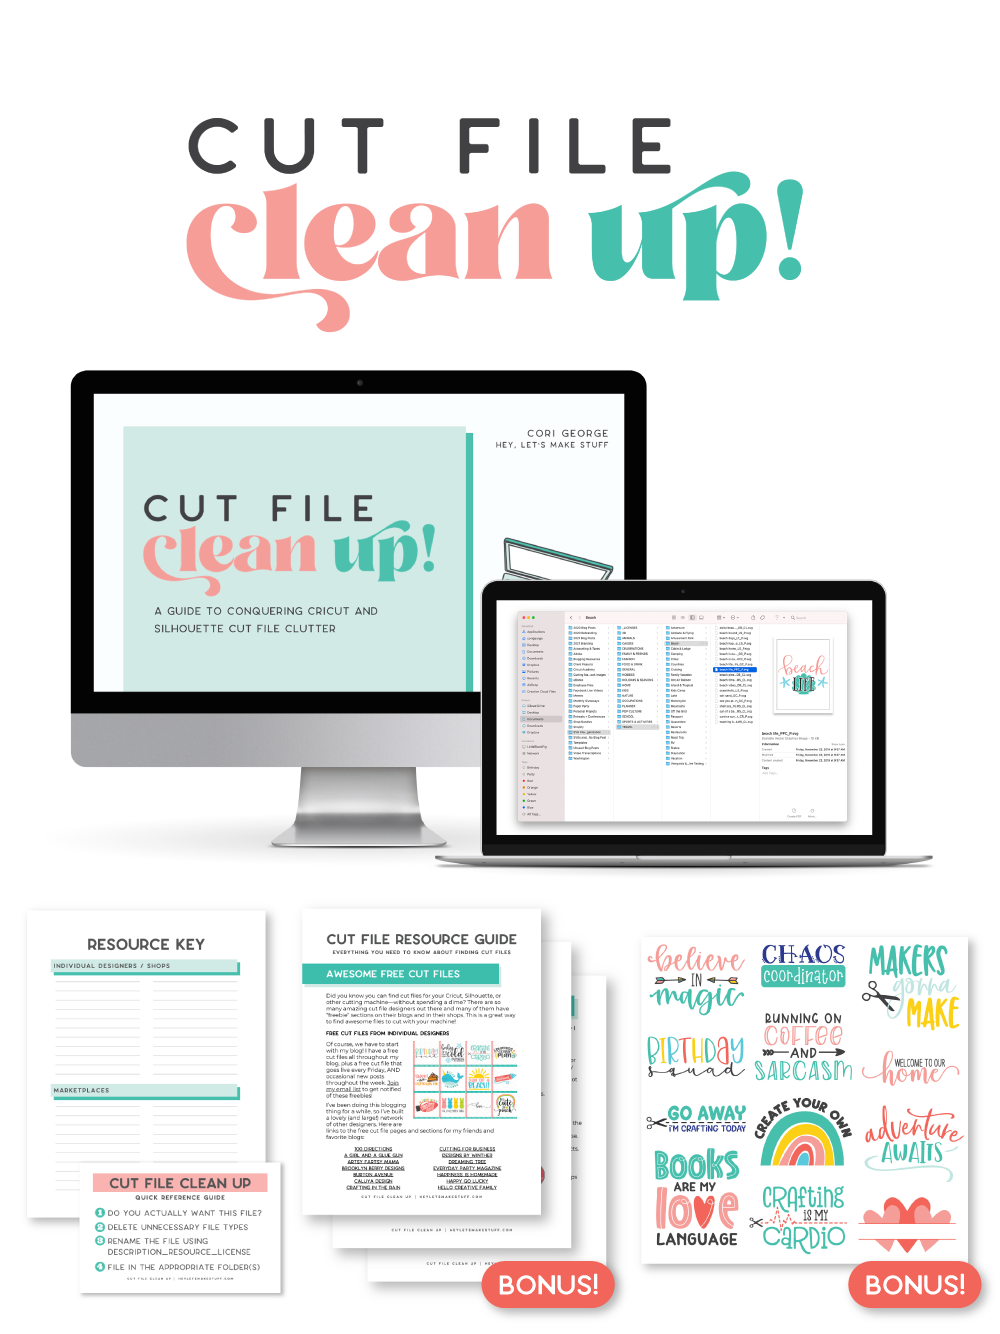
The best part is that you can get it for a deal right now with great bonuses. And yes, those bonuses include even more digital cut files for your crafting. You can't get enough of those, right? Grab it now.