
Learn how to make this simple smiling llama felt finger puppet! It's so easy to make and a hit with the kids!
Is there anything better than a smiling llama? I really can't think of much! Llamas are already cute – and llama crafts are even better.
I realized that I didn't have much in the way of llama crafts on the site, so I made a llama finger puppet pattern using the Cricut. It's perfect for the little ones that love the Llama Llama series of books.
This craft was originally a part of Craft Lighting Week, where several other craft bloggers and I shared 15-minute felt crafts. If you love quick crafts, check out the other fun (and fast!) felt crafts included.
Felt Finger Puppet
We will use a Cricut machine and Cricut Designs Space to make this felt finger puppet!
If you are new to Cricut, download our free beginner guide, which is a printable Cricut eBook that teaches you all the fundamentals to get started using your new Cricut machine, as well as how to make use of Cricut Design Space. This ebook applies to any Cricut you have!
Supplies Needed to Make Llama Felt Finger Puppet
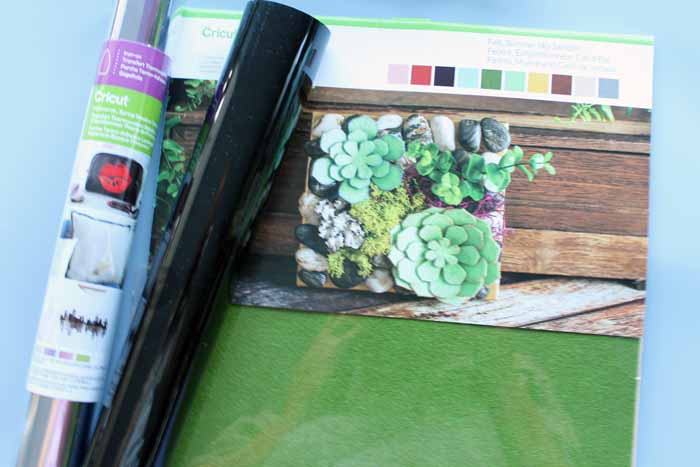
- Felt (I used the Cricut felt sheets)
- Iron On Vinyl (I used the iron-on lite in black and the foil iron-on in pink)
- Cricut Cutting Machine (Want to see the difference between the machines? I compared the Cricut Maker and Explore here.) I recommend the Cricut Maker for cutting felt for this project.
- Weeding tools (optional)
- Cricut EasyPress (optional but recommended – see below for details)
- Cut file for Cricut
- Embroidery floss
- Needle
How To Make Llama Felt Finger Puppet
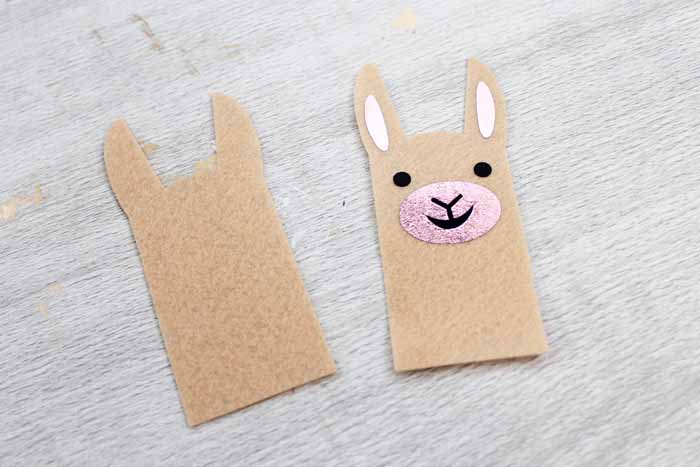
Step 1: Cut Felt And Iron-On Vinyl Pieces
Start by cutting the pieces for your llama from the felt and iron-on vinyl. Make sure that you mirror the iron-on vinyl images before cutting.
As a reminder, when cutting iron-on projects, cut with the shiny side down.
Step 2: Apply Vinyl To Felt
Weed the vinyl of all excess bits, then apply it to the front of your llama with the Cricut EasyPress.
If you want to see me add the vinyl for this project, check out the video below!
In the video, I explain everything you need to know about the Cricut EasyPress, and I share this smiling llama felt finger puppet. I highly recommend that you watch the full video to learn all about the EasyPress. However, if you just want to see this project, you can skip to 8:48 in the video to see a cat and llama felt finger puppet.
Can’t watch the video or miss some of the information? You can also follow along below!
Step 1: Set Up EasyPress
Start by setting the EasyPress to the recommended settings.
Step 2: Heat Up Felt
Next, use it to heat up the felt slightly for a few seconds with nothing on it.
Step 3: Add Pink Foil Vinyl To Felt
Add the pink foil vinyl with the carrier sheet to your project.
Step 4: Apply Pink Foil Vinyl With EasyPress
Then, press with the EasyPress for the recommended amount of time.
Step 5: Allow Pink Foil Vinyl To Cool
Allow everything to cool, and then remove the carrier sheet.
Step 6: Add Black Vinyl To Felt
Add black vinyl in the desired location.
Step 7: Check That All Vinyl Pieces Are Covered
Make sure that all vinyl pieces are covered with a carrier sheet.
Step 8: Apply Black Vinyl With EasyPress
Finally, press again according to instructions, then let cool.
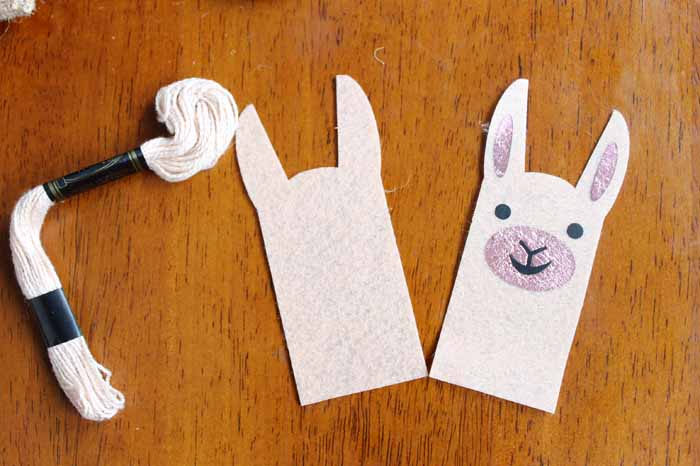
Step 3: Sew Felt Together
Once this second application is cool, you can remove the last carrier sheet again. Then, you need to attach the front of the puppet to the back.
Use a whip stitch around the outer edge with embroidery floss and a needle.
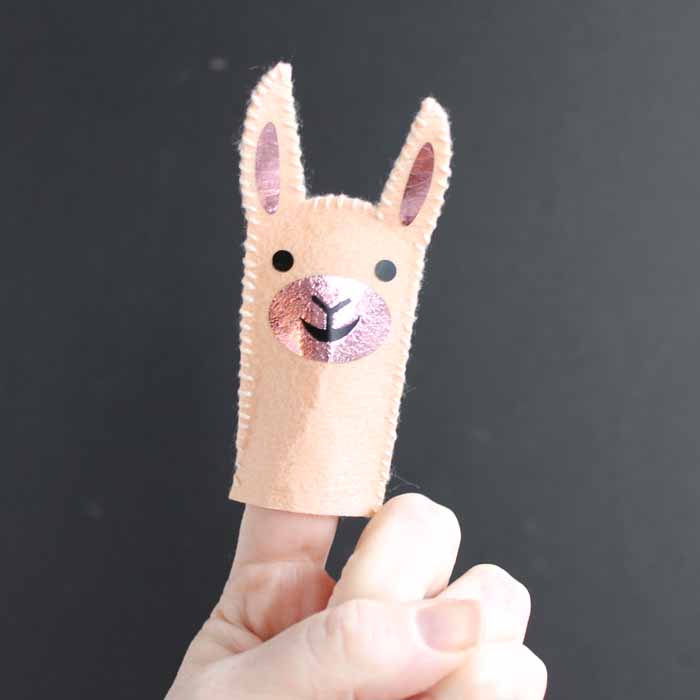
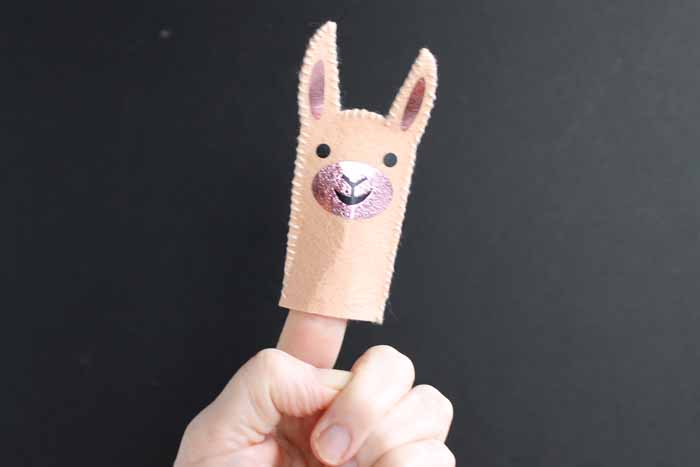
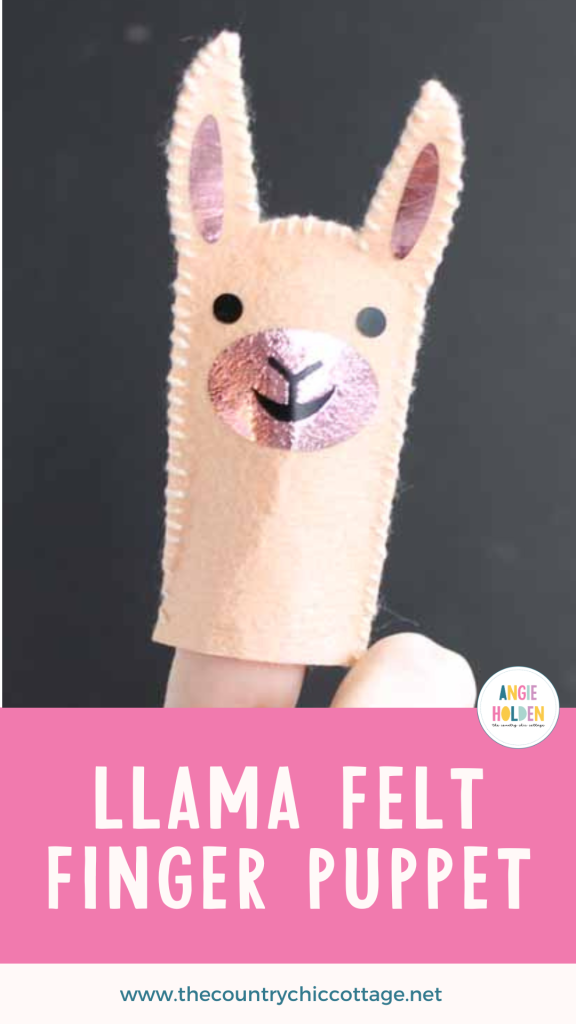
Now our smiling llama finger puppet is finished and ready for some playtime!
This adorable guy is the perfect way to read the Llama Llama series of books or even watch the new Netflix series!
FAQs About Llama Felt Finger Puppet
Here are a few common questions that I often see readers asking about making these adorable llama felt puppets. If you have a question, please check if I’ve already addressed it below. If you don’t see your question listed, please leave it in the comments!
What Cricut Machine Did You Use For This Project?
I used the Cricut Maker because it was designed to cut various materials, including felt.
However, you can use the Cricut Explore series, Cricut Joy, Cricut Joy Xtra, and Cricut Venture to cut felt as well.
The important thing to keep in mind is that all Cricut machines are different! Due to that, if you are not using the Maker, you will have to use the correct type of felt, blade, and material setting for your machine.
How Do I Know What Felt Or Blade To Use With My Cricut Machine?
As I mentioned above, using the correct type of felt and blade is so important when making your felt projects. If you have never made a felt project, check out my blog post titled Cutting Felt With A Cricut: How To Guide.
In the guide, I go over everything you need to know about cutting felt and share the type of felt and blade you will need to use for each Cricut machine.
I Have Never Used A Cricut EasyPress Before, Do You Have Any Resources?
Yes, I do! If you have never used a Cricut EasyPress and don’t know where to begin, I recommend checking out the following resources below!
- Cricut EasyPress Versus Iron: Which is Better?
- How to Use Cricut Iron-On Vinyl with the EasyPress
- Cricut EasyPress Mini: Everything You Need to Know
- Cricut EasyPress versus EasyPress 2
- Mini Heat Press Review: 6×7 EasyPress Alternative
- Cricut EasyPress 3: What is new? Do you need it?
- Cricut EasyPress 3 Review: New Features and Upgrading
Do You Have Other Animal Options for This Felt Finger Puppet Project?
Yes, I do! If you are looking for another animal option for this felt finger puppet, check out my Cat Finger Puppet!
5 More Kids' Crafts
Love this felt finger puppet, and want more kids' crafts? Then check out the projects below!
- Build a Sock Puppet Gift Idea
- Shaun the Sheep Paper Bag Puppets
- Make Your Own Unicorn FREE Printable Activity
- Wild West Puppet Theater for Kids
- 25 Minion Crafts You Just Have to Make


This is super adorable Angie!
Omg, this is so cute! My 2 year old was sitting on my lap when I saw this. She approves too. 😉
That llama finger puppet is just the cutest!
how super cute and I love that it is a finger puppet so much character in them
come see us at http://shopannies.blogspot.com