

Today I have a sewing project for you: this appliqued tractor pillow is a perfect gift for any tractor-lover on your gift list. You can use this same method to applique anything you can imagine for a handmade gift for anyone in the family.
This post was originally posted in 2013 but has been updated to include instructions using a Cricut Maker to cut the fabic pieces.

Supplies needed
To make an applique pillow you will need:
- Tractor image or SVG File (the one linked is slightly different that the one I used in the photos)
- Fabric in black, white, grey, and red (cause my boy believes real tractors are red!)
- Fusible interfacing
- Black and red thread
- Sewing machine
- Pillow form or insert
- Cricut machine (optional but makes cutting out the image really easy!)

How to make an applique pillow
Here are two ways to cut out the pieces for this applique pillow. Either way will work, it just depends on what you have in your crafting arsenal, and what you are comfortable with.
Option 1: Cutting by hand
If you are cutting out the pieces by hand, start by printing out the pdf of the tractor (or whatever image you want to use). Then cut out all of the piceces and remove the window from the tractor and the centers of the wheels for patterns as well.

Then, pin the pattern pieces to the interfacing and cut out. NOTE: Be sure not to get your pieces backwards. Remember the “front ” of the interfacing will be pressed to the backside of your fabric.

Fuse the interfacing to your fabric according to the instructions on the interfacing. Be sure to use steam, a damp pressing cloth, and press for the recommended time.

Option 2 – Cutting with a Cricut Machine
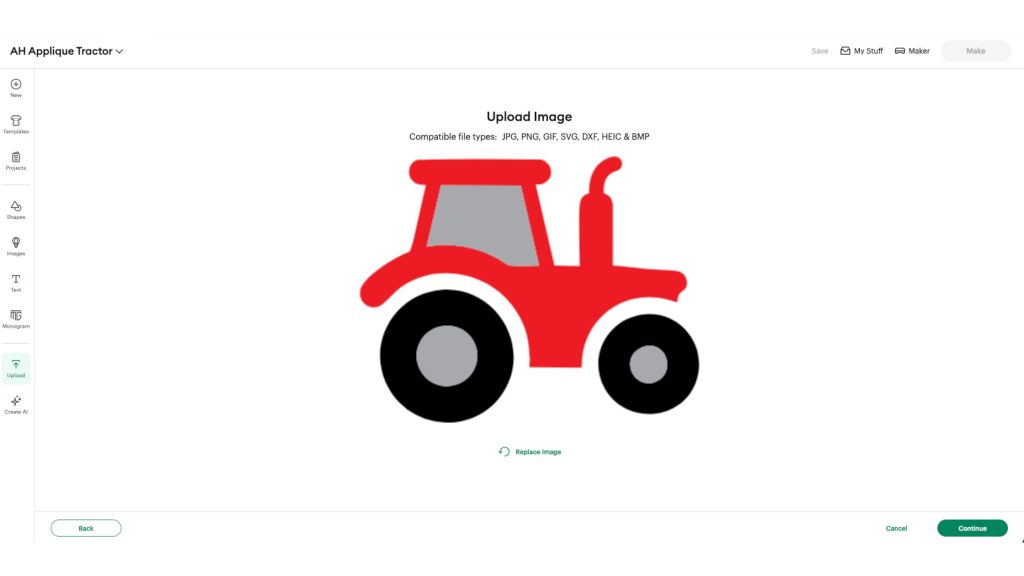
If you have a Cricut machine, you might consider cutting the fabric with it. Start by uploading the SVG file into Cricut Design Space.
Then add the uploaded image to the canvas.
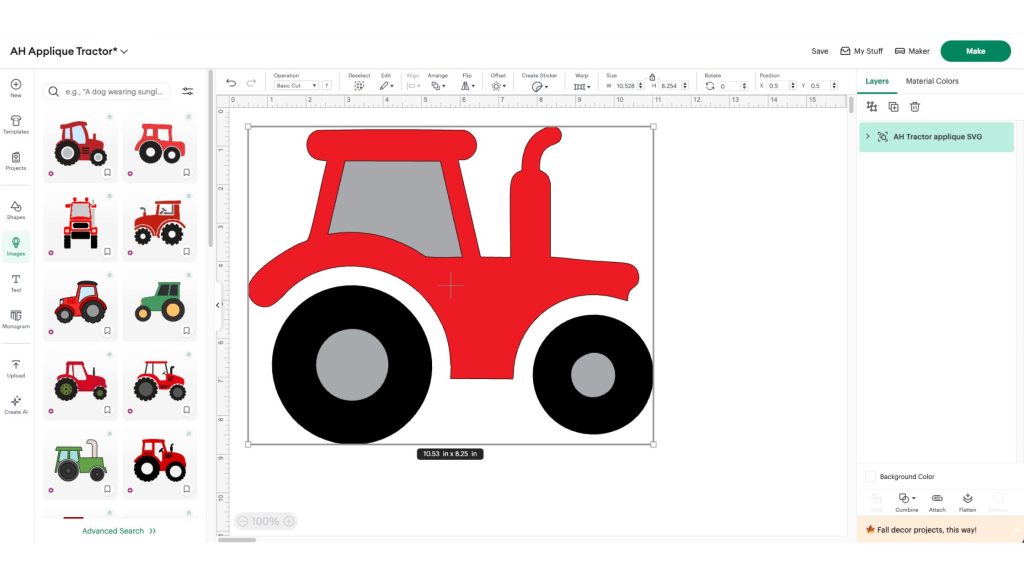
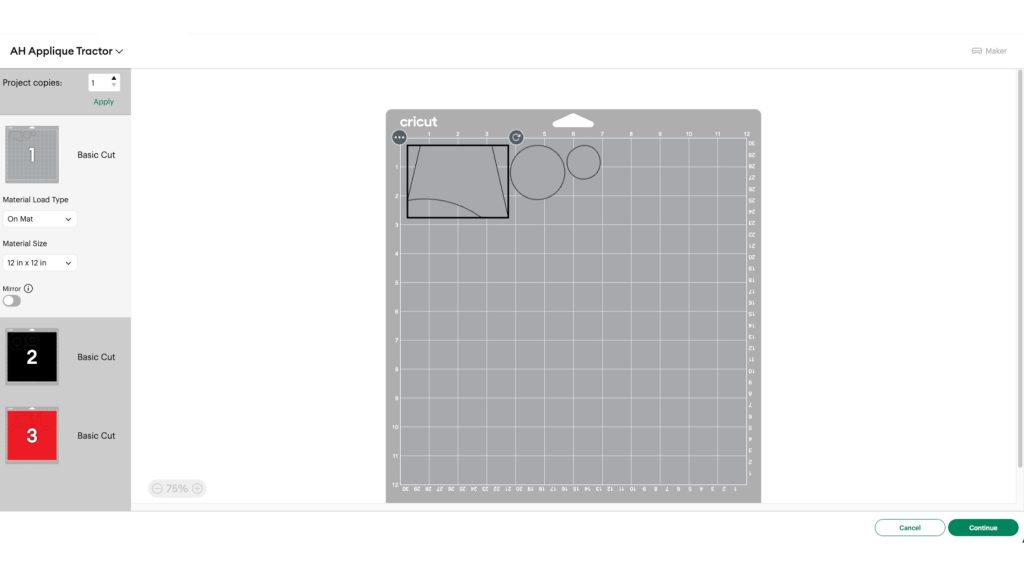
Once you have the image on the canvas, size it to fit your pillow insert. The SVG is grouped to be 3 difference colors so that when you send it to cut, it will sort everything onto cutting mats by color.
Pro Tip: Before you place the fabric on your cutting mats, you can adhere the interfacing to the back of the fabric for the tractor pieces by following the instructions for your stabilizer. This way you are ready to applique them once the pieces are cut.
Applique the image
Take the cut fabric pieces and lay them on your gray fabric and pin them into place. You can see I used red chevron for the tractor body, black for the wheels, and white for the window/inside of the wheels, but you could use any colors you'd like.

Use your black and red thread to go around your appliques. I went slowly and got right on the edge of the fabric. I used a very short zig zag stitch on my machine and actually went around each piece twice.

Sew the pillowcase
Cut the gray appliqued fabric (front of pillow) and the red chevron (back fabric) to about 1 inch larger then your pillow form. Place right sides together and sew around three sides. Complete your corners on the fourth side but leave the majority of the pillow open (as shown below).

Turn the pillow right side out and push the corners out with your finger.

Then, insert your pillow form into the (almost) finished pillowcase.

Turn under the seam allowance and pin across the bottom. Sew the pillowcase closed on your sewing machine or by hand.

That's it! You now have a custom pillow to gift!

I know my little guy is thrilled with his new “tractor”. What other appliques would you apply for the little boy in your life?

More handmade gifts
If you are looking for more ideas for handmade gifts, here are some to check out!


