Have you ever seen a product and known you had to try it right away? When I saw LUSH HTV for the first time, I had to order it immediately. HTV that looks and feels like velvet? Sign me up!
Lush HTV is easy to use and can be cut with any cutting machine. I did learn a few tricks while using the material, and I'm sharing those below to help you get the best results the first time.
Today, I'm going to make projects using a single layer of Lush HTV, multiple layers of Lush HTV, and combining Lush with glitter HTV.
To watch me make these projects from start to finish, click Play on the video below.
What is Lush HTV?
Lush HTV is a new heat transfer material that is currently only available from Vinyl and Tulle Supply. It has a soft velvet/suede feel to it. It's flexible, durable, and comes in five different colors, making it perfect for many projects, including Valentine shirts and decor.
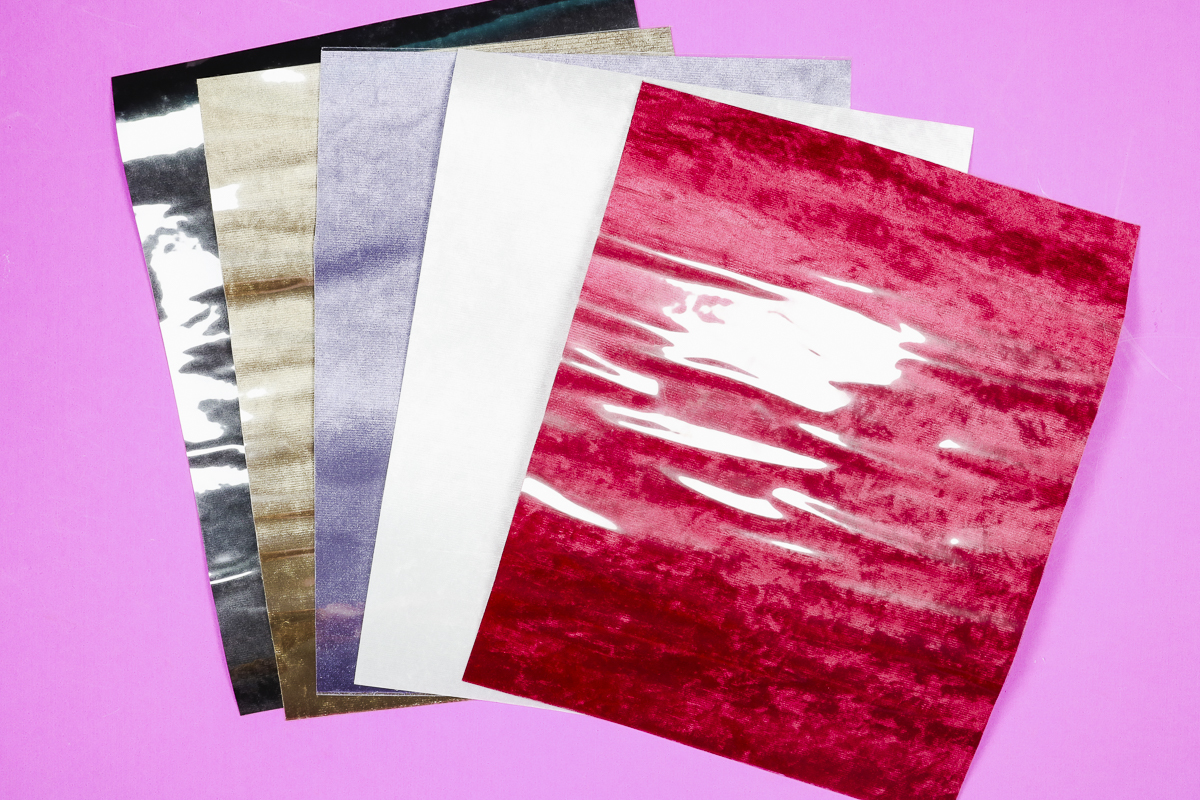
If you've used Flock HTV before, Lush is similar but different. They're both soft, but where Flock looks and feels more like felt, Lush looks and feels like velvet. The color seems to shift and change depending on how the light hits it, just like regular velvet.
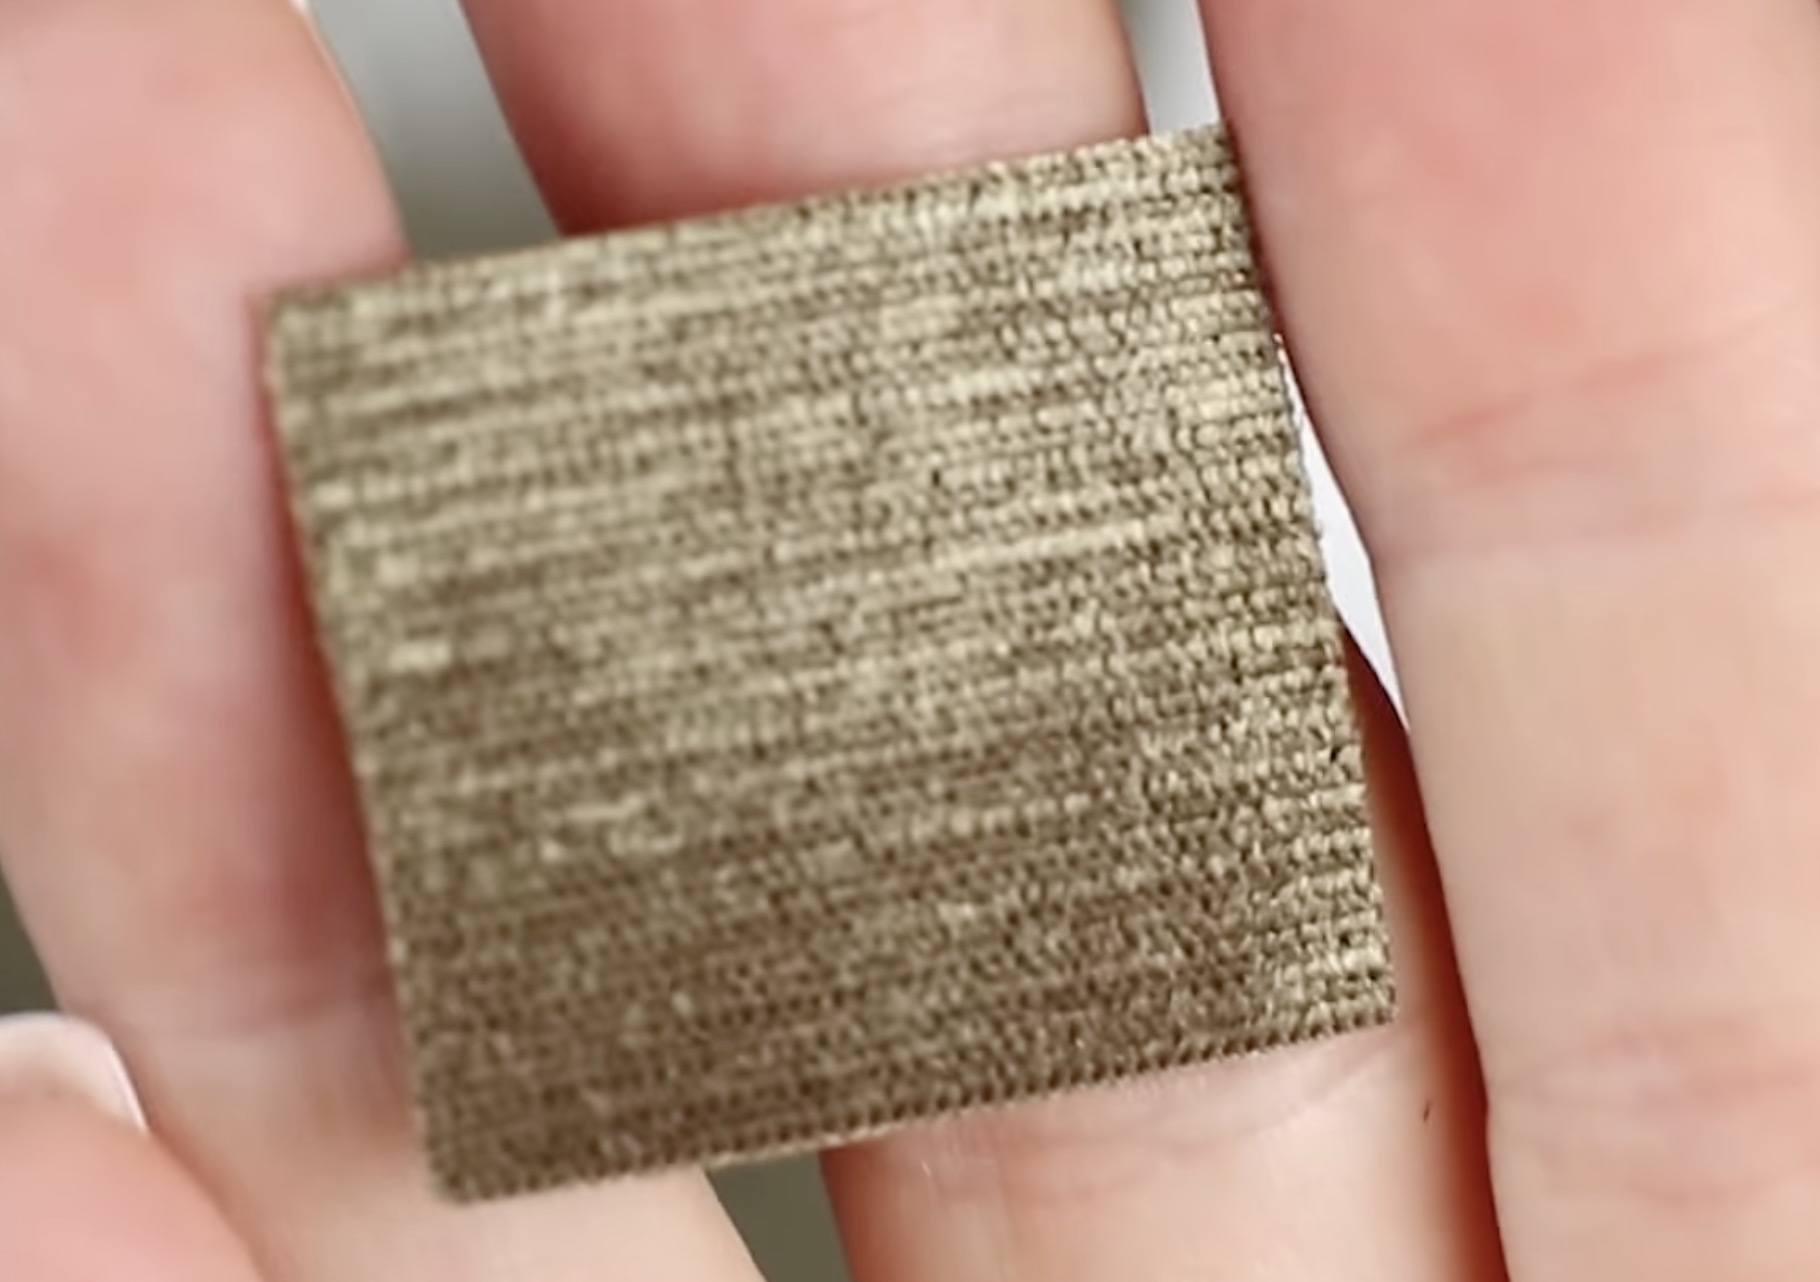
If you've ever had a jewelry box with a velvet lining, that is what Lush reminds me of, that soft velvet lining.
How to Use Velvet HTV
Now that you now what lush HTV is, how do you use this velvet feeling HTV? Let's make a few projects!
Supplies Used
NOTE: The supplies you need will depend on the project you're making. You do not need all the supplies for every project.
- Love + Bows Design
- Books are My Valentine Design
- Love Design
- Lush HTV
- Cricut Machine
- Weeding Tool
- EasyPress
- Heat-Resistant Mat
- Glitter HTV
- Kids Shirt
- Sweatshirt
- Tote Bag
I am using a Cricut machine and EasyPress today. You can make these projects using any cutting machine and a heat press.
Step 1. Create the Design
I am using a few different designs for my projects, and I found them all on Creative Fabrica. I have all of them linked in the supply list above.
Open Design Space and upload the design as an SVG file so it can be cut with your Cricut machine.
When creating your design, keep in mind that the material is 9.25 by 12 inches.
I highly recommend doing a test cut, especially if your design is smaller or has intricate cuts.
OPTIONAL: Test Cut First
Because I have never used this material before, and there isn't a setting within Design Space for it, I tried a couple of different settings.
I tested the design with the most intricate pieces using a color of Lush I am not using today, and the first setting I tried was Glitter Cardstock.
This setting was too strong. It cut all the way through the material and the carrier sheet.
Next, I tried the Medium Cardstock setting, and it cut the material really well except for some of the more intricate areas.
The problem I ran into is that the material is plush, so it doesn't stick to the carrier sheet as well as other materials do.

The material still cut well, but because it lifted, I had to weed out the excess and then try to reassemble those thin lines where they were supposed to be.
OPTIONAL: Adjust Designs for Easier Cutting
To make the cutting and weeding process easier with Lush HTV, I recommend using designs that are larger and not very intricate.
The large Love design and the Books are My Valentine design are both big enough and don't have any intricate lines, so I think they will be fine.
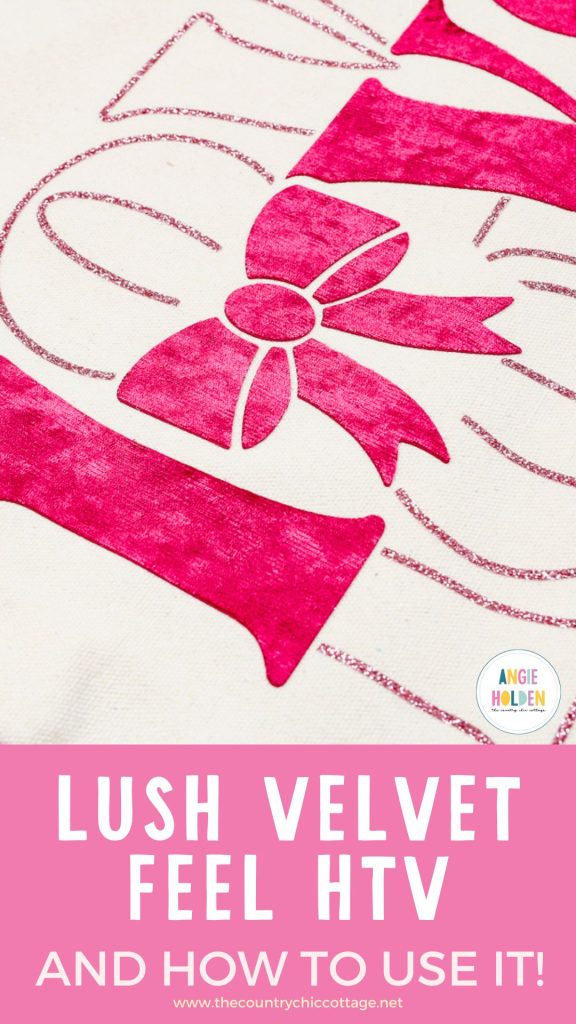
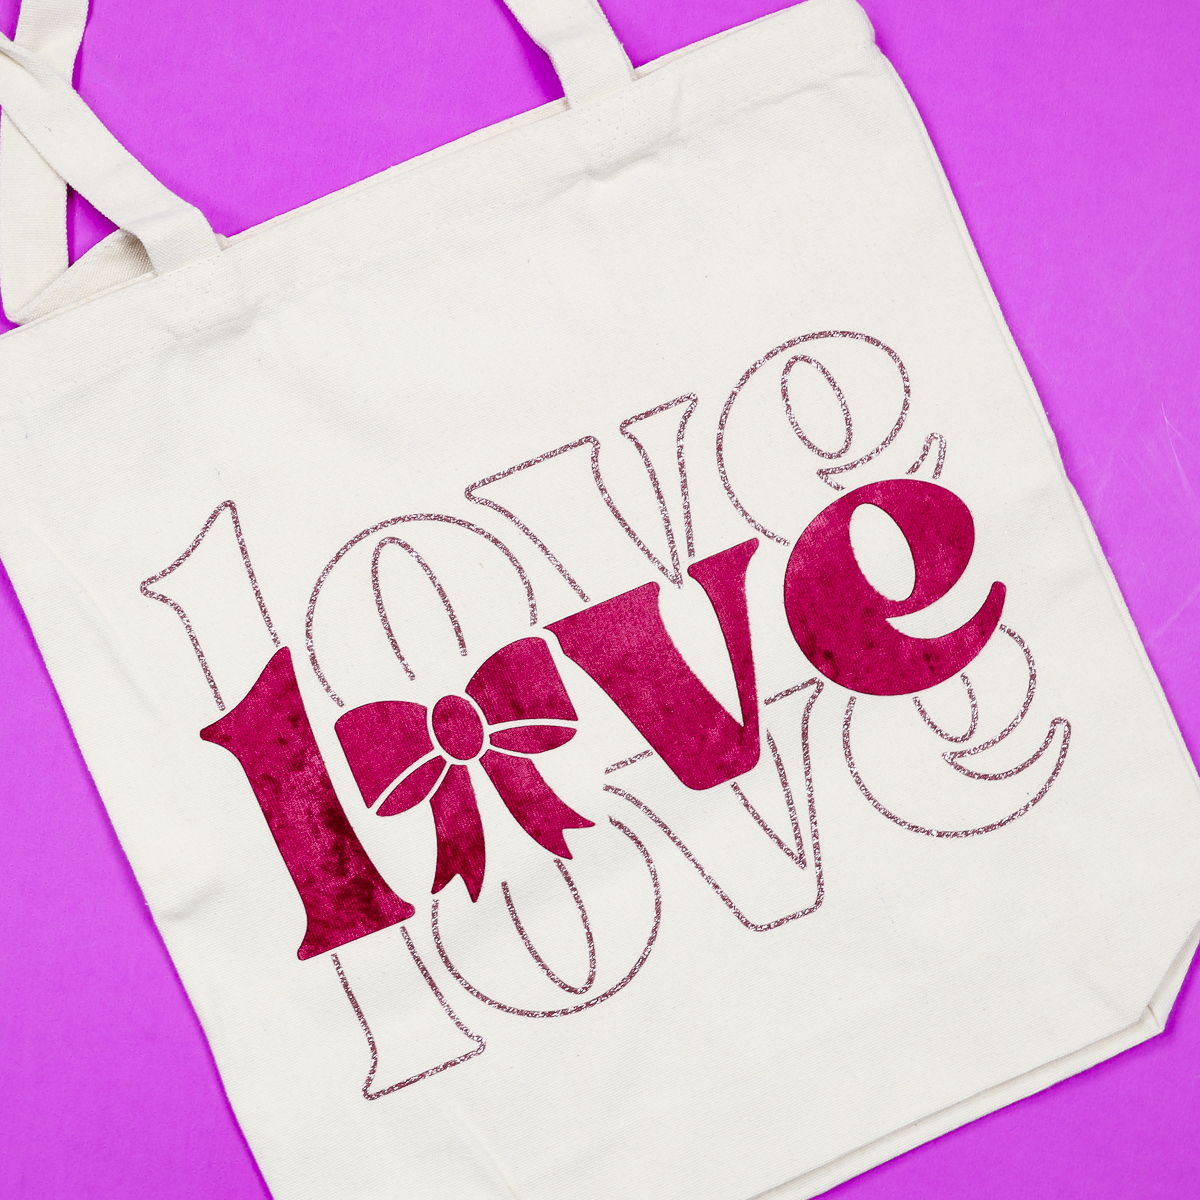
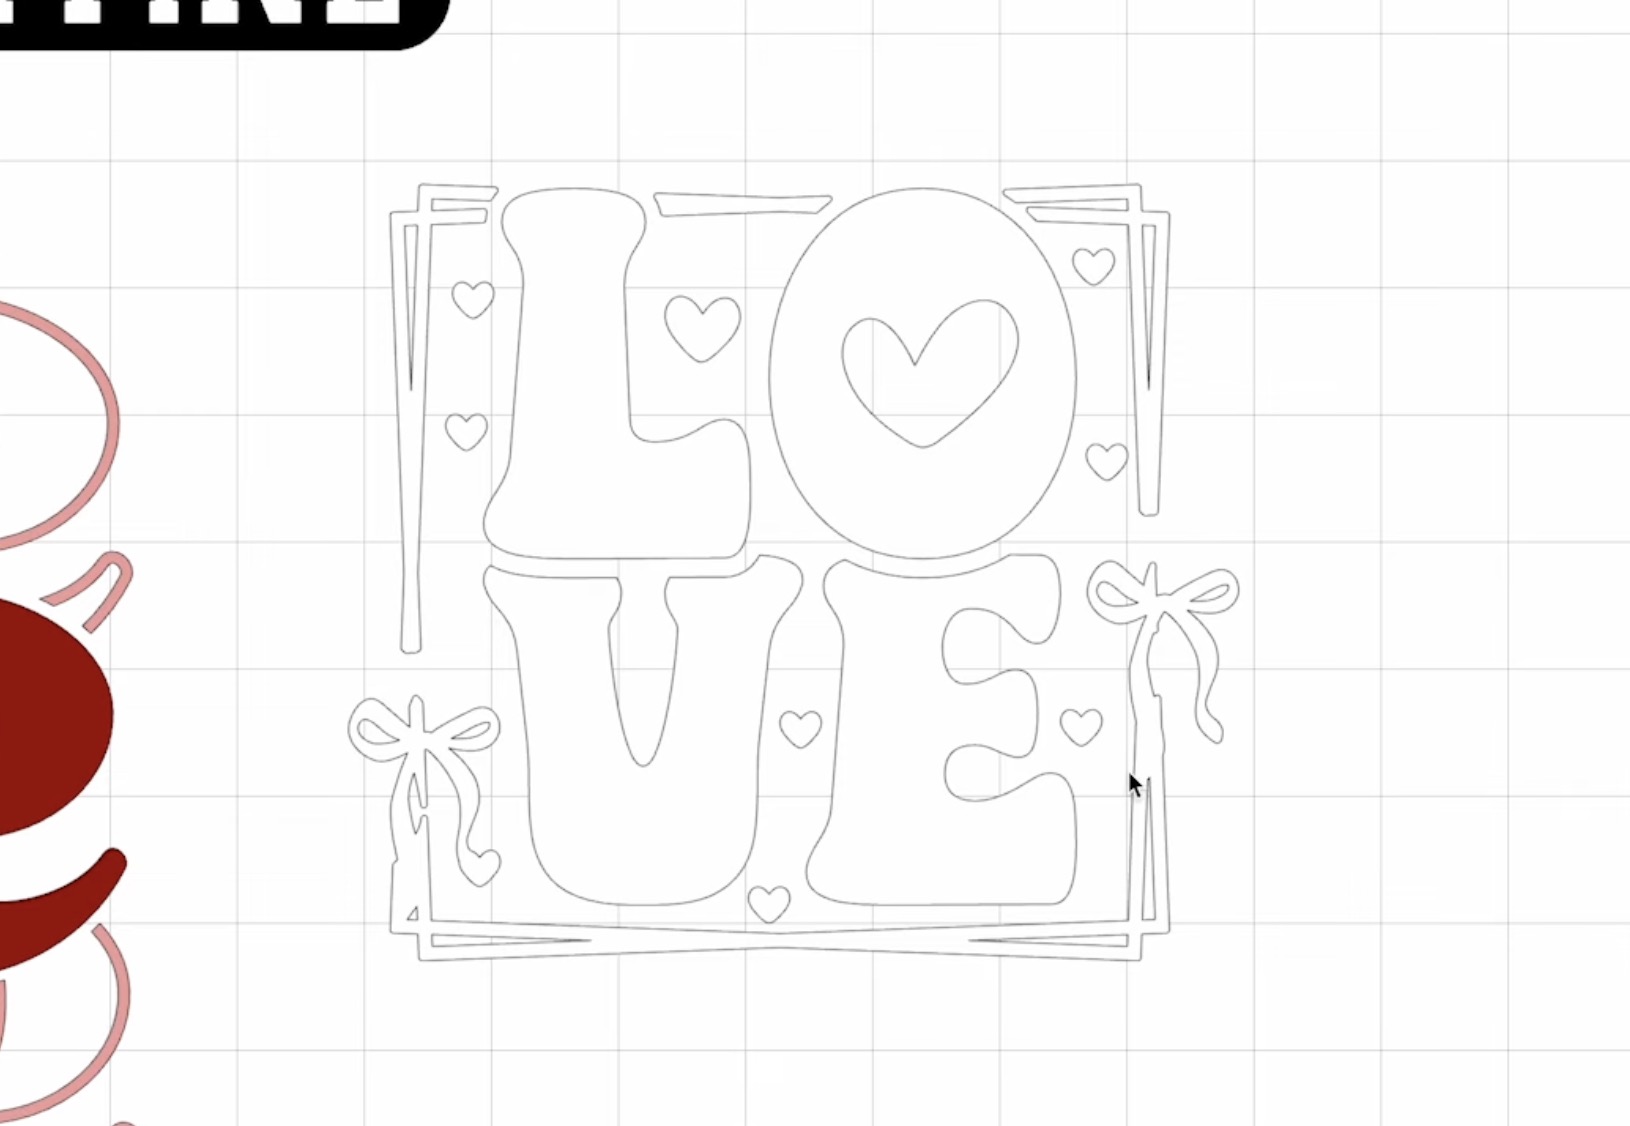
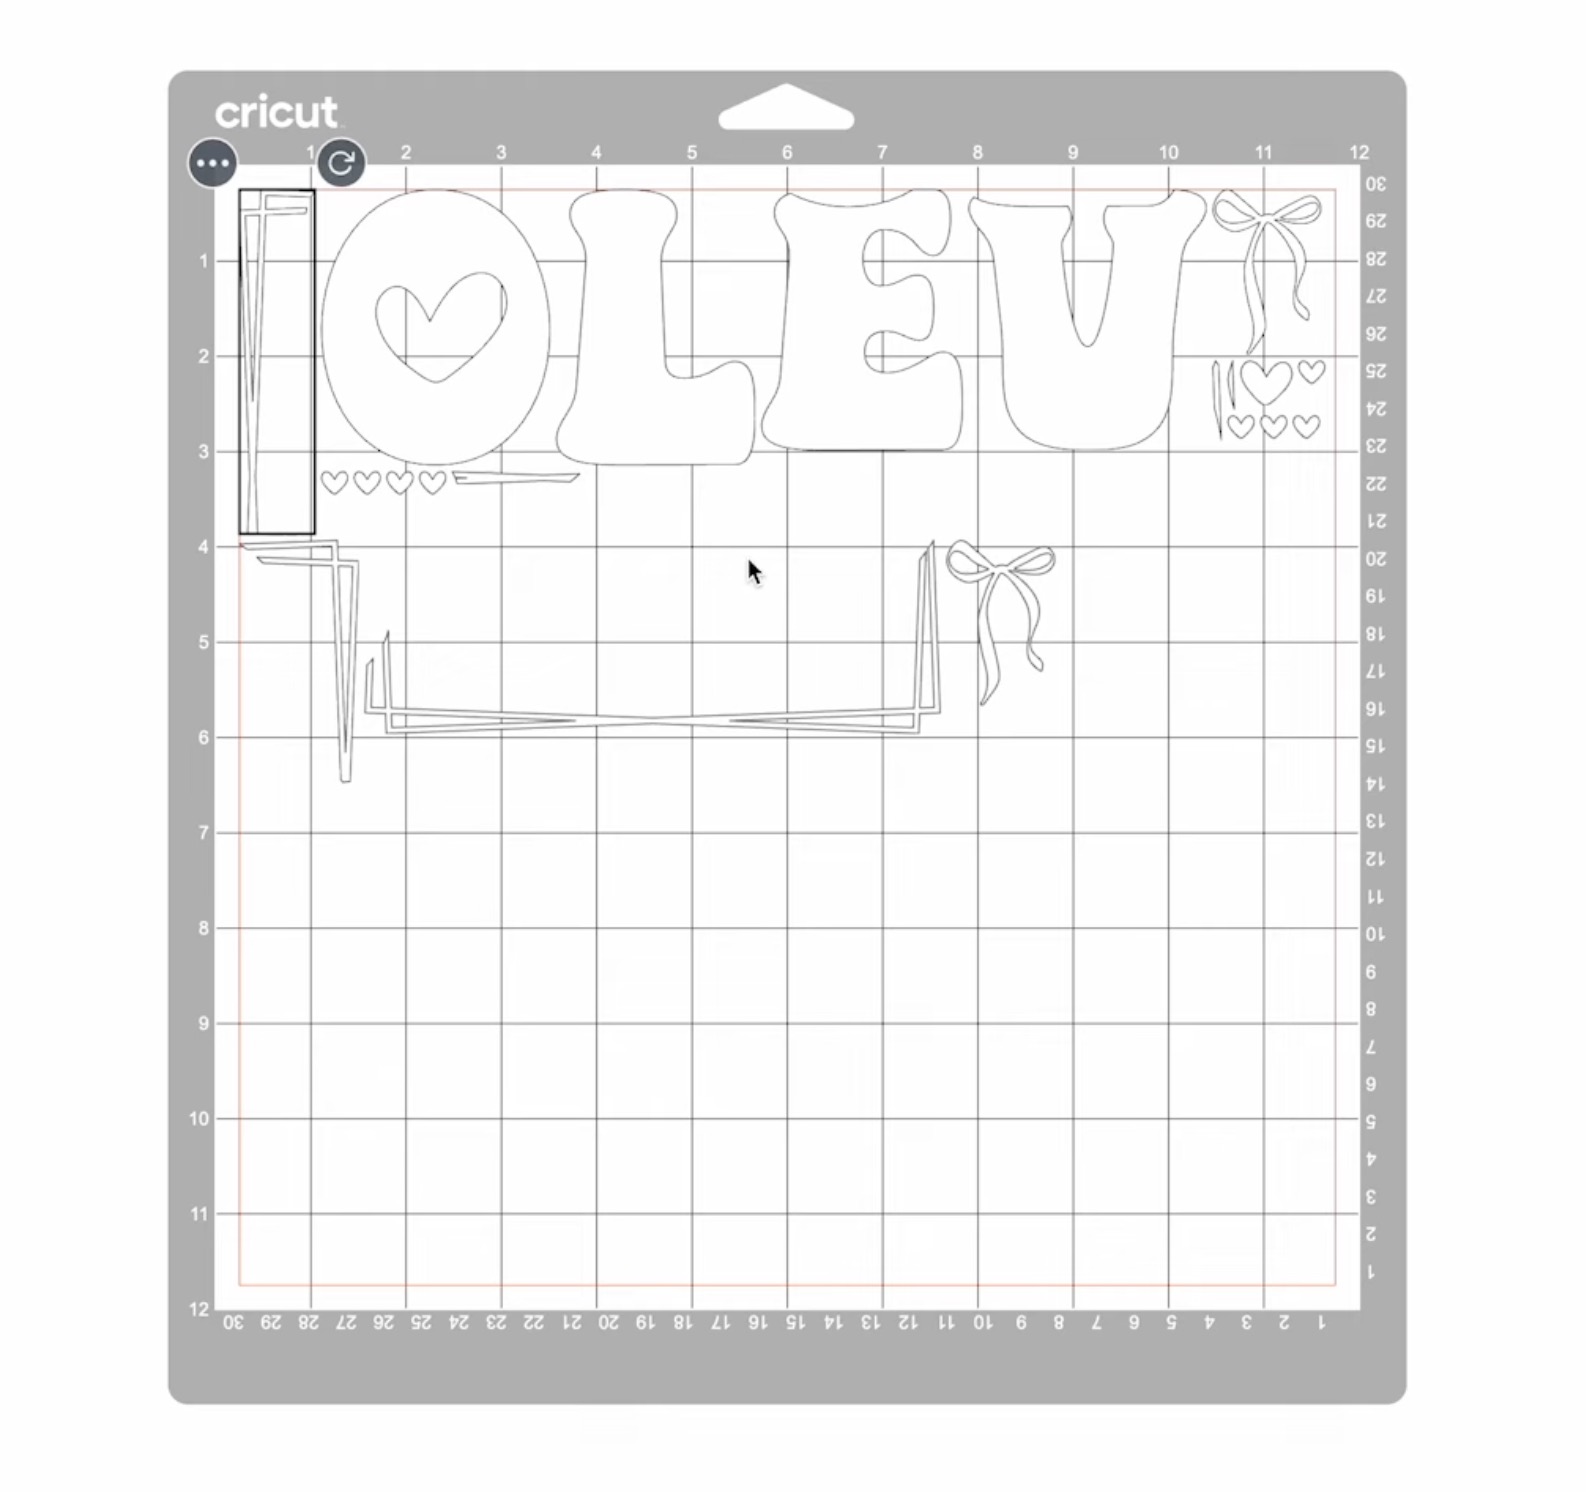
The design that says Love and has the bows is the design I want to make adjustments to.
The LOVE letters cut perfectly fine on my test cut, so I ungrouped the design, selected the letters, and attached them together. Then I selected the other elements and added an offset to make the elements in that selection a little thicker.
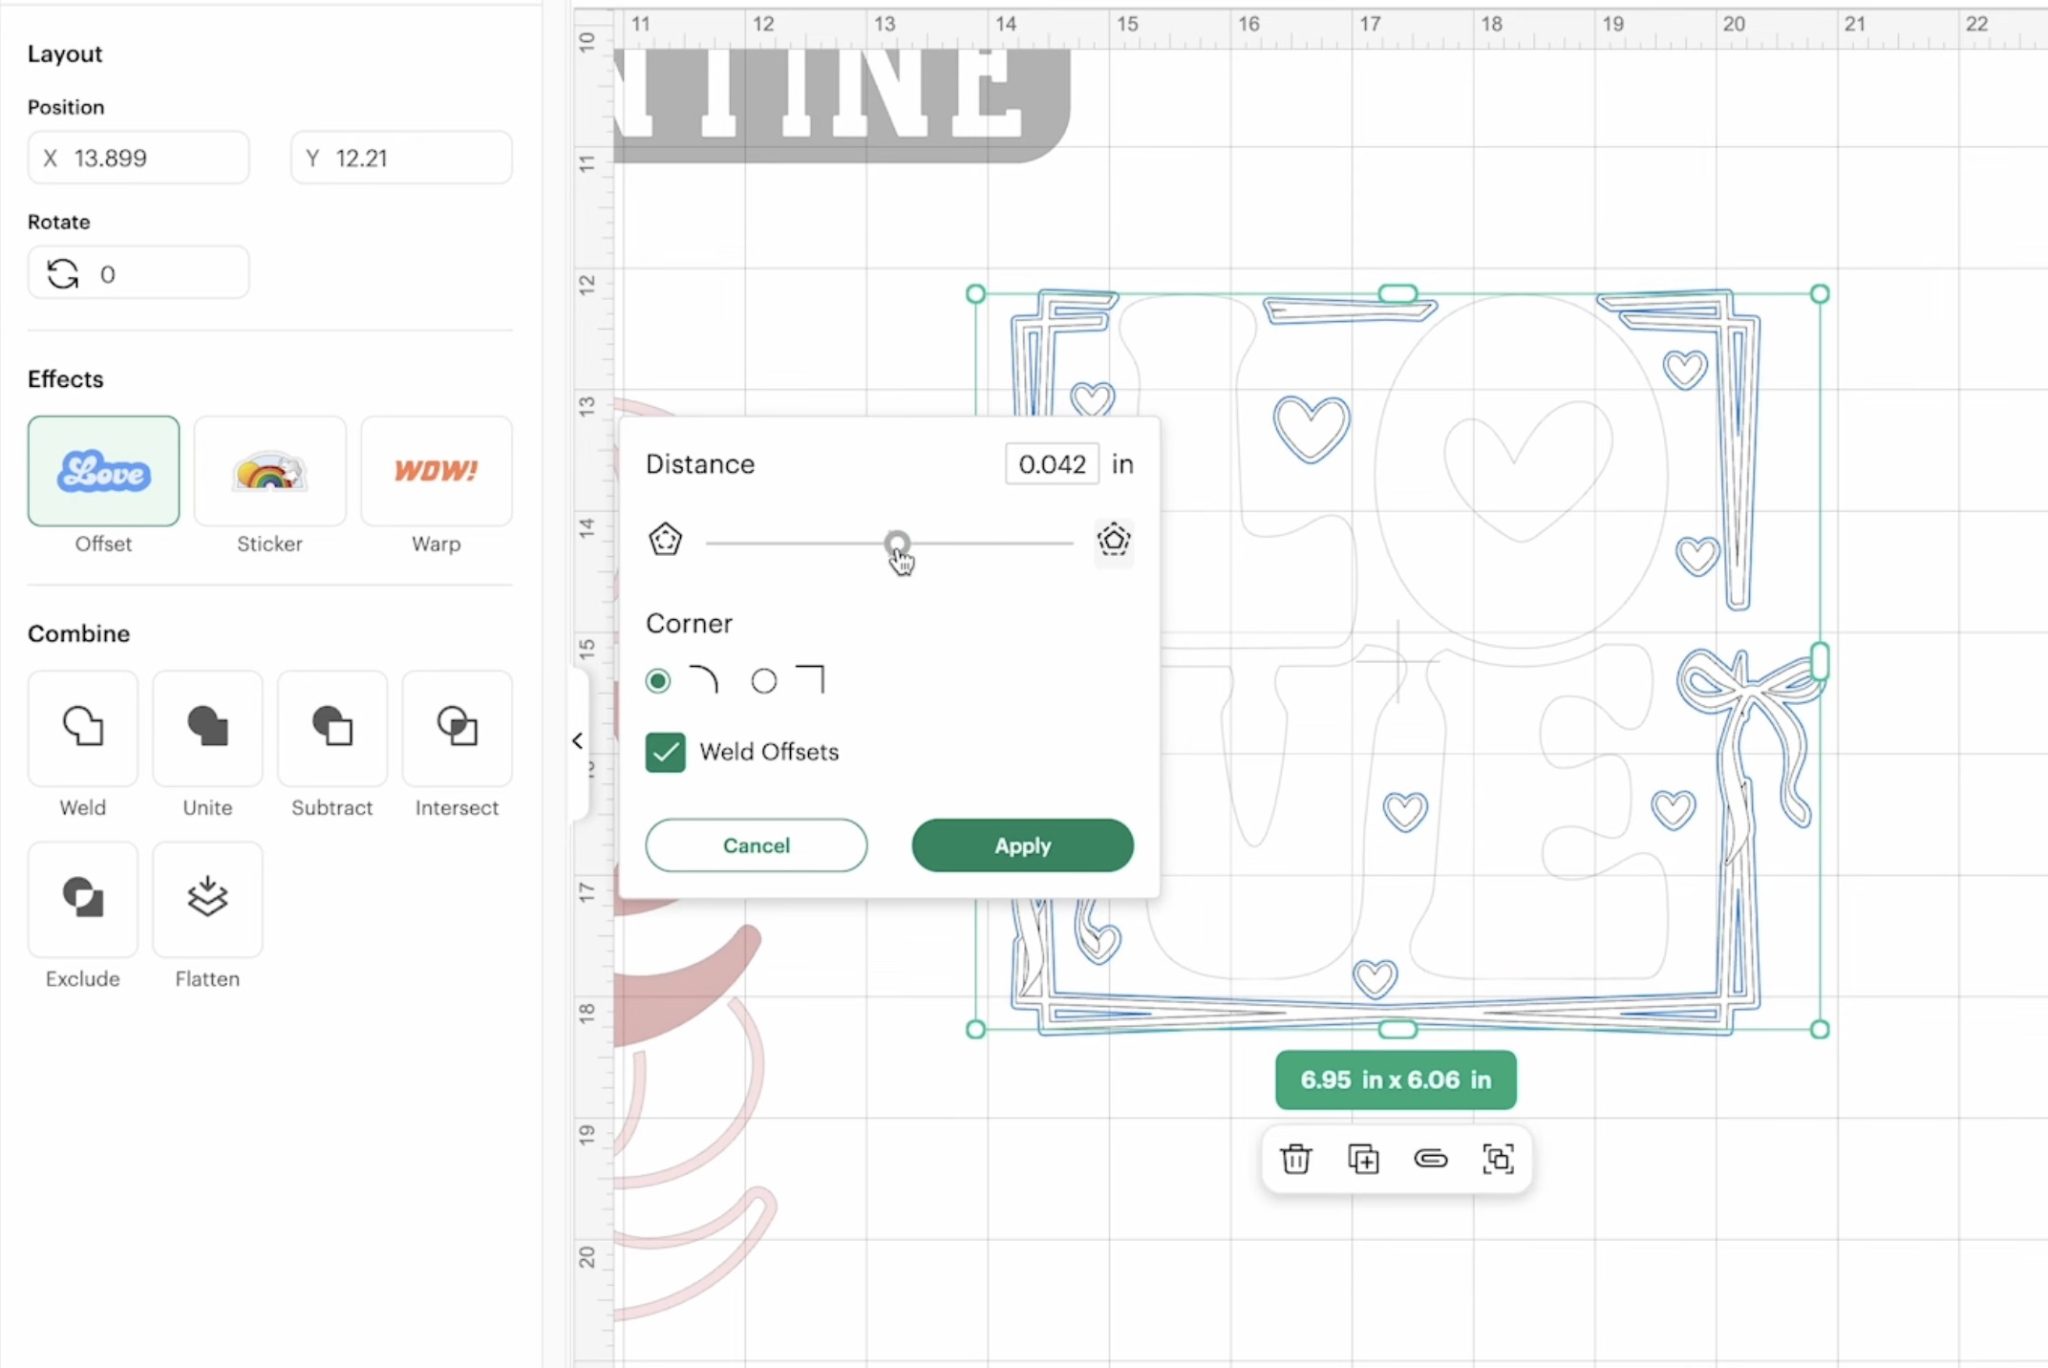
Using the slider, you can get an idea of what the design will look like with the offset added. I didn't want to lose all the detail. I wanted the bows to still have the openings in the loops and to be able to see where the lines overlapped at the corners.
To really see how the design is going to look, click Apply, and then select the design and the offset layer, and click Weld. If it doesn't look the way you want, you can Undo and try a different size offset.
I ended up adding an offset of .025, and I like the way this looks. You can still see the detail of the bows, and that there are two separate lines at the corners.
Step 2. Send the File to Your Cricut
When you have the design laid out how you want it, attach the layers.
If you don't attach the layers when you click Make, Design Space will rearrange the elements to try to use less material.
To cut out the design, click Make, and on the mat screen, make sure each mat is set up for the size of your material.
The material is only 9.25 inches wide, and you don't want your design to cut off the material.
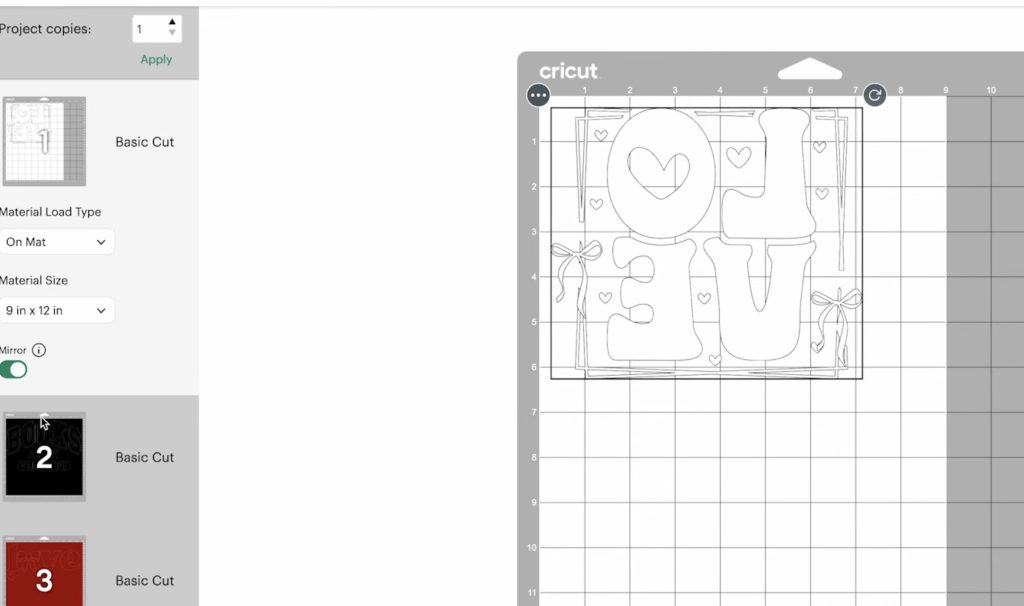
To ensure the design is laid out on the material correctly, I changed the Material Size to 9 by 12 inches.
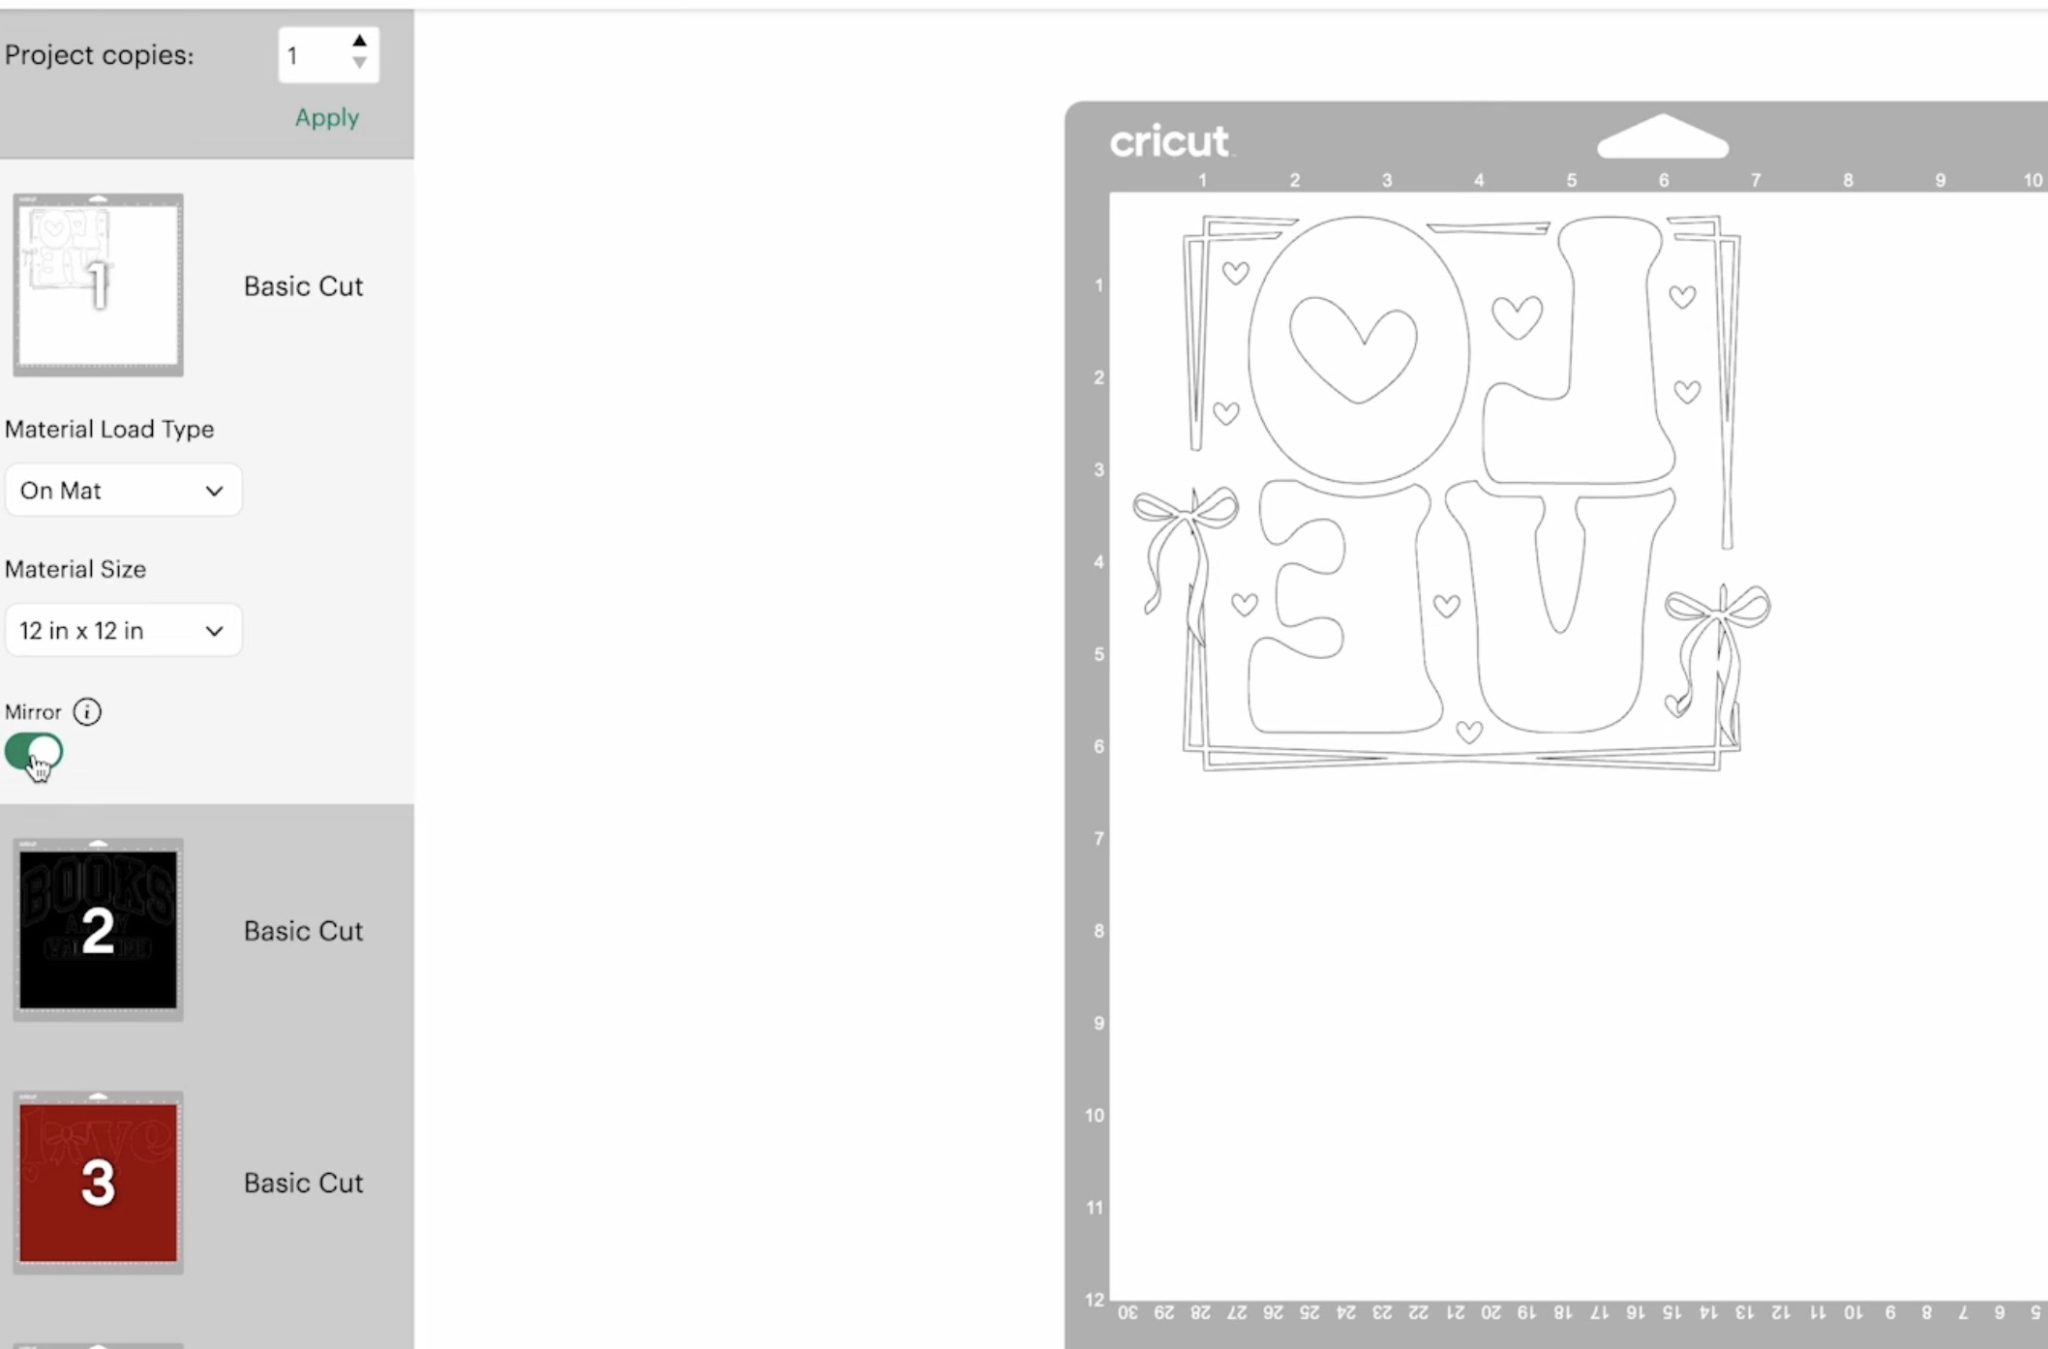
Don't forget to mirror the image before sending it to cut.
Step 3. Cut Out the Design
I used the Medium Cardstock, Default setting.
Place the Lush HTV on the cutting mat, shiny side down, and use a brayer to smooth out any wrinkles or bubbles.
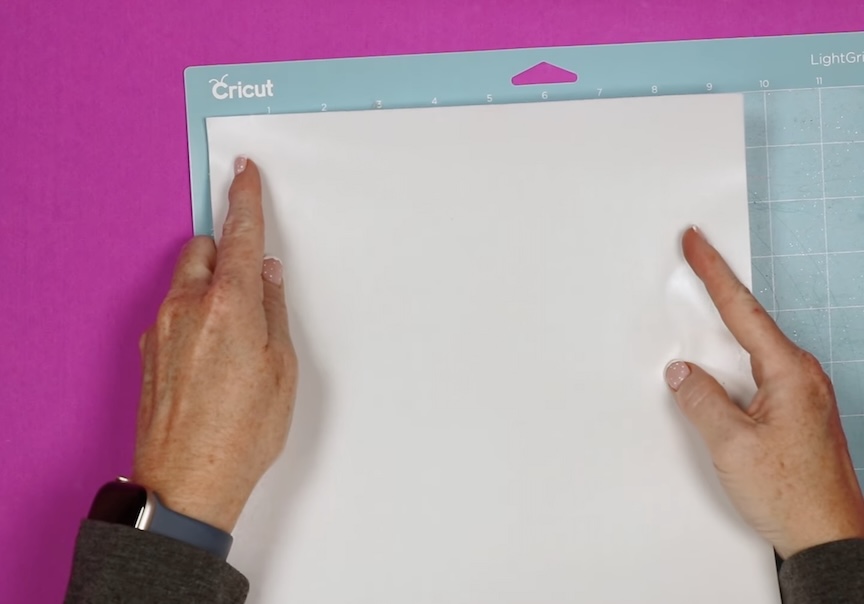
Load the mat into your machine and press go to cut. Once the cut is complete, unload your mat.
Then remove your cut HTV from your mat.
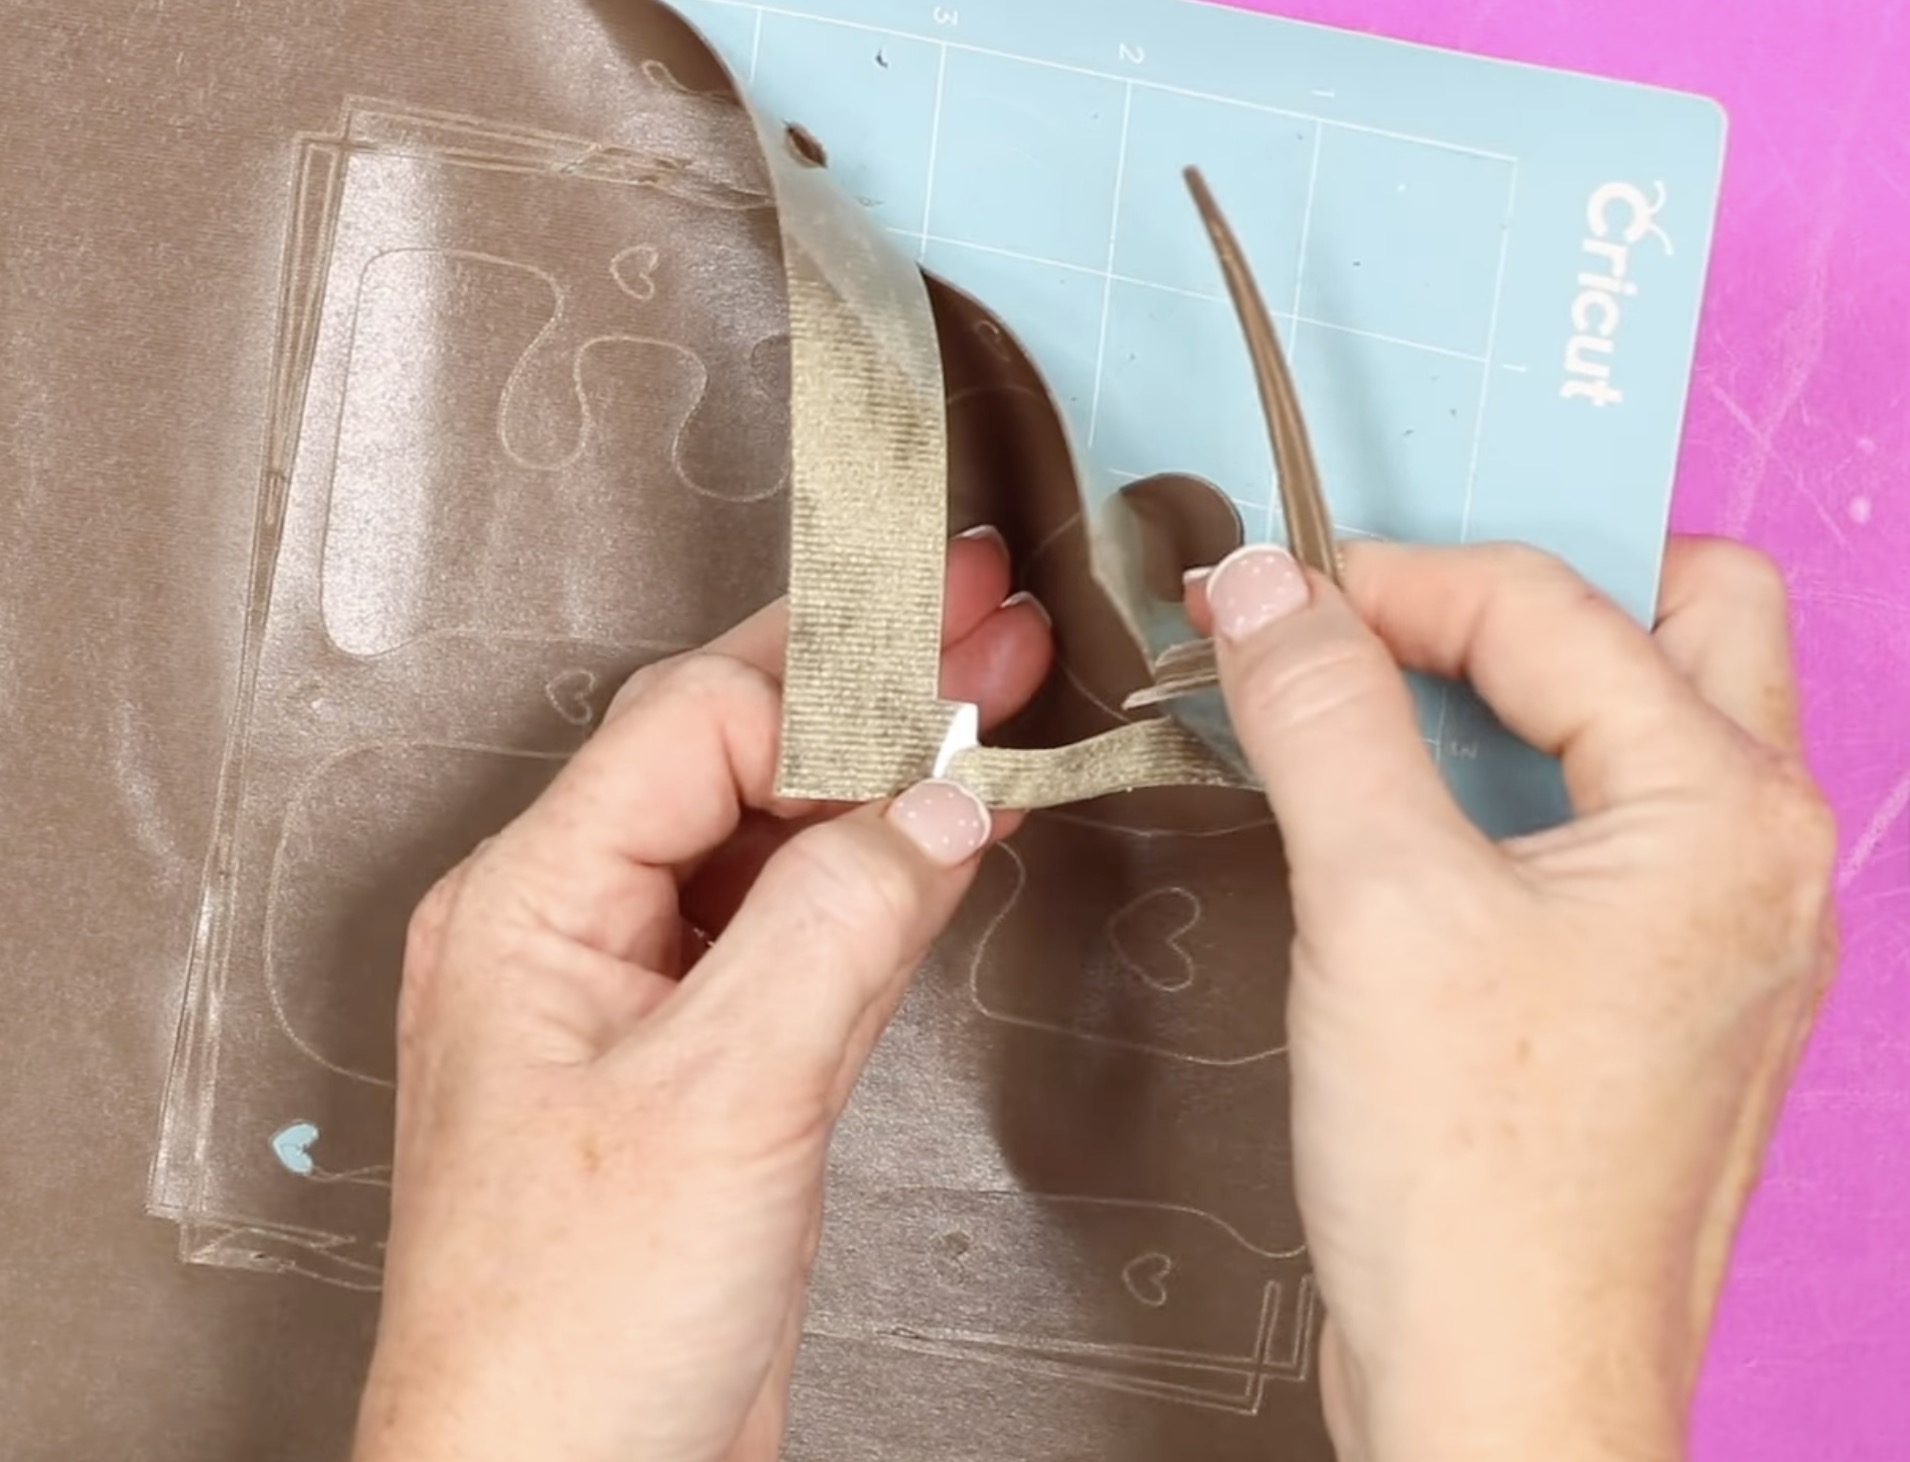
Step 4. Weed the Lush HTV
Weeding the Lush HTV is really easy. Most of the pieces peel off easily using your fingers.
This material cuts and weeds similarly to fabric. Sometimes you may find a fiber doesn't cut all the way through. Weed slowly, and if a fiber isn't cut, pull gently until the fiber breaks.
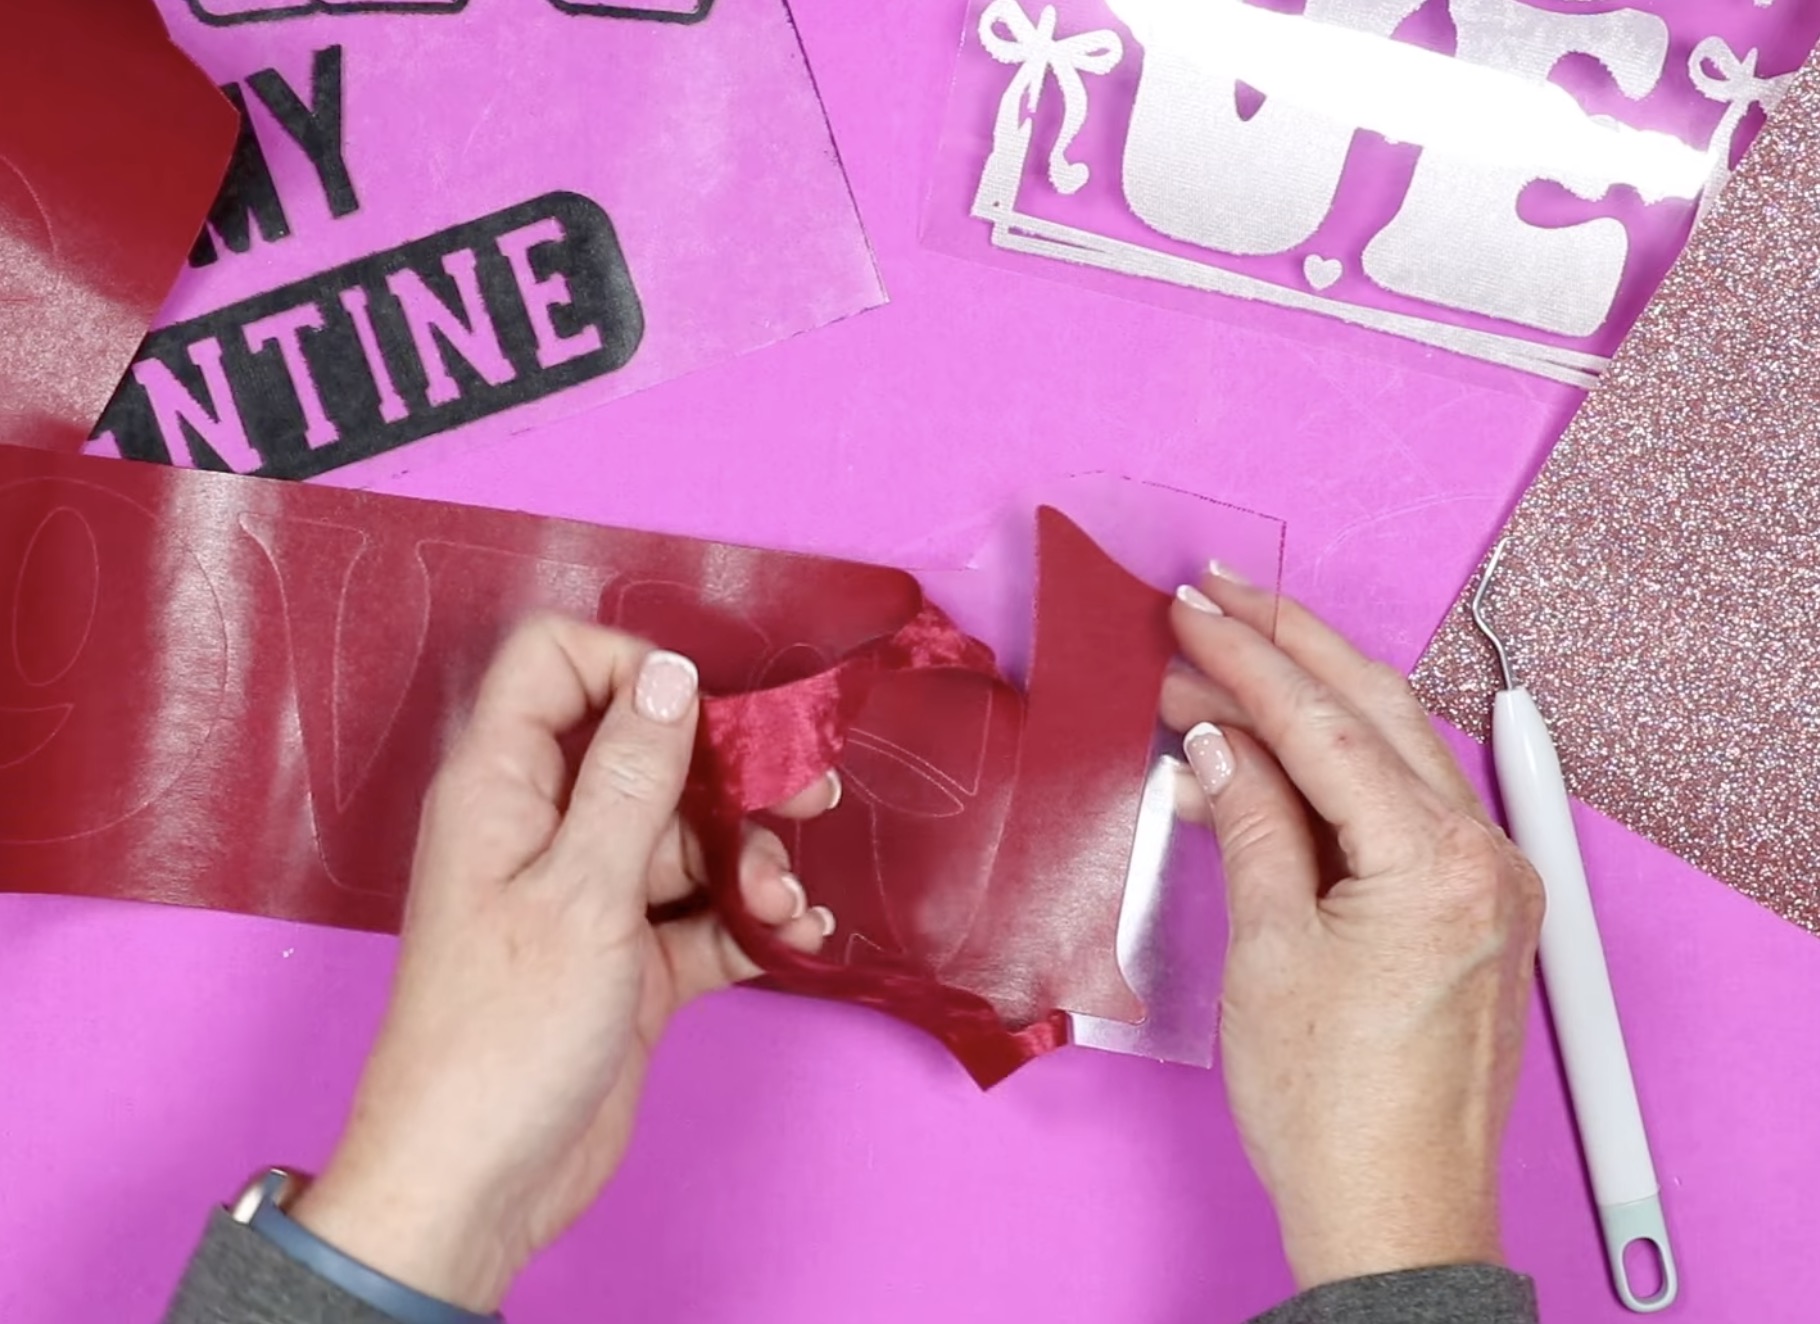
For some of the more intricate pieces, a weeding tool is helpful. Make sure to get all the insides of letters, bows, crossing lines, etc.
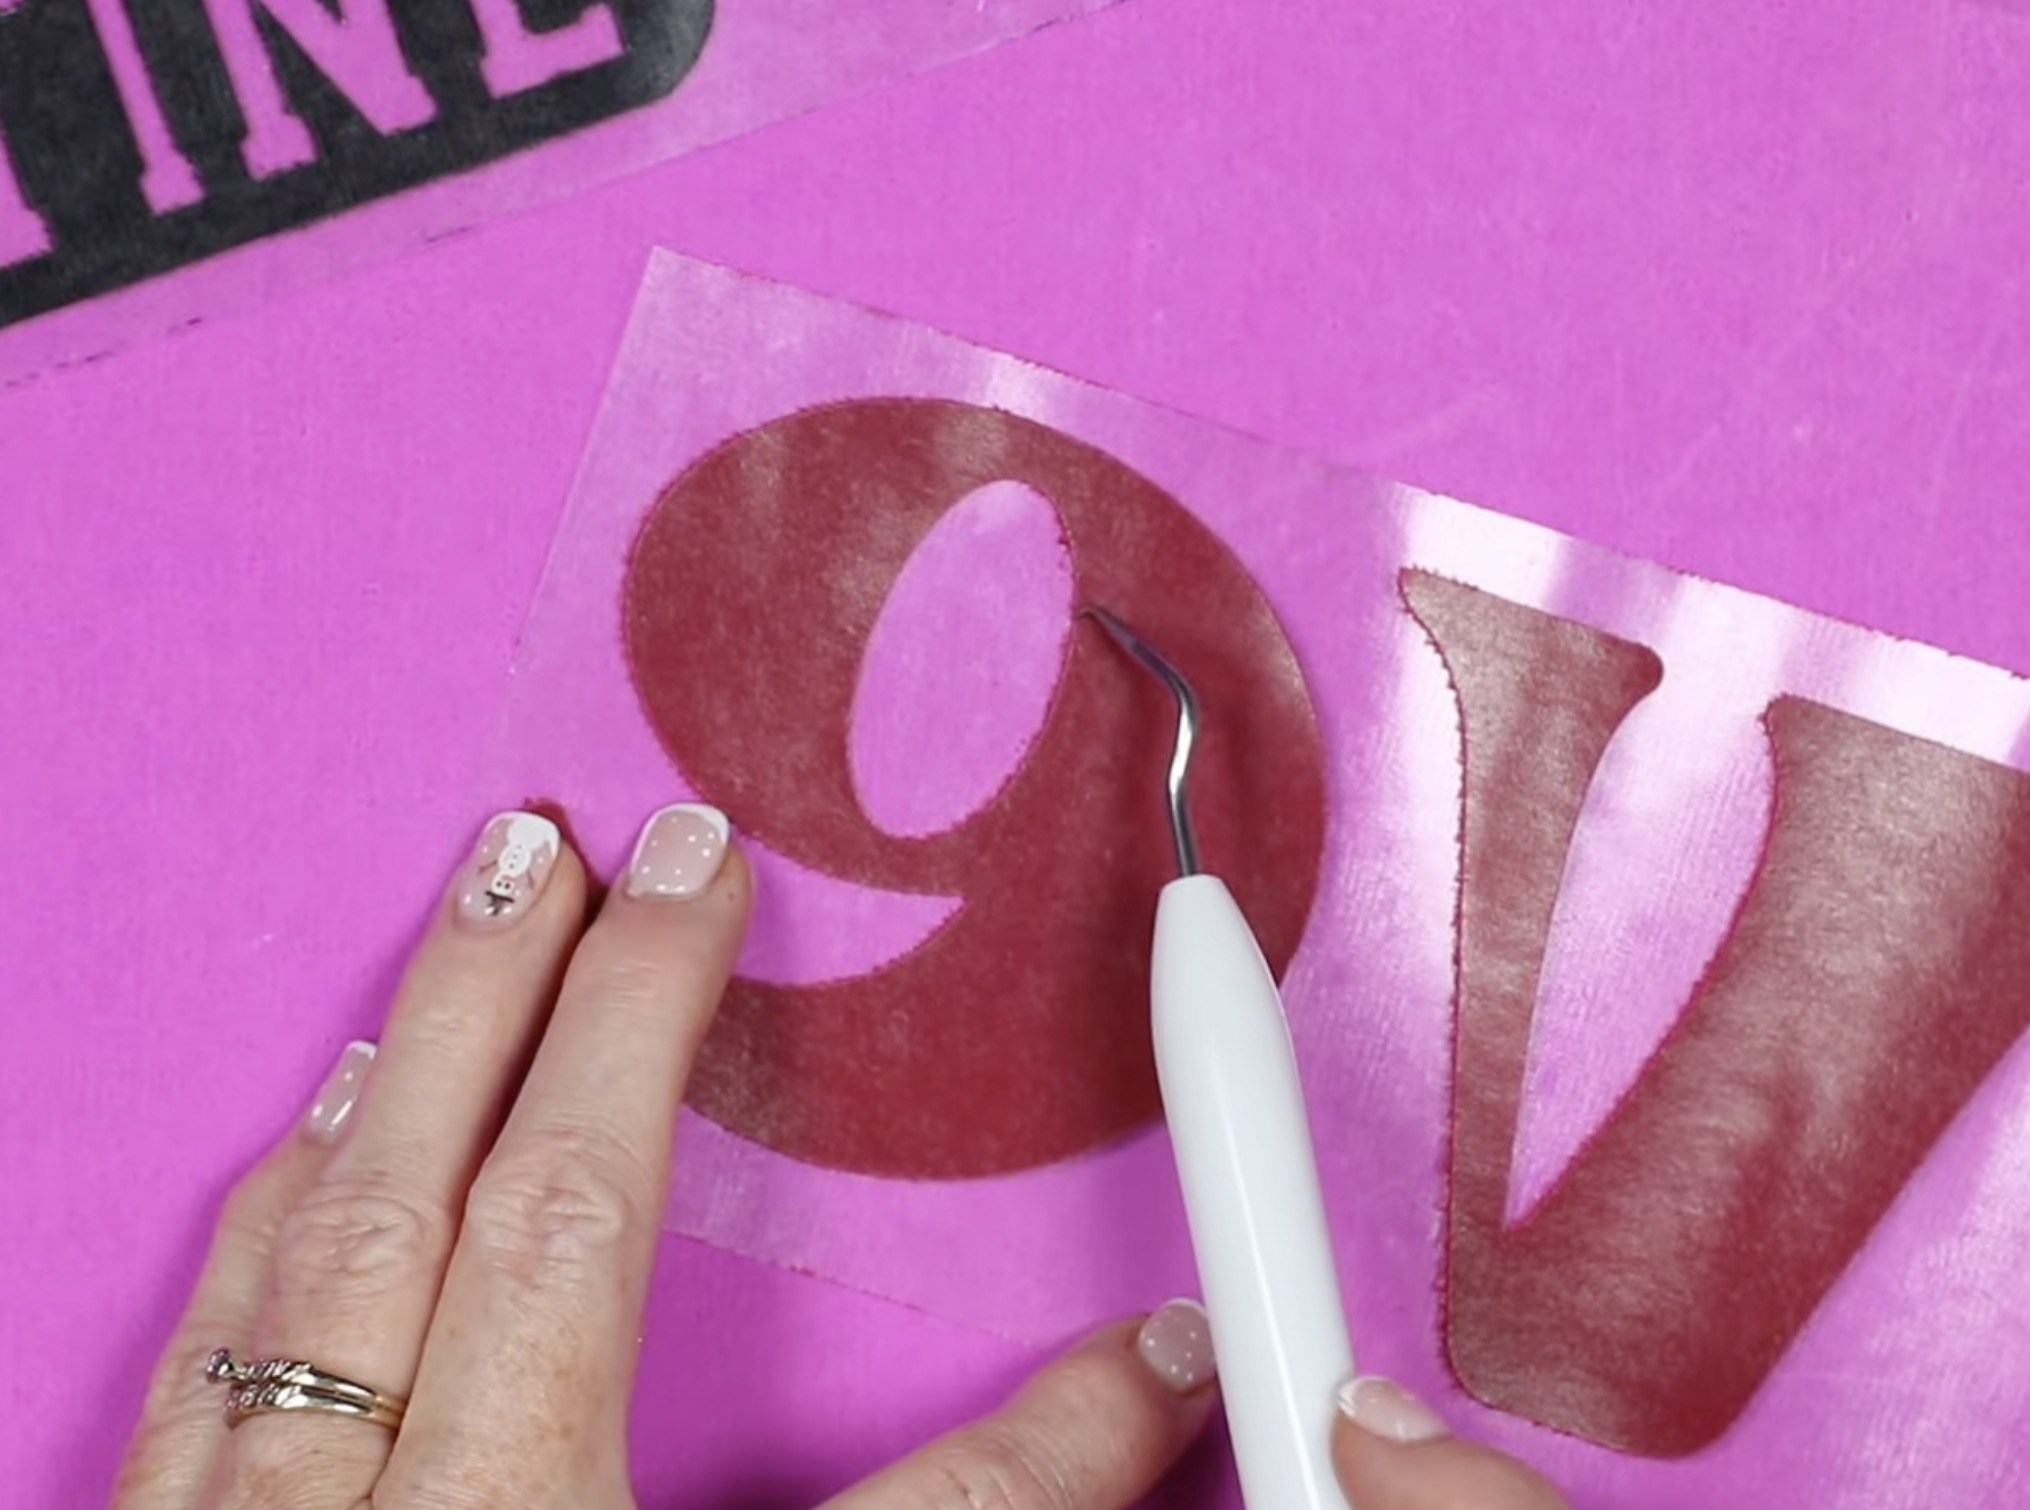
You may notice the edges are a little frayed-looking. We are cutting through a fabric-type material. I expect most of these frayed fibers will stay stuck to the carrier sheet after pressing.
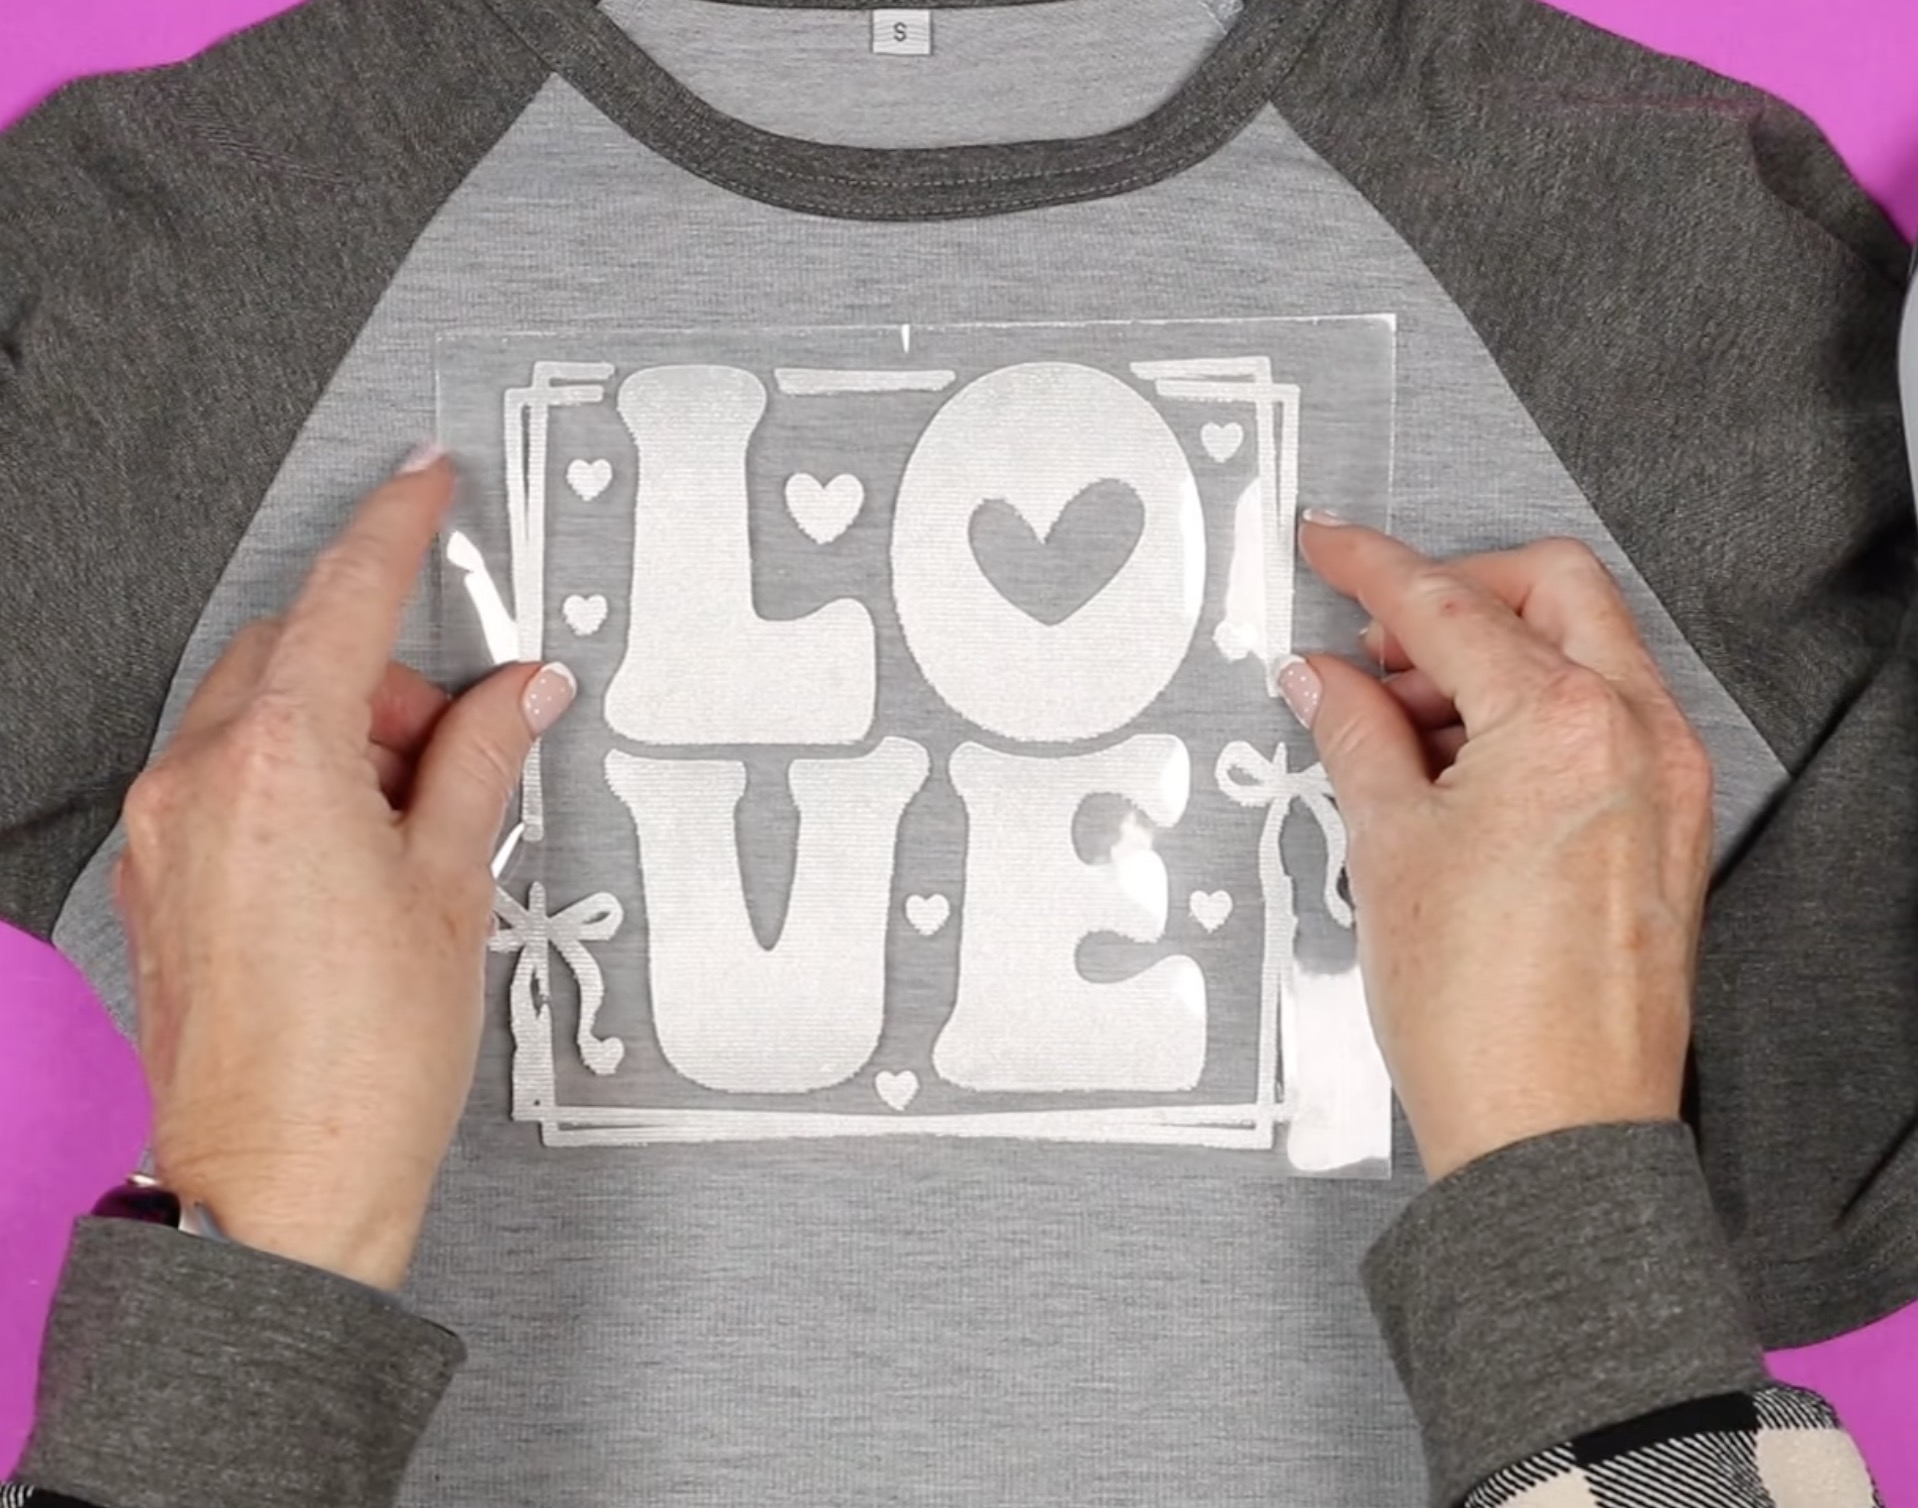
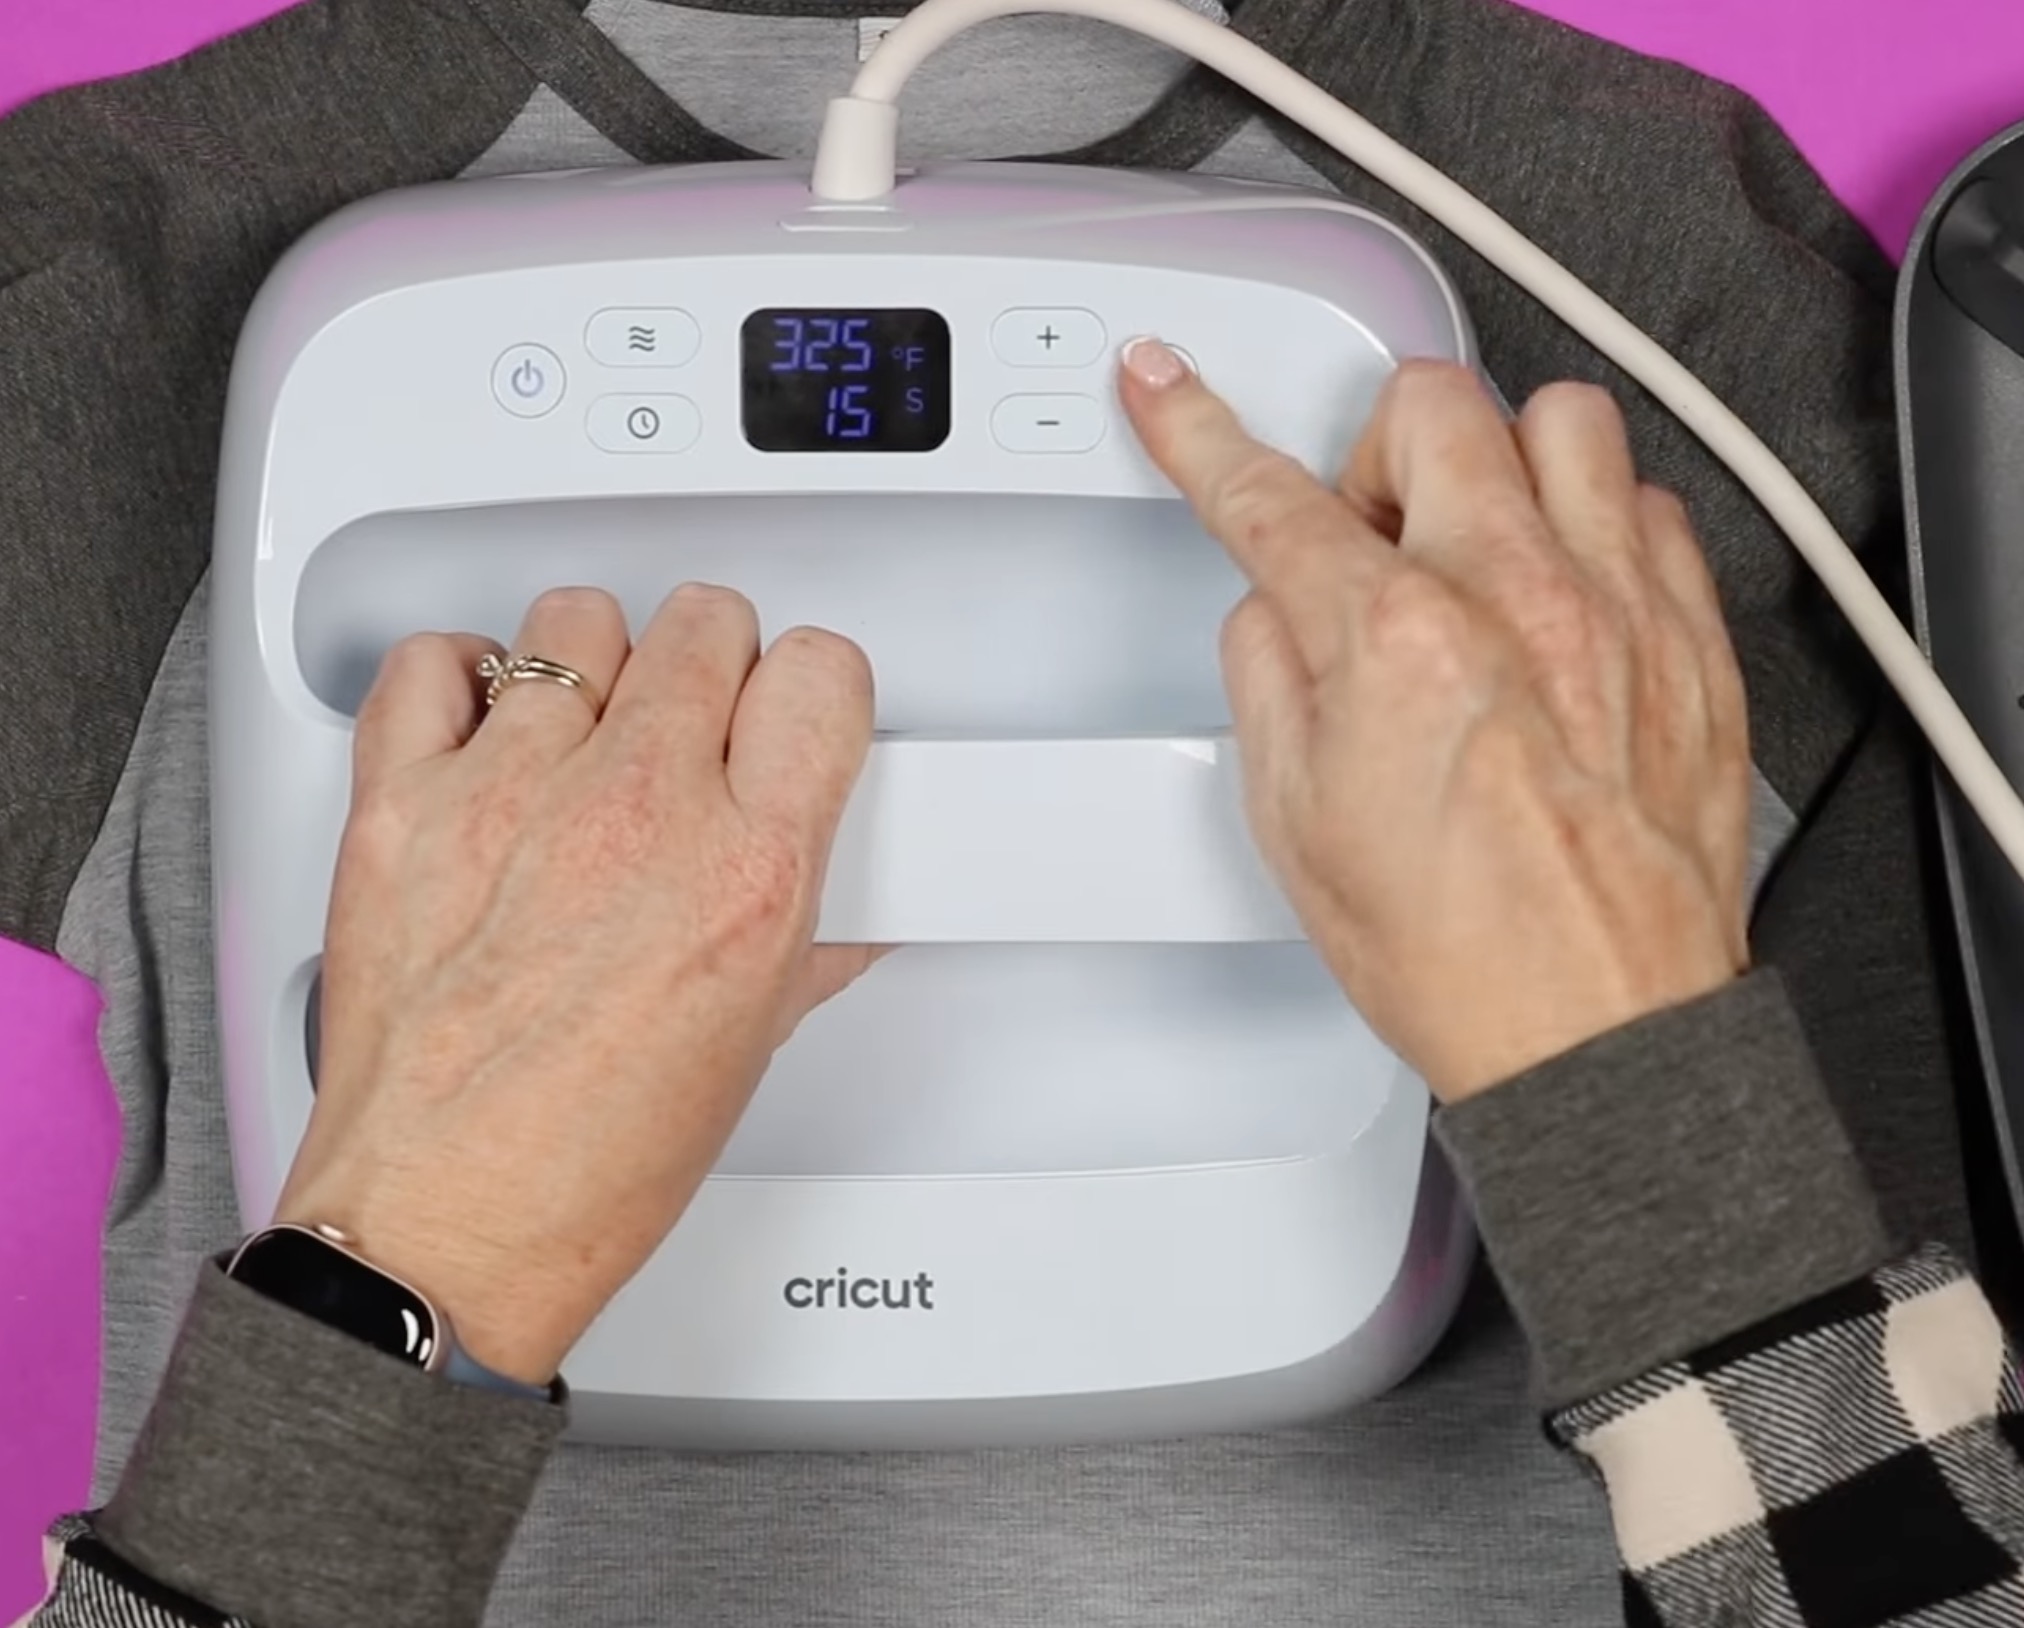
Step 5. Pressing a Single Layer
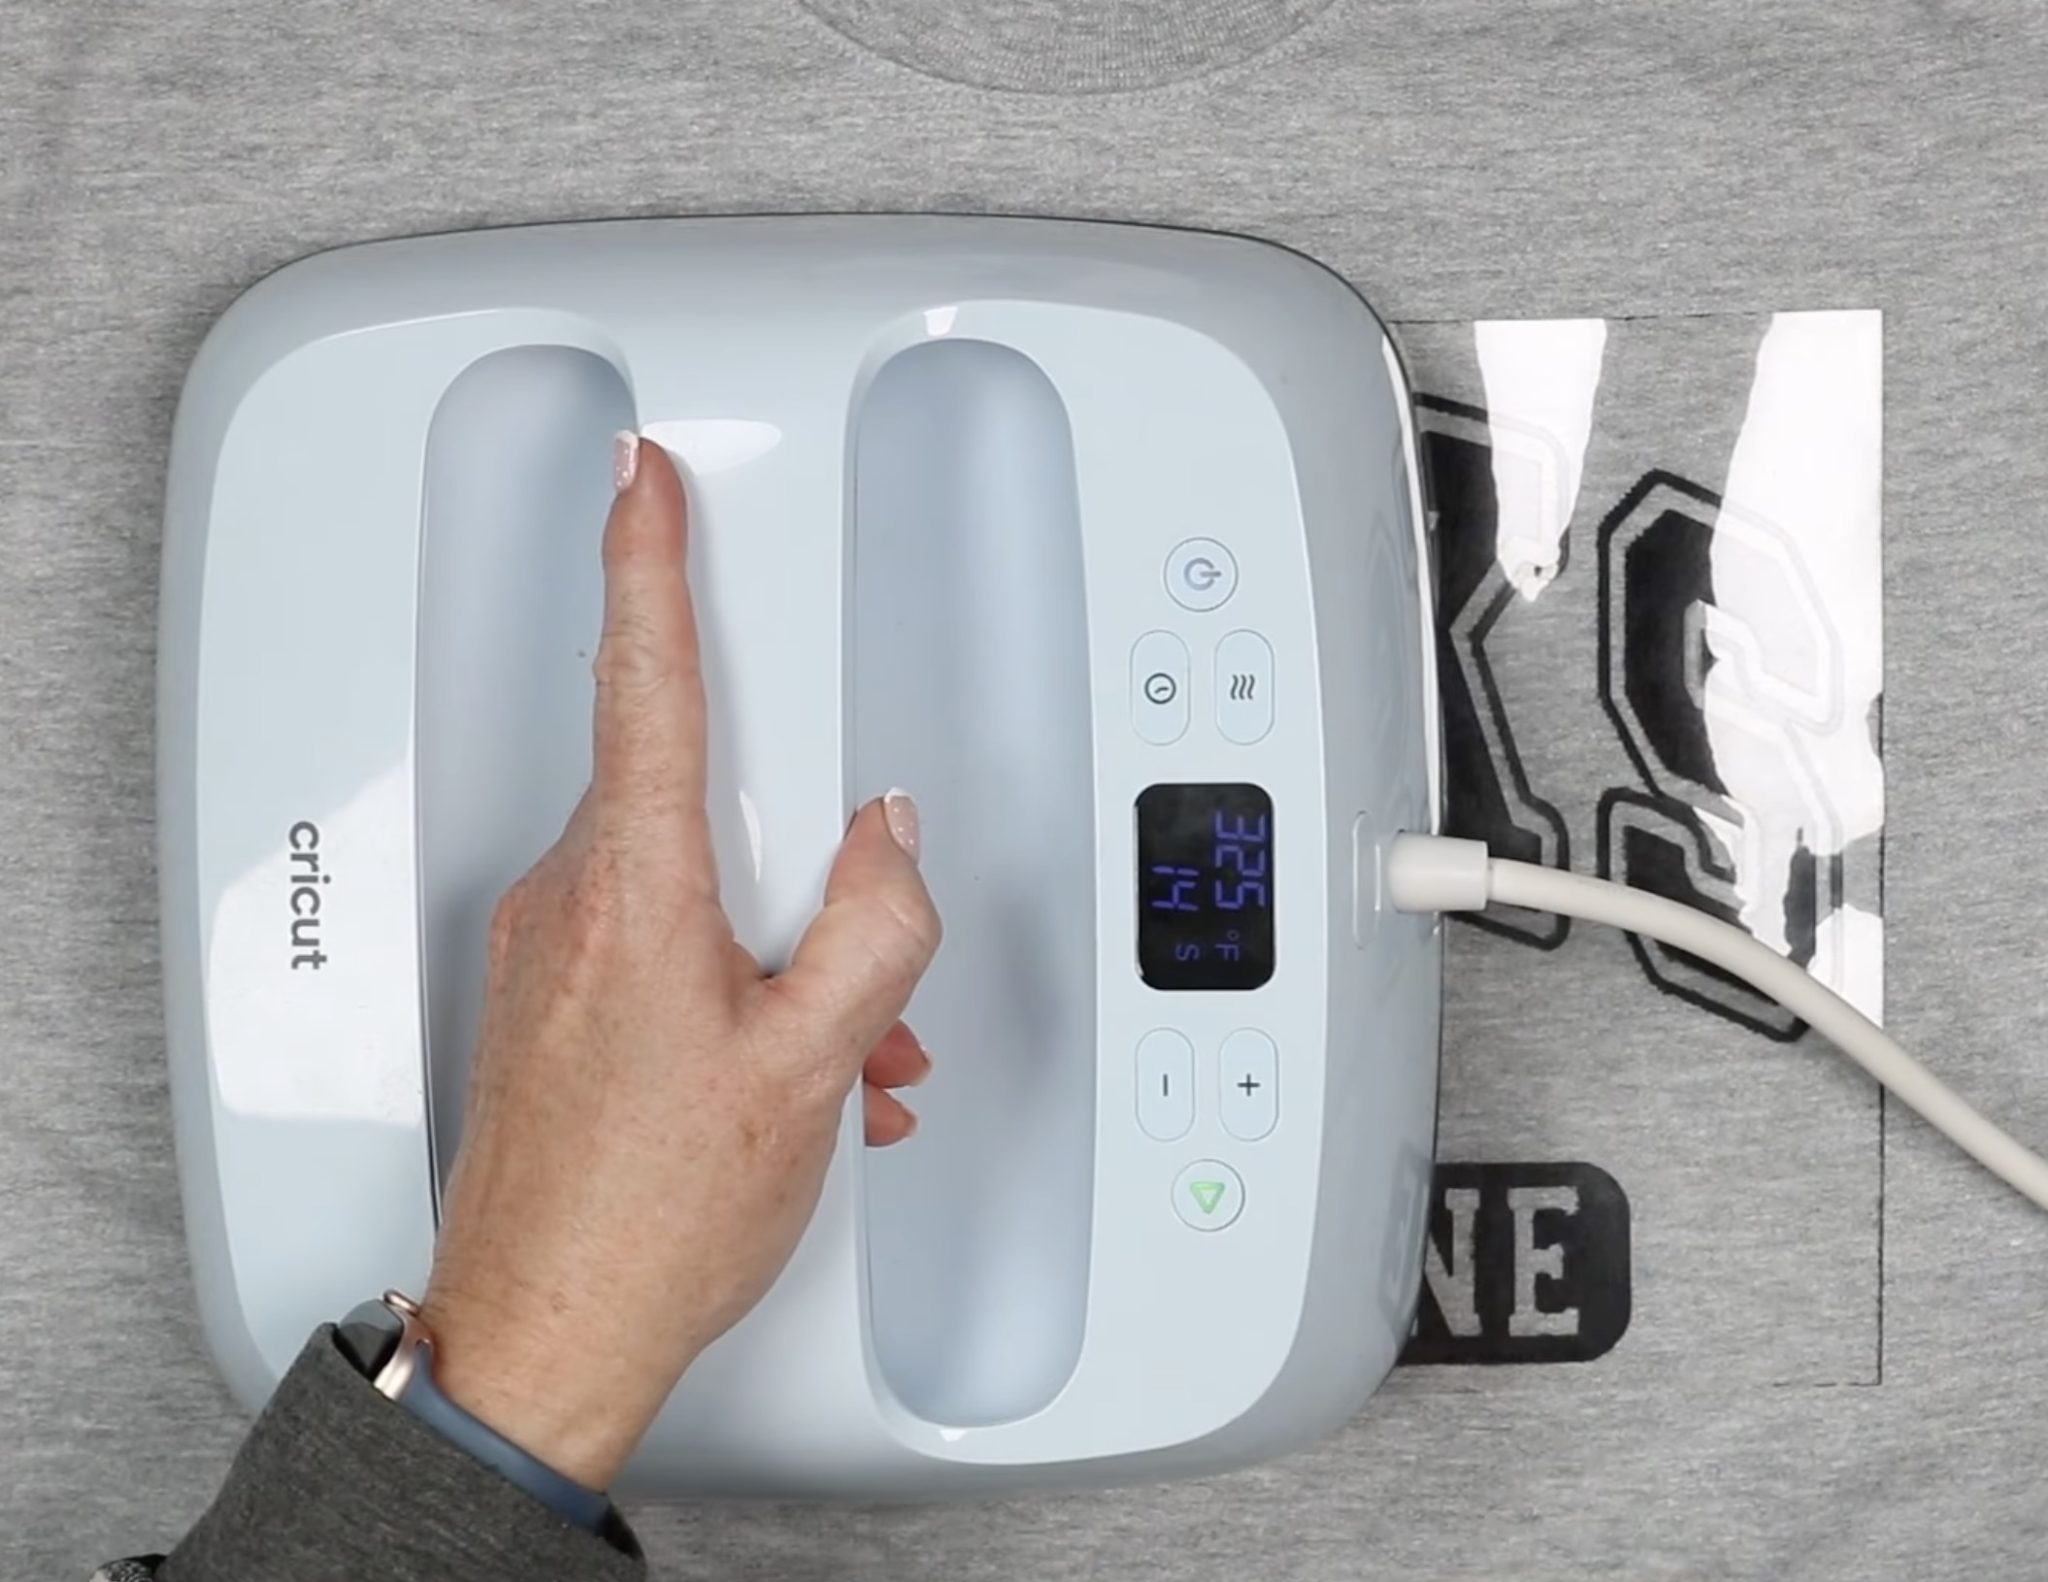
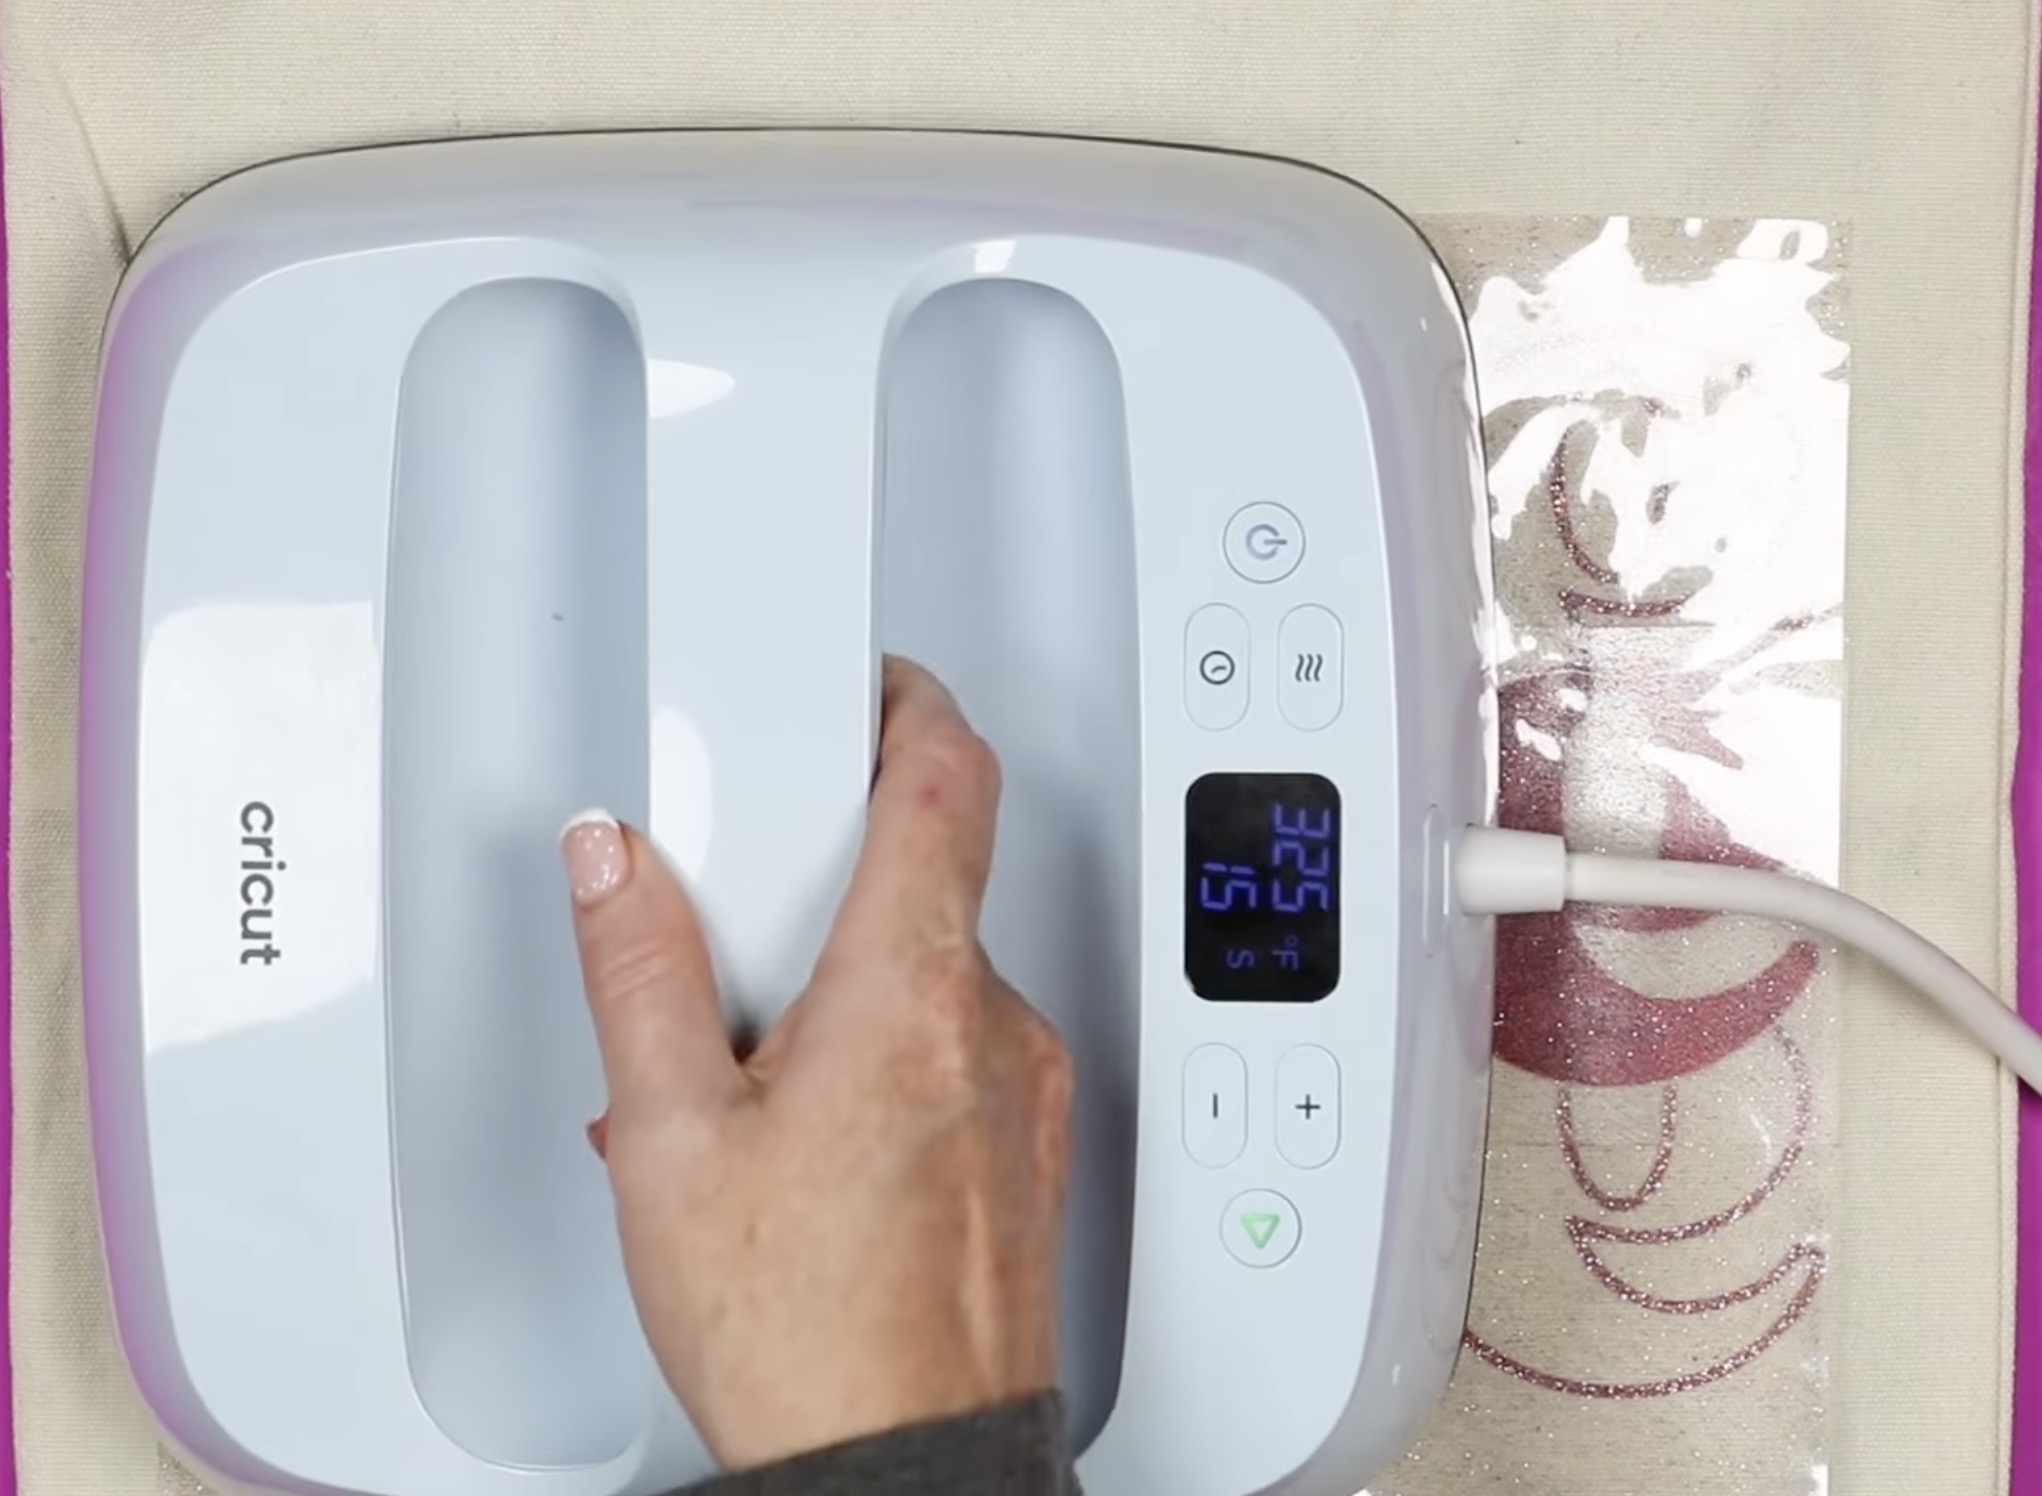
First, I'm going to make a child's side shirt with a single-layer, one-color design. I have my EasyPress preheated to 325 degrees and the time set to 15 seconds.
The time and temperature may be different depending on the base material you're using. This shirt is 100% polyester.
- Place the shirt on a heat-resistant mat.
- Preheat the shirt to remove any moisture and wrinkles.
- Locate the design.
- If you're worried about your design not sticking in place while pressing, use heat-resistant tape to hold it in place.
- Press for 15 seconds at 325 degrees, applying medium to firm pressure.
- When the time is up, remove the EasyPress.
- This is a warm peel material. Allow the material to cool for a few seconds and slowly peel back the carrier sheet.
- I like to check each corner to make sure the design is stuck down before peeling back the whole sheet.
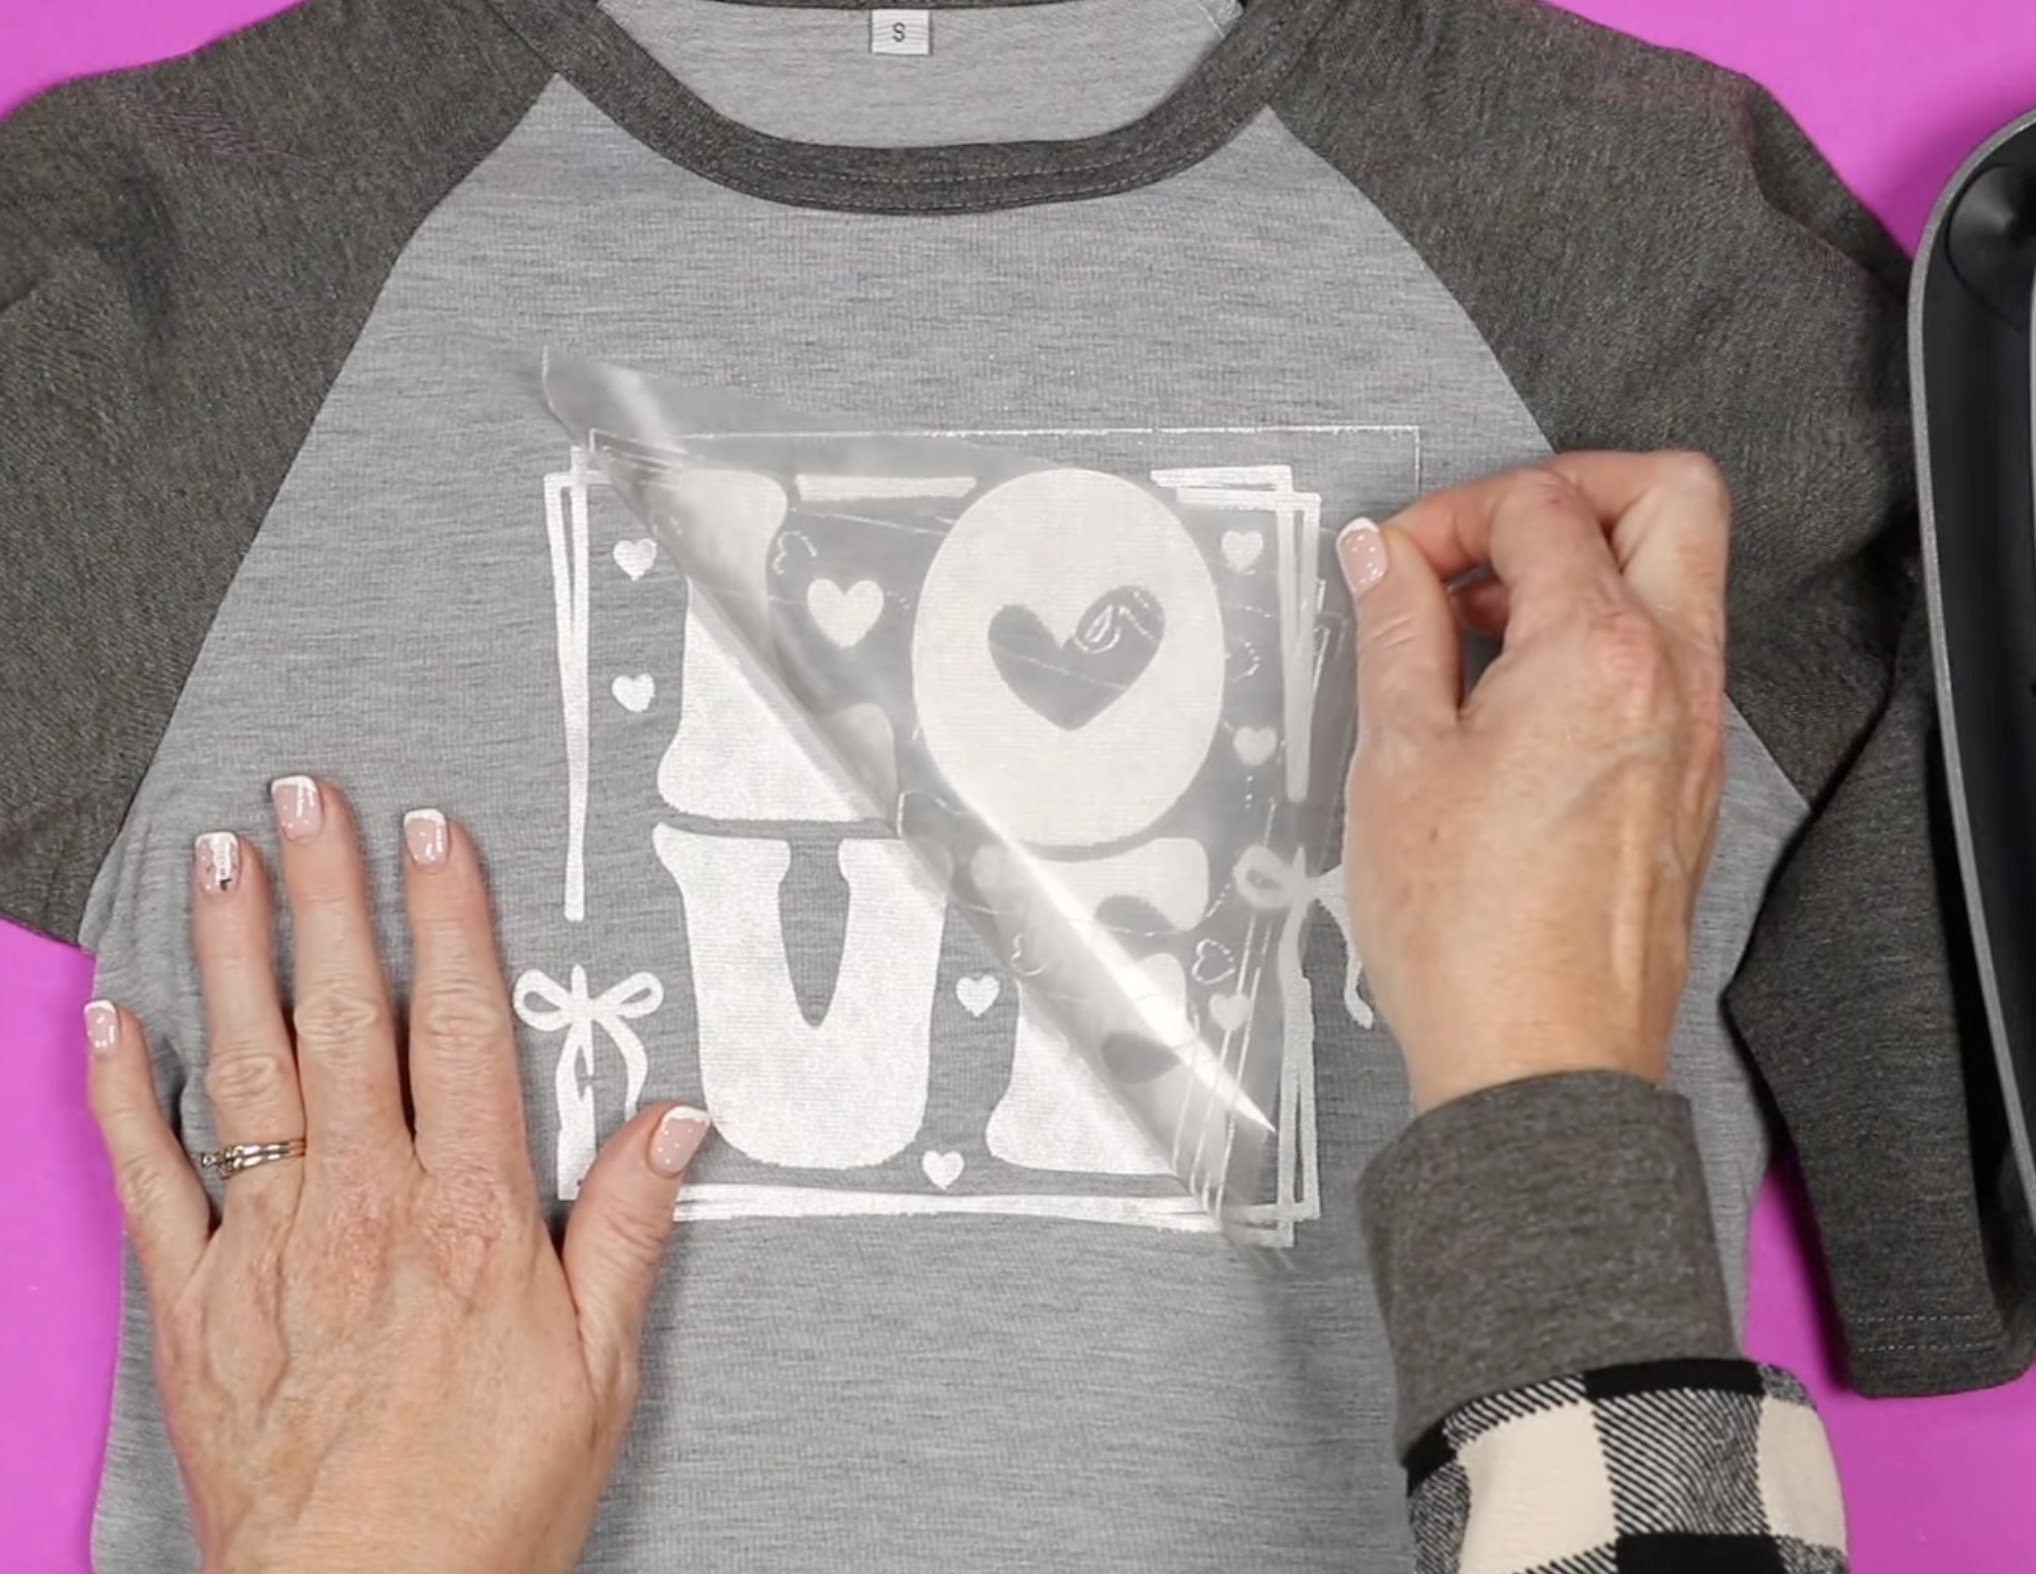
- As you peel back the carrier sheet, you can see that most of those fibers stayed stuck to the carrier sheet.
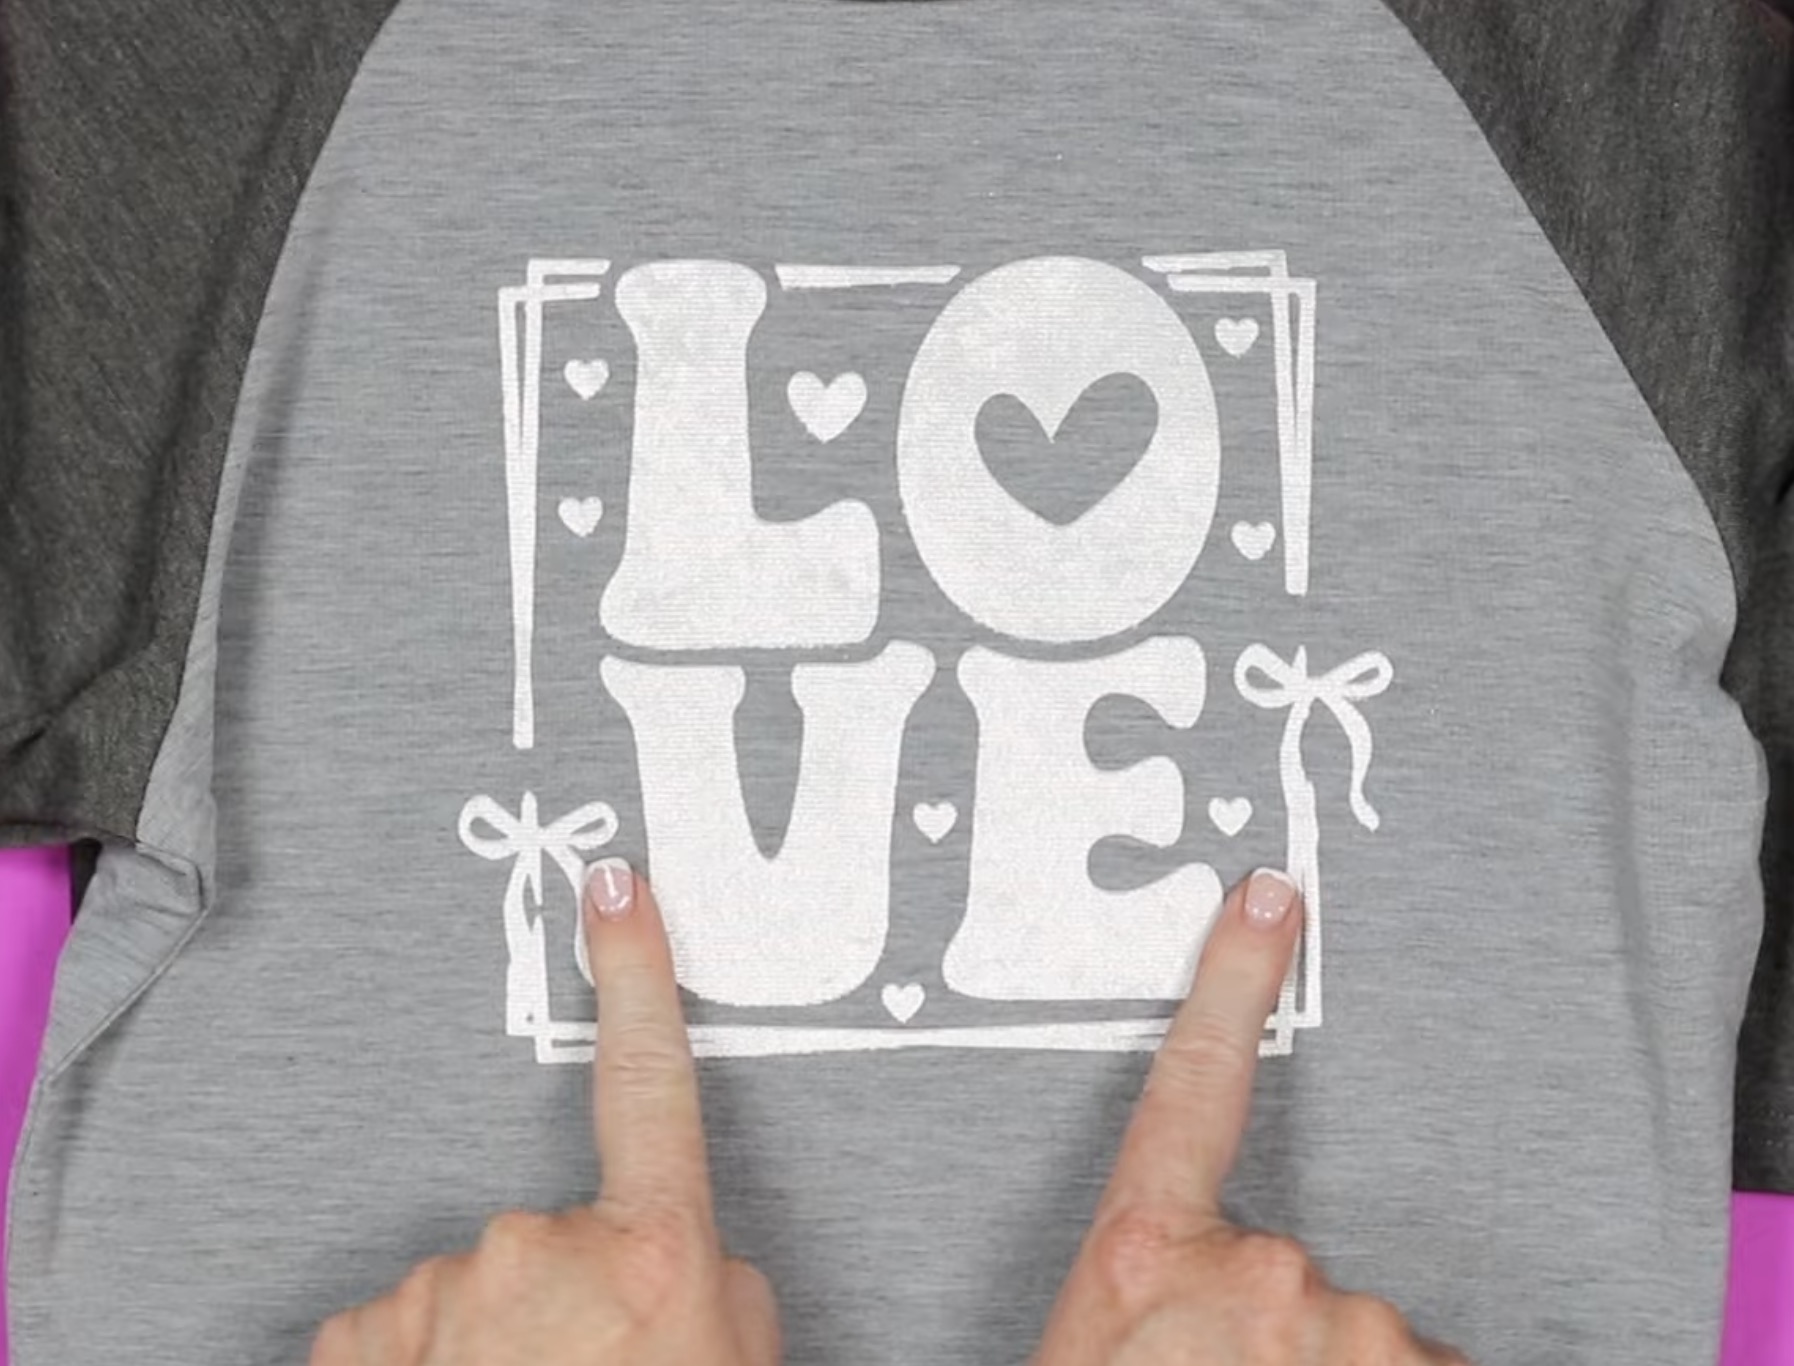
This design looks so good on this shirt. This color is Pearl White, and it feels exactly like velvet or suede to the touch.

Step 6. Adding a Second Color of Lush HTV
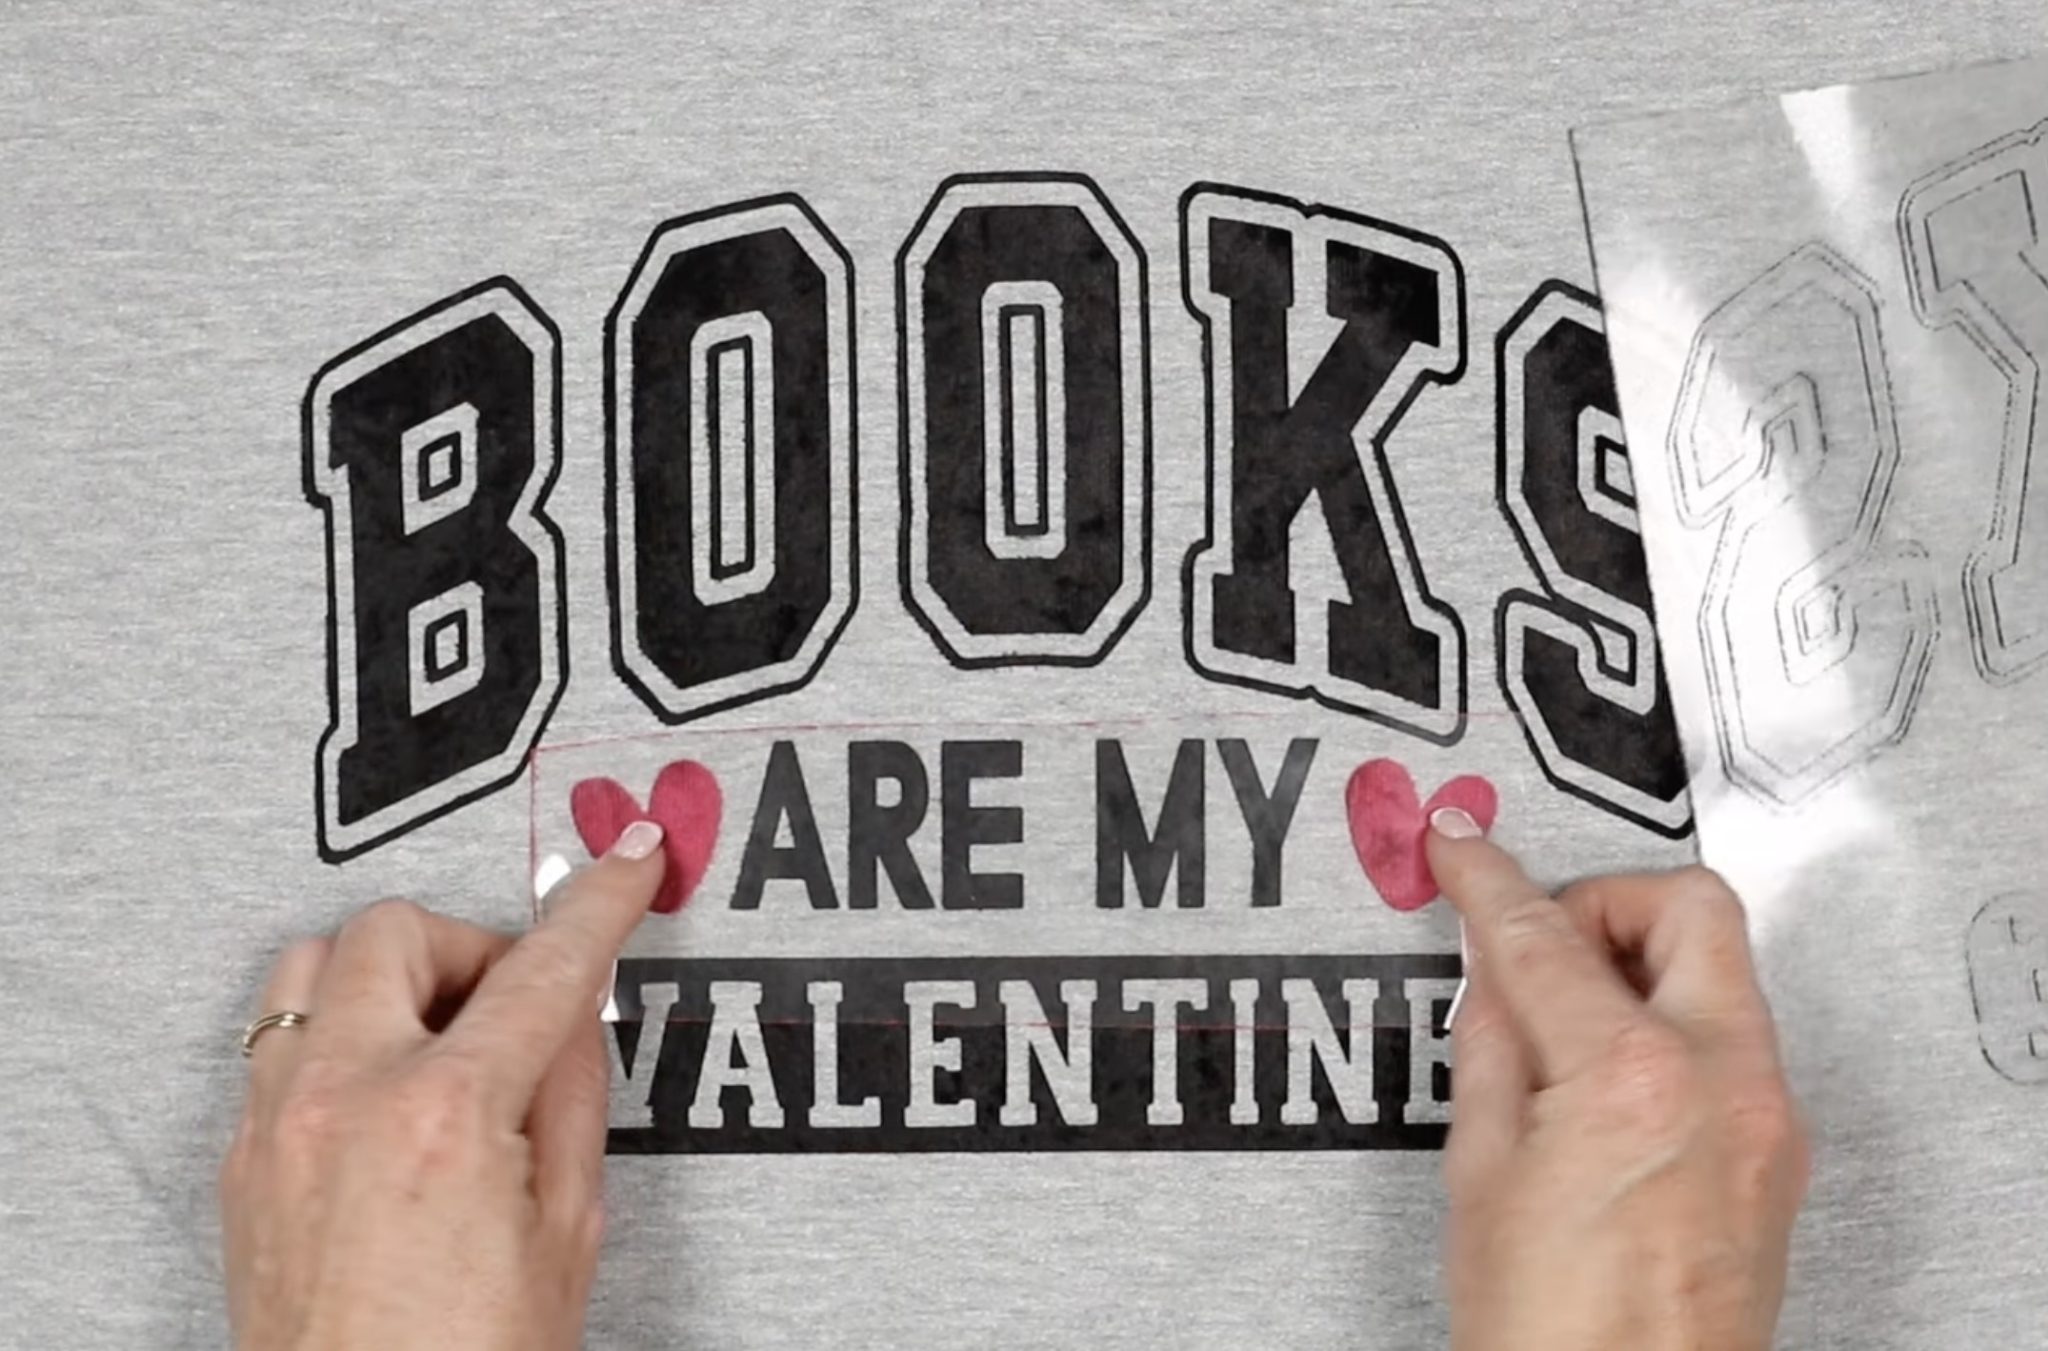
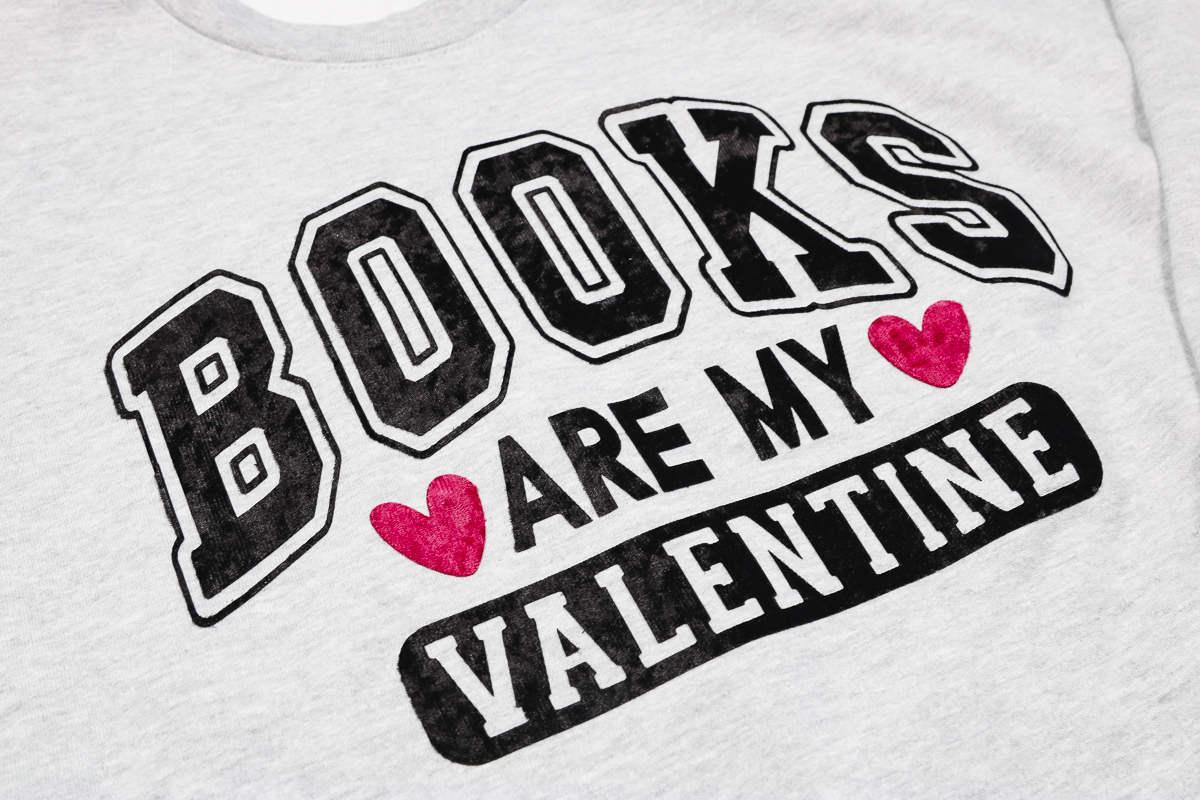
The process for the Books are My Valentine design is very similar to the one-step design. You'll want to make sure each different color is attached in Design Space.
Place the sweatshirt on a heat-resistant mat and preheat to remove moisture and wrinkles.
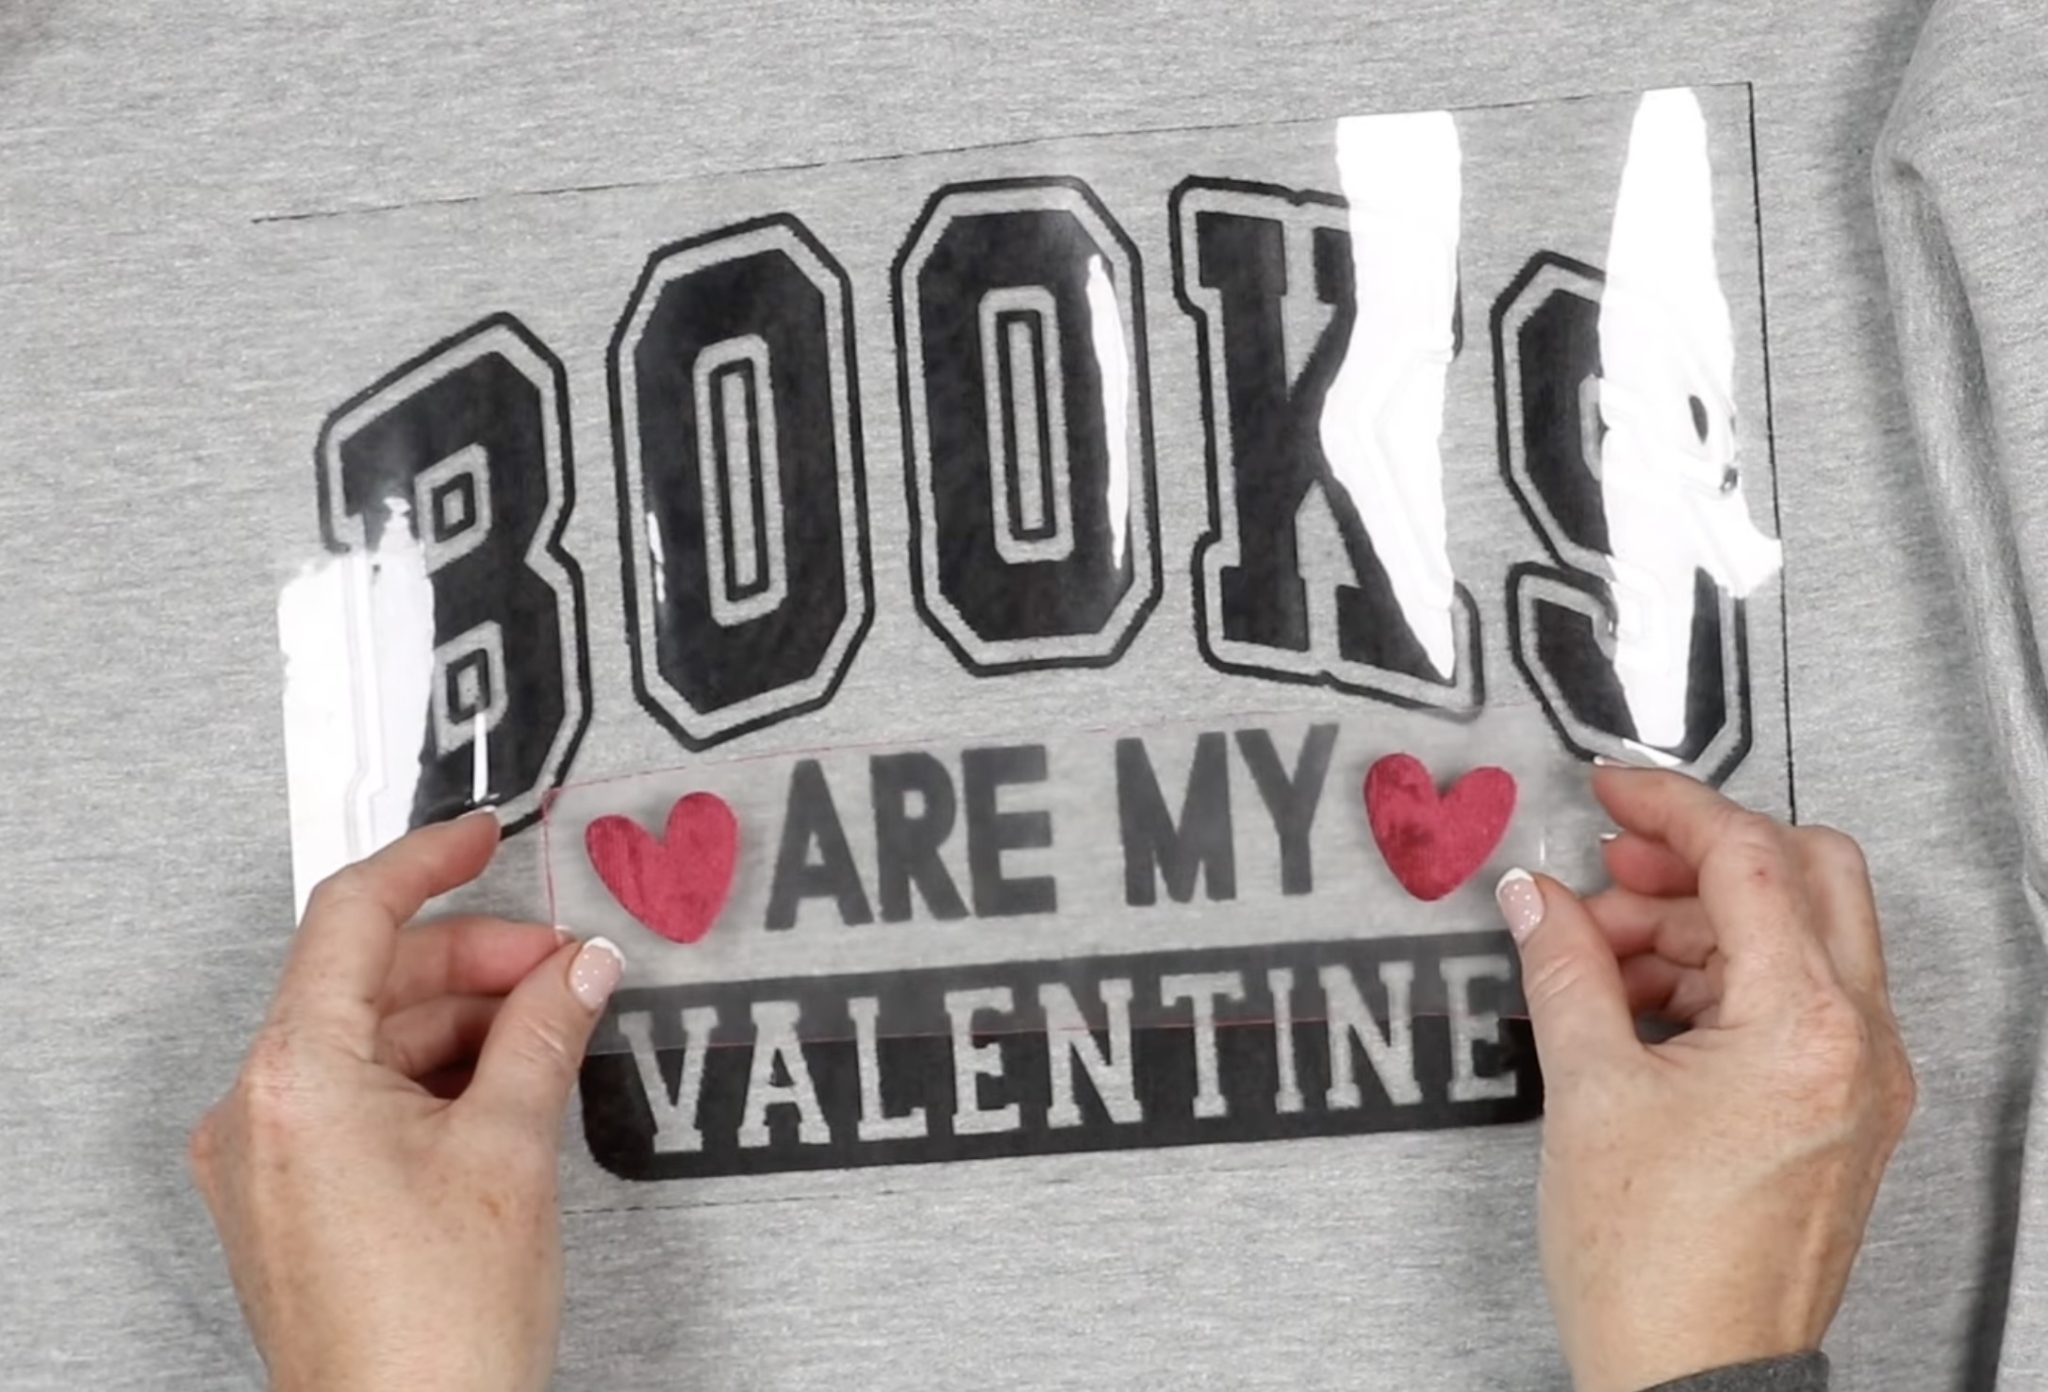
I am going to press the black layer first, so I have the red hearts on top of the black carrier sheet to make sure when it's pressed, it's located correctly.
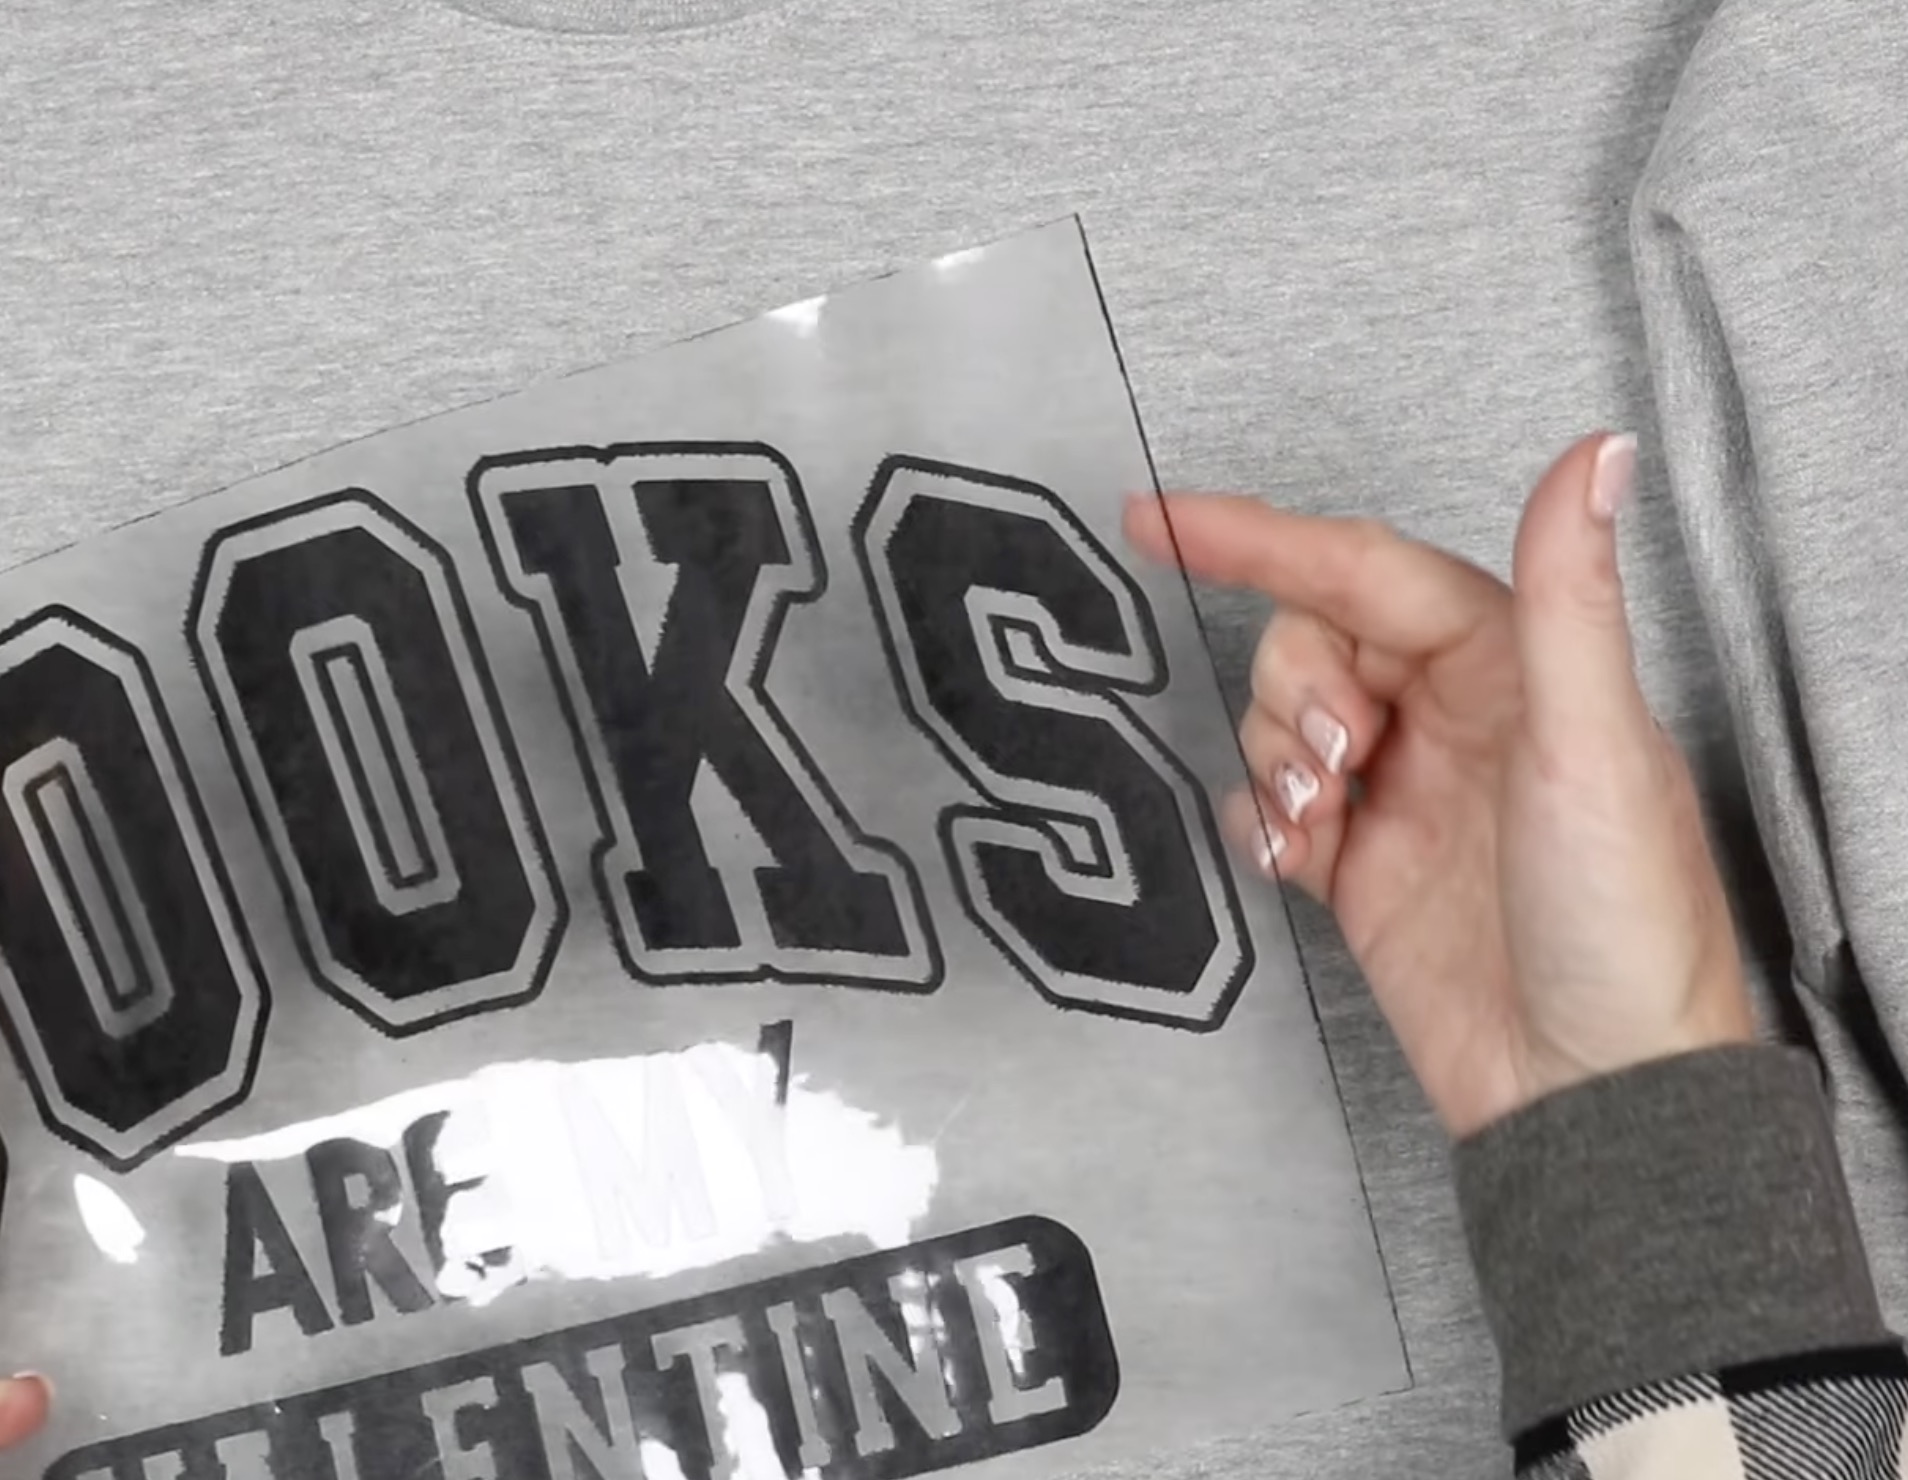
After weeding the design, I noticed there are black fibers along the edges of the carrier sheet. I don't think this will stick to the fabric, but I am going to test it to make sure it doesn't.
Remove the red heart layer and locate the design.
This design is larger than my EasyPress, so I am going to press it in two sections.
Make sure the entire design is pressed for the full time.
After pressing, remove the carrier sheet.
Don't discard this sheet. We will use it to cover the Lush HTV to protect it from the heat plate.
I did want to note that none of the black fibers that were along the edge of the carrier sheet stuck to my sweatshirt.
Locate the hearts and then cover the whole design with the carrier sheet.

Press the hearts for the full time, allow to cool for a few seconds, and remove the carrier sheets.
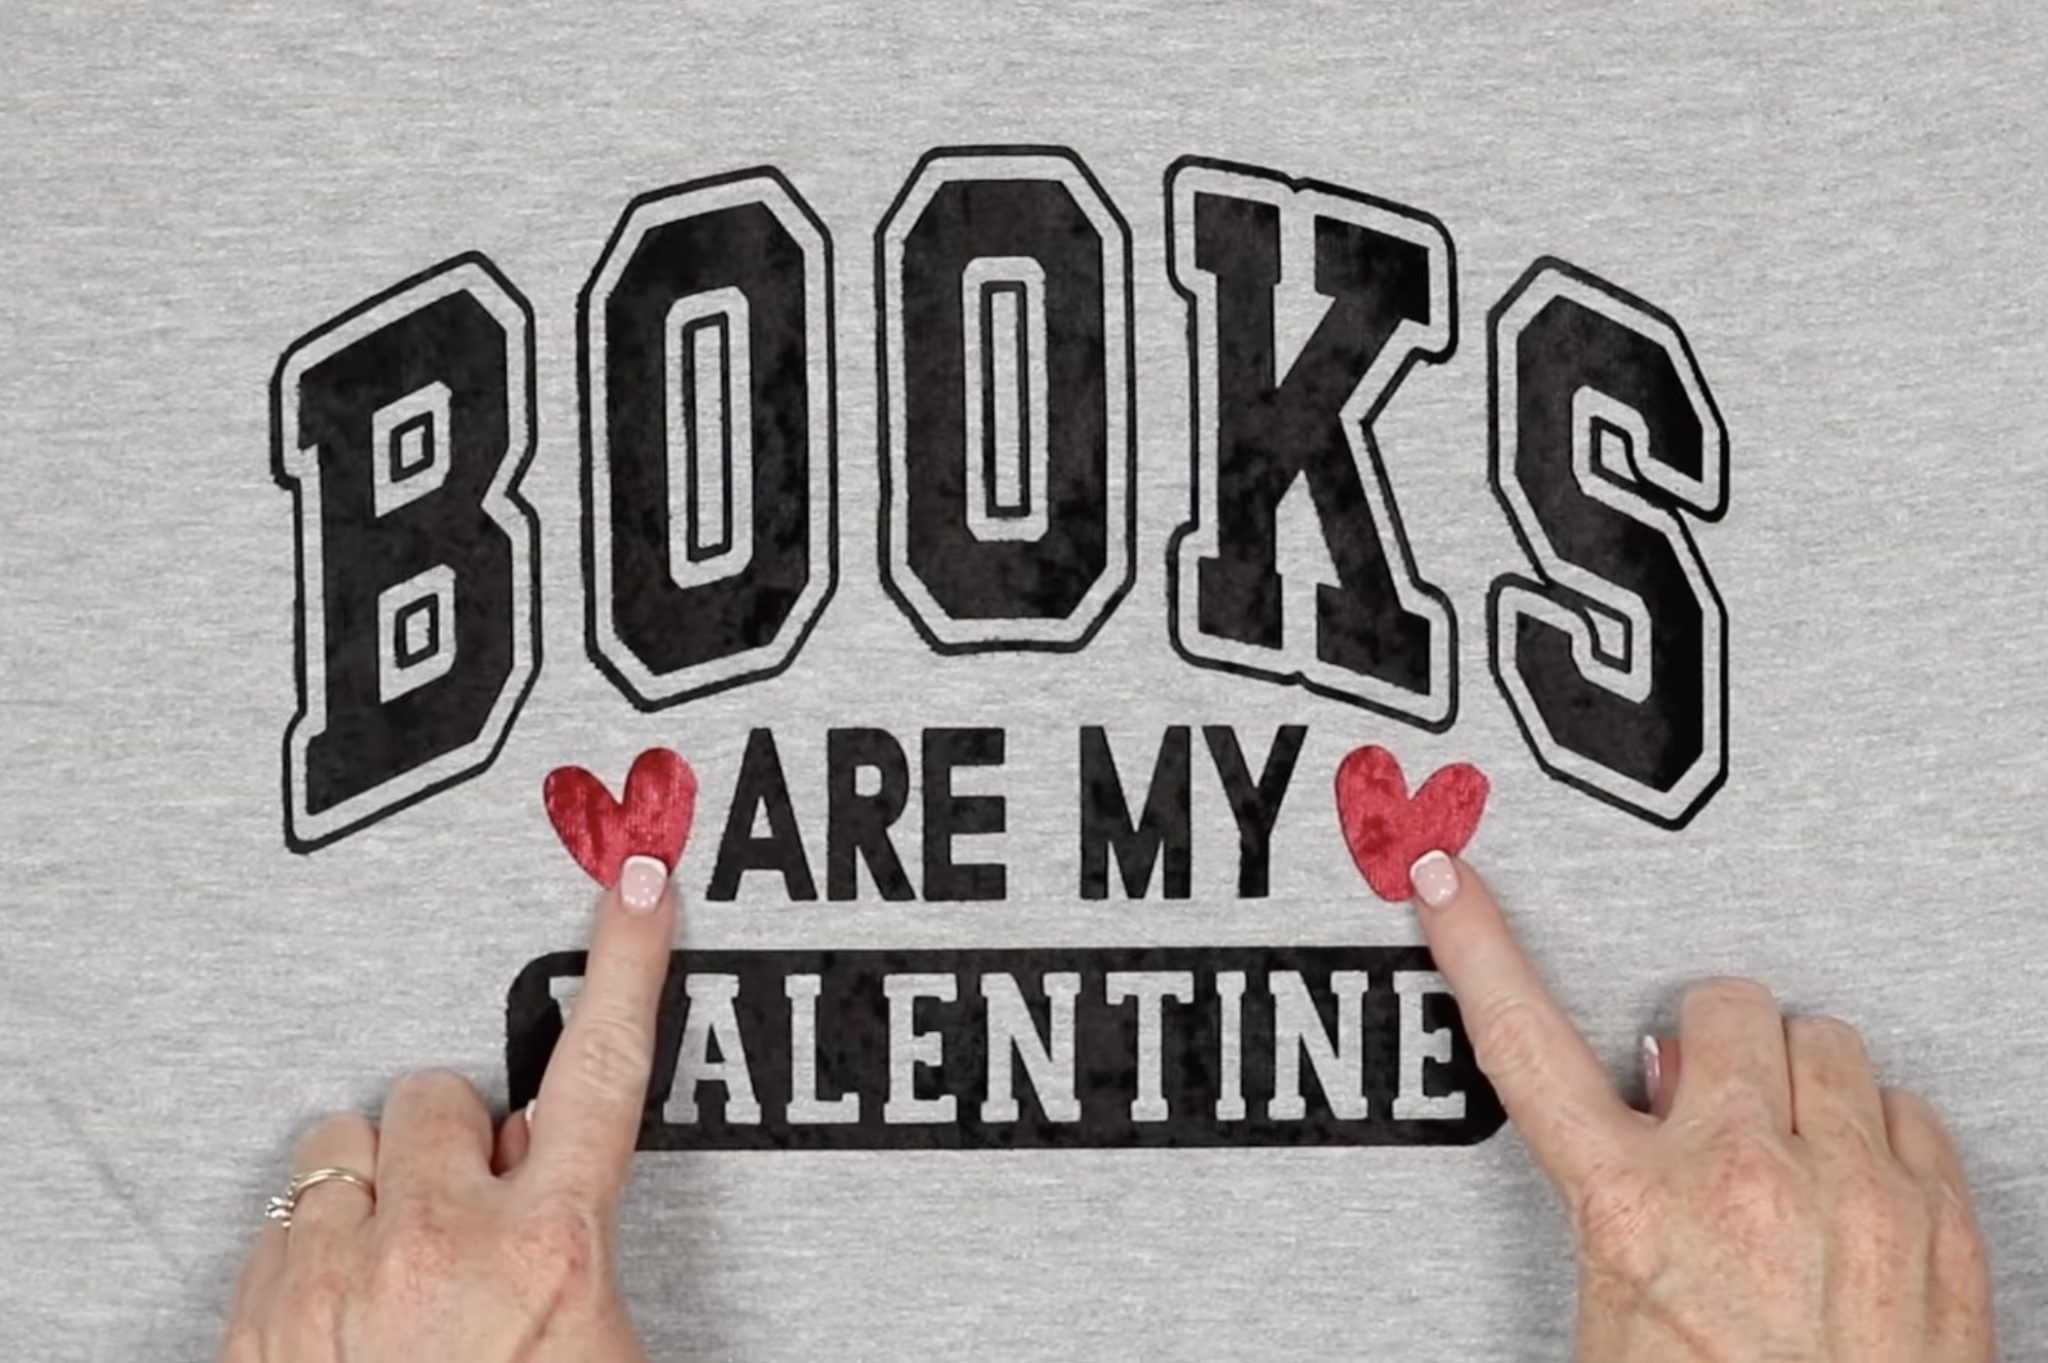
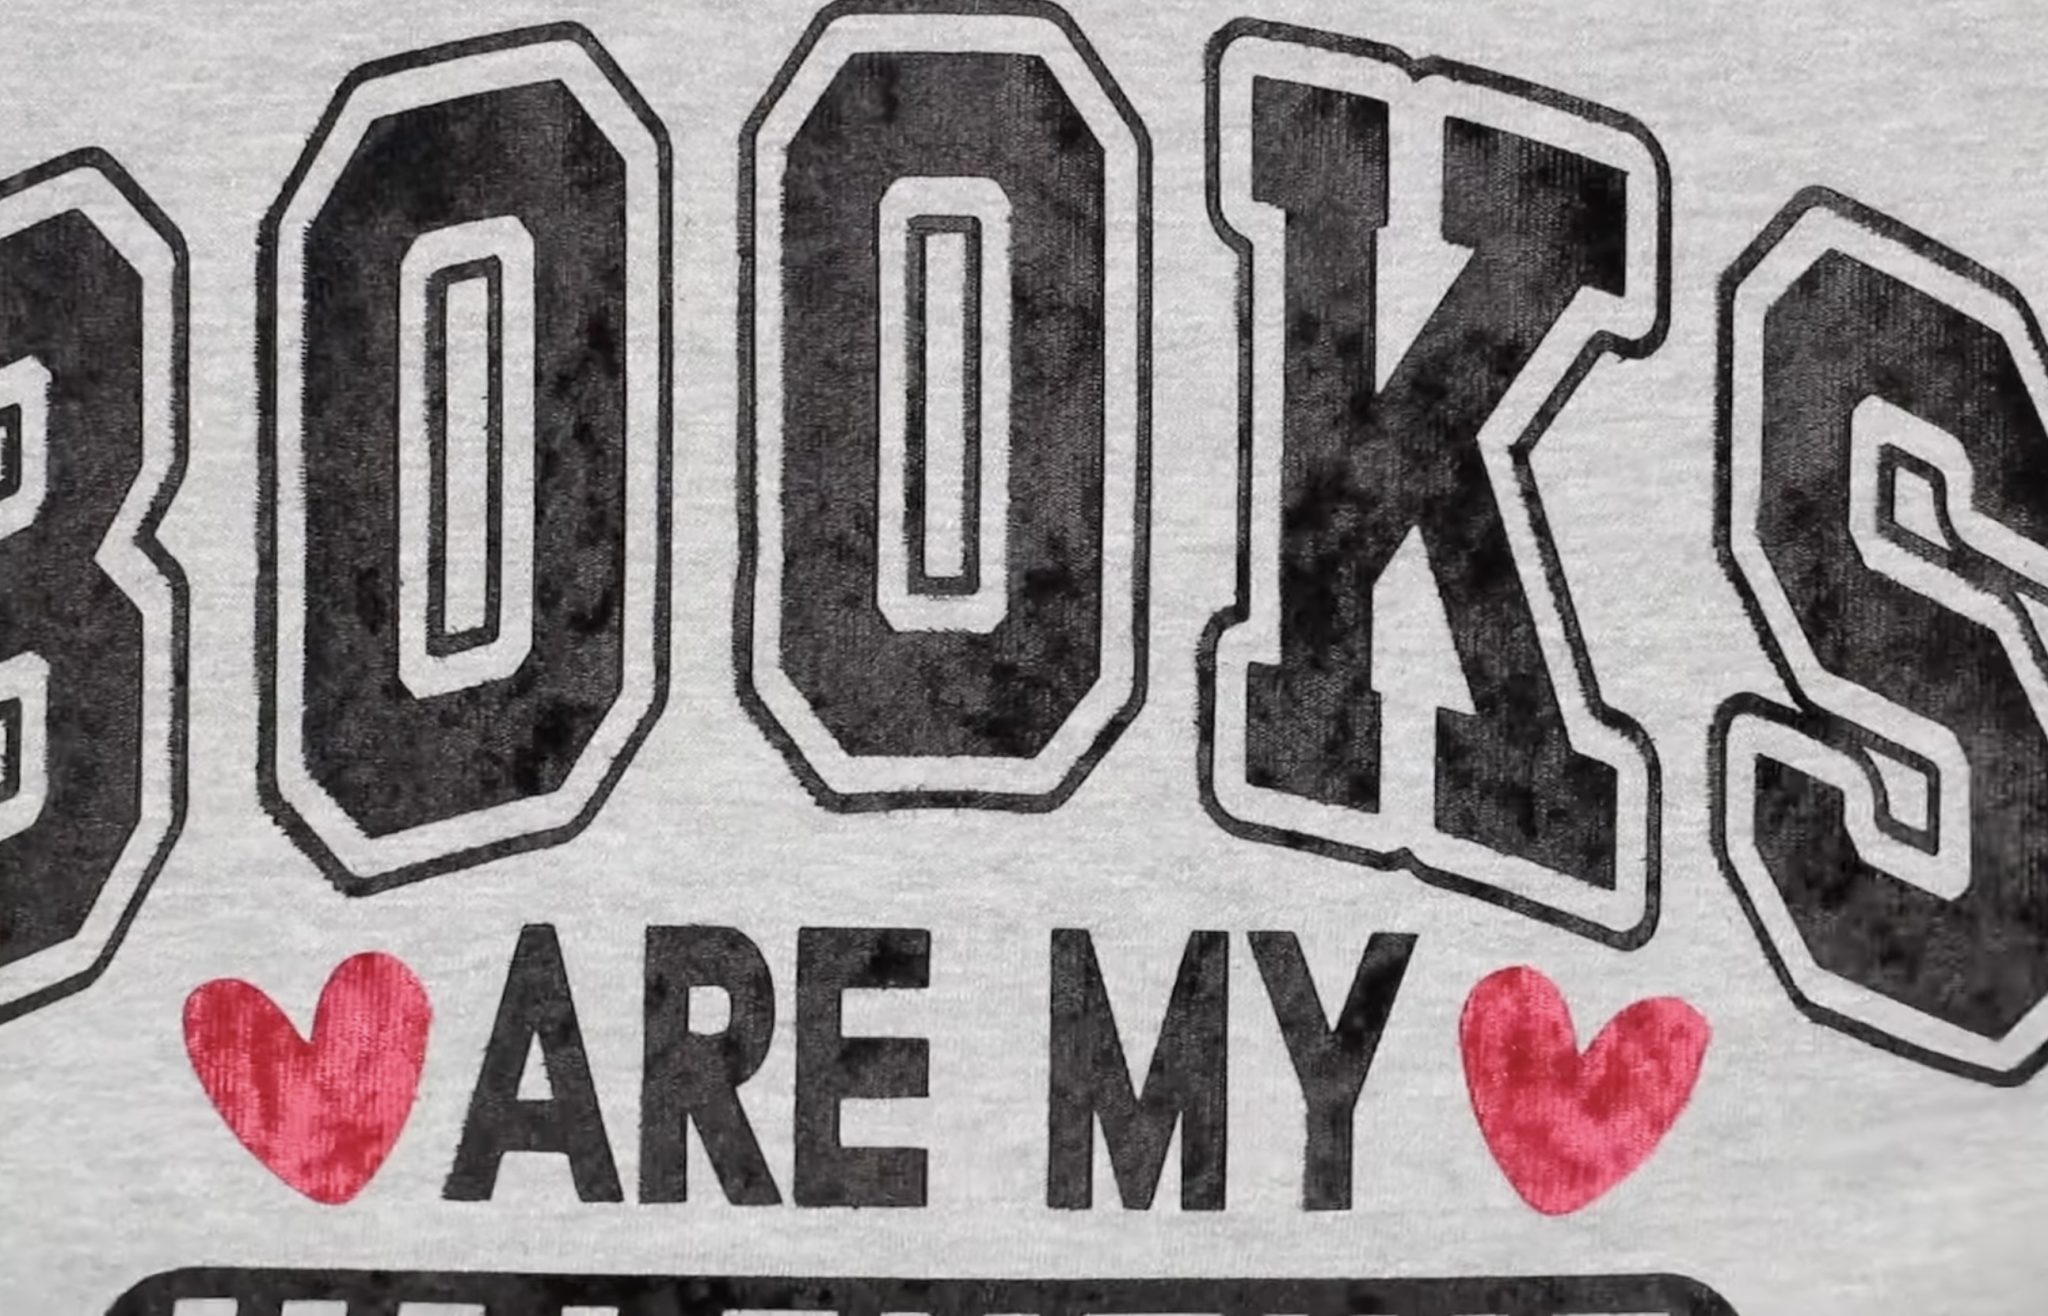
Both the red and black look so good on this grey sweatshirt. I love the look and feel of this design.
Step 7. Mixing Glitter and Lush HTV
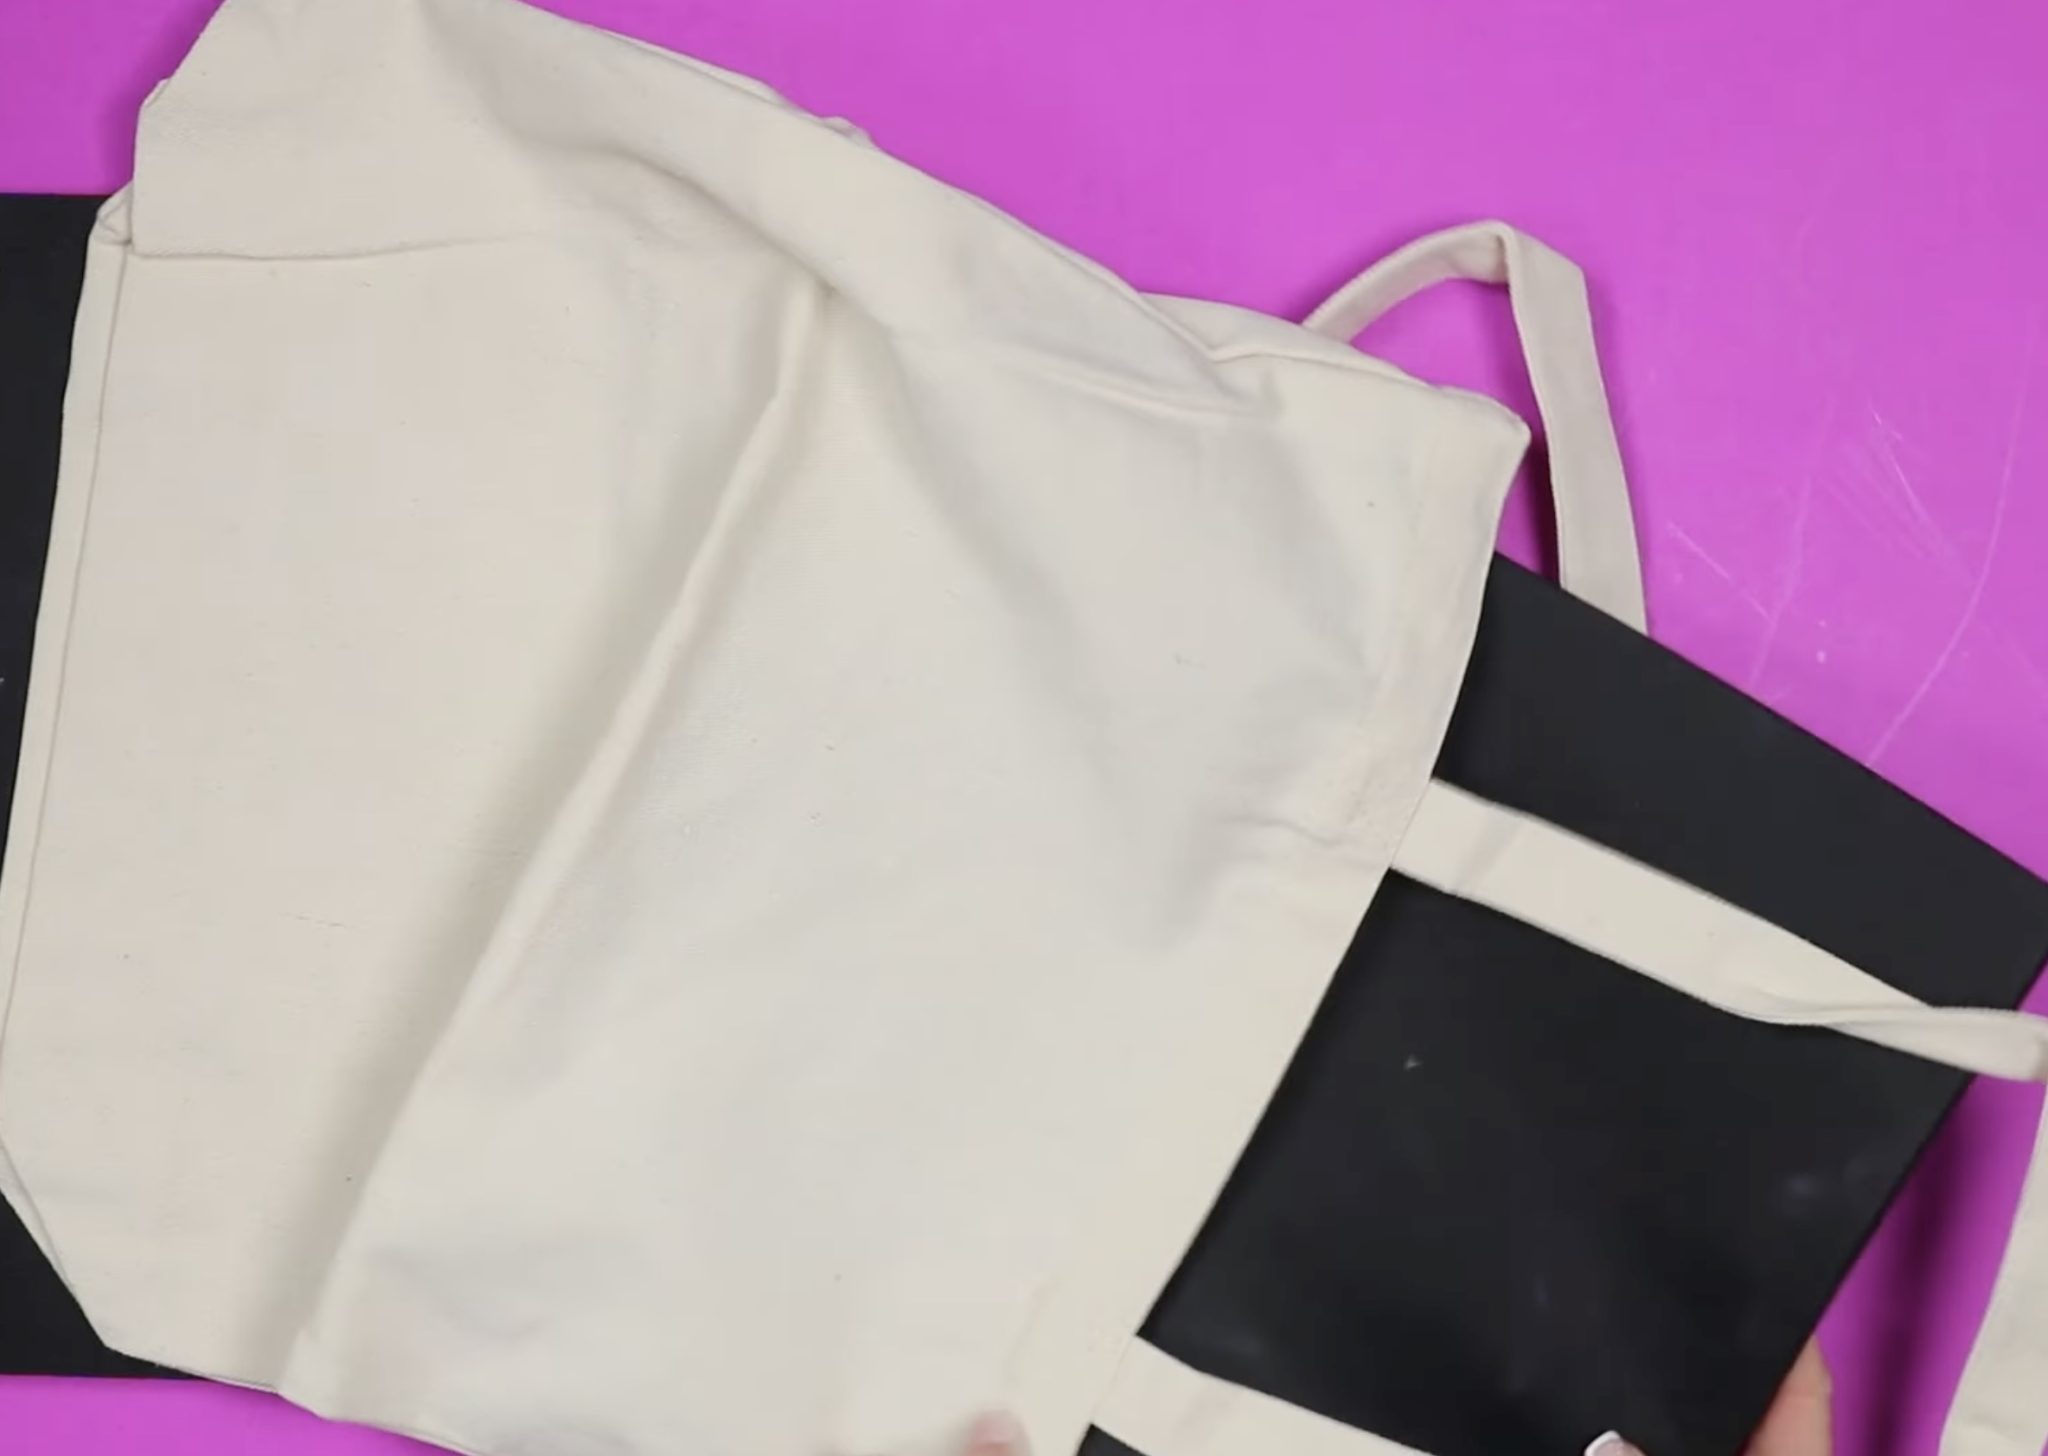
Next, we're going to make a tote using both glitter HTV and Lush HTV.
Cut and weed each material.
To make the tote, I'm placing a heat-resistant mat inside the bag to help lift the pressing area away from all the seams and straps.
Preheat the tote to remove moisture and wrinkles, and locate the glitter HTV layer on the tote.
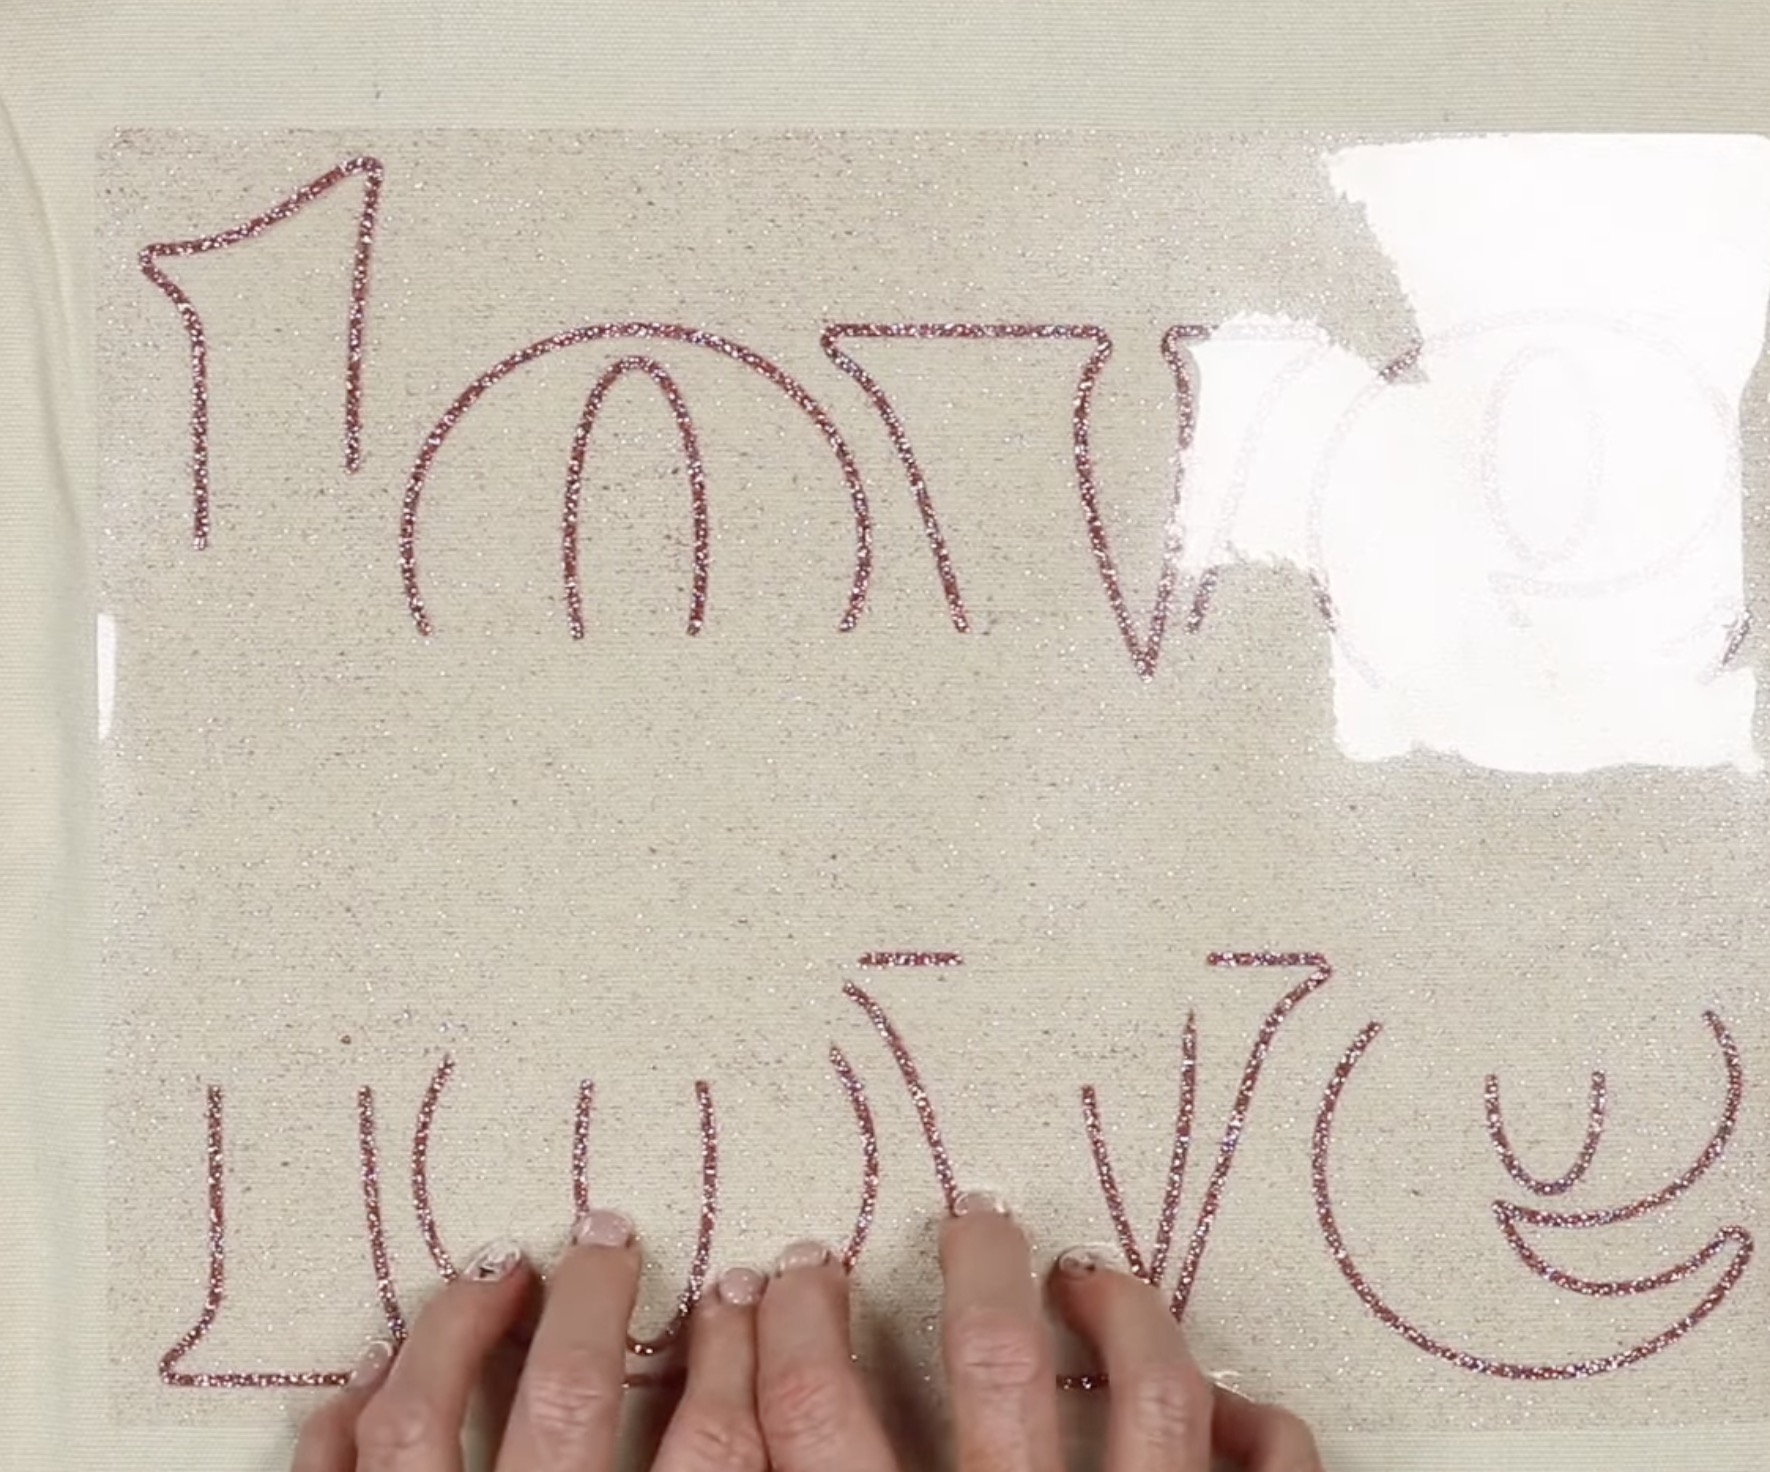
The time and temperature for the glitter HTV are a little higher and longer. I am keeping the temperature the same and pressing for closer to 20 seconds.
The design is larger than the heat press, so I am pressing it in 2 sections.
Glitter HTV is a warm peel material. Allow the material to cool slightly and peel the carrier sheet back.
Do not throw away the carrier sheet.
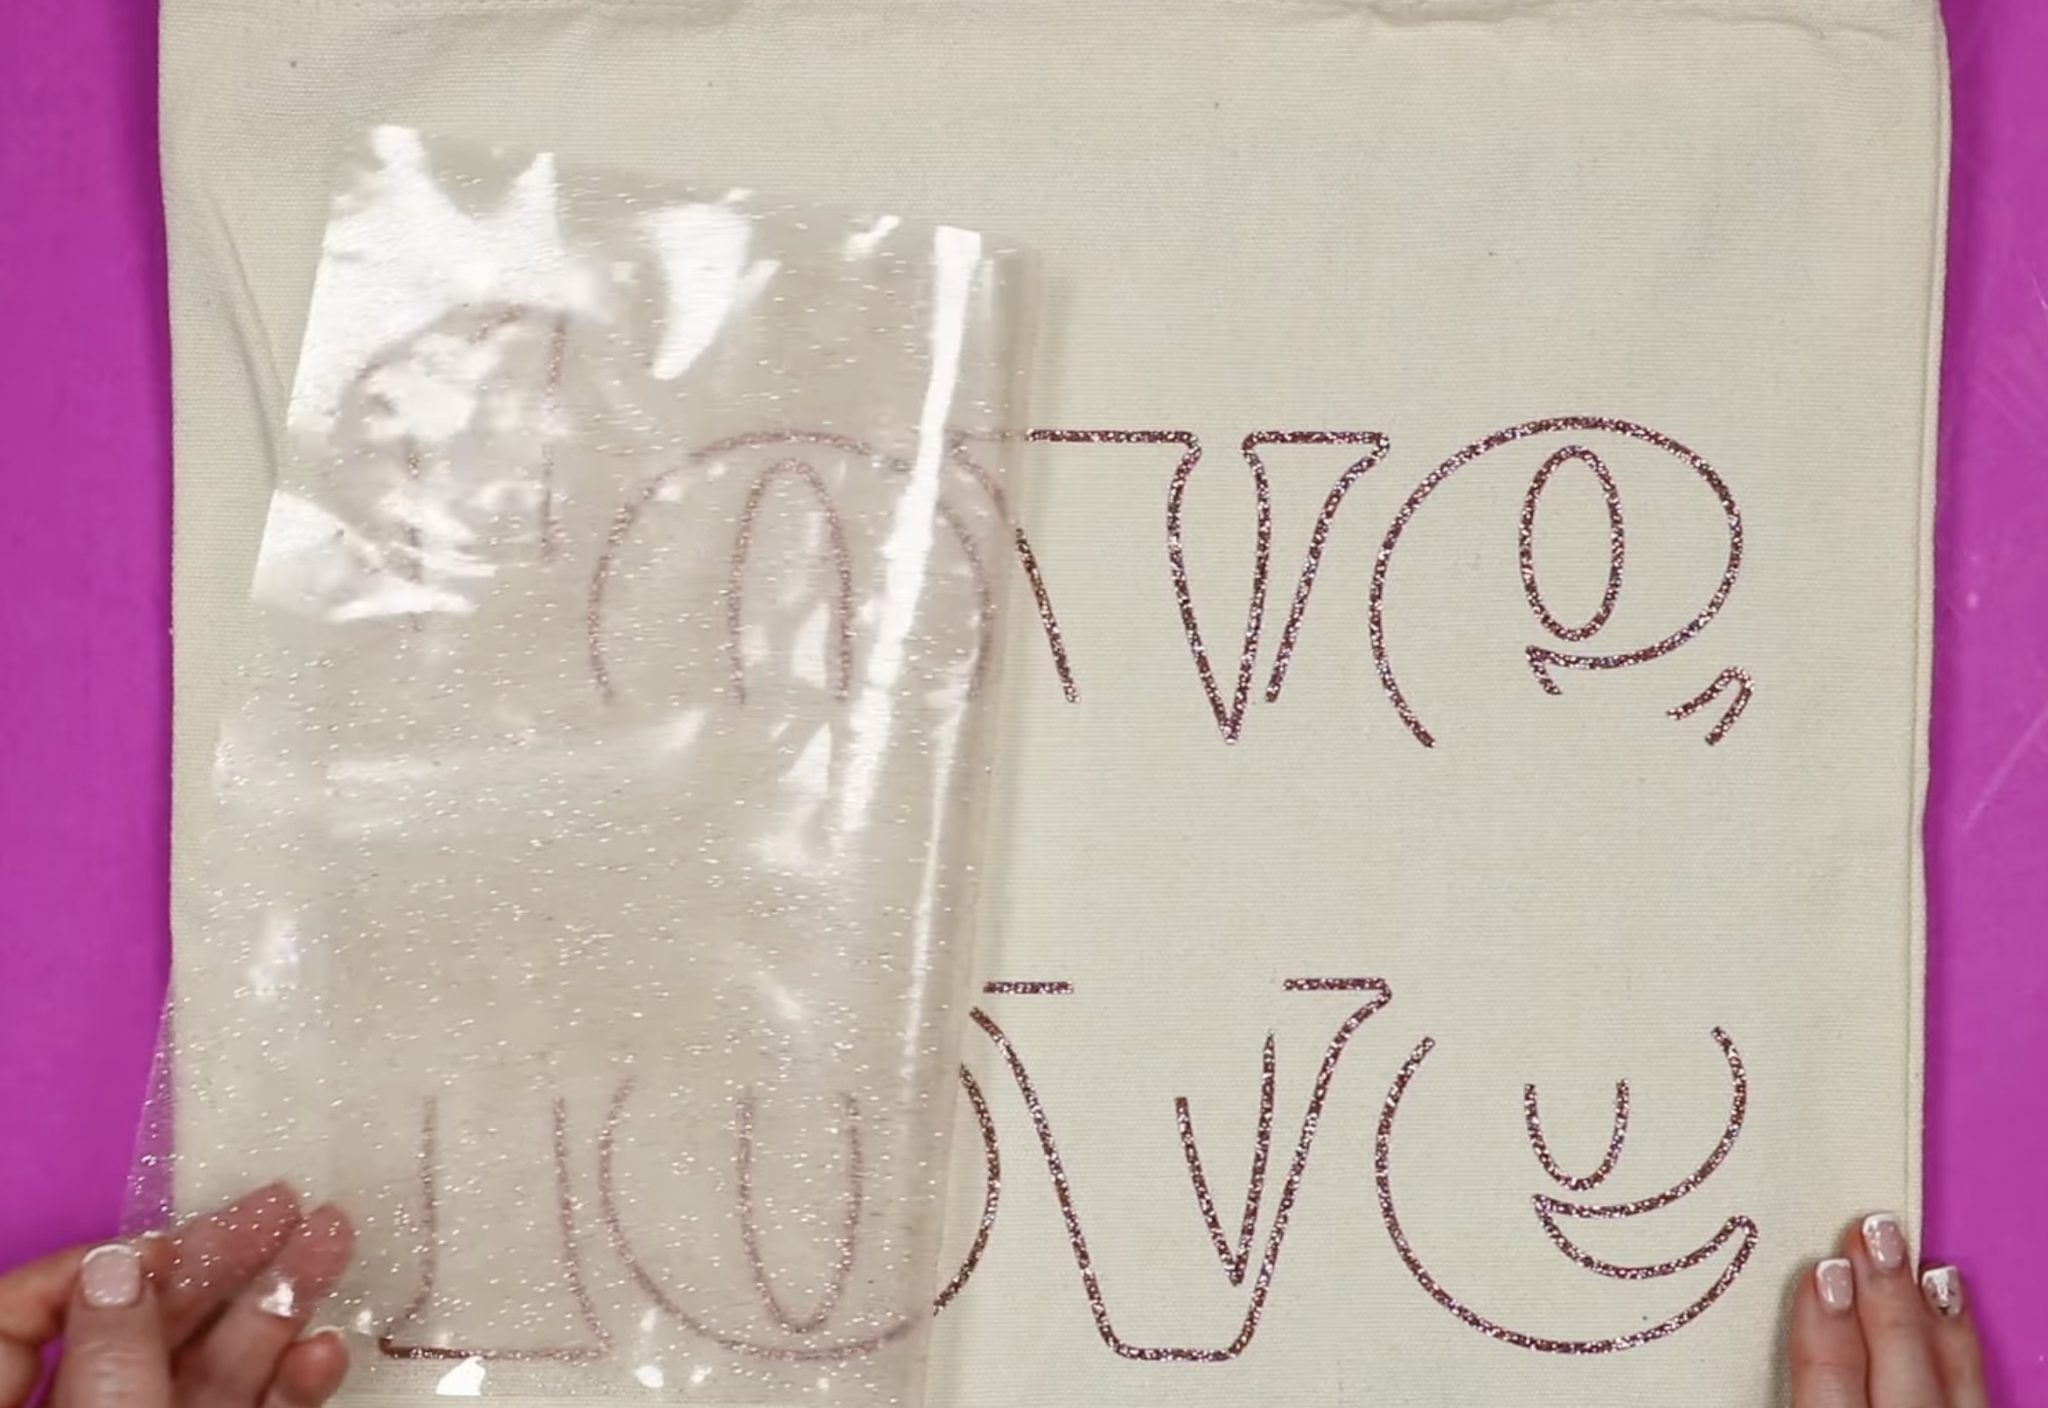
Next, locate the Lush HTV layer.
Cover the whole design with the carrier sheet to protect the glitter HTV while pressing the Lush.
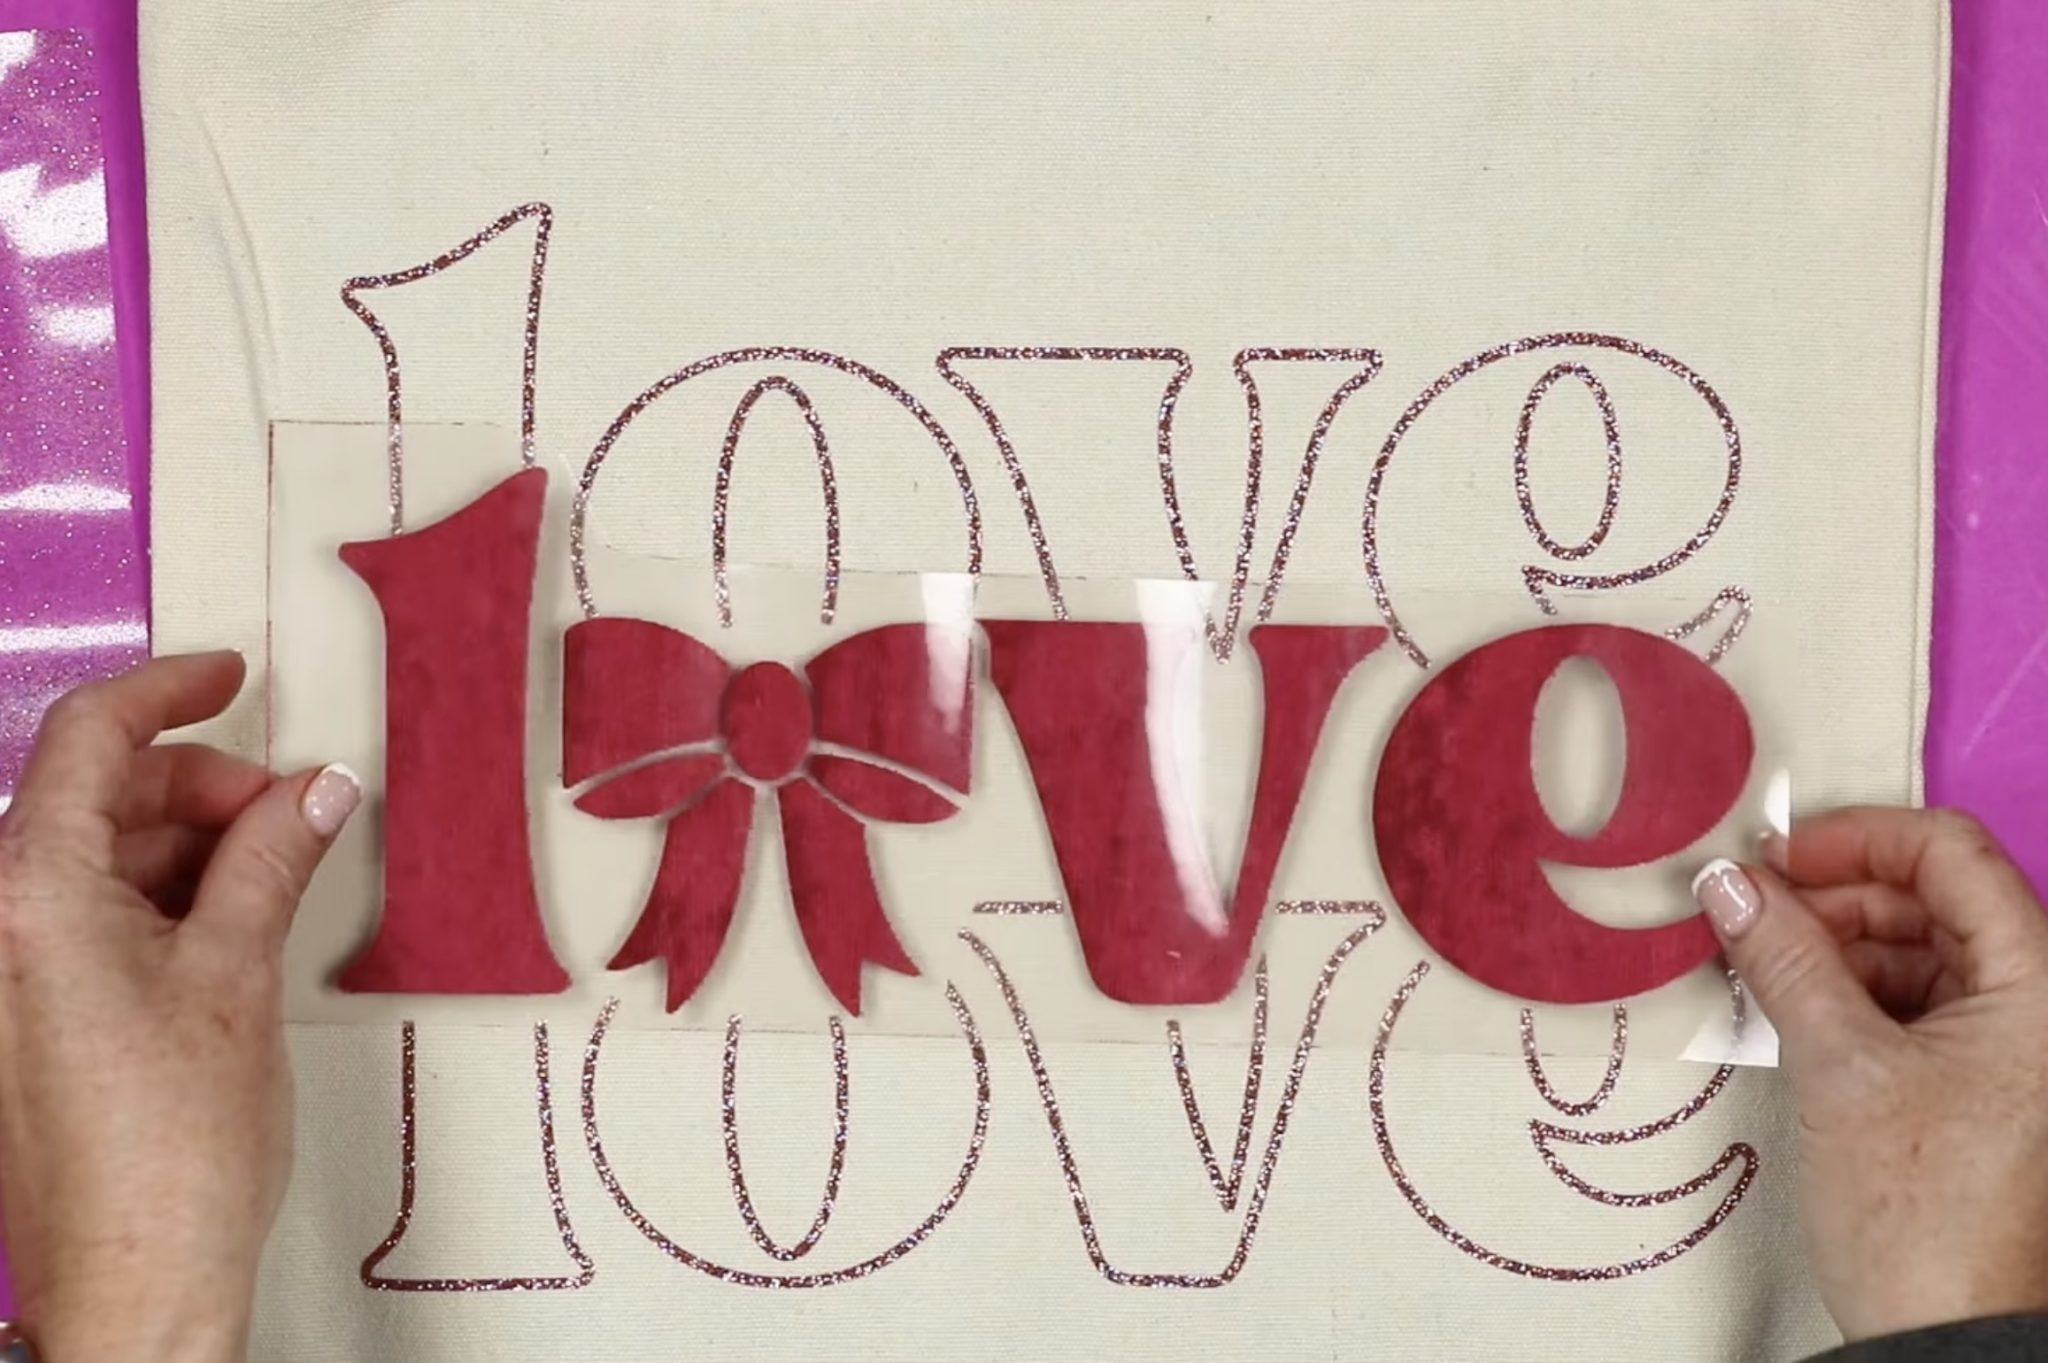
Again, the design is larger than the EasyPress, so I am going to press it in 2 parts.
Allow the material to cool slightly and remove the carrier sheet.
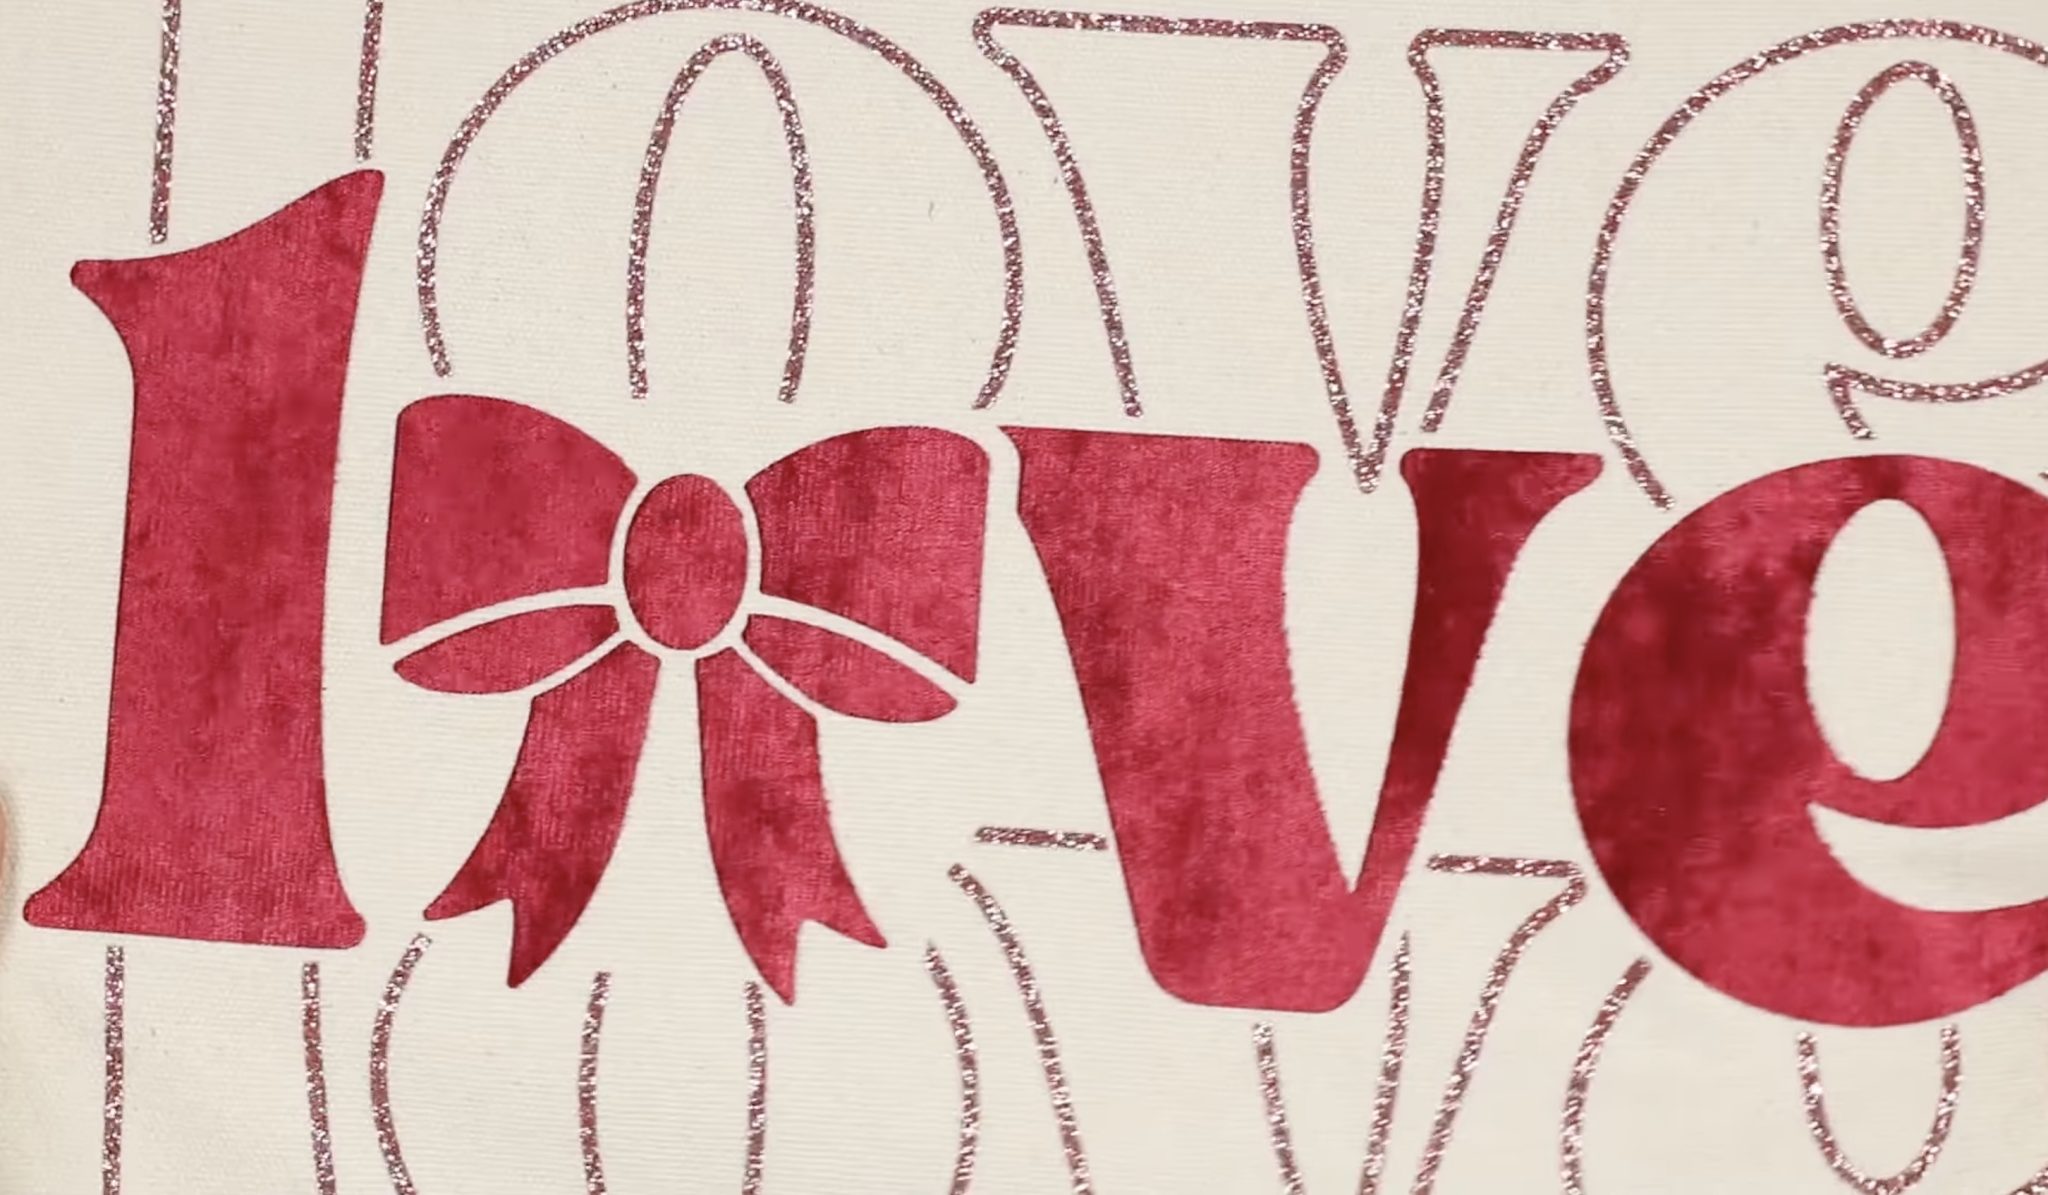
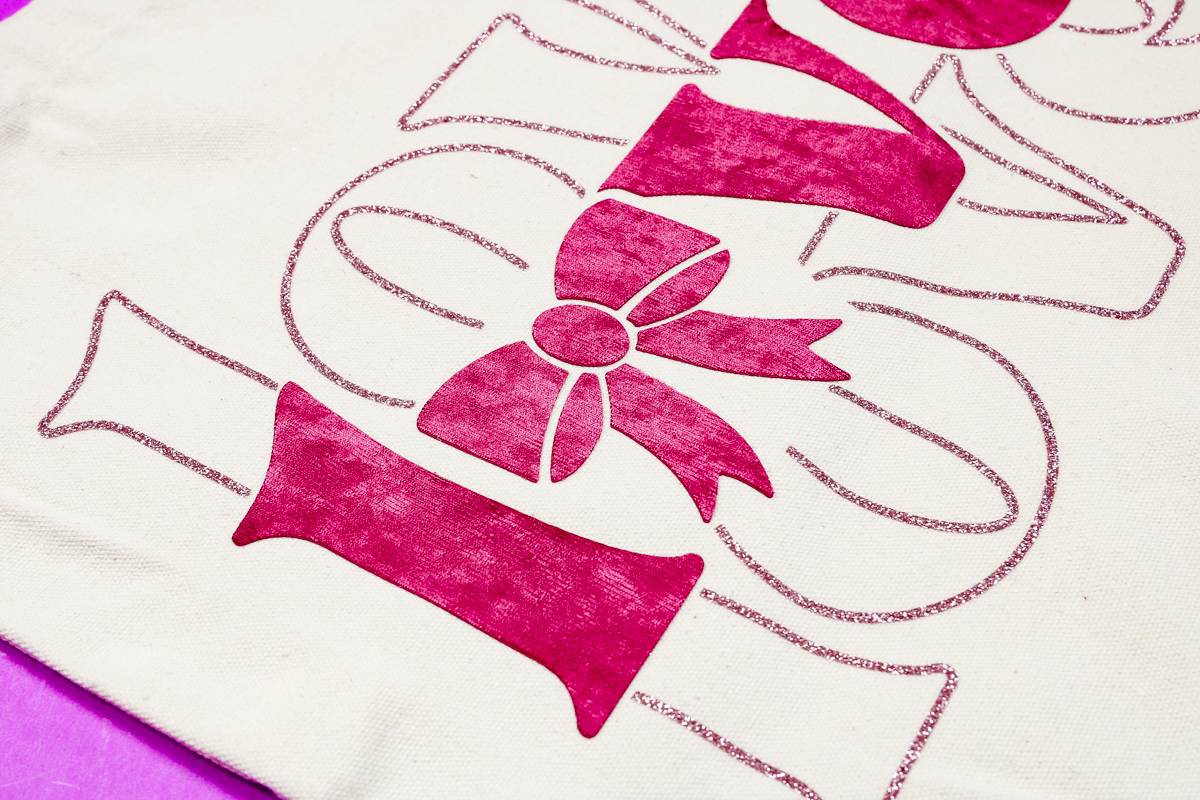
I love the combination of the pink glitter HTV and the red Lush HTV.
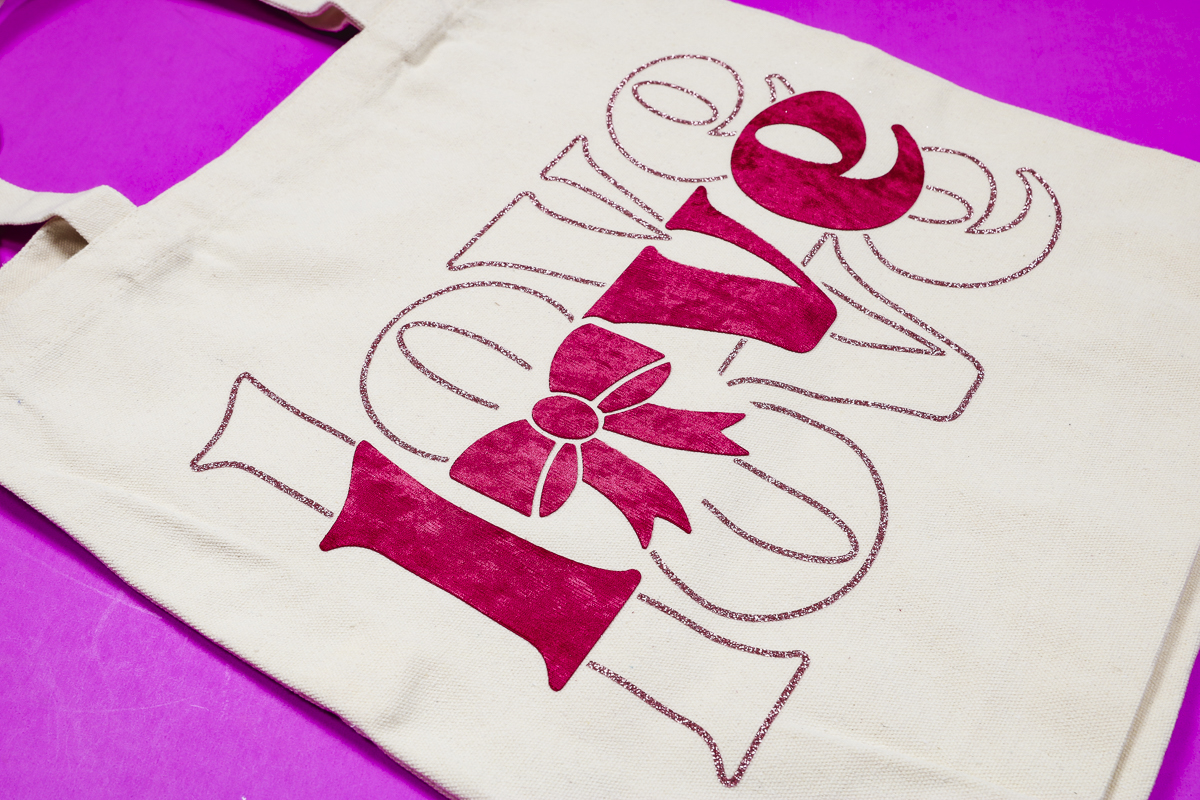
The colors look so good together, and they feel really good on the tote.
Are You Ready to Make Projects with Lush HTV?
I am such a fan of this material. I love the way it looks and how it feels.
Lush HTV is a thicker HTV material, but it is flexible and feels great on all three blanks I used today.
The blanks I used are all different materials: polyester, cotton, and a blend, and the Lush HTV adhered perfectly to them all.
If you've ever used HTV materials that are thicker, you may be worried about your project feeling stiff. Because this material is so flexible, it doesn't feel stiff at all.
The only drawback you may run into is smaller or intricate designs. This material does best wth thicker or larger designs. I definitely recommend doing a test cut when you're first trying the material or if your design is more intricate.
Frequently Asked Questions
Can you layer Lush HTV?
Any time I try a new HTV material, I get asked about layering. As a rule, you don't layer Flock HTV. I would compare Lush to Flock.
I would not layer Lush HTV as a bottom layer. Because it has that nice velvet feel, I don't think other materials would stick well to it, especially through the wash.
You could potentially add Lush to the top of regular HTV materials, but I have not tried that yet.
Can I use an iron?
It is recommended that you use a heat press with Lush HTV. You'll want a medium to firm, consistent temperature and pressure. I used an EasyPress, and it worked well, but I'm not sure you'd get the same results with an iron.
If you use an iron, test the process first on a small piece of Lush HTV. Make sure you have a firm, solid surface to press against. Don't use an ironing board, as they flex away from you when you apply pressure.
I hope I've answered any questions you have about using Lush HTV. If you have any additional questions, leave them in the comments, and I'll be happy to answer them for you.