
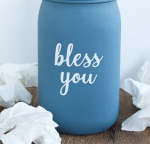
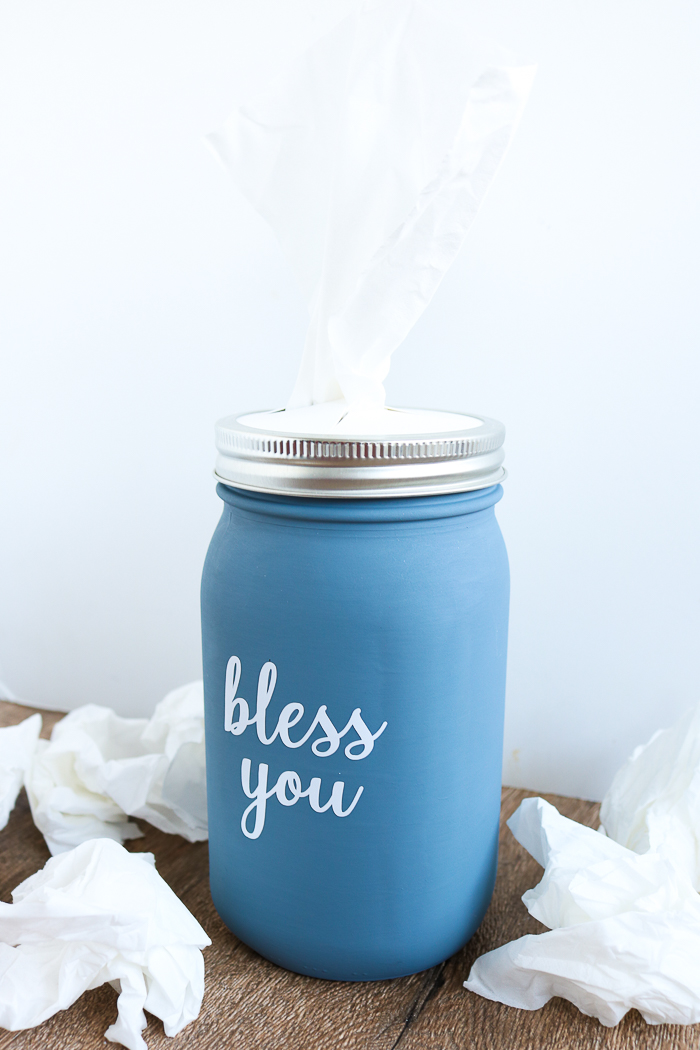
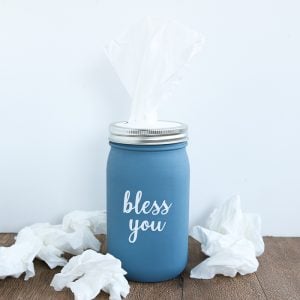
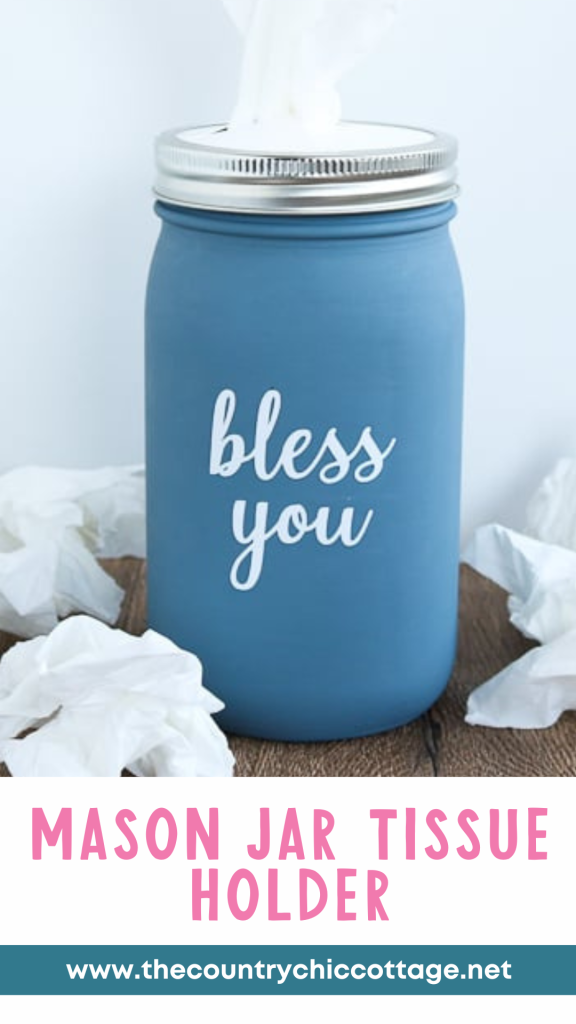
A mason jar tissue holder is not only a charming addition to your home decor, but it also makes a wonderful gift for occasions like Mother's Day. That’s why I’m starting off Cricut Mother's Day week with this project! Throughout the week, we’ll be creating various DIY projects, including this mason jar tissue holder, that are perfect for celebrating moms.
DIY Mason Jar Tissue Holder Video Tutorial
You can watch me make this mason jar tissue holder in the video below. The steps are simple, but I thought it might be easier to see the step-by-step rather than just read it.
Can't watch the video or missed some of the steps? Follow along with the instructions below!
How To Make A Mason Jar Tissue Holder
The instructions below will help you make your tissue holder mason jar.
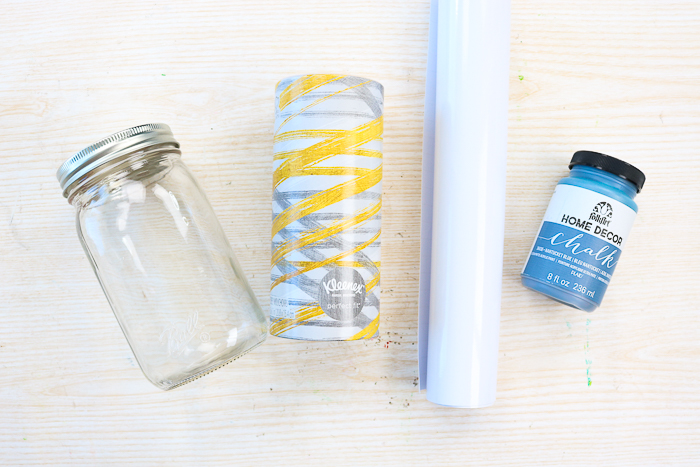
Supplies Needed To Make a Mason Jar Tissue Holder
- Wide-mouth mason jar with smooth sides
- Craft paint in the color of your choice
- Paintbrush
- Kleenex Perfect Fit tissues
- Vinyl in the color of your choice
- Transfer tape
- Cricut cutting machine (you can see which one is my favorite here)
- Bless You art, for cutting (see how to download below)
- Thick cardstock
- Craft knife
- Self-healing mat
Download The Bless You Mason Jar Decal
To download the Bless You SVG, please subscribe to our newsletter using the box below. After subscribing, the file will be sent to your email. Please note that this file is for personal use only. If you need it for commercial purposes or encounter any issues with the download, feel free to email thecountrychiccottage@yahoo.com, and I will be happy to assist you.
Painting The Jar
Step 1: Clean Mason Jar
Start with a clean and dry jar. I recommend wiping it down with rubbing alcohol, then allowing it to dry.
Step 2: Paint Mason Jar
Use a good quality paint like chalk paint and add a couple of coats with a paint brush. Be sure to allow it to dry in between coats and follow all package directions. You can even use spray paint for this step.
NOTE: I found that painting with my hand inside the jar allowed me to get all of the surfaces easily, then I allowed it to dry upside down.
Adding Bless You To The Front
Step 1: Download & Upload The Bless You File To Cricut
While your paint dries, cut the file with your Cricut machine. You can find the download instructions for the file above. Then just upload the file to Cricut Design Space. Click here to see how to do that easily.
Step 2: Cut Design From Vinyl
Then cut your file from the vinyl color of your choice.
Step 3: Weed Design
Weed away all excess from around your words as well as the centers of letters. See my tips for weeding here.
Step 4: Apply Transfer Tape To Vinyl
Apply transfer tape to your vinyl and press down well.
Step 5: Lift Backing From Vinyl
Lift the backing from your vinyl, leaving it stuck to your transfer tape.
Step 6: Apply Design To Jar
Once the jar is completely dry, you can apply this to the front and lift up the transfer tape to leave your vinyl on the jar. Press the vinyl letters down onto the paint well with your thumb after lifting the transfer tape.
Making A Mason Jar Tissue Holder Lid
Step 1: Cut Out A Circle From Cardstock
Use the lid you removed from the jar to trace and cut a circle from heavyweight cardstock with scissors.
Step 2: Cut An ”X” In The Center Of Cardstock
Then use a craft knife and self-healing mat to cut an “X” in the center of your circle. You want to make sure you do not go all the way to the edges with your “X,” as you still want this to be one piece.
Step 3: Add Cardstock To The Mason Jar Lid
Add the cardstock circle to the band for your lid, and you have a mason jar tissue holder lid for your project.
Adding In The Tissues
Just a few words about the tissues we are using here. I recommend using the “Perfect Fit” tissues from Kleenex, as they fit perfectly in the jar. While you can also use square boxes of tissues, they may not fit well in the jar. It's important to ensure that the tissues can be pulled out from the top, just like you would with a regular tissue box.
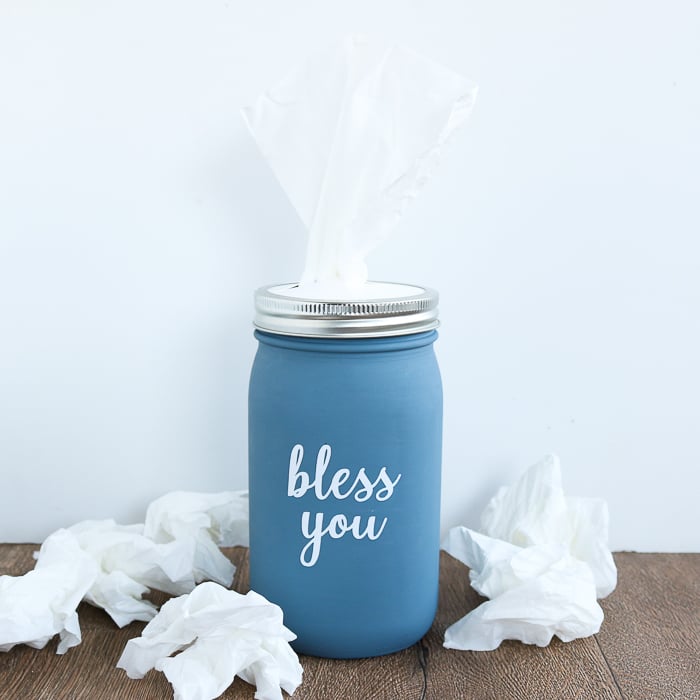
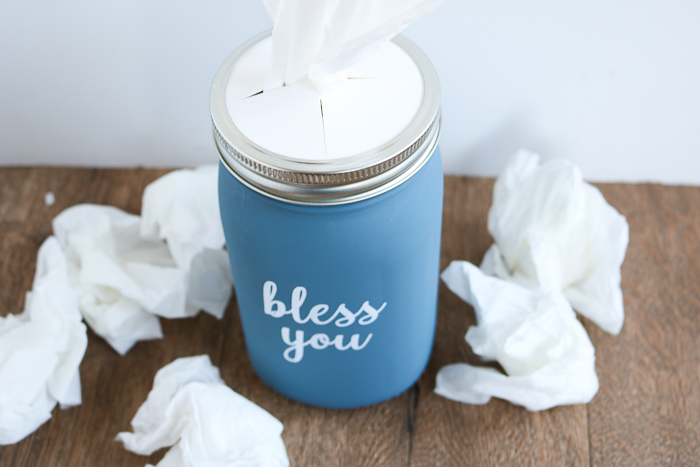
After that, add the lid and pull one tissue through the top to complete your Mason Jar Tissue Holder.
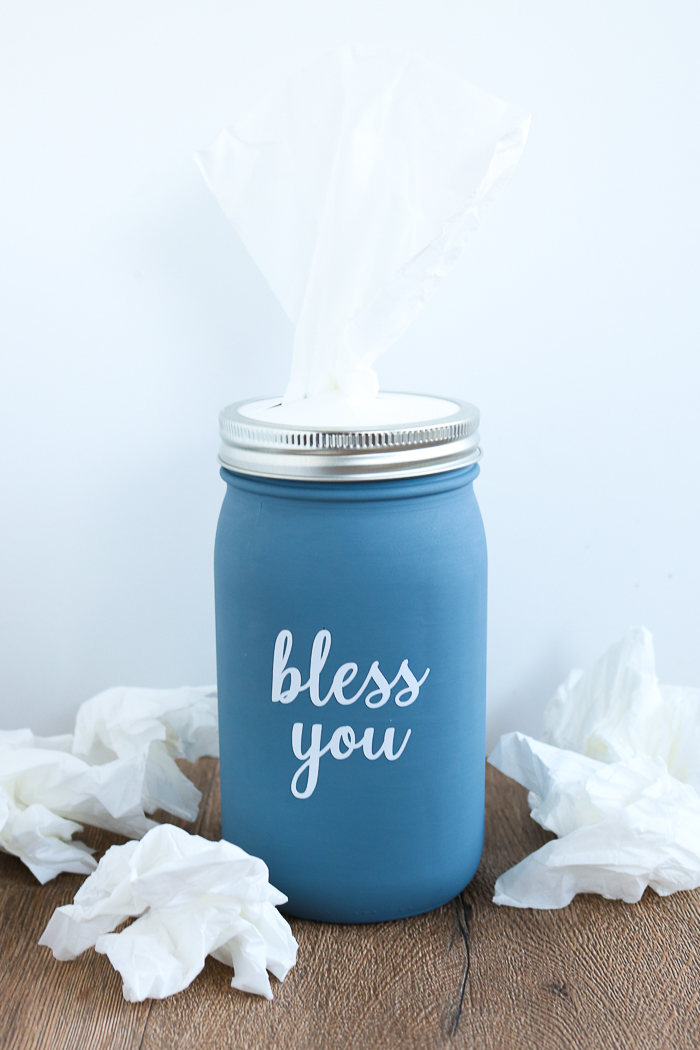
As you can see, a tissue holder mason jar is so easy to make! Plus, it will look so much better around your home than the standard box of tissues and can be coordinated with your home's colors and style.
Get your supplies and make one for yourself or as a gift for someone else. This one is perfect for Mother's Day, which is coming up before you know it!
Grab your paint and match the colors in your home, and add whatever color vinyl you want to the front. You can even design your own art and customize it for your home.
Now I promised you some more Cricut Mother's Day fun!
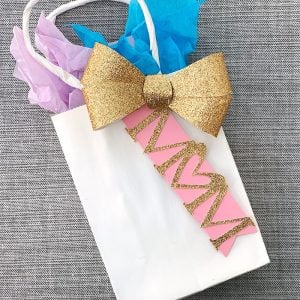
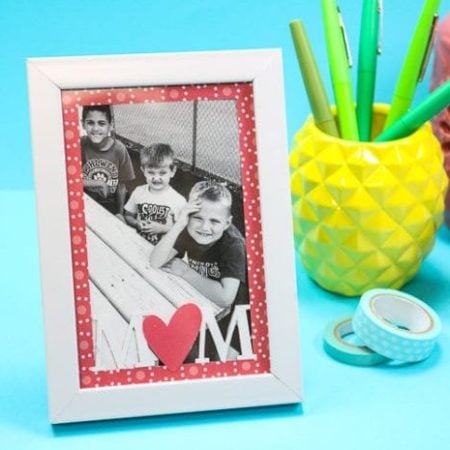
More Cricut Mother's Day Ideas
Click on the picture for each idea that you want to see, and the instructions will open in another tab on your computer. Y'all enjoy!


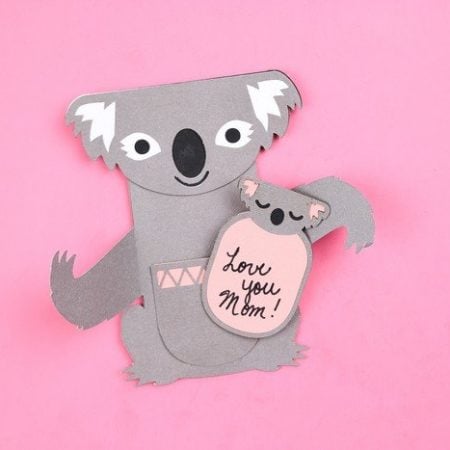
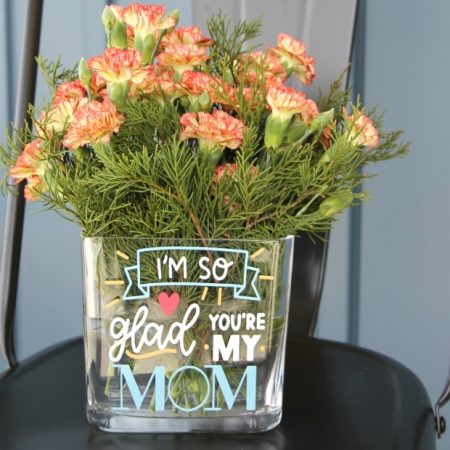
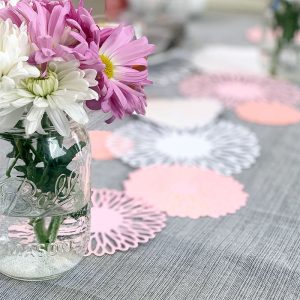
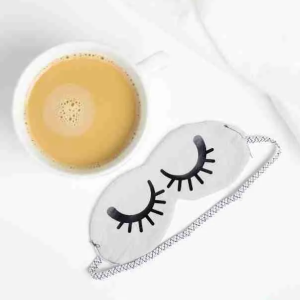
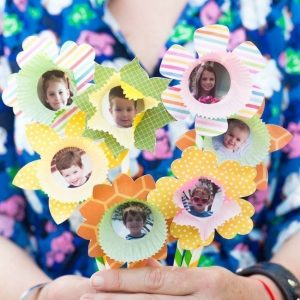
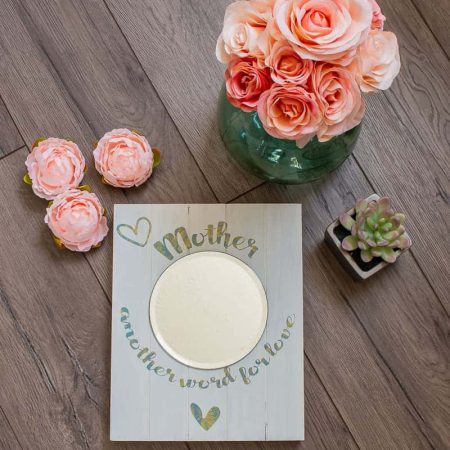
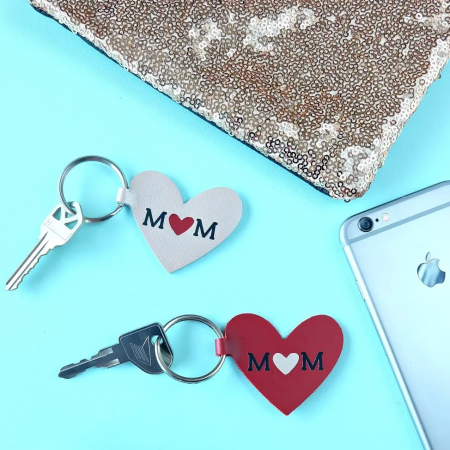
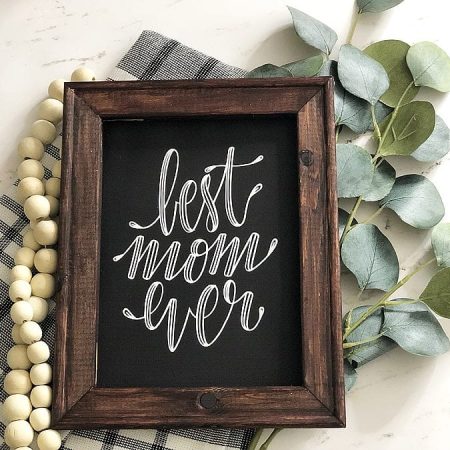
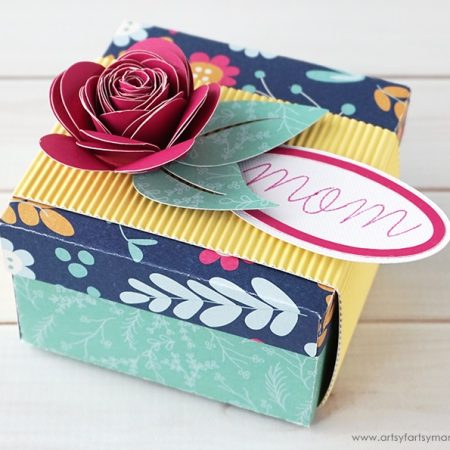
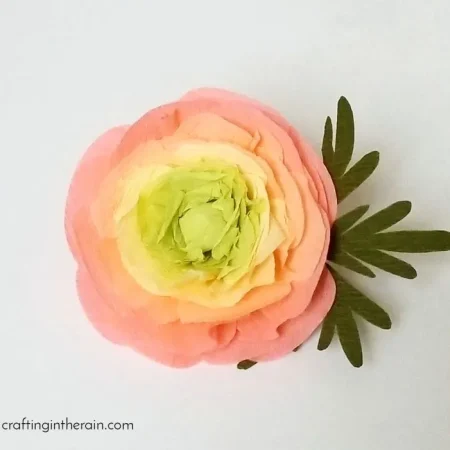
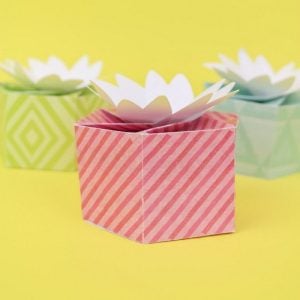
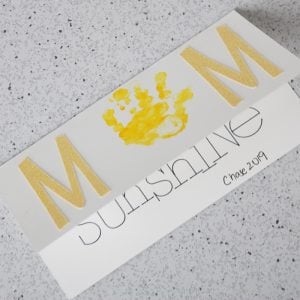

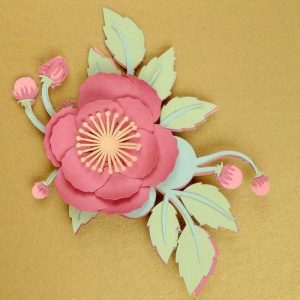

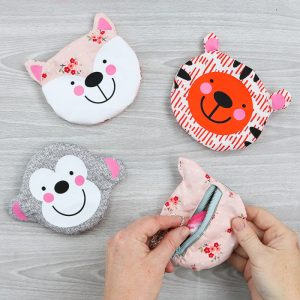
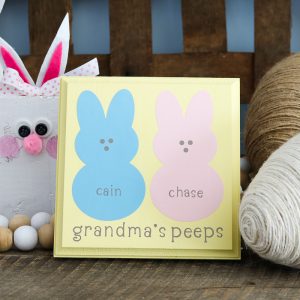


Grab your supplies to make this mason jar tissue holder or any one of these other fun Mother's Day craft ideas using your Cricut machine.
FAQs About Mason Jar Tissue Holder
If you have questions about this mason jar tissue holder, I have answers for you! Please leave your question for me in the comments if you don’t see it already answered below.
What Size Is The Jar?
It is a quart-size with a wide-mouth lid.
What Paint Color Did You Use?
It is FolkArt Home Décor Chalk in Nantucket Blue.
What Font Did You Use?
It is called So Fontsy!
What Is The Easiest Way To Cut The Jar Top?
Scissors or a craft knife.
Can You Just Set The Whole Original Tissue Box Lid And All Into The Mason Jar?
I don't think so.
Does The Paint Stay On Or Does It Crack/Chip Over Time?
This stayed on for YEARS.
5 More Mason Jar Crafts
Did you love this mason jar tissue holder and are looking for more mason jar crafts? Then check out the projects below!
- How to Make a Mason Jar Soap Dispenser
- DIY Mason Jar Toothbrush Holder
- Change Jar for the Laundry Room
- DIY Make Up Organizer
- Mason Jar Wall Decor: Bathroom Organizer


Thanks for the great tutorial and amazing giveaway!
OMG I love your post. I love the variety of what you do.
I appreciate all your informative emails. Thank you
Love your crafting ideas! Would love for my daughter to craft again !
What size do you cut the vinyl? Cut project!!
I would resize it to fit whatever jar you are using. I usually just use a ruler to measure the jar surface.
So they make the tissue like this any more? I don’t believe I have seen them anywhere here where I live. I see this post is a year old.
I got mine from Amazon and it is linked in the post above under supplies.
What is the benefit of painting the outside of the jar as opposed to the inside? I’m wondering if there’s a difference or it’s just preference.
Preference! You can definitely do either one.
Hey, Angie!
Awesome tutorial!! Best one I’ve seen.
I was wondering what size mason jar you used for this specific tissue box size?
I cannot wait to make this 🙂
-Jess
Wide mouth quart jar.
Wide mouth quart jar.
What color chalk paint did you use to make the mason jar tissue holder – I love that color, thanks
It is called Nantucket Blue.
Love this idea. I don’t have a Circut and probably never will because of the cost but I guess I could stencil or use store bought letters. I love all your crafts
Do you need to seal the paint?
You don’t need to. Depending on how much wear and tear you expect or if it’s anywhere near fluids you may want to. A spray sealer would be a good option 🙂