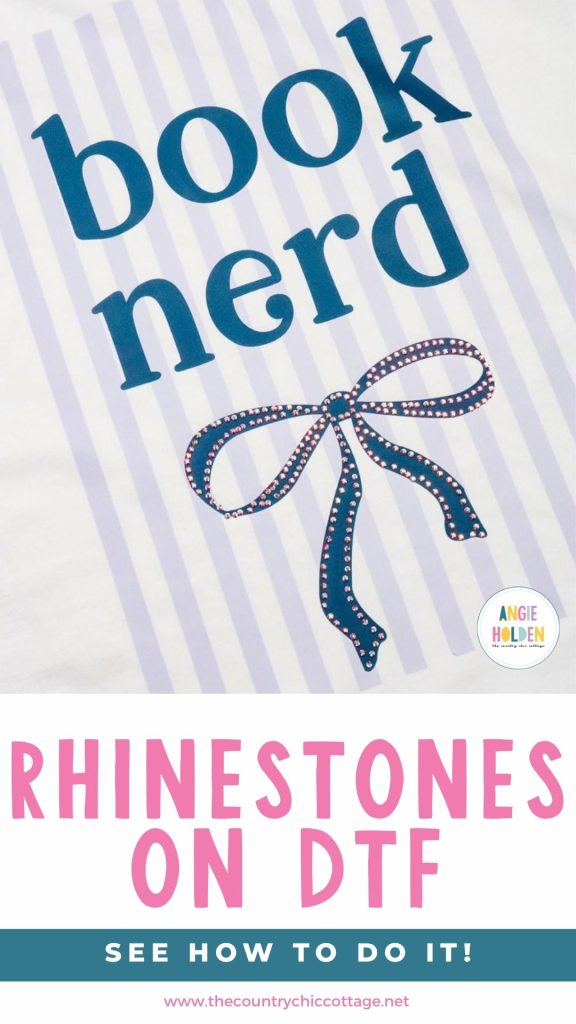
Can you add rhinestones to DTF? I've been asked this question multiple times, so today I'm putting it to the test, and I think you're going to love the results.
If you love adding a little bling to your projects, keep reading to learn all my best tips and tricks. New to DTF? My DTF Printing Beginner's Guide is a great place to get started.
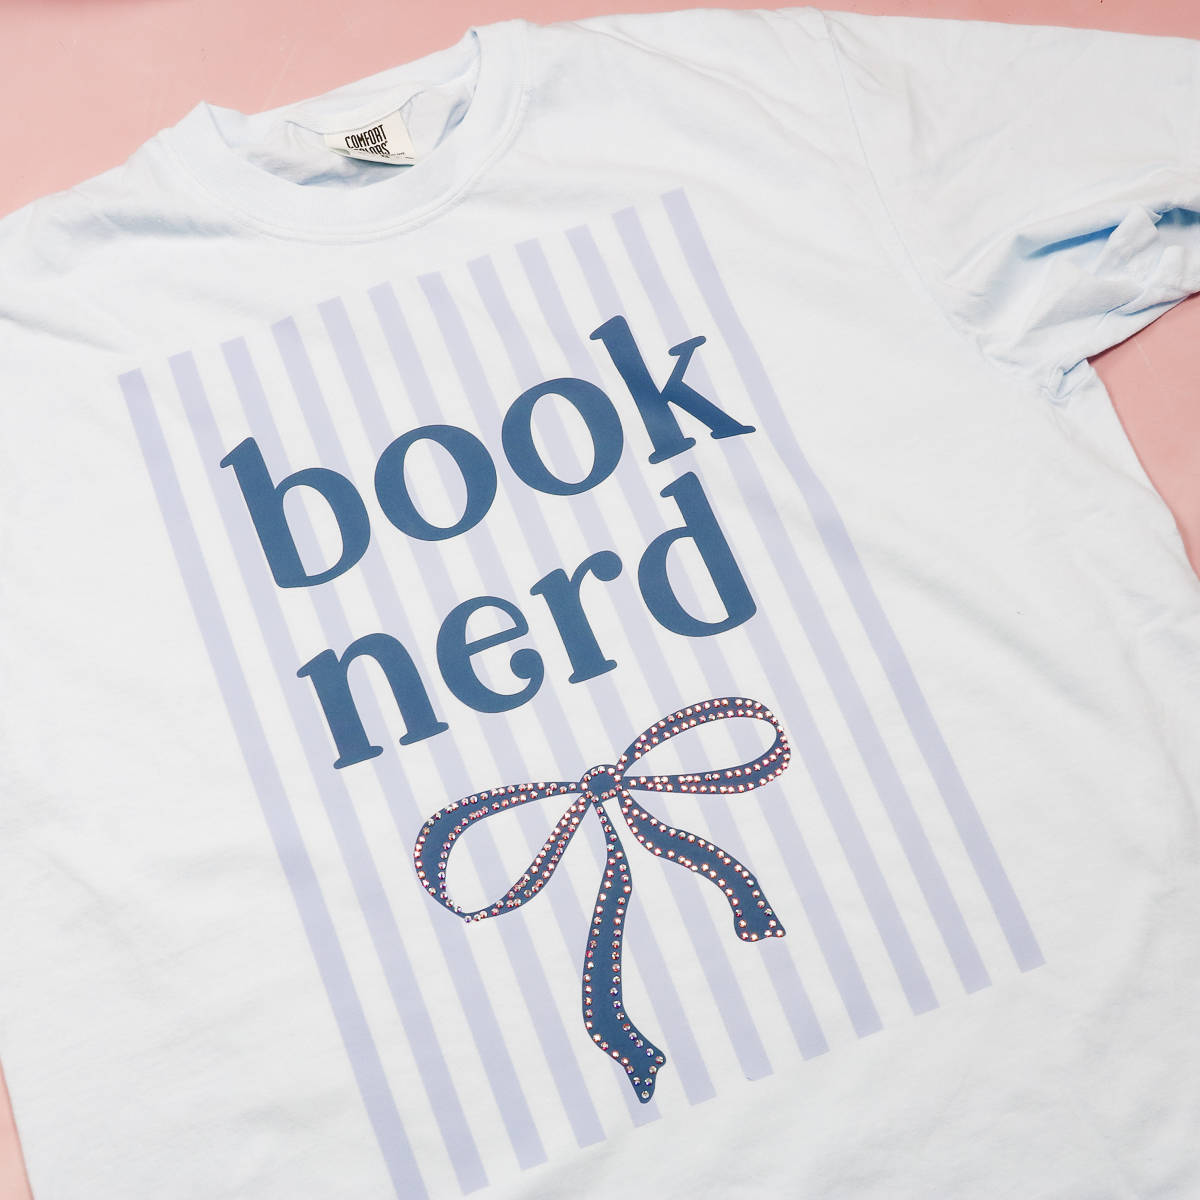
For this tutorial, I'm going to show you how to create the rhinestone template in Cricut Design Space. If you've never used rhinestones before, this is a great way to start out.
You can watch the entire process by pressing play on the video below.
How to Add Rhinestones to DTF Prints
For this project, I am going to order my DTF print from Ninja Transfers and then use hot fix rhinestones to add bling to the bow.
I am going to use my Cricut machine to cut out the rhinestone template, making this a project that you can customize to work with any design you want to use.
Using DTF for the print allows me to easily use a design with multiple colors without the bulk you get from using layers of using something like HTV.
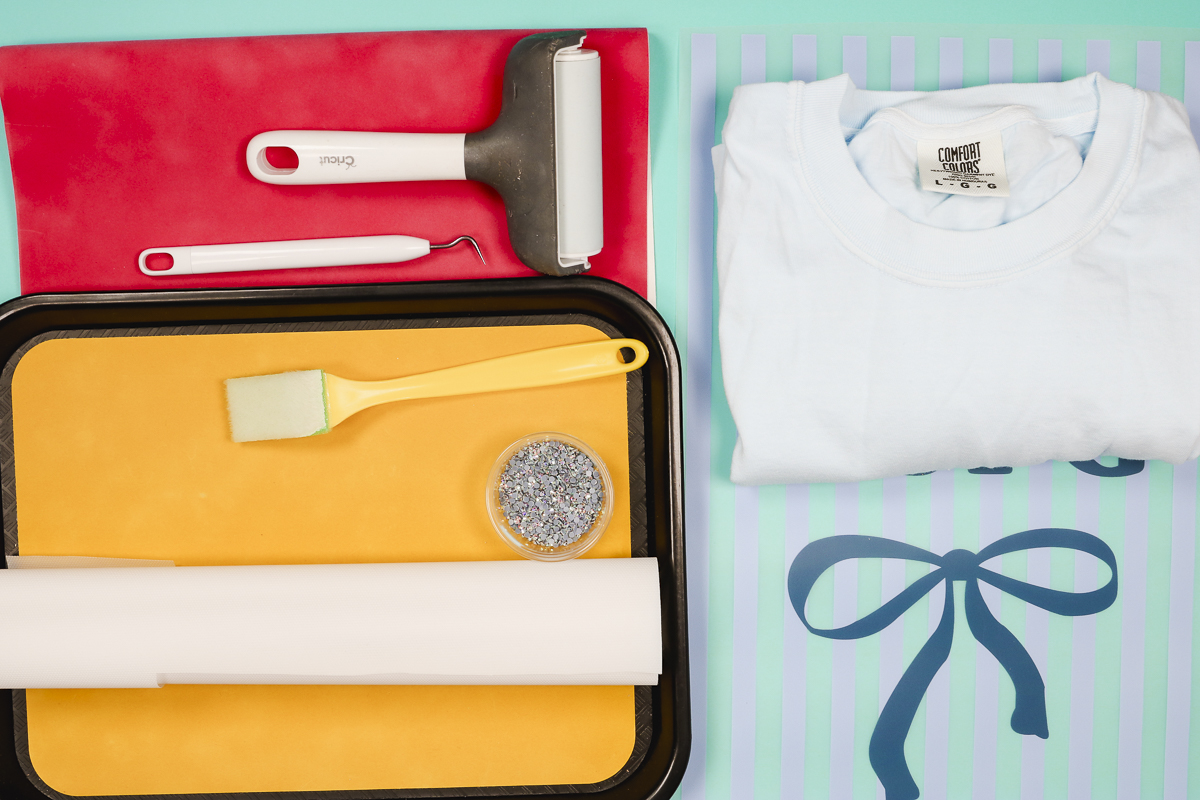
Supplies Used
- DTF Prints
- Comfort Colors Shirt
- Protective Paper
- Paper Dispenser
- Cricut AutoPress 2
- Rhinestone Template Material
- Rhinestones
- Tray
- Brush/Pad Combo
- Heat Transfer Mask
- Brayer
- Weeding Tool
- Tweezers
- Cricut Machine
Step 1. Order the DTF Print
When ordering your DTF print make sure you know the exact size you made the design. I resized my design to exactly 11 inches wide.
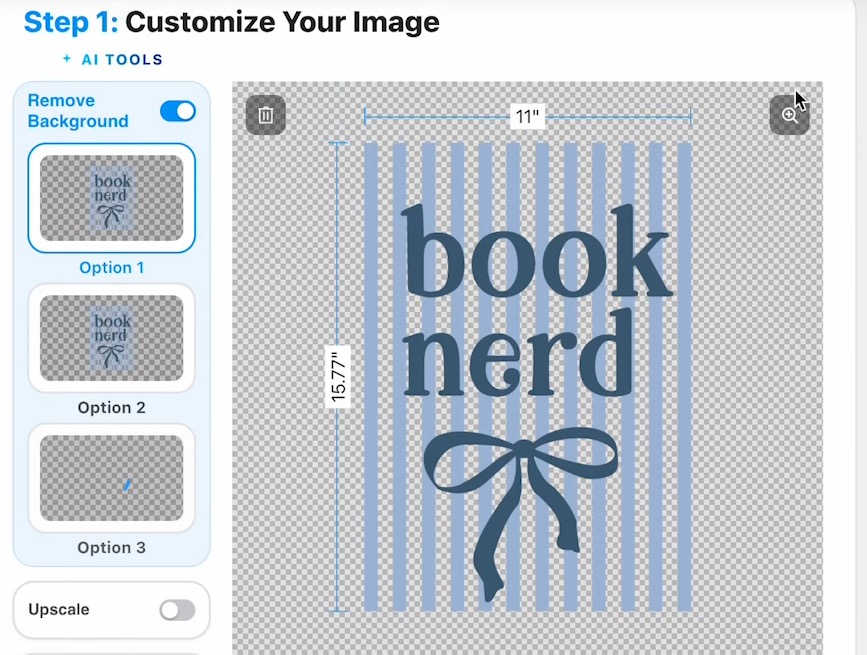
Knowing the size of your design will allow you to create the rhinestone template the correct size.
On the Ninja Transfers site, you can order your DTF prints by size or as a gang sheet. I am going to order this print by size.
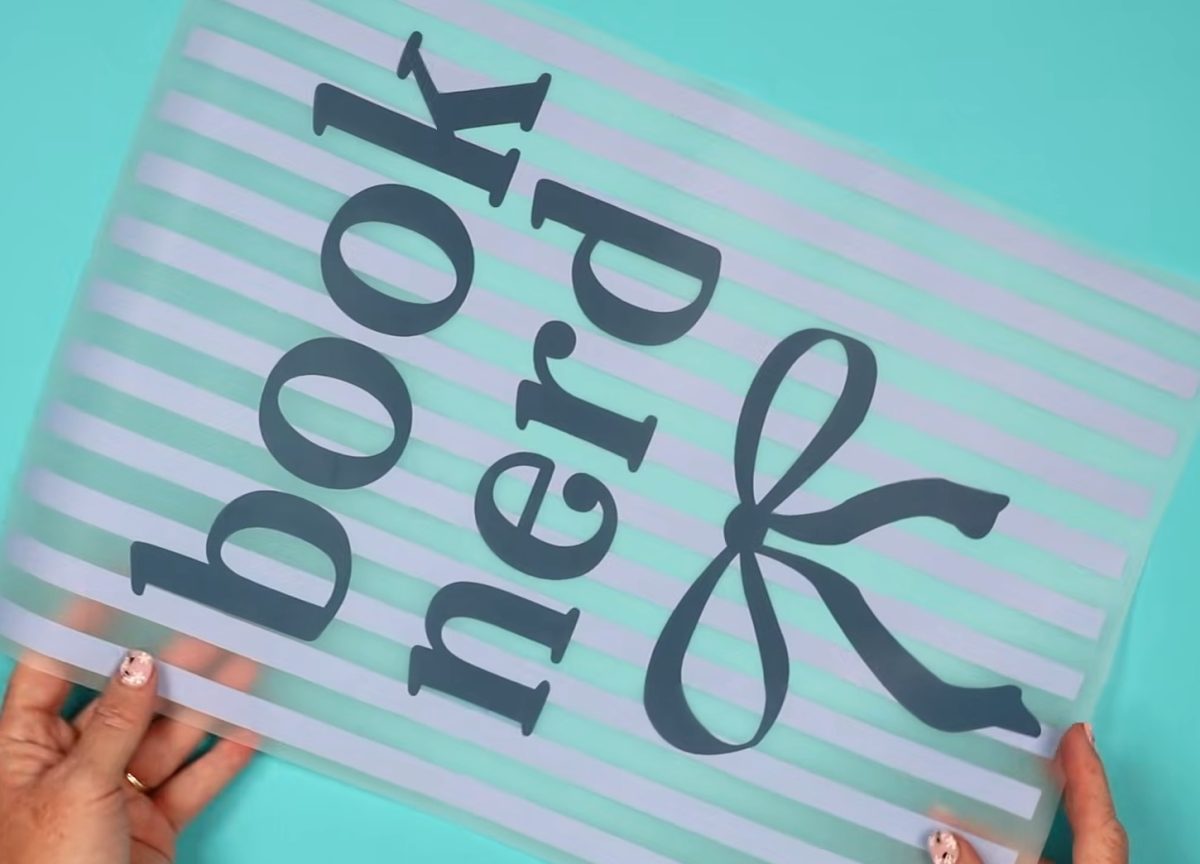
When the print arrives, it is ready to be pressed.
Rhinestone Design Options
For this tutorial, I will be showing you how to create a rhinestone template as if you have no design experience. If you know how to work with SVG designs, you can open the design in another program and punch holes out of the design before sending it to be printed.
Doing this will make it so there are holes in the design when you receive it, which will allow the rhinestone to adhere directly to the shirt, not the DTF print. I am not doing that today. This is a much simpler process.
Step 2. Create the Rhinestone Template
To create the rhinestone template, open Design Space and click New Project.
Upload the SVG file you used for the DTF print and resize it to be the same size as the DTF print you ordered.
Note: If your design is a PNG, that is okay. An SVG file can be easier to use because you can eliminate unnecessary layers.
My DTF print is 11 inches wide so I made this design 11 inches wide.
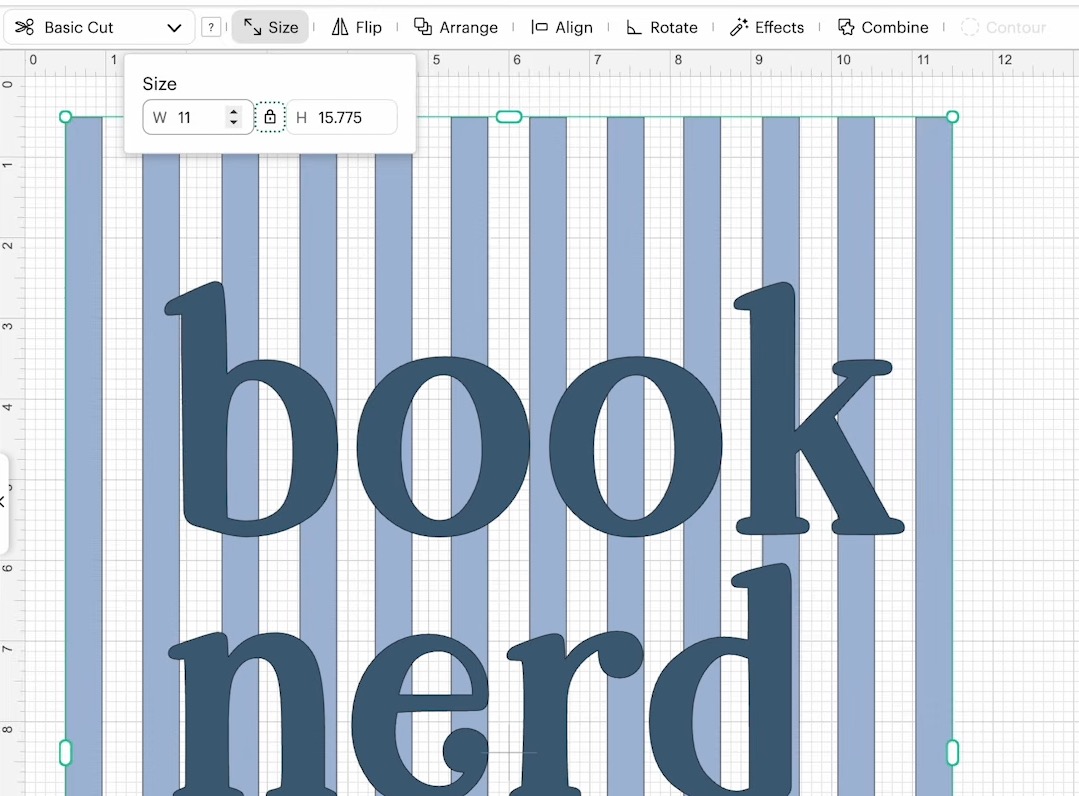
After you resize it, go to the layers panel and ungroup the design. Delete any elements you're not adding rhinestones to.
I am only adding rhinestones to the bow portion of the design so I deleted everything else.
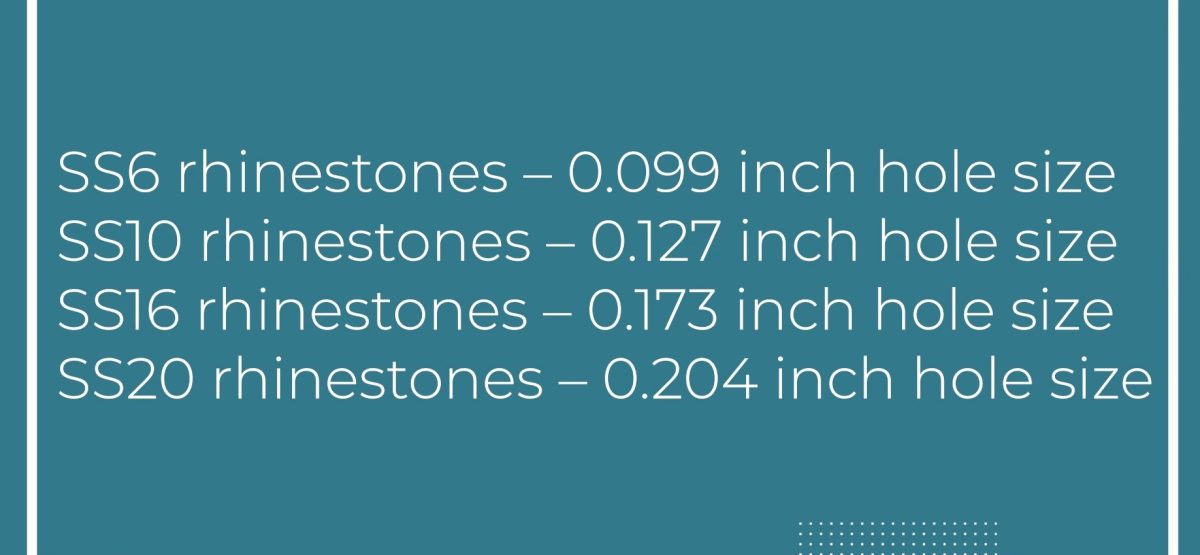
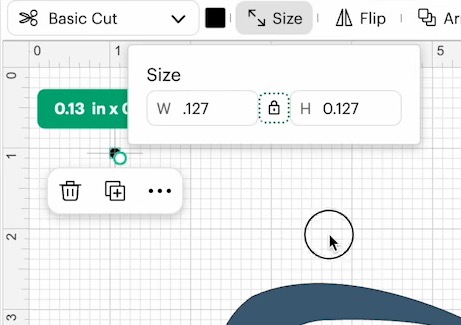
Add a circle to the canvas. The size of the circle will be determined by the size of the rhinestones you're using. I am using size SS10 rhinestones and the hole that size fits in is 0.127 inches.
Next, duplicate the hole a lot of times and move them around to outline the section you want blinged. I am adding rhinestones to the bow so I'm outlining the entire thing.
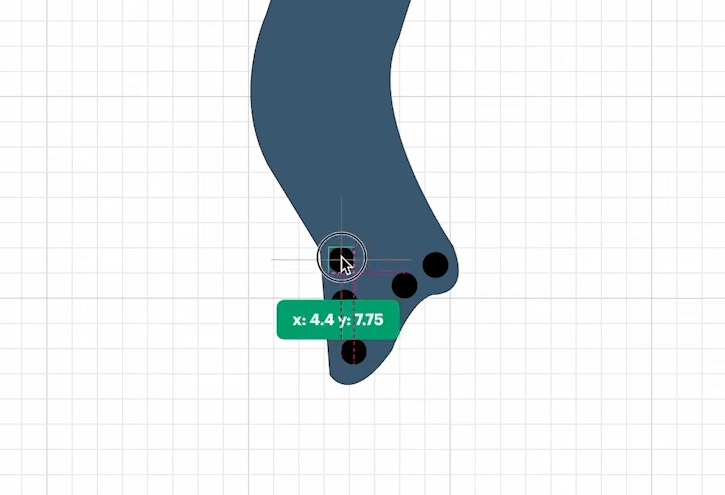
Because the circles are small, you may find it easier to move them around if you zoom in on the design.
Design Space doesn't have an automatic rhinestone creator. If you have the paid version of Silhouette Studio, you can use it to create the rhinestone template.
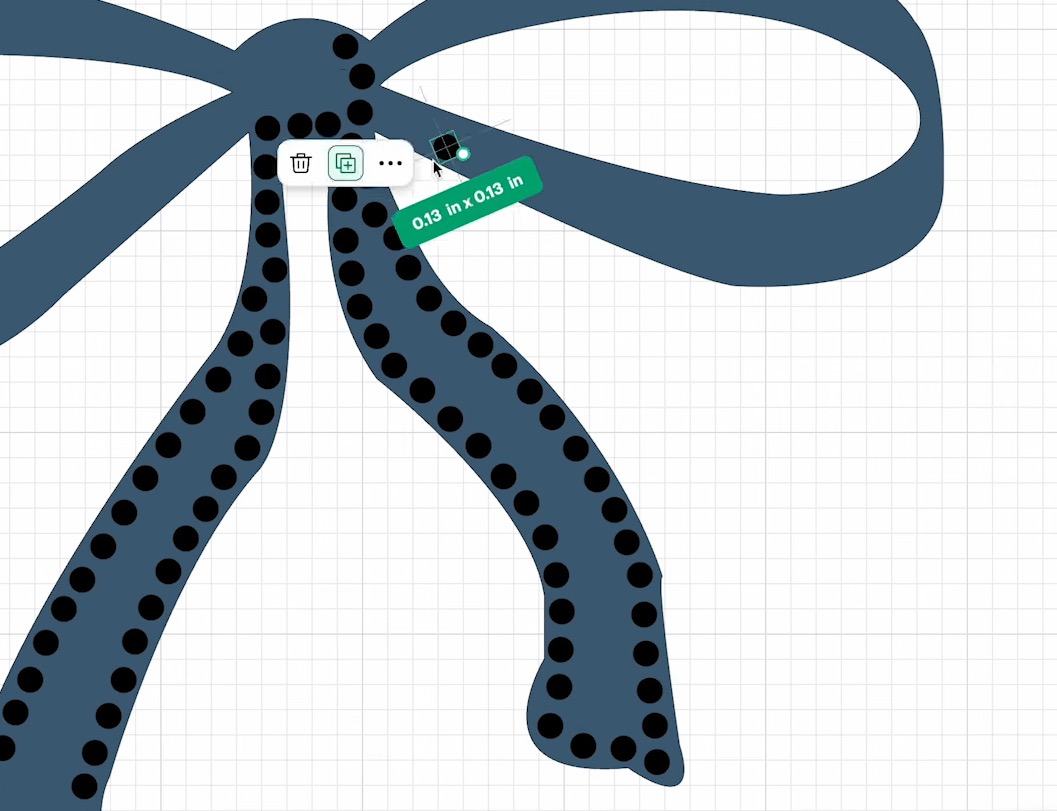
Doing the process this way, everything is not going to be perfect. I am not measuring the distance between circles, but by following the bow, I can make sure I have the entire thing outlined.
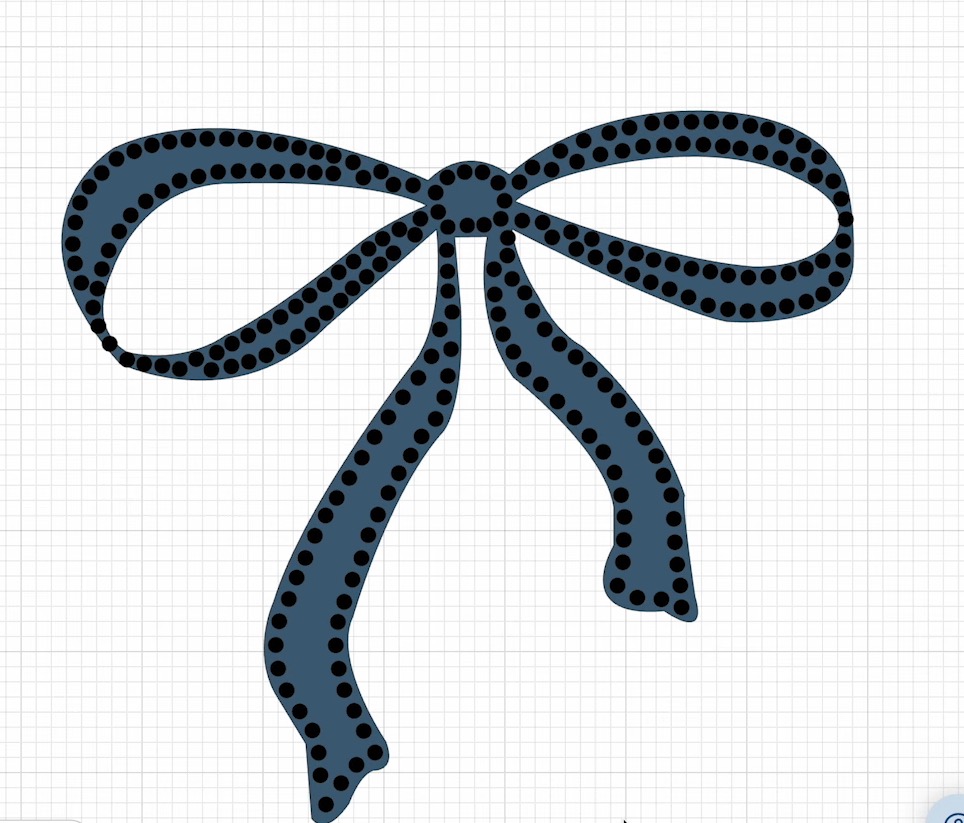
When the entire bow is outlined, click on the bow image and delete it. We no longer need it.
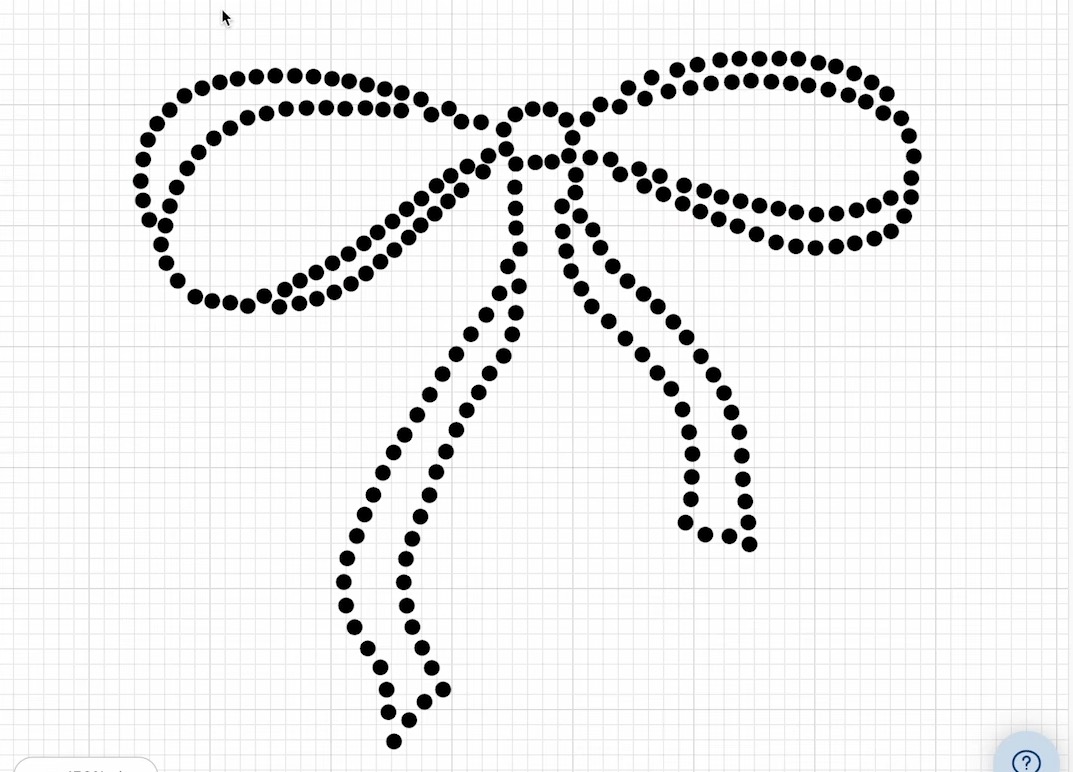
Without moving anything, select all the circles and click Attach. This will keep everything in the correct spot during the cutting process.
Step 3. Cut Out the Flock Material
Place the flock material on a Cricut cutting mat. Leave the backing on the material and place it backer-down on the mat.
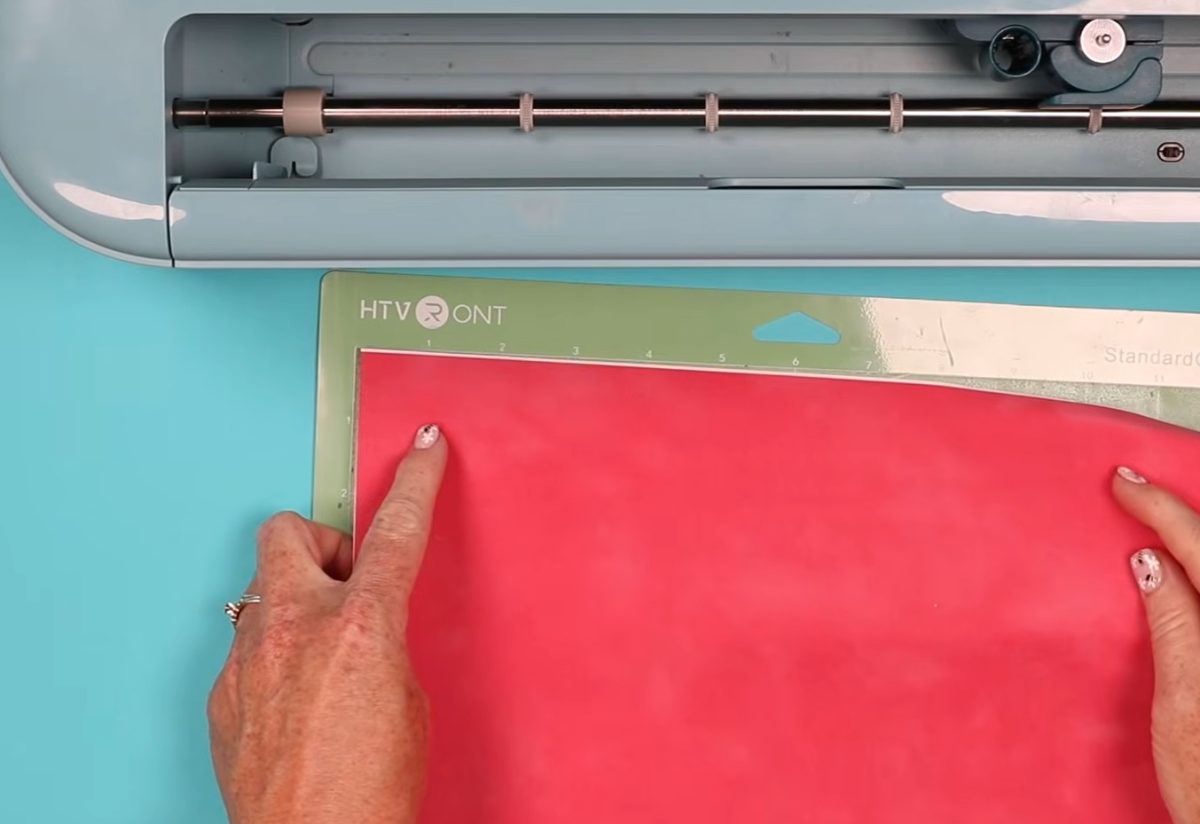
Use a brayer to ensure it's stuck on the mat really well.
I am using the Flocked Paper setting in Design Space with less pressure. Do not mirror the design.
Make sure a fine-point blade is loaded in the machine and load the mat.
Press Go and allow the Cricut to cut out the entire design.
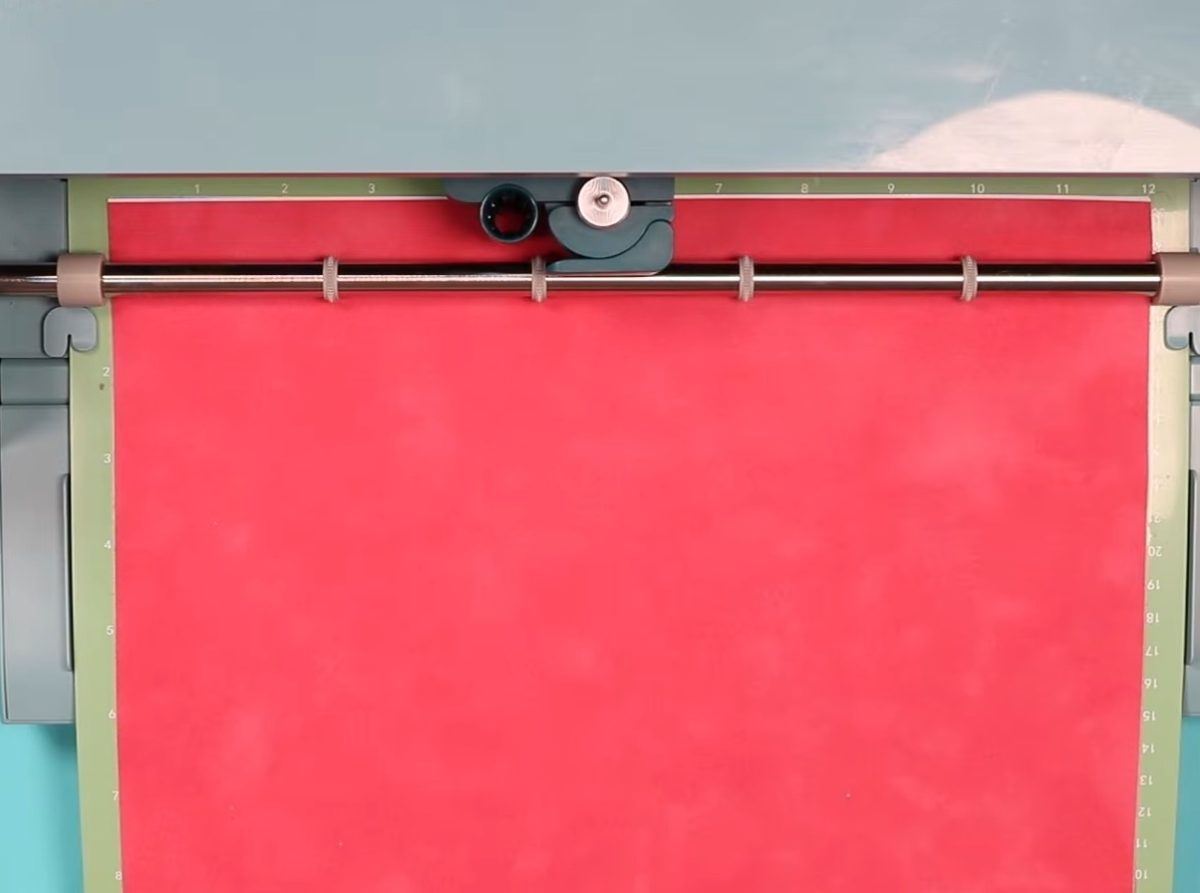
Note: Before removing the mat from the machine, check to make sure the cuts are through the flock material. If the holes are cut through the flock, unload the mat.
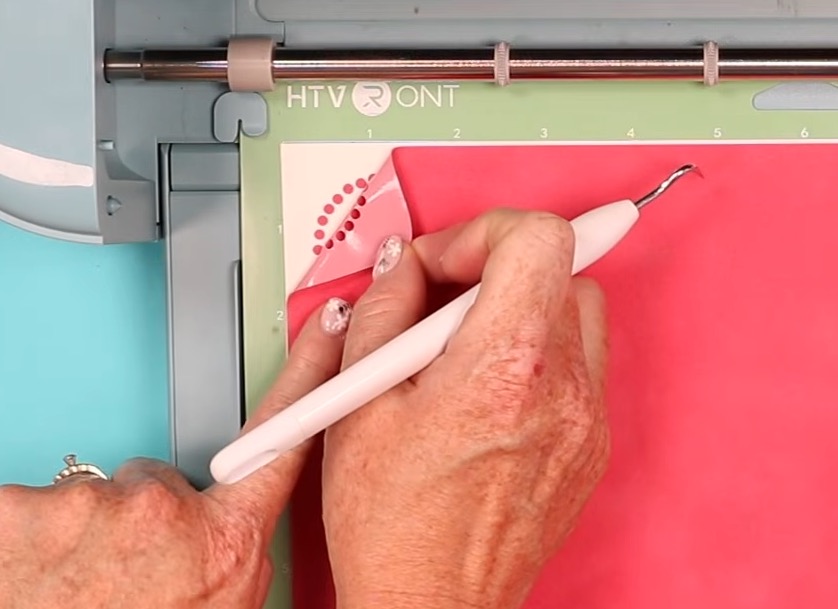
Some of the holes may cut all the way through the backer, but it shouldn't be all of them.
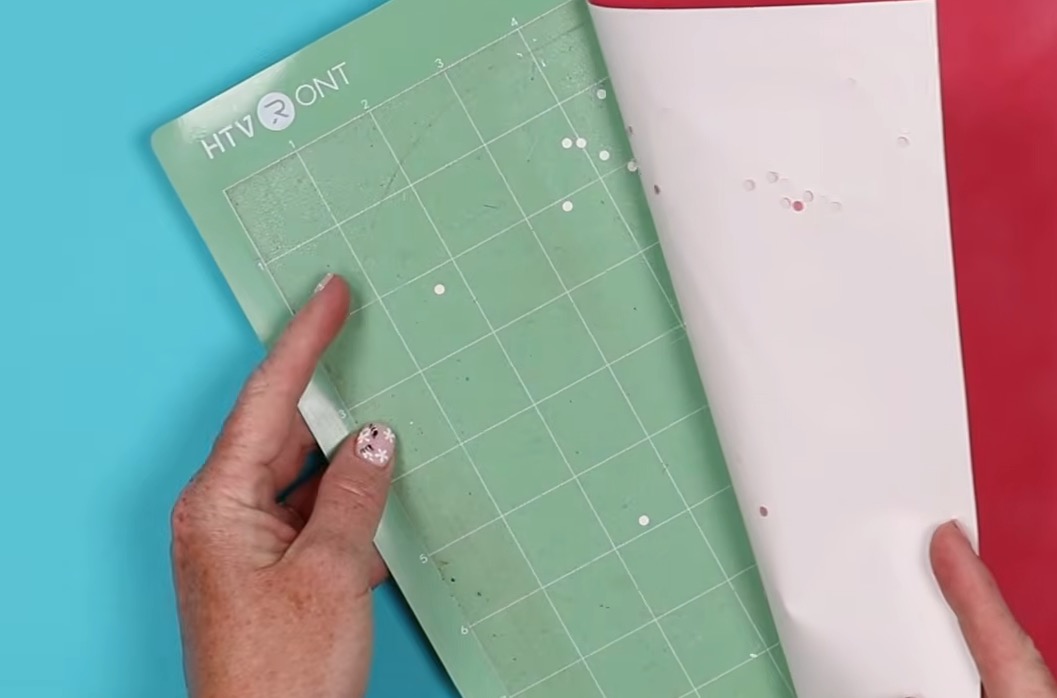
Step 4. Prepare the Rhinestone Template
Now we're ready to trim away the excess flock material. I find it easier to see the cut lines from the backside.
Cut around the design and then remove the backer.
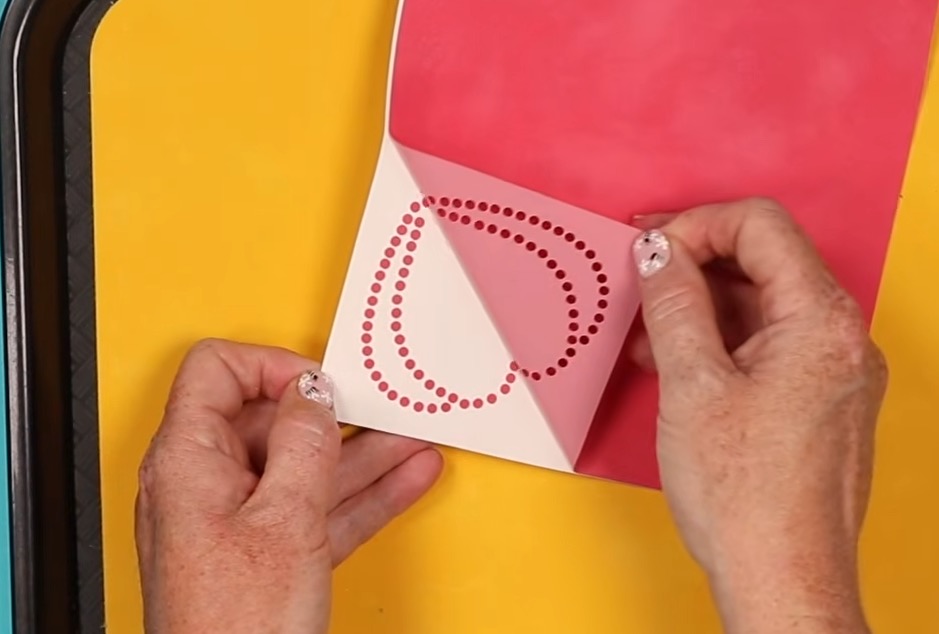
Most, if not all, of the holes should come off with the backing material. Check the design and use the weeding tool to push out any holes that didn't come off with the backing.
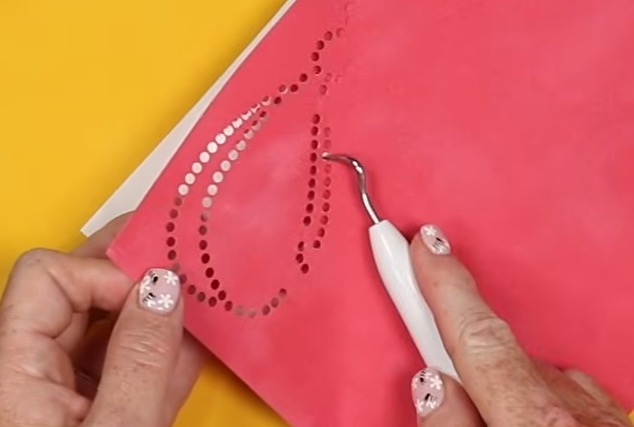
With the backer removed, place the template on the tray with the sticky side down. Press it down really well to make sure it's flat on the tray.
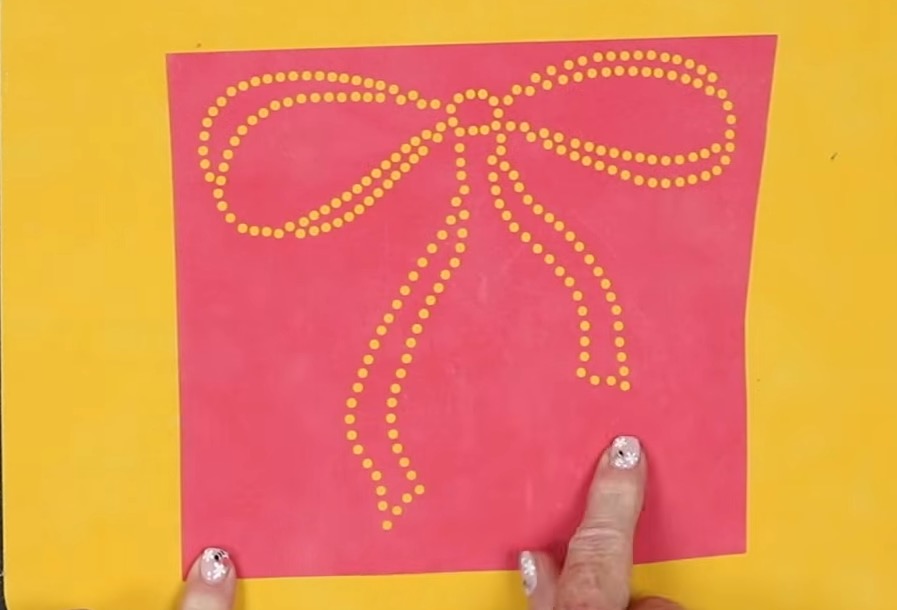
Step 5. Add the Rhinestones to the Template
Dump the rhinestones on the template and use the sponge to brush the rhinestones across the surface.
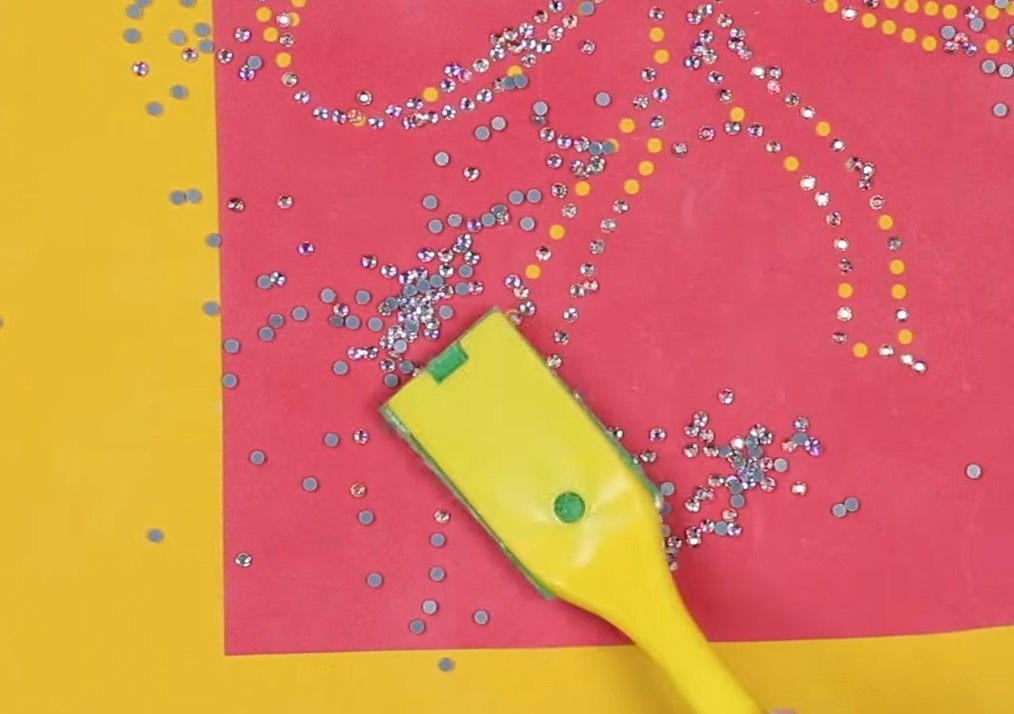
Typically, the rhinestones fall into the holes the right way. You may have to adjust some of them, but most should land adhesive-side down.
Keep going over the surface until most of the holes are filled. For any holes that didn't get filled, use a pair of tweezers to place a rhinestone in the hole. This is also a great time to check all the rhinestones to make sure they are facing the right way up.
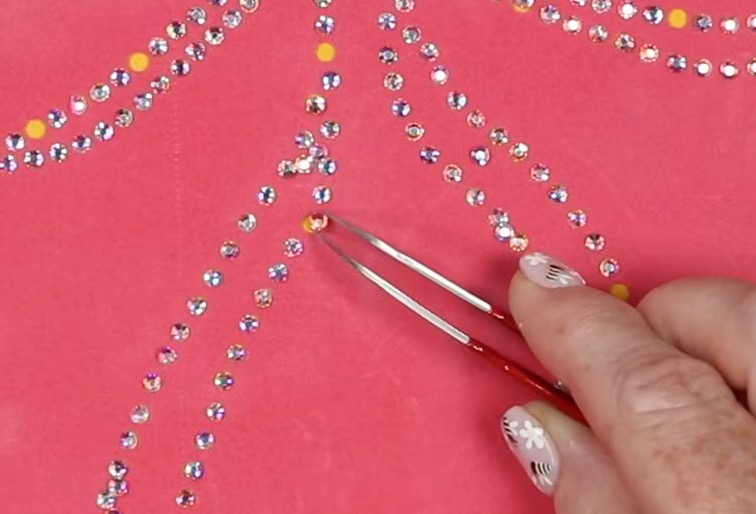
Step 6. Add Heat Mask to the Rhinestones
Move all the extra rhinestones to the sides so they're away from the design. We don't want them to get stuck to the heat mask.
Cut a piece of heat mask large enough to cover the entire rhinestone template. Remove the backer and place it on top of the rhinestones, sticky side down.
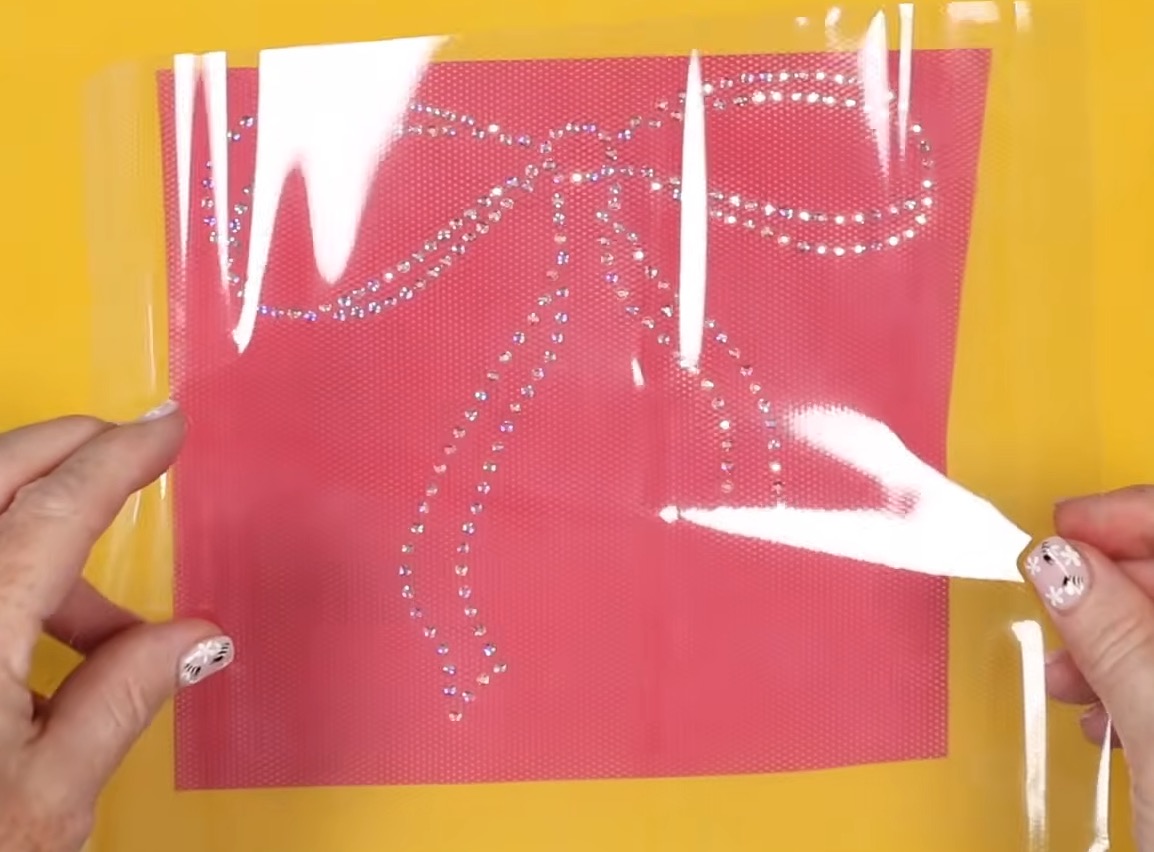
Make sure you have it covering all the rhinestones and use a brayer to press it onto the rhinestones.
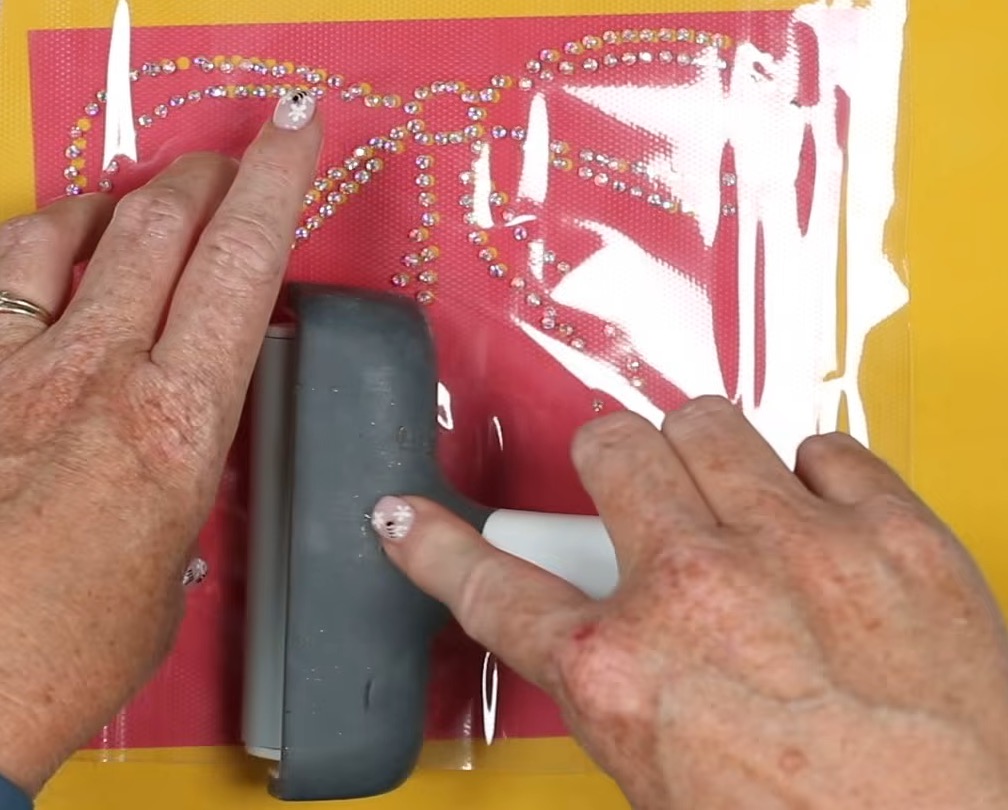
As you lift it, make sure it's picking up the rhinestones. If one isn't sticking to the mask, press it down again until it grabs it.
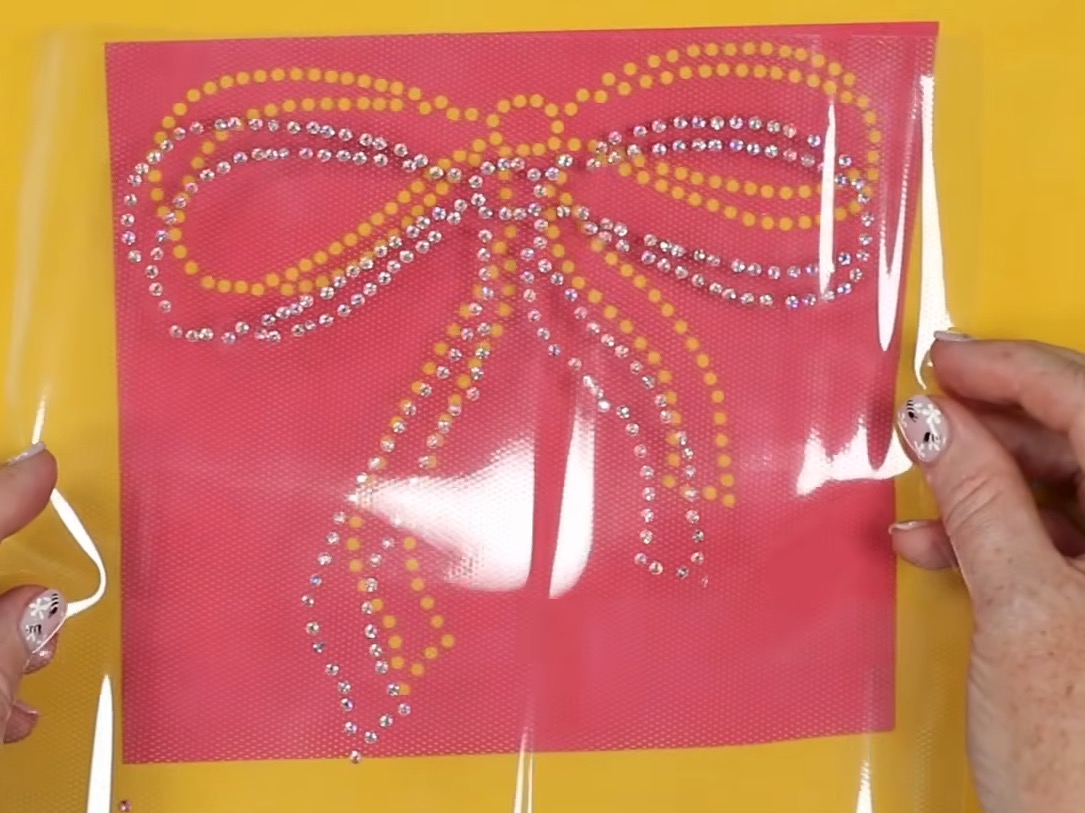
Turn the mask over and check that the rhinestones are where they're supposed to be. If you have any stuck in the wrong spot, make sure you remove them before you place them on the shirt.
Step 7. Press the DTF Print to the Shirt
Now we're ready to press the DTF print on the shirt.
I have my heat press preheated to 325° and the time set for 15 seconds with the pressure between heavy and medium.
I like to pre-press my shirts to remove any moisture and wrinkles before adding the DTF.
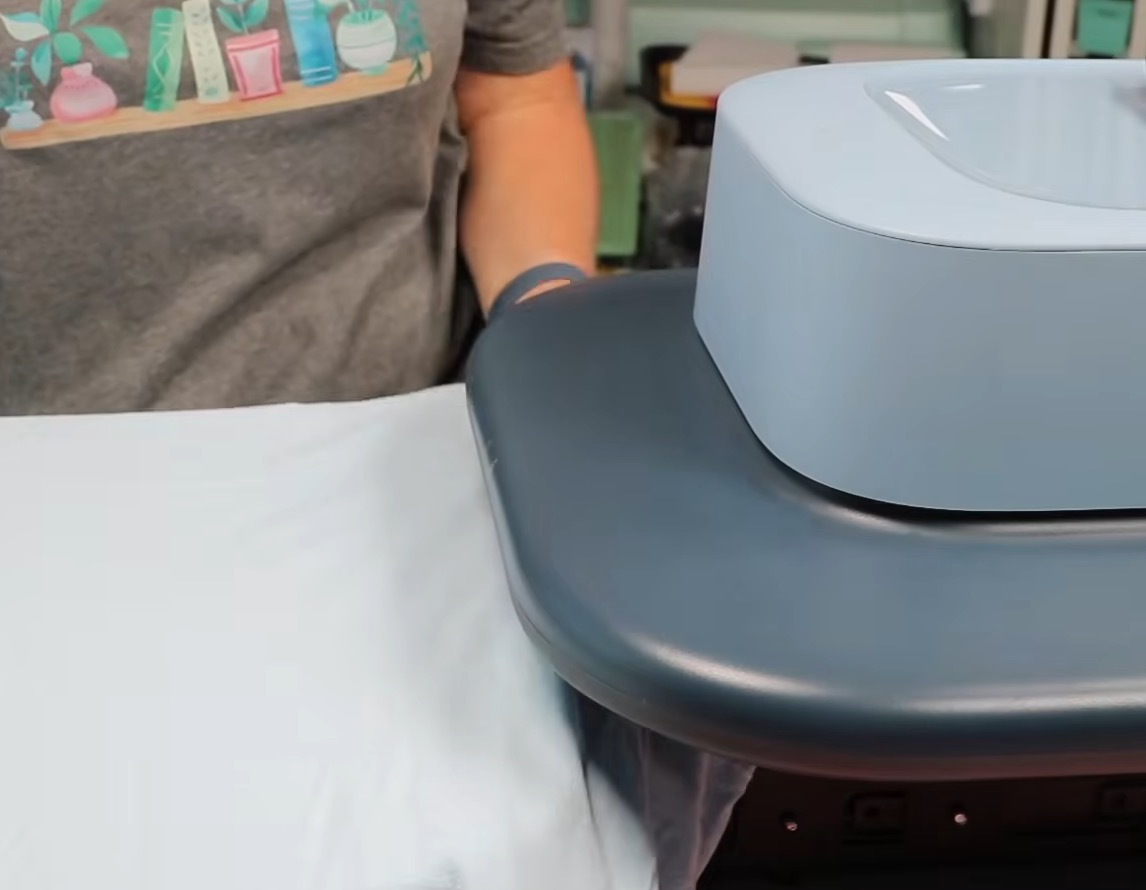
This press is a 15 by 15 and I am going to have to press the design in two presses because it is larger than the heat press.
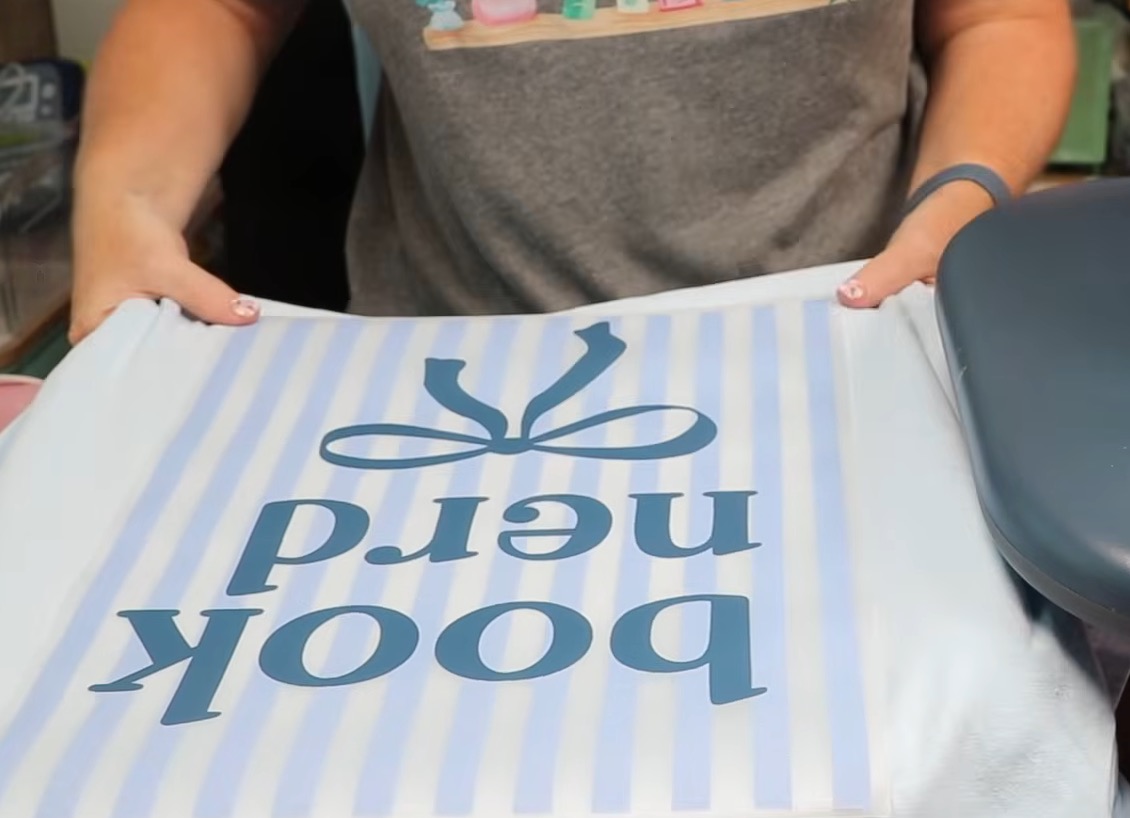
When pressing DTF in two parts, make sure you press everything for the full time. It is okay to overlap the pressing.
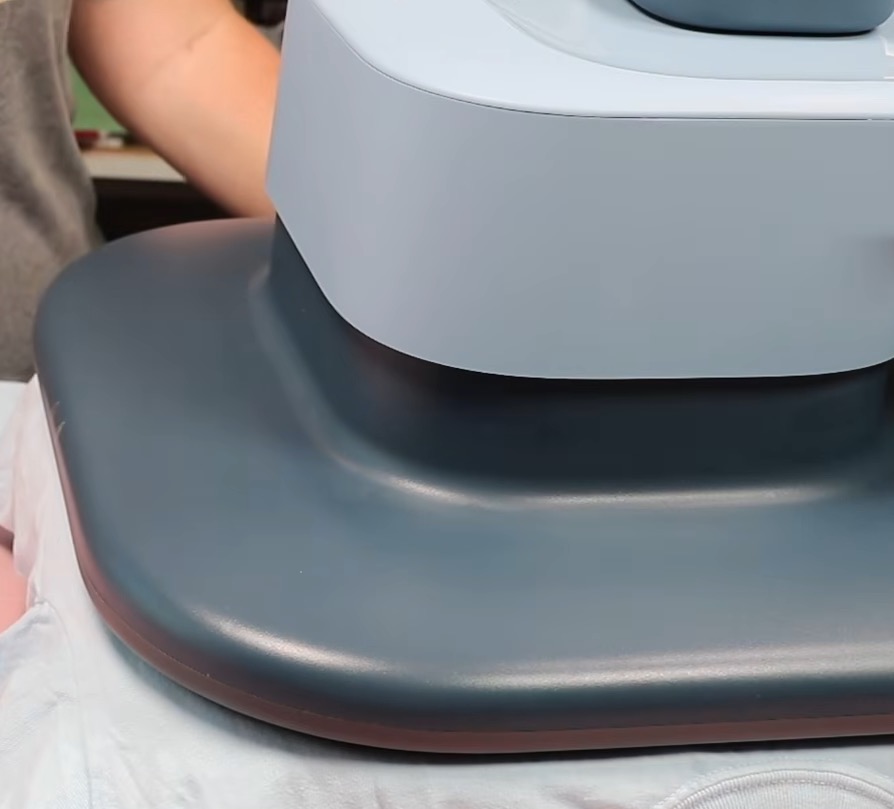
Follow the directions for your DTF print for how long you need to allow it to cool before removing the carrier sheet.
When it's cool enough, remove the carrier sheet and cover the DTF print with a protective paper to do a post-press.
I had to do my post-press in two presses, just like the original pressing. When you're done, we're ready to add the rhinestones.
Step 8. Add the Rhinestones to the DTF Shirt
The first thing we're going to do is locate the rhinestones. I set my design up so they'd fit right inside the lines of the bow.
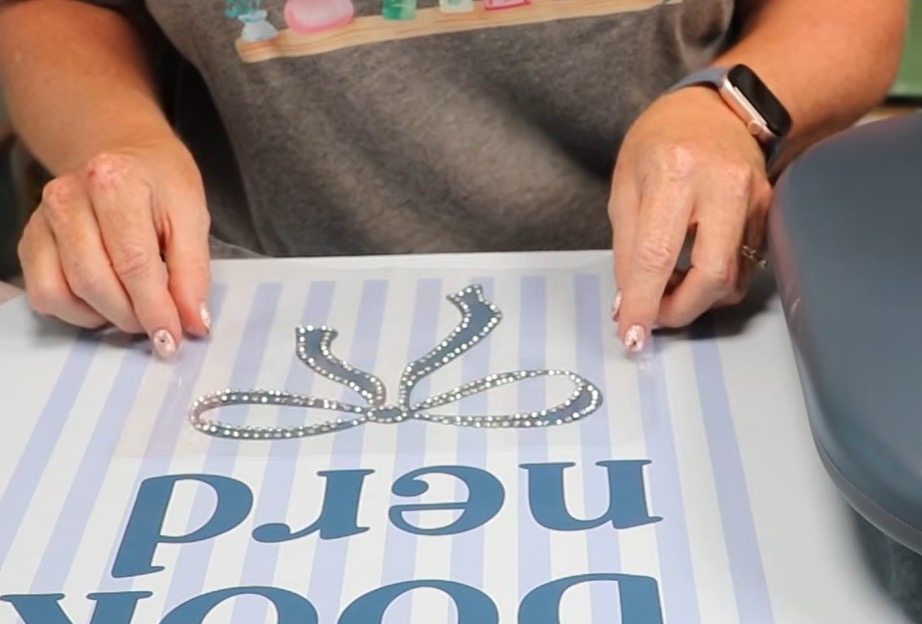
When it's located correctly, press it down on the shirt and cover the rhinestones and DTF print with protective paper. We don't want to apply heat directly to the DTF design.
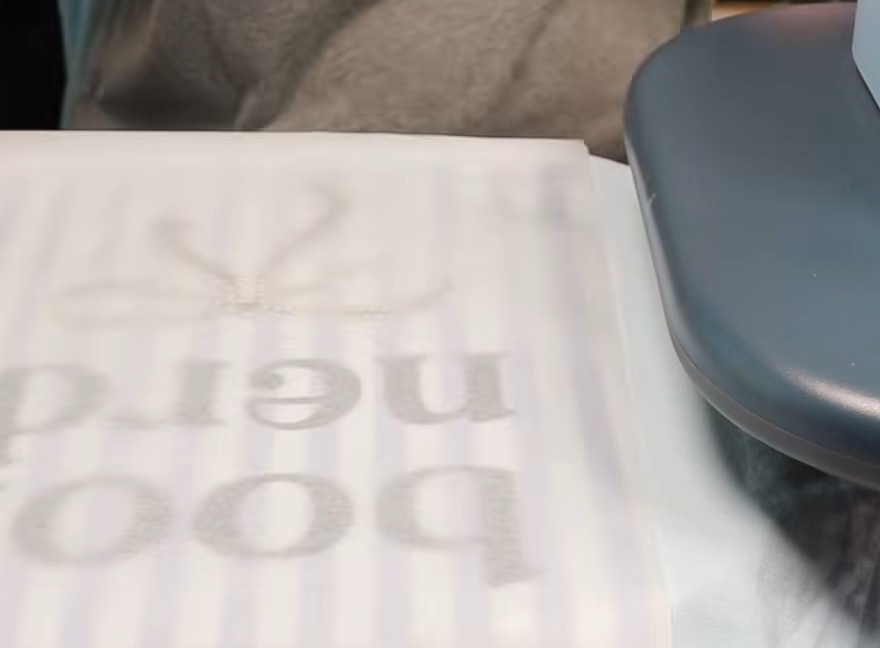
I used the same time and temperature to apply the rhinestones as I did for the DTF print. When the time is up, allow the rhinestones to cool for a few minutes and peel back the carrier sheet.
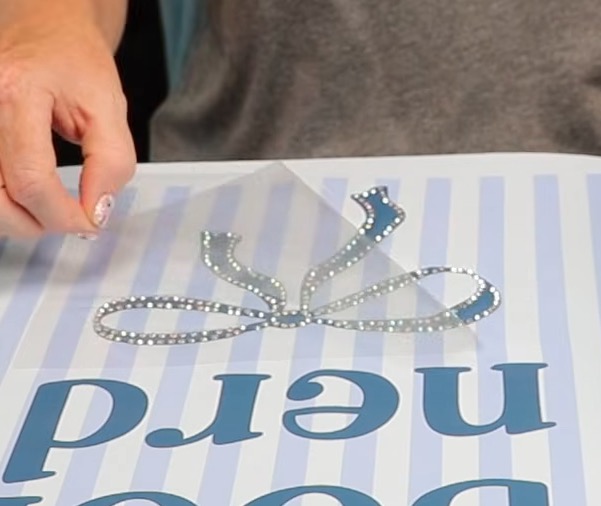
If any rhinestones lift, replace the carrier sheet and protective paper, and press again. If all the rhinestones stayed stuck to the shirt, your shirt is done.
Are You Ready to Use Rhinestones with DTF?
I love how this shirt turned out. The DTF and rhinestones look so good together, and I love how adding the rhinestones draws your eye to the bow. It's the perfect amount of bling for this cute design.
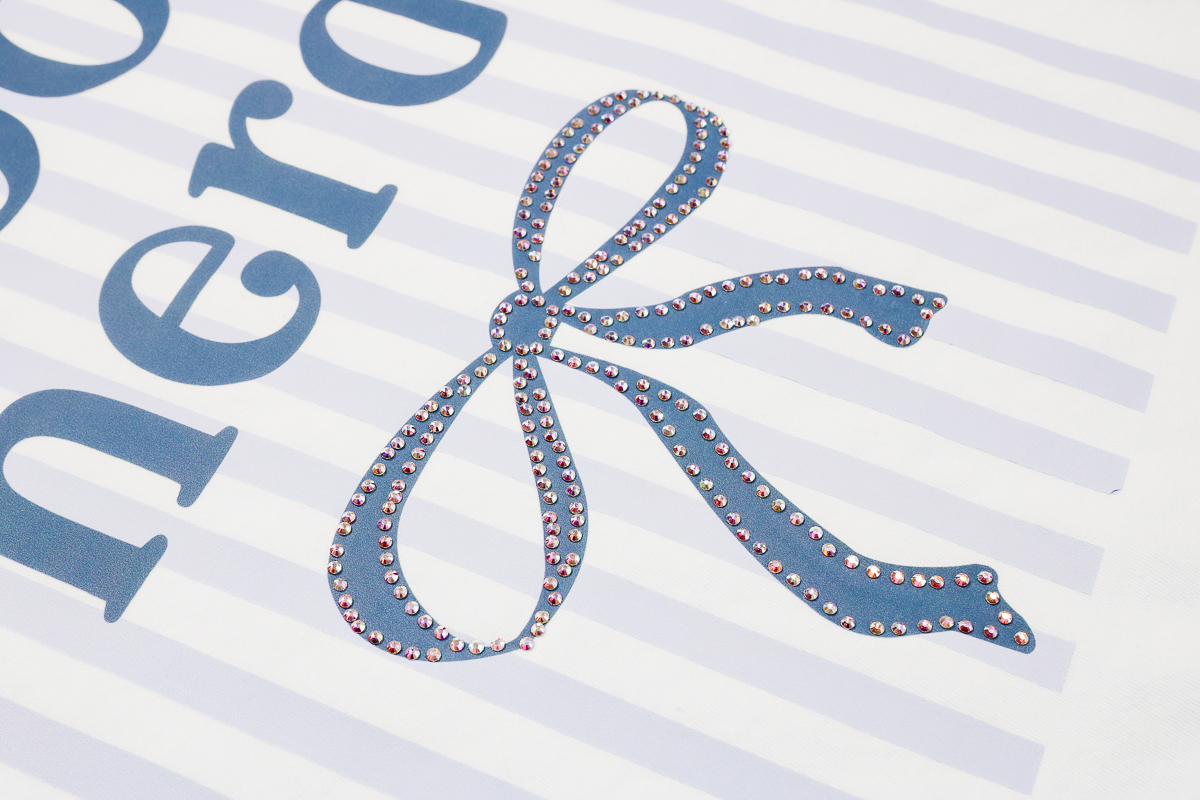
One of the great things about this design is that it isn't a solid DTF image. Because it has stripes in the background, the shirt is still really soft, even with the DTF design and rhinestones.
Just because I added the DTF design and rhinestones to a shirt, don't let that stop you from adding this sparkly combination to everything. I think they would be so fun on tote bags, cross-body bags, hats, jackets, custom bows, and more.
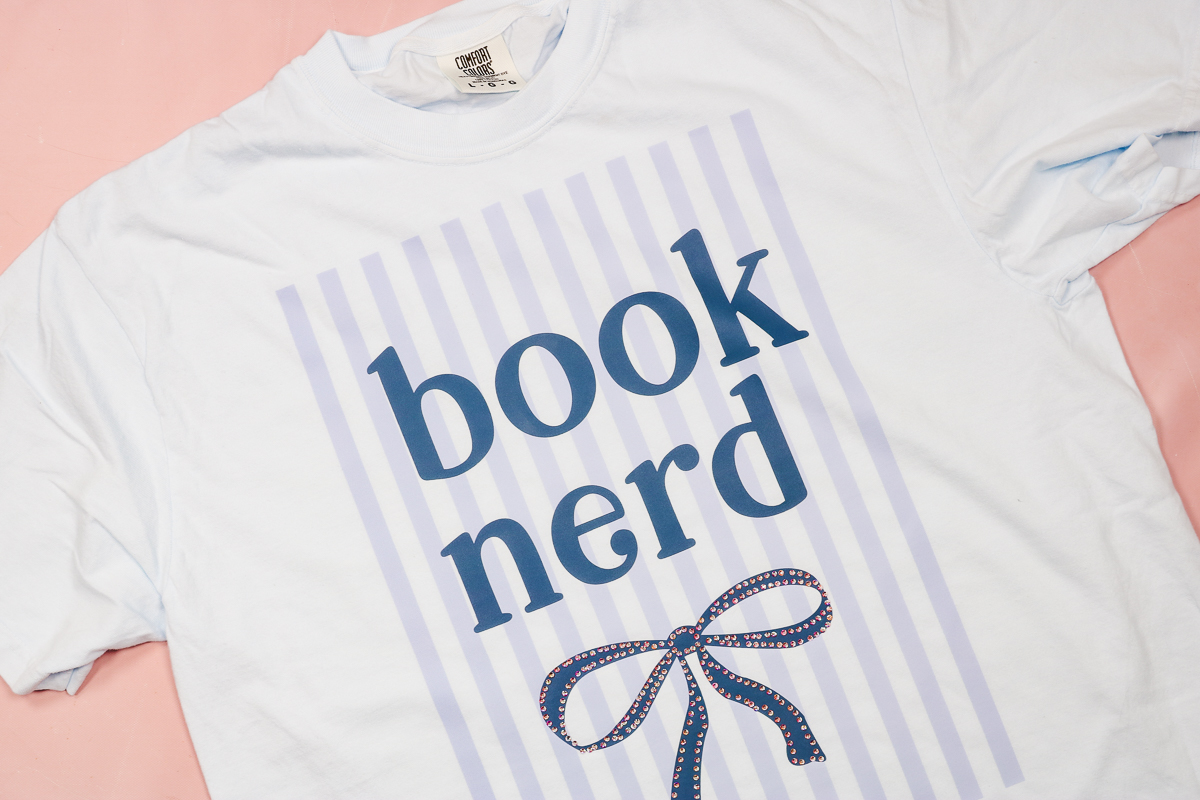
Now that you know the process, you can add rhinestones to any DTF design. It can take a little bit of time to create the rhinestone template but it isn't difficult, turn on a good show or book and enjoy the time to be creative.
I hope I've answered any questions you have about using rhinestones and DTF. If you have any additional questions, leave them in the comments, and I'll be happy to answer them for you.