
Are you ready to upgrade your sublimation mugs? What about having a design inside? Let's make some Valentine's Day mugs with a design inside to see how it is done!
These mugs turned out so cute, and you're going to love how easy they are to make.
If you haven't made sublimation mugs before, my Cricut Mug Press review is a great place to start.
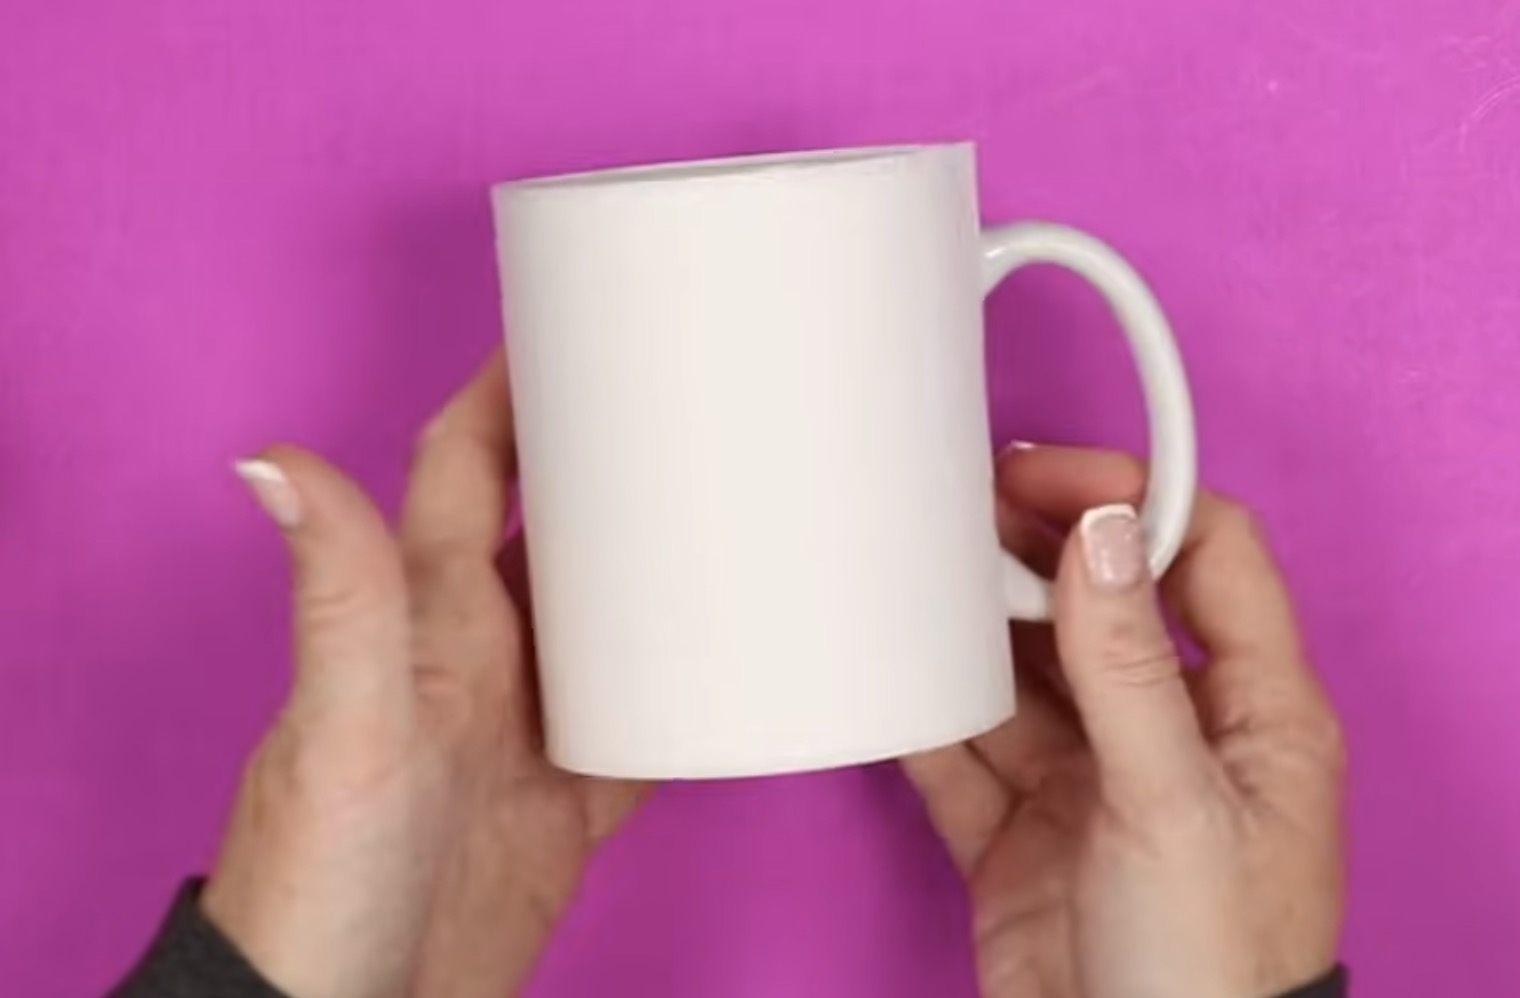
For these Valentine's Day mugs, I am adding designs and images to the outside of the mugs using a sublimation print. The mugs come blank on the outside with the design already printed on the inside, making them really quick and easy to make.
You can watch me make these mugs from start to finish and see how to use the template by pressing play on the video below.
How to Make Valentine's Day Mugs with Inside Designs
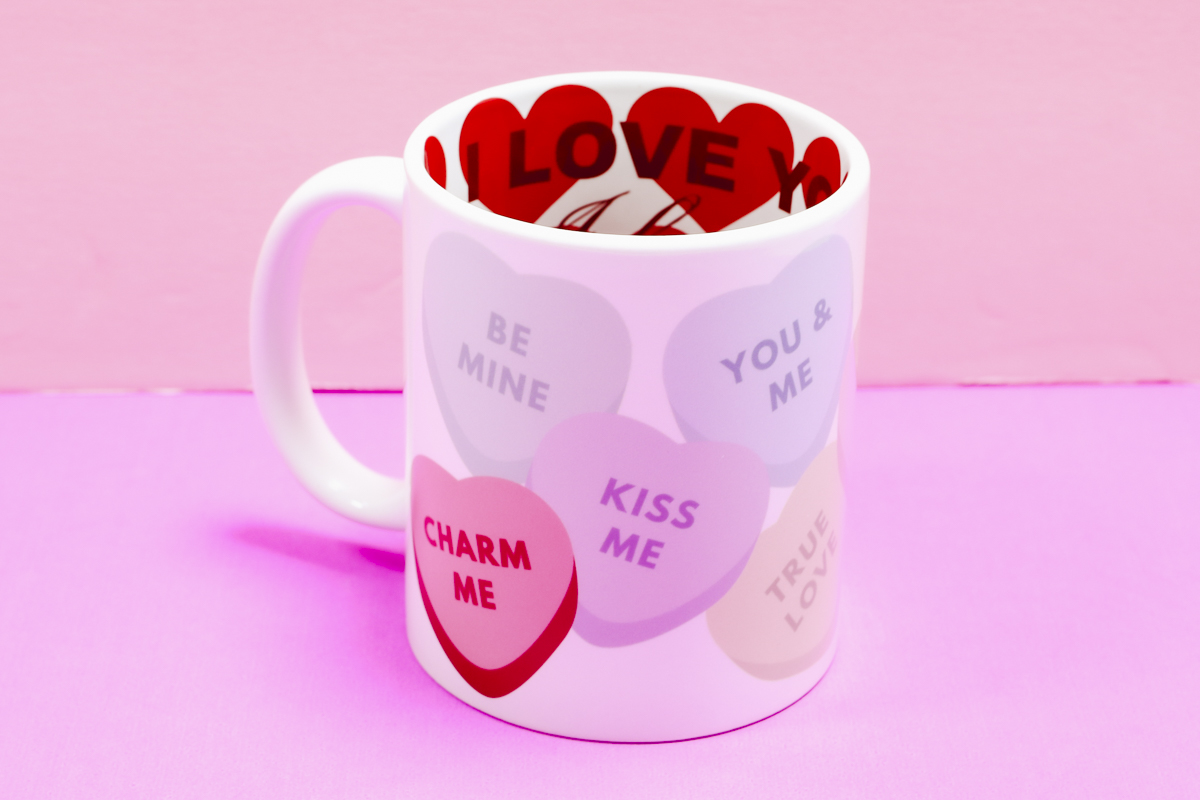
These Valentine's Day mugs are a perfect gift for anyone. With my templates, you can add photos of pets, couples, children, etc. I also have a mug design with conversation hearts on it that you can use if you don't want to add photos.
NOTE: If you have made a sublimation mug before, the process is the same. These mugs have designs pre-printed inside; we are not sublimating inside the mugs. I have not found a way to sublimate inside a mug, and I have been unable to find any mug blanks that have the inside coated for sublimation.
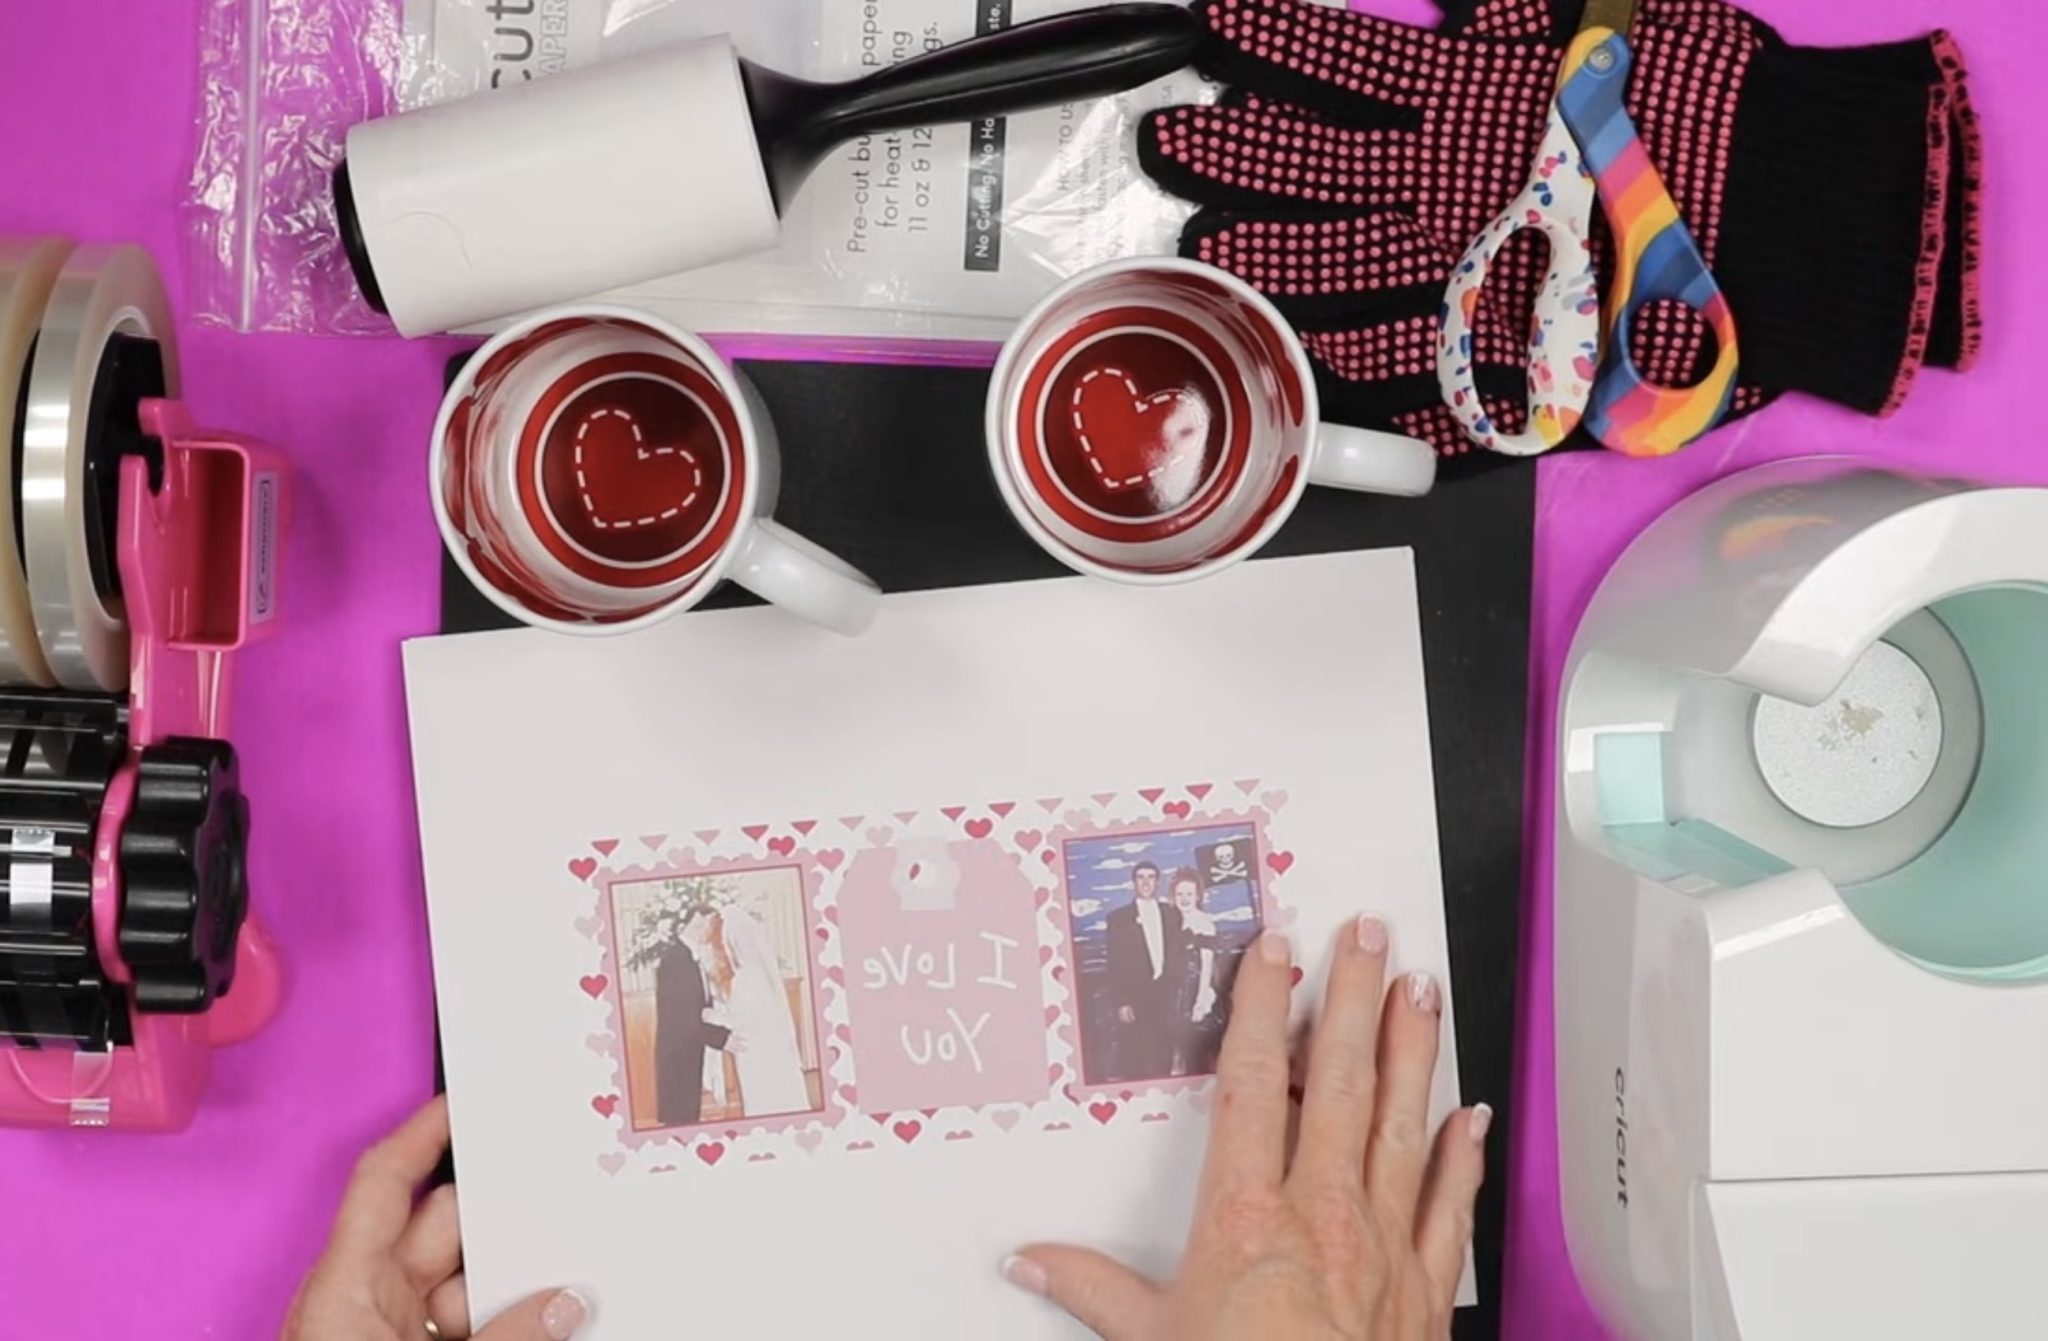
Supplies Used
- Free Canva Template for Photo Mug Designs
- Heart Mug from JPPlus (NOTE: I also found Other Mugs with Inside Designs.)
- Cricut Mug Press
- Heat-Resistant Mat
- Brother Sublimation Printer
- Sublimation Paper
- Lint Roller
- Heat-Resistant Tape
- Heat-resistant Gloves
- Tape Dispenser
- Protective Paper
- Paper Dispenser
IMPORTANT: You will need a sublimation print for these mugs. That is sublimation ink printed on sublimation paper from a sublimation printer.
The mugs listed above are all sublimation blanks; they have a special sublimation coating on the outside. If you choose to use a different brand of mug, make sure it is a sublimation blank.
Step 1. Create Design
My templates make creating these mug designs easy. Simply drag your photos into the frames, and you're ready to go.
To create your design, open the Canva template link and then upload the images you want to use.
Other design elements can be altered if you'd like. You can click on each element and change the colors, delete it, resize it, etc.
How to Change the Colors of Elements in Canva
Not every element of every design can be changed. It will depend on what type of file it is and if layers were flattened before they were saved.
If the element colors can be changed, when you click on them, you'll see color circles pop up on the edit toolbar.
I am going to change some of the colors of this design to coordinate better with the inside of the mug.

With this orange-ish colored heart selected, you can see there are three different colors.
When you click on the color in the toolbar, the color picker will open up.
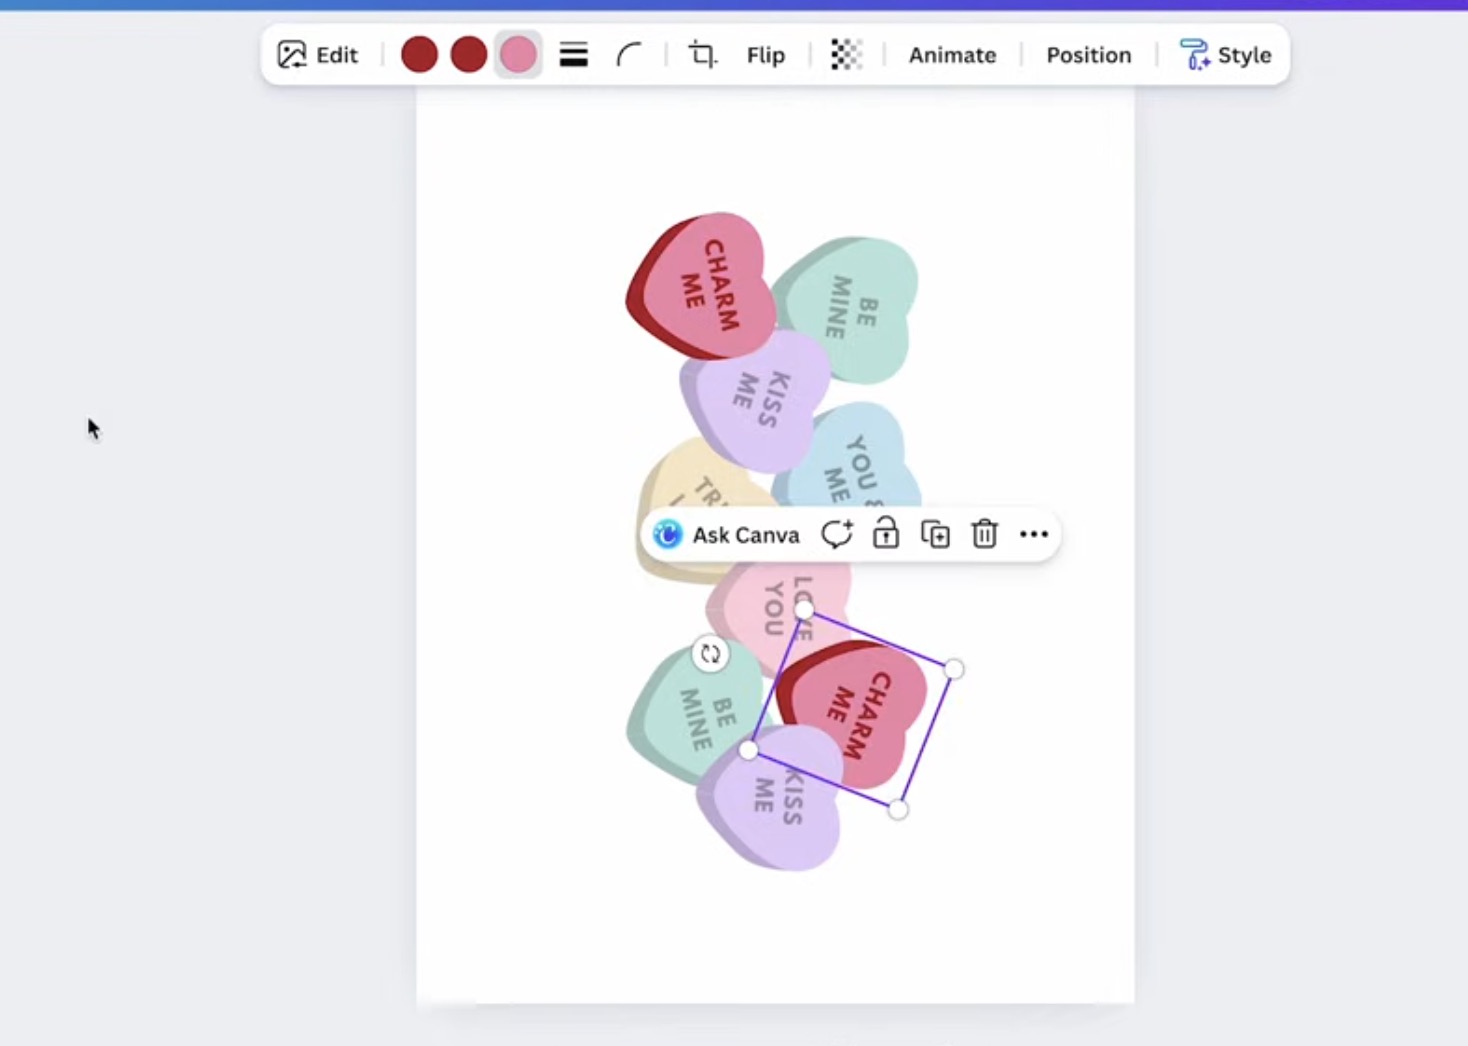
I changed the sides and the text to darker reds and the face of the heart to a darker pink. These colors are closer to the bold colors inside the mug, making it look more cohesive.
Add Images to Canva Frames
To add images to a Canva design, upload the images and then select the image you want to add and drag it into the frame.
A frame will look like an outdoor scene with the sky, clouds, and grass.
For this particular template, before you add the photo, click the heart and bow layer and then click Position.
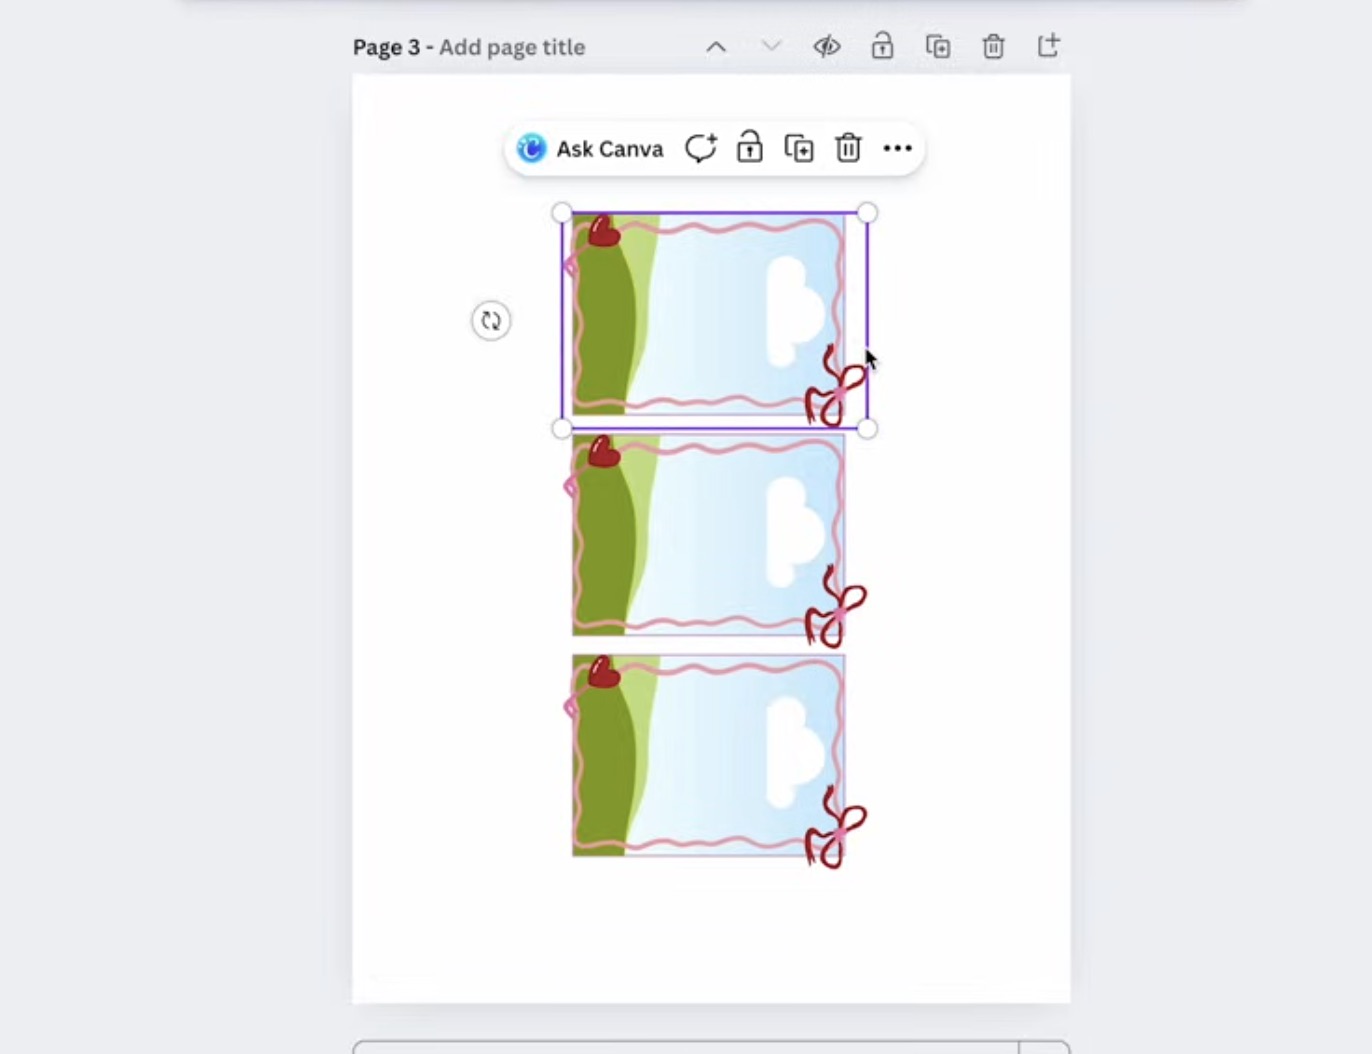
Under Arrange, click To Back to send that layer to the back.
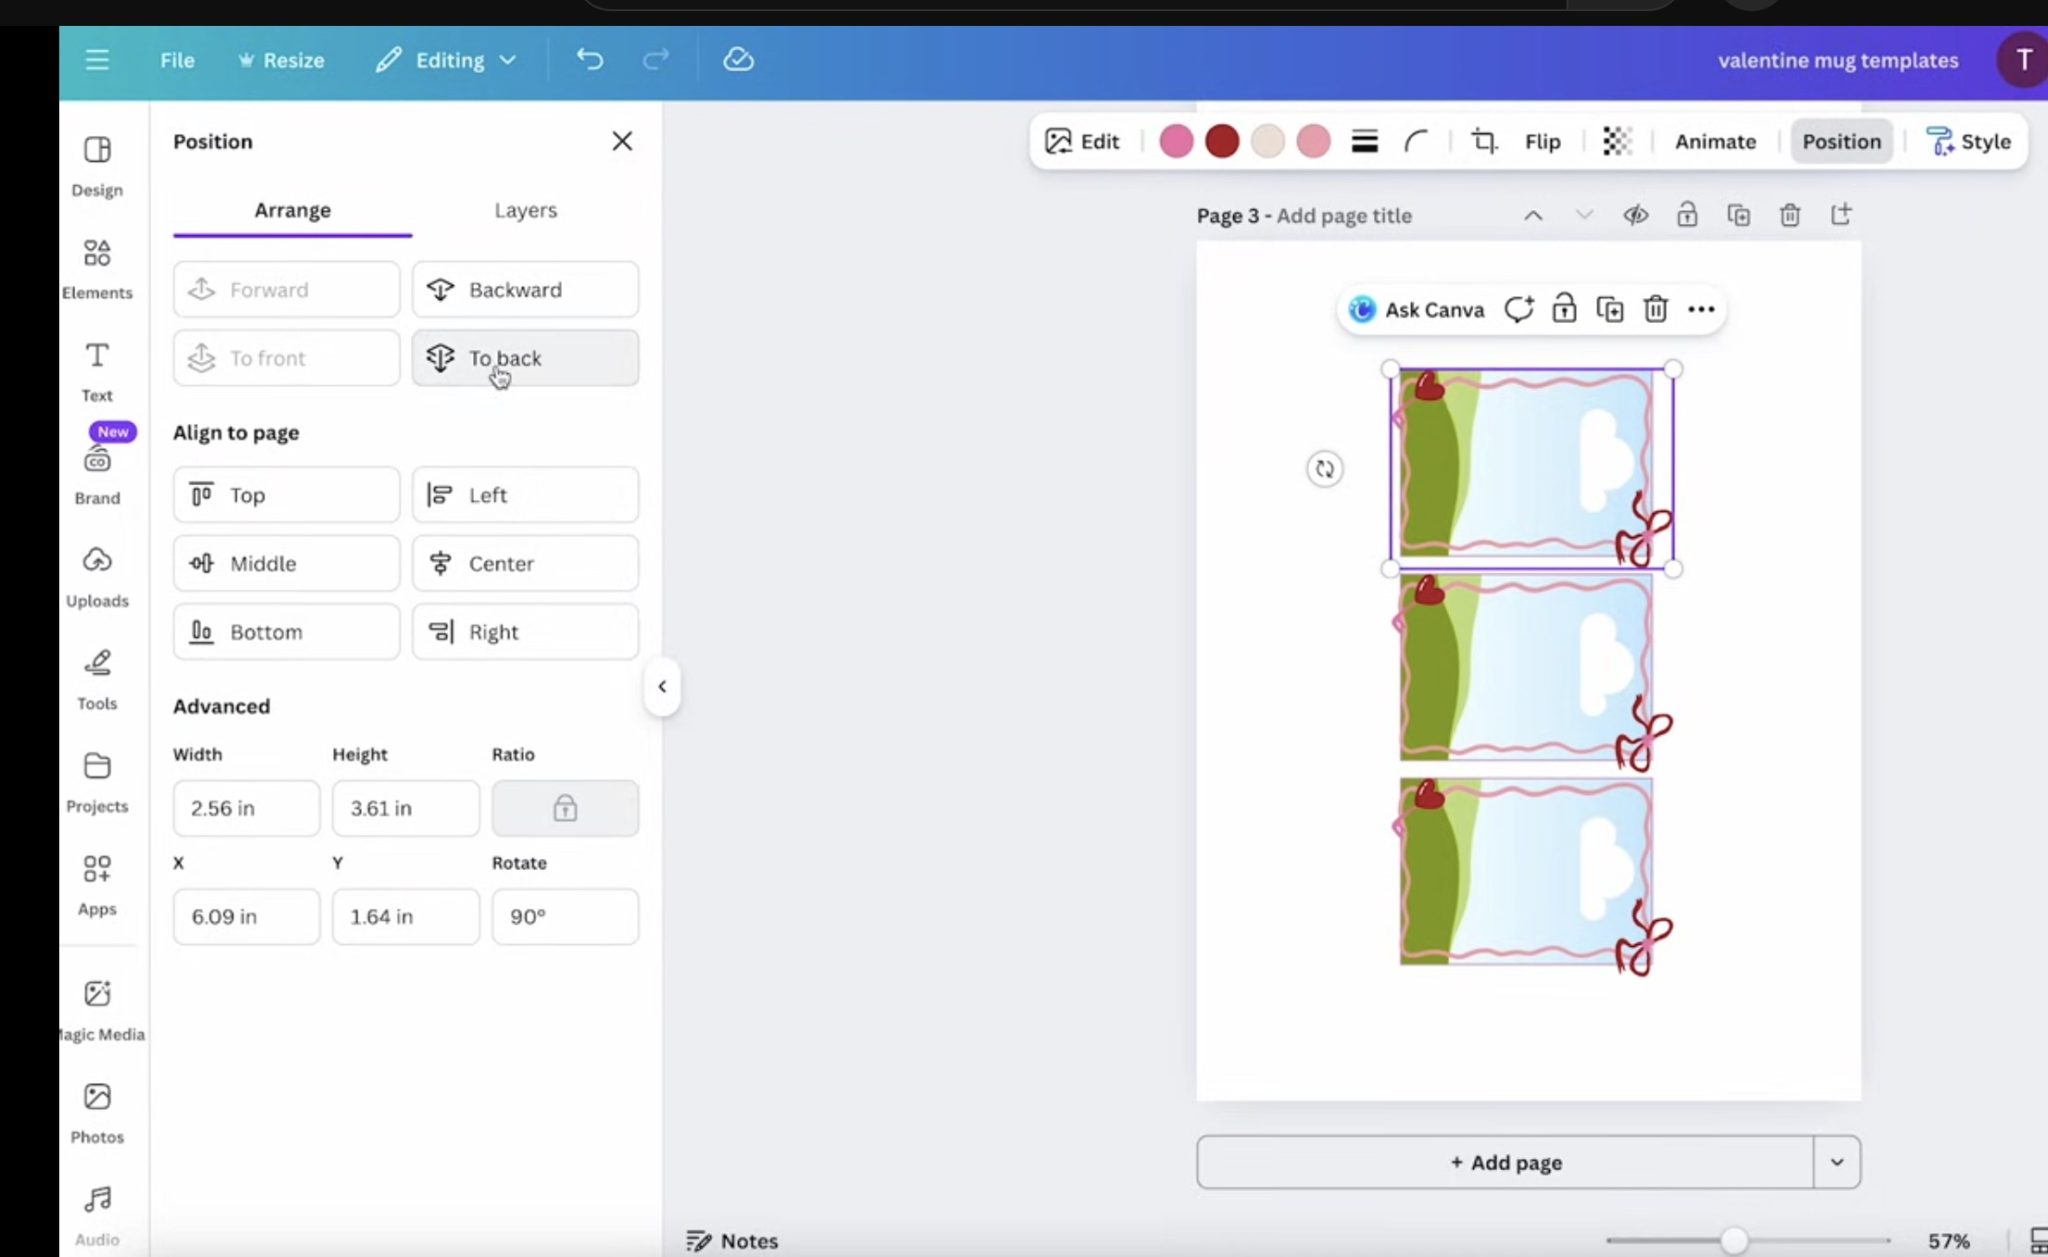
You will not always need to do this step. You need to for this design because the frame design is meant to sit on top of the image, not around it.
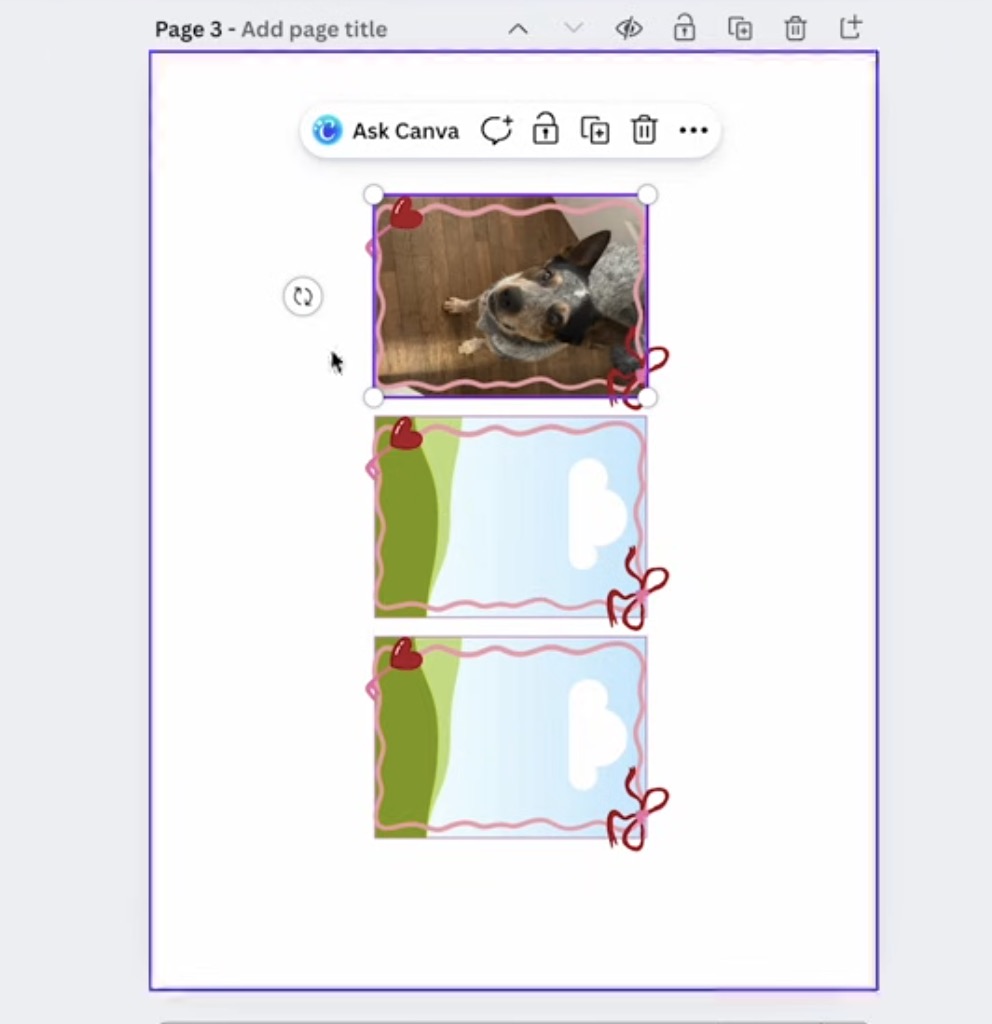
Drag the photo over the frame until you see it placed inside the frame, and then let it go.

When you release the image, you should see it shrunk to fit inside the frame.
If you want to resize or move the image, you can double-click the image and then use the handles to resize and move it how you want.

When you have the image how you want it, click on the frame, click Position, and then select To Back again. This will move the photo behind the Valentine frame.
Repeat this process for each photo and frame.
Step 2. Print Valentine's Day Mug Sublimation Prints
You cannot print directly from Canva. To print your designs, click Share and then Download.
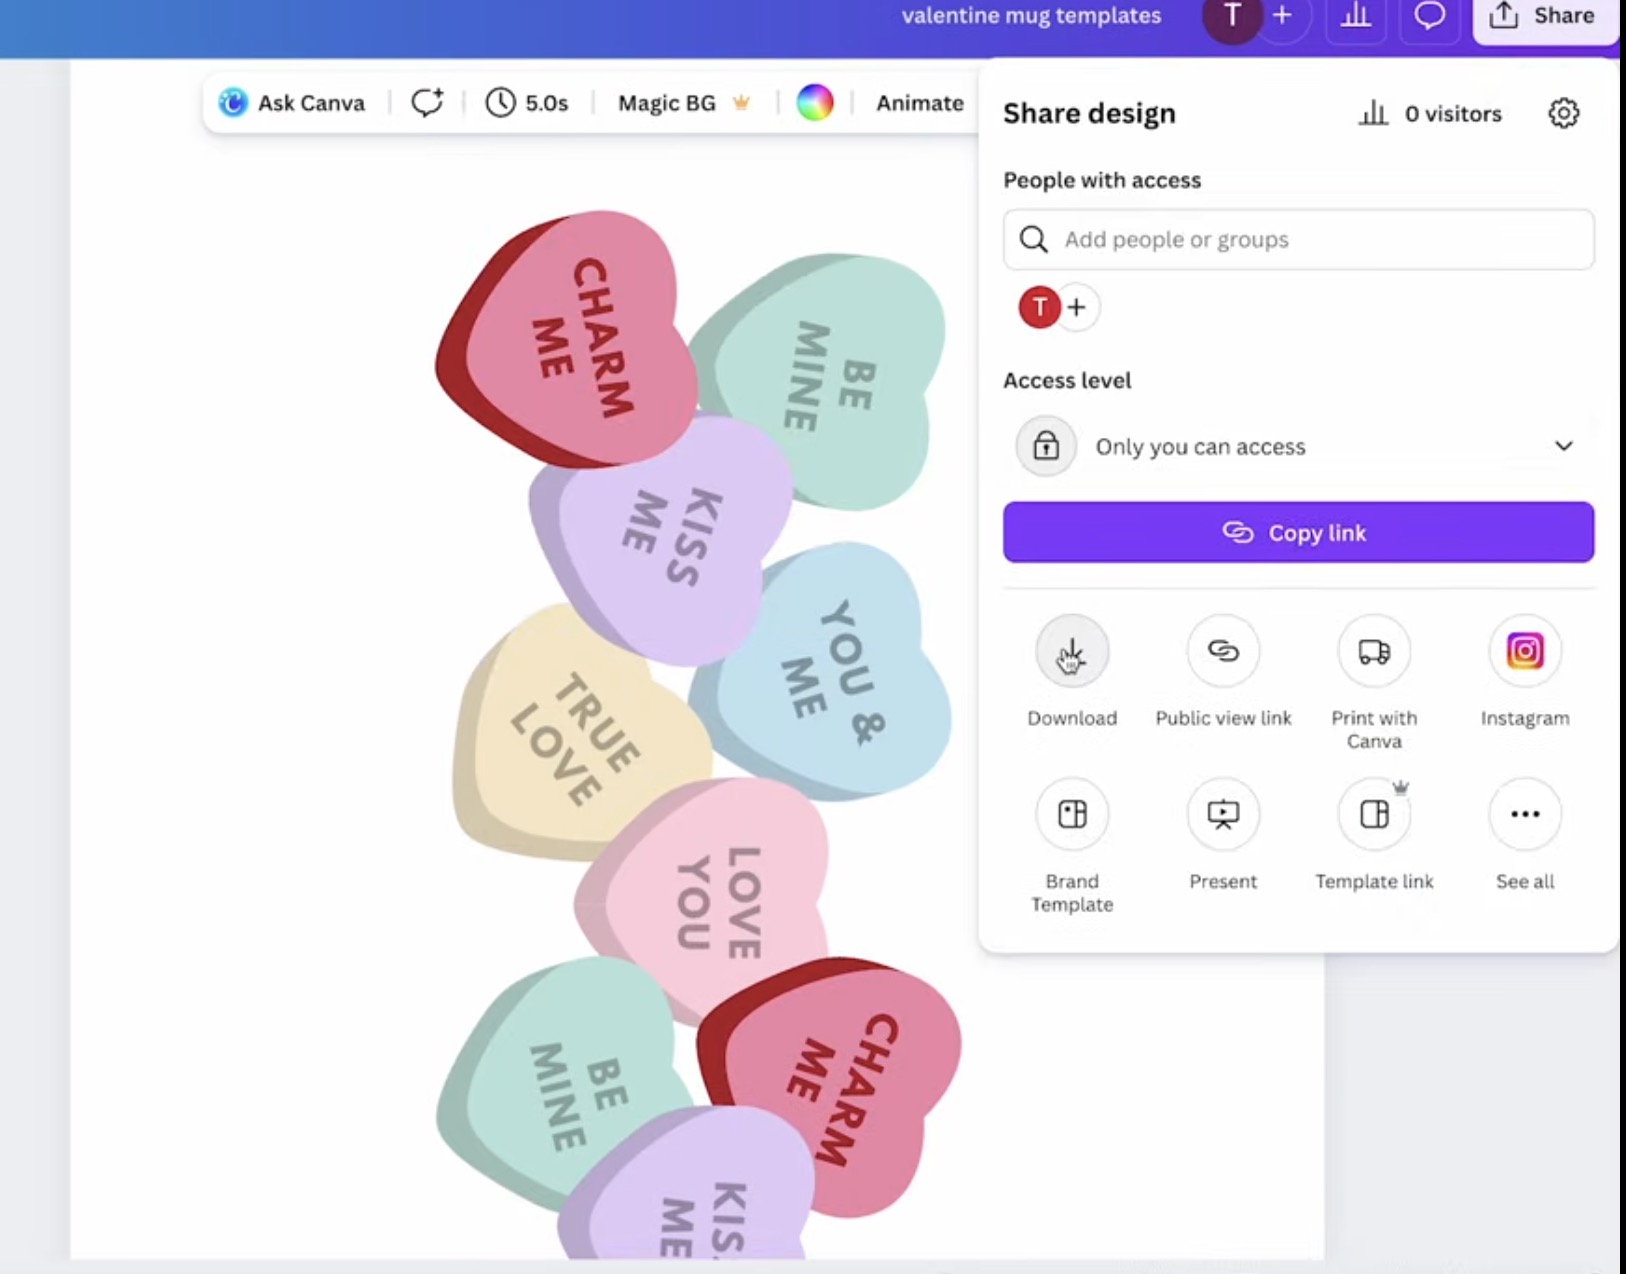
With my sublimation printer, I get the best results using the PDF Print setting.
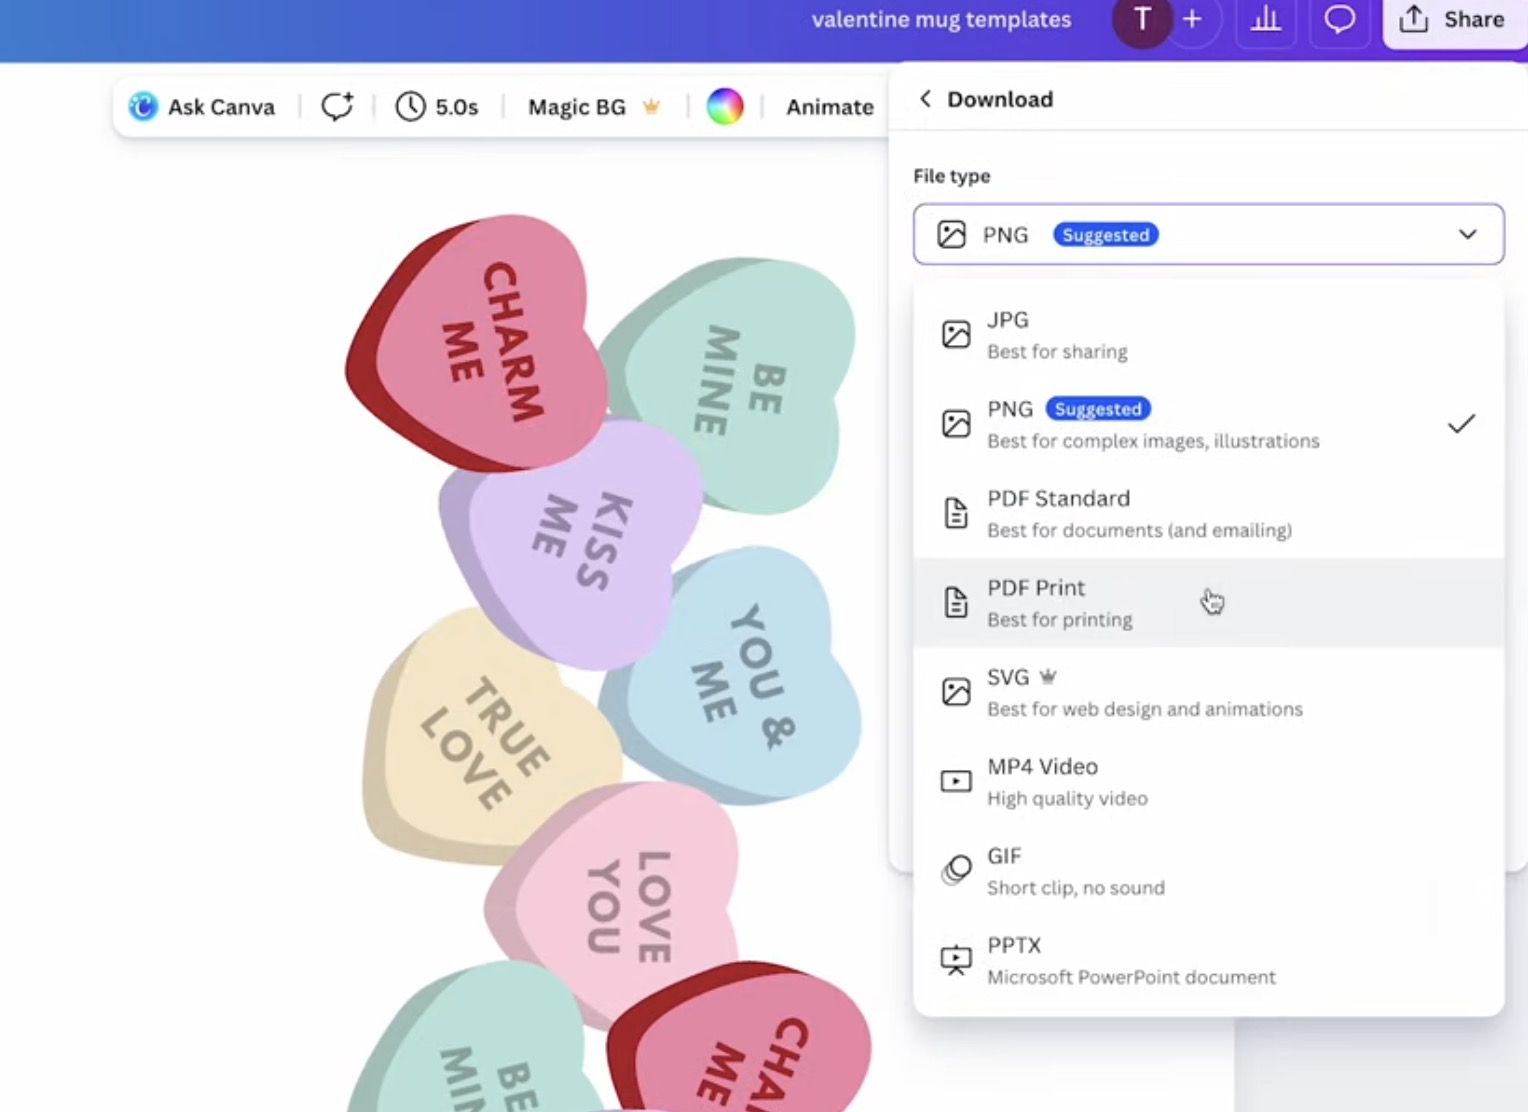
Next, you can choose if you want one or all of the pages to be printed, and you can change the color profile.
I always change mine to CMYK instead of RBG. This is the best option for printing vs just sharing digitally.
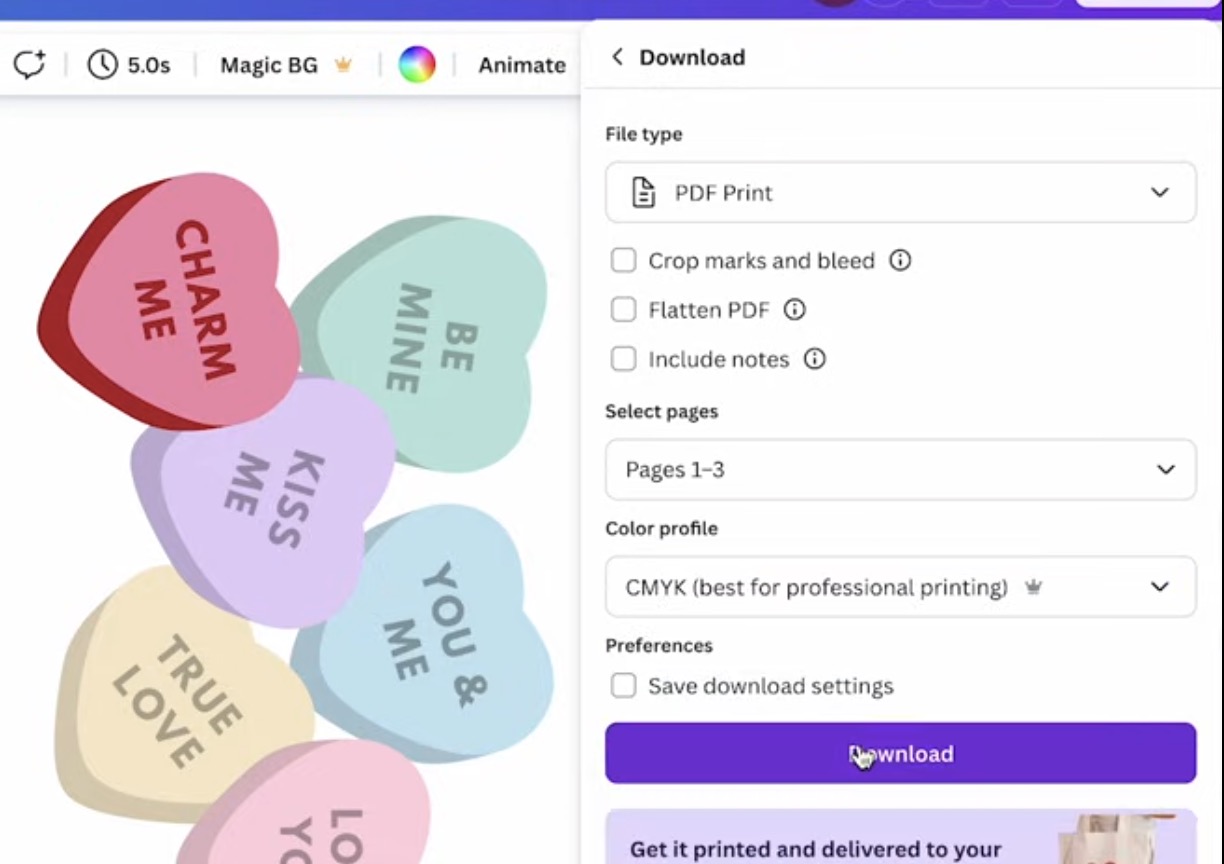
Click Download, and then find the file on your computer and send it to the printer.
Make sure that if you didn't mirror the image before downloading it, you do so now. You only need to mirror the design one time.
Step 4. Add Sublimation Print to Mug
While you're prepping your print and mug, plug in the mug press so it can start preheating.
With the design printed, use a pair of scissors or a paper trimmer to cut out the design.
I like to trim my print close to the design, making sure to keep the edge nice and straight.
Using a lint roller or rubbing alcohol with a lint-free cloth, clean the mug to remove any dust, hair, or other debris.
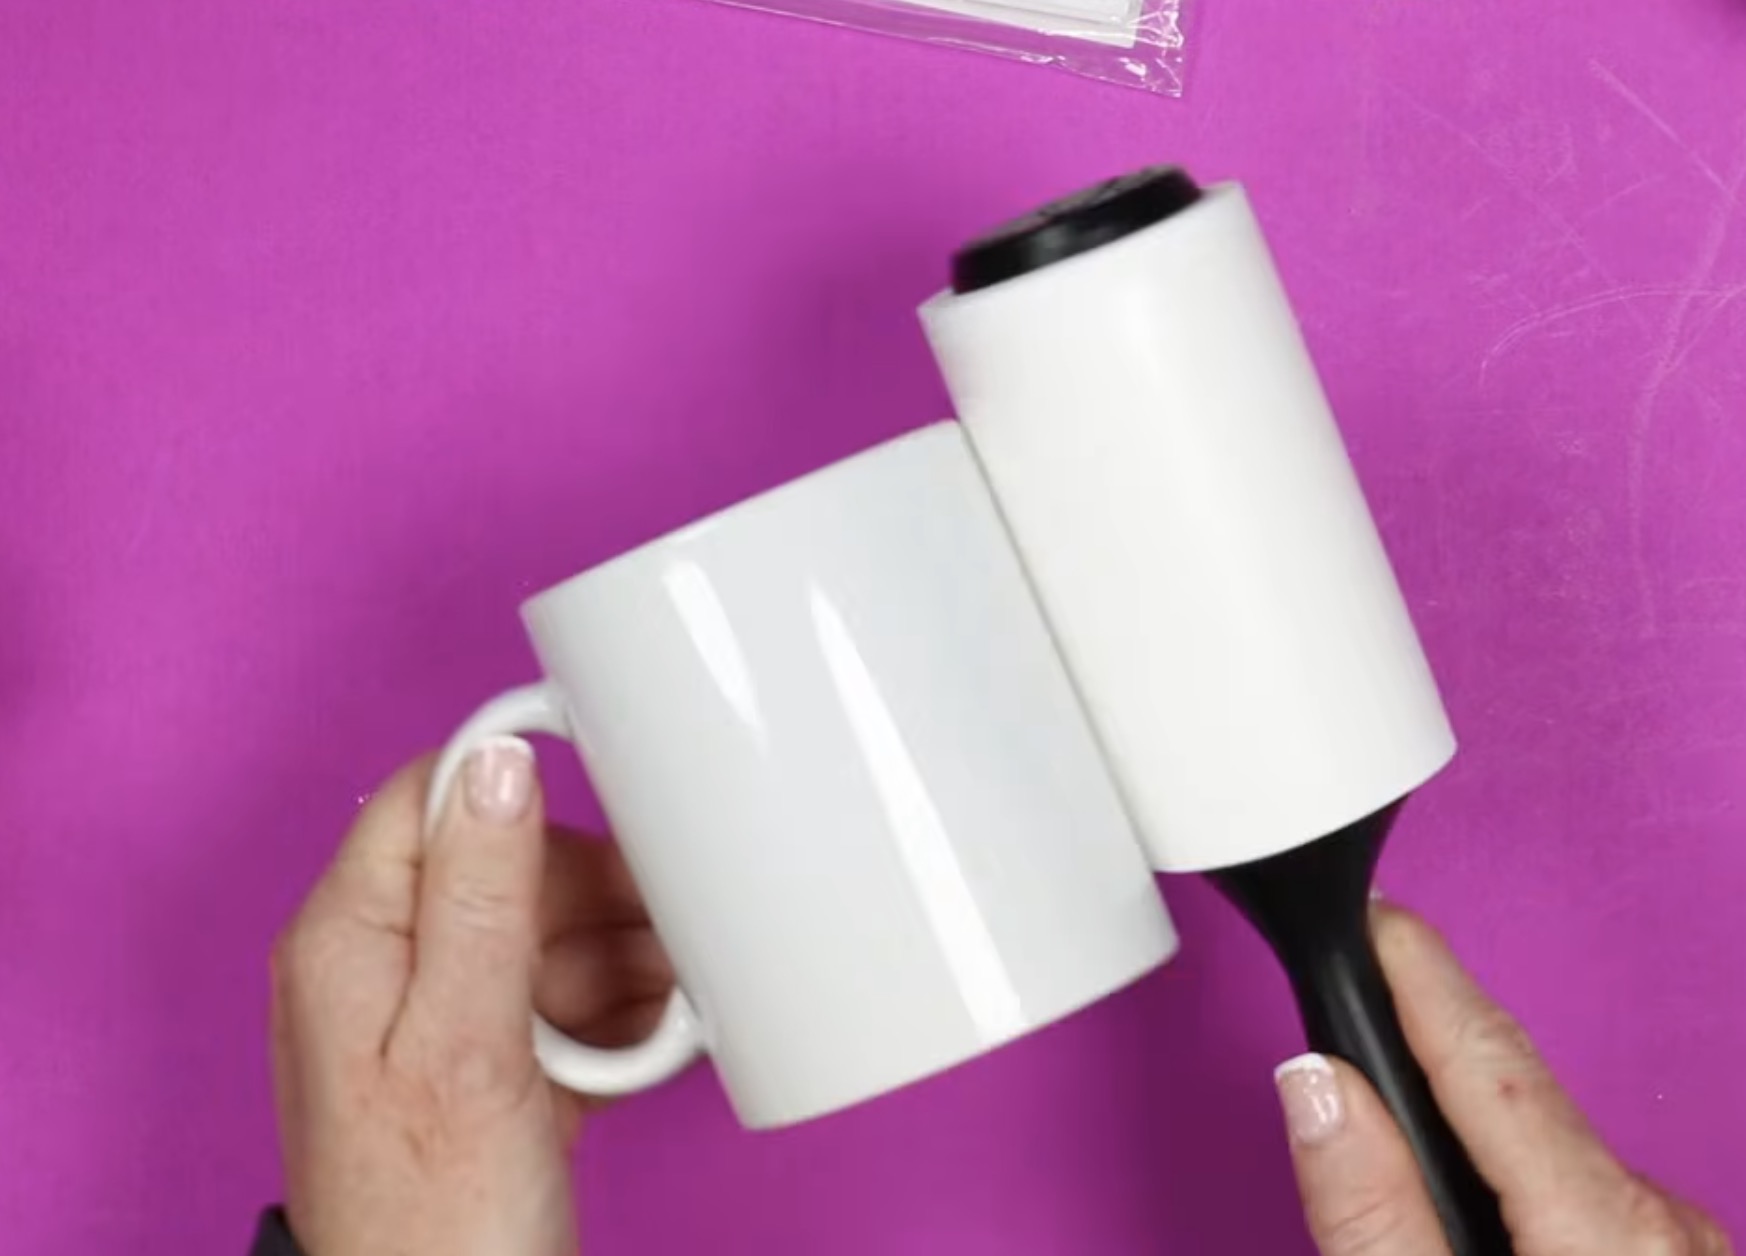
If you used rubbing alcohol, make sure the mug is completely dry before adding the sublimation print.
To locate the sublimation print, I like to stand the mug up and use the table to help make sure the bottom is lined up straight.
Wrap the print around the mug and secure it in place with heat-resistant tape.
I am using the Cricut Mug Press today, and you have to keep the print a distance from the handle because it does not wrap all the way around the mug.
My design is a little farther away than necessary because I wanted all the frames to be spaced the same distance apart.
After applying the sublimation print, use a piece of protective paper and wrap it around the outside, and secure it with heat-resistant tape.
I always add protective paper to the outside of the sublimation print to protect my mug press from any bleed-through.
Step 5. Apply Design to Mug
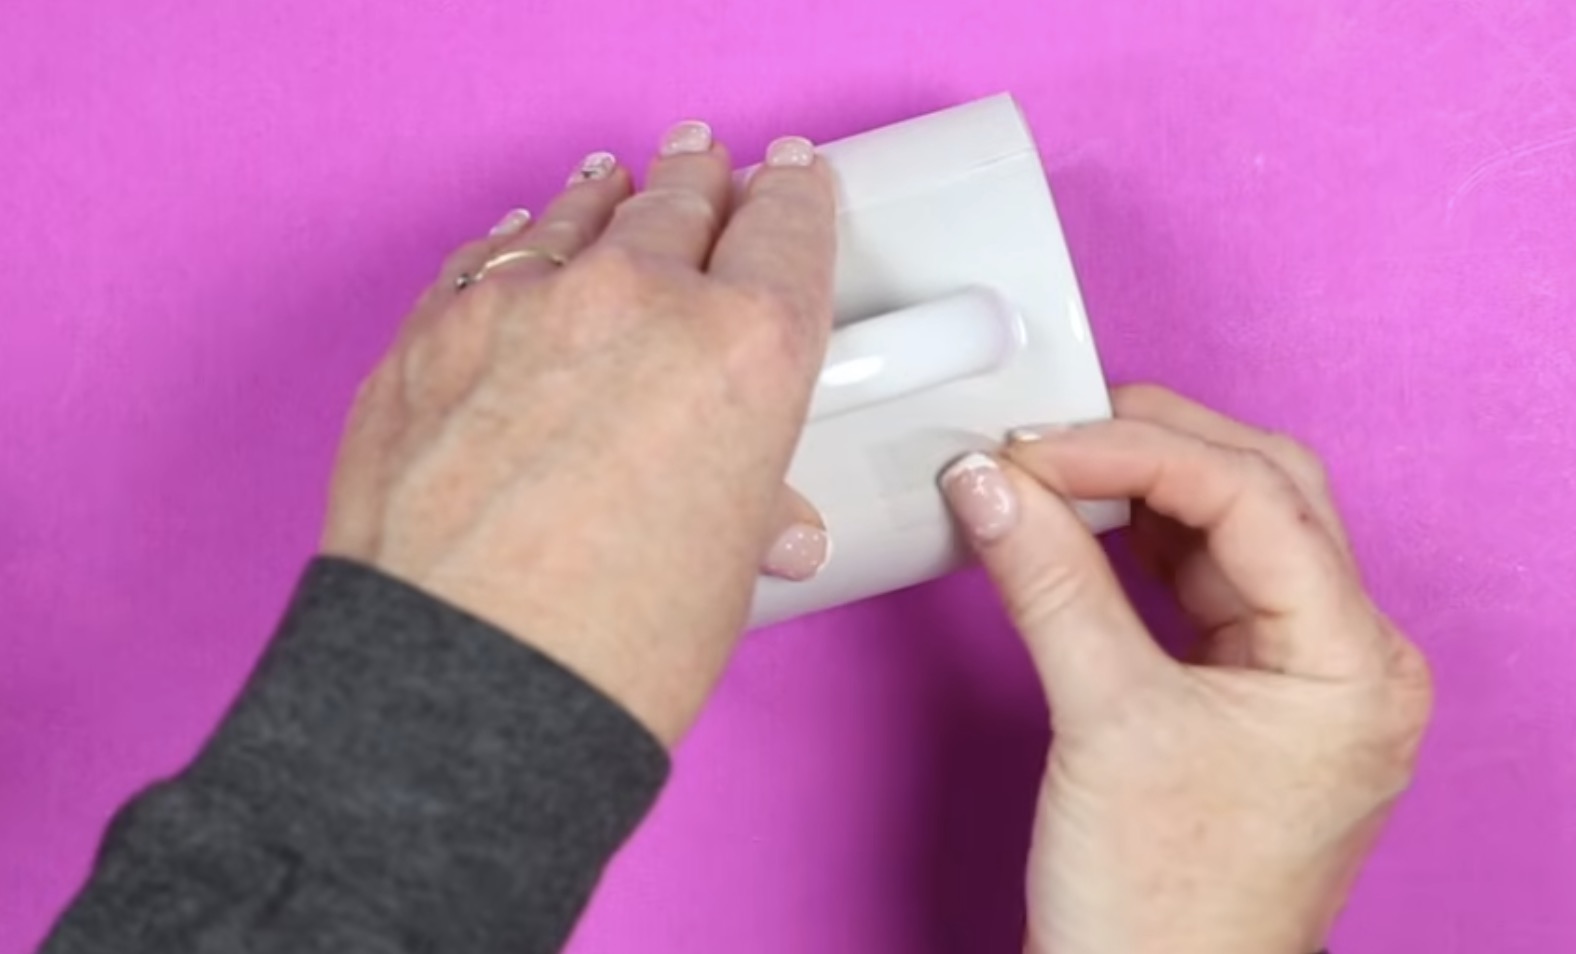
With the print and protective paper wrapped around the mug, place it in the mug press.
The inside of the mug press will be very hot, but the area around the handle slot is not.
Slide the mug straight into the press, making sure the handle is centered in the opening.
Press the lever down on the press, and it will squeeze the mug tight. Make sure the entire print is inside the walls of the press when the lever is down.
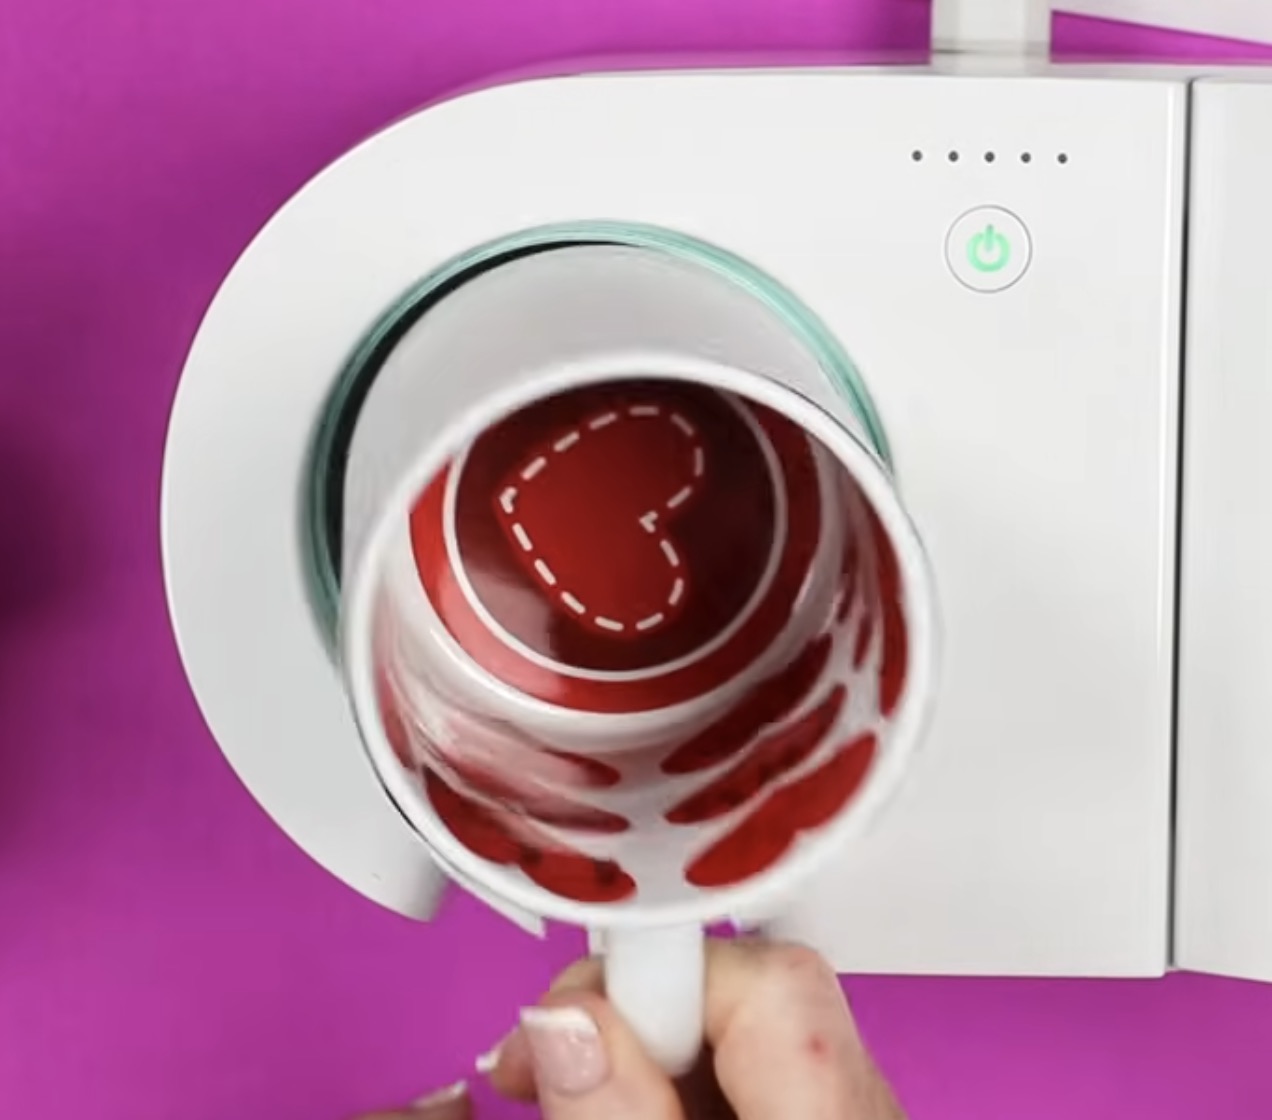
The great thing about the Cricut Mug Press is that it does not require you to set a time or temperature. It will automatically start, and the lights across the top will count you down until the time is up.
The press will beep when it's done. Lift up the lever and gently remove the mug, lifting it straight up and out of the press.
The mug will be very hot, but the handle will not. Place the mug on a heat-resistant mat to cool.
Step 6. Remove Protective Paper and Sublimation Print
You can either remove the protective paper and sublimation print right away or allow them to cool first.
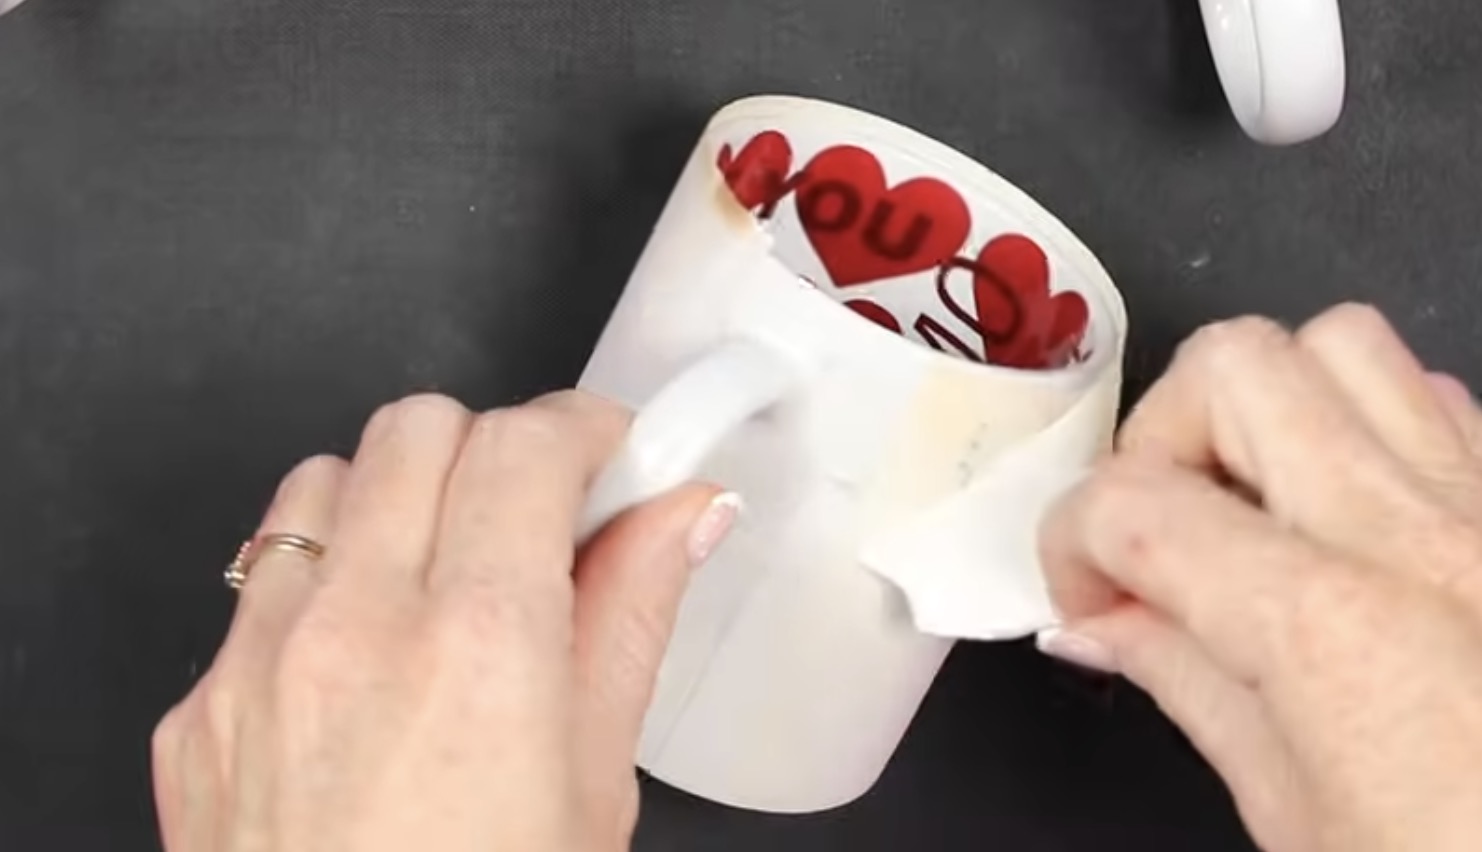
I tend to remove the protective paper while it's hot and then allow the print to cool a little before removing it.
If the mug is hot, gently use something like a weeding tool to remove the heat-resistant tape and peel back the print.

Step 7. Enjoy Your Finished Valentine's Day Mugs
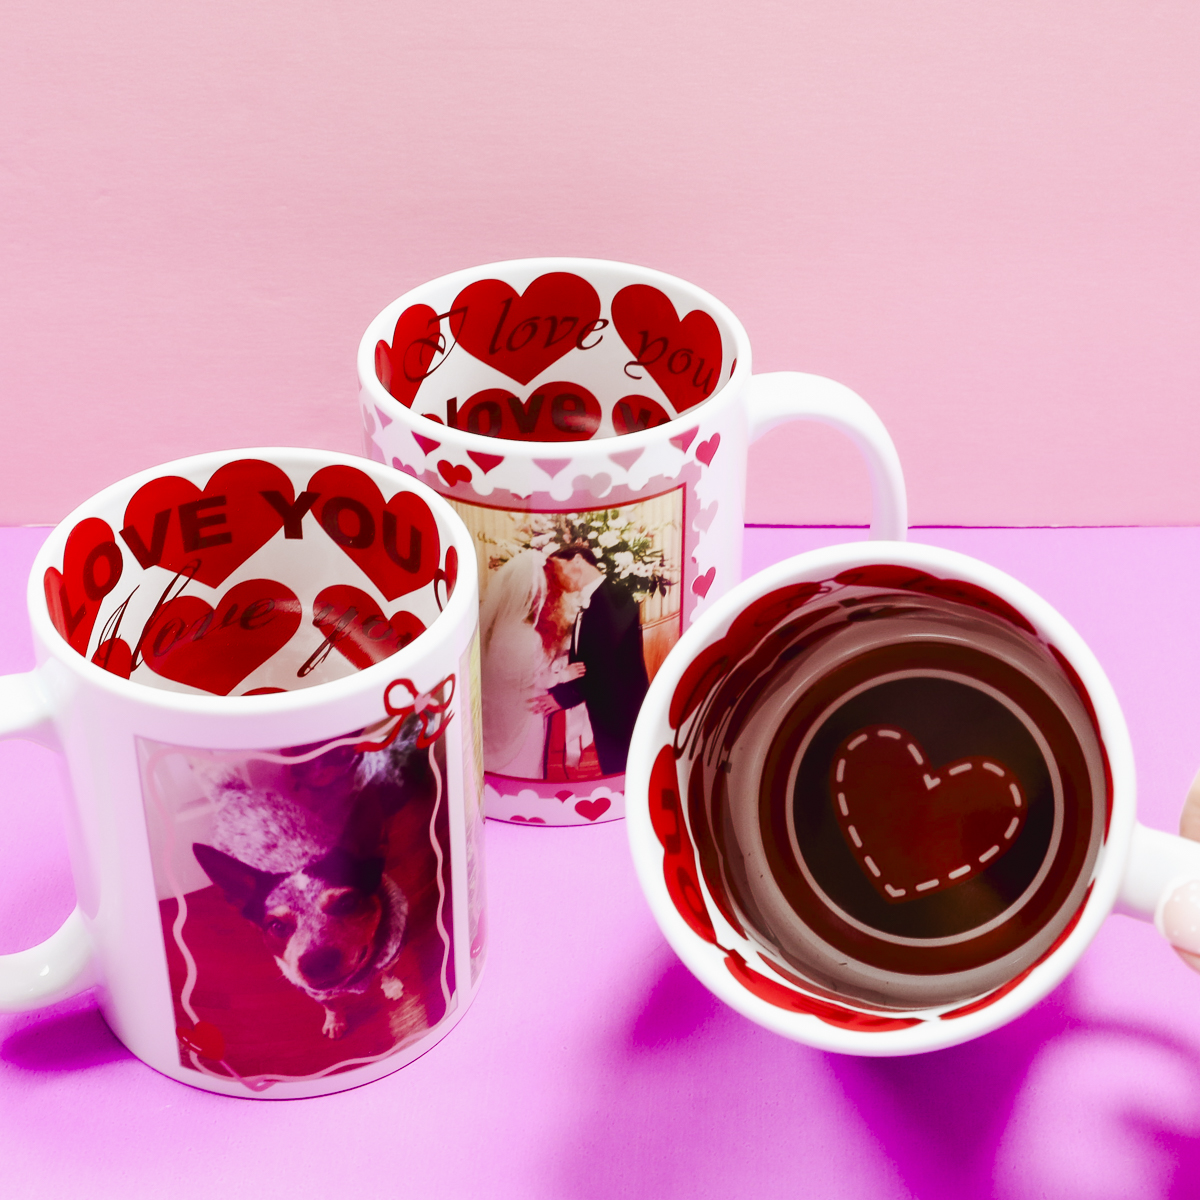
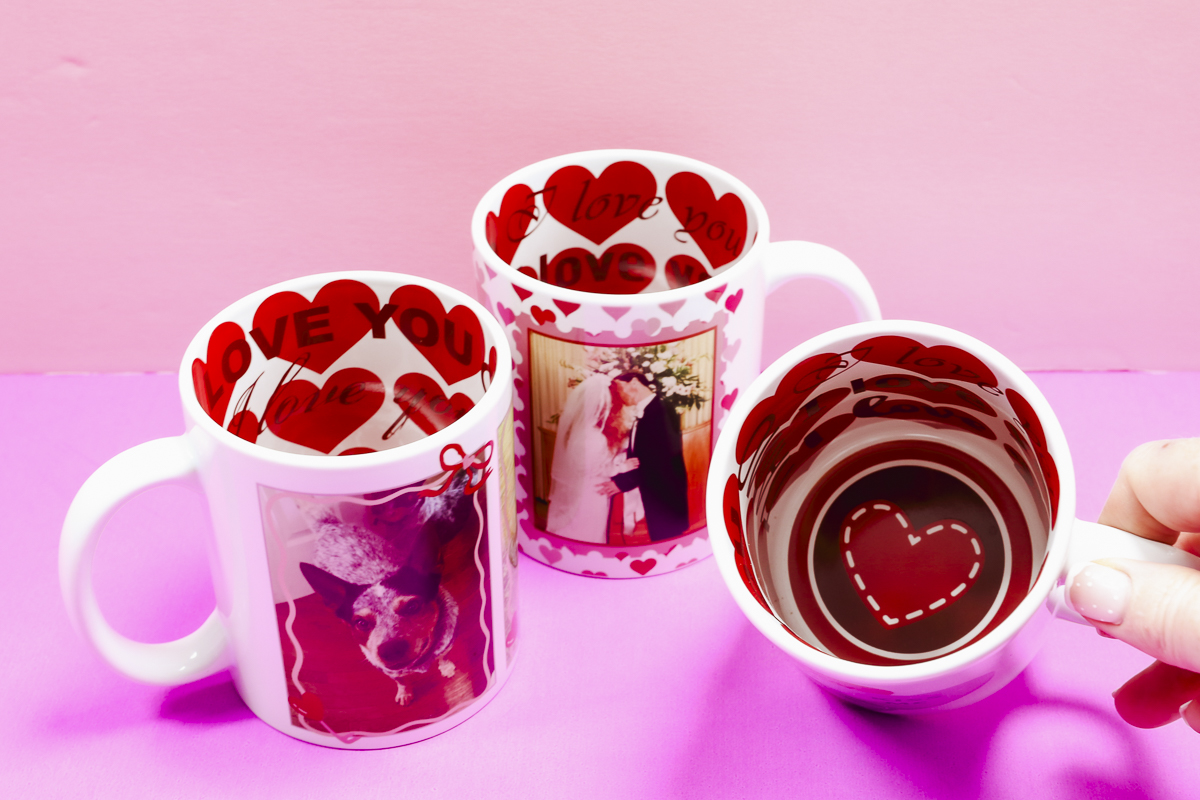
I absolutely love how all of these Valentine's Day mugs turned out. I think the three different designs help you see how many options there can be with mugs like this.
You can do something like the conversation heart design that doesn't include photos, and it is perfect for anyone without additional customization.
I am glad I changed the one heart to be red and pink instead of orange-ish. I think it ties in with the inside design really well.
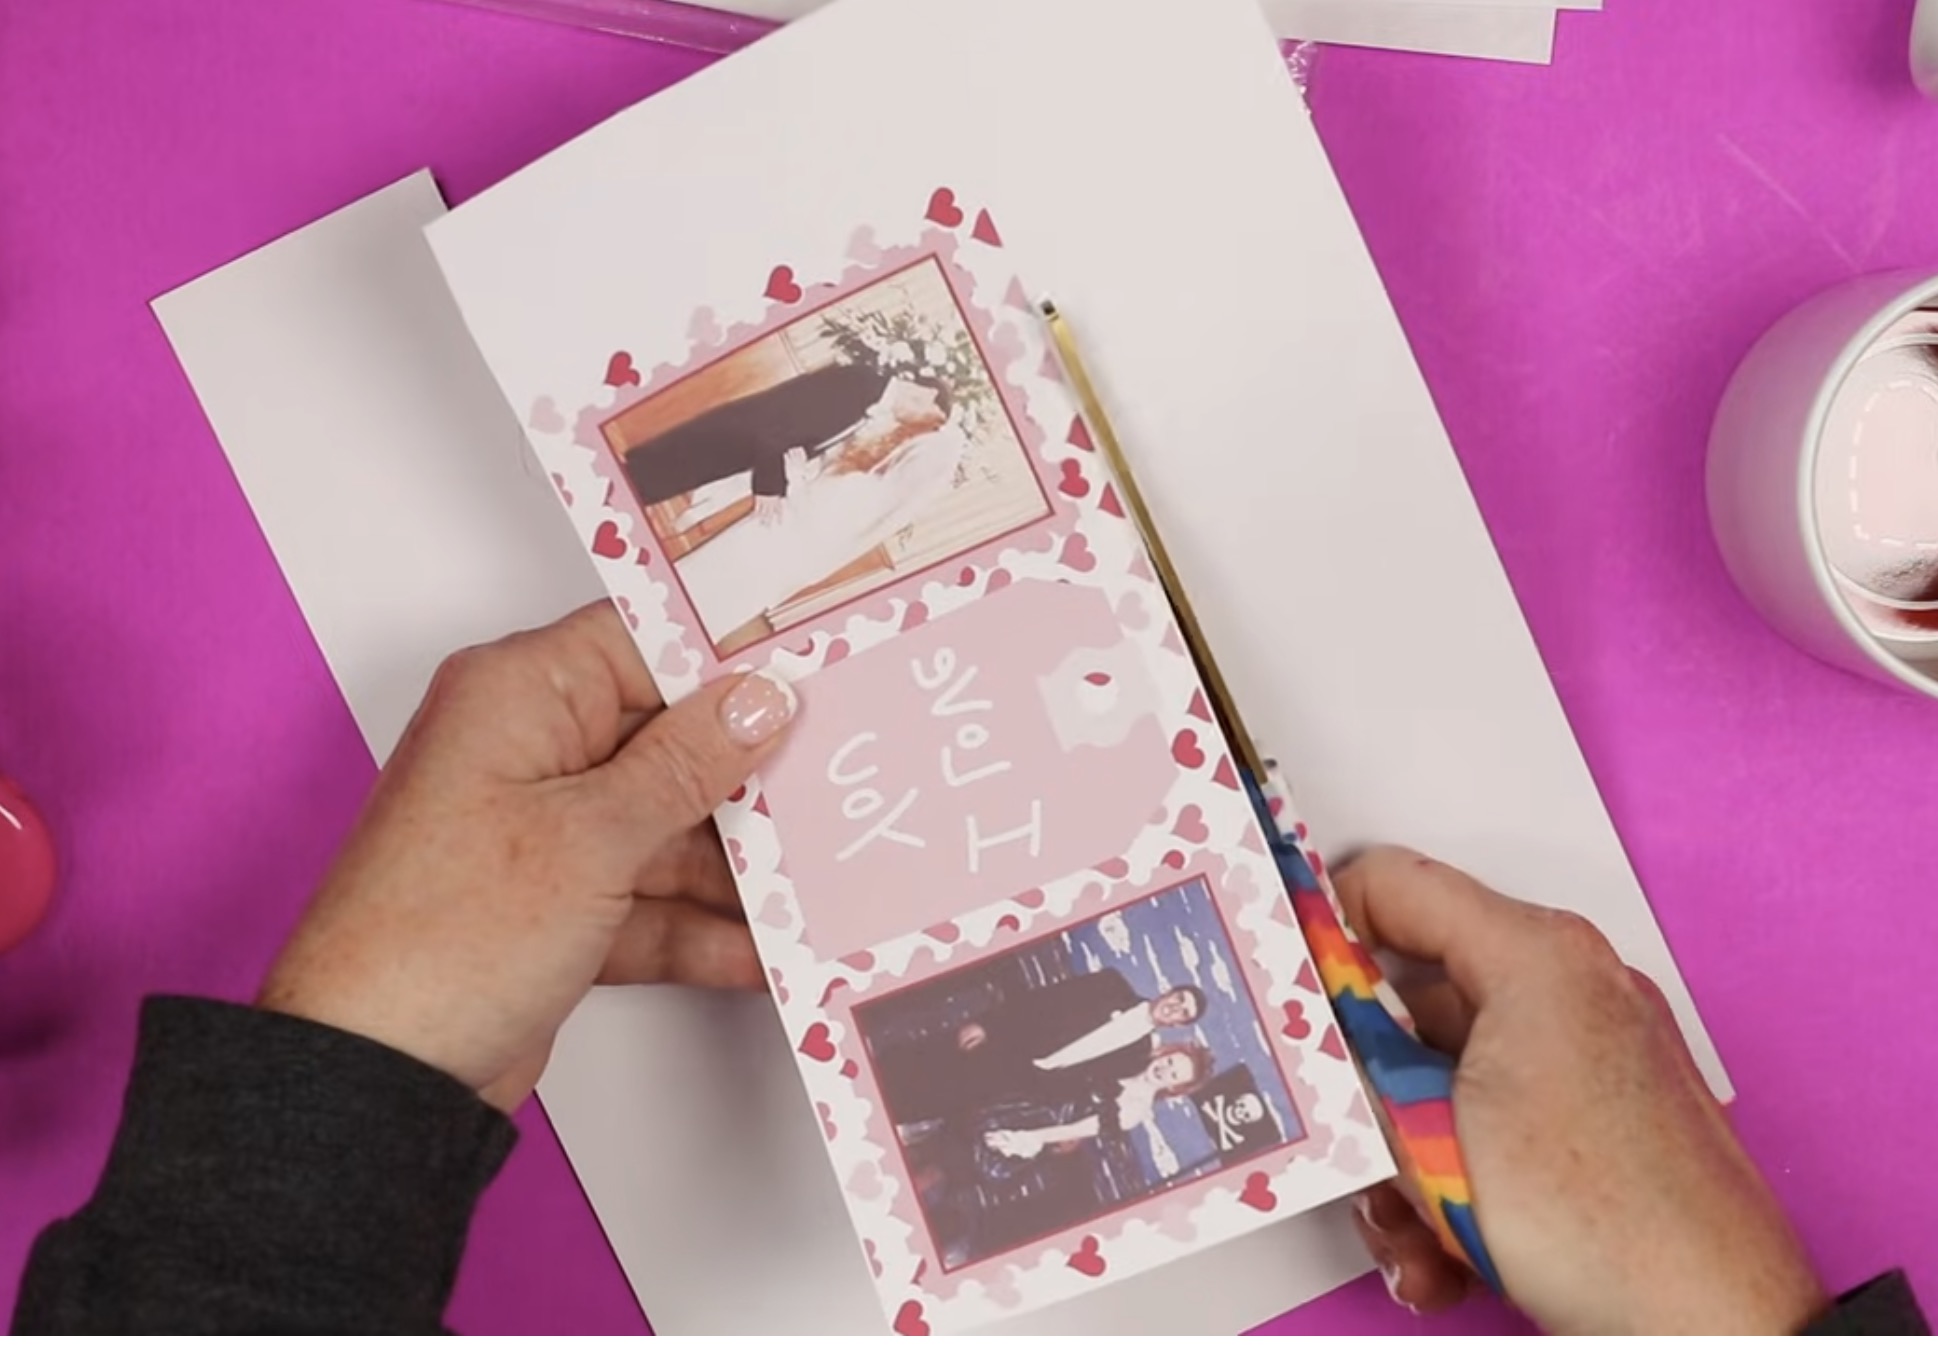
The next design is perfect for couple photos, photos of your children, parents, etc. This one has the tag design between the two photos that says Love You.
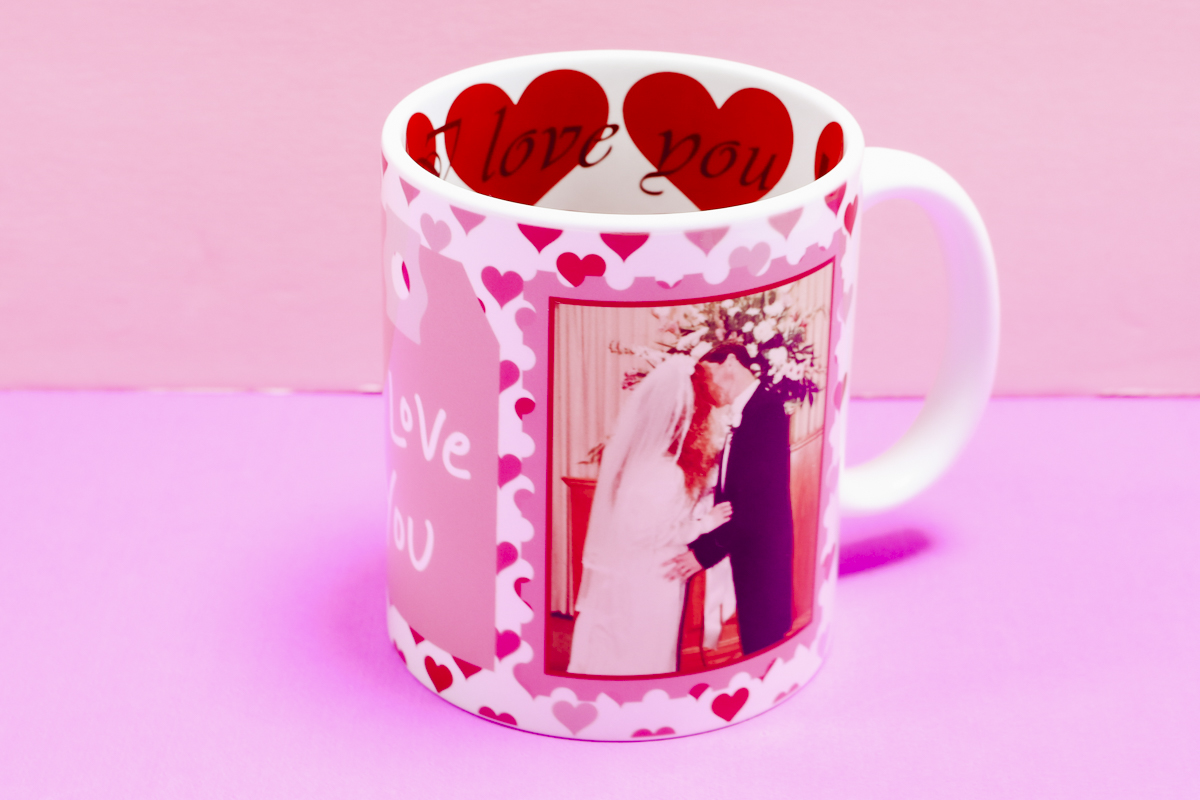
I think the pink and red heart background is really cute, and you can change the tag for a different design if you want to.
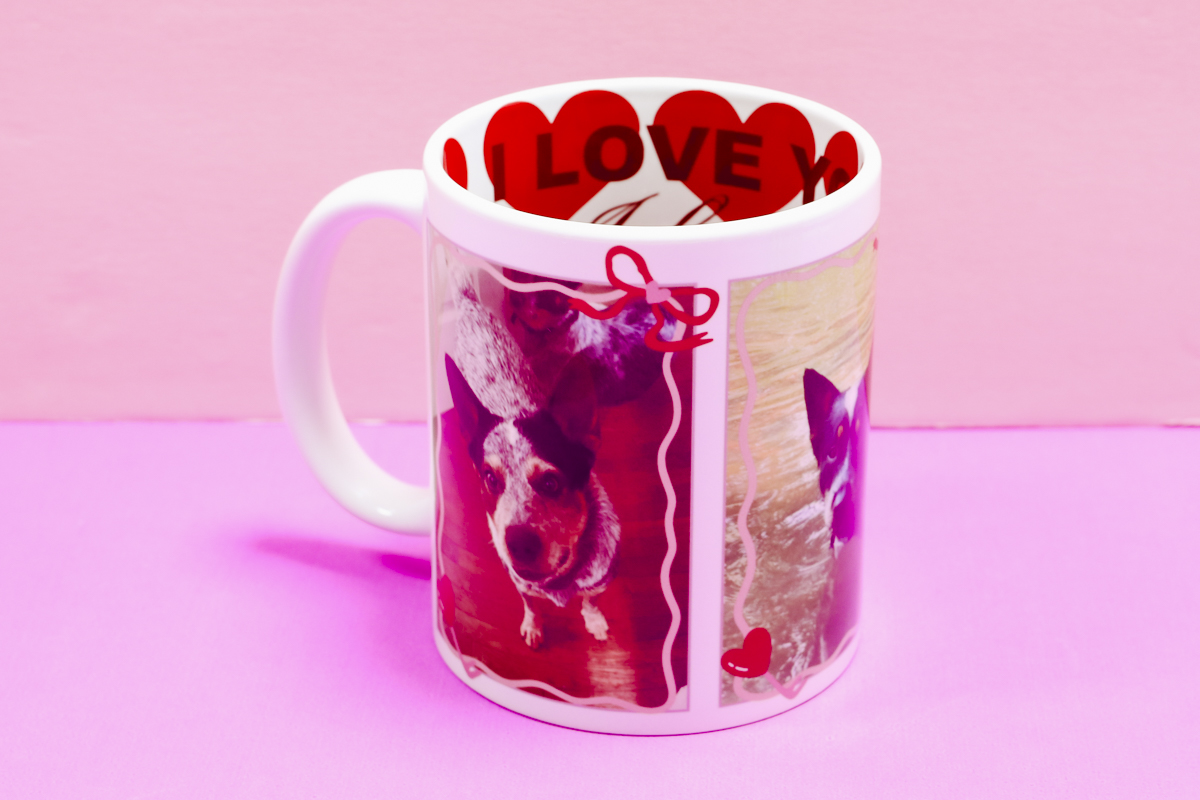
The last design has the bow and heart frames on each image.
This design can be used for anyone or anything. With three photo frames, it's perfect for grandparents, parents of multiple children, or pets, as I did.
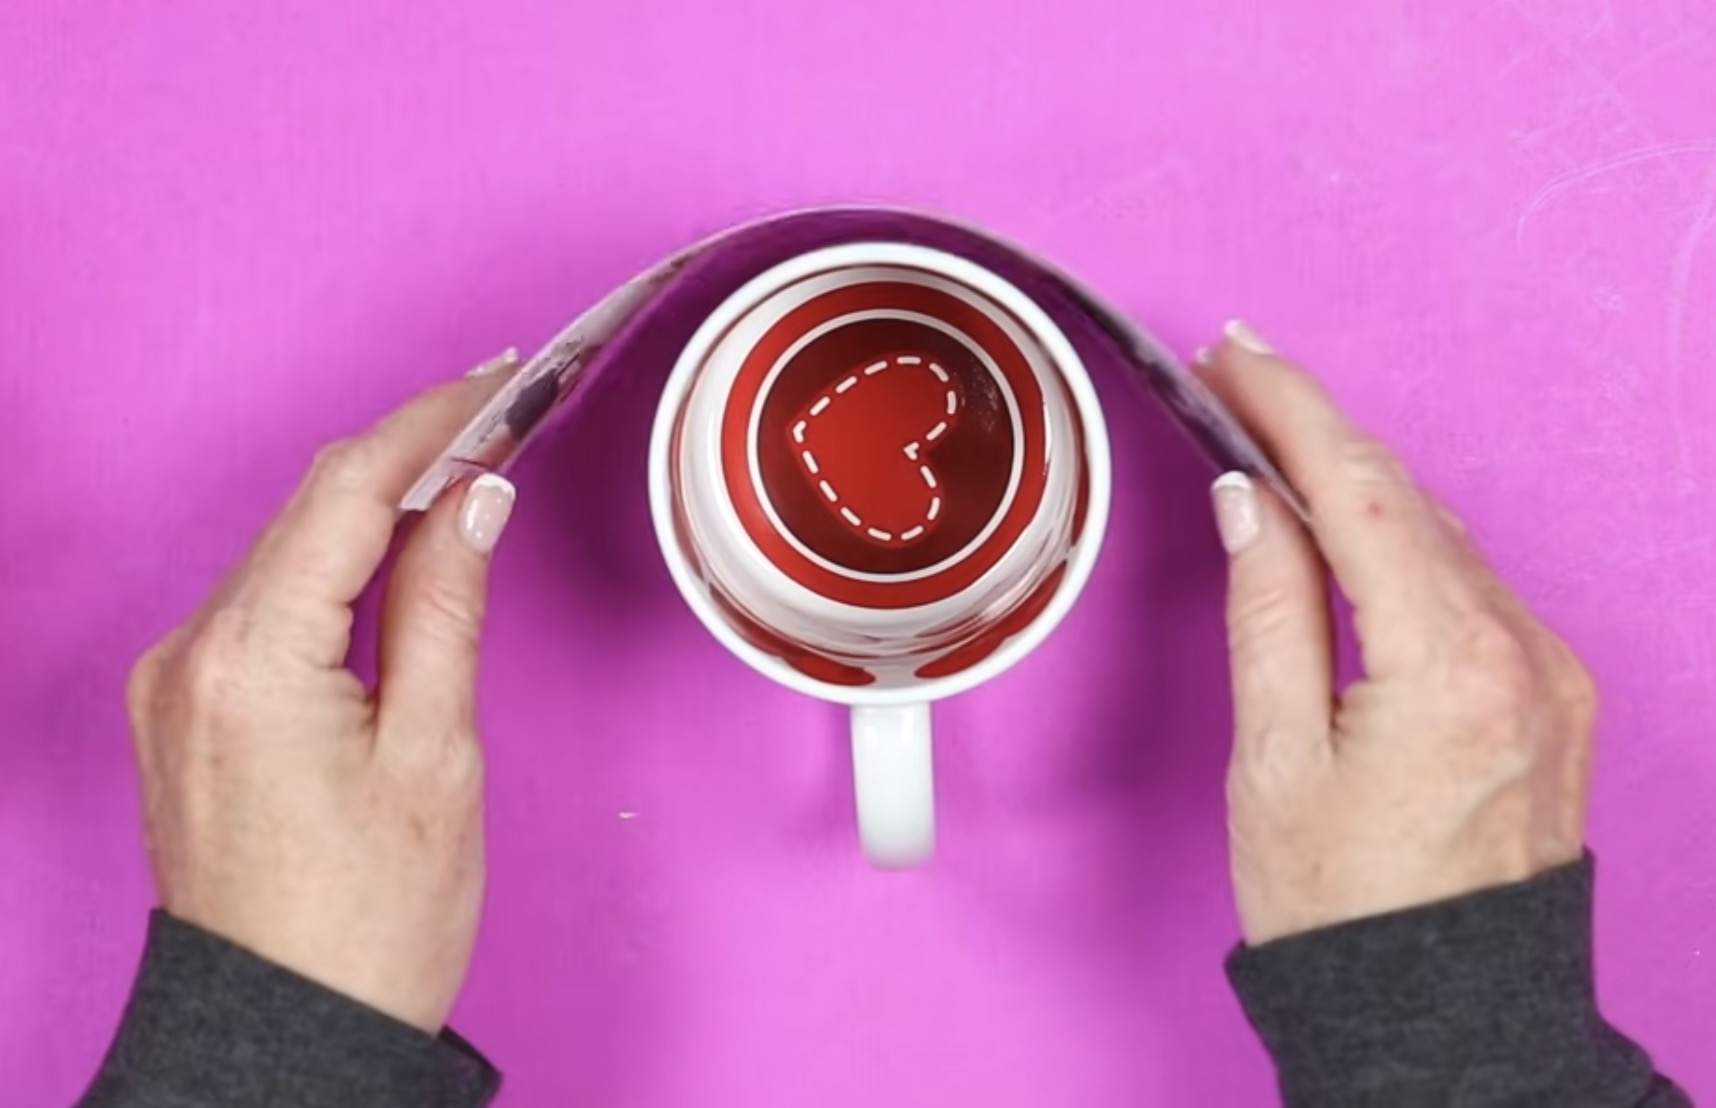
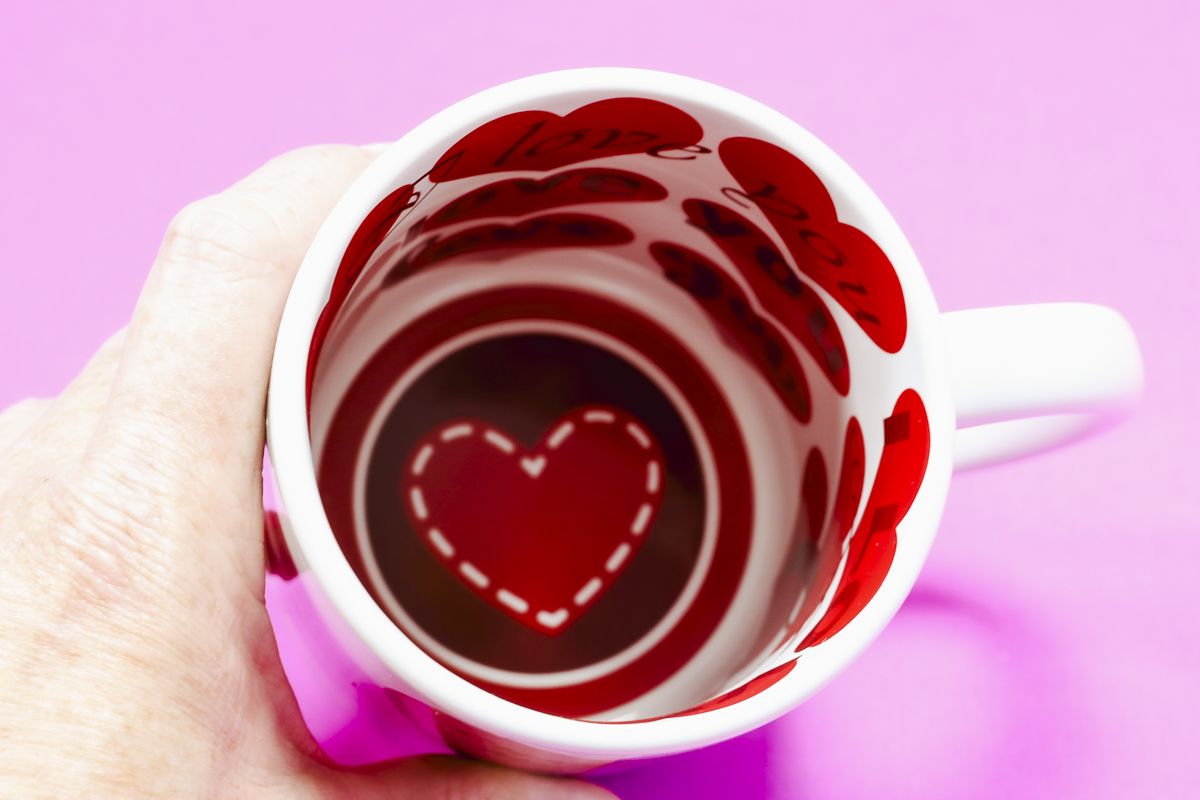
The design on the inside of the mug is perfect for Valentine's Day and adds that extra pop of fun that you can see when you're drinking out of the mug.
Are You Ready to Create Your Own Custom Valentine's Day Mugs?
Can you tell that I am obsessed with these mugs? The inside design is such a fun addition and makes these stand out compared to other customized mugs.
I used the Valentine's Day mug today, but there are other options too. If you want to create a custom mug for yourself, to gift, or to sell, I would definitely recommend looking into mugs with the design on the inside.
I want to repeat that I did not add the design to the inside of the mug. I've watched many tutorials of people trying to sublimate the inside of a mug, and I haven't found anyone who has been able to do it successfully.
I also haven't had success finding a sublimation mug blank that has a sublimation coating on the inside, and I cannot figure out how you would apply enough pressure and heat, even if it were coated.
For now, we can purchase these pre-printed designs and customize the outside to our heart's content.
I hope I've answered any questions you have about making Valentine's Day mugs. If you have any additional questions, leave them in the comments, and I'll be happy to answer them for you.