

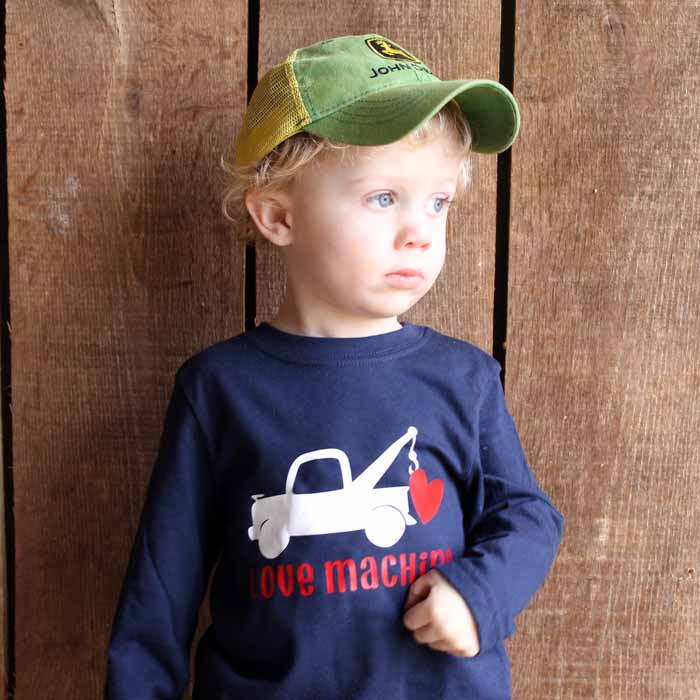
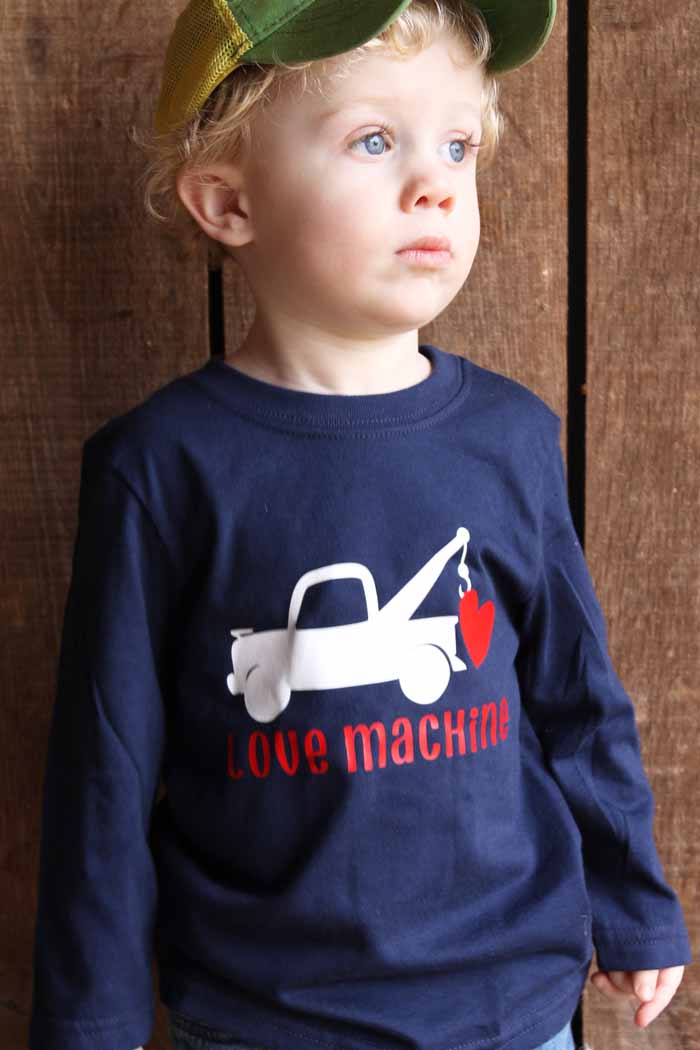
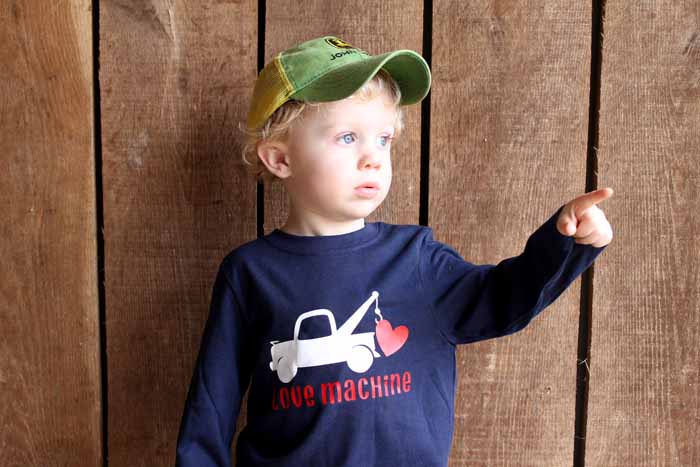
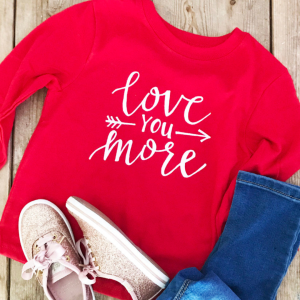
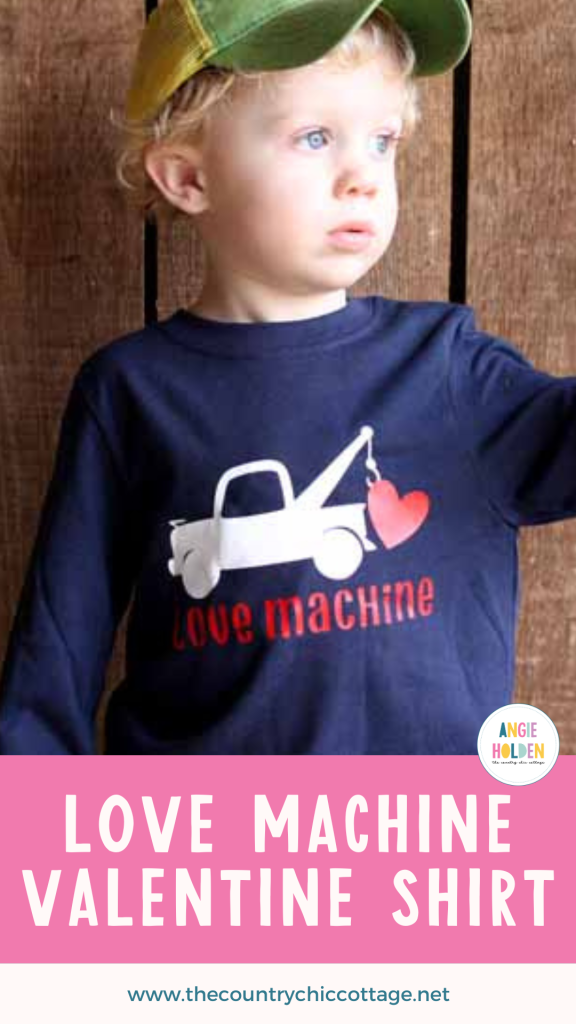
Make the cutest Cricut Valentine shirt for your love machine! This simple craft can be done in just minutes with your Cricut machine. This is a great idea to make for your kids or matching t-shirts for the whole family!
How To Make a Cricut Valentine Shirt
Valentine's Day crafts are the sweetest and most fun to make! A custom shirt like this would cost a pretty penny from a boutique, but we're making it for a sliver of the price. Plus, you can customize it to say anything you like.
You could even make matching shirts for the whole family for any holiday!
This is the last post in our Valentine's series. You can see all of the ideas at the bottom of this post. Follow along below as I make one adorable shirt. Plus, you can grab the cut file below and make your own.
Supplies Needed To Make Cricut Valentine Shirt
- Shirt
- Cricut Cutting Machine (Want to see the difference between the machines? I compared the Cricut Maker and Explore here.)
- Cricut EasyPress
- Cricut Iron On (in two colors)
- Weeding Tools
- This project is made with Design Space files. Click here for my profile. Once on my profile, find the image of the project you want to create, click it to open it up, and then you can make it yourself.
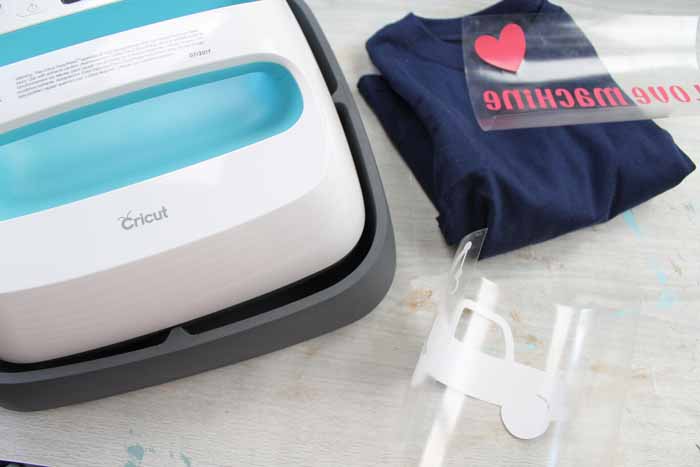
Step 1: Cut Vinyl
Start by cutting the cut file from two different colors of iron on vinyl. Remember to mirror the image when cutting and put your vinyl with the shiny side on your mat. Resize if needed to fit the front of your shirt before cutting.
NOTE: New to Cricut and Design Space? Be sure to download our free beginner's guide here!
Step 2: Weed Vinyl
Weed the excess from the vinyl. The weeding tools make this a bit easier, but they are not required.
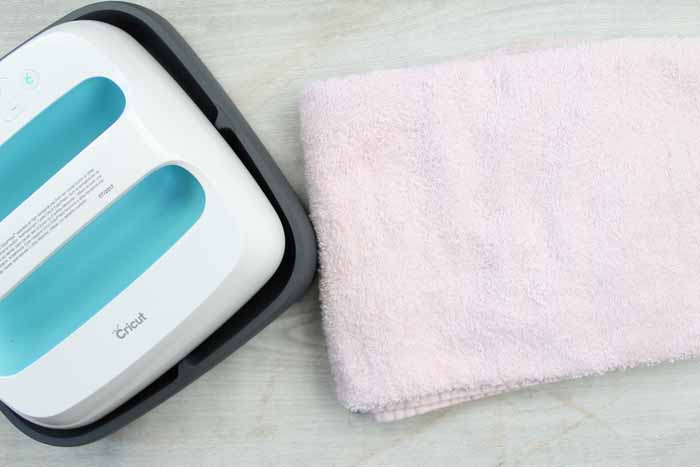
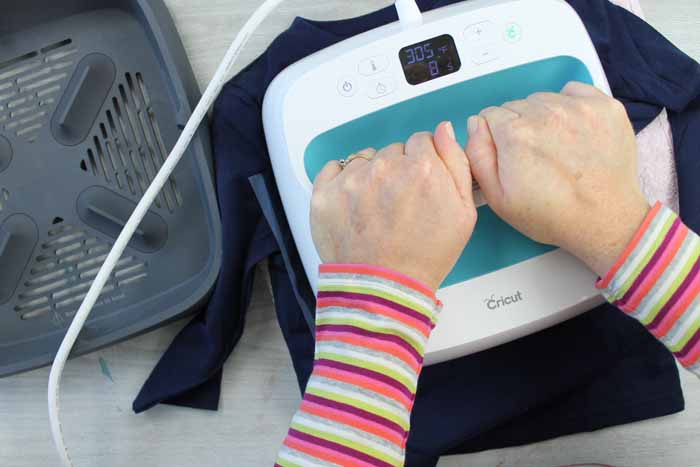
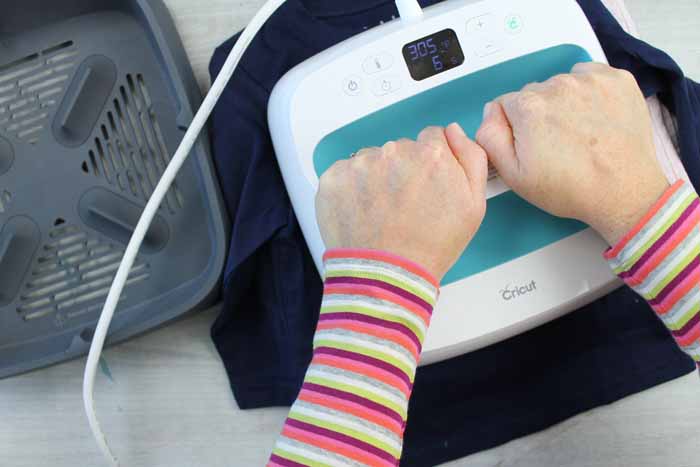
Step 3: Press Shirt With Cricut EasyPress
Then, break out your Cricut EasyPress to add it to your shirt. You will need to protect your work surface from the heat. I use a folded-up towel to do so.
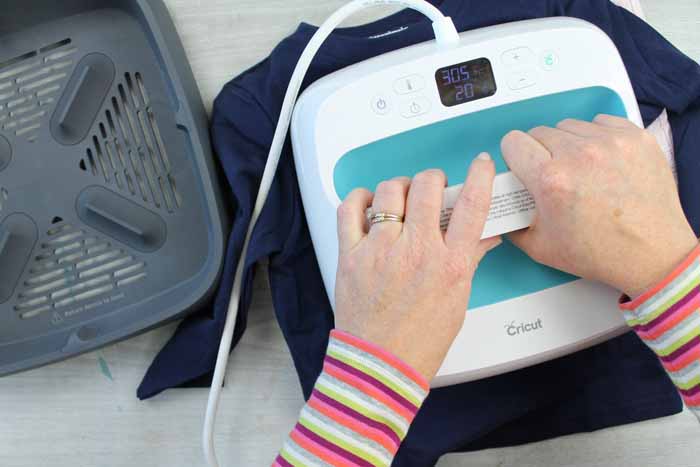
Set the time and temperature according to your materials. If you are unsure about the temperature settings, a chart comes with the machine, or you can use Cricut's Heat Guide by clicking here.
Then, prepress the shirt using the EasyPress for a few seconds, smoothing any wrinkles.
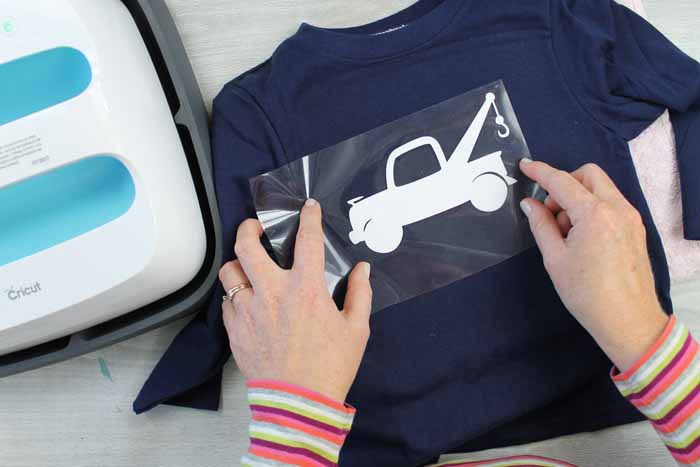
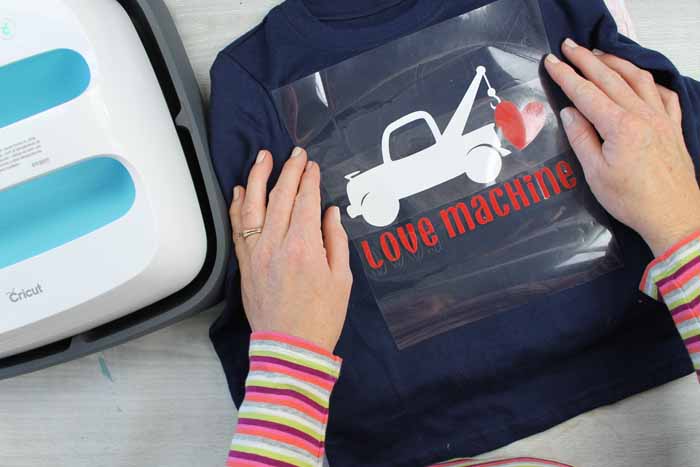
Step 4: Add Vinyl Truck To Shirt
Position your truck on your shirt. Remember that the heart and words need more room to the right, so this should be off-center.
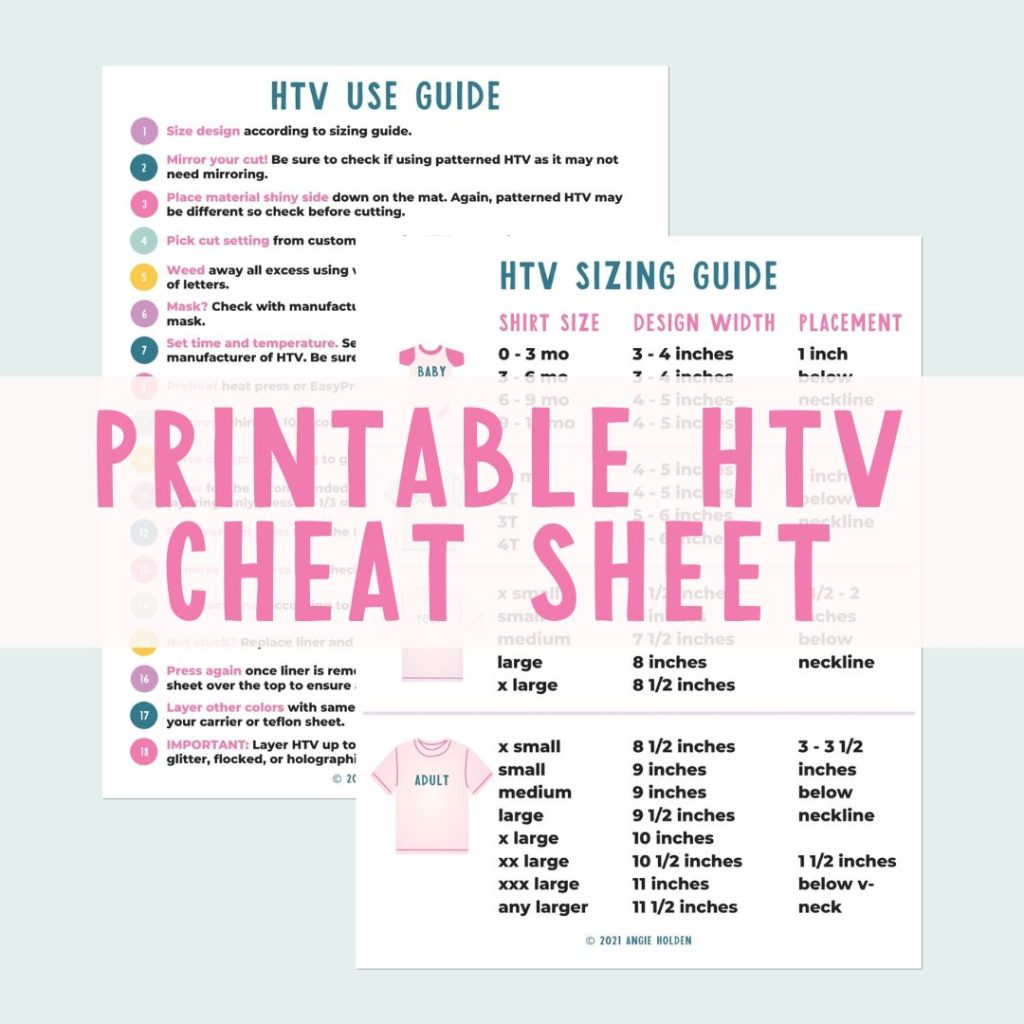
Free HTV Cheat Sheet
Get your FREE Printable HTV Cheat Sheet now! This guide has sizing and position recommendations for infant through adult shirts as well as a handy HTV use guide. Print this double sided guide and put it by any heat press you own!
Step 5: Press Vinyl Truck To Shirt
Then you just put your EasyPress on top, hit the button to start your countdown and apply some pressure on the handle. When the machine beeps, it is done. Flip the shirt over and repeat on the backside.
Step 6: Add Vinyl Wording To Shirt
Now, position your second color of vinyl. I removed the protective sheet from the truck to complete this step.
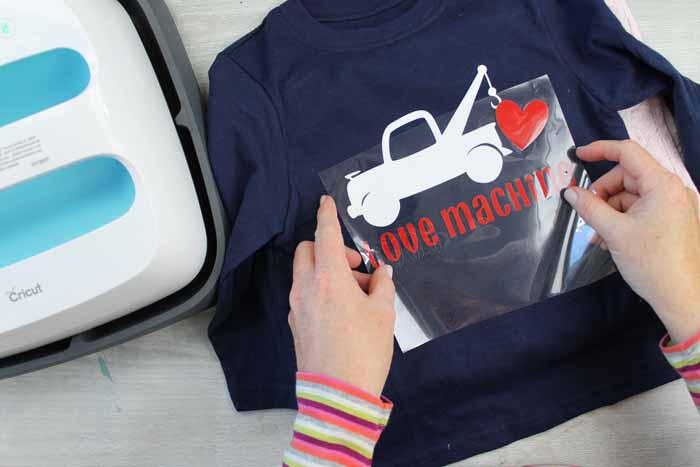
I then added the protection sheet back over the white truck before pressing.
Step 7: Press Vinyl Wording To Shirt
Repeat the entire process with your EasyPress. Press on the handle while allowing it to count down, flip your shirt, and repeat on the back.
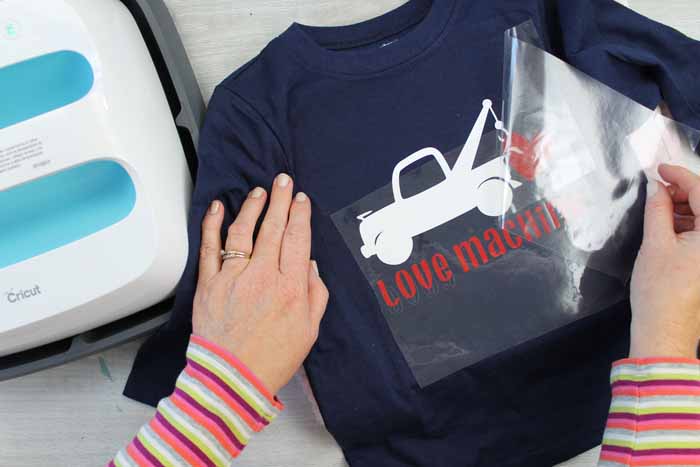
Step 8: Peel Off Backing From Cricut Valentine Shirt
Allow your Valentine's shirt to cool before peeling back the protection sheets to reveal your completed shirt.
Your Valentine's shirt is now ready to put on your little love machine!
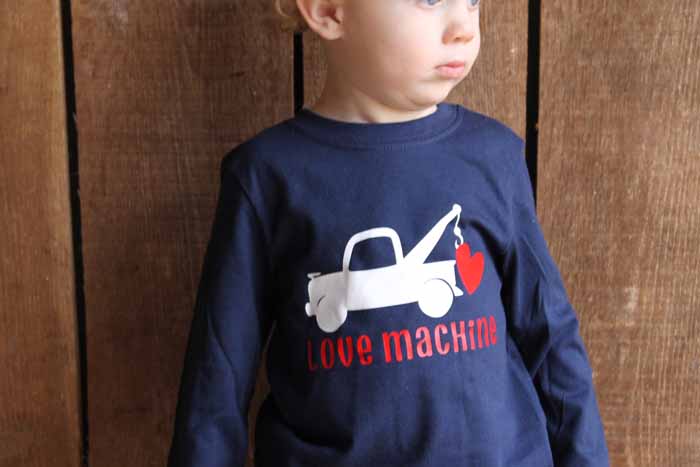
Such a cute design! It is perfect for toddlers who love trucks!
Who will you be making this shirt for this Valentine's Day? I have been making ALL the shirts since getting the Cricut EasyPress. In fact, you can see my fall and Christmas designs here. I can't wait to make more designs for spring and summer!
Grab some shirts at the store and whip up a bunch of these Cricut Valentine shirts for everyone! You can't go wrong with this one!
FAQs About Cricut Valentine Shirt
Here are a few common questions that I often see readers asking about Cricut Valentine shirts. If you have a question, please check if I’ve already addressed it below. If you don’t see your question listed, please leave it in the comments.
What Cricut Machine Can I Use For This Project?
All of them! The Cricut Maker, Cricut Explore series, Cricut Joy, Cricut Joy Xtra, and Cricut Venture can all cut vinyl!
The only thing to remember is that each Cricut machine is different in terms of project size capabilities and the materials it can cut. So, depending on what project you have in mind, you might need to resize the cut file or cut it out using a different material.
Do You Have Resources On How To Use Cut Files/SVG Files?
Yes, I do! If you are brand new to the world of SVG files and want to learn about them and how to use them in your projects, check out my SVG resources below!
- What is an SVG File?
- How to Use an SVG File on Your Cricut
- How to View SVG Files on a PC
- How to Use Zip Files on Your Cricut
Can I Use An Iron For This Cricut Valentine Shirt?
I prefer using the Cricut EasyPress, but you can use an iron for this project. If you want to learn the difference between the two, check out my ”Cricut EasyPress Versus Iron: Which is Better?” blog post!
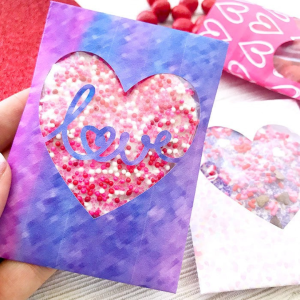
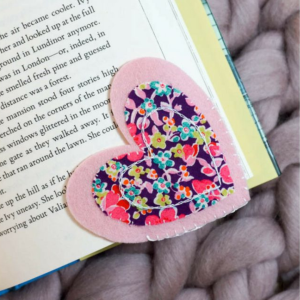
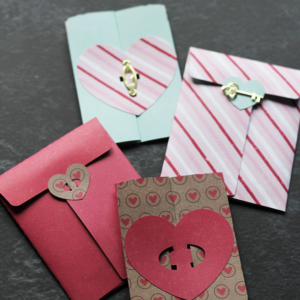
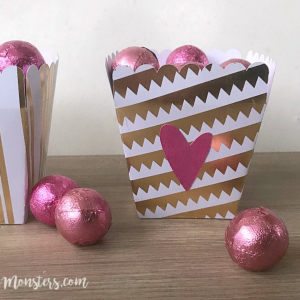
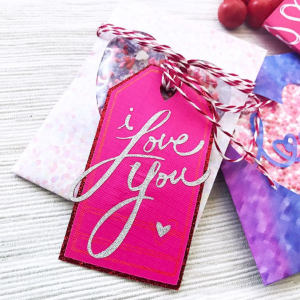
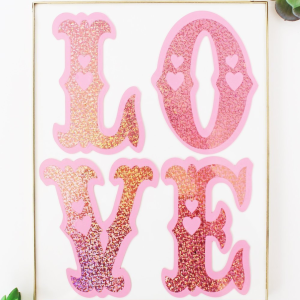
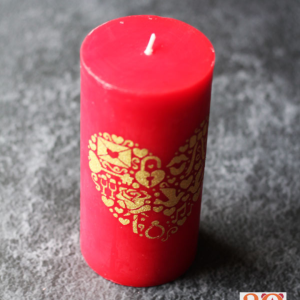
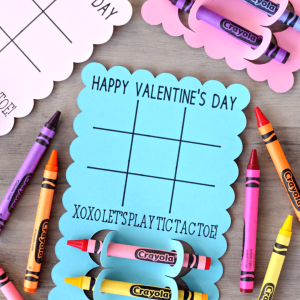
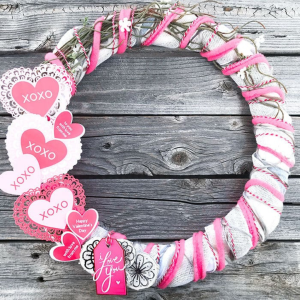
40+ More Cricut Valentine's Day Ideas
Did you love this Cricut Valentine shirt and want more Cricut Valentine’s Day craft ideas? We have them for you!


5 More Cricut Valentine's Day Crafts
If you love your Cricut Valentine shirt and want even more Cricut crafts to make, then check out these projects!
- Valentine Clothespin Craft: How To Make Clothespin Bugs
- Creative Classroom Valentines Made With Cricut
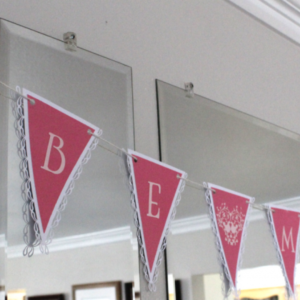
- Easy Valentine’s Day Banner with Your Cricut
- Free Fries Are MY Valentine SVG
- Valentine Heart Boxes You Can Make in Minutes


This is the cutest shirt ever! Love it! Thanks so much for sharing at Celebrate It!