
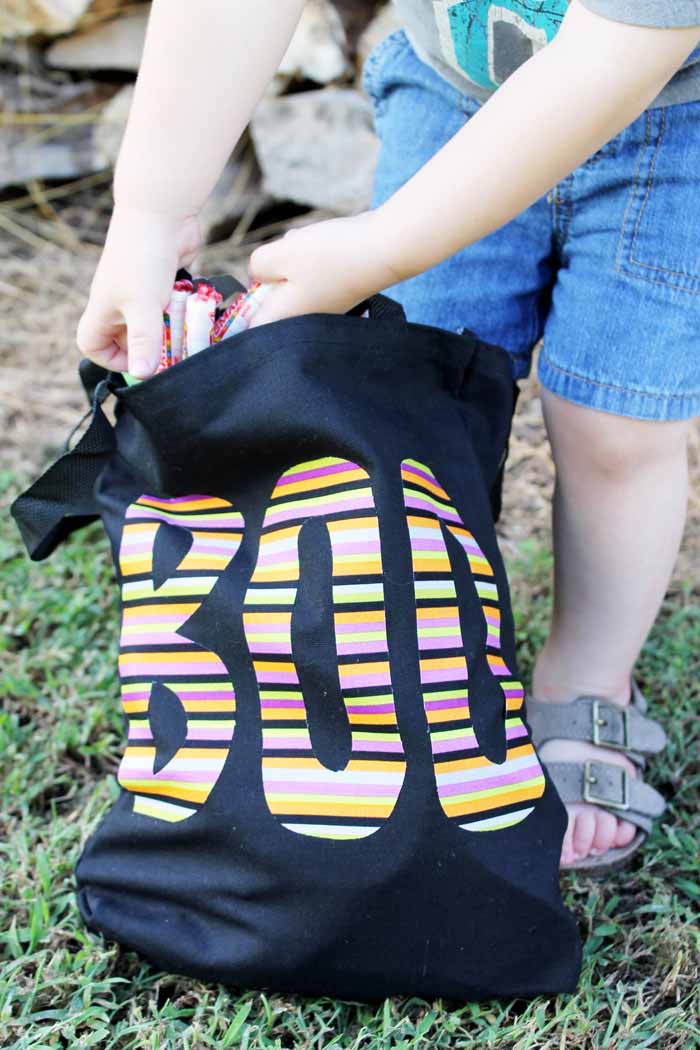
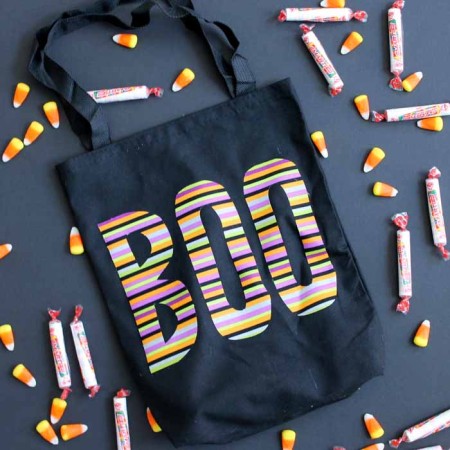
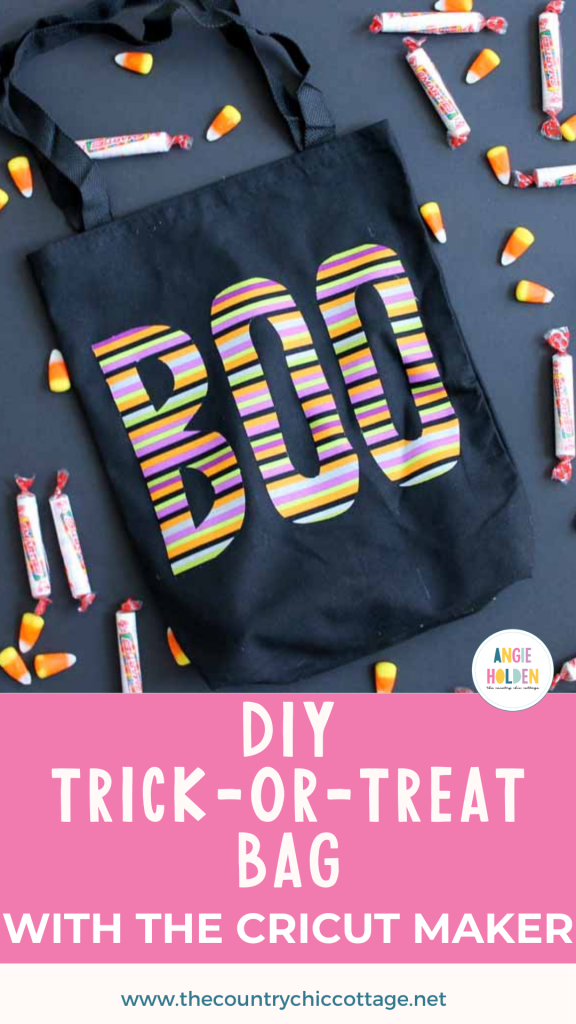
Every child who goes trick or treating needs a great bag for the special night! Use this tutorial to make an easy trick-or-treat bag in a flash with your Circut Maker.
Halloween night is so much fun as a kid! I remember how much I loved it, and my kids enjoyed it just as much.
Over the years, we tried all kinds of bags for trick or treating. Everything from plastic grocery bags to the classic pillow case had its time in the spotlight. But plastic grocery bags can tear easily, and pillowcases get hard to carry.
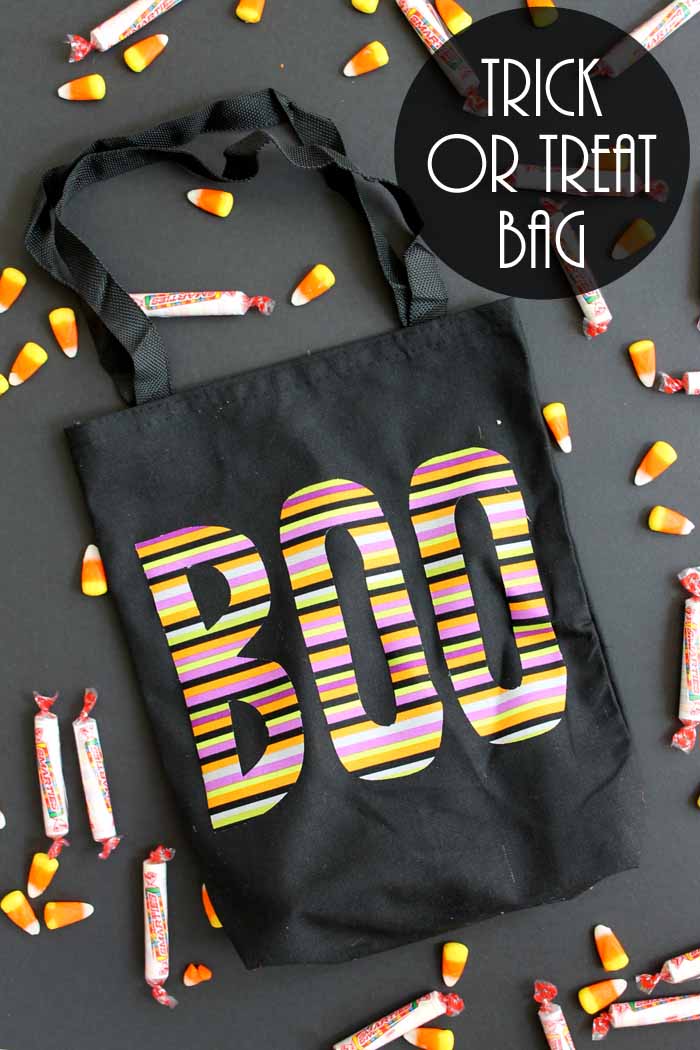
That's why canvas bags are the BEST option! They have the sturdiness of a pillowcase but the handles of a grocery bag. Plus, they're easy to personalize and decorate.
I hope you love this tutorial for an easy way to make a DIY trick-or-treat bag. It's a different process than what I used to make these Halloween tote bags.
As part of today's tutorial (it's a two-for-one!), I am going to show you about cutting fabric with your Cricut Maker and what makes it special.
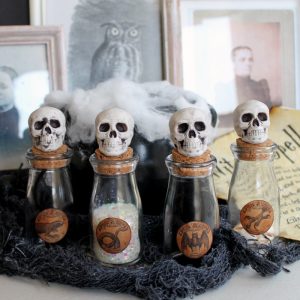
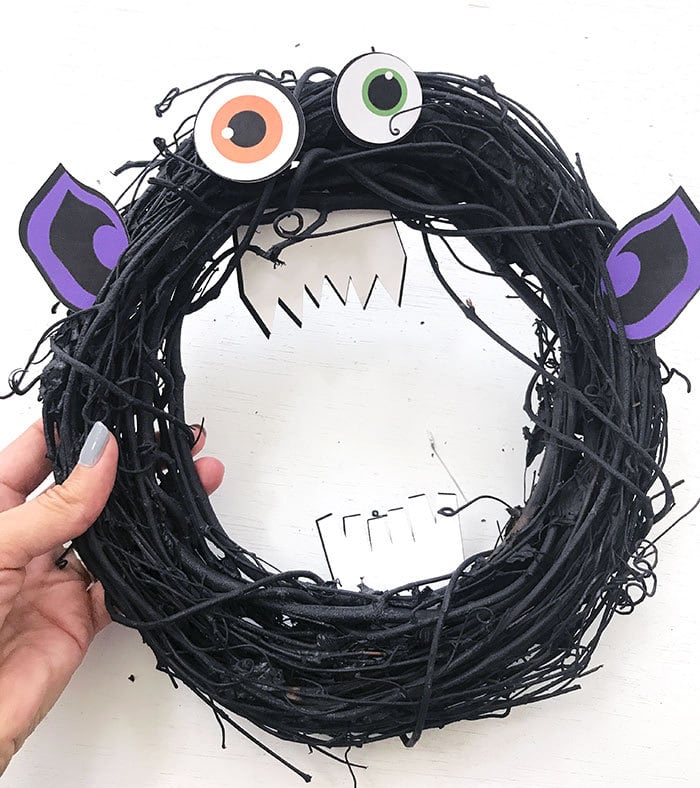
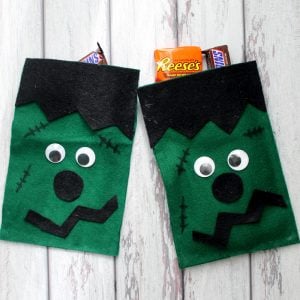
Note: If you want even more Halloween craft projects, please check out our Scarecrow DIY Halloween Treat Bags, Halloween Candy Bucket That Glows in the Dark, and Halloween Boo Bags crafts.
Why Use A Cricut Maker To Create Halloween Trick-Or-Treat Bags
First, we need to cover the Cricut Maker and what makes it perfect for making projects with fabric.
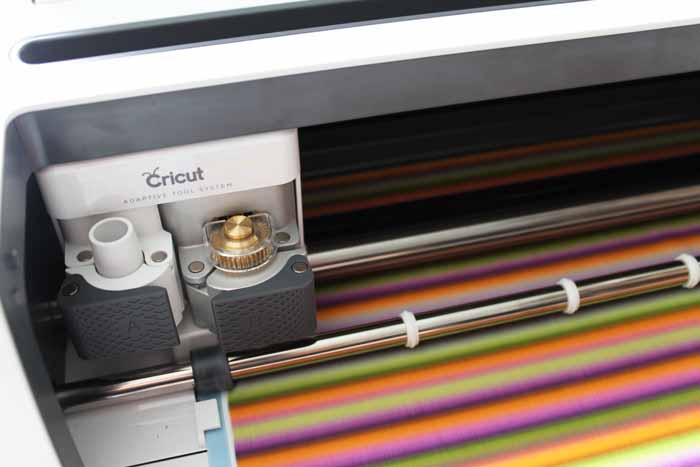
The Maker has the ability to accept a rotary cutting blade, which is perfect for all types of fabric (and more). All of that fabric cutting power comes from the Adaptive Tool System and the rotary blade. I actually talked about what materials it will cut as well as showed off some fabric examples in more detail in the video below.
Now in the case of making this trick-or-treat bag, I wanted to add the heat n bond to my fabric before cutting because I love a good no-sew project!
How To Make A Halloween Trick-Or-Treating Bag
This project is really simple to make. In fact, it's so easy that you can quickly make a whole bunch of these trick-or-treat bags for your kids and all their friends!
Supplies Needed
Here’s everything you’ll need to make this fun DIY trick-or-treat bag! I’ve included some handy links to make finding certain items a little easier and faster.
- Cricut Maker
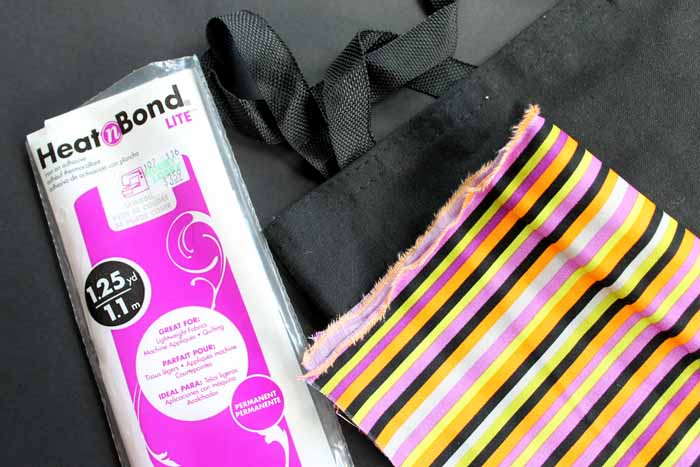
- Fabric
- Heat n Bond
- Black tote bag
- Iron
- BOO File (in Cricut Design Space)
Tip: Want to see the difference between the machines? I compared the Cricut Maker and Explore here.
Note: My recommendation is to use the Maker for all fabric projects. You will see why in a moment.
Trick-Or-Treating Bag Instructions
Just follow these step-by-step instructions, and your finished product will be ready in just a few minutes.
Step 1
For this trick-or-treat bag project, start by ironing on the heat n bond to the back of your fabric. Place the fabric liner-side down on your mat. Yes, I cut my fabric with the liner in place because I find that it is easier that way.
Step 2
Next, access the BOO file on Cricut Design Space. You can resize this file as needed to fit the size of the bag that you purchased.
Step 3
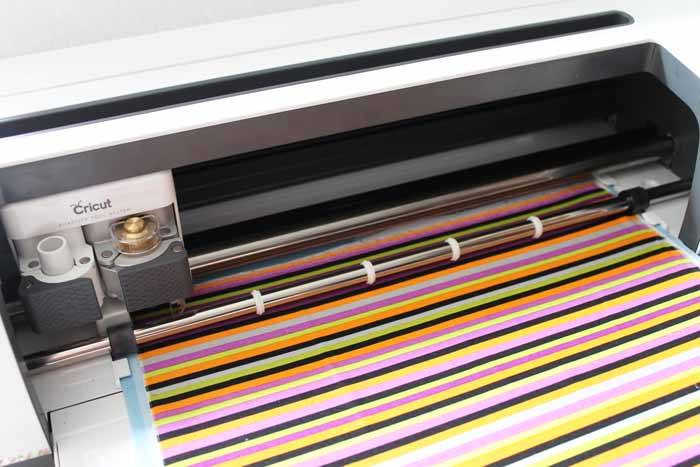
Click “MAKE IT,” and you are ready to cut the fabric.
Note: I picked a bonded fabric setting and cut my letters. You may notice that it almost does not look like your fabric is cut when you start removing it from the mat. That is because the cuts are so precise that they are difficult to see at times.
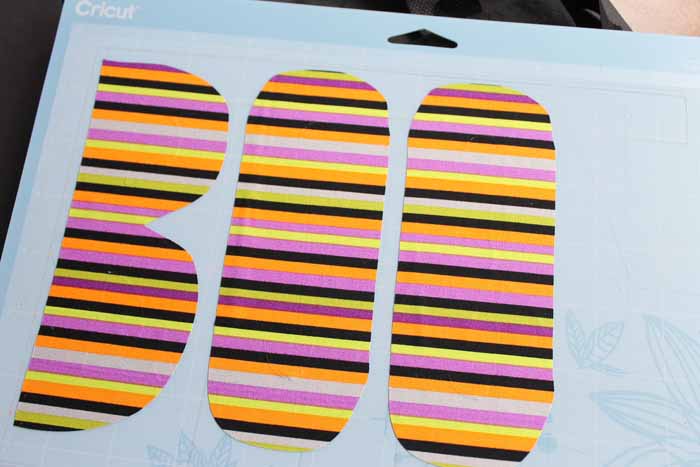
However, the Cricut definitely did its job. Just look at those amazing cuts! I have cut various fabrics, including felt, and even burlap, with my Maker. I'm happy to say that I've been impressed every single time.
Step 4
Once your letters are cut, lay them out on your bag.
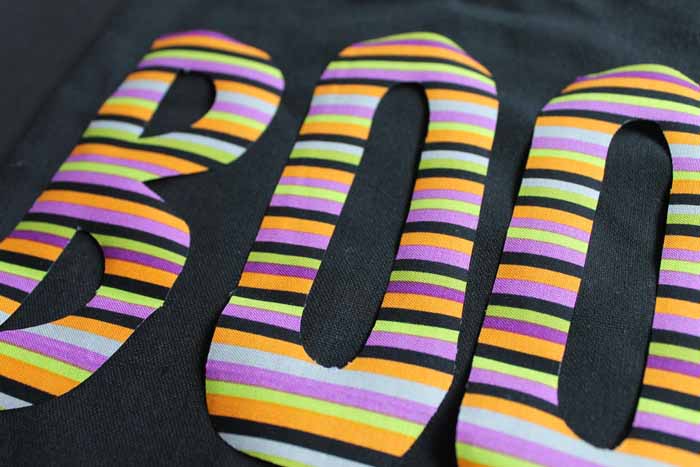
Step 5
Then just use your iron to adhere them according to the package directions.
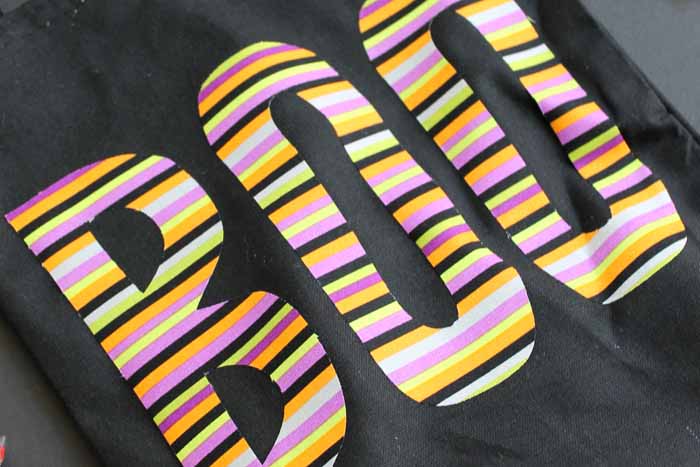
That is it! You have just created a no-sew DIY trick-or-treat bag with your Cricut Maker!
Now it's time to give it to a little one to fill up with goodies this Halloween.
FAQs
Here are a couple of questions that I see readers ask about making this trick-or-treat bag project. If you have a question, please check to see if I’ve already answered it below. Don’t see your question? Leave it for me in the comments!
Could I use my EasyPress instead of my iron?
I love using my EasyPress any chance I get! However, due to the nature of this project, the iron will work best.
Will this project hold up to the demands of trick-or-treating?
Yes! The Heat n Bond will create a stronghold that can stand up to the wear and tear that these bags will receive as kids fill them up with treats and goodies. It will rival the bond that sewing creates – and it's definitely faster to finish!
Just think of all of the fabric projects (sewing and no sewing) that you can create with your own Cricut Maker. What are you waiting for? Get your own and make a trick-or-treat bag today.

More Halloween Crafting Inspiration
If you love this easy trick-or-treat bag project, you'll love these other ideas too!


Supplies
- Cricut Maker
- Fabric
- Heat n Bond
- Black Tote Bag
- Iron
Instructions
- Iron the heat n bond onto the back of your fabric, and put the fabric on your mat, liner-side down.
- Next, grab the BOO file from Cricut Design Space and resize it as needed to fit tyour tote bag.
- Click "make it."
- Lay out the cut letters on the tote bag.
- Use your iron to adhere them to the bag.


Love it! And that striped fabric is perfection! <3
I’m not sure if I entered to win the cricut maker? I followed every that it asked me to I think 40/44 but I never reached a “finish” button. Is there any possible way to let me know if I’m in the entry?
There is no finish button you are good! Every time you did one of the tasks you got an entry! Good luck!
Your bag turned out really cute! I painted a trick or treat bag for my oldest a year or two ago. I need to make one for my youngest now! Stopping by from This is How We Roll link up.