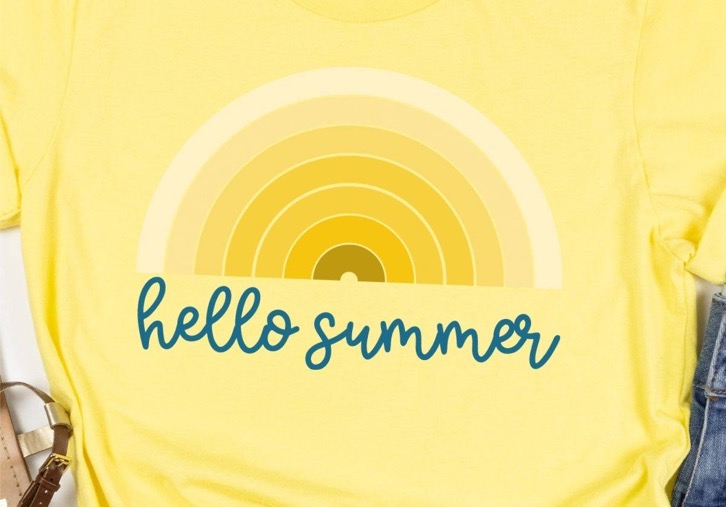
The temperatures are rising, and the sun is shining. To celebrate the warm summer days, I have a free Hello Summer SVG perfect for all your upcoming crafts.
Whether you're making t-shirts, garden flags, mugs, or tote bags, this design is perfect for all your upcoming crafts. And, because you get an SVG file, you can change the colors easily if you want.
If you haven't uploaded designs into Design Space before, I have a full tutorial to help make the process easy for you.
How to Use the Free Hello Summer SVG
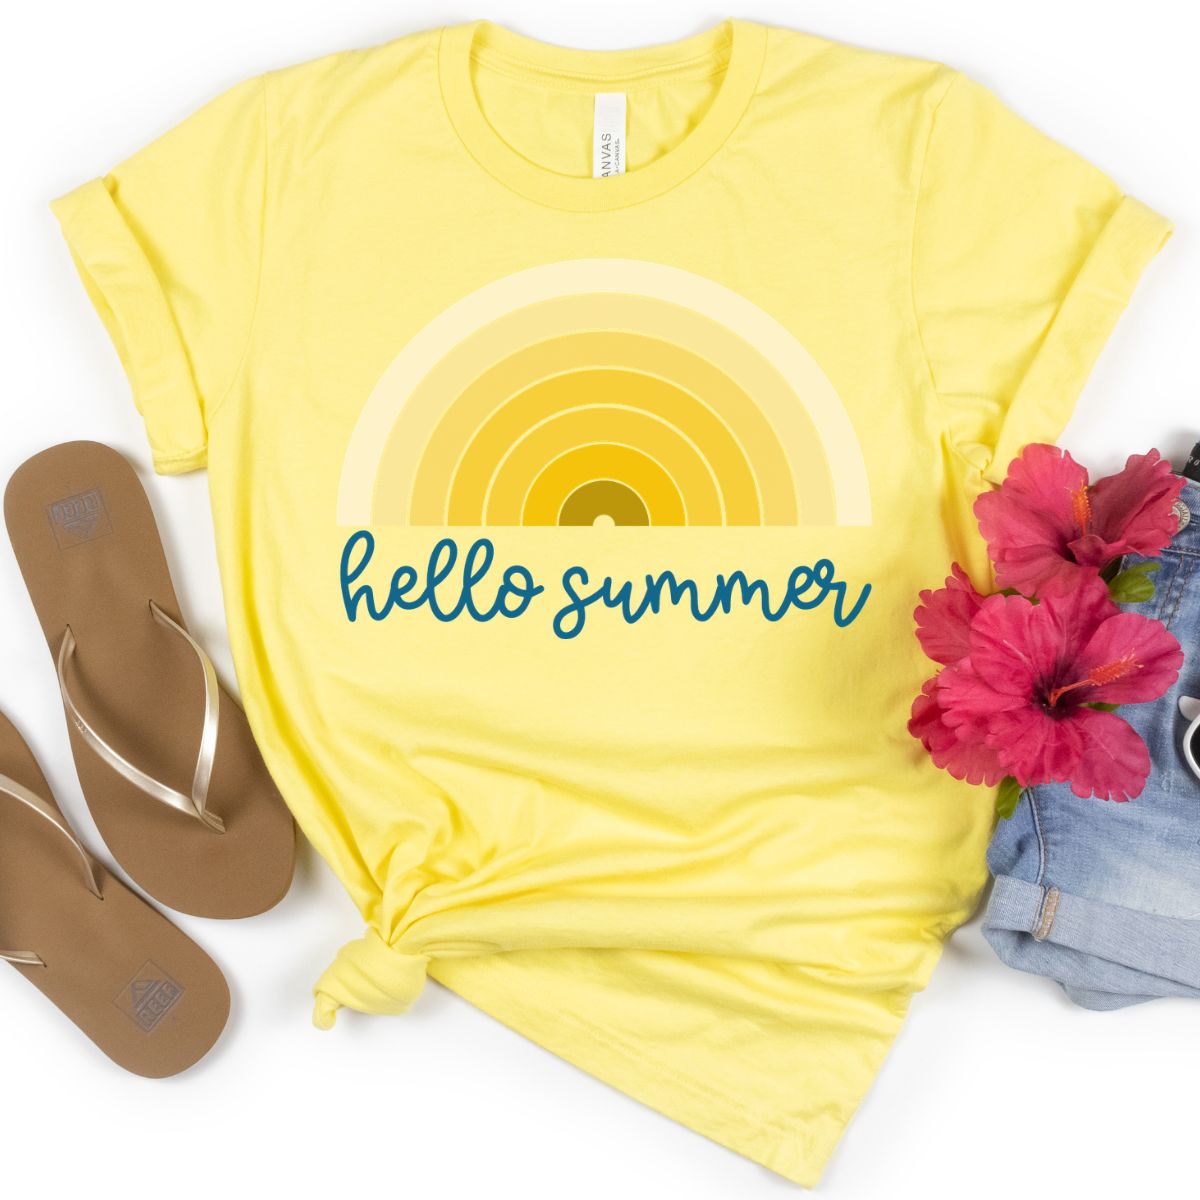
I'm going to use the free Hello Summer SVG to create a cute t-shirt with multiple colors of HTV.
If you don't want to cut out multiple colors, you can use the PNG file included with the download to make a shirt with sublimation.
Supplies Used
- Free Hello Summer SVG
- Cricut Machine
- Cutting Mat
- Weeding Tool
- HTV
- Brayer
- Heat Press
- T-shirt (or other blank)
Step 1 – Download the Free Hello Summer SVG File
Download the free Hello Summer SVG file by clicking here. Enter your first name and email address. If you have already signed up for my emails, you will not receive anything extra; the file will be sent directly to your inbox.
Next, download the file to your computer. When using Design Space to cut out the design, you'll want to use the SVG file. I have also included JPG and PNG files that can be used for sublimation or printed projects.
Step 2 – Upload the Hello Summer Design into Design Space
Now we're ready to upload the design to Design Space.
If you've never done that before, my How to Use an SVG with Design Space tutorial can help.
Step 3- Measure Your Shirt (or Other Blank)
To ensure you make your design the right size, measure the blank you're using.
I like to measure both the width and the height of my blank; this allows me to make any adjustments I need to in Design Space.
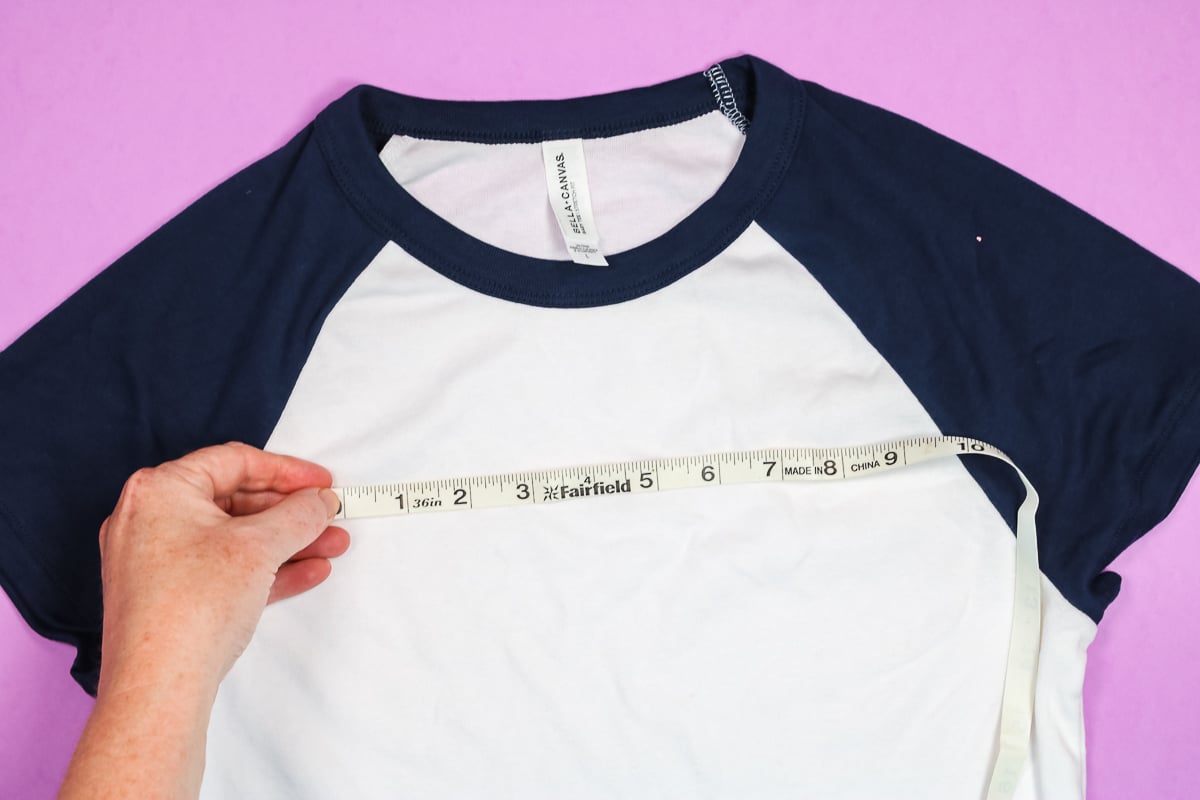
If you're adding the design to a shirt, measure where you want the design to sit. I like to place the top about 3 wide finger widths down from the collar.
If you're using a different blank, make sure you measure it as well. Remember, with tote bags, when you set the bag down, the bottom couple of inches can end up under the bag.
Step 4 – Make Adjustments to the Free Hello Summer SVG in Design Space
With the design uploaded to Design Space, you can resize it to fit your blank and make any color adjustments you want.
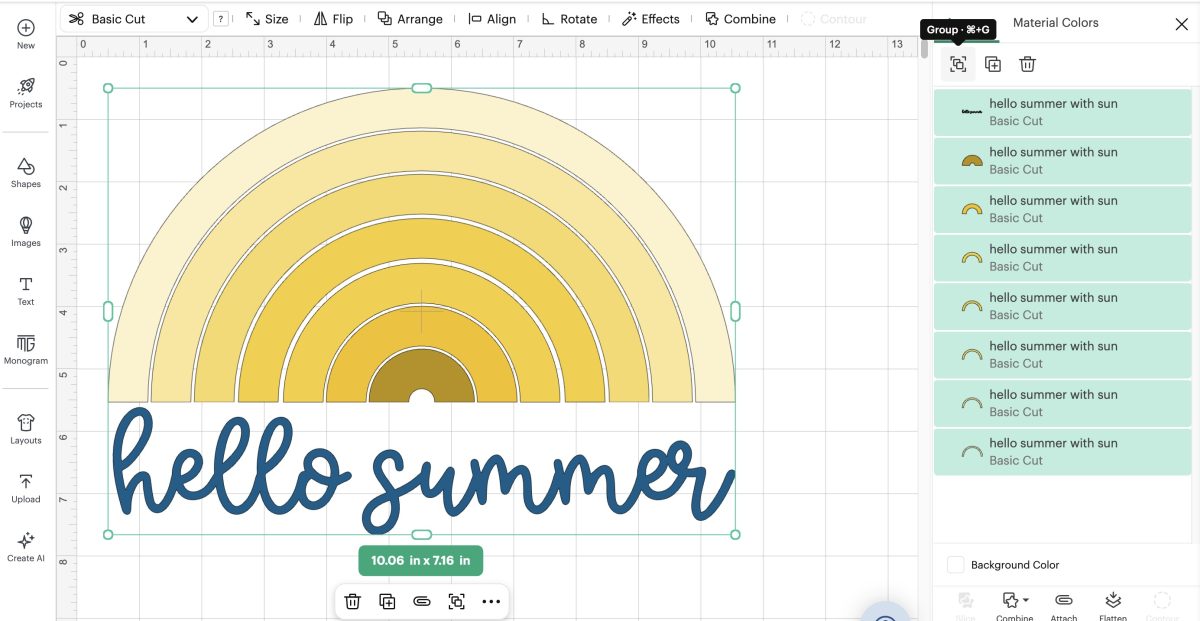
If you want to change any colors, ungroup the design in the layers panel.
Click on the layer you want to change, and in the top toolbar, click on the color box.
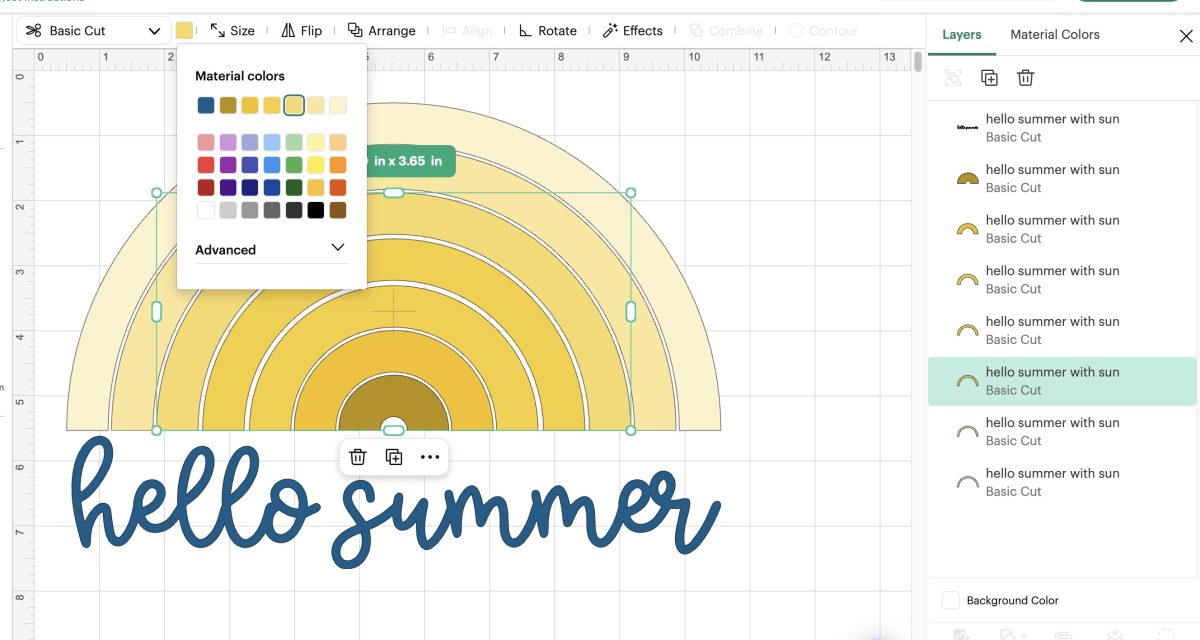
From here, you can change one color or all the colors.
Here you can see what the design would look like if we changed the colors to traditional rainbow colors.
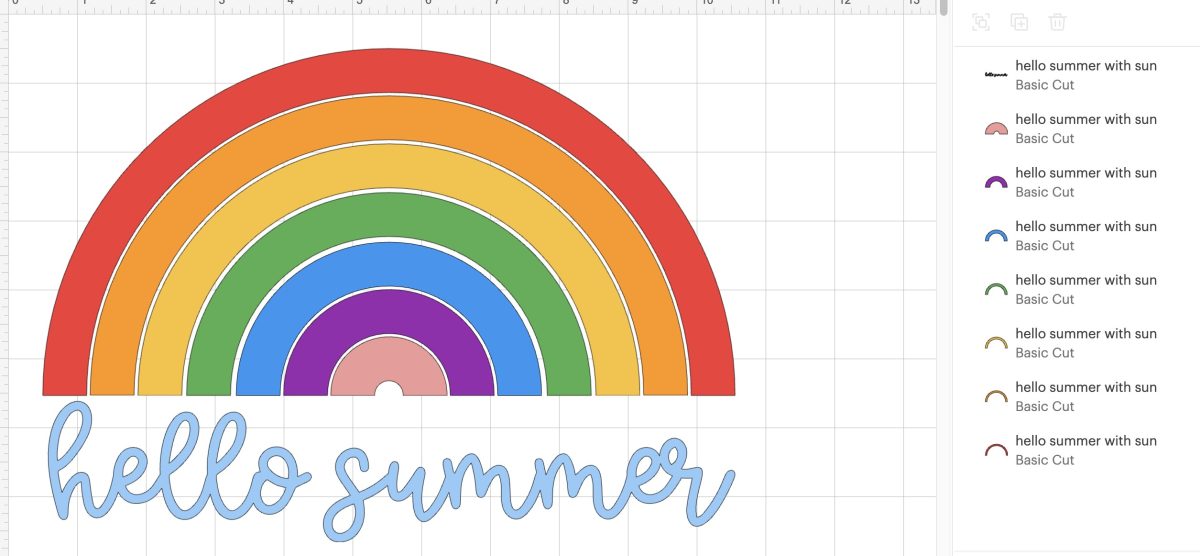
This is one of the great things about SVG files. It's easy to make adjustments to one layer or multiple layers.
Remember – the colors on the canvas do not dictate the color of your project. The reason we change the colors on the canvas is to help us know what color material to add to the cutting mat. The color of the Iron-on you add to the cutting mat will be the color the machine cuts.
Step 5 – Cut Out the Iron-on
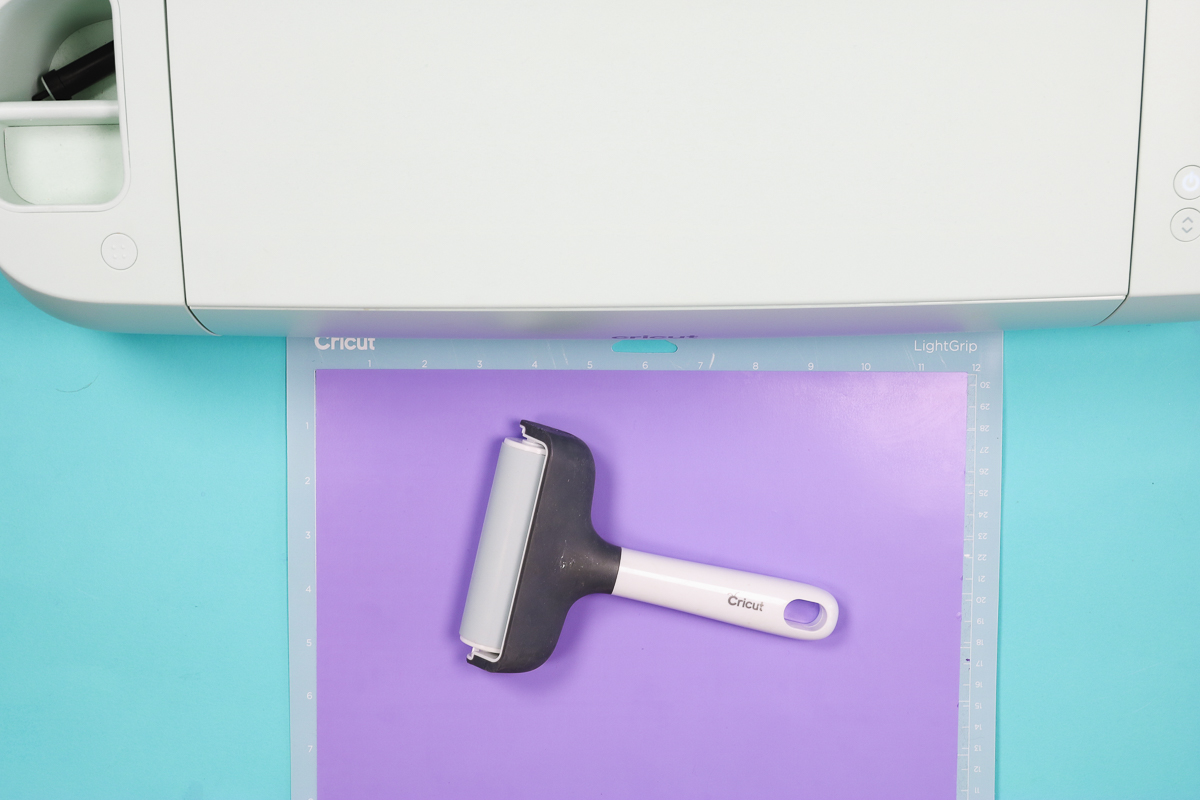
Place the HTV on the cutting mat, shiny side down. I use the LightGrip blue mat for regular HTV materials.
If you’re using a thicker material like glitter, shimmer, or flock HTV, or an HTV that was curled up and doesn't want to lie flat, you'll want to use the green StandardGrip mat.
I like to use a brayer to ensure the Iron-on is firmly stuck to the mat, nice and smooth.
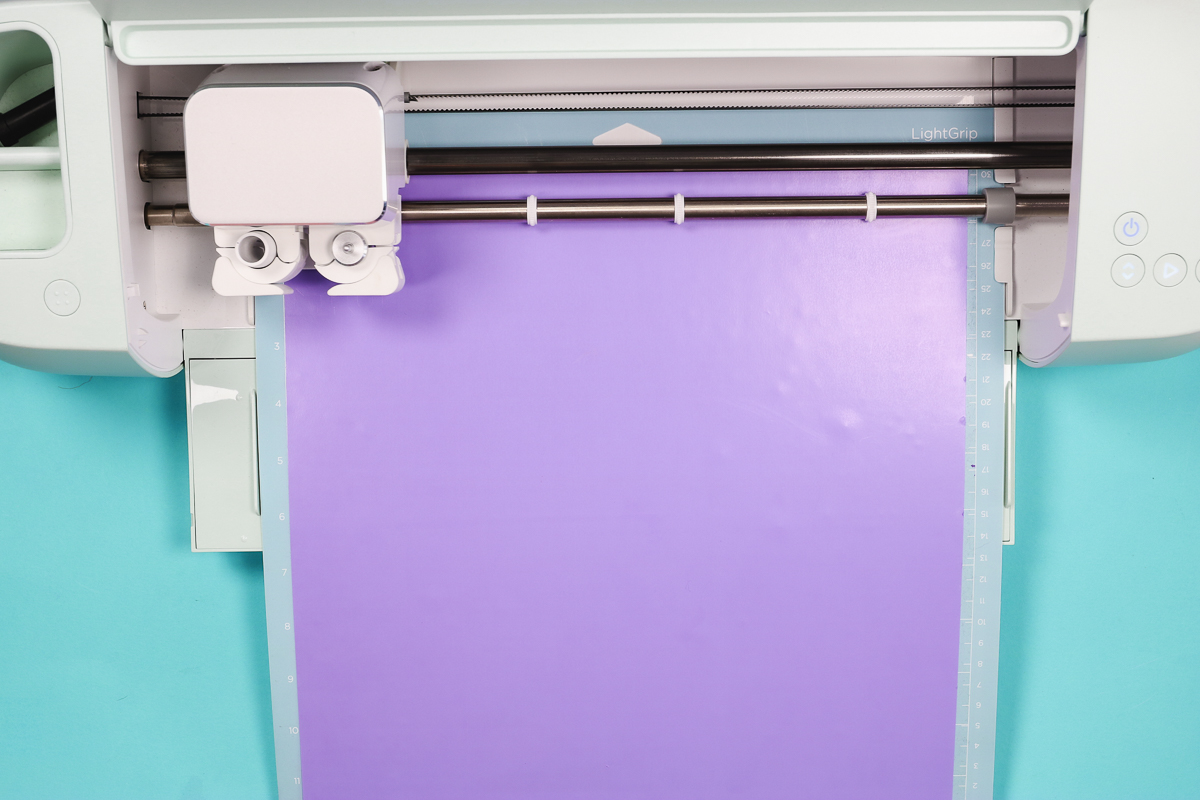
Load the mat into the machine.
Any Cricut machine can cut HTV. Using a Joy machine can limit the size of your final project.
Click Make and in Design Space, choose the material you have on the mat.
Load the mat into the machine and press Go.
If you've changed your blade, are using a new machine, or are trying a new material for the first time, do a test cut. Test cuts help dial in the settings so you get the best cuts every time.
Step 6 – Weed Out the Excess Iron-on Material
When the Cricut is done cutting, unload the mat.
Use a weeding tool to remove the excess HTV, including any pieces inside letters.
Step 7 – Locate the HTV Design on the Shirt
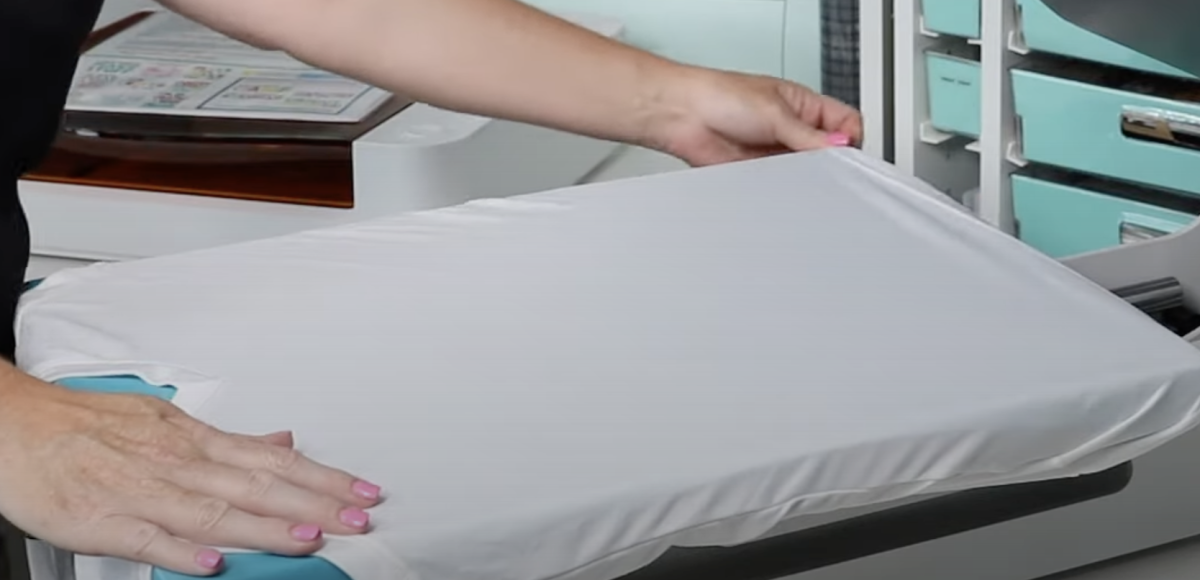
When using HTV, I always recommend preheating your blank to remove any moisture and wrinkles.
Preheat for at least a few seconds because moisture in the blank can prevent the adhesive from sticking.
Because this design has multiple layers and the layers are so close, I'm going to press each layer separately.
I like to locate one larger piece first. This can help make it easier to locate the other pieces for pressing.
If needed, use heat-resistant tape to secure the HTV before pressing.
Step 8 – Apply Heat to the HTV
I'm using a heat press to apply the HTV to my shirt.
You can learn all about layering HTV in my layering HTV tutorial.
Press each layer for about half the time recommended in the instructions. Make sure to use a Teflon sheet or protective paper to cover any exposed HTV.
When you're ready to press the final layer, press for the full time.
When the time is up, open the heat press and follow the instructions for the iron-on material you’re using. If it is a cold peel, allow it to cool completely before removing the carrier sheet.
Even for hot and warm peel HTVs, allow them to cool for at least a few seconds so the adhesive can bond to the fabric.
Step 9 – Peel Back the Carrier Sheet
Lift the corner of the carrier sheet and slowly peel it back. If your design is lifting, allow it to cool for a few more seconds. If it still lifts, press again for a few more seconds and try again.
Step 10 – Enjoy Your New Hello Summer Shirt
I really love how this shirt turned out. The free Hello Summer SVG works really well in any color combination.
Wait 24 hours before washing to give the adhesive plenty of time to adhere to the fabric.
Remember, you don't have to make a t-shirt for this design. It would also look great on a pool bag.
Grab the free Hello Summer SVG today so you can make your own projects perfect for summer.
If you have any questions about using this free design or making a shirt with layered iron-on, leave them in the comments, and I'll be happy to answer them for you.