
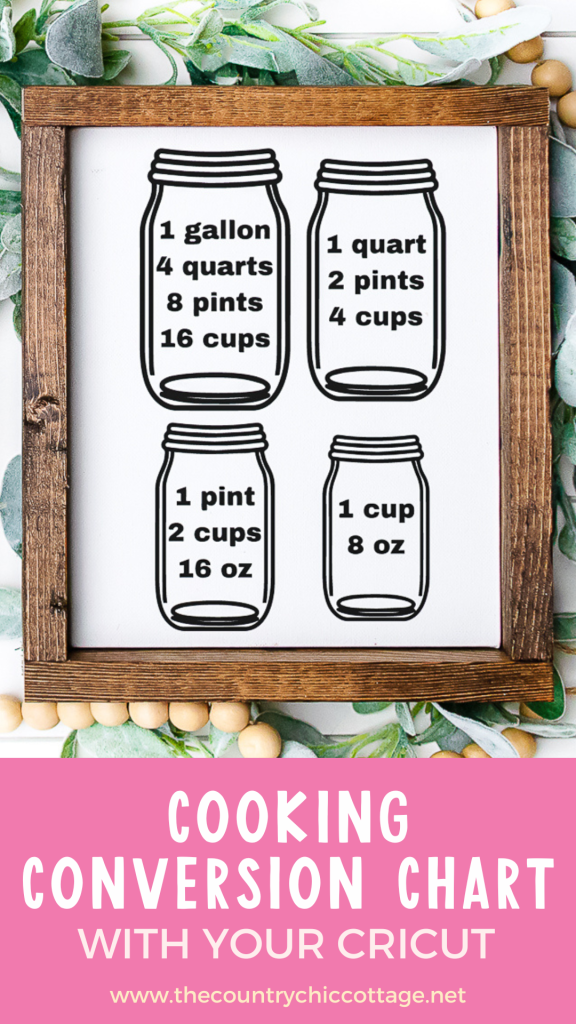
Use this kitchen conversion chart SVG to make a cute and very functional cooking conversion chart with your Cricut machine! The best part is that it's ready in under 15 minutes!
I don't know about you, but I can never remember how many ounces are in a cup or how many teaspoons are in a tablespoon. I need to have a handy-dandy cooking conversion chart always at my fingertips when I'm in the kitchen!
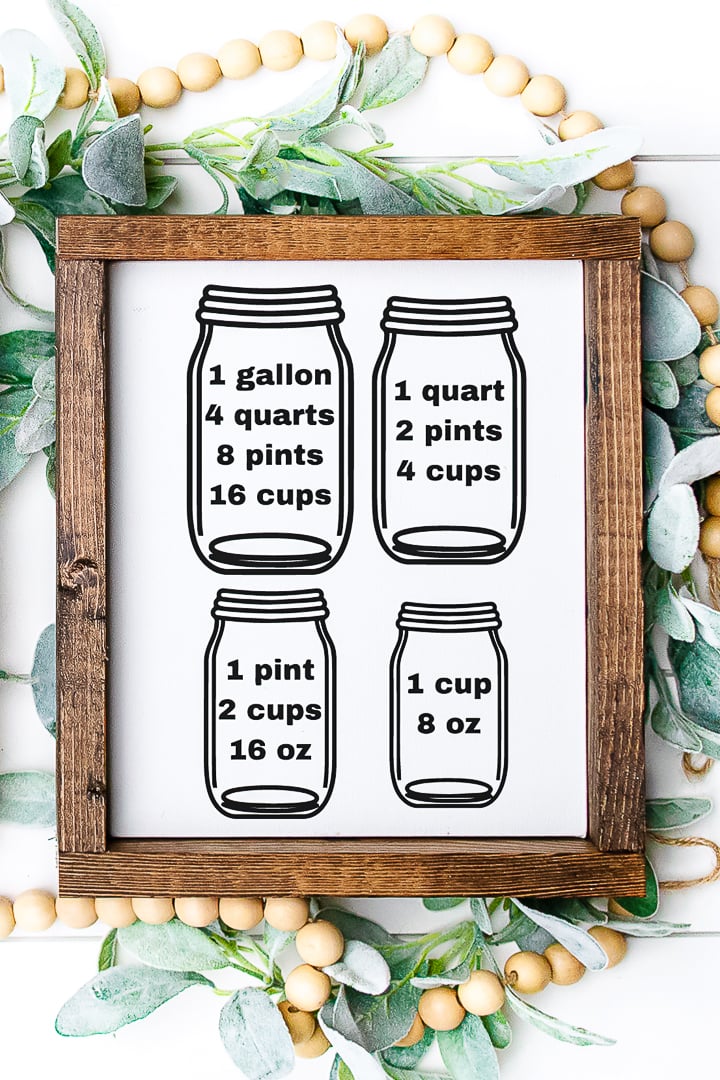
That's why I came up with this fun cooking conversion chart woodcraft, which you can easily make with your Cricut machine in just minutes. Once you have made the chart, you can add it to the inside of your cabinet doors or frame it for a quick, easy reference in your kitchen (yay!).
How to Make This Cooking Conversion Chart for Your Kitchen
Follow these simple, step-by-step instructions to create your own cooking measurement conversion chart quickly and easily!
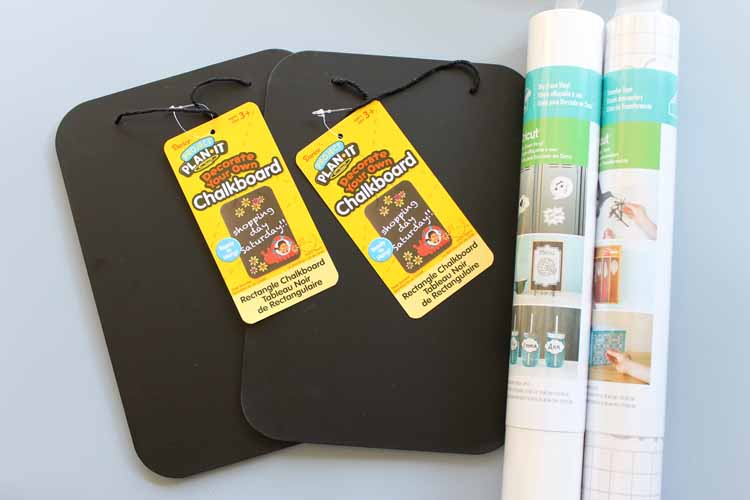
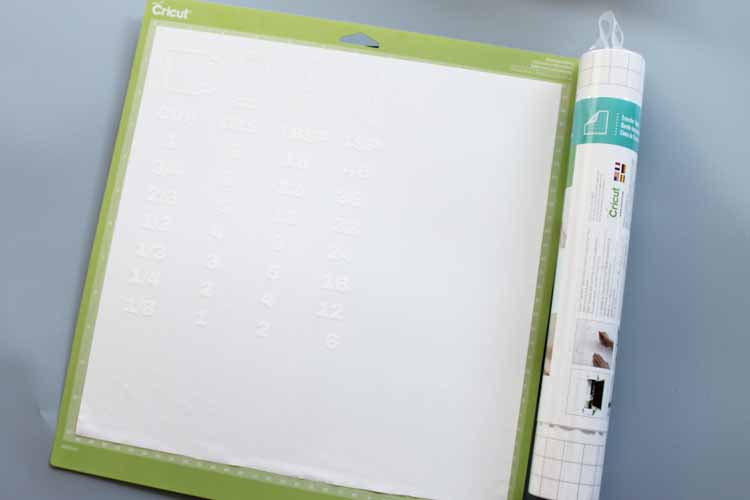
Supplies Needed To Make Cooking Conversion Chart
- Hanging Chalkboard or framed sign
- White Vinyl (if using chalkboard or black if using white sign)
- Cricut Machine (I used my Cricut Maker, but you can use any Cricut machine for this project. Click here to learn about the differences between the machines.)
- Transfer Tape
- Adhesive Hooks
- Conversion chart SVG file (see how to get that below)
- Weeding tools (optional)
Download Kitchen Conversion Chart SVG
Sign up for the newsletter below to get your kitchen conversion chart SVG file. Look for the box below with a picture of the file you want to download, then add your information. The files will be sent to your email for your use. If you already get our newsletter, just sign up again, and you will not be signed up for anything further.
Please note that these files are for personal use only. Contact me if you have any issues with your download.
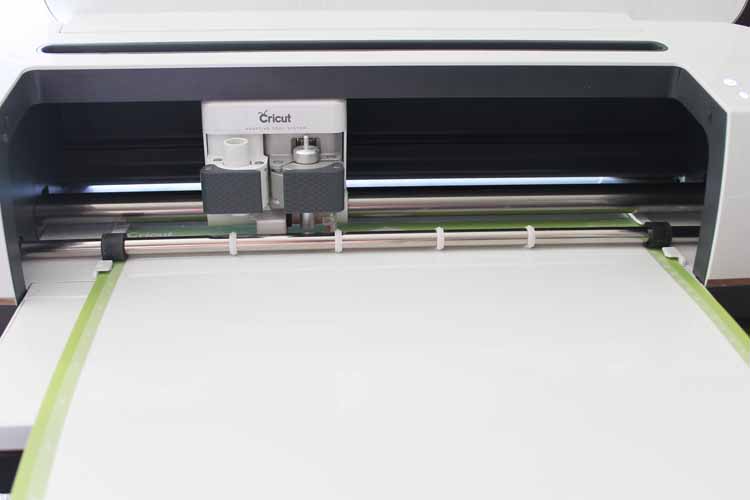
Step 1: Download And Cut Design
Start by downloading both of the cut files for the kitchen conversion charts above. Then upload them to Cricut Design Space to begin cutting.
You can see a tutorial on uploading images by clicking here. Make sure the files are sized to fit your boards before cutting. Then cut both charts from the color vinyl of your choice.
Confused about Cricut Design Space? Click here to download our free beginner's guide!
Step 2: Weed Design
Remove all excess vinyl from around the images, including the centers of letters and numbers.
Step 3: Add Transfer Tape To Design
Then, apply transfer tape over your design. Press down well.
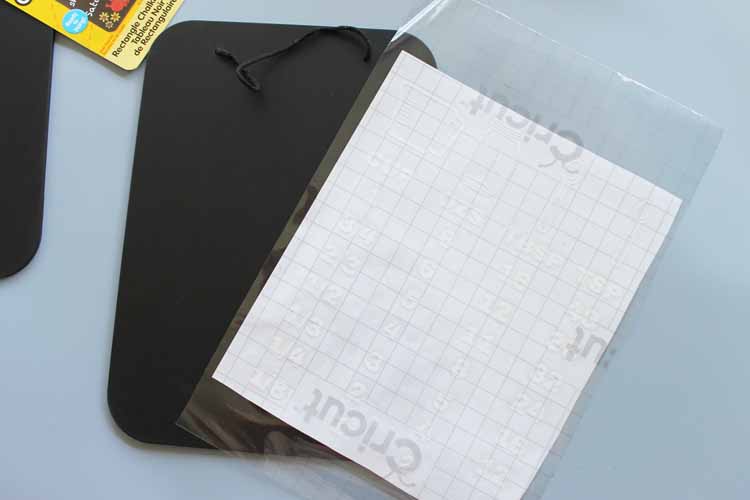
Step 4: Lift Transfer Tape With Design
Slowly lift the transfer tape, and the design should come with it.
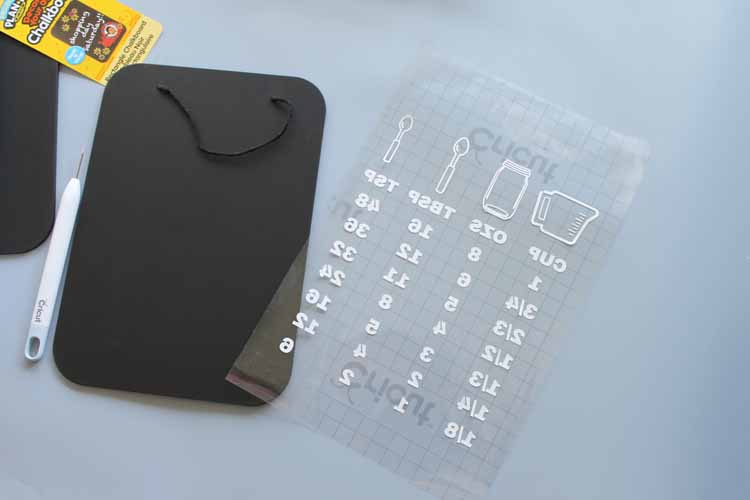
Step 5: Add Design To Chalkboard
Center on your wood chalkboard and press the vinyl down well. Lift the transfer tape, and your design should stay on your cooking conversion chart. If the design starts to lift with the transfer tape, lay it back down and burnish well, then peel back slowly.
Step 6: Repeat Steps 1-5 For Other Kitchen Conversion Chart
Repeat steps 1-5 for the other kitchen conversion chart.
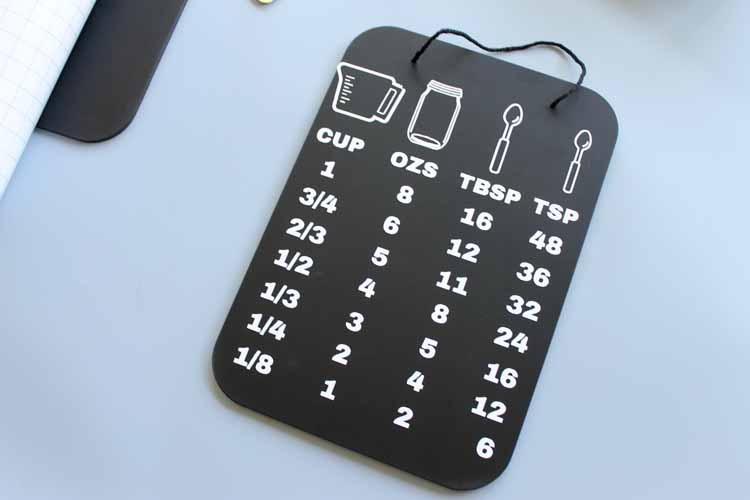
And just like that…you're done!
Tips For Easily Hanging Your Cooking Conversion Charts
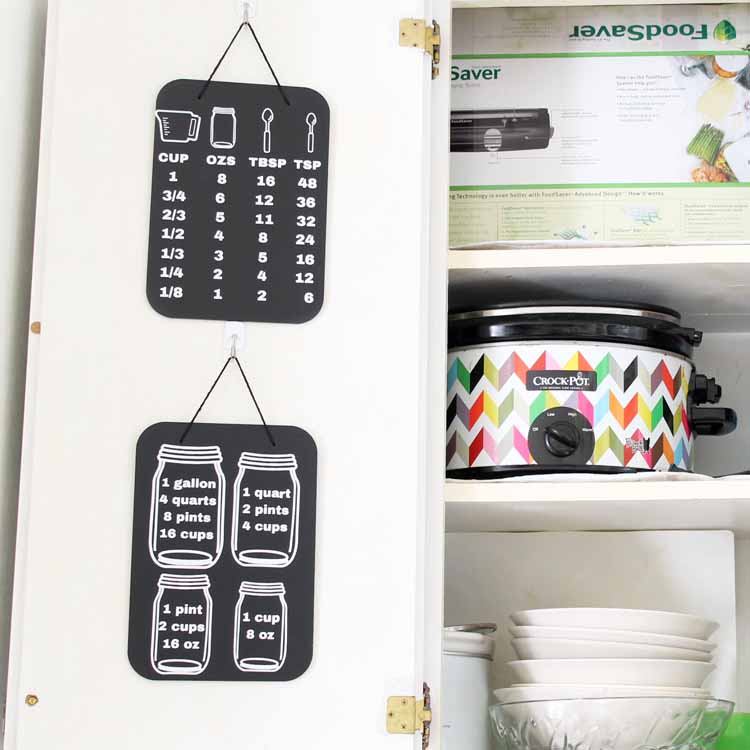
Once you have made your charts, it's time to hang them! Below are a few tips for hanging your kitchen conversion charts.
- Use command hooks to hang them both on the inside of your cabinet door to keep yourself organized in the kitchen. I love using them because I can remove them later if needed without damaging my cabinets or walls.
- I also used a few pieces of double-sided tape at the bottom to keep them still when I open and close the doors.
During my recent kitchen remodel, I added a set of these to my kitchen! Wanna see my new kitchen? You can see my full farm kitchen reveal by clicking here.
Also, if you are looking for more farmhouse kitchen ideas, check out our Farmhouse Kitchen Ideas: Inspiration for Your Home blog post!
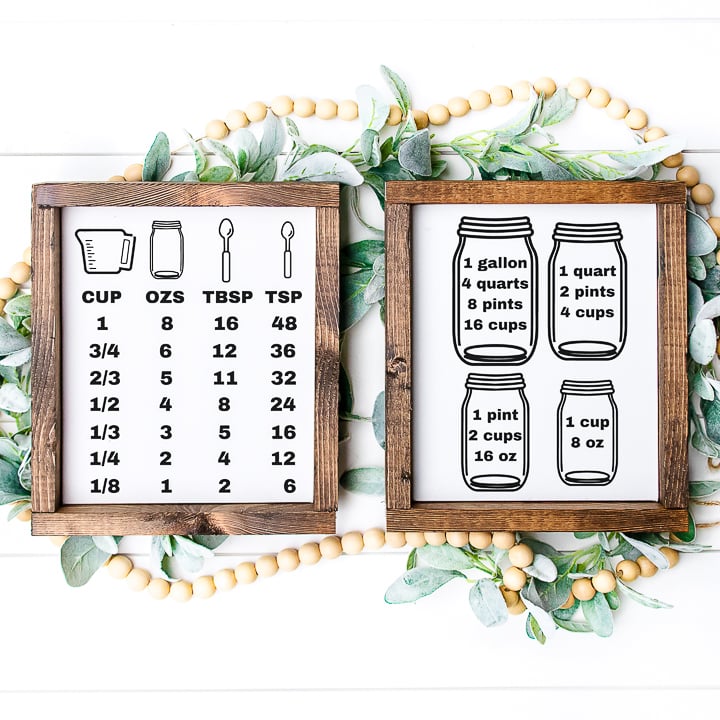
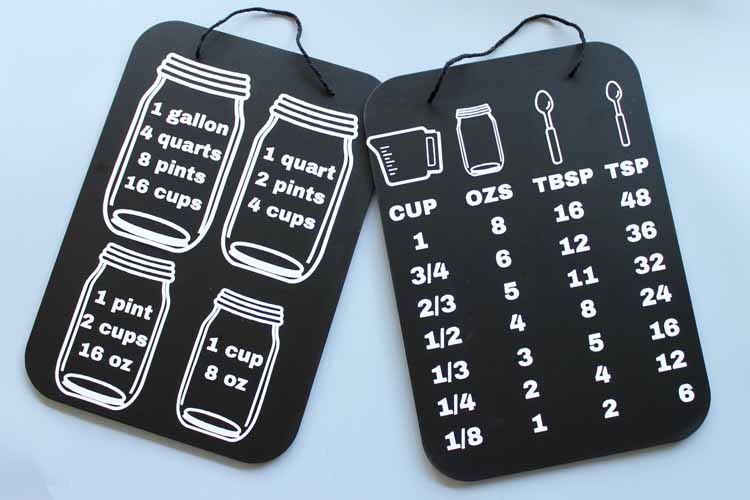
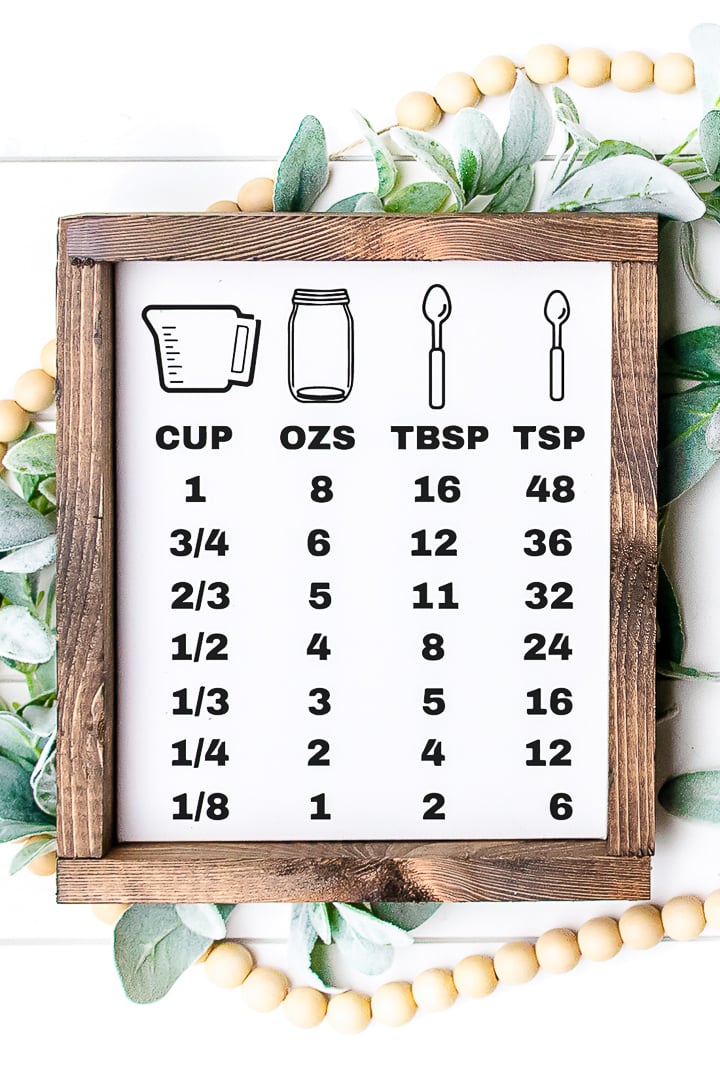
You can make one or both of these Cricut conversion charts for your home. The first one converts cups to ounces, then tablespoons and teaspoons.
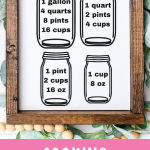
The second version converts gallons to quarts, pints, cups, and ounces. These are so handy to have in any kitchen.
What about you? Will you make a cooking conversion chart for your kitchen? Trust me…you are going to love it!
FAQs About Kitchen Conversion Chart SVG
Here are answers to some of the most frequently asked questions I receive about the kitchen conversion chart SVG project. If your question isn’t listed, feel free to drop it in the comments, and I’ll be happy to help!
What Cricut Machine Can I Use For This Project?
All of them! The Cricut Maker, Cricut Explore series, Cricut Joy, Cricut Joy Xtra, and Cricut Venture can all cut vinyl!
The only thing to keep in mind is that each Cricut machine is different in terms of project size and the materials it can cut. So, depending on what project you have in mind, you might need to resize the SVG file or cut it out in a different material.
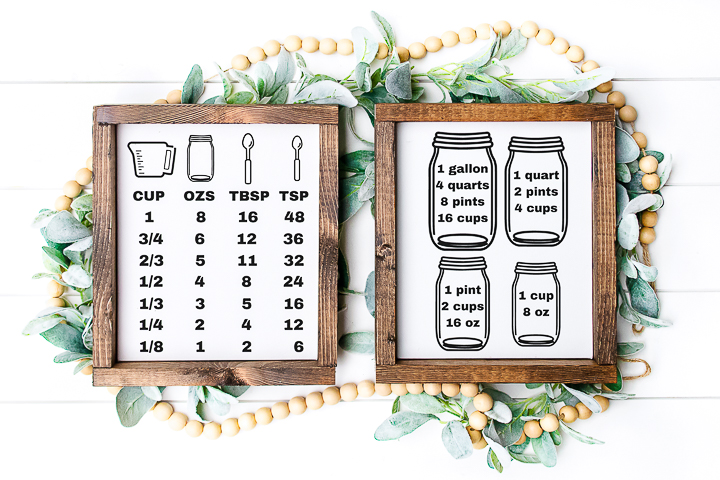
How Did You Make The Wood Frame Version?
To make the wood-frame version, all I did was buy a plain wood frame blank and then follow the same steps as above. These plain wood frame blanks can be found in the wood section of your local craft store.
Do You Have Other Ideas For How To Use This SVG?
Absolutely! Even though I made a sign, you could use this SVG to create the following:
- Cutting Board
- Magnets
- Sandwich Board Style Sign
- Long Rectangle Sign
You could also cut this SVG from removable vinyl and add it to the inside of your kitchen cabinet!
Do You Have A Metric Version Of This SVG?
Unfortunately, no, not at this time. However, you may be able to find something similar in Cricut Design Space.
7 More Kitchen Projects
Did you love this kitchen conversion chart SVG, and are looking for more kitchen crafts? Then check out the projects below!
- Make a Magnetic Knife Block for Your Kitchen
- Free Kitchen SVG: Grocery List Board Plus More SVGs
- Free Farm Fresh Eggs SVG for Cricut and Silhouette
- Utensil Organizer: Using Mason Jars in the Kitchen
- Kitchen Wall Storage: A Farmhouse Style DIY
- Totally Free Kitchen Themed SVG Files
- Chalkboard Kitchen Art FREE Printable


Love this! And such a great gift idea too!
It is a genius idea and it is a wonderful gift for my mom 🙂
Any chance you could make this with metric measurements as well? (litres)
I would not be able to do that. You can likely find the types of images you’re looking for on other sites like etsy.