
Do you ever struggle to figure out which Cricut material is right for your project? Or wonder if a certain material will even cut on your machine? You’re not alone! Today, I’m walking you through a wide variety of materials for Cricut machines so you can choose the right one with confidence.
This post is sponsored by Cricut, but all projects and opinions are my own.

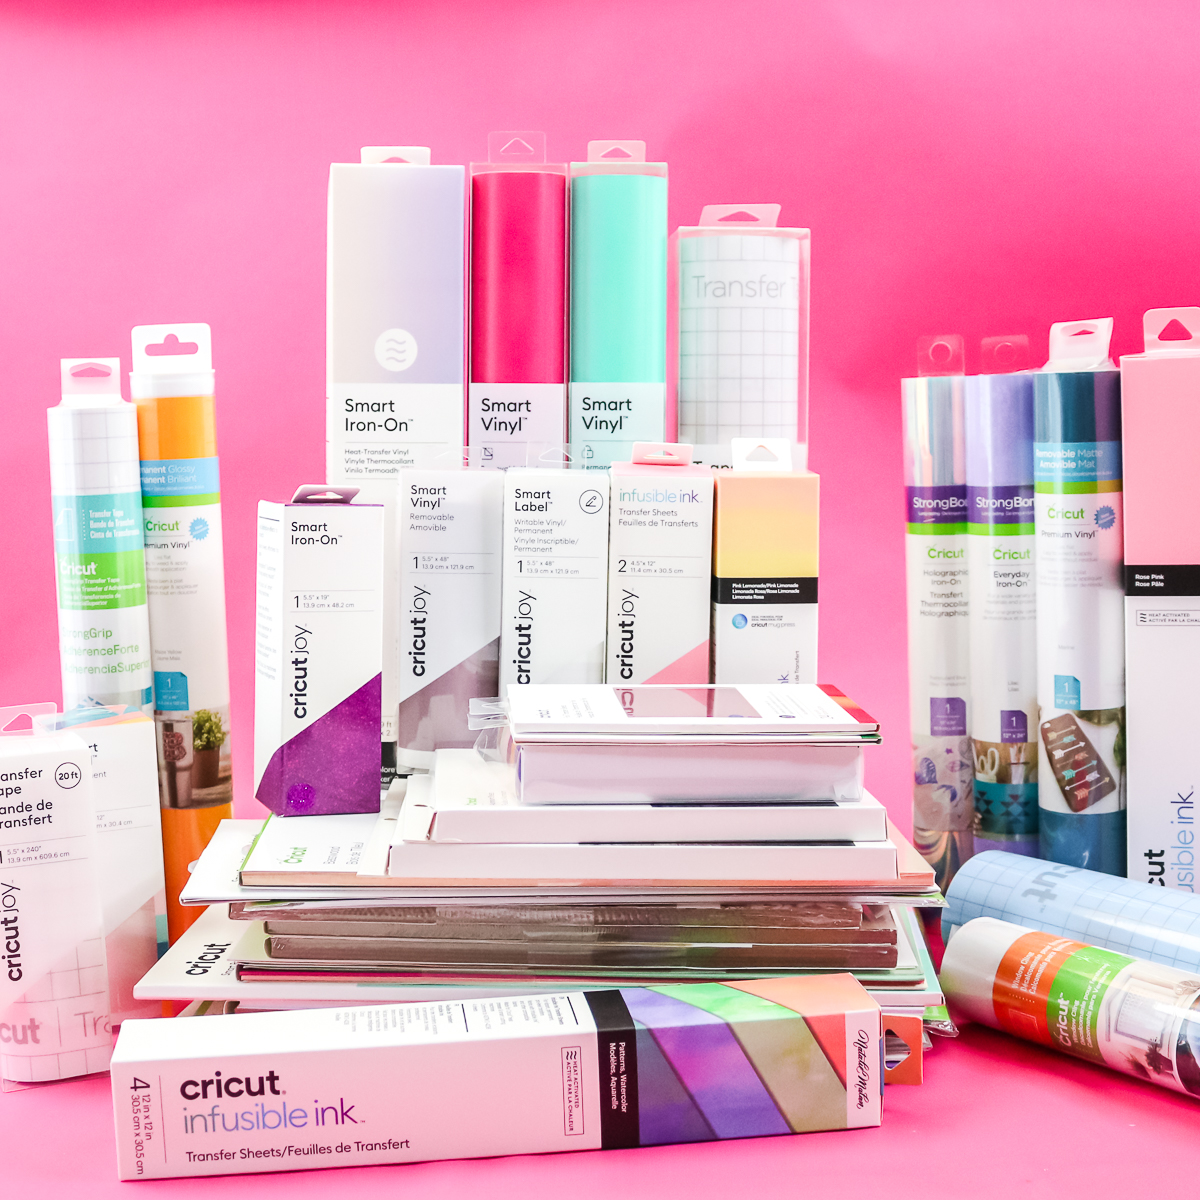
Cricut Materials
If you would like to see me discuss each material, click play on the video below. I review each material and provide details so you can make an informed decision for your craft.
Can't watch the video or missed some of the information? You can also follow along below as I walk you through the Cricut materials, what they are, when to use them, and even link you to posts for how to use them the right way.
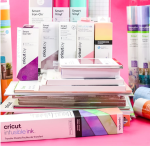
Paper
Paper is a versatile medium that can be used to create a wide range of craft projects. In fact, many people purchase their first Cricut machine just to cut paper. So, let's take a look at my favorite paper for crafting.
Description
Cardstock is the most popular material for crafting. You may see it listed by weight (80 lb, 100 lb, etc.), which indicates the paper's thickness. The higher the number, the thicker the paper. You will also want to consider whether the paper is solid-core or white-core. This could make a difference for some project ideas. Look at the side and check whether the color runs all the way through, or if the core is white with color only on the outside.
When to Use It
Paper is very versatile, but my favorite applications are cards, tags, paper flowers, banners, and more. I have even made paper plants with my Cricut!
Types
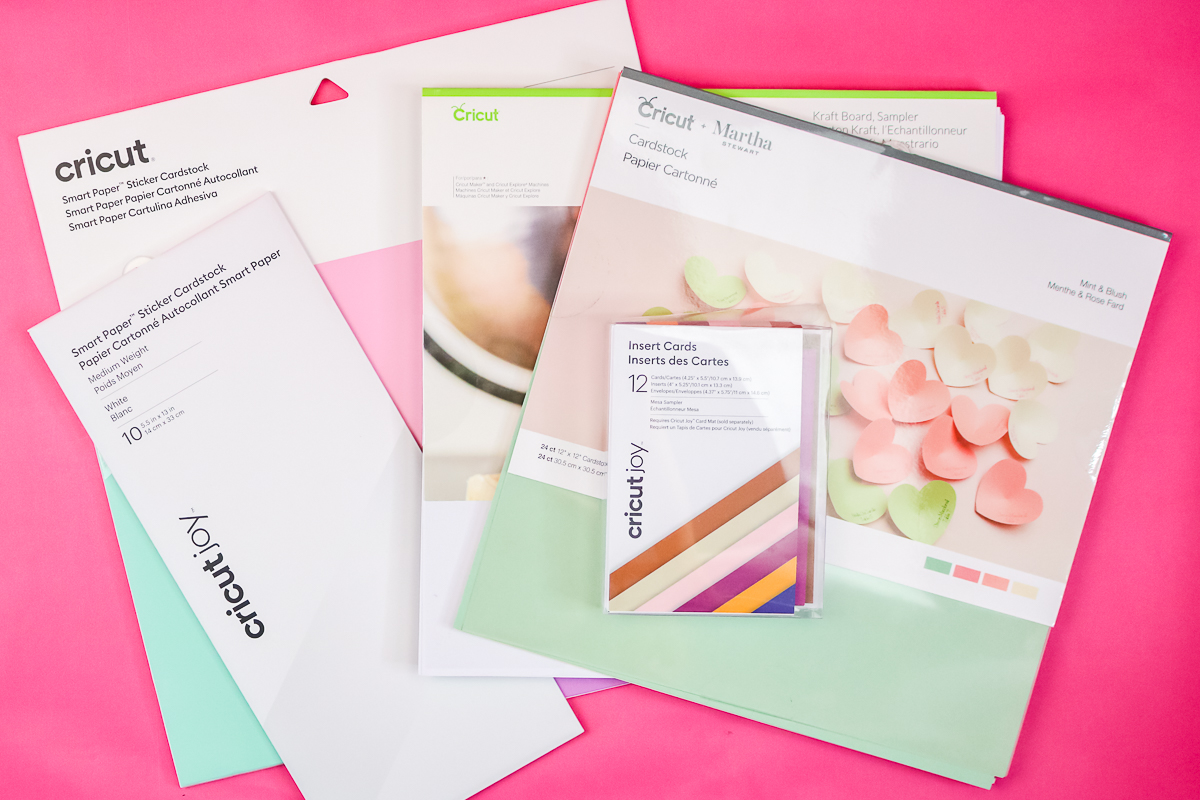
Here are a few of my favorite paper products:
- Cricut Cardstock – Please note that not all paper is created equal. If you are having issues cutting paper with your Cricut, it may be because the cardstock is low quality. Paper quality can make all the difference when making intricate cuts. I prefer Cricut cardstock for precise cuts, and it is well-suited for most projects.
- Kraft Board – This thick paper is ideal for a wide range of applications. It is sturdy enough to make a small gift box or to layer and glue together to create a thicker piece with an Explore machine.
- Insert Cards – Want to make cards? The Insert Card Kits and Card Mat are really all that you need. You can see more about using those here.
- Cricut Sticker Paper Cardstock – This is a fairly new product, and it is amazing! It is cardstock with adhesive on the back and is ideal for quick, easy paper projects. You can get it in 13 x 13 sheets here, or in Joy sizes here. Either of those can be used on a mat with any Cricut machine.
How to Use It
Paper can be cut on your Cricut mat using the fine-point blade included with every Cricut machine. So, just pick your paper and get started on any project! Paper is actually a great place to get started with Cricut materials if you are just learning how to use your Cricut.
Adhesive Vinyl
I feel like vinyl is another easy material that every Cricut crafter should keep on hand.
Description
This vinyl has a sticky backing on it and can be cut into shapes. There is both a permanent and a removable version, depending on the application. You will need transfer tape to apply your vinyl more easily.
When to Use It
Permanent vinyl is ideal for applications where you want the material to remain in place for an extended period. Mugs, signs, glasses, tumblers, car decals, and more! Removable is for applications where you expect to remove it later. Use vinyl decals on walls, seasonal decor, and more!
Types
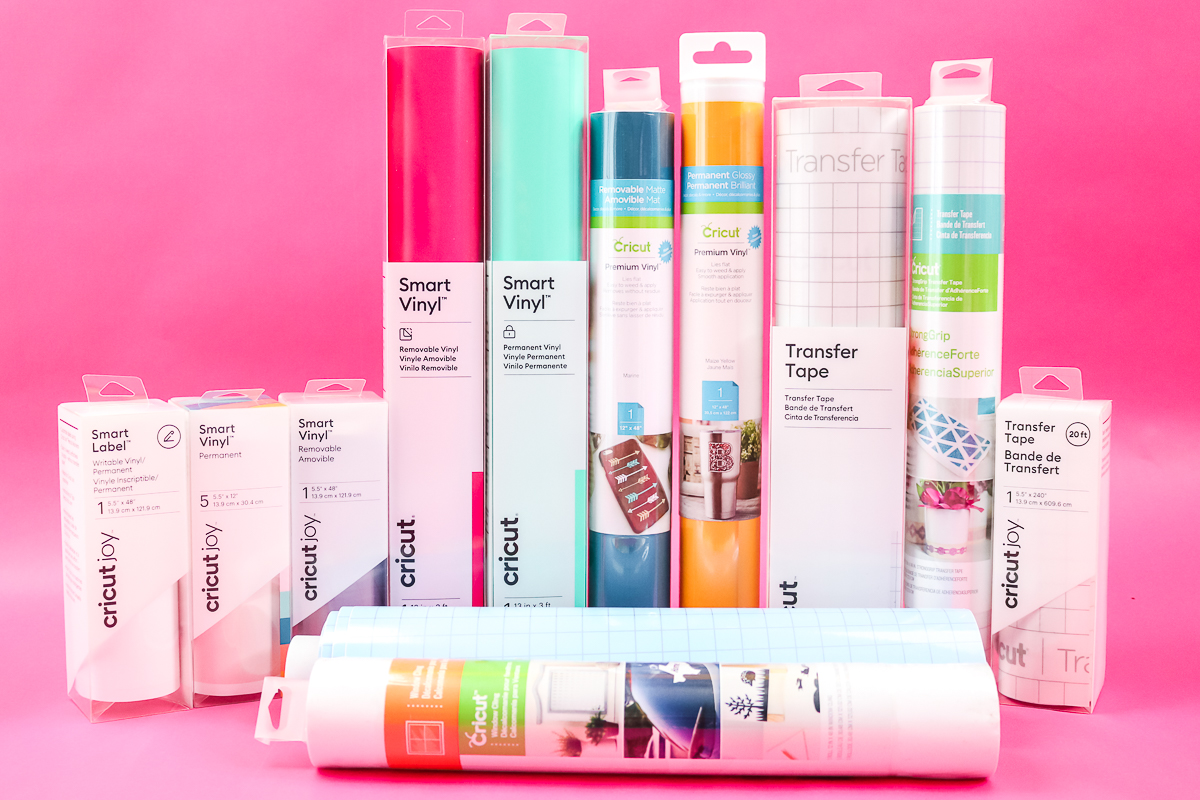
There are many types of vinyl, and I cannot cover them all here; however, I will list a few of my favorites.
- Permanent Vinyl – is available in regular-sized rolls for use on a mat, or in Smart Vinyl, which you can cut without a mat on the Maker 3 & 4 and Explore 3 & 4.
- Removable Vinyl – is available in regular-sized rolls for use on a mat, or in Smart Vinyl, which you can cut without a mat on the Maker 3 & 4 and Explore 3 & 4.
- Patterned Vinyl – vinyl with fun patterns!
- Glitter Vinyl – if you love glitter, this is the vinyl for you. Remember to use Strong Grip Transfer Tape when working with this vinyl.
- Holographic Vinyl – just one option of many!
- Stencil Vinyl – perfect for stenciling with paint.
- Window Cling – great for adding shapes to windows or even using a privacy film.
- Cricut Joy Smart Vinyl – vinyl sized just to cut on the Cricut Joy without a mat.
- Cricut Joy Smart Label – this special label material is compatible with Cricut pens.
How to Use It
I have a full tutorial on how to use Cricut vinyl here. It will walk you through the basic steps of cutting and applying your vinyl to your surface. There are specific instructions to follow at times, depending on the type you are using, so be sure to check the instructions if you are unsure. It cuts with the fine-point blade and is compatible with any Cricut.
Iron-on or Heat Transfer Vinyl
We just talked about vinyl for hard surfaces, but what do you use for fabrics and more porous surfaces? Iron-on or heat transfer vinyl (HTV) is the answer, and no post about Cricut materials would be complete without a section on this popular material.
Description
Vinyl with an adhesive on the back that is only activated by heat. This allows it to adhere to a variety of fabric surfaces and is the perfect solution for a wide range of craft applications. As a general rule, iron-on vinyl already has a carrier sheet on the roll, so you don't need to use transfer tape with this type of vinyl.
When to Use It
This is the perfect material for shirts, totes, shoes, zipper pouches, pillow covers, and so much more. HTV is actually fairly versatile and permanent on most porous surfaces.
Types
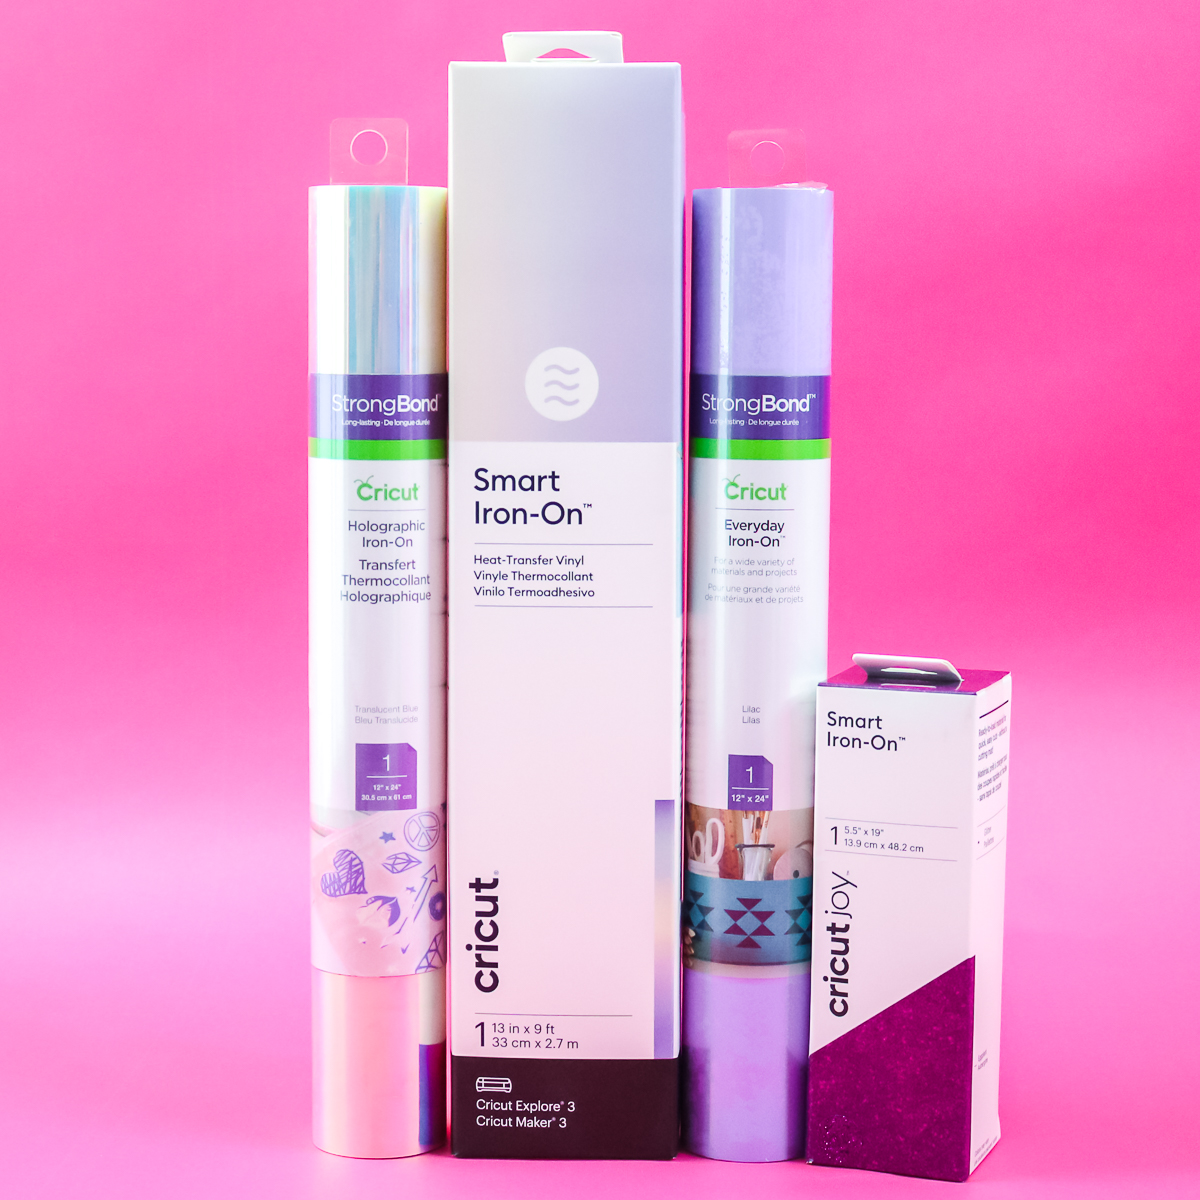
Just like with vinyl, there are many types of iron-on. I will just list a few of my favorites below, but you can definitely explore a wide variety.
- Iron-on – standard rolls can be placed on the mat, or use Smart Iron-on with Maker 3 & 4 and Explore 3 & 4 without a mat.
- Foil Iron-on – add a foil look to your fabric projects.
- Glitter Iron-on – glitter-lovers will want this one in every color.
- Holographic Iron-on – always adds a fun element to a project.
- Patterned Iron-on – grab a pattern and add it to your project.
- Cricut Joy Smart Iron-on: if you have a Cricut Joy, this is the HTV you need to cut without a mat.
How to Use It
Now that you have decided this material is perfect for your project, you will want to review our tutorial on the basics. It is slightly different, with a few things to remember, especially when cutting. It cuts with the fine-point blade and is compatible with any Cricut machine.
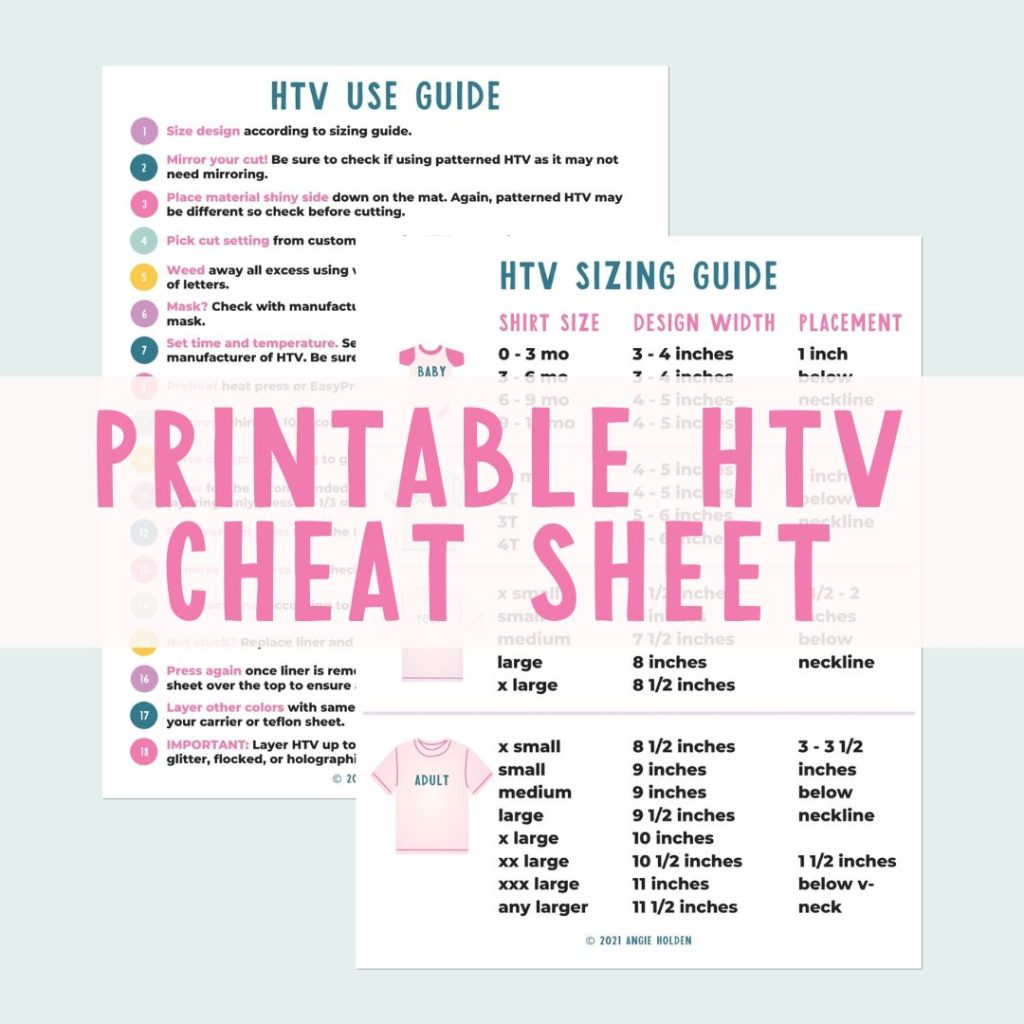
Free HTV Cheat Sheet
Get your FREE Printable HTV Cheat Sheet now! This guide has sizing and position recommendations for infant through adult shirts as well as a handy HTV use guide. Print this double sided guide and put it by any heat press you own!
Infusible Ink
If your fabric is polyester or you have a poly-coated blank, you may want to consider Infusible Ink for your project instead. It is permanent and fairly easy to use!
Description
Infusible Ink reacts with polyester or poly-coating when heated, forming a permanent bond with your surface. This means the colors are embedded in the material rather than sitting on top, as with vinyl.
When to Use It
You can use this anytime you have fabric that is at least 65% polyester or a special blank with a poly-coating. Look for Cricut blanks that meet those criteria.
Types
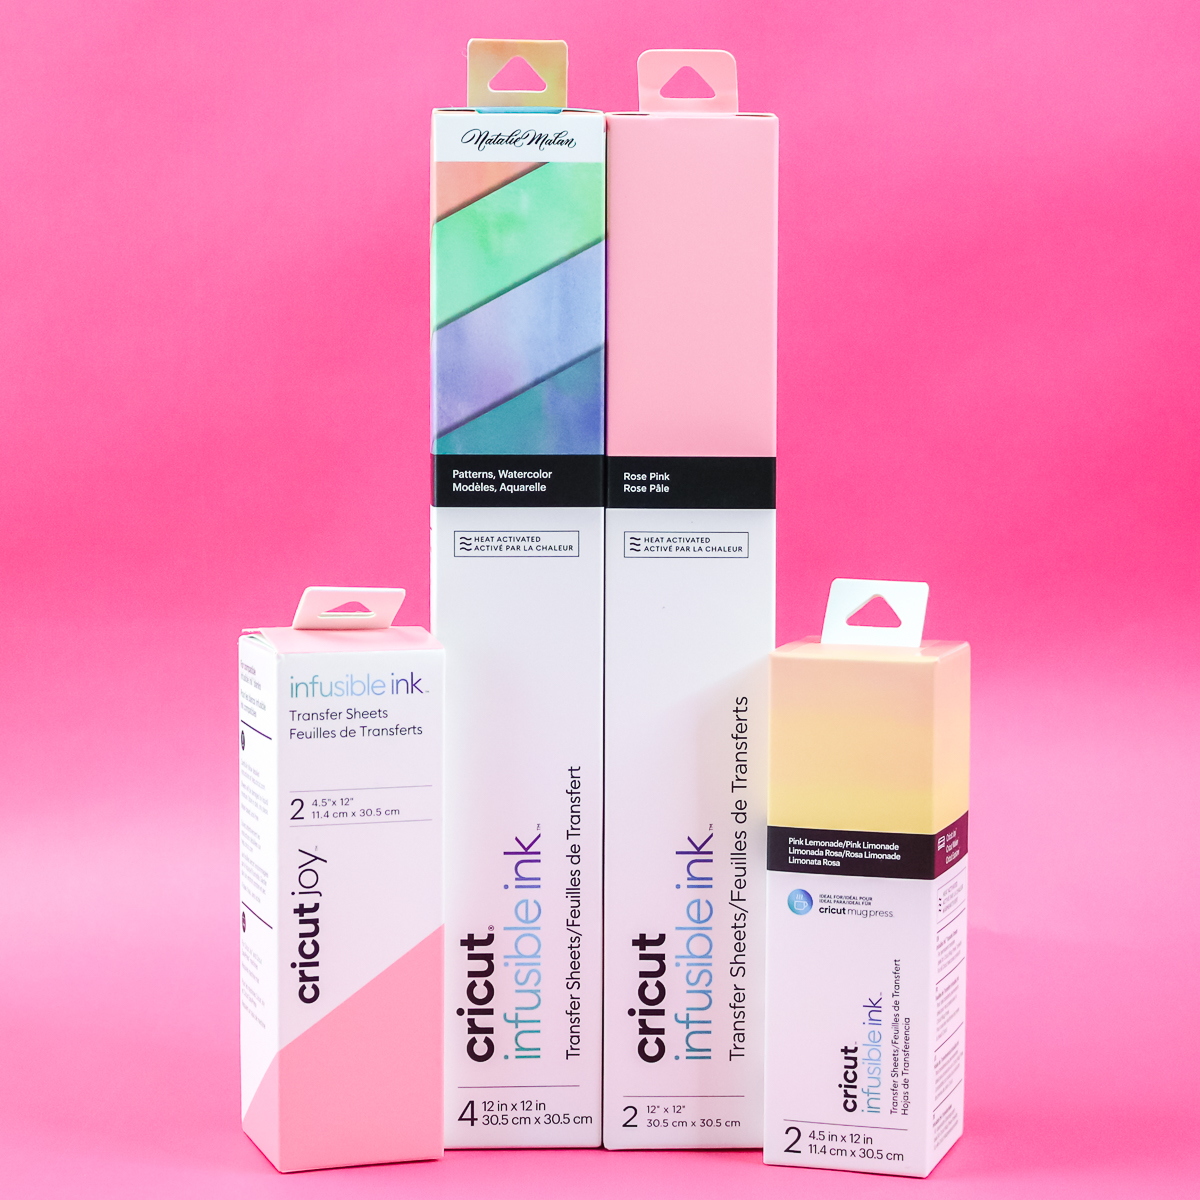
There are really only two types of Infusible Ink:
- Infusible Ink Transfer Sheets: These ink sheets can be cut and pressed onto your favorite blank. There are different sheet sizes, including those for the Cricut Joy and the Mug Press.
- Infusible Ink Pens and Markers – Want to draw your design instead? Try the pens and markers!
How to Use It
There is a learning curve with Infusible Ink, as it is different from other Cricut materials. I recommend our beginner's guide to Infusible Ink. It cuts with the fine-point blade and is compatible with any Cricut machine.
Foil Sheets
There is a foil transfer tool for the Venture, Explore, and Maker as well as one for the Joy. That means that you can add metallic foil accents to your projects in any Cricut machine. NOTE: This product can be applied to other materials.
Description
Foil sheets are extremely thin, shiny, metallic sheets. The foil transfers to your surface when pressure is applied. This works well on paper surfaces and on faux leather when you have the Venture, Explore, or Maker.
When to Use It
You would use this material to add accents to your paper crafts and possibly other materials. It is a material that would be used in addition to one of the other materials on this page.
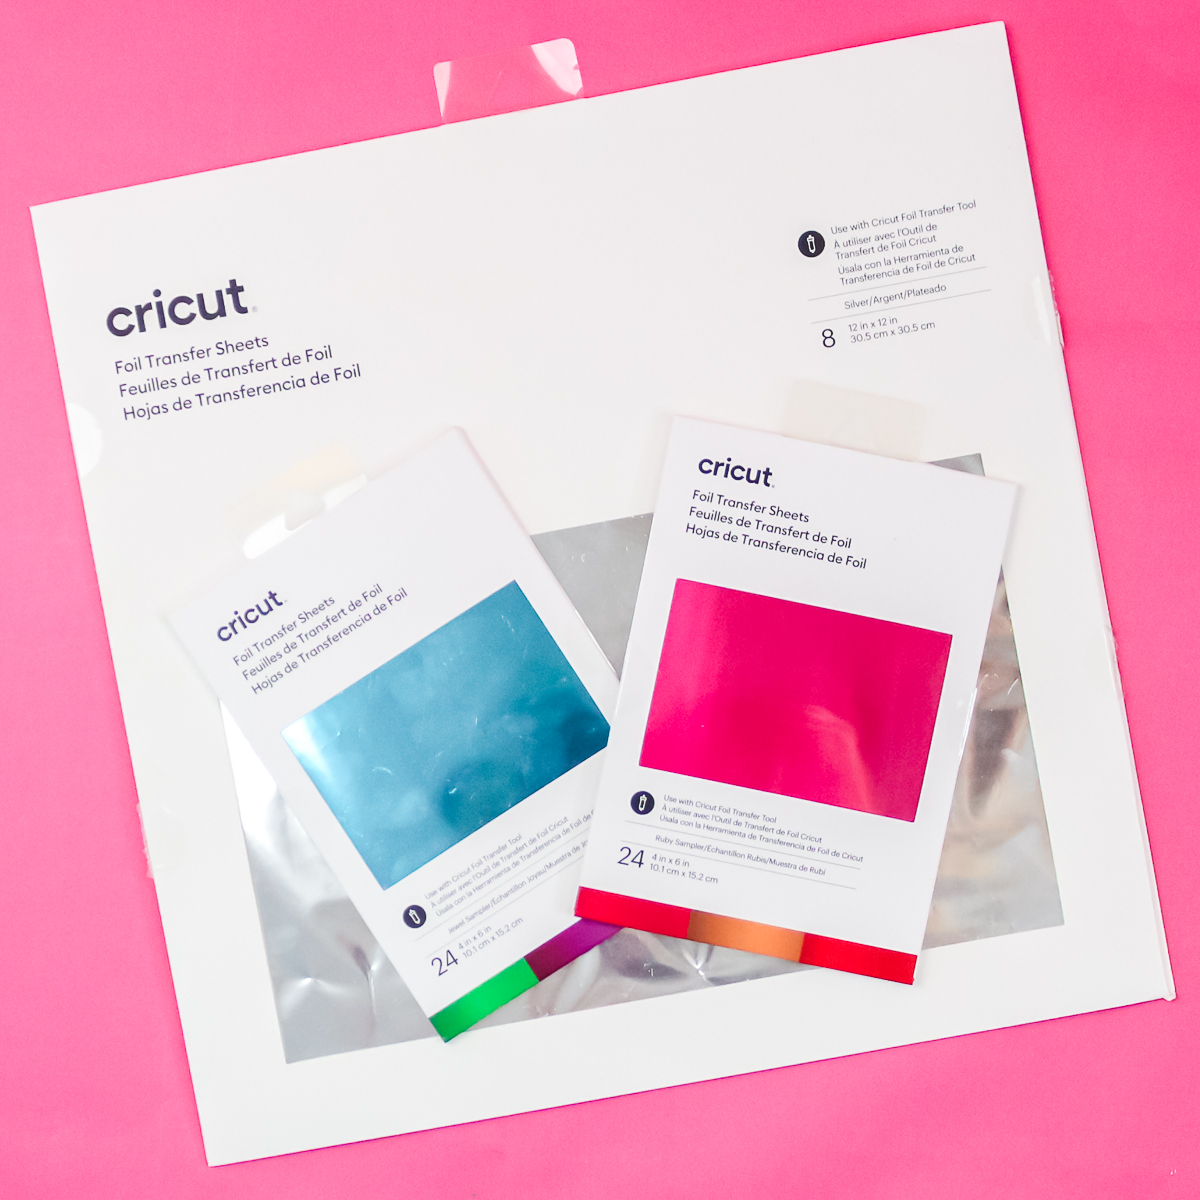
Types
There is only one type of Cricut Foil sheets; however, they do come in two different sizes. The larger sheets can be cut with scissors, so I would just get whichever one works best for your projects.
How to Use It
This material uses a special tool in your Cricut for foil transfer. To see just how to use this, head here if you have a Cricut Venture, Explore, or Maker, or head here if you have the Cricut Joy.
Acetate
This can be a great addition to your crafts, and you can even create projects using only acetate sheets. Add foil acetate for variety; it may be a material missing from your craft room.
Description
Clear and thin plastic sheets that are easy to cut with any Cricut. These sheets are very thin and will not hold any weight.
When to Use It
You can use this as “windows” in crafts, or this material can even be formed into boxes and more. It is popular for making shaker crafts and cards.
Types
There are two basic types of acetate:
- Clear acetate – the entire sheet is clear.
- Foil acetate: the clear sheet features foil accents in various shapes and colors.
How to Use It
Just put this material on the mat and cut with the fine-point blade. It is actually really easy to cut and use, so give it a try for your next project.
Printable Materials
Did you know that the Cricut Venture, Explore, Maker, and Joy Xtra machines can do print then cut? That means you can print your designs, then cut them out with your Cricut. That opens up even more crafting possibilities with printable Cricut materials.
Description
These are materials you can print on and then cut. There is a wide variety of materials you can use with this technique, beyond plain paper.
When to Use It
If you want to print something before using it on your surface, this material is for you. Look for a printable material that matches the surface you want to design on, and get started.
Types
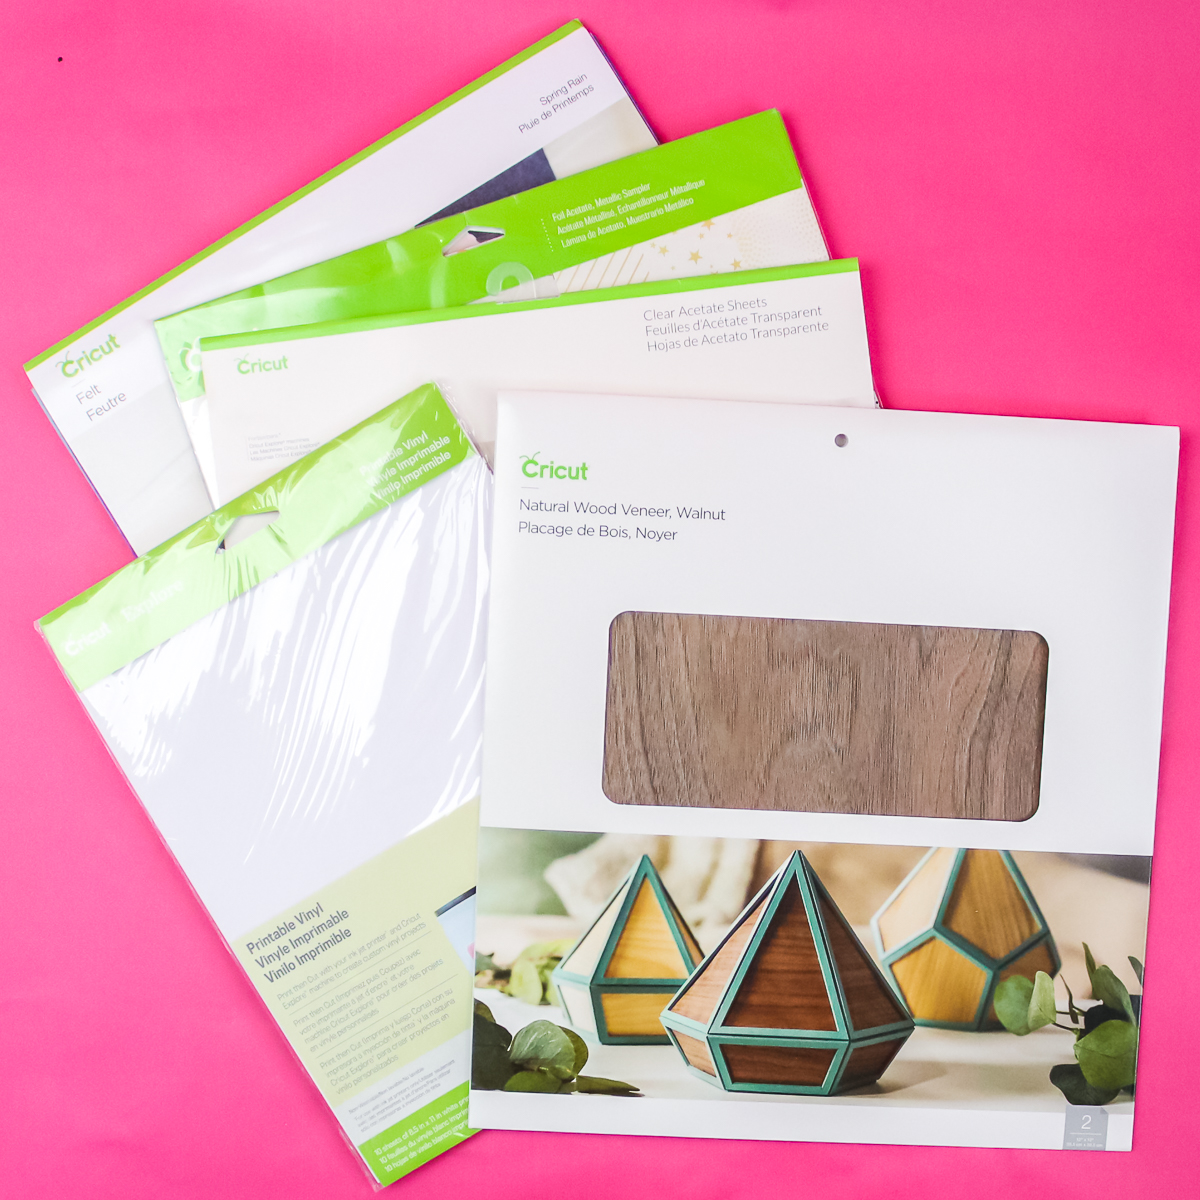
There are a wide variety of printable materials on the market, but here are a few of my favorites:
- Printable vinyl – By far my favorite printable material, and I use it all the time. It is my preferred method for making printable stickers.
- Printable sticker paper – the Cricut version of sticker paper is thick, so you may want to make sure your printer can handle it before ordering.
- Printable iron-on – want to print something and add to a shirt? This is the material for you!
- Printable fabric – print directly on fabric with this cool product.
How to Use It
You will need a computer and a printer to send your Cricut design for printing. Otherwise, the process is fairly simple. Be sure to check out this tutorial for making stickers and this one for printable HTV.
Felt
Felt can be easy to cut when you use the right felt and settings. However, I don't recommend cutting felt with Cricut Joy machines, though I have had some success.
Description
Felt is a material that does not fray when cut. That makes it perfect for so many craft projects. The felt I recommend cutting is actually stiff felt, and you can read more about it below.
When to Use It
Try this when you want to use fabric but are concerned about raw edges. It is also great for projects you plan to give to children, as it is durable.
Types
The type that I recommend cutting with your Cricut is the Cricut Felt. It is a stiff felt that cuts like a dream. I have cut all sorts of felt, and most of it is difficult to cut and can be frustrating. The Cricut brand of felt cuts great every single time.
How to Use It
I recommend cutting this material in your Venture, Explore, or Maker with the fine-point blade. You can change to the rotary blade with the Maker if you are having issues. The number one issue with felt is that it ruins your mat. See more about cutting felt and some of my tips and tricks here.
Faux Leather/Suede
Faux means fake, and this version of leather and suede can be a blessing for your crafting needs. These Cricut materials are easy to cut and will look great in a wide variety of projects.
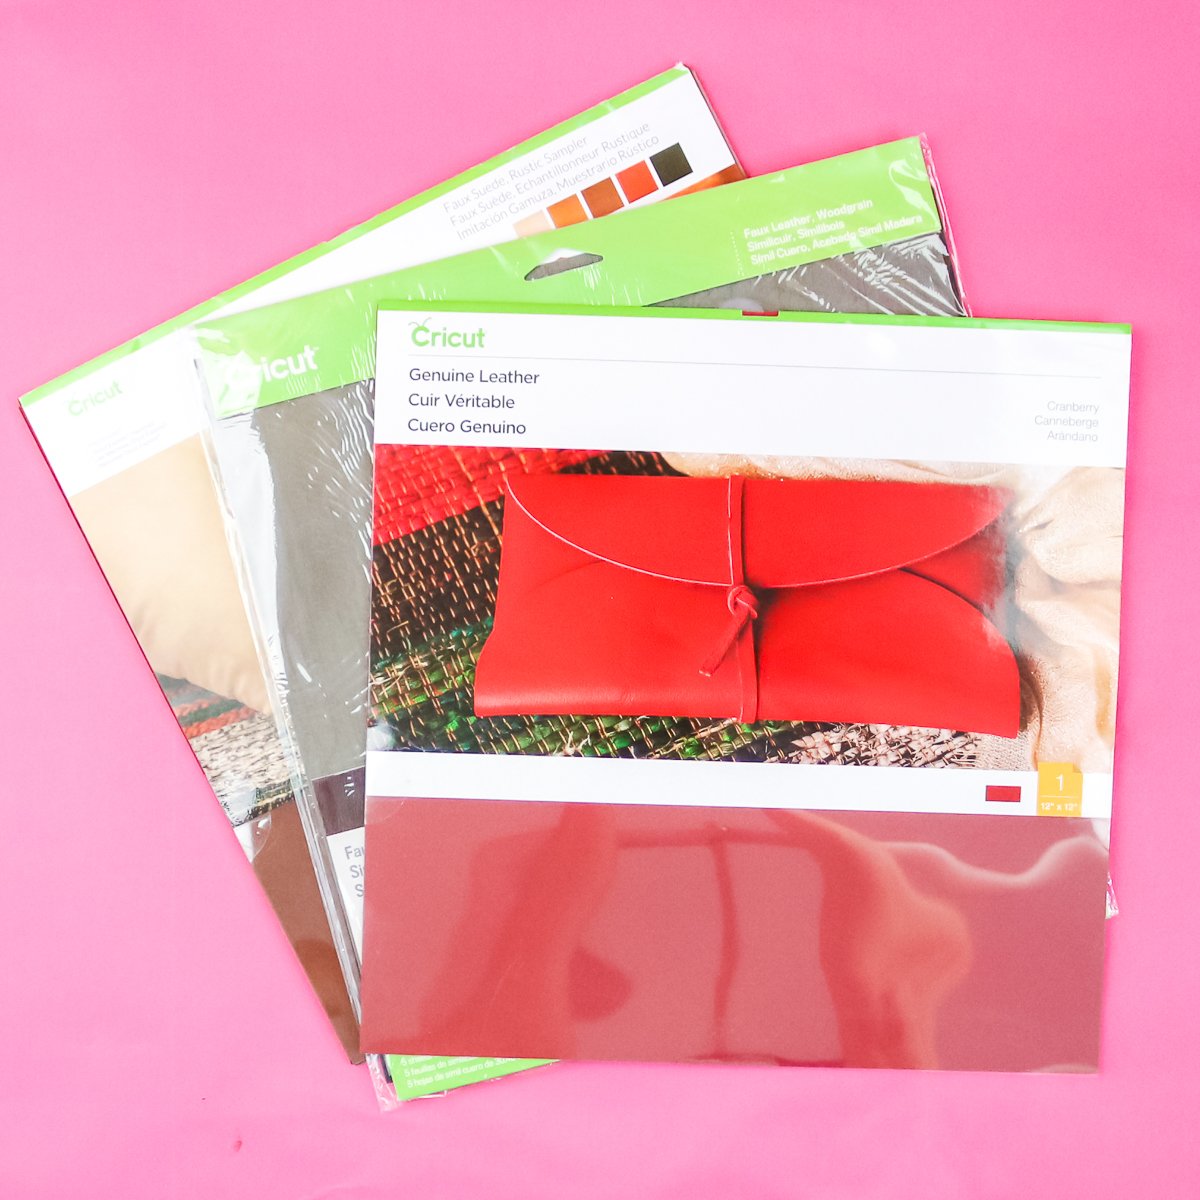
Description
This is a synthetic leather and suede imitation made to look similar. However, this material is much thinner and lighter. That makes it the perfect solution for your crafting needs.
When to Use It
Consider using this in place of leather whenever you can. You will love how easy it cuts and how great it looks. My favorite application is jewelry (like earrings), as the lighter weight makes this material a better choice.
Types
There are several different finishes of this material, but there are two main types:
- Faux Leather – get the look and feel of real leather without the cost or the added weight!
- Faux Suede – if you love real suede, be sure to try the faux version for your crafts.
How to Use It
This material can be cut on any Cricut machine with a fine-point blade. It really is that thin and easy to cut! You can see more about cutting it here.
Real Leather
We discussed the fake options above; however, sometimes you just need the real thing. I recommend only cutting real leather with the Cricut Maker. In my experience, it is the best machine for the job and much less frustrating than the others when it comes to achieving good cuts on this material.
Description
Real or genuine leather can be found a ton of places and it is, as the name states, real hide that has been tanned.
When to Use It
There are certain projects where you will want to use real leather. If you are making a wallet, notebook cover, or want to engrave leather, the real thing is the way to go.
Types
There are a variety of leather products on the market, and the Cricut Maker can cut most of them. I do like the genuine leather sheets from Cricut for most of my projects.
How to Use It
As mentioned above, I prefer the Cricut Maker for cutting real leather. I find it difficult to cut on the Cricut Explore or Venture, even though the machines say they can cut it. You can see more about cutting leather with both machines here.
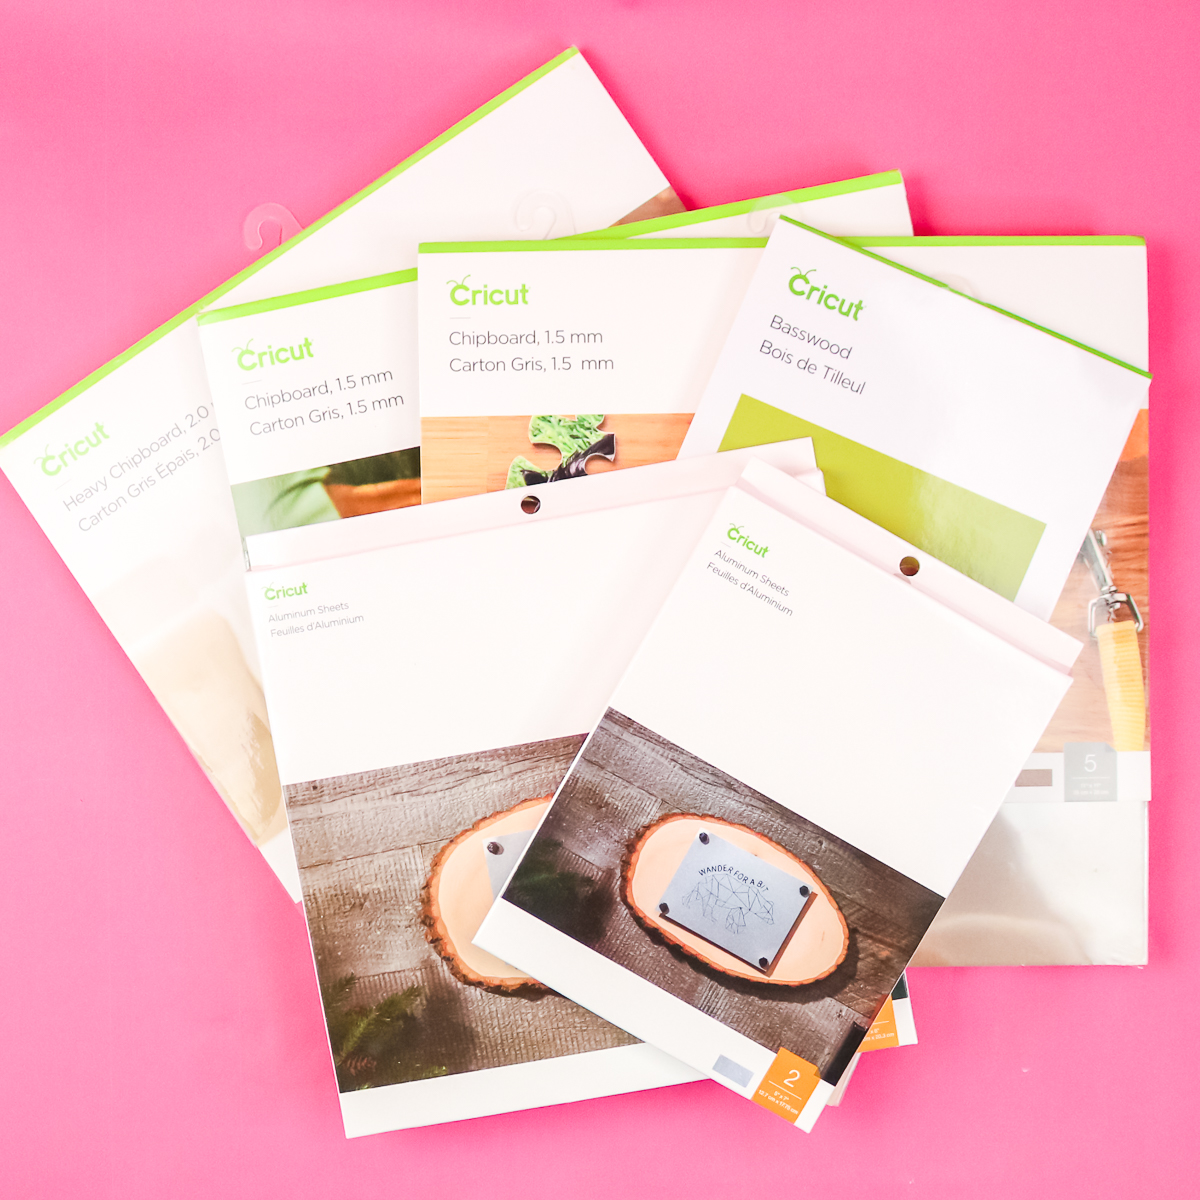
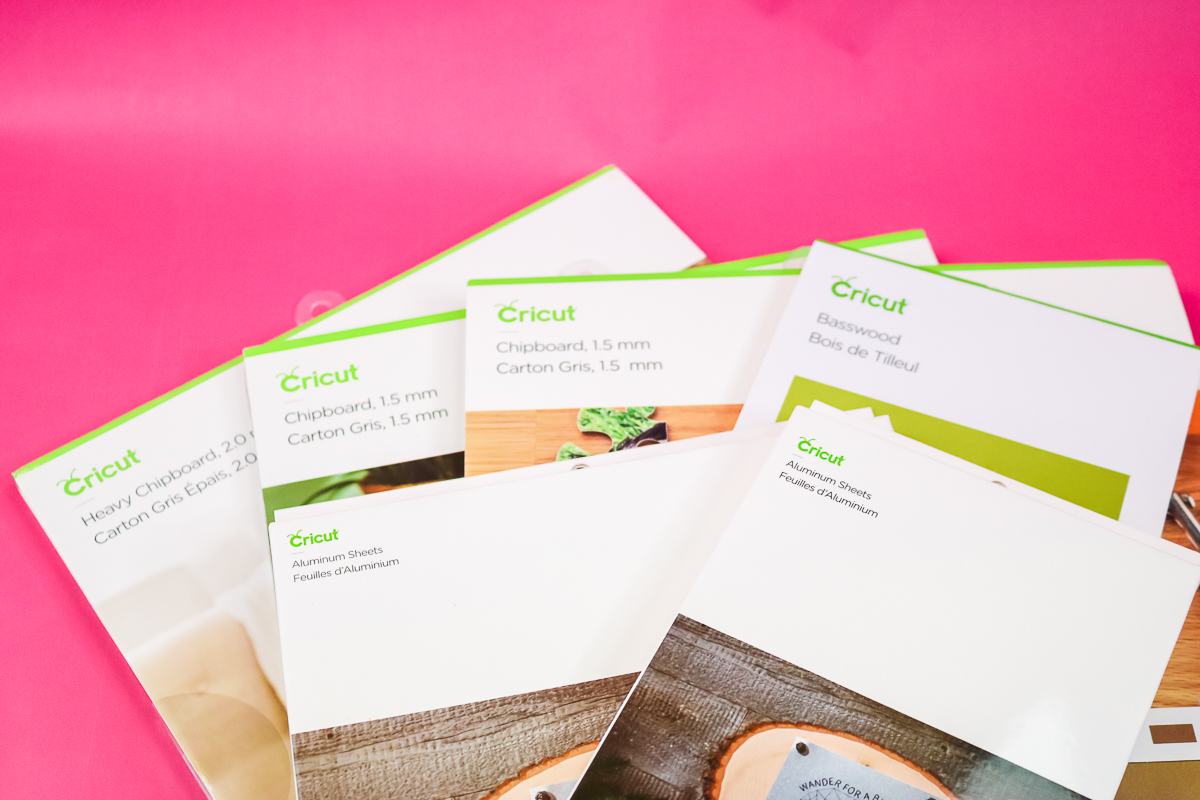
Aluminum
While no Cricut can cut thick aluminum, you can engrave it with your Cricut Maker and the engraving tip. This really expands the Cricut materials that you can use with your machine and the projects you can make.
Description
These metal sheets are made of aluminum, a softer metal that can be engraved with a wide variety of images and text.
When to Use It
If you are looking to engrave metal, aluminum is a great material to start with. I like how large these sheets are so that you have a ton of room to experiment and locate your design correctly.
Types
You can find a wide variety of metal blanks for engraving, but be careful to consider both thickness and quality. The Cricut Aluminum Blanks are designed specifically for the engraving tip, making them a great place to start.
How to Use It
Just add your project to Design Space and set your lines to engraving. You will need to locate your cut so it is placed correctly on the blank. Learn more about metal engraving here.
Chipboard
While thick chipboard can only be cut with the Maker machines, it is still one of my favorite Cricut materials. It allows me to easily create substantial projects right at home.
Description
I like to describe chipboard as the paper version of plywood. It is a bundle of paper fibers compressed into a sheet. Not all chipboard is created equal. I have tried several brands, and I can definitely say that Cricut makes the best for cutting on their machines.
When to Use It
If you want something that is going to be very thick and even used for a structural project, chipboard is for you. I will say it does not hold up well to moisture, and the cut edges are not very pretty, so you will want to keep that in mind when choosing a material.
Types
There are a few different sizes and types to choose from:
- 1.5 mm chipboard – This thinner version is easier to cut on your Maker and holds up well to most projects.
- 2.0 mm chipboard – Use this thicker version where greater stability or thickness is required.
- Patterned chipboard – Perfect for projects where you want a subtle design element without adding paint or vinyl.
How to Use It
You can only cut chipboard with the knife blade and the Cricut Maker. This also means you need a computer, as you cannot use the knife blade in Design Space on mobile devices. Click here to see a project I made with chipboard.
Wood
Yes, you can cut wood with your Cricut Maker. In my opinion, Cricut materials don't get any more exciting than this. Don't have a Maker? Read on below, as I have another option for you as my next material.
Description
The Cricut Maker series can cut basswood and balsa wood. Both are thin woods, but basswood is by far my favorite as it is harder and sturdier.
When to Use It
Use this material when you want to make 3D or structural projects but want a wood look. I find balsa wood to be too soft for most projects, so I rarely use it.
Types
I will say that not all basswood is equal. I find that Cricut basswood cuts much better, and I have much more success with it than any other material I have tried. I currently use only Cricut, as I have had many issues with other brands.
How to Use It
You can only cut basswood with the knife blade and the Cricut Maker. This also means you need a computer, as you cannot use the knife blade in Design Space on mobile devices. You can see more about cutting wood with the Cricut Maker here.
Wood Veneer
I promised you a chance to get a wood look on your Explore machine! If you have the deep-point blade, you can use wood veneer to achieve that gorgeous look on your crafts.
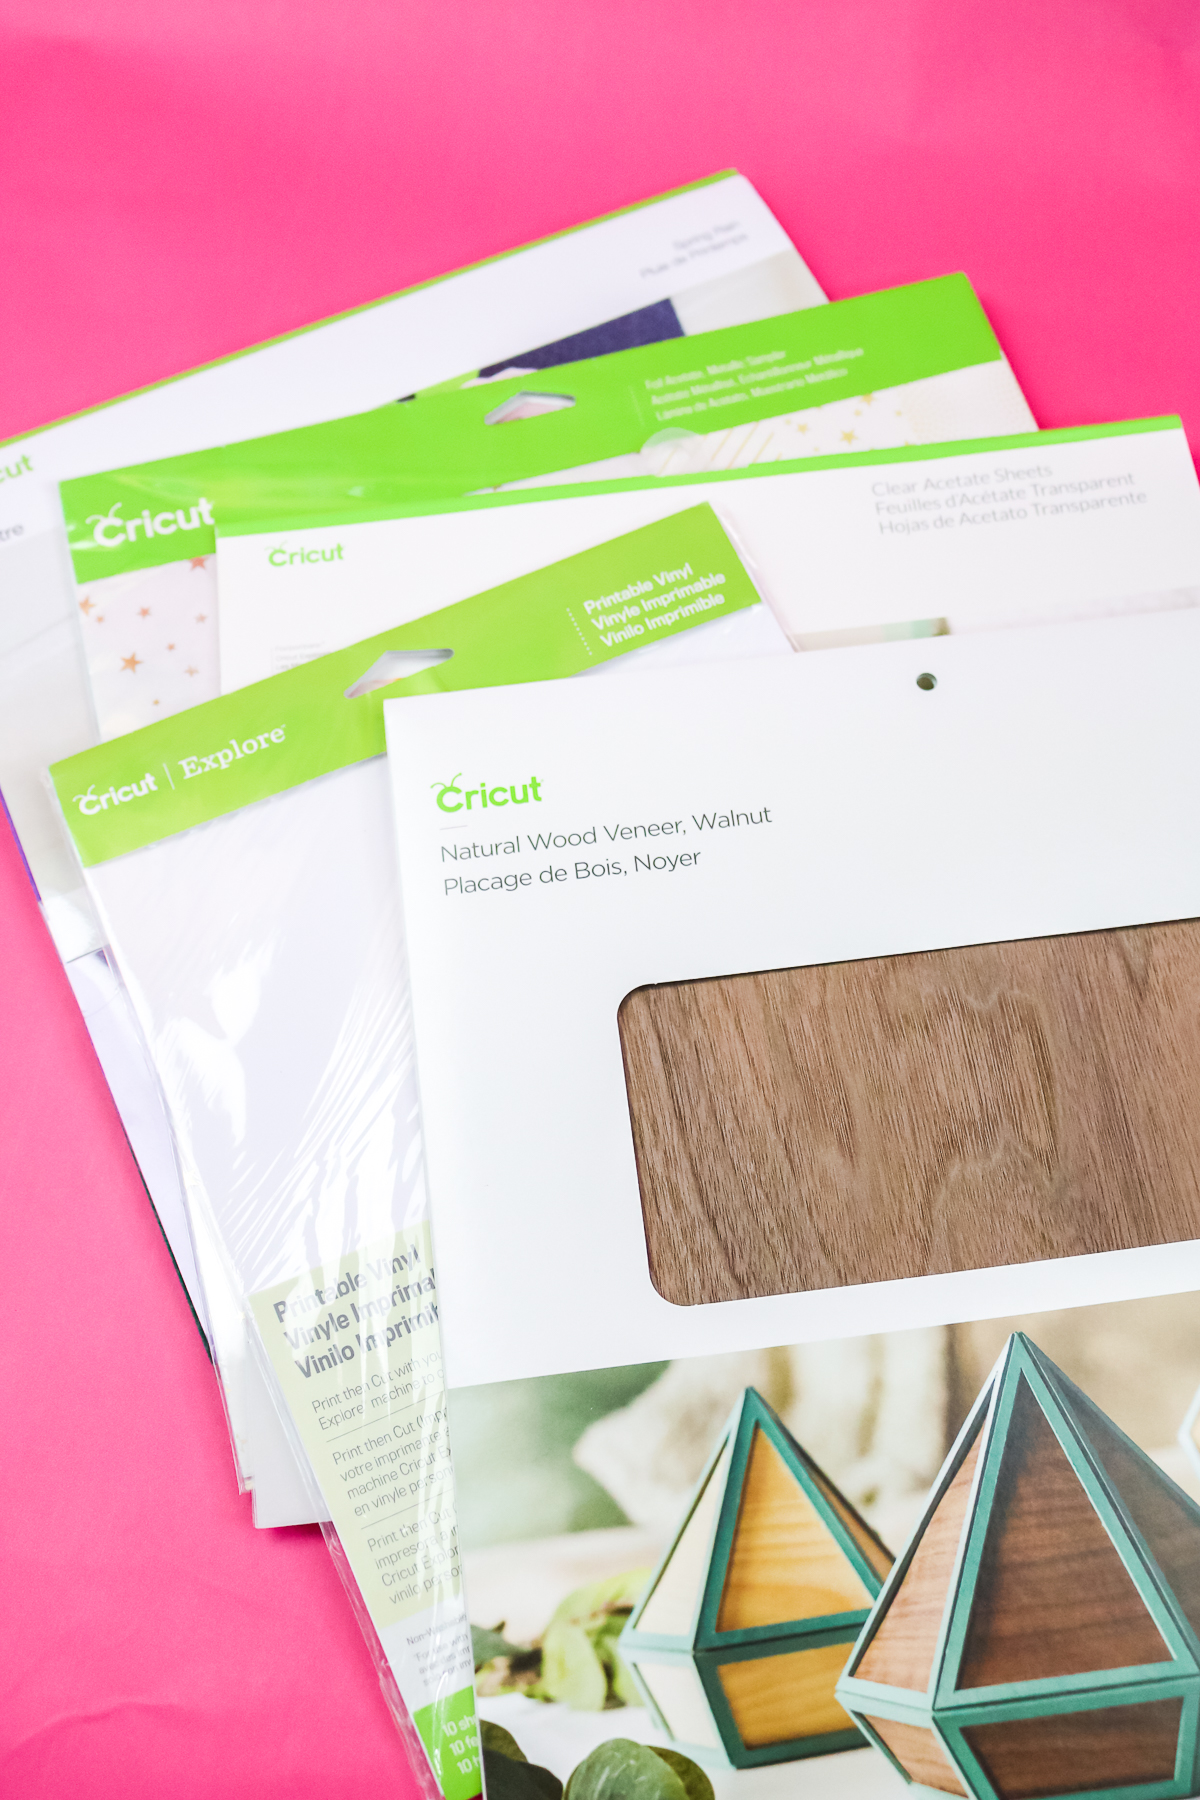
Description
Wood veneer is real wood that is sliced super thin and can be layered on top of other materials to give a wood look to your project. This material is about as thick as some thick paper, so it should not be used for any structural project.
When to Use It
Use this when you want a wood look for your project, but either don't have a Maker or prefer the inlay look you can get with real wood veneer.
Types
You can definitely find other brands of wood veneer, but I have really enjoyed working with the Cricut wood veneer. It comes in a wide variety of wood finishes, so you can let your imagination run wild when using it.
How to Use It
This product is really easy to cut; however, you will need the deep-point blade. You can see more about cutting this product, as well as a project that I did here.
So, now that you have seen all of these Cricut materials, which will you start with? I always recommend starting with something simple and moving to more complex materials as you become more familiar with your machine.

So, pick up some Cricut materials from the store and start planning your next Cricut craft. I know you will love your machine as much as I do once you gain the confidence to start crafting with it!


Where are the pots for ur normal 0.4 point pens from? im really struggling to keep my pens organized!
I’m not sure which pots you mean, currently all of my pens are stored in my Dream Box 🙂 I have also used desktop pen organizers in the past, the one I used is no longer available but there are a lot of options on Amazon.
could u make a video on dissolvable label??
I will add that to my list 🙂