

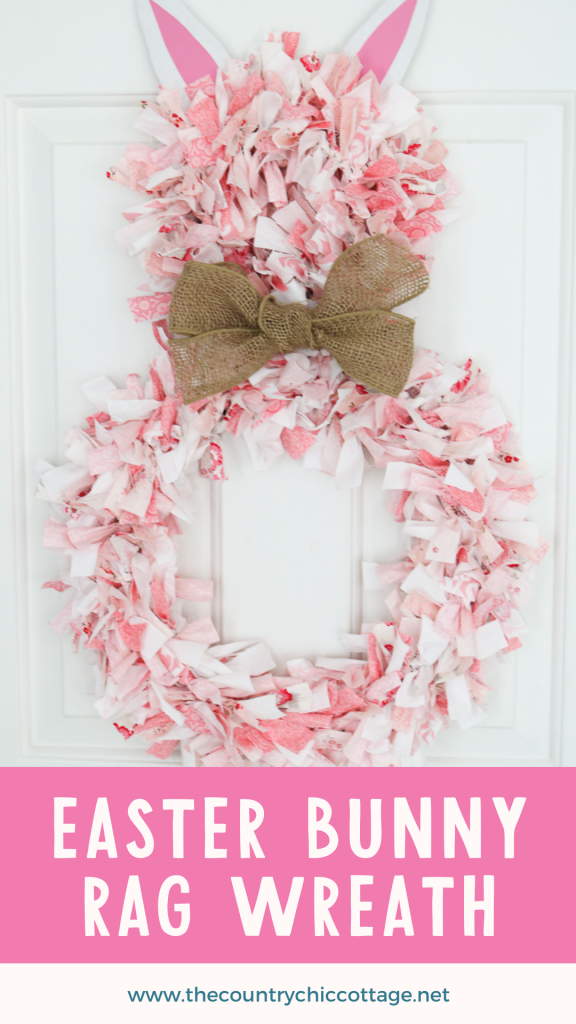
Turn your scrap fabric into a beautiful rag wreath. This same technique can be used to create wreaths for any time of the year.
I love making wreaths! They're so much fun because they offer a wide range of possibilities. You can work with burlap, yarn, leaves, coffee filters (it's true!), and more to create a beautiful personalized piece of decor you can't wait to display year after year.
Although I have made many different wreaths over the years and have several tutorials on this site, none are quite like this one.
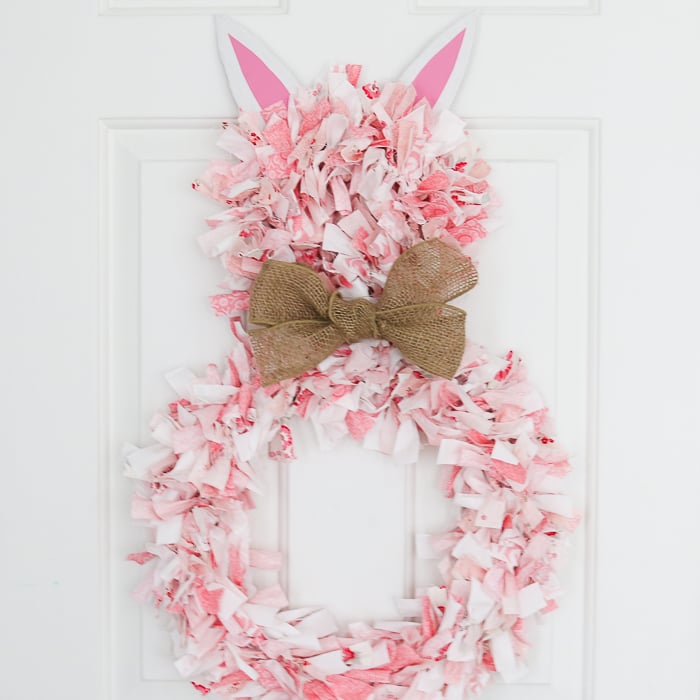
I decided to use fabric strips to make a rag wreath with my Cricut for this wreath. To make it even more fun, I created a bunny shape that's perfect for spring or Easter!
If you love using your Cricut, check out How to Make Felt Flowers with a Cricut, Cricut Infusible Ink Coasters, and How to Cut Wood with the Cricut Maker!
Rag Wreath Video Tutorial
I thought I would share the process of making a rag wreath with a quick video tutorial to help. Enjoy!
If you can't watch the video or missed some of the steps, I wrote all the directions so you can easily follow along with the step-by-step instructions below to make your adorable bunny rag wreath.
How To Make An Easter Rag Wreath
Making a rag wreath is simple, but it's even easier when you use Cricut hand tools.
You can make this rag wreath tutorial in a bunny shape, as shown, or just a wreath for any time of the year. Once you learn how to make a rag wreath, you might just make one for every season. This is also a fantastic way to use up fabric scraps, and if you are like me, you have lots of scrap fabric to use for this fun project!
Cricut's Line Of Hand Tools
The Cricut machine has a vast range of capabilities, but we are not going to use one for this project—only the Cricut hand tools!
If you don't know it already, Cricut also offers a wide range of amazing hand tools to make crafting easier. Some of the ones that we will be using today are:
- Cricut TrueControl Knife – This craft knife offers better control and amazing precision. I love its ergonomic feel and blade-changing system, which means you never have to touch the blade. Also, it does not roll! If you think all craft knives are the same, this one will change your mind!
- Cricut Self-Healing Mat – These double-sided mats are gorgeous on one side and have a great grid pattern for measuring on the other. In my opinion, a self-healing mat is a must in any craft space, and this is a gorgeous and helpful addition to your supplies.
- 60 mm Cricut Rotary Cutter—This rotary cutter is symmetrically designed to work well for left—and right-handed users. It has a sliding cover with a quick-release button that covers the blade when not in use.
- Cricut Cutting Ruler – The absolute best thing about this ruler is the protective guard that shields your hands from sharp cutting tools. You will also love the nonslip base, which helps keep it in place while cutting a wide range of materials.
- Cricut Acrylic Ruler – This is another must-have in my craft room. A see-through ruler like this makes measurements easy, and the measurement marks in 1/8″ increments help make precision cuts easier!
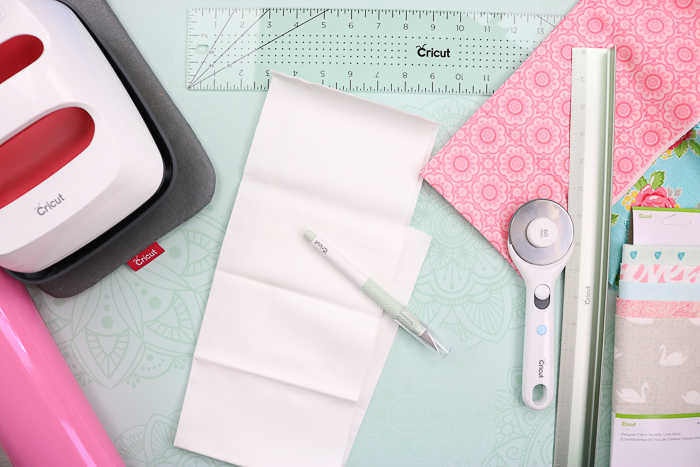
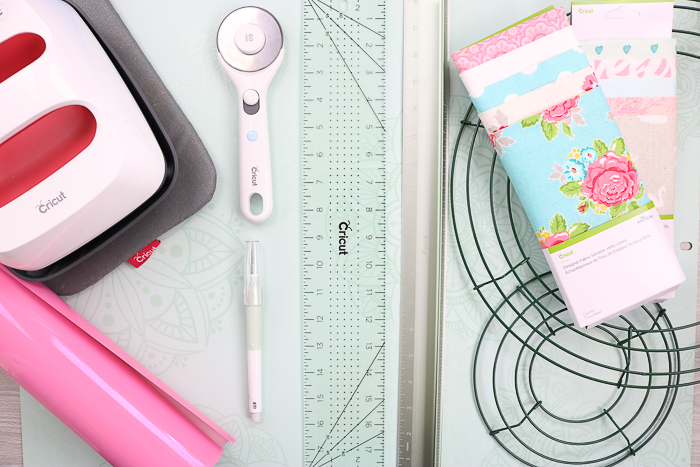
Supplies Needed To Make Rag Wreath
- Cricut Fabric
- Wire wreath forms in two sizes
- Cricut TrueControl Knife
- Cricut Iron-on in pink
- Cardboard
- Cricut Self-Healing Mat
- Cricut Cutting Ruler
- 60 mm Cricut Rotary Cutter
- Cricut Acrylic Ruler
- Hot glue and a glue gun
- Cricut EasyPress
- EasyPress Mat
- Burlap Ribbon
- Scissors
- Fabric Scissors
Making The Bunny Ears
I made the bunny ears first, then made the rag wreath itself. Here's what I did.
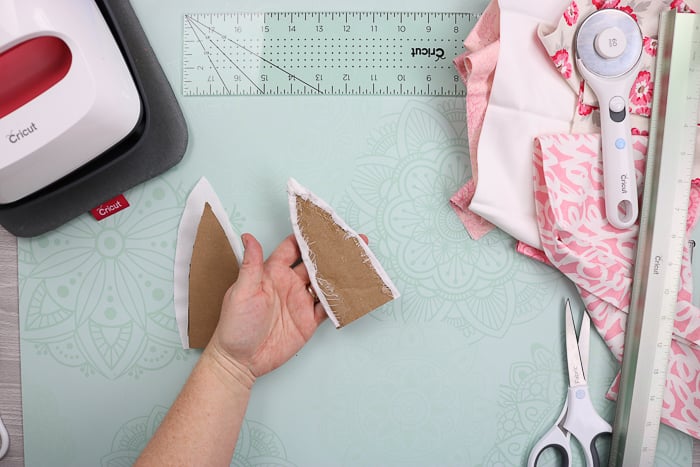
Step 1: Cut Cardboard
Cut cardboard with the TrueControl knife into the shape of a bunny ear.
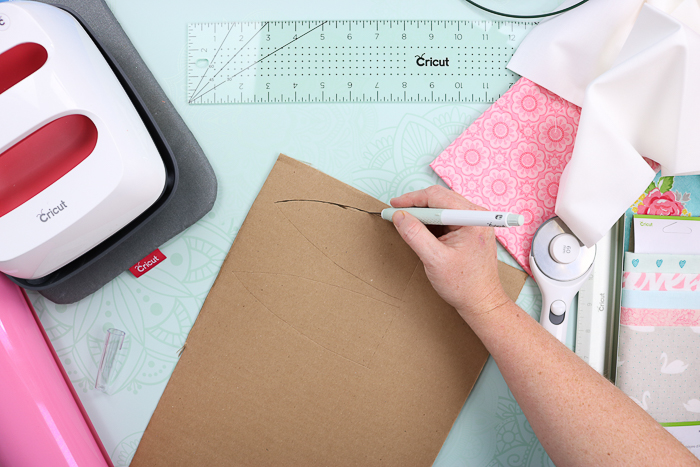
You need the ears to be proportional to whatever form you use for the wreath's head portion.
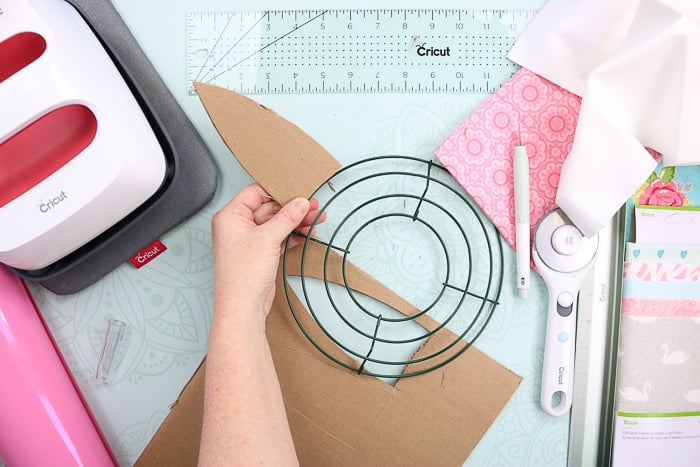
Cut two identical ears from the cardboard.

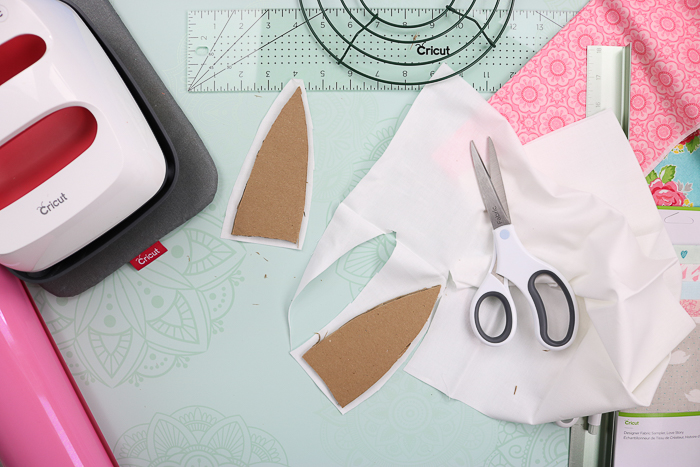
Step 2: Cut White Fabric
Then, cut the white fabric slightly larger than each of the ears with fabric scissors.
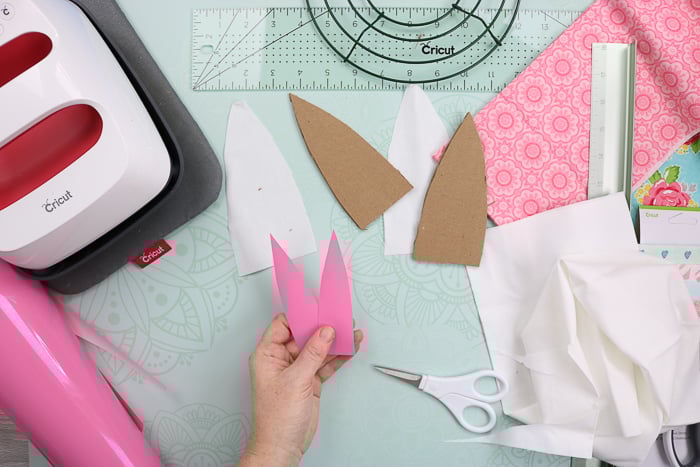
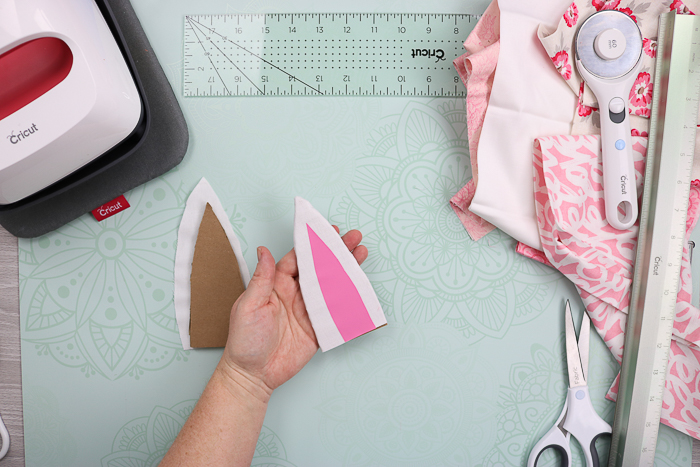
Step 3: Cut Pink Iron-On
Next, we will add a center to each of the ears. For this part, I decided to use pink Cricut Iron-on. I just cut it to size with a pair of scissors.
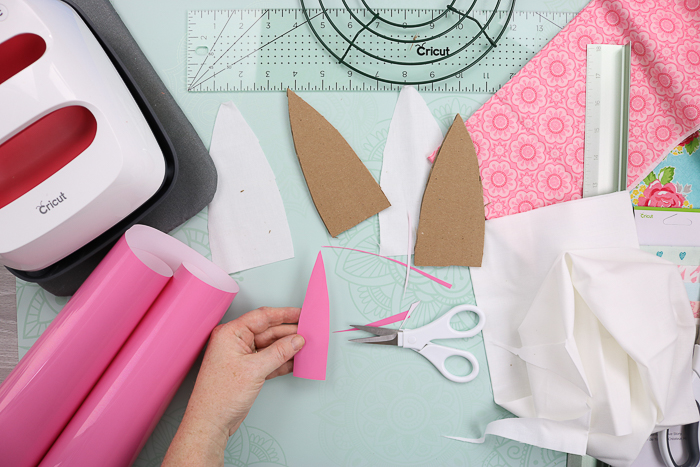
Again, you will need two identical pieces.
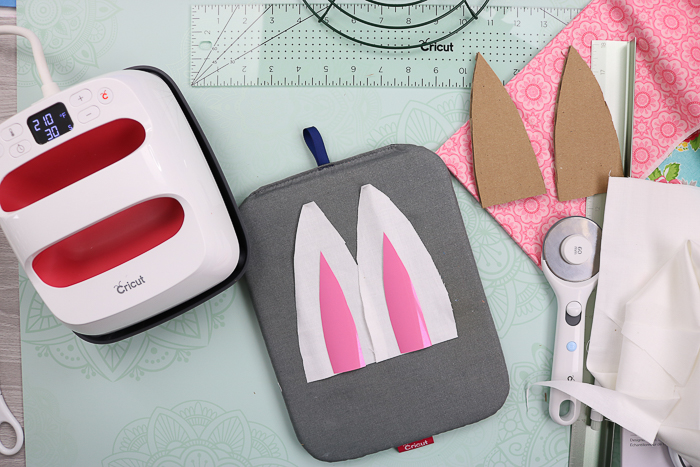
Step 4: Press Pink Iron-On To White Fabric
Place the white ears on the EasyPress mat with the iron-on on top of them.
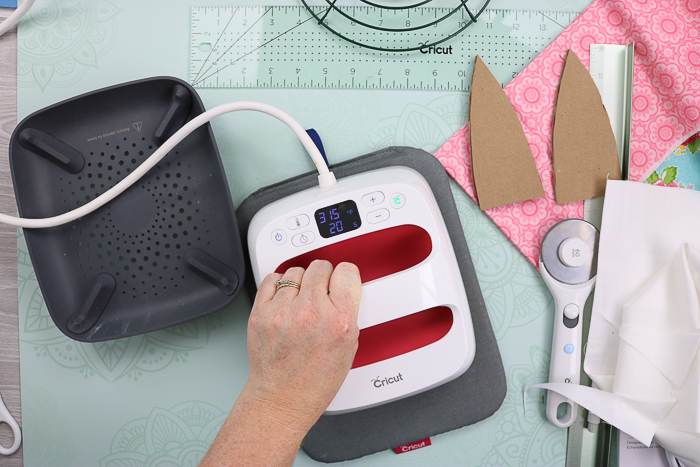
Press for the recommended time and temperature according to the Cricut Heat Guide. You can read all about how to use the EasyPress for projects like these here!
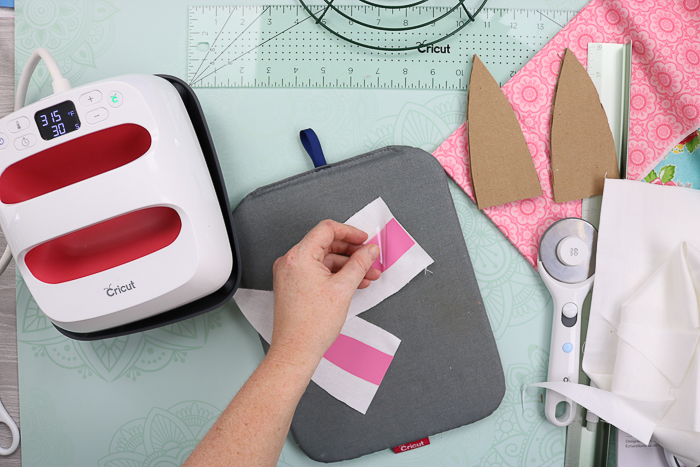
Once the press is complete, remove the transparent carrier sheet from both ears.
Step 5: Glue White Fabric To Cardboard
Now, turn over the white fabric piece and place the cardboard on top.
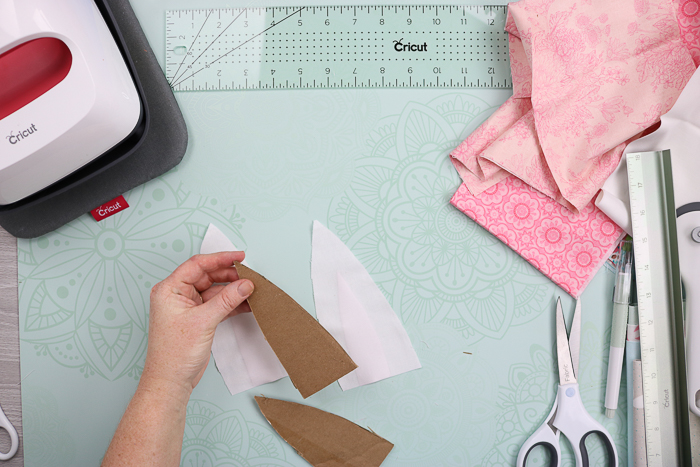
Use hot glue to wrap the white fabric around the cardboard ear. The back of the ear will be against your door, so you do not need to finish the back. However, you can add another piece of fabric to finish off the back of the bunny ears if you would like.
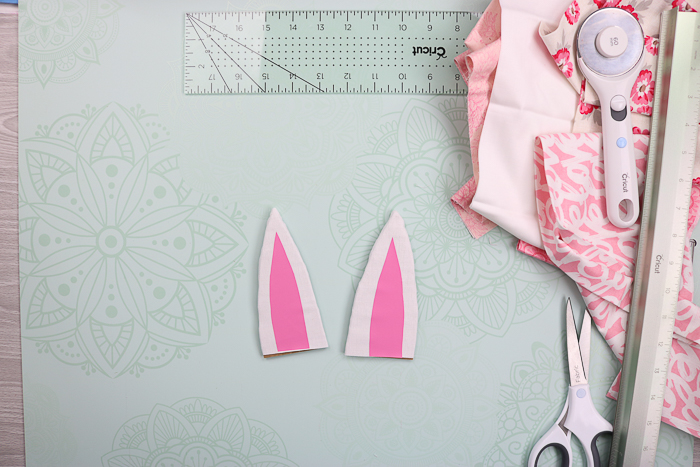
At a minimum, your ear should look finished from both the front and the sides.
Finish the other bunny's ear before moving on to make the wreath.
Rag Wreath Instructions
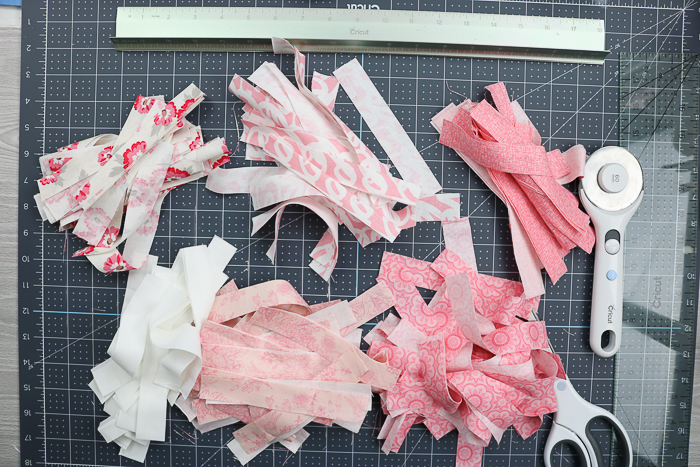
Now, we need to complete the rag wreath. For this project, you will need to gather several coordinating fabrics. I used white and several different shades of pink. You can pick whatever colors you like, so grab and use those scraps you've been saving!
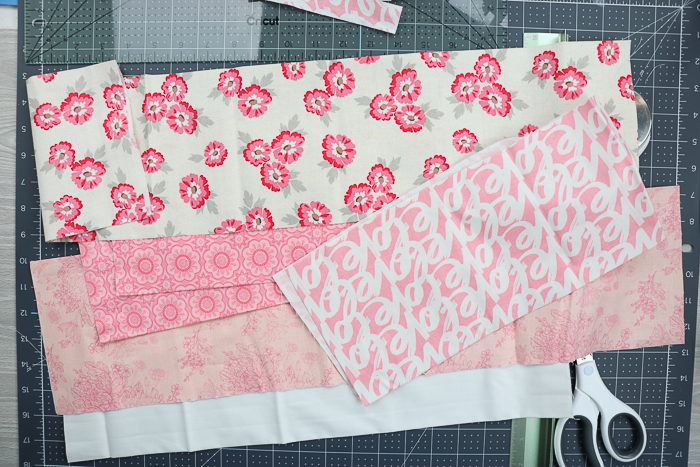
Step 1: Measure Fabric
First, measure the fabric to determine your cuts. You can use the acrylic or cutting ruler. You will need to cut your fabric into approximately 1- x 6-inch strips. Pull back on the button to reveal your rotary cutter.
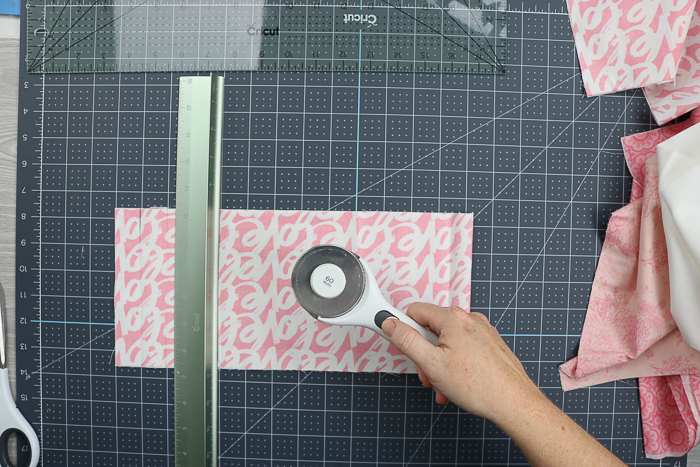
Step 2: Cut Fabric Into Strips
Then, use the rotary cutter to cut your fabric. I started by cutting my fabric into long, 6-inch strips and then cut those into 1-inch-wide pieces.
Use the back of your self-healing mat for guidelines and one of the rulers to guide your rotary cutter.
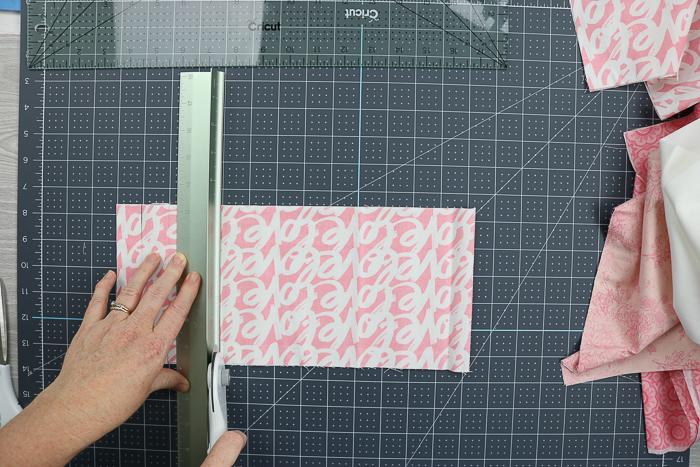
Tip: You can cut several layers of the material at once, making the process of cutting fabric strips much faster because you'll need quite a few pieces (the exact number depends on your wreath frame size and the fabric you use).

Continue until you have several piles of strips from different types of fabrics.
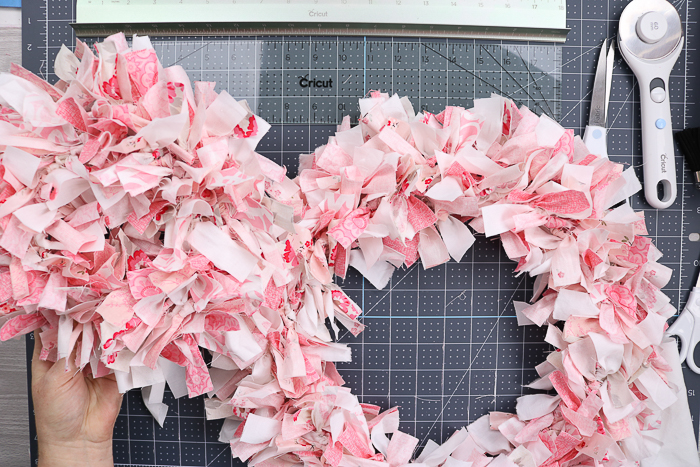
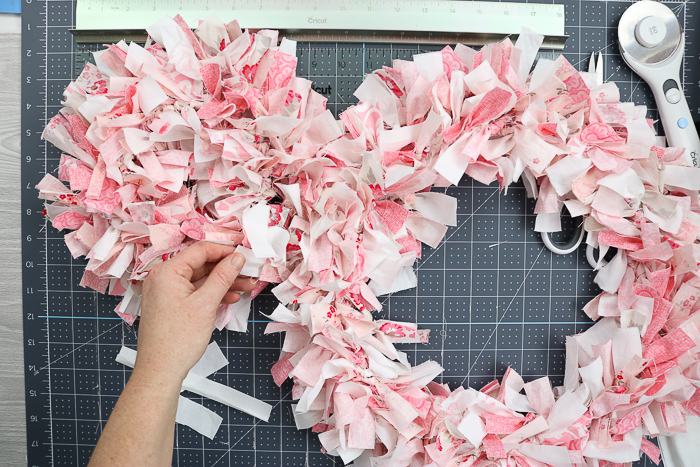
Step 3: Tie Fabric Strips Onto Wreaths
Start tying the strips onto your wreath. These look better placed randomly, so be sure to vary the strip locations around the wreath.
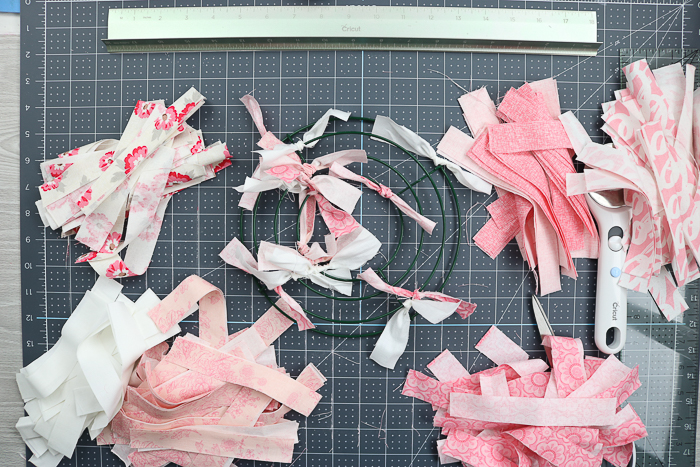
Continue tying and filling both wreath forms until you are happy with the look. This will take a while, so put on a movie and tie them on while you watch (or rock out to your favorite tunes)!
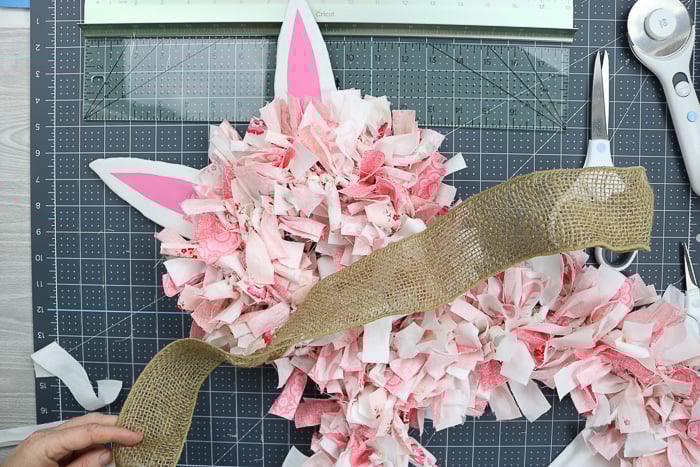
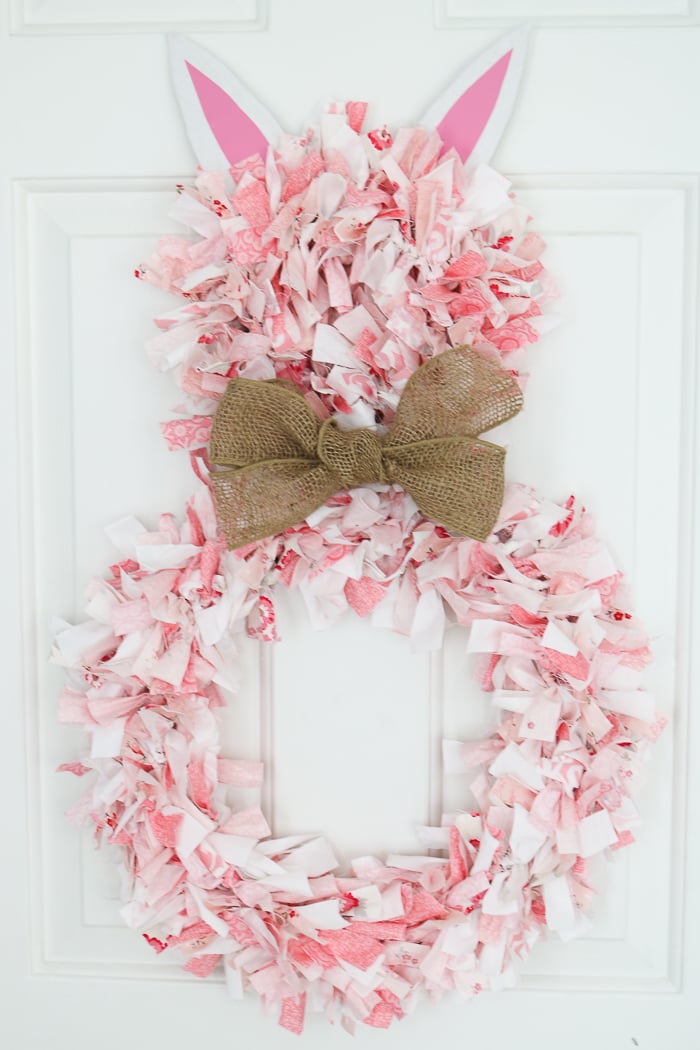
Step 4: Tie Wreaths Together
Then, you want to tie the two wreaths together with a few extra strips of fabric. Thread these strips through the bottom of the head and the top of the body wreath and tie them together.
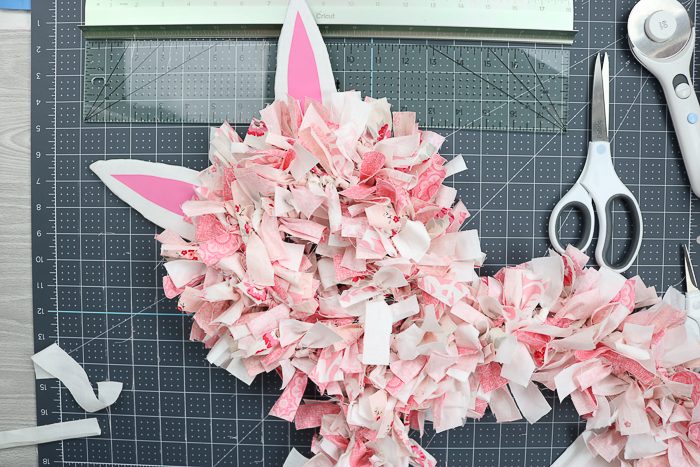
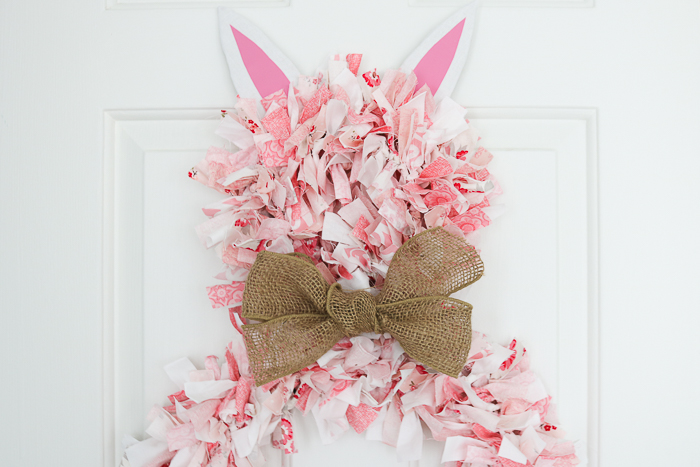
Step 5: Glue On Bunny Ears
Once everything is tied together, use additional hot glue to secure your ears.
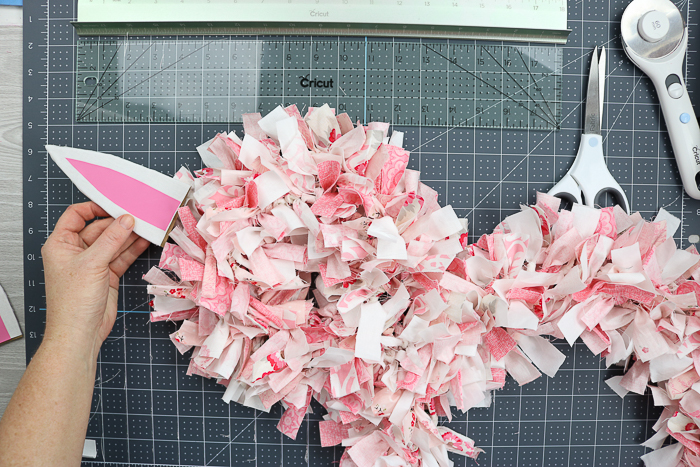
Tuck the ears into the wreath a little when gluing so the bottom is not visible.
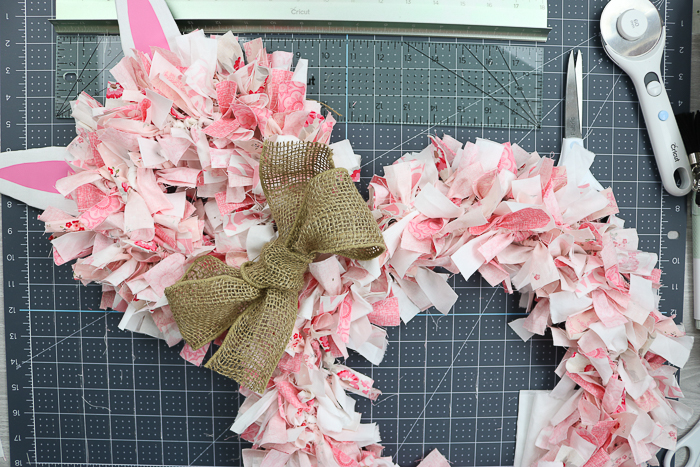
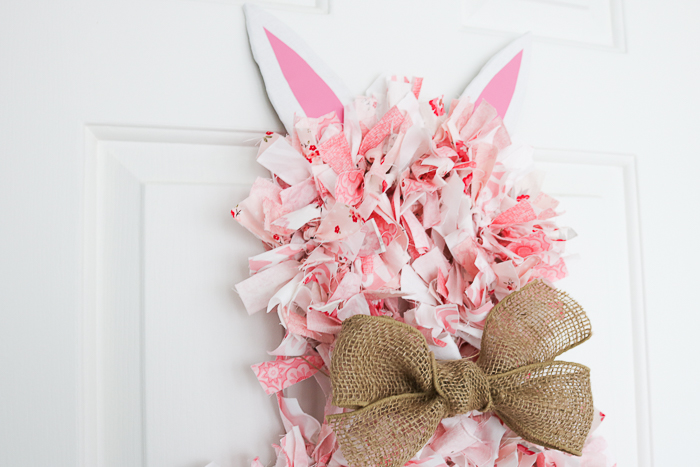
Step 6: Add Burlap Bow
I felt that my rag wreath needed a little something else, so I added a burlap bow around the neck.
Tie into a large bow and cut off any excess.
Then, hang your rag wreath on your door and celebrate Easter in style!
Now that you know how to make a rag wreath, you can change this up for every season! So, be sure to save all of your fabric scraps from other projects.
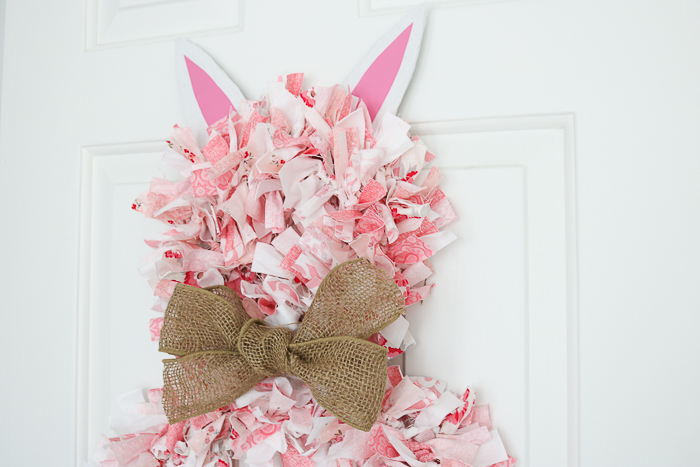
A rag wreath DIY is just what you need to bring a little spring to your home!
I love how this bunny turned out, and I think you will love it as well! The Cricut hand tools make creating a rag wreath like this one even easier.
Y'all enjoy and share this post with any friends who might like to see how to make a fabric rag wreath as well!
FAQs About Rag Wreath
Here are a couple of questions that I see readers ask about this rag wreath. If you have a question, please check to see if I've already answered it below. Don’t see it? Please leave it for me in the comments!
Can I Change The Size Of This Wreath?
Yes, you can. As long as you have two different-sized wreaths that look good together, you can make this wreath any size you like.
What Size Strips Can I Use For A Rag Wreath?
I have found that strips 1 inch wide by 6 inches long work the best when making rag wreaths. They're short enough to be manageable and long enough to fill in the empty space on your wreath frame.
However, if you want a slightly different, chunkier look, you could cut your strips 1.5 inches wide.
Can I Use A Different Color Of Fabric For This Rag Wreath?
Absolutely! You can make this bunny grey, brown, or any color you like.
How Can I Make This Wreath For Other Holidays Or Times Of The Year?
You could easily change the colors and the ear shape to make a cute dog, frog, or other animal.
If you want to use the same basic process to make a wreath you can use every day, follow the instructions I provide for my Fall Burlap Wreath. It's the same basic tying process; you can just replace the burlap with another fabric of your choice.
Have fun with your fabric choices! Because you're tying the fabric instead of displaying it in uncut form, you can experiment with bold prints for holidays or any time of the year.
How Did You Hang Your Rag Wreath?
I just hung my wreath by placing the smaller wreath on a nail.
5 More Easter Wreaths
Did you love this rag wreath and want more Easter wreaths to make? Then check out the projects below!
- Marbled Easter Egg Wreath
- How to Make A Super Cute Easter Egg Spring Wreath DIY
- Bunny Easter Wreath: An Easter Bunny from Bandanas
- DIY Easter Cross Wreath
- How to Make a Tulip Wreath for Spring


this is adorable! I love watching your videos and reading the great tutorials. thank you! when I make this i’m going to make a pile of white-only strips and made a fluffy tail at the bottom. so cute!
So cute! And I see myself doing Uncle Sam for July 4th, too! Thank you for this adorable project.
I’m so glad you like it! I love your ideas, I hope you share them with us!