
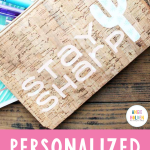
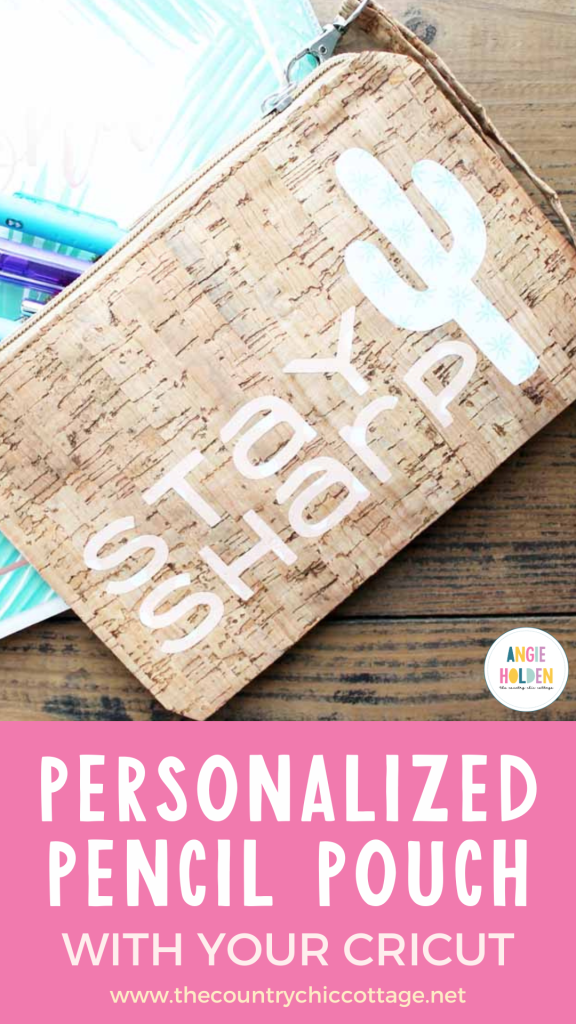
Back-to-school season is here, and you can celebrate by making a personalized pencil pouch with your Cricut machine in minutes. This easy project is a perfect way to personalize your child's school supplies. I used a cactus image, but you can definitely use this same technique with any image or word you can imagine!
Typically, if you are an avid Cricut crafter, you are counting down to back-to-school season! Not only will you have more time to dedicate to crafting with the kids back in school, but you will be gleefully labeling anything and everything that will stand still with your Cricut.
I love how you can quickly label school supplies in any font you like with a Cricut. The text can be large, small, swirly, simple, or whatever your child fancies. Plus, you can adhere heat-transfer vinyl to just about anything.
School supplies can be expensive, and kids aren't always the greatest at keeping track of them all! To avoid spending a ton of money on replacing pens and pencils, or purchasing monogrammed bags and supplies, make custom supplies with your Cricut.
Personalized Pencil Pouch With A Cricut
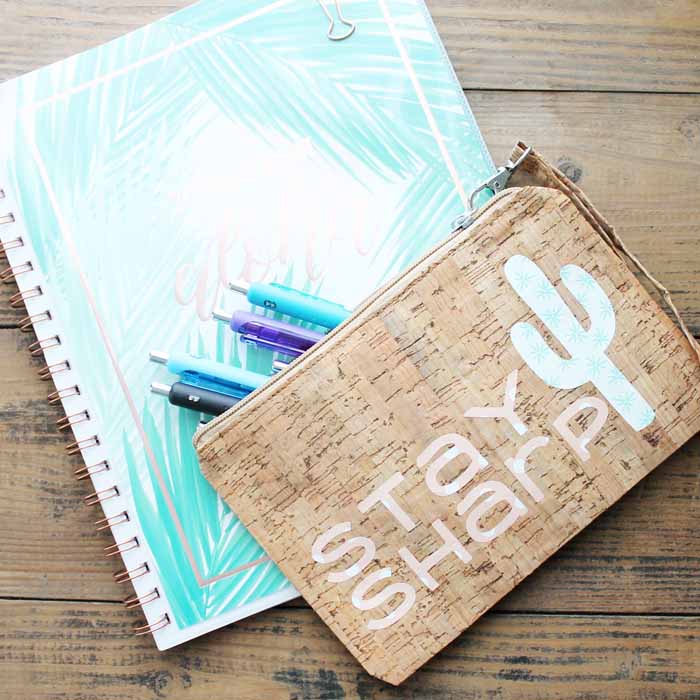
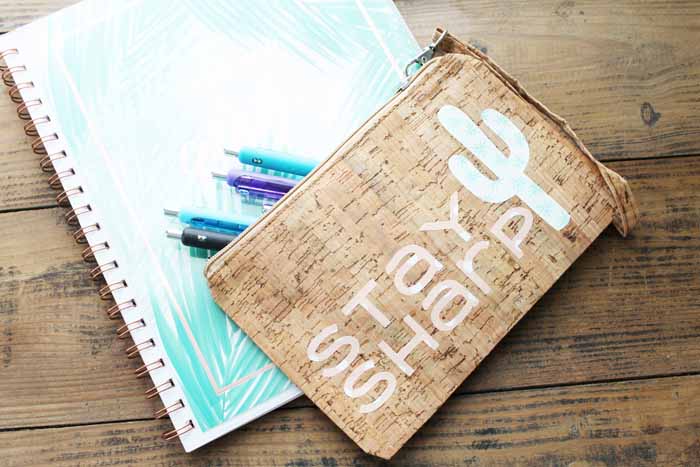
For this easy DIY project, we are getting the kids organized with a personalized pencil pouch! You can use any pencil case you have on hand. I found a cute cork pencil pouch at Hobby Lobby that I wanted to jazz up and add some style!
Supplies Needed To Make This Personalized Pencil Pouch
- Cork pencil pouch (I found mine at Hobby Lobby)
- Patterned Iron-on
- Cricut machine (click here to see which I prefer)
- Iron or EasyPress (click here to see more about the EasyPress)
- Weeding tools (optional)
- Stay Sharp cut file (here is another similar version)
- Parchment paper
How To Make A Personalized Pencil Pouch
Step 1: Upload File To Cricut Design Space
Start by downloading the file. This design says “stay sharp,” but you can design your own images and words in the Design Space software if you choose.
Step 2: Cut Out Design
Cut the words and cactus from patterned iron-on material. Remember to mirror your design before cutting and cut with the patterned side down.
Step 3: Weed Vinyl
Weed out any excess material from around the image, as well as the centers of any letters. Weeding tools do make this a bit easier, but they are optional.
Step 4: Position Design On Cork Pencil Pouch
Position your design on the cork bag. Cover the entire thing with parchment paper to protect the cork from the heat.
Step 5: Add Design To Cork Pencil Pouch With Cricut EasyPress
Use your iron or EasyPress to adhere the design to the bag. Start with 275 degrees for 20 seconds and increase from there if the iron-on does not adhere well.
Remove the backing paper once adhered, and your custom pencil case is complete!
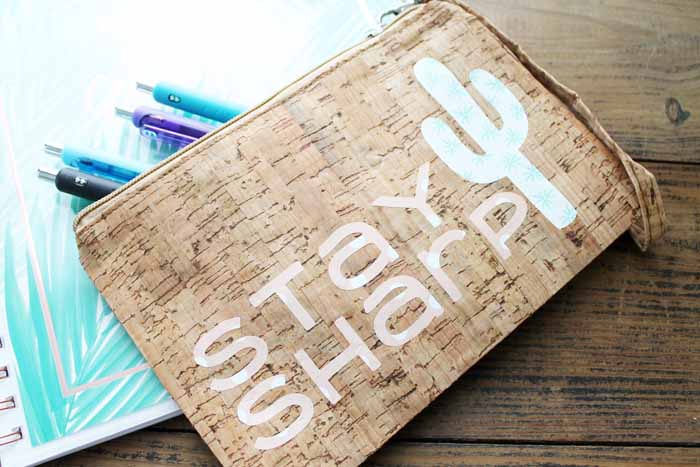
This personalized pencil pouch would be ideal for any student, whether in middle school or college.
FAQs About Personalized Pencil Pouch
Here are answers to some of the most frequently asked questions I receive about creating a personalized pencil pouch. If your question isn’t listed, feel free to drop it in the comments, and I’ll be happy to help!
Where Can I Buy A Cork Pencil Pouch?
You can buy cork pencil pouches at any craft store or online!
I bought my cork pencil pouch at Hobby Lobby in their ”Wearable Art” department. This department (also known as an aisle) is where you can find hats, tote bags, t-shirts, iron-on transfers, and more.
Is It Hard To Use Iron-On Vinyl On Cork?
No, not at all!
Using iron-on directly on unusual materials like cork is incredibly simple! Start off relatively cool with your temperature and work up if needed. The iron-on will adhere well and last a nice long time! It is perfect for items like this for school.
Also, if you are looking for more tips and tricks for using vinyl, check out my How To Use Iron On Vinyl (a.k.a., Heat Transfer Vinyl) blog post!
Do I Have To Use A Cork Pencil Pouch For This Project?
No, you don't!
You can use any pencil pouch you have on hand, or you can get a plain canvas pencil pouch at your local craft store.
Can I Change The Stay Sharp To Another Design?
Yes, you can!
You can add whatever you would like to the front of your cork pencil pouch.
In Cricut Design Space, you have a ton of options when it comes to designs and phrases. If you are looking for something specific, I recommend typing your search term in the search bar and then scrolling through all the designs.
One idea that I think would be really cute to make or use as inspiration is this DIY Avengers Pencil Pouch!
The only thing to remember is that you may have to resize the design to fit it onto your cork pencil pouch.
Do You Have Any Back-To-School SVGs I Can Use For This Project?
Yes, I do!
If you want to change the ”Stay Sharp” to another back-to-school design, check out my free SVGs below!
4 More Back-To-School Projects
So, tell us, what will you add to the front of your personalized pencil pouch?
If you loved this project and want more back-to-school ideas, check out the links below!


Cute idea! This presents endless options for customizing school supplies.
Love your pencil case! Thanks for sharing at the Inspiration spotlight party @DearCreatives See you again soon. pinned and sharing.
I wish I was going to back to school so I could make this for myself (I just might anyway…). Thanks for sharing at our Merry Monday party! I’ll be including this pencil case in my Features next week. Hope you can come by and link up again!
What a fun project!