
Every crafter needs to know how to delutter craft supplies the right way. If you're a crafter, you have supplies; if you have supplies, they are going to need to be regularly decluttered. I'm sharing my best tips for decluttering the right way so you don't get overwhelmed and actually get it done.
Regardless of how large or small your craft space is, it can be organized. If you're setting up your craft space for the first time, check out my craft room tour.
During this process, I'm going to help you tackle different mindset hurdles you may face while getting rid of supplies.
You can watch me walk you through this whole process by pressing play on the video below.
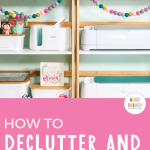
How to Declutter Craft Supplies the Right Way
I recommend bookmarking this post right now. Decluttering your craft supplies is not a one-and-done process. You'll need to go through these steps regularly to help keep your space functioning well.
Step 1. Determine Your Craft Space
Before you touch the supplies, I want you to determine the space you have for your craft supplies. Whether it's a shelf, a closet, a corner, or a room, you need to know the amount of space you have. You may have space in a couple of different areas, that's okay too.
Define the space you have, and that is going to determine how many supplies you can keep and how you need to have them organized.
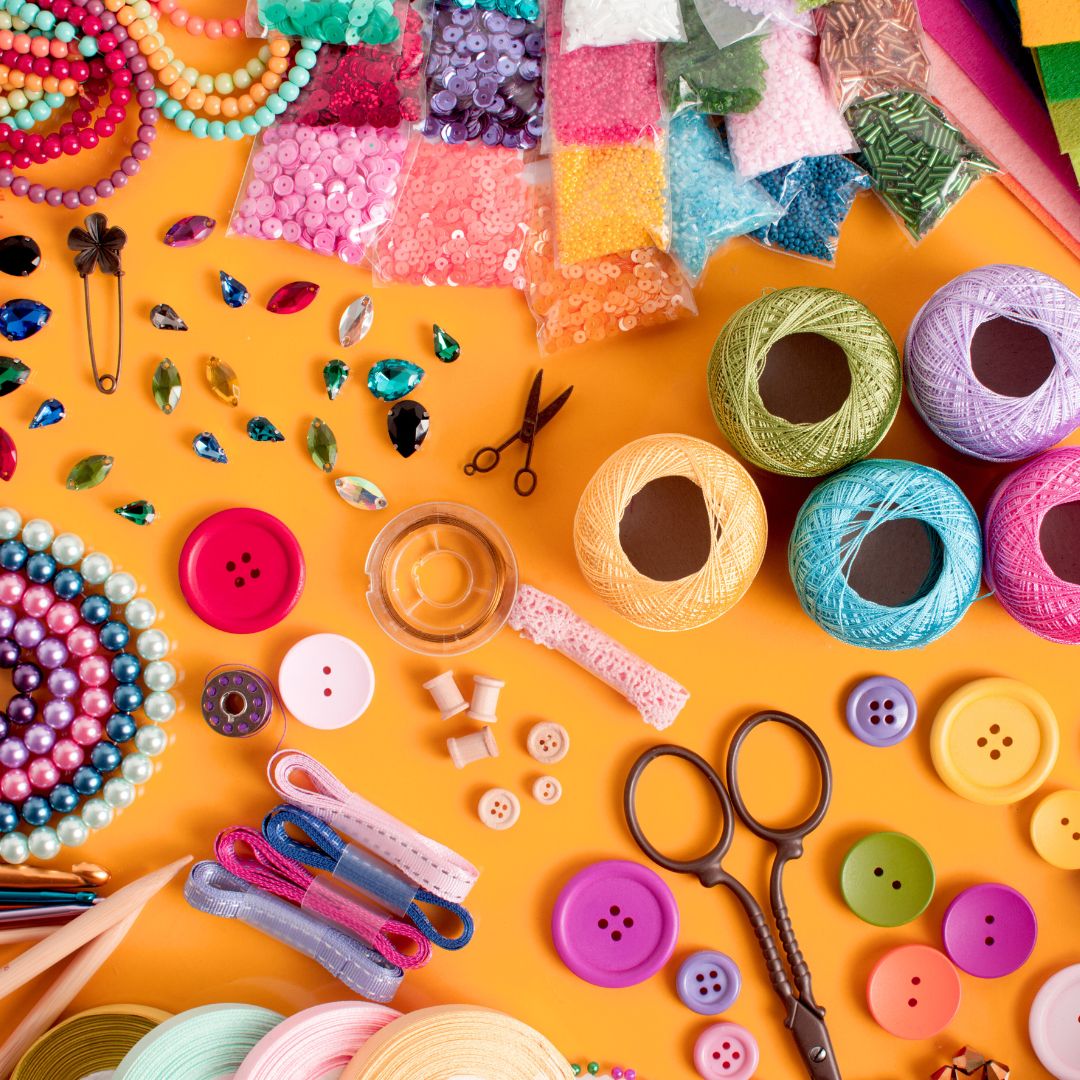
Step 2. Gather All Your Supplies
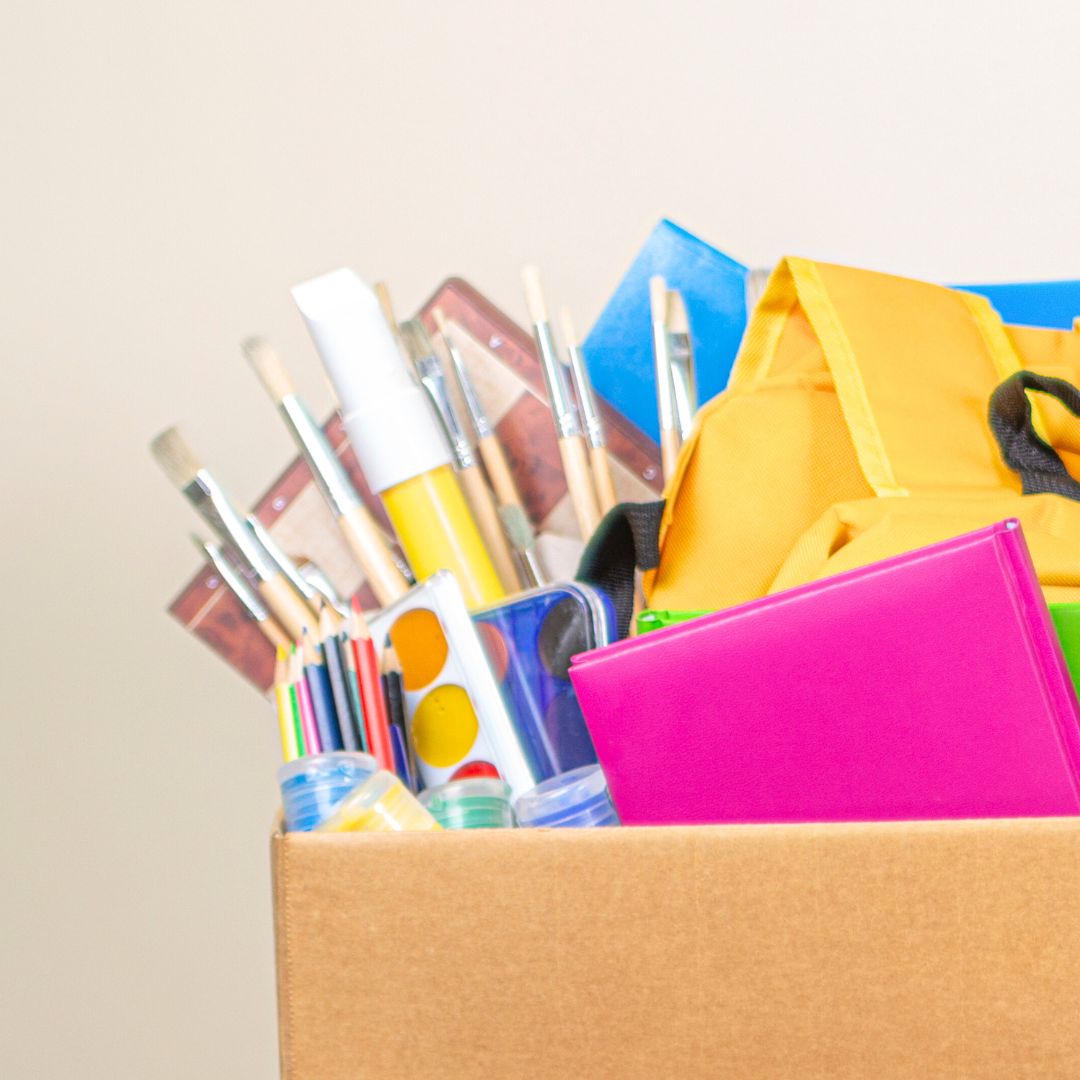
Whether you're a beginner crafter or more experienced, you have probably accumulated quite a few supplies. You need to gather all of them.
Go through your house and get all the supplies in one space. Look in bags, bins, closets, and under beds. When I say gather all the supplies, I mean all of them. Even the ones hiding in the trunk of your car.
Once you have everything in one place, it's time to move on to the next step.
Step 3. Sort Supplies Into Piles
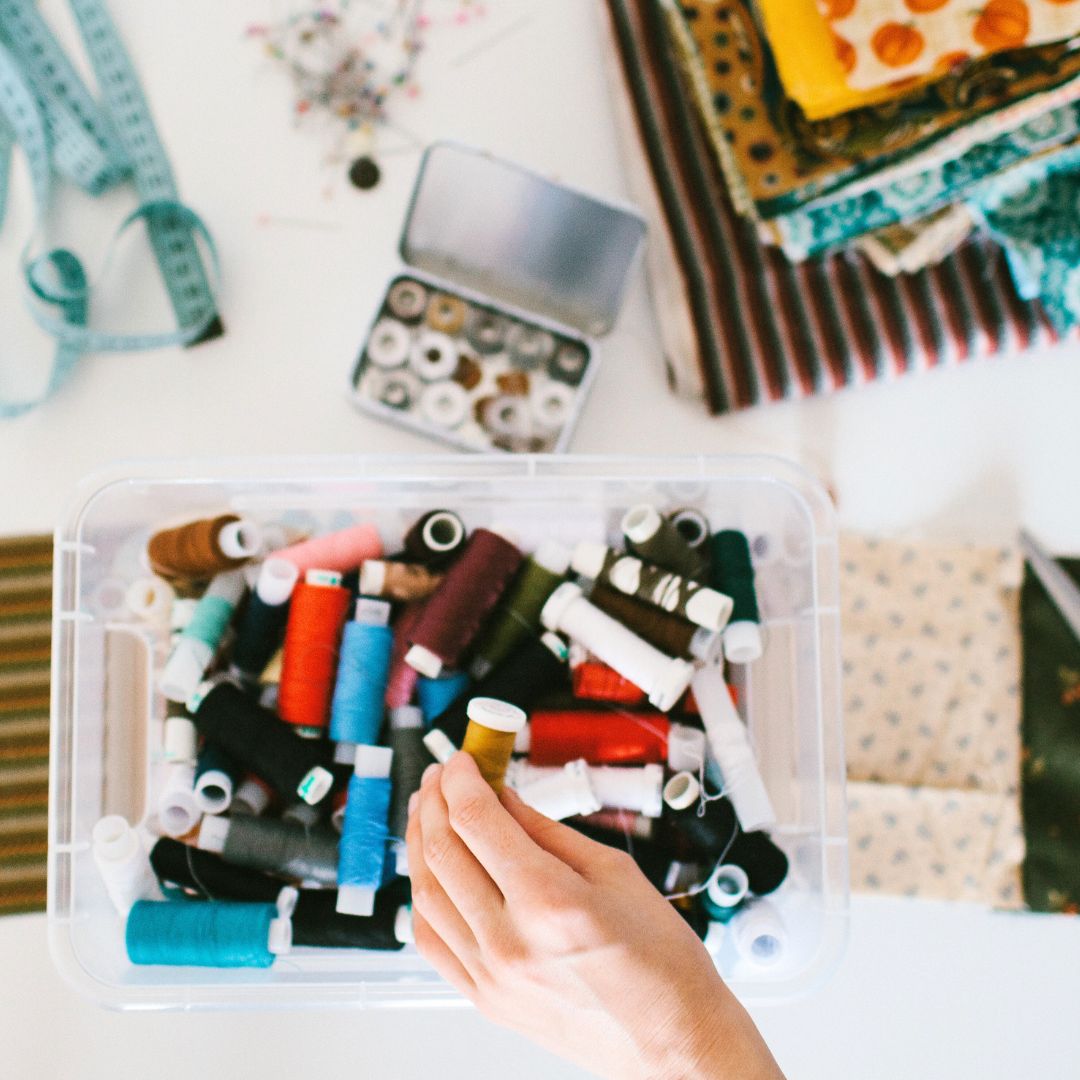
I sort my supplies into four piles: Keep, Donate, Sell, and Discard.
- The keep pile is where you'll add everything you want to keep. You may need to go through this pile multiple times before we're done.
- The sell pile is optional. If you don't want to go through the process of selling your items, you can put things that would go in this pile into the donate pile. For me, things that would go in the sell pile are larger priced items in good working condition. You can also put together bundles of smaller items to sell.
- The next pile is our donation pile. These can be partially used but should still be usable. Think things like half-used paint bottles, old scrapbook papers, craft machines you no longer use, etc. This can also include any items you don't want to sell.
- The discard pile is for everything else. Machines that no longer work, paint that is dried up, broken items you've been holding on to, etc.
Overcoming Mindset Hurdles
The sorting process is going to bring up mindset hurdles. Even people who don't grow attached to items can struggle during the decluttering process.
Getting rid of some items will be easy, dried-up paint bottles, pens that no longer work, things like that don't require much thought. Other things may be harder to part with.
Things that can be hard to let go of can be:
- Items you spent a lot of money on.
- Sentimental items.
- Crafts you used to enjoy.
- Items you may use someday.
Items You Spent a Lot of Money On
When it comes to decluttering craft supplies, a hang-up we often run into is things we spent a lot of money on.
It's hard because you look at that item and you know how much you paid, but that money is already spent. It is unlikely you'll get the full amount you paid back, but you could sell the item and recoup some of that cost.
If you're not using the item you spent the money on, you're not saving money by holding on to it. Think about the last time you used it. If it's been more than a couple of years, are you likely to start using it any time soon?
Try not to think about the past cost, that's done, the money has been spent. Think about the future. Are you going to use it? Will you use it before it no longer works? If you're not, consider donating or selling it to someone who will.
Sentimental Items
Sentimental items can be things that were passed down to you from loved ones or items that trigger a memory. Maybe you used to love scrapbooking but haven't done it for years, but when you look at those supplies, you remember the fun you used to have, and you want to hold on to that.
I have found a few ways to make it easier to sort those sentimental items.
- Is there a way to hold on to the memories without keeping the item? Can you take a photo of the item? Can you keep just a few pieces? Can the items be repurposed?
- Is there someone that you can give the items to who would use them? For example, you have a sewing box handed down from your grandmother, but you don't sew. Talk to your family; maybe someone else would actually use the item and would be excited to own it. That can make it much easier to let go of.
- Repurpose the Items – my husband and I have two vintage sewing machines from members of his family. They are the type that fold up to create a flat tabletop. I am not going to use them as sewing machines, but they have a lot of sentiment for us. We were able to use them as nightstands in our room, and I love them; they're being used and not taking up space in my craft room.
Crafts You Used to Enjoy
I don't know about you, but when it comes to decluttering my craft supplies, I always get hung up on the supplies for the crafts I used to do.
These supplies trigger happy memories, so let's think about how you could capture that happy memory without holding on to supplies you don't use.
Can you take a picture with the item(s)? Can you use part of the collection to create a shadowbox or scrapbook page that you can display? Consider ways you can use some of those supplies and then sort the rest into the other piles.
Items You May Use Someday
When it comes to the craft supplies you think you may use someday, you're going to have to be really honest with yourself.
Ask yourself these questions:
- When was the last time you used it?
- Do you have a plan right now to use it on a future project?
- Will you use it before it expires, goes bad, or is no longer supported?
If you haven't used it in years, it's time to let it go. If you don't have a current plan to use it in the near future, it's time to let it go.
And then we need to consider if you can use it in the time you have. Paint will not last forever; it will dry out over time. Look at your paint supply, do you need to reduce what you have so it doesn't go bad before you use it?
Think about things like vinyl and HTV. The adhesive on those materials won't last forever. Can you use what you have before it goes bad?
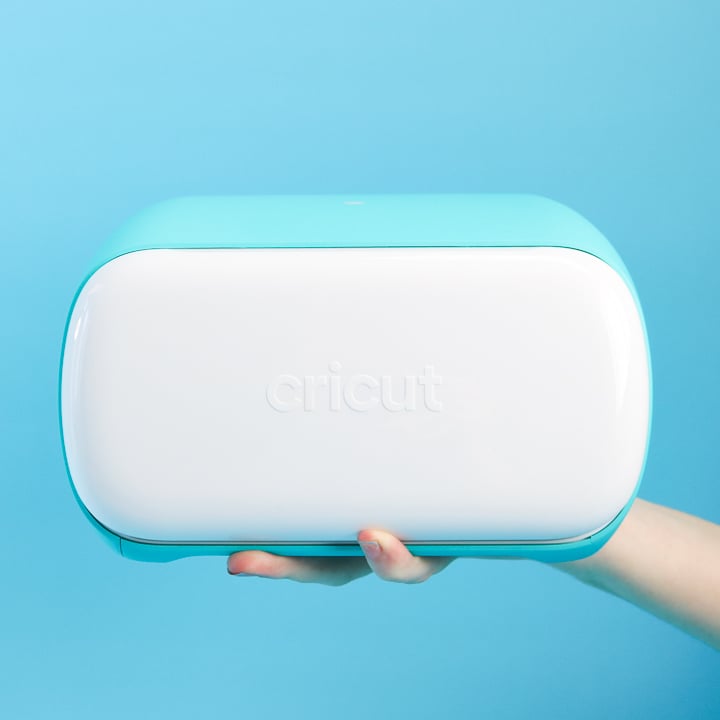
Consider the different craft machines you own. They won't be supported forever. If you own multiple Cricut machines, do you use them all at the same time often enough to warrant keeping them all? If you don't consider selling or donating the older machines, so someone else can use them.
One of the best ways for me to get over the different mindset hurdles is to think about the person who will receive the items I'm getting rid of. Imagine a teacher using the supplies in her classroom or a young mom making things for her small children. Imagining the excitement of the other person helps me let go of things I'm not using.
Step 4. Go Through the Keep Pile
Now that we've sorted all the supplies, we need to look closely at the keep pile. Will that pile fit in the space you have? If it won't, let's consider how we can reduce it even more.
Let's look at a couple of examples that may help you move these supplies into other piles.
As someone who sews, you may have kept everything that was fabric. I want you to really look at the fabric you have. Are you really going to use it all, or have you outgrown some of the prints? Maybe you have some chevron fabric from back when everything was chevron print. Will you really use that in future projects?
Are you a papercrafter, so you put all your paper in the keep pile? Go through those papers. Do you really like and use all the colors? Do you need every page from that paper pack?
I know there are certain colors I will always use, and there are colors I rarely use. Creamy white is one of those colors. I prefer bright white for my projects. I don't need 20 pages of creamy white. One or two is more than enough for my crafting. The same can be said for orange. I don't use it very often in my crafts, so one or two sheets, when I might need a snowman nose or a small flower detail, is probably enough.
Think about your stickers, you don't need to keep them all. You probably have some from years ago that you didn't use, and now that phase of life has passed, or you don't like the design style anymore.
Go through your pens, stamp pads, and paint, test them. If they're dried out, toss them. If they aren't colors you're going to use, put them in the sell or discard pile.
Repeat this process for all of the supplies and materials in your keep pile. Do you really need 12 weeding tools? Unless you're teaching a craft class, you probably don't.
Step 5. Remove Everything Except the Keep Pile
Now that the keep pile will fit in your craft space, it's time to remove everything else. Take the items you want to sell or donate and do that right now. The longer you keep it in your space, the more likely you are to pull items from it and second-guess yourself.
If you know where you want to donate the items, take them there right away. If you don't have a place, list them for free on Facebook Marketplace. Take photos of the items you want to sell and get those listed right away.
Take everything in the trash pile and put it in a bag, and throw it out.
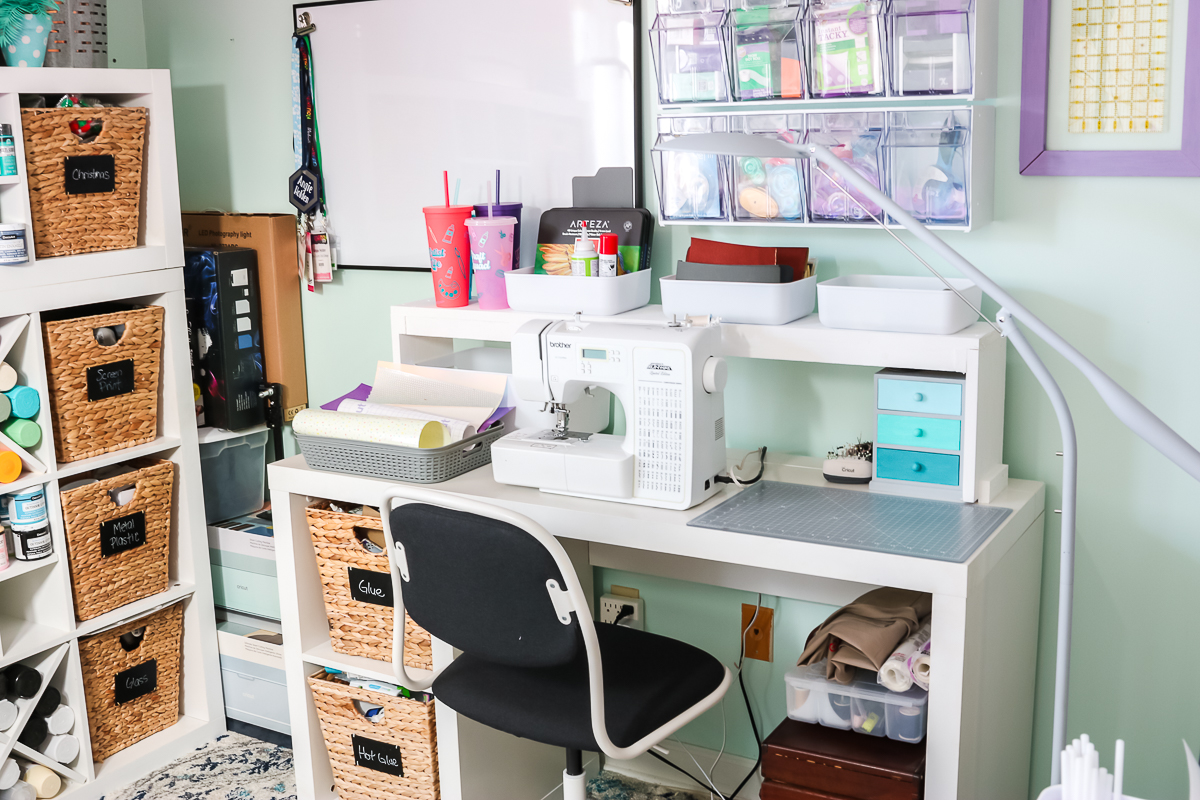
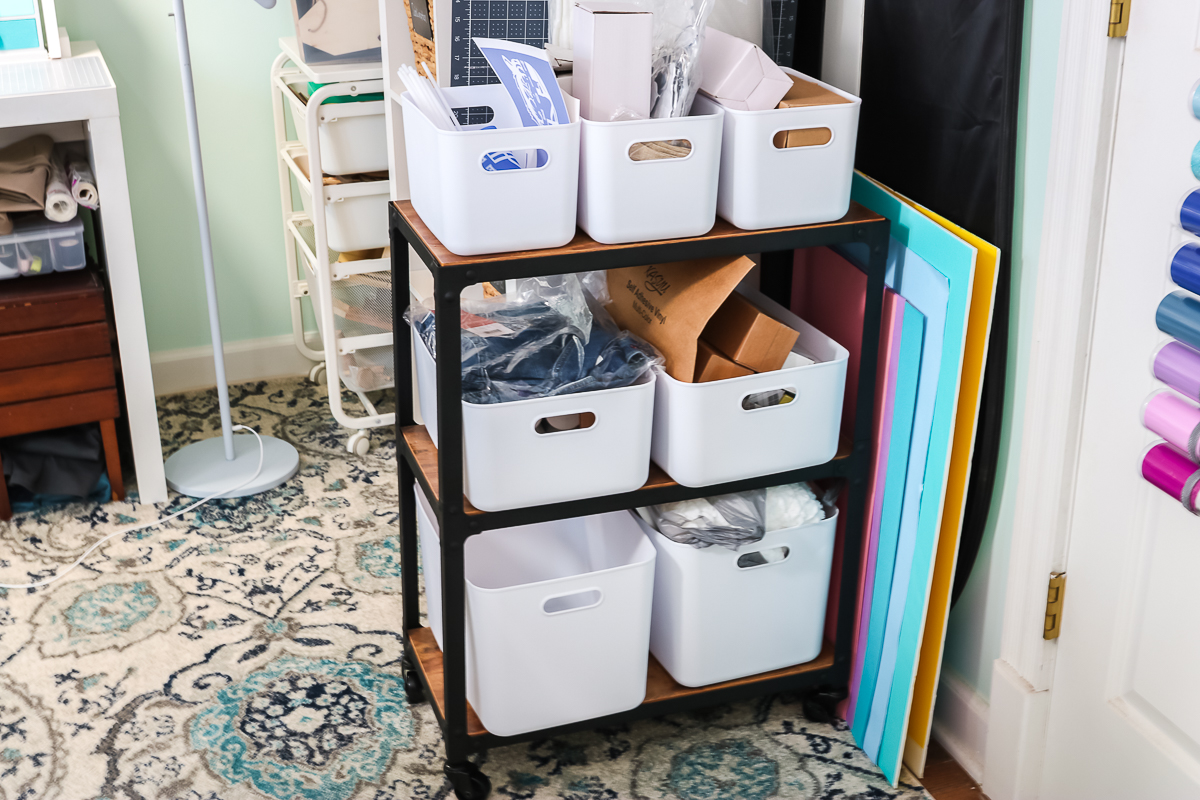
Step 6. Sort and Organize the Keep Pile
Now that the other piles are gone, we can sort the items in the keep pile.
Think about the space you have and decide how you want the items stored. Do you have different spaces for sewing and Cricut crafting? Put those items in different piles.
Are you storing your items in bins or will they go on shelves? Work through the things you've kept and get those organized to fit in your space.
As you're going through this process, you may find more items you're willing to part with, start another set of sell, donate, trash piles, and add those items to them. I always find, as I am getting things organized, that I really don't need everything I put in the keep pile.
What if You Don't Have Enough Room?
Even when you have done your best and gotten rid of everything you could, you may have more stuff than you do space. What do we do then?
There are a couple of different ways you can tackle this issue.
- Do you have seasonal craft supplies? Maybe you have a bunch of Christmas-themed cardstock or craft blanks. Maybe you have materials/tools you only use during the holiday season. If you can, take those supplies and put them in a tote or box and store them somewhere else. That can be in the attic or basement, or even under your bed. If you keep like things together, they'll be easy to find when you are ready to use them.
- Is there anything you only use at certain times of the year? For me, I know I really only use my sewing machine for Halloween costumes. I can easily put the majority of my sewing supplies away and get them out when I need them, which is essentially late August through October.
- Maybe you really only use your card-making supplies during the holidays when you're making Christmas cards, or the only time you really use your Cricut is when your kids are home during the summer. Find those items, put them in one bin, and move them out of your craft space. Then, you can pull them out when you need them and maybe put something else away while those are out.
In the end, our goal is a space where everything has a spot, making it easy to find and put away when you're done.
Step 7: Keeping Your Space Organized
The main thing you need to know is that if you're a crafter, decluttering craft supplies is an ongoing process. It is never a one-and-done task.
If you do it the right way, you should only have to do it once a year or so. I also recommend being mindful of what you're bringing into your craft space.
If you're limited on space, think twice before you start a new craft medium. Is there something you are done doing and you can get rid of those supplies? Do you have room for what you want to bring in?
Some people have success with the one-in-one-out rule. If you buy something new, you have to get rid of something you already have. This can help you keep your craft supplies in the space you have.
Remember, crafting is an evolution. You may try things and learn you don't love them, that is okay! Don't beat yourself up and hold on to it forever just because you spent money on it. The money is gone, let it go, and spend your time doing things you actually love.
I hope I've helped you learn how to declutter craft supplies the right way and that you feel motivated to organize your craft space.
If you have any questions, leave them in the comments and I'll be happy to answer them for you.


Angie this is the best practical information I believe I have ever read to reduce clutter of supplies. I am feeling so much better about tackling my scrapbook pictures from years ago. Thank you for helping me not feel guilty about donating items that someone else may enjoy.
I’m so glad you found it helpful! It’s always nice to find a way to donate items that makes you feel good about letting them go 🙂